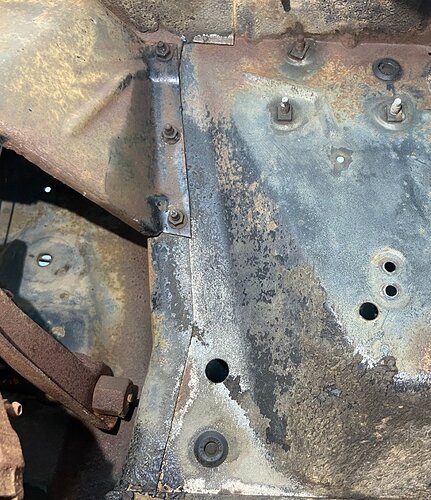
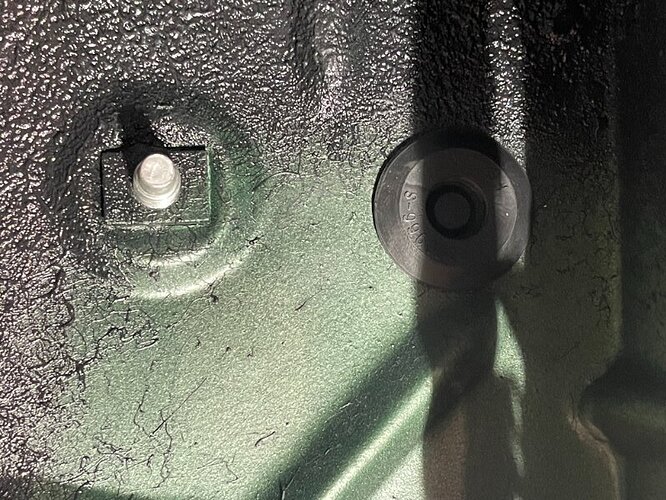
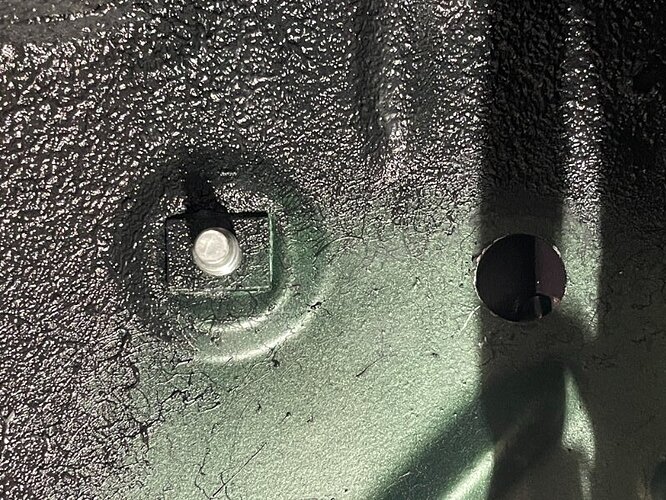
Buy a cheap soldering iron and run it through the holes so the screws won’t pull a thread. My old school interior buddy makes a cut on each side of each hole to make sure it won’t pull a thread.
Great idea on the soldering iron Gavin I’ll have to give it a rip when I take the tracks out for the final seat install.
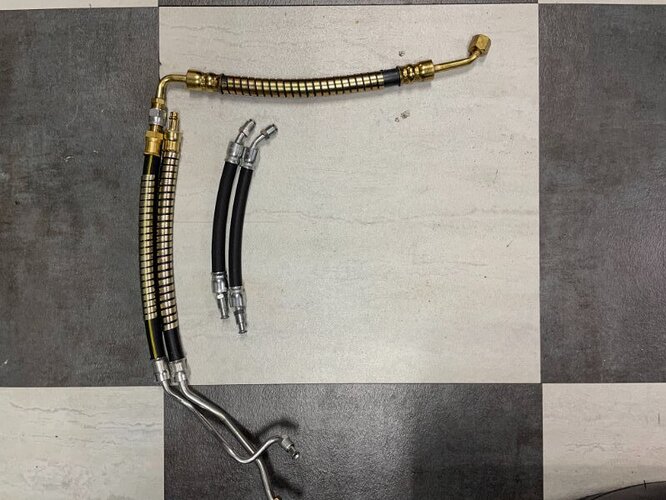
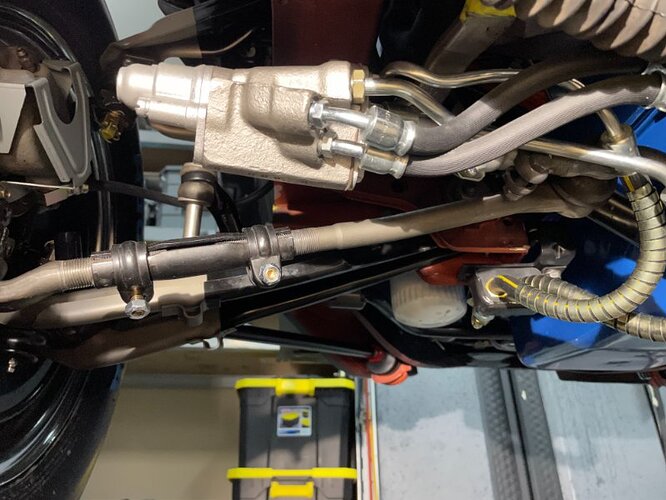
Moving back to the engine compartment to finish the power steering yesterday. I may have previously mentioned, the power steering pump and control valve were rebuilt by Chockostang. Their work is excellent, quick, reasonably priced and they are just a pleasure to work with. I decided to use the Blue Dot reproduction hoses which are excellent reproductions.
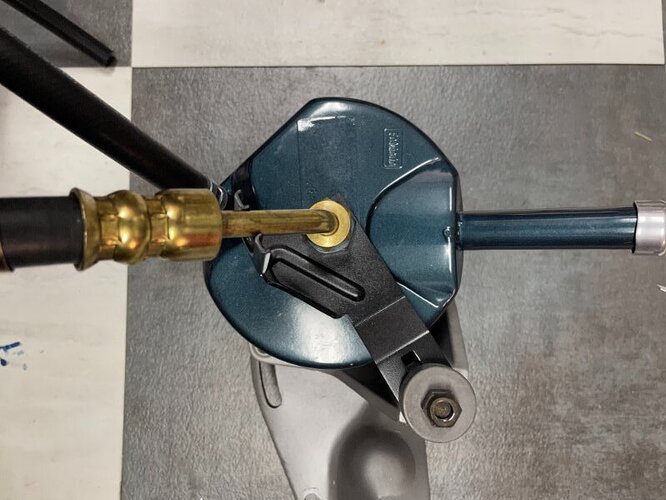
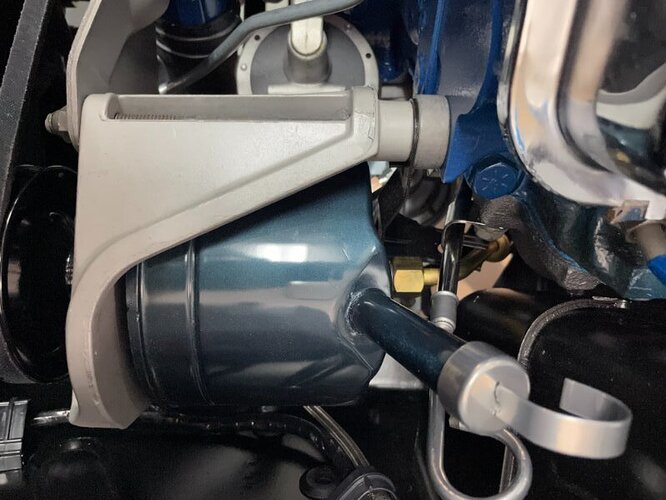
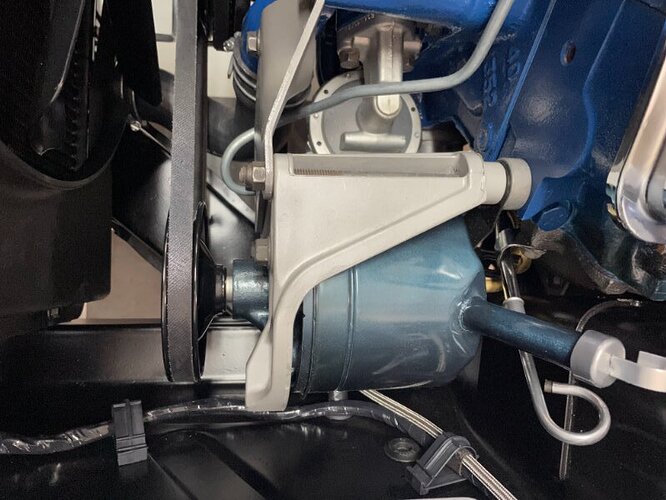
The pump had previously been mounted to the bracket. It is easier to go ahead and attach the pressure and return hose to the pump prior to installing the pump leaving the pressure hose a little loose until the pump is fully installed. There is an alignment bracket that attaches to the back of the pump which keeps the pressure hose away from the manifold unique to the 390/427/428 cars. The frame bracket is also unique to the 390/427/428 cars as the hoses route downward from the pump and pass near the lower control arm instead of across the shock tower as they do on a small block.
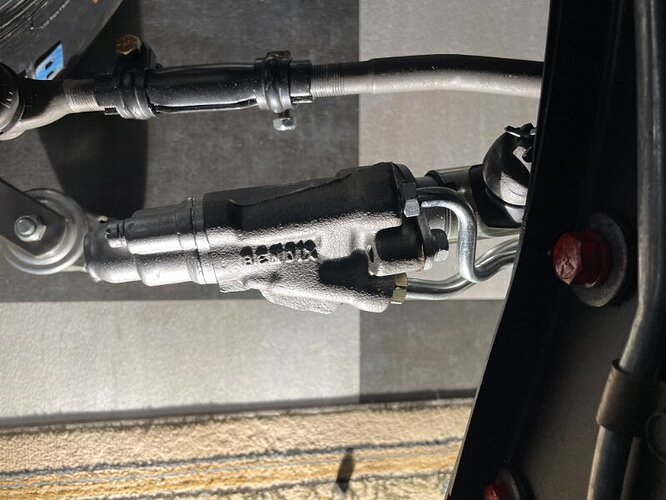
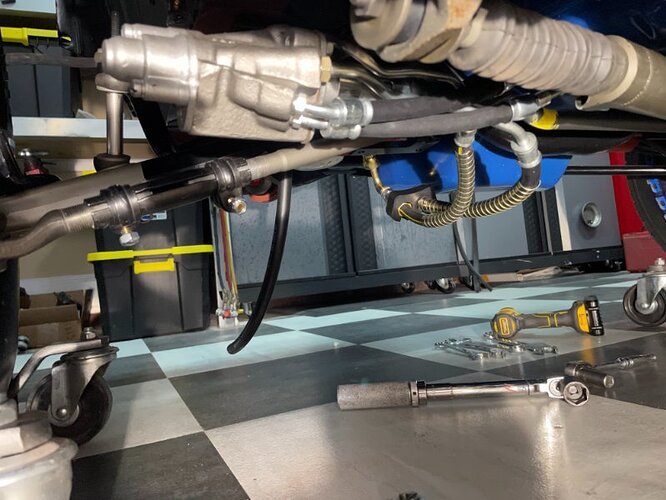
Once the pump is in I moved below to the lower hoses. It is easiest to attach the lines to the control valve with the wheels turned hard to the right, this will allow access to all of the control valve fittings. I prefer to use a small amount of liquid pipe thread sealant to all of my hose fitting threads for additional sealing. The flare of the hose is truly where the sealing occurs it just adds additional security against seepage.
Starting at the top of the valve I installed the pressure and return hoses, each has a different size fitting so there is no concern with crossing them up. The two short hoses are a different story though, they will interchange and if you cross them up you will witness the craziest thing with steering you have ever seen.
The upper (long) short hose goes to the top fitting on the ram and the lower goes to the bottom fitting on the ram. I indicated (long) because some reproduction hoses are the same length for both, the Blue Dot hoses have a slight length difference as did the originals.
Once the hoses are routed and tightened on the bottom it’s back to the top for the final tightening of the pressure hose and adding fluid. The old Ford systems use Type F fluid as indicated on the dipstick. The reservoir is filled slowly until the fluid is at the bottom of the dipstick tube, I like to use a small funnel with a clear tube on the end to increase visibility. I also prefer to hand prime the system to attempt to circulate the fluid and work out air in the system prior to firing the engine. You may have to add additional fluid after priming prior to attaching the belt and firing the engine.
The wheels should be unloaded or in the air when you fire the engine and prior to turning the steering wheel for the first time while you’re still working the air out of the system. I was taught years ago to start with short turns back and forth progressively increasing the amount of the turns to work the air out.
Once you are confident all of the air is out, top off the fluid and you can test with the wheels loaded. Success!
Looks really good Kerry. One thing I think you need is the band clamp that secures the PS pressure and return hard lines to the valve. There’s a guy on the 428CJ Forum who sells the right ones.
Like this:

![]()
You are going to want to replace the hoses on your power steering system with Blue Dot hoses. I had to learn “the hard way”
Dead Nuts On does not have them list but can get them for you.
Great detail work Kerry Blue point is the only way to go I had 20 years drip free service with their parts.
Thanks for the information on the clamp Royce. It’s funny I think I remember the original one having a clamp and I thought to myself this is doesn’t appear original and threw it away, should’ve done a little more research. I will browse the 428 forum to see what I can find.
I did go with the blue dot hoses per the recommendation of some folks on the forum and also learning the hard way a couple years ago for another car. After multiple leaking brand new hoses on the other car I switched over to blue dot and never had an issue so I just started out with the best on this one to save the headaches.
I was able to track down the vendor who has some of the correct hose clamps, Ed Myer Hi-Po Ford Parts. Great guy to deal with and fast shipping.
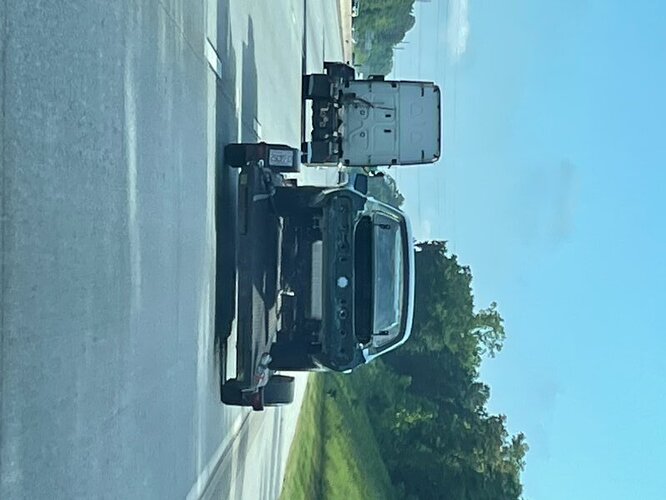
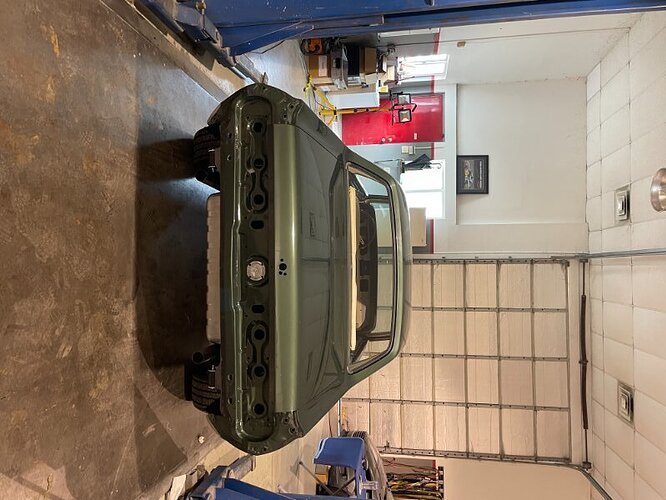
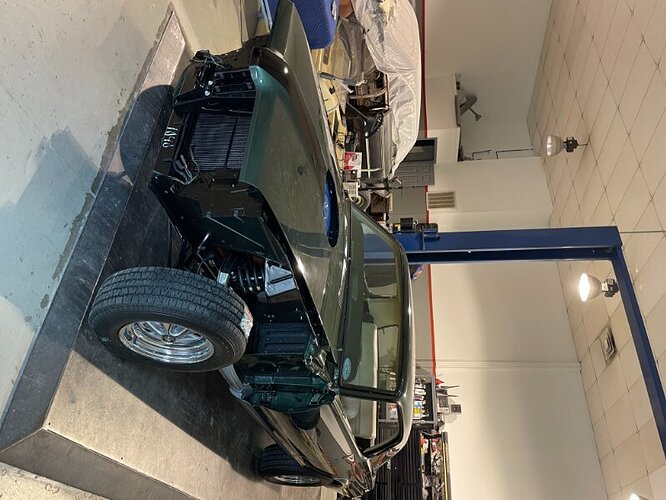
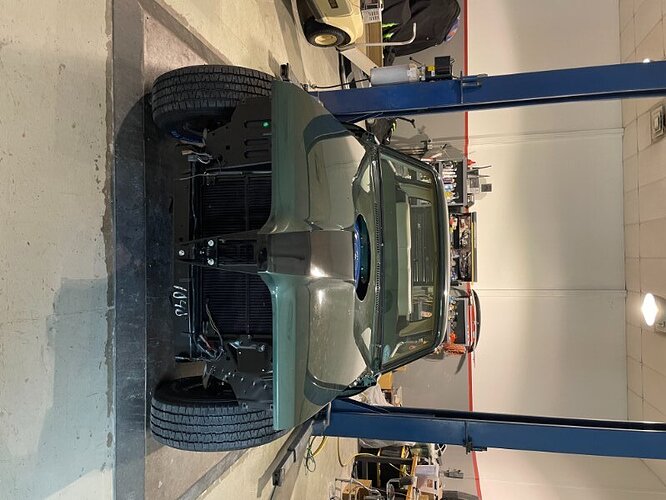
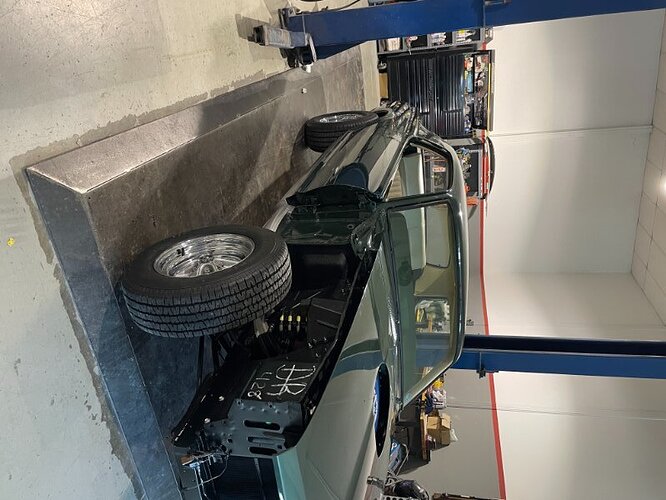
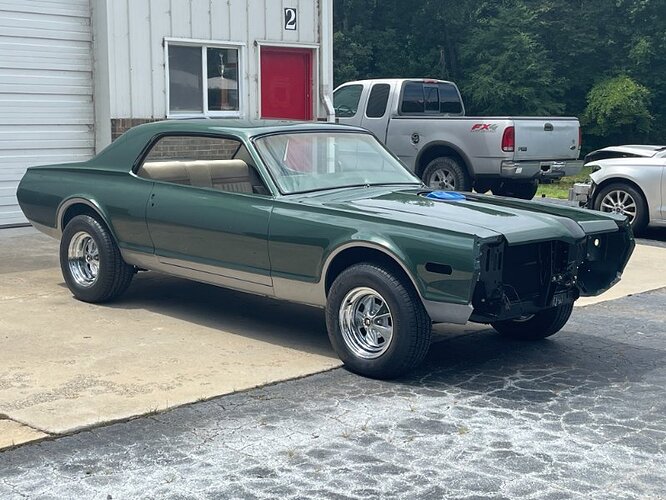
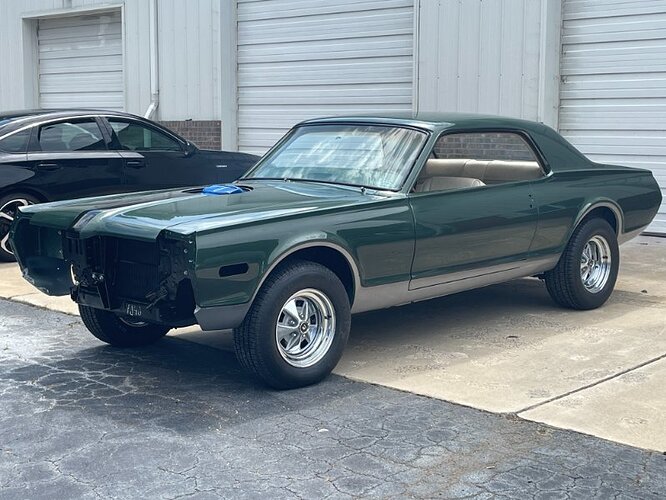
The Cougar made its’ journey back to the body shop today for the installation of the remaining body panels. We made some great progress completing the installation of the Doors, Trunk, and Hood. We had previously test fitted all of the panels on the car so the adjustments were very minimal. All of the edges were taped to avoid chips in the fresh paint.
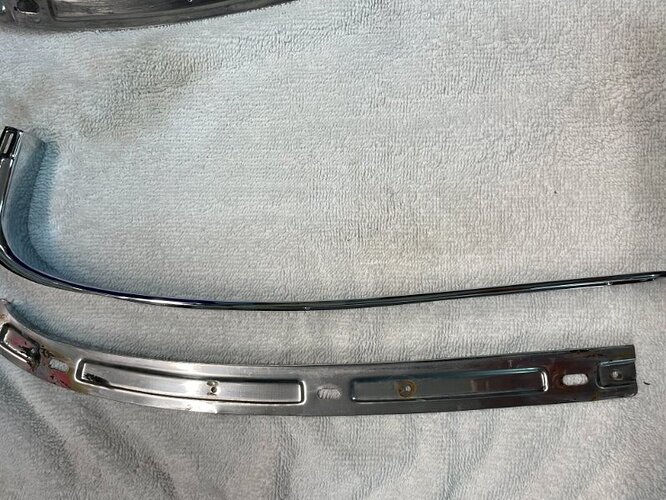
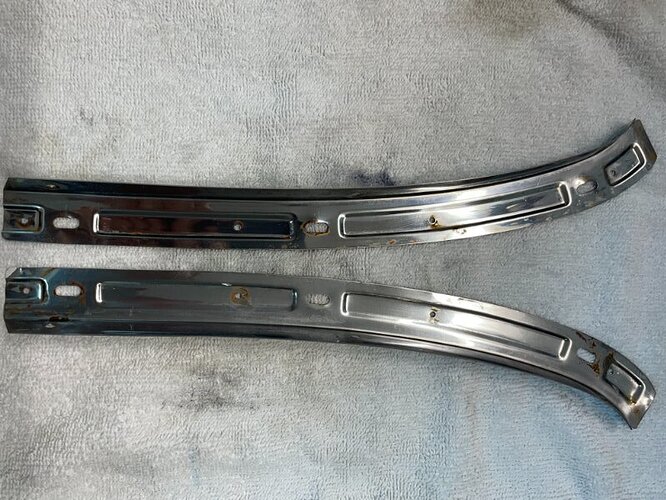
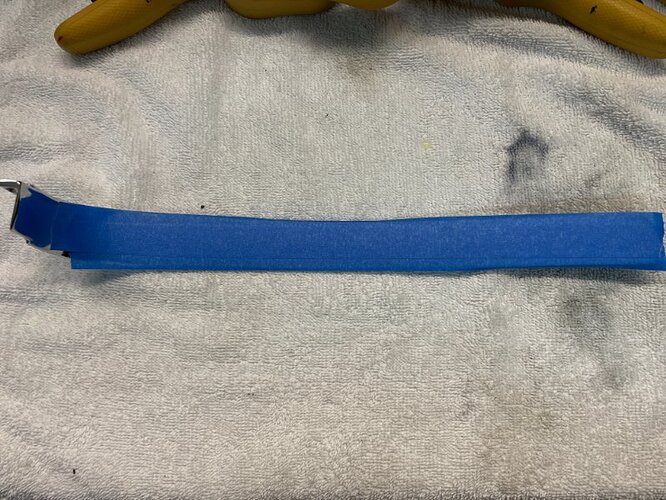
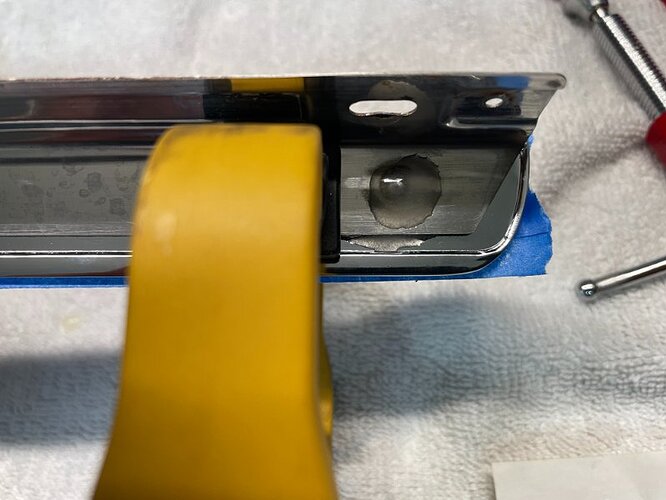
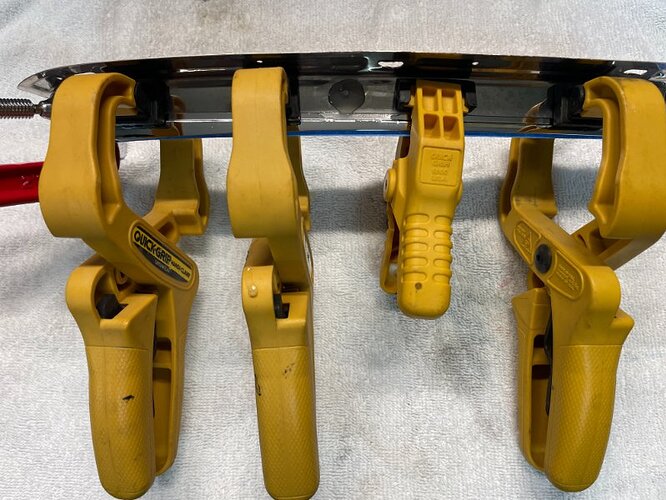
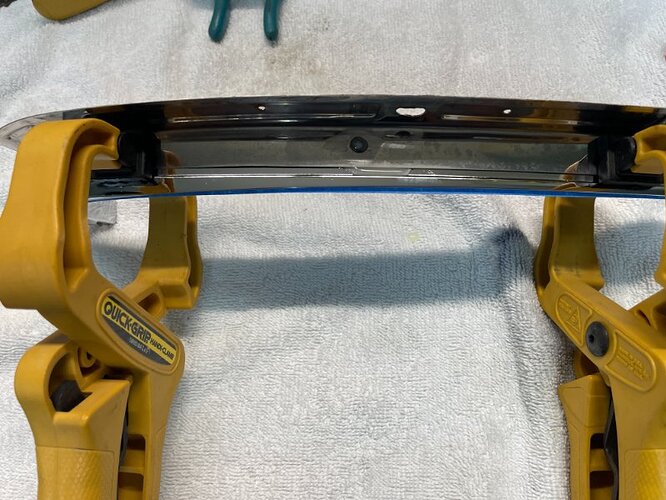
I started prepping the “hockey stick” moldings this evening. The new moldings do not have the attaching bracket on them which you have to re-use. The new molding come with double sided tape to reattach them but over time the tape can fail so I typically will JB-weld them back together.
I first tape the chrome side of the molding to avoid any blemished from the clamps that I will use to secure the two pieces. I apply a sizable amount of JB-weld around the three alignment pins. Then use rubber tipped shop clamps to hold the bracket onto the molding while the JB-weld cures. I’m in no rush so I’ll let it cure a day or two before installation.
We spent the past two weekends completing the final panel fitment. Unfortunately the original date correct hood hinges were worn out which was not evident until they were loaded with springs. After watching Don from WCCC’s video on the hood hinges (Great how-to videos Don) a replacement set of hinges were sourced and installed.
Months back when I was installing the body plugs i was reviewing the photos prior to teardown and noticed that the two plugs located behind the hinges were installed from the outside (fenderwell area) while the rest were from inside the engine compartment. My guess is this was an access hole for the factory assembly folks to adjust the height of the hood hinge. I tested my theory with the hinge installed and the holes provides great access to one of the hinge rivets to elevate or lower the hinge.
The panel alignment is complete along with the final buff and polish. The car is loaded and making its’ final trip back from the body shop to complete the assembly. A small crack appeared in the scoop during the final wet sanding prior to painting so it will be following soon.
Time to start getting trim and chrome on!
During the body repair of the build we recognized the passenger door was in pretty rough shape. Along with the typical rust that most of these cars experience at the bottom there was a large softball size dent in the outer shell. The body shop attempted to pull the dent however it was still going to require a decent amount of filler.
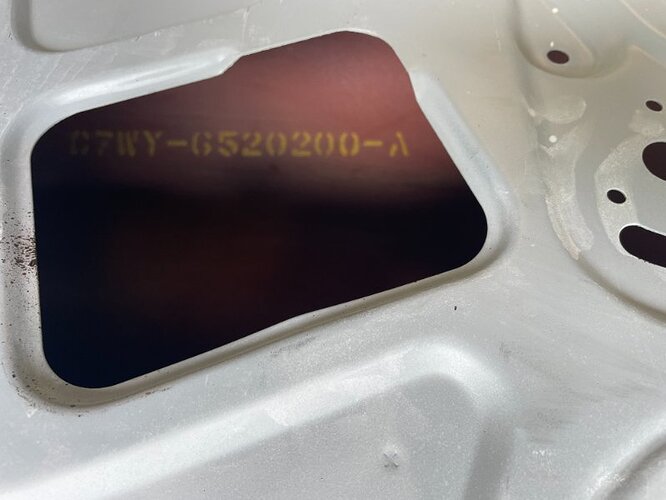
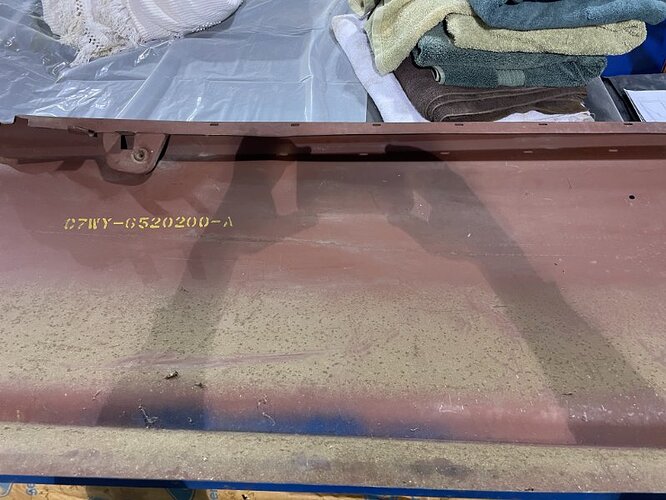
I decided to start searching for a replacement door if possible. After a few weeks of searching I stumbled across an ad on Facebook marketplace for a right side 67-68 door for free. I reached out to the seller who stated it was just the outside of the door, interesting. I set up a time to meet the gentleman who luckily was right here in Charlotte. When I arrive at his house he has a green 68 sitting in the driveway so we talk Cougars for a bit. he then goes into the garage and pulls out an ugly blue door skin that looks to be painted with a spray can. I flip the skin around and it’s red oxide with a Ford part number…NOS door skin.
I ask how how or where he got the skin and he stated a former neighbor flagged him down one day while driving his Cougar. The neighbor’s Father had been a Cougar guy and this was the last piece that was left over after they had sold off the collection of parts.
I insisted on paying for the skin which he refused so instead I found there were several pieces he need for his car which I had and delivered to him the following day. In my own mind I had hit the lottery that day.
Terrific luck regarding the door skin Kerry -
In the photos of your GT-E without the grill, trim, etc., once again I’m reminded of what great lines the Cougars have.
- Phillip
I couldn’t agree with you more Phillip. The gentleman who did the body and paint work and I had a similar conversation this weekend about the incredible lines on these cars and how they took a flat piece of metal and stamp it into such great lines.
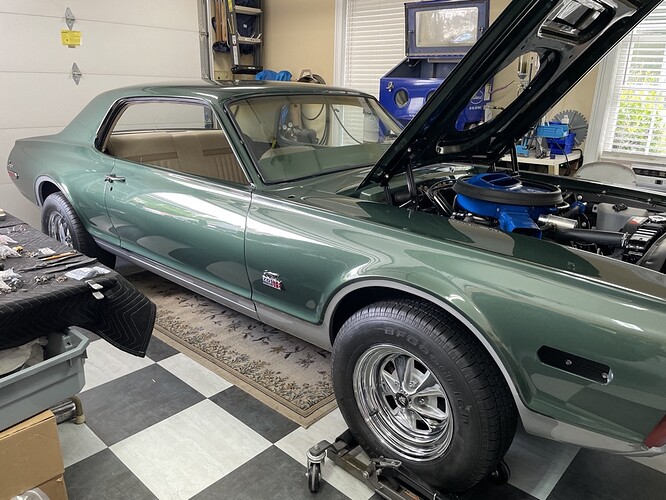
I started tackling some of the exterior trim items this weekend, first with the side GTE emblems then the rear quarter Cougar emblems and side marker lights.
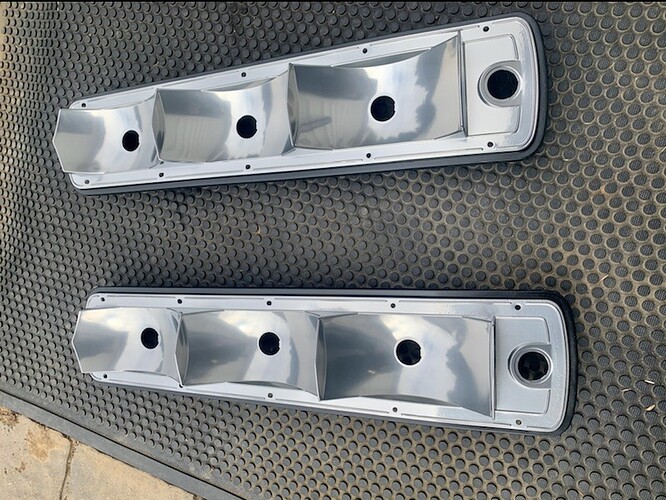
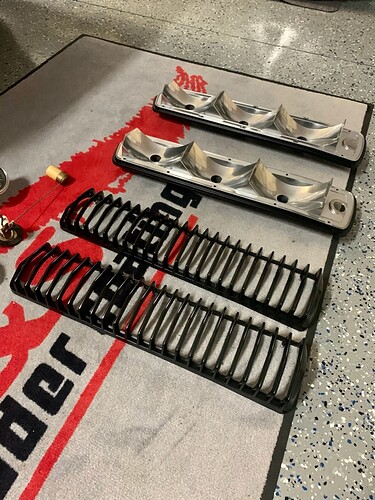
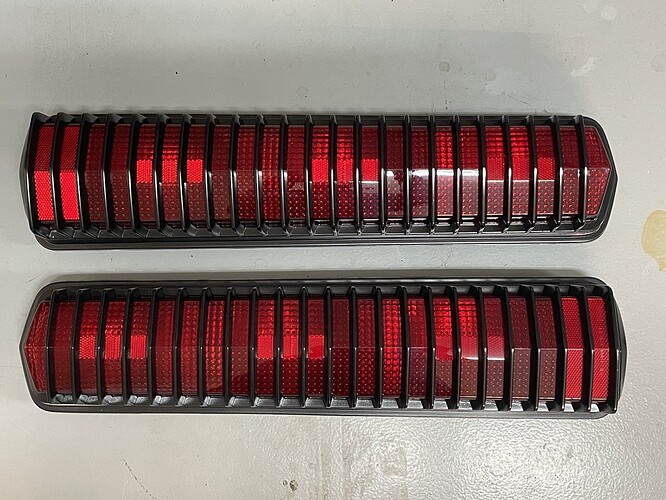
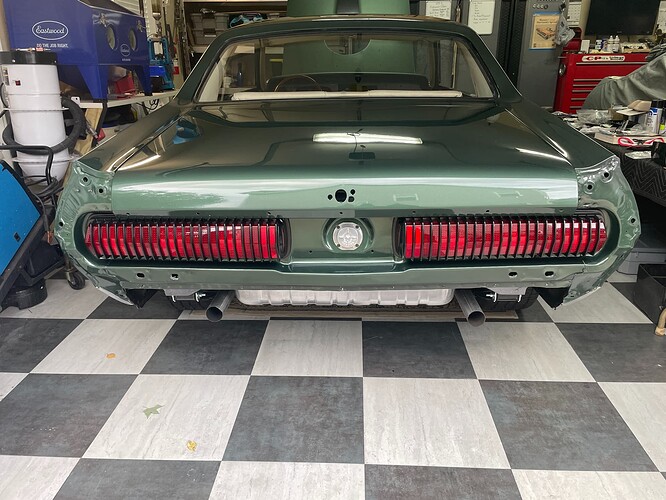
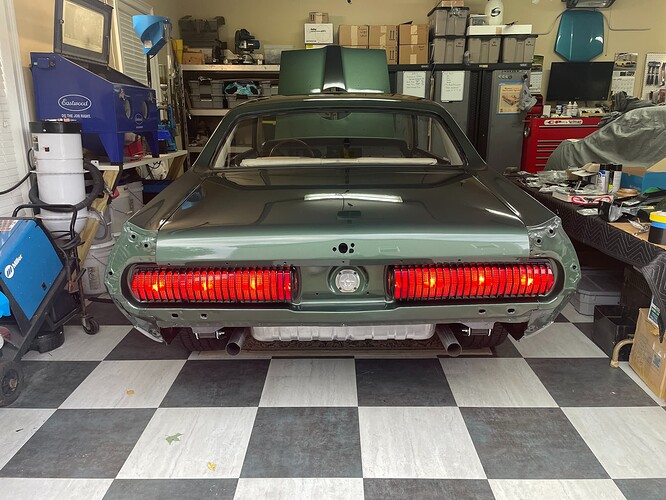
The tail lights are a work of art thanks to my powder coater. Powder coating pot metal is tricky as it will bend or collapse with too much heat to cure the power (learned the hard way).
In order to coat the tail light grills we had to sacrifice two tail light backs to support the grills while the powder cured.
The grills were coated in satin black as original, we used chrome powder for the light housings then satin black again on the outside of the housing.
Fresh lenses were installed as well as all new seals.
The lights look great after the install. I upgraded to LED bulbs as well however I may have to change back to regular bulbs as the lights are extremely bright probably due in part to the chrome backing.
The second photo is just with the parking lights on.
I admire your commitment and self motivation to get so deep into a restoration such as this .![]()

