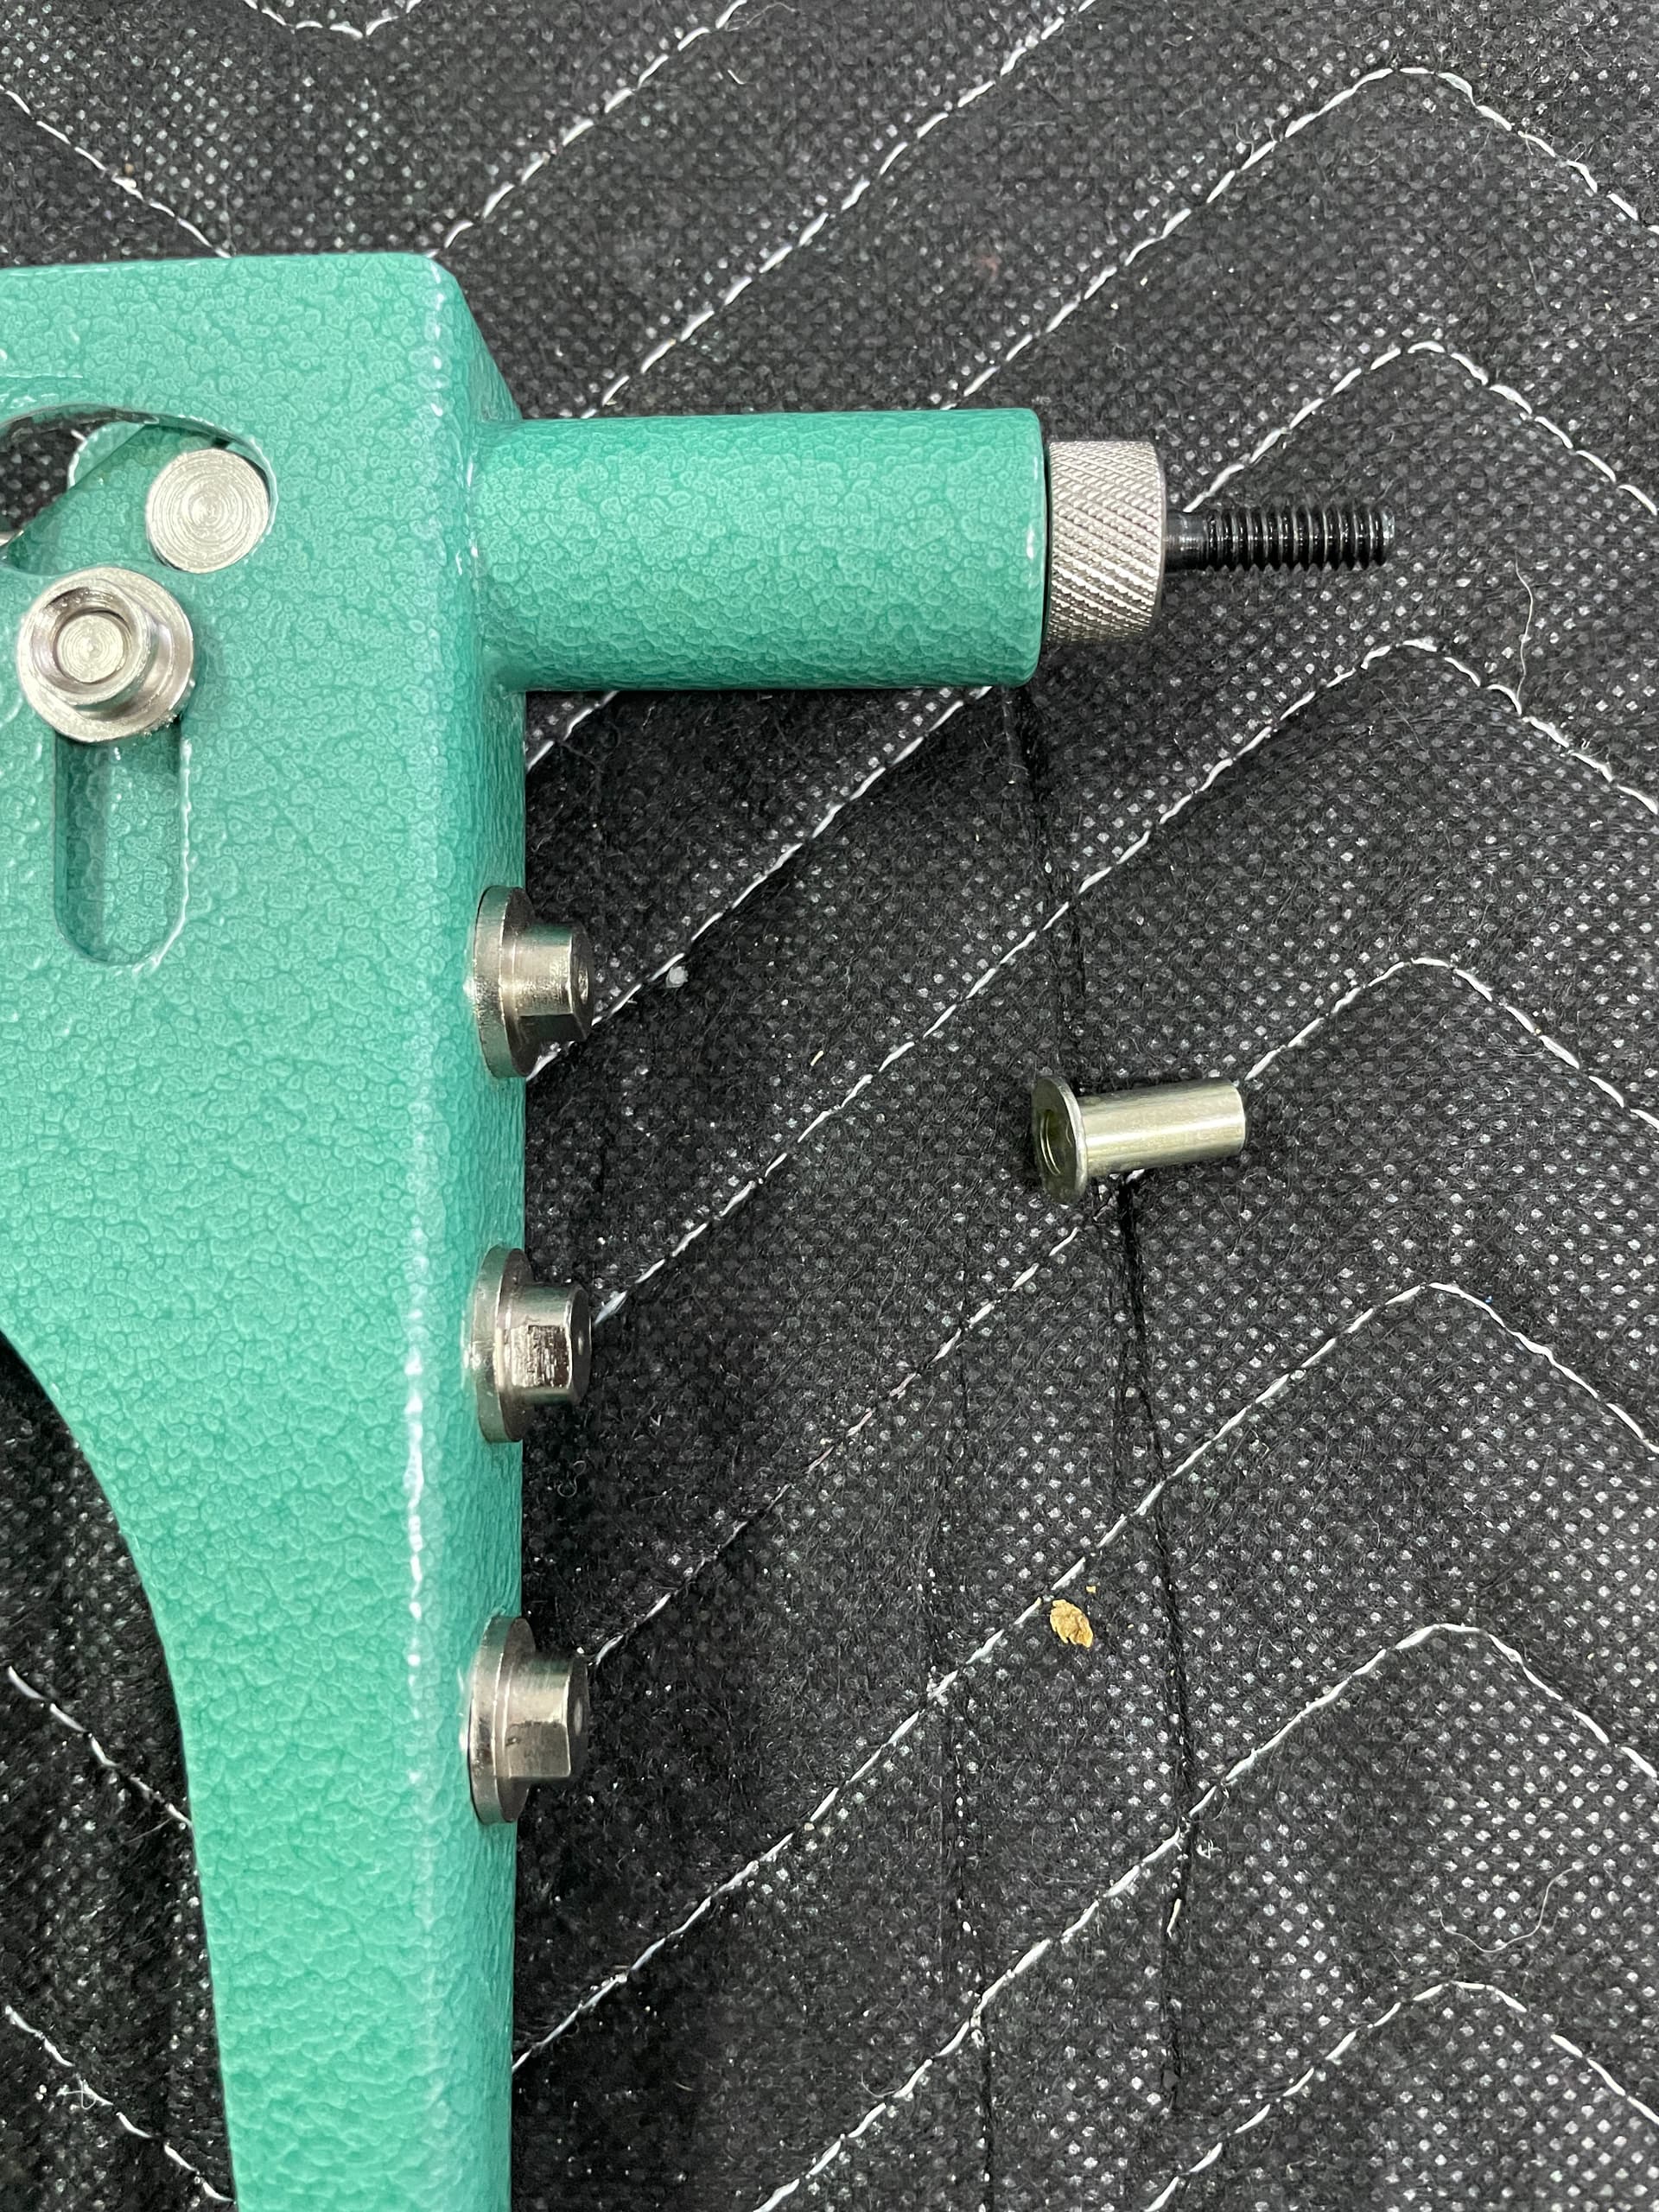
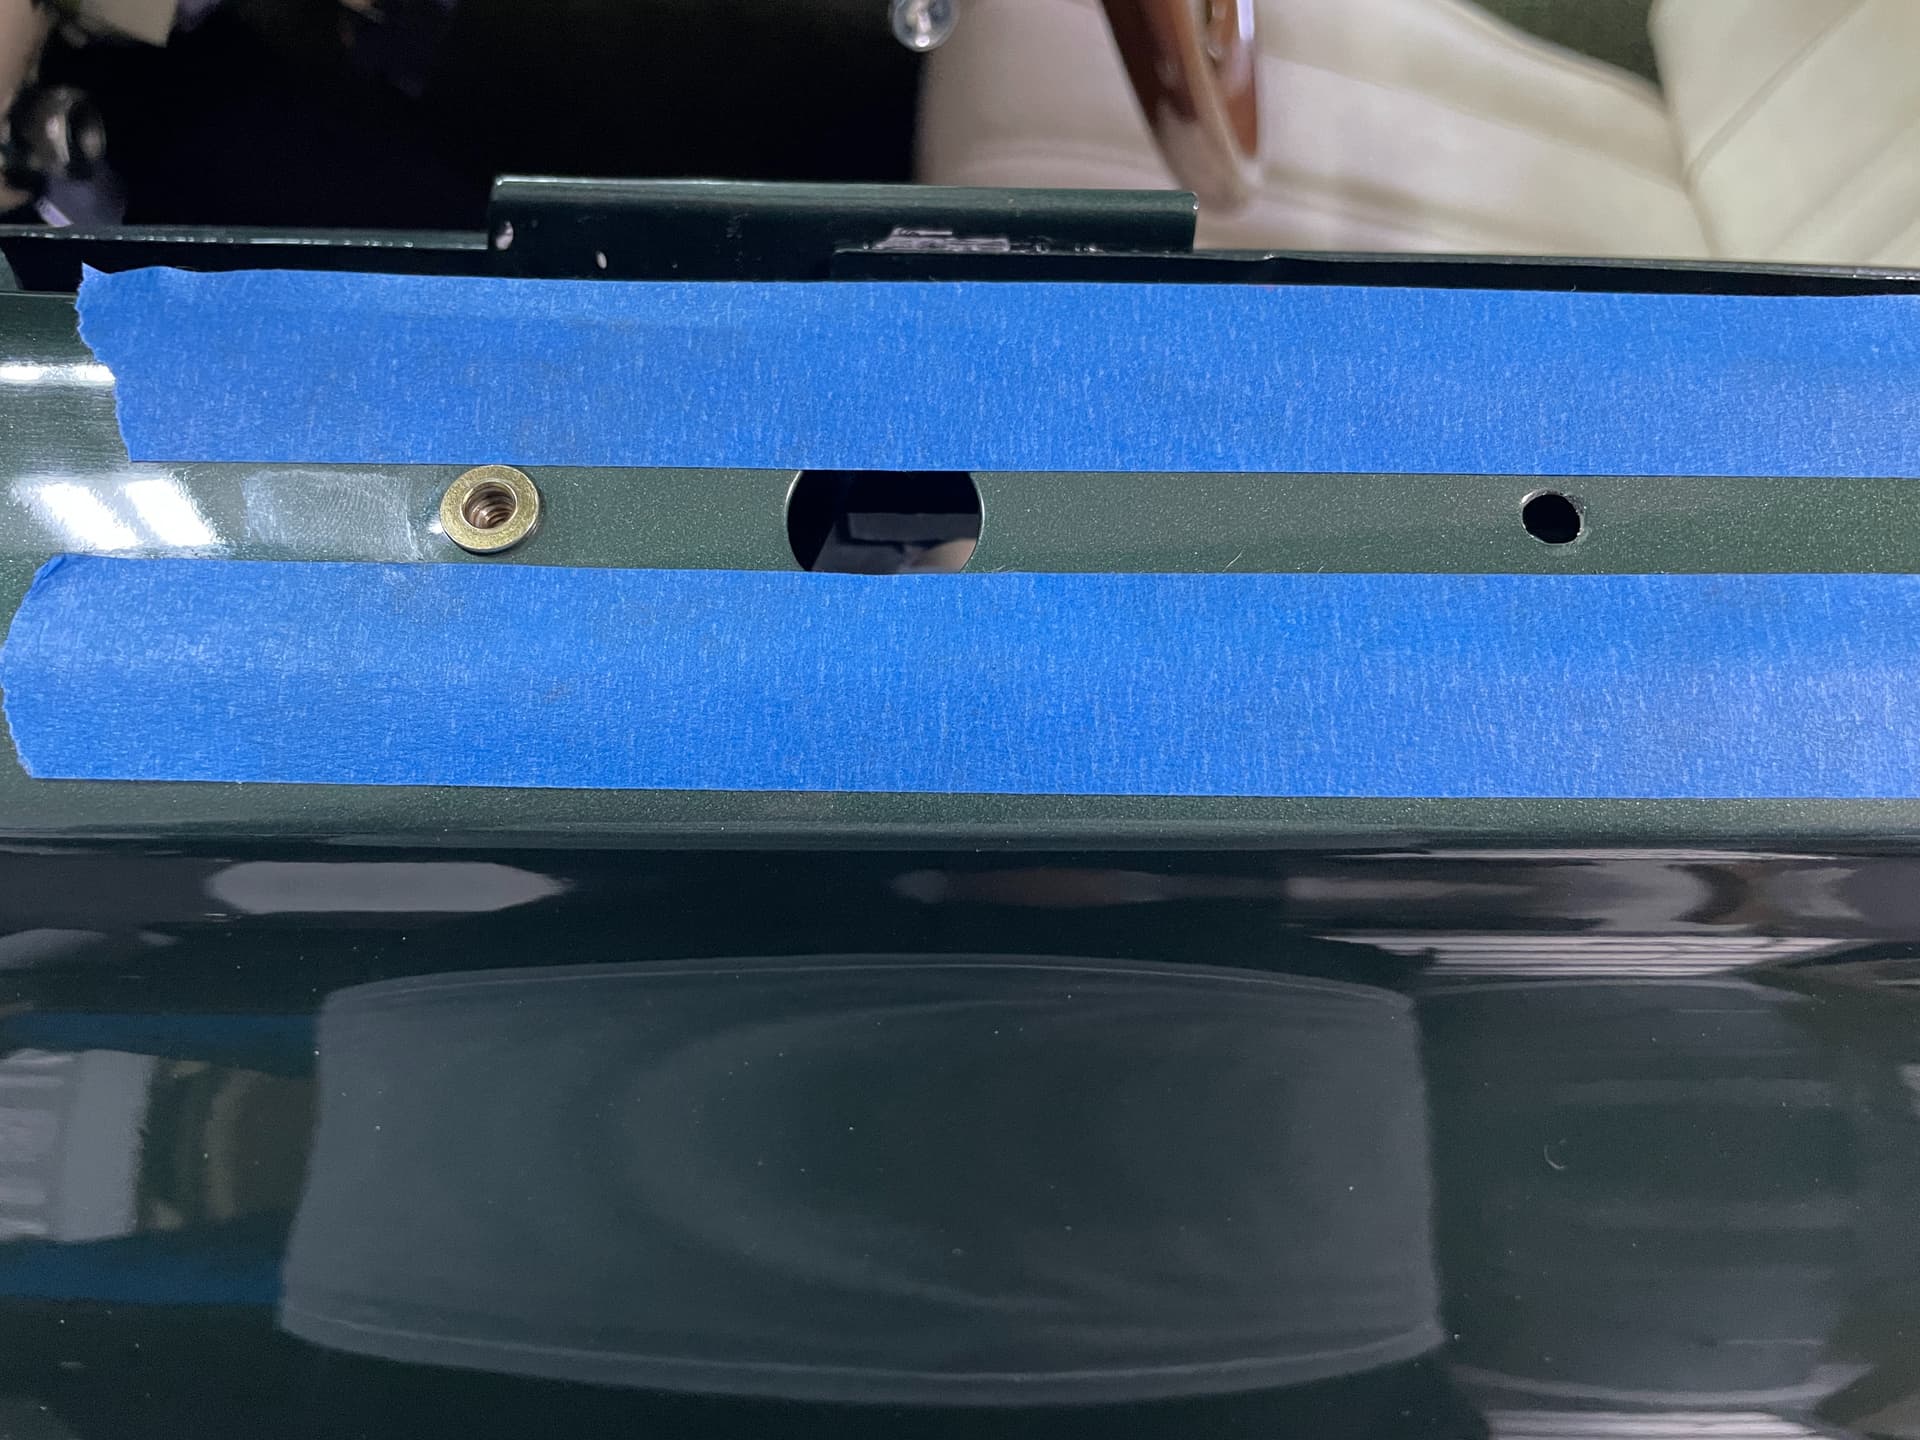
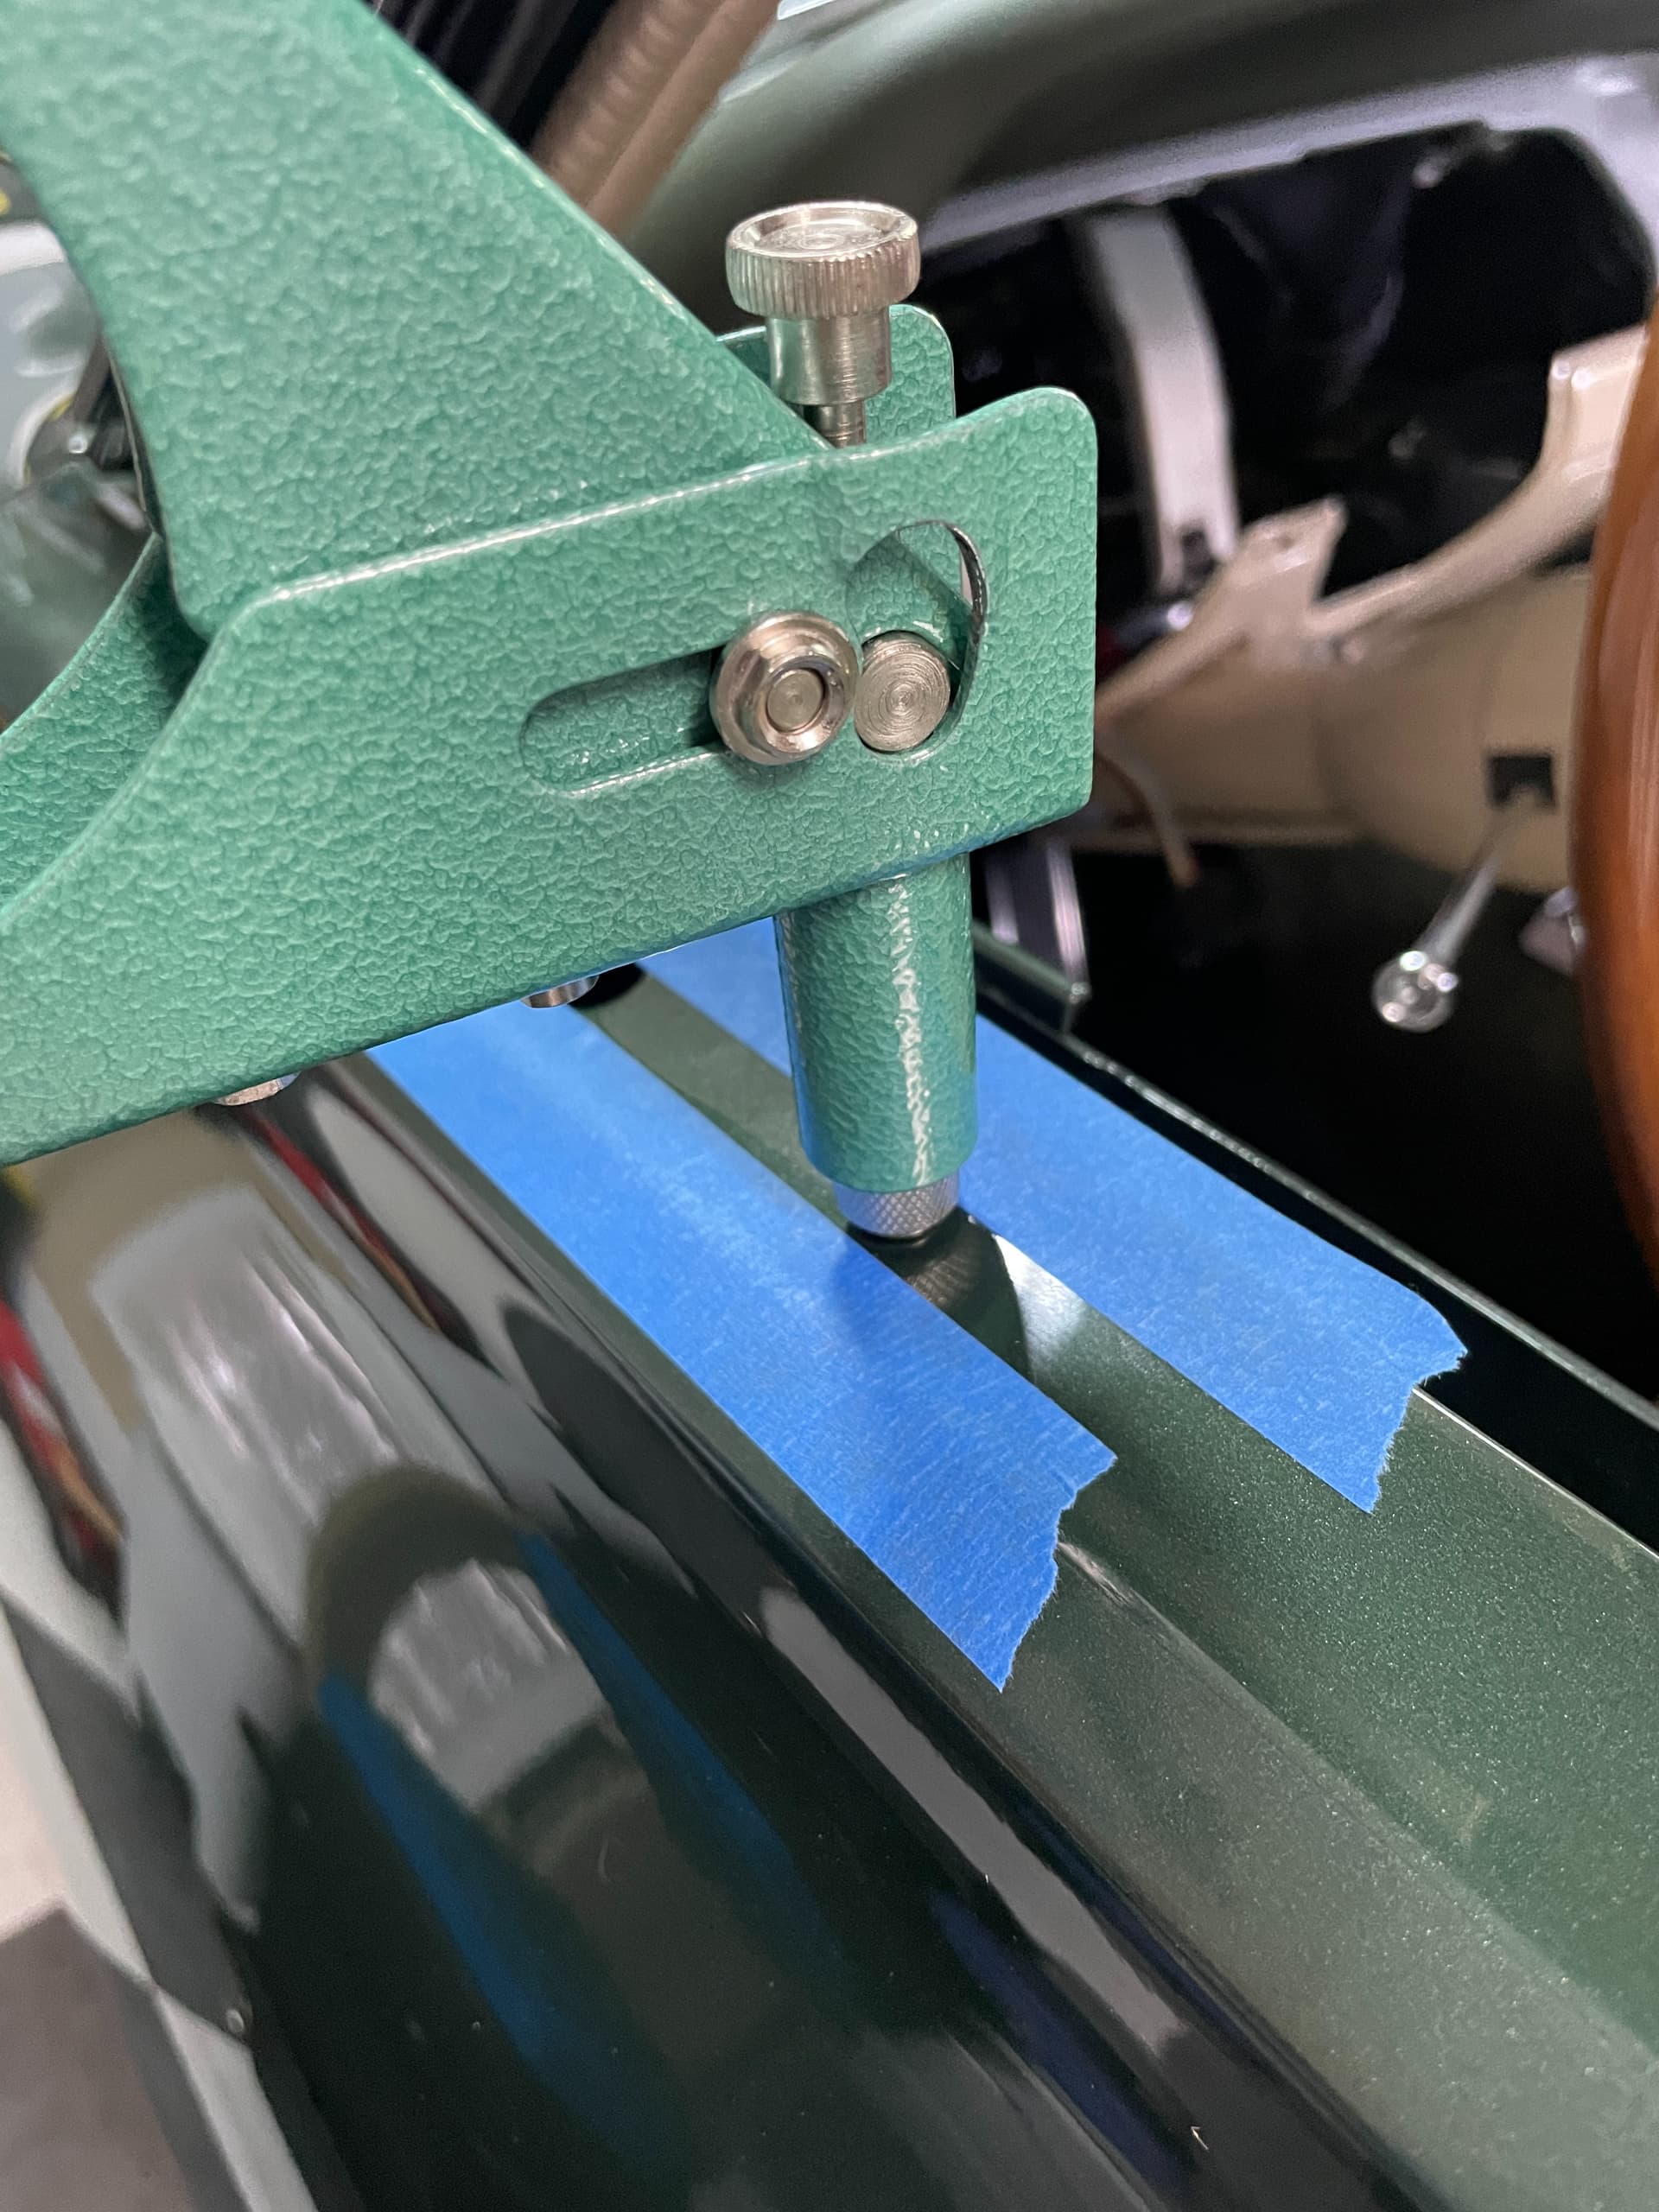
Also installed the Riv-nuts for the driver’s exterior mirror. I picked up an inexpensive tool from HF which does both rivets and threaded inserts. If I had to do a lot of these I would probably get a larger unit but for two it was ok it just required a lot of pressure to secure the insert.

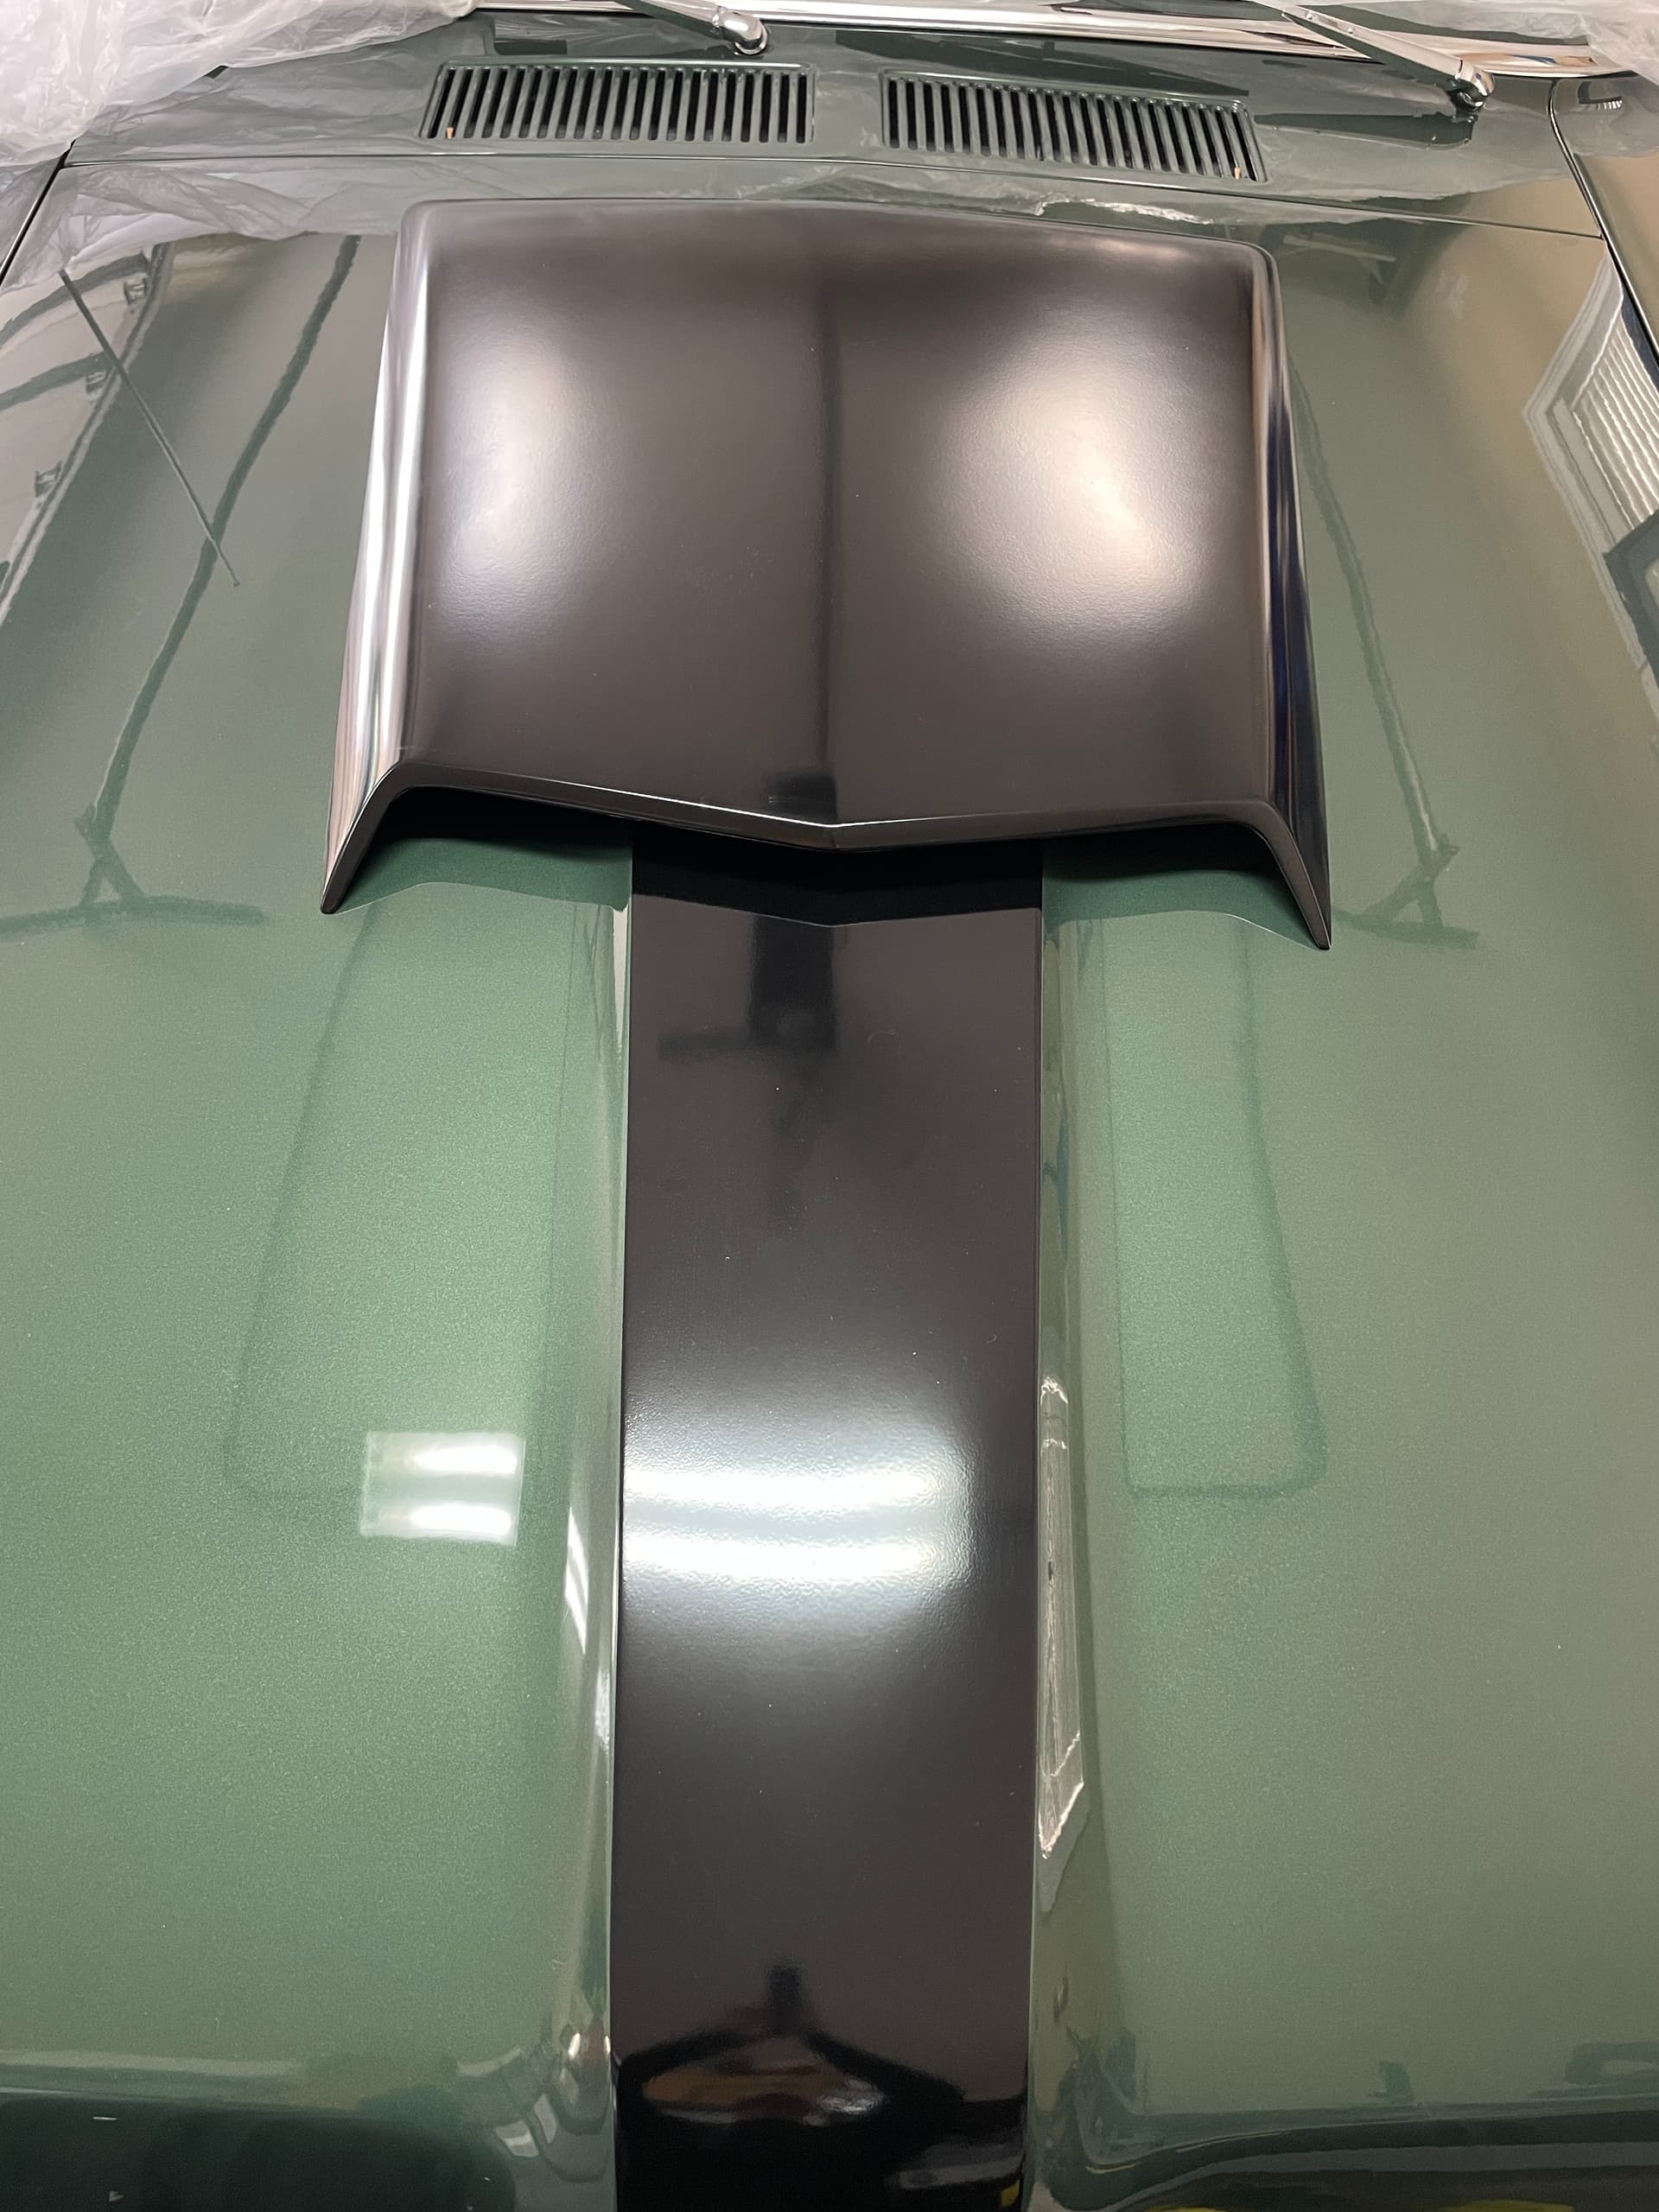
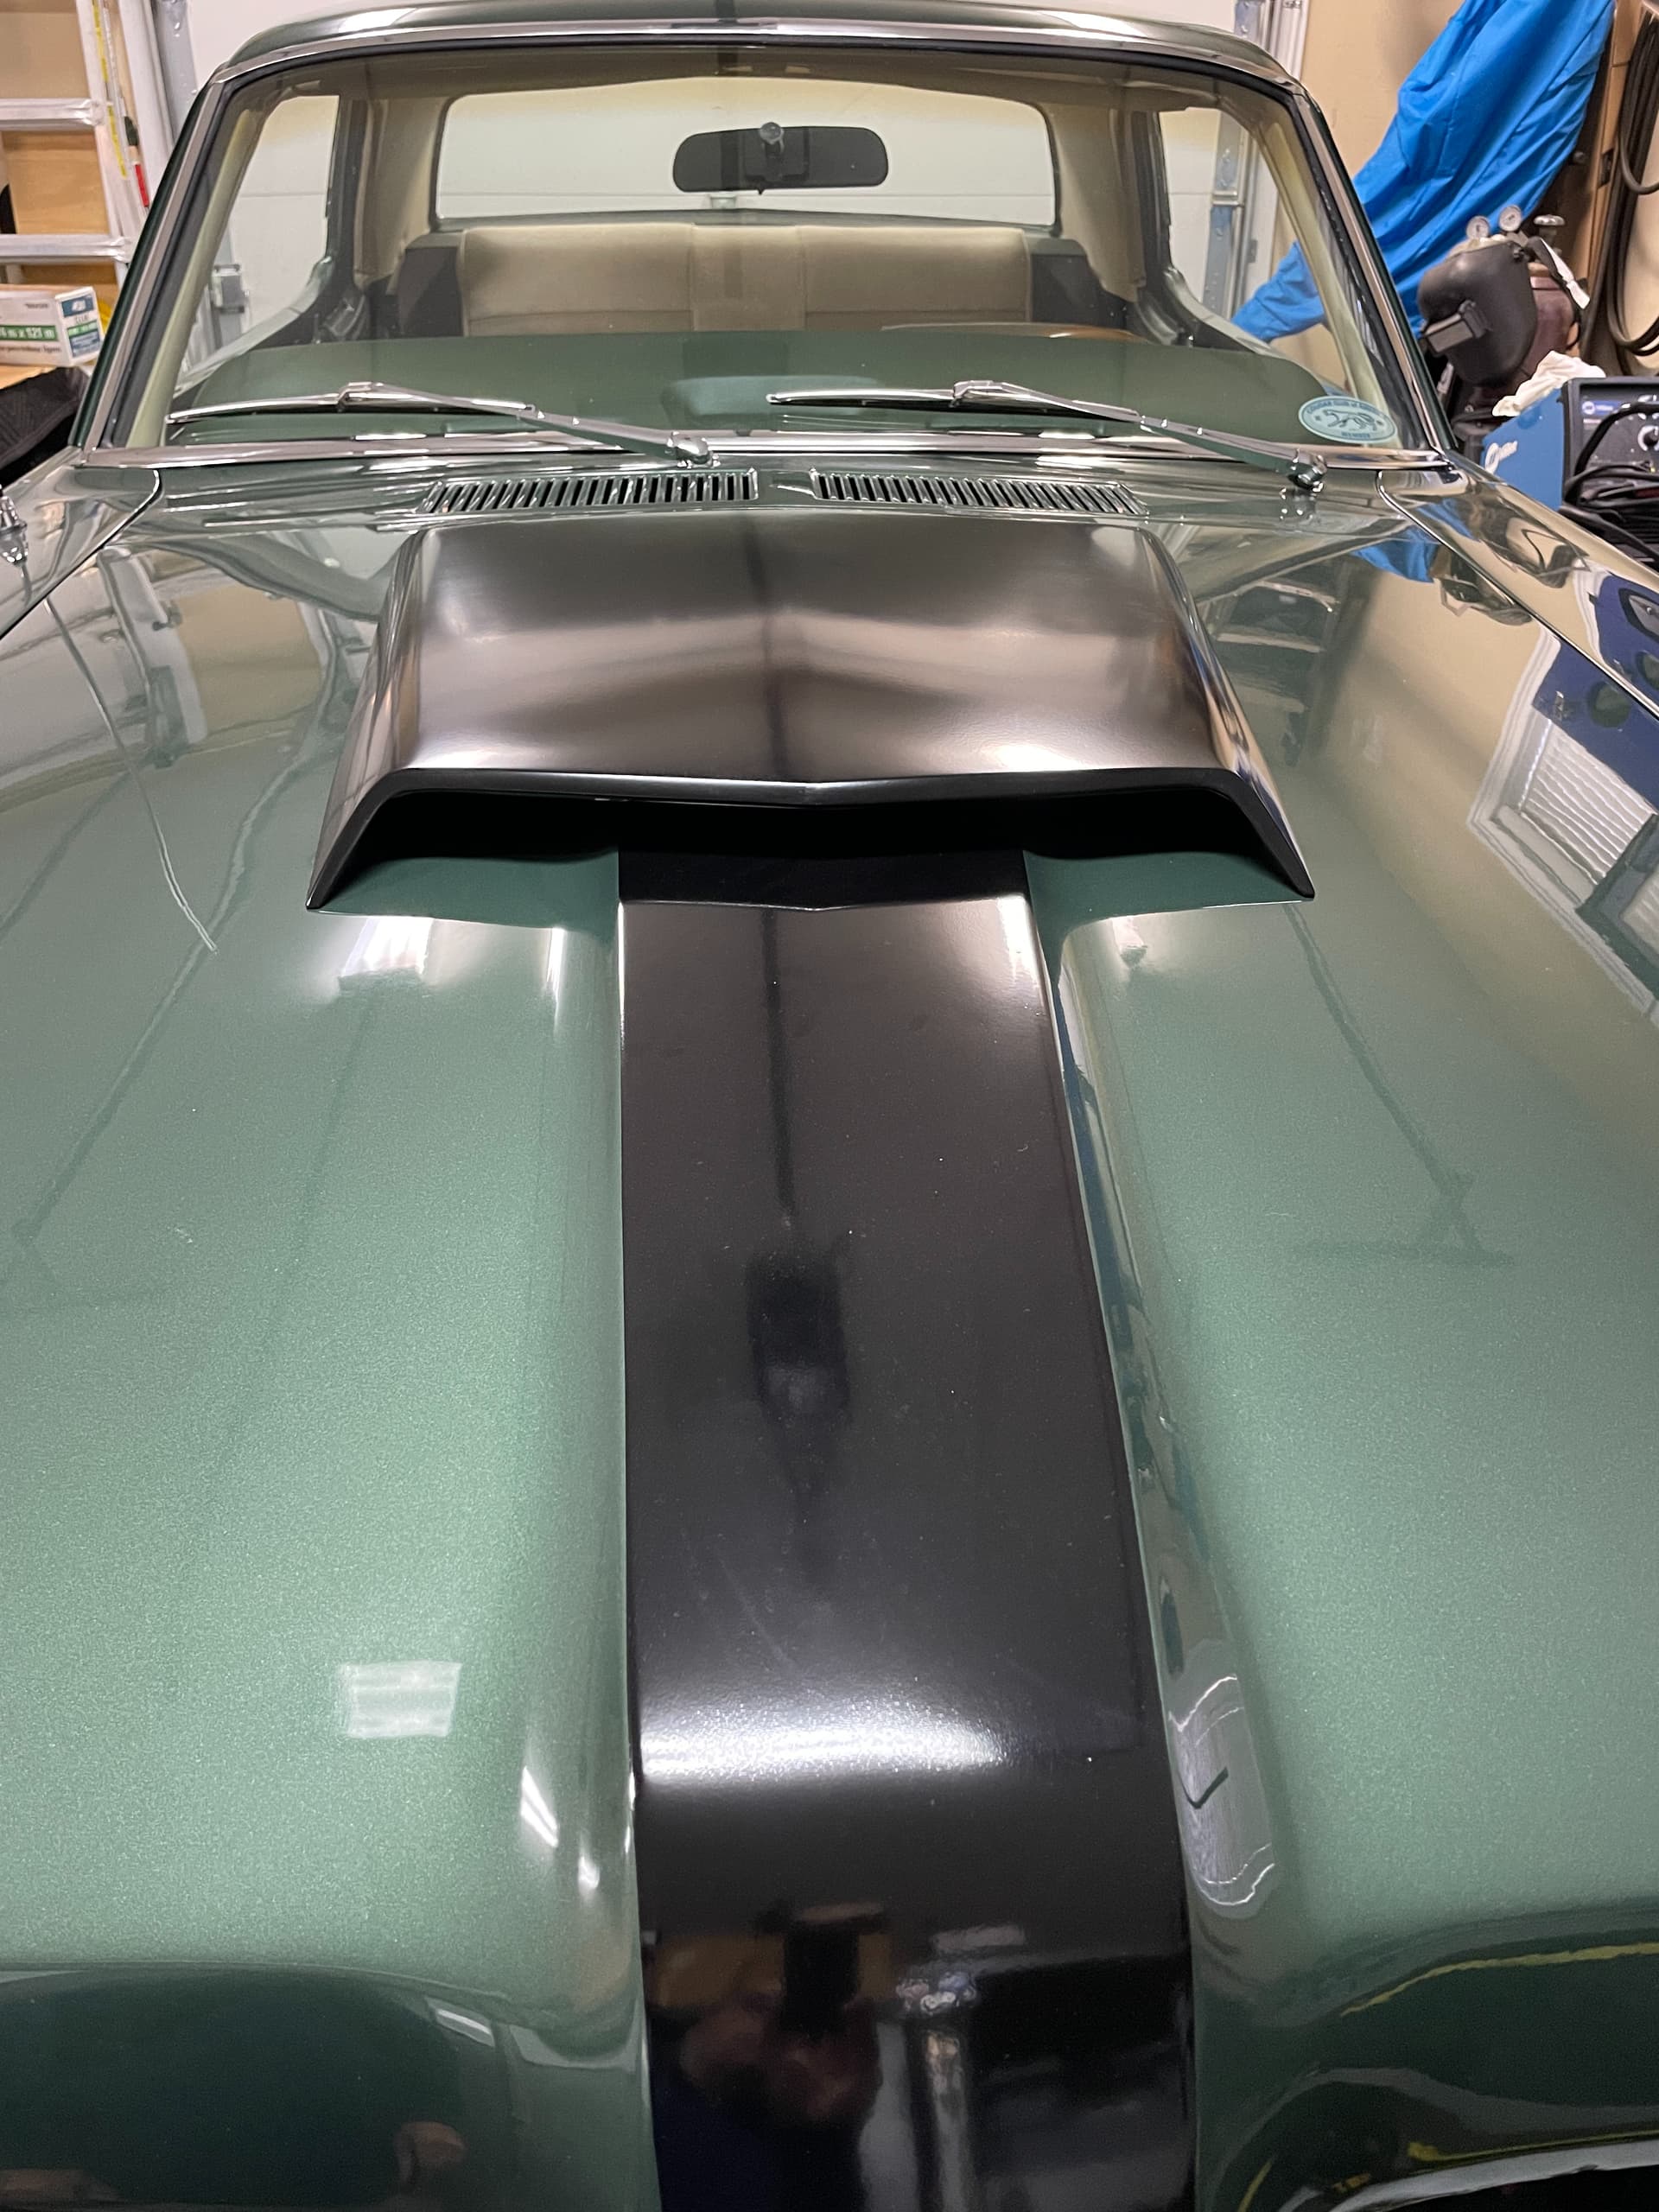
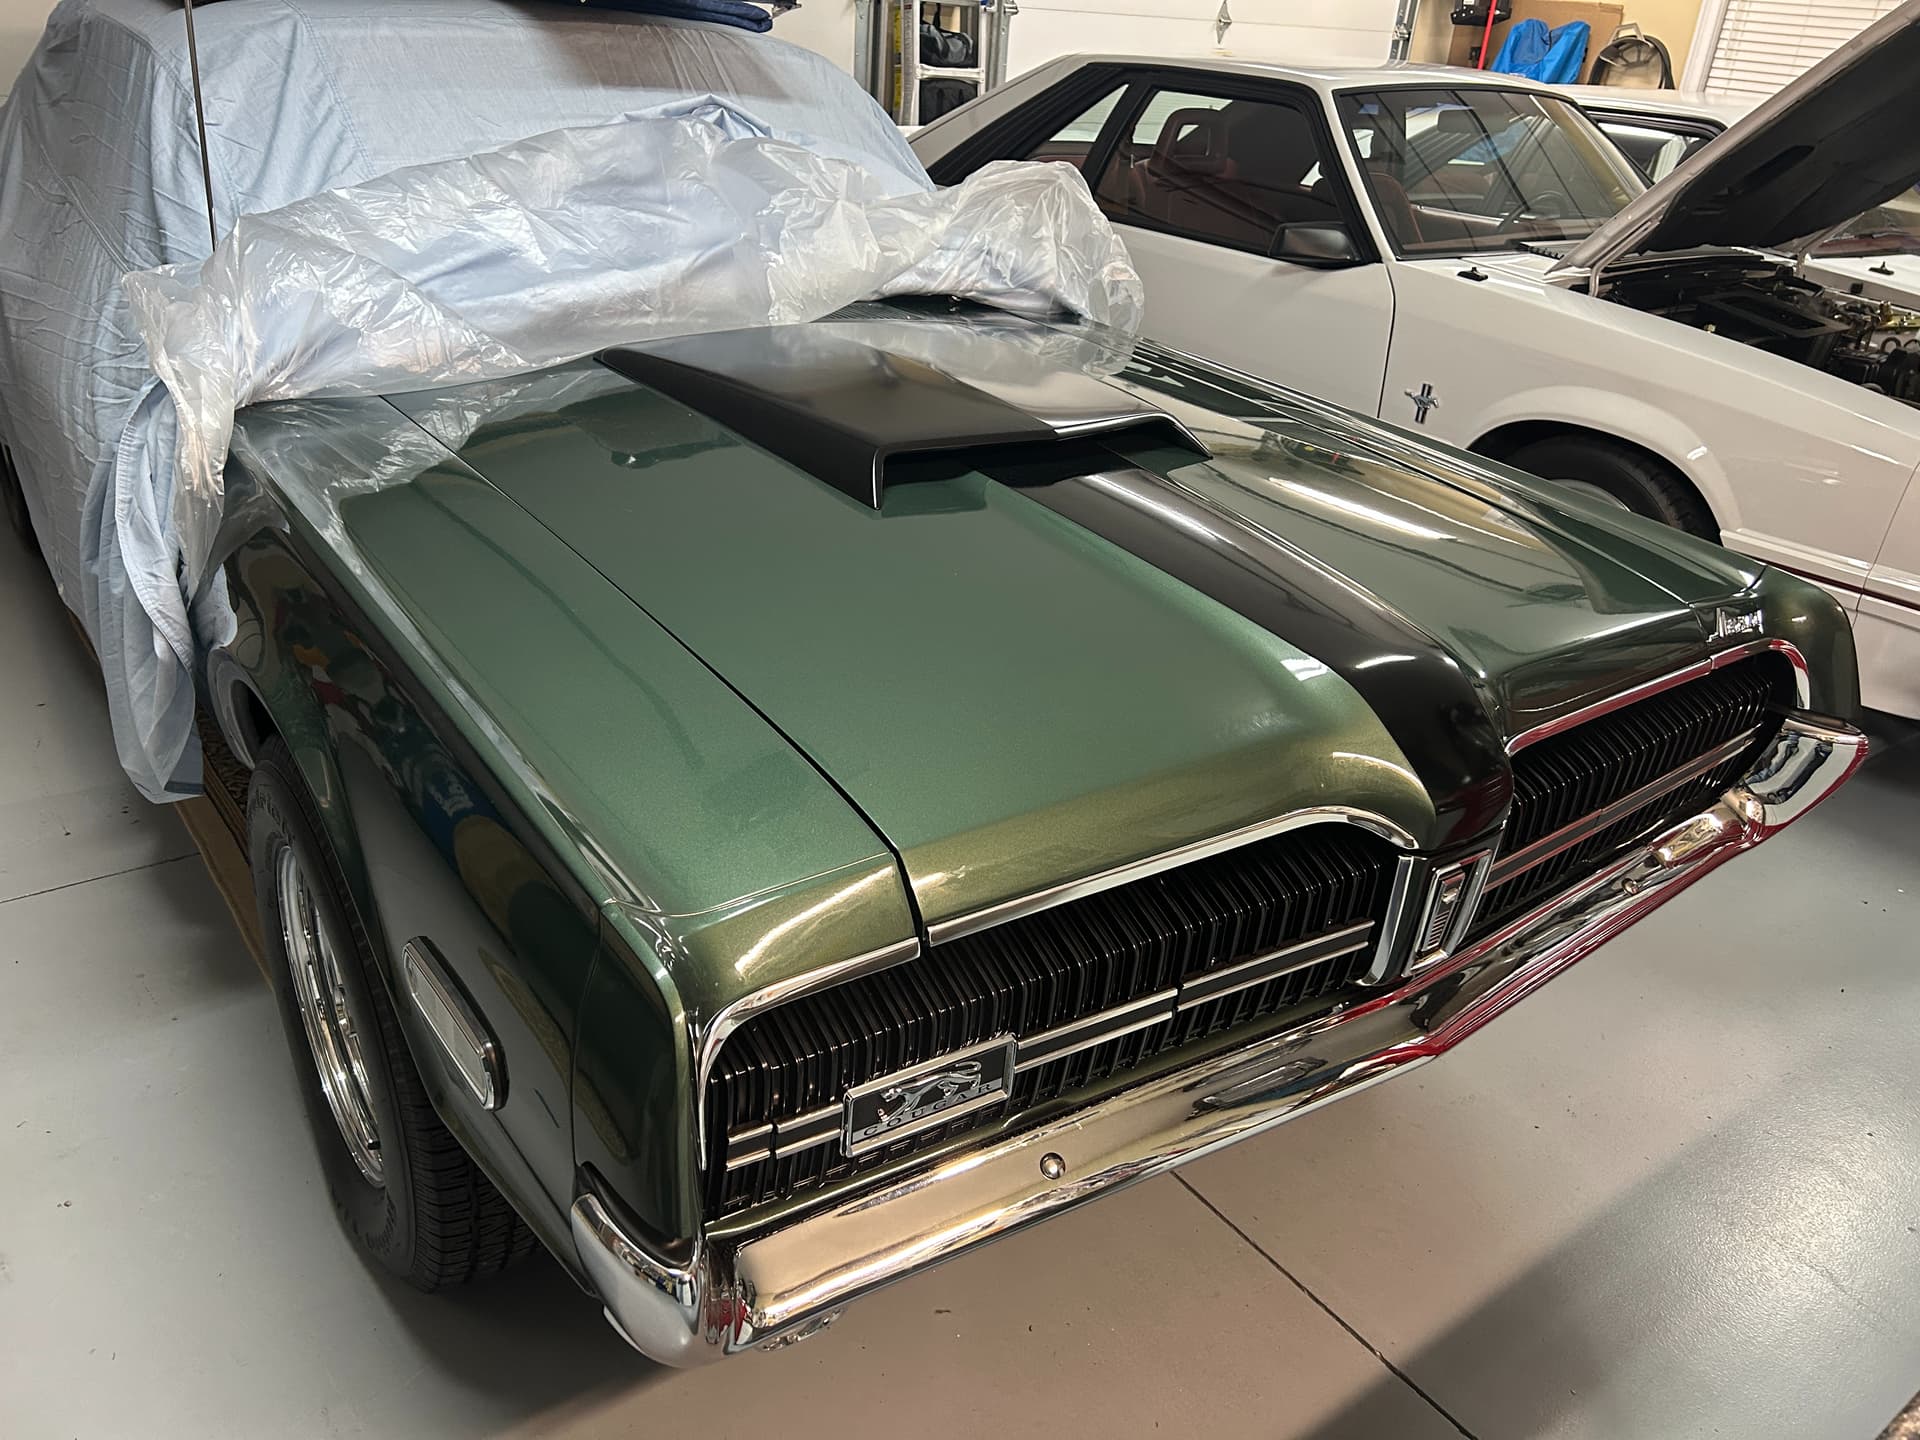
The scoop finally got painted as well. When we were doing the final wet sand prior to paint, when we painted the rest of the black, we noticed a small hairline crack that needed repair. What a difference it makes with it installed.
Looks great Kerry. When’s the debut show for this beauty??
Hopefully spring if all goes as planned. Has anyone heard if there will be a 55th Cobra Jet show?
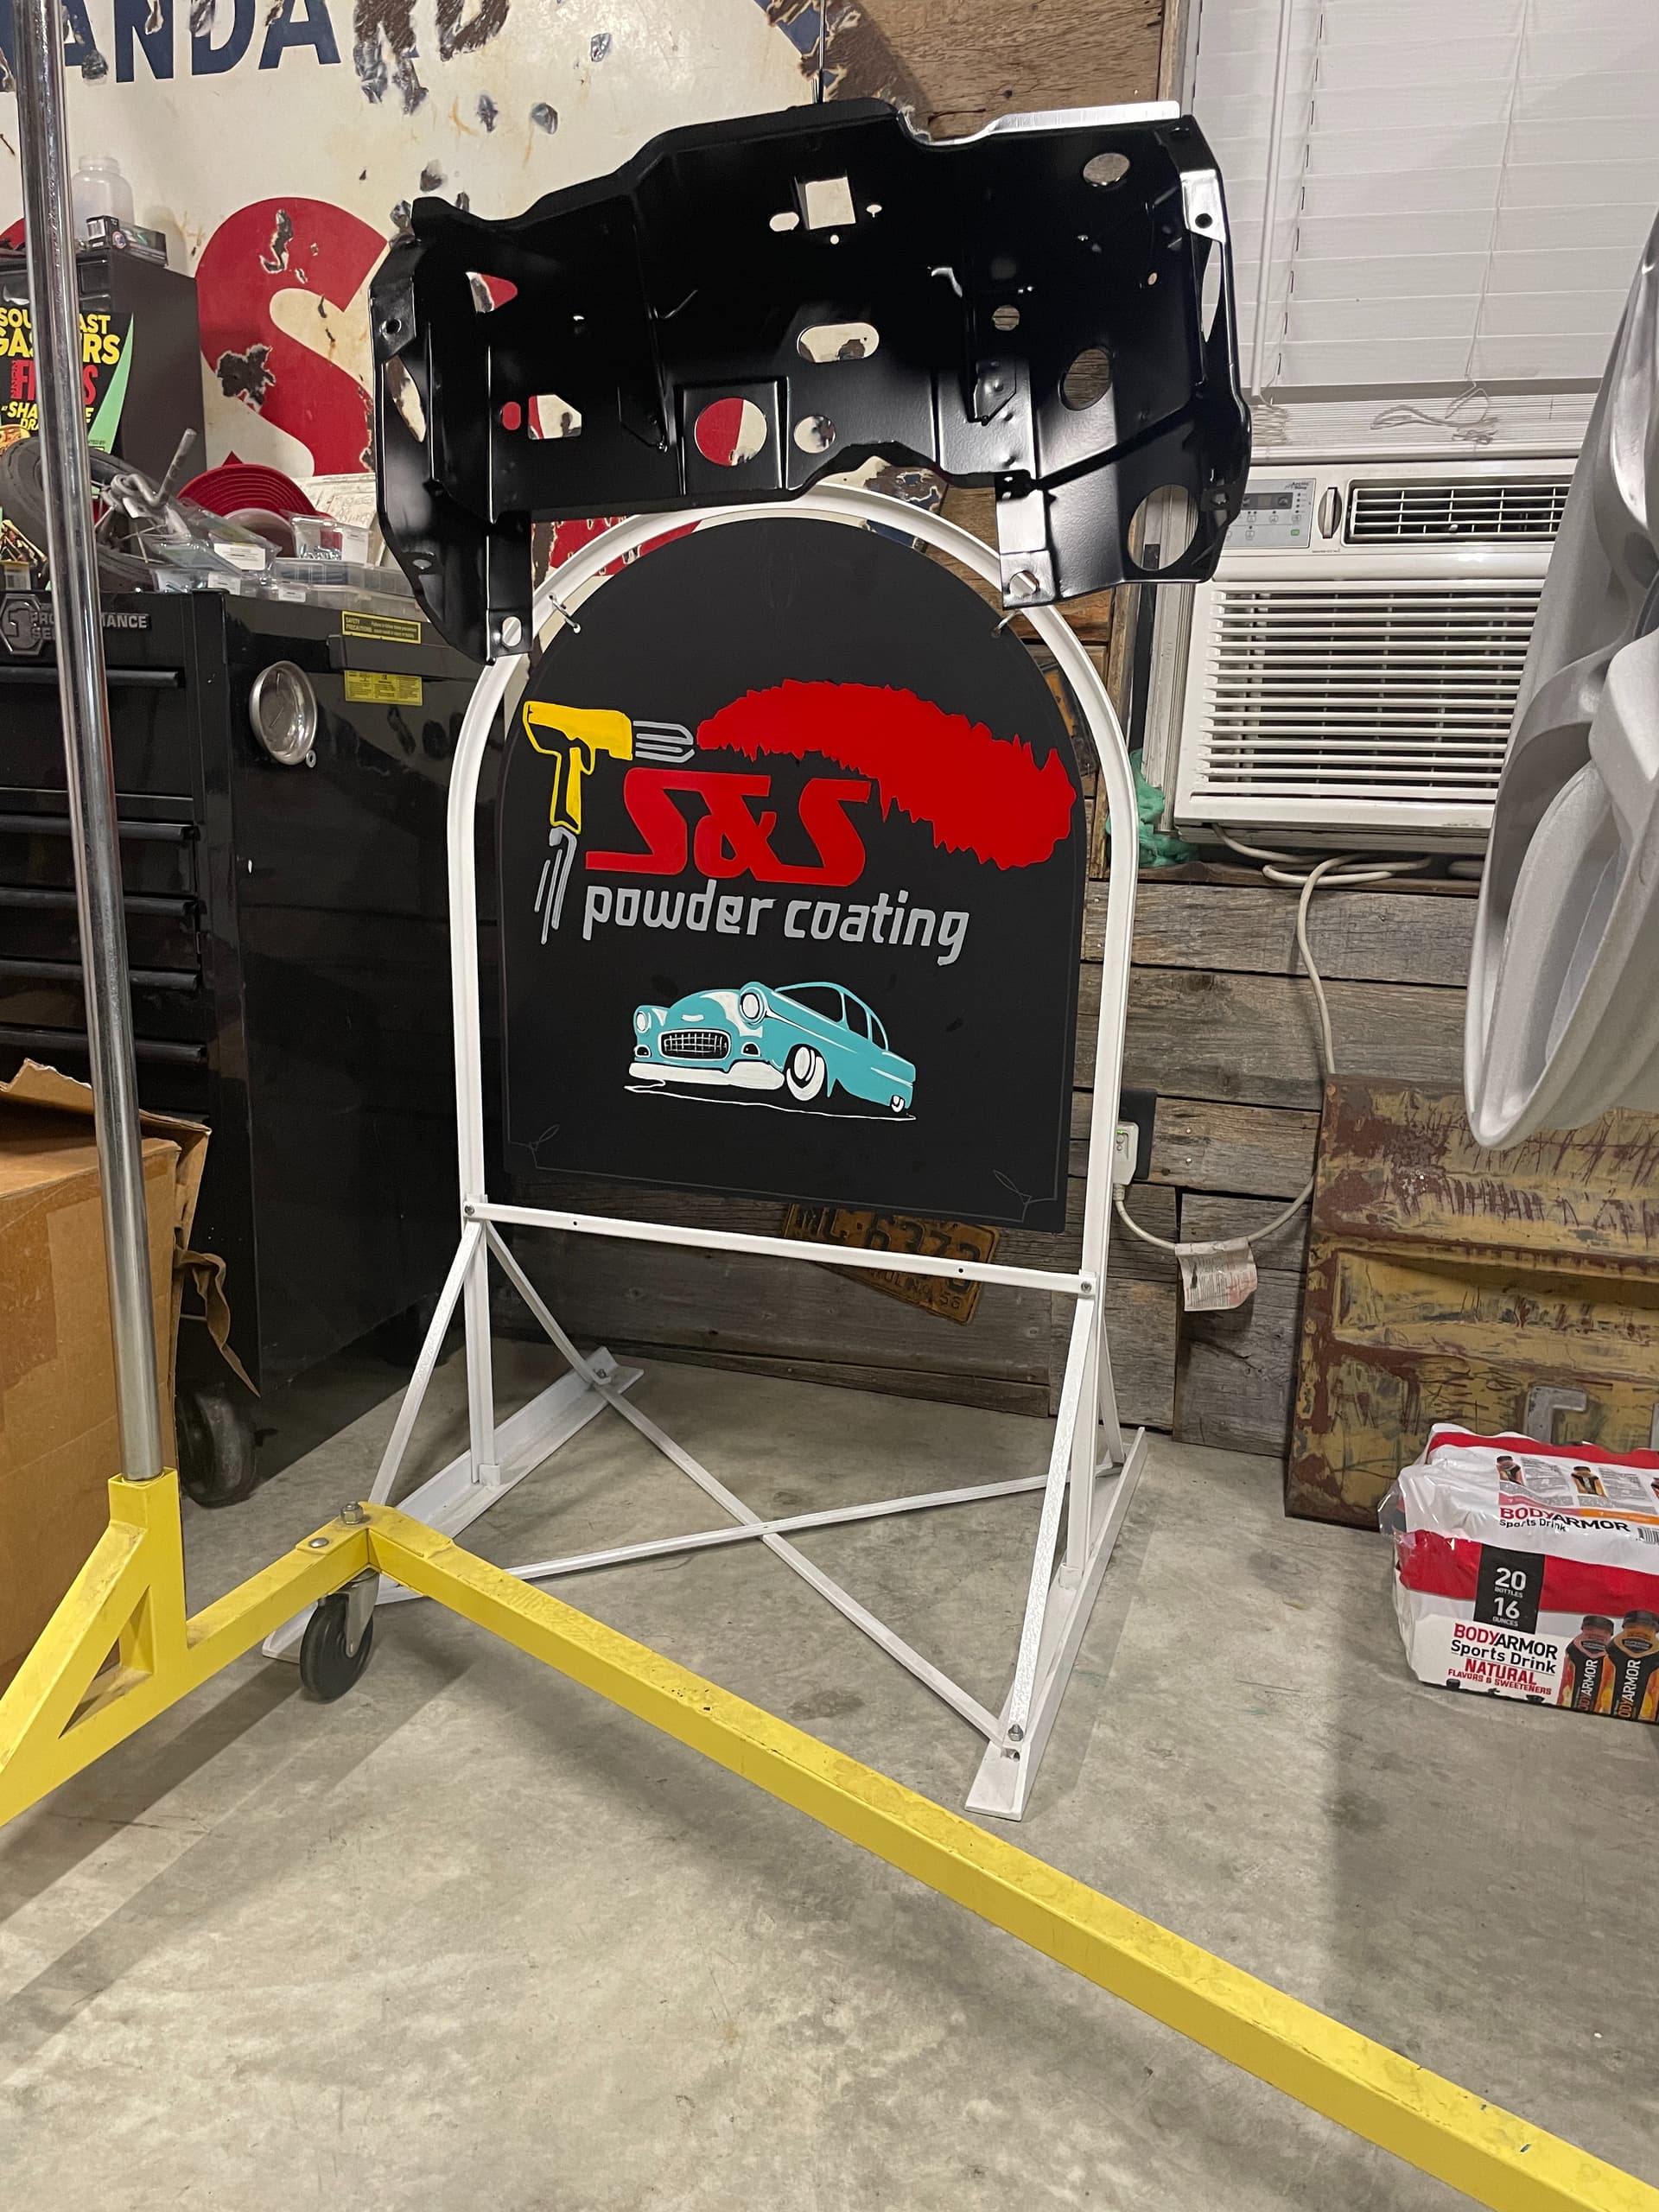
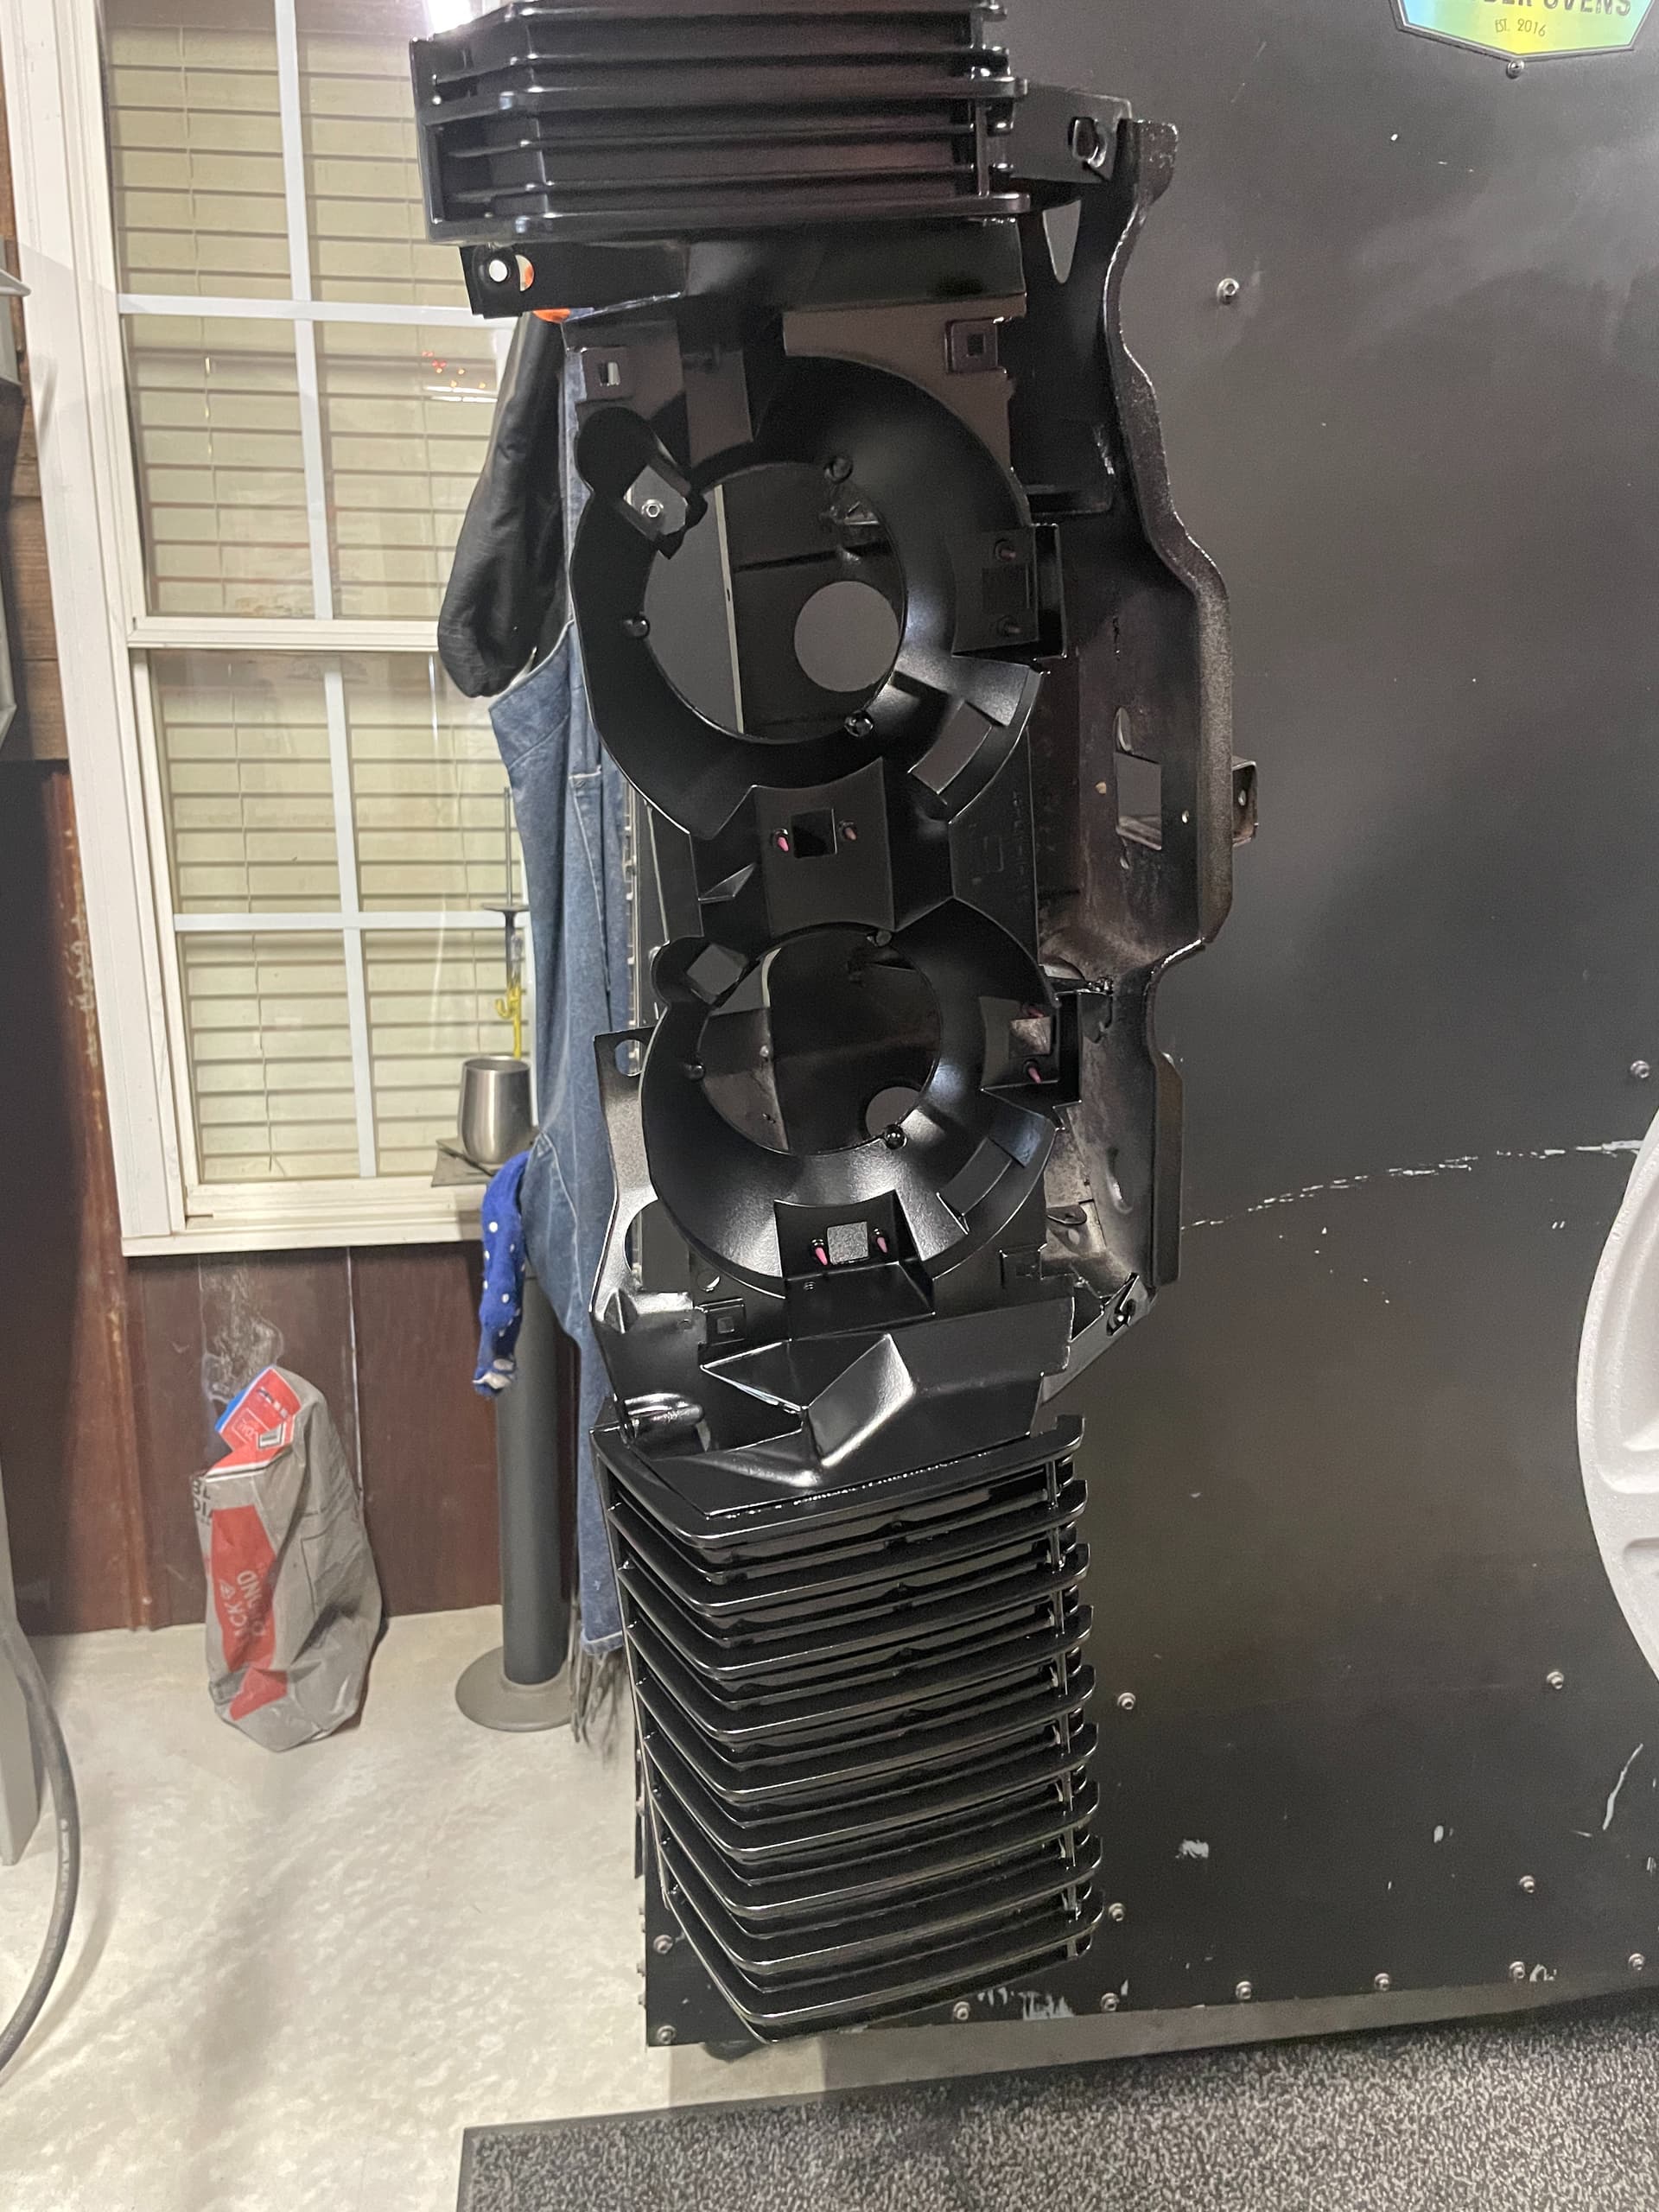
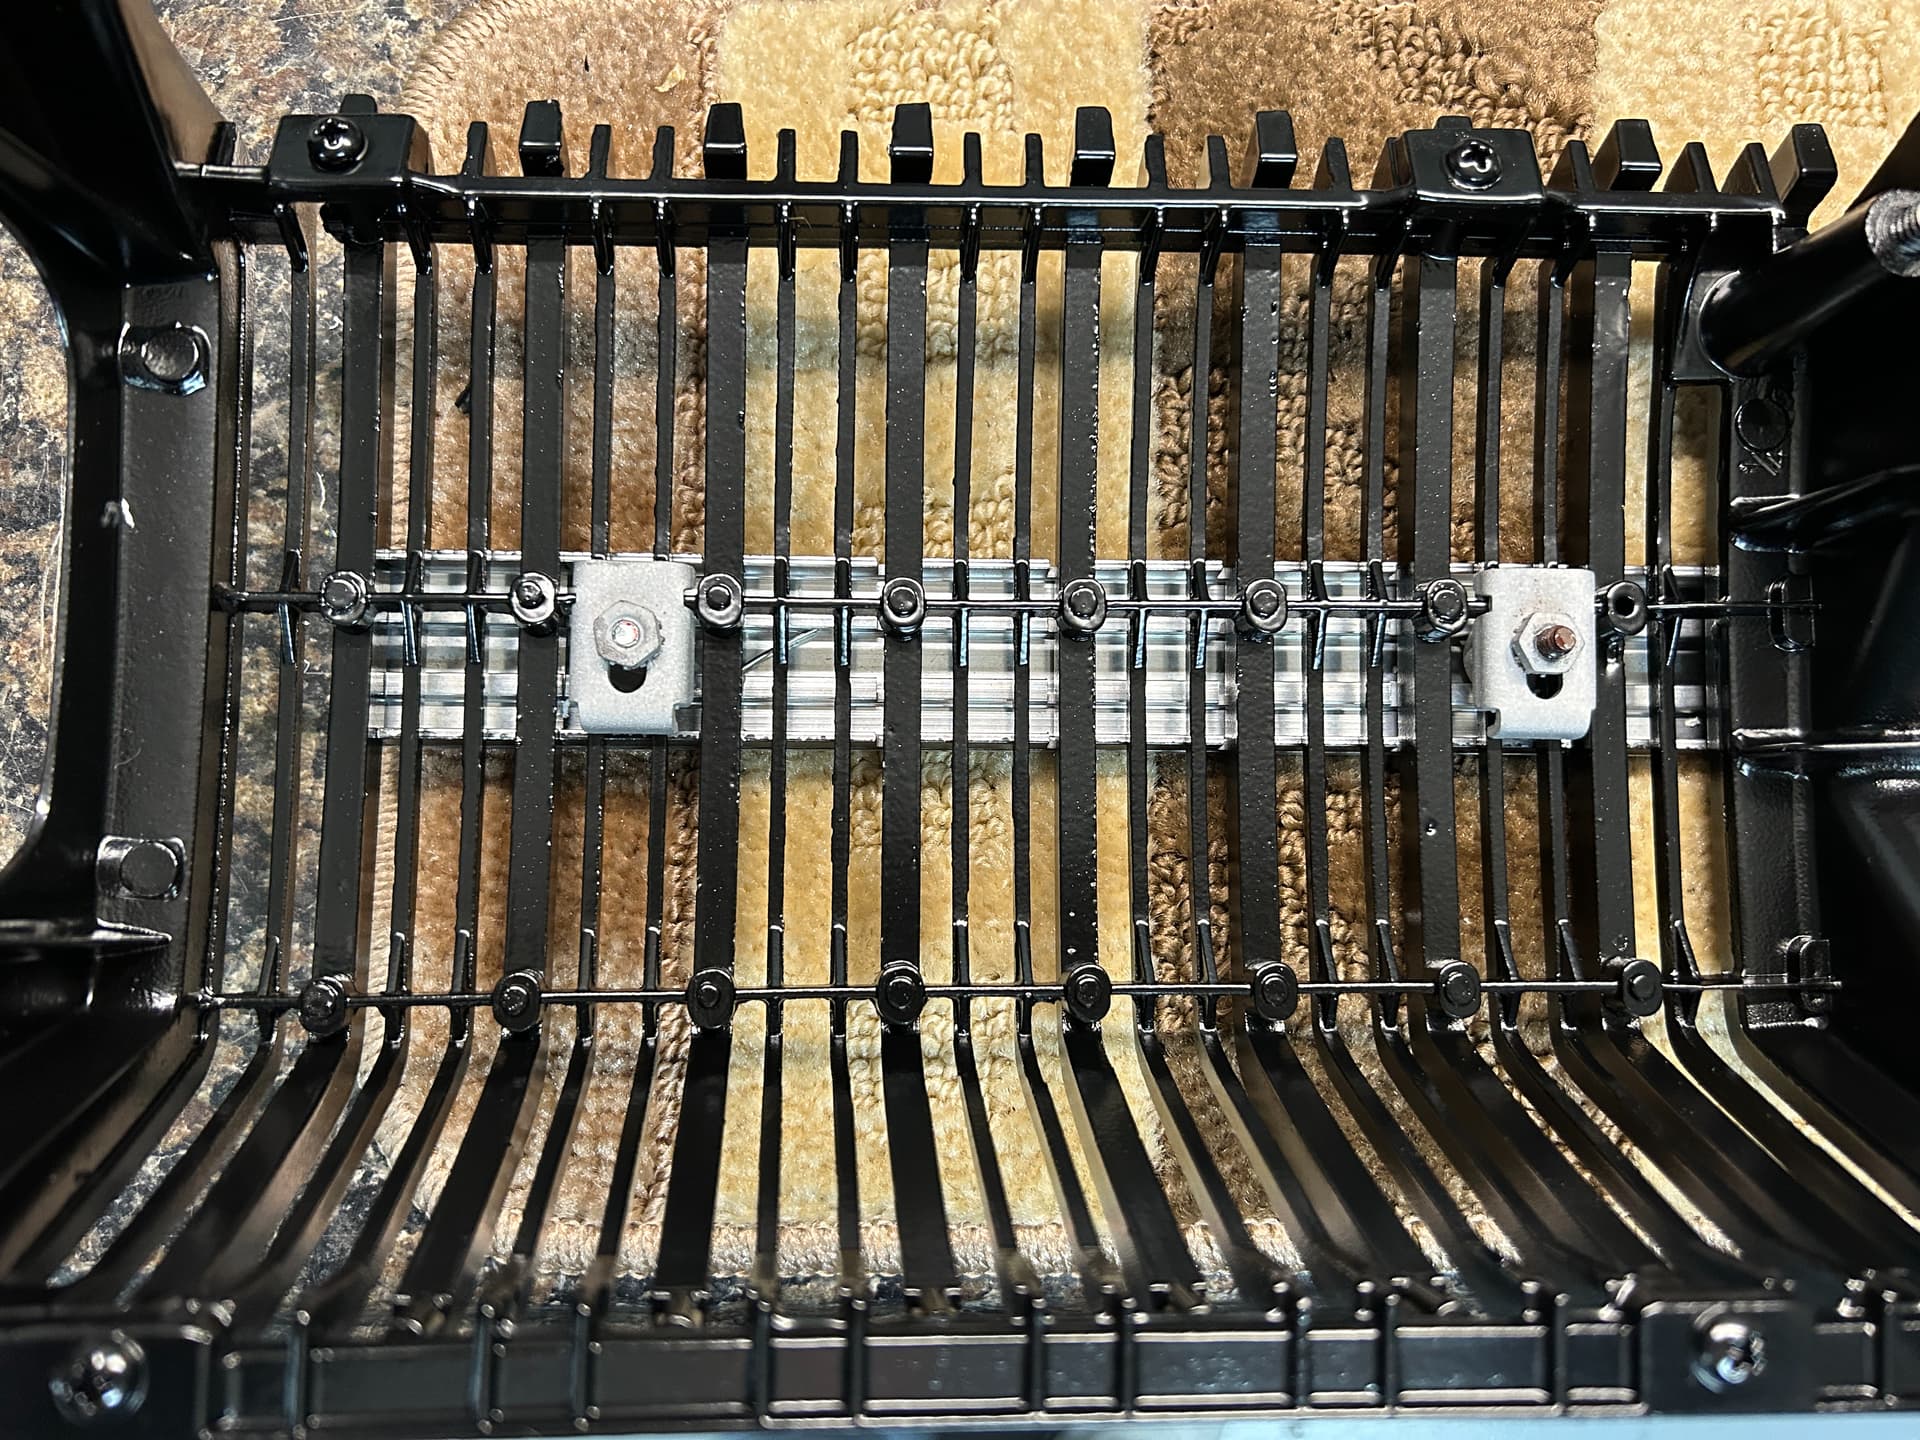
I decided to have the grill assemblies powdercoated to match the tail lights. Let’s just say the first set did not go as well as planned. The heat used to cure the powder was hot enough to soften the pot metal. Since the grills were hanging by their own weight the buckets distorted. oops!
I sourced another set of headlight grill assemblies and thought we would try again. This time we bolted the grill assemblies a spare set of buckets to provide support for the grills, that along with better temperature regulation and we had success.

Time to assemble the headlight and grill assemblies.
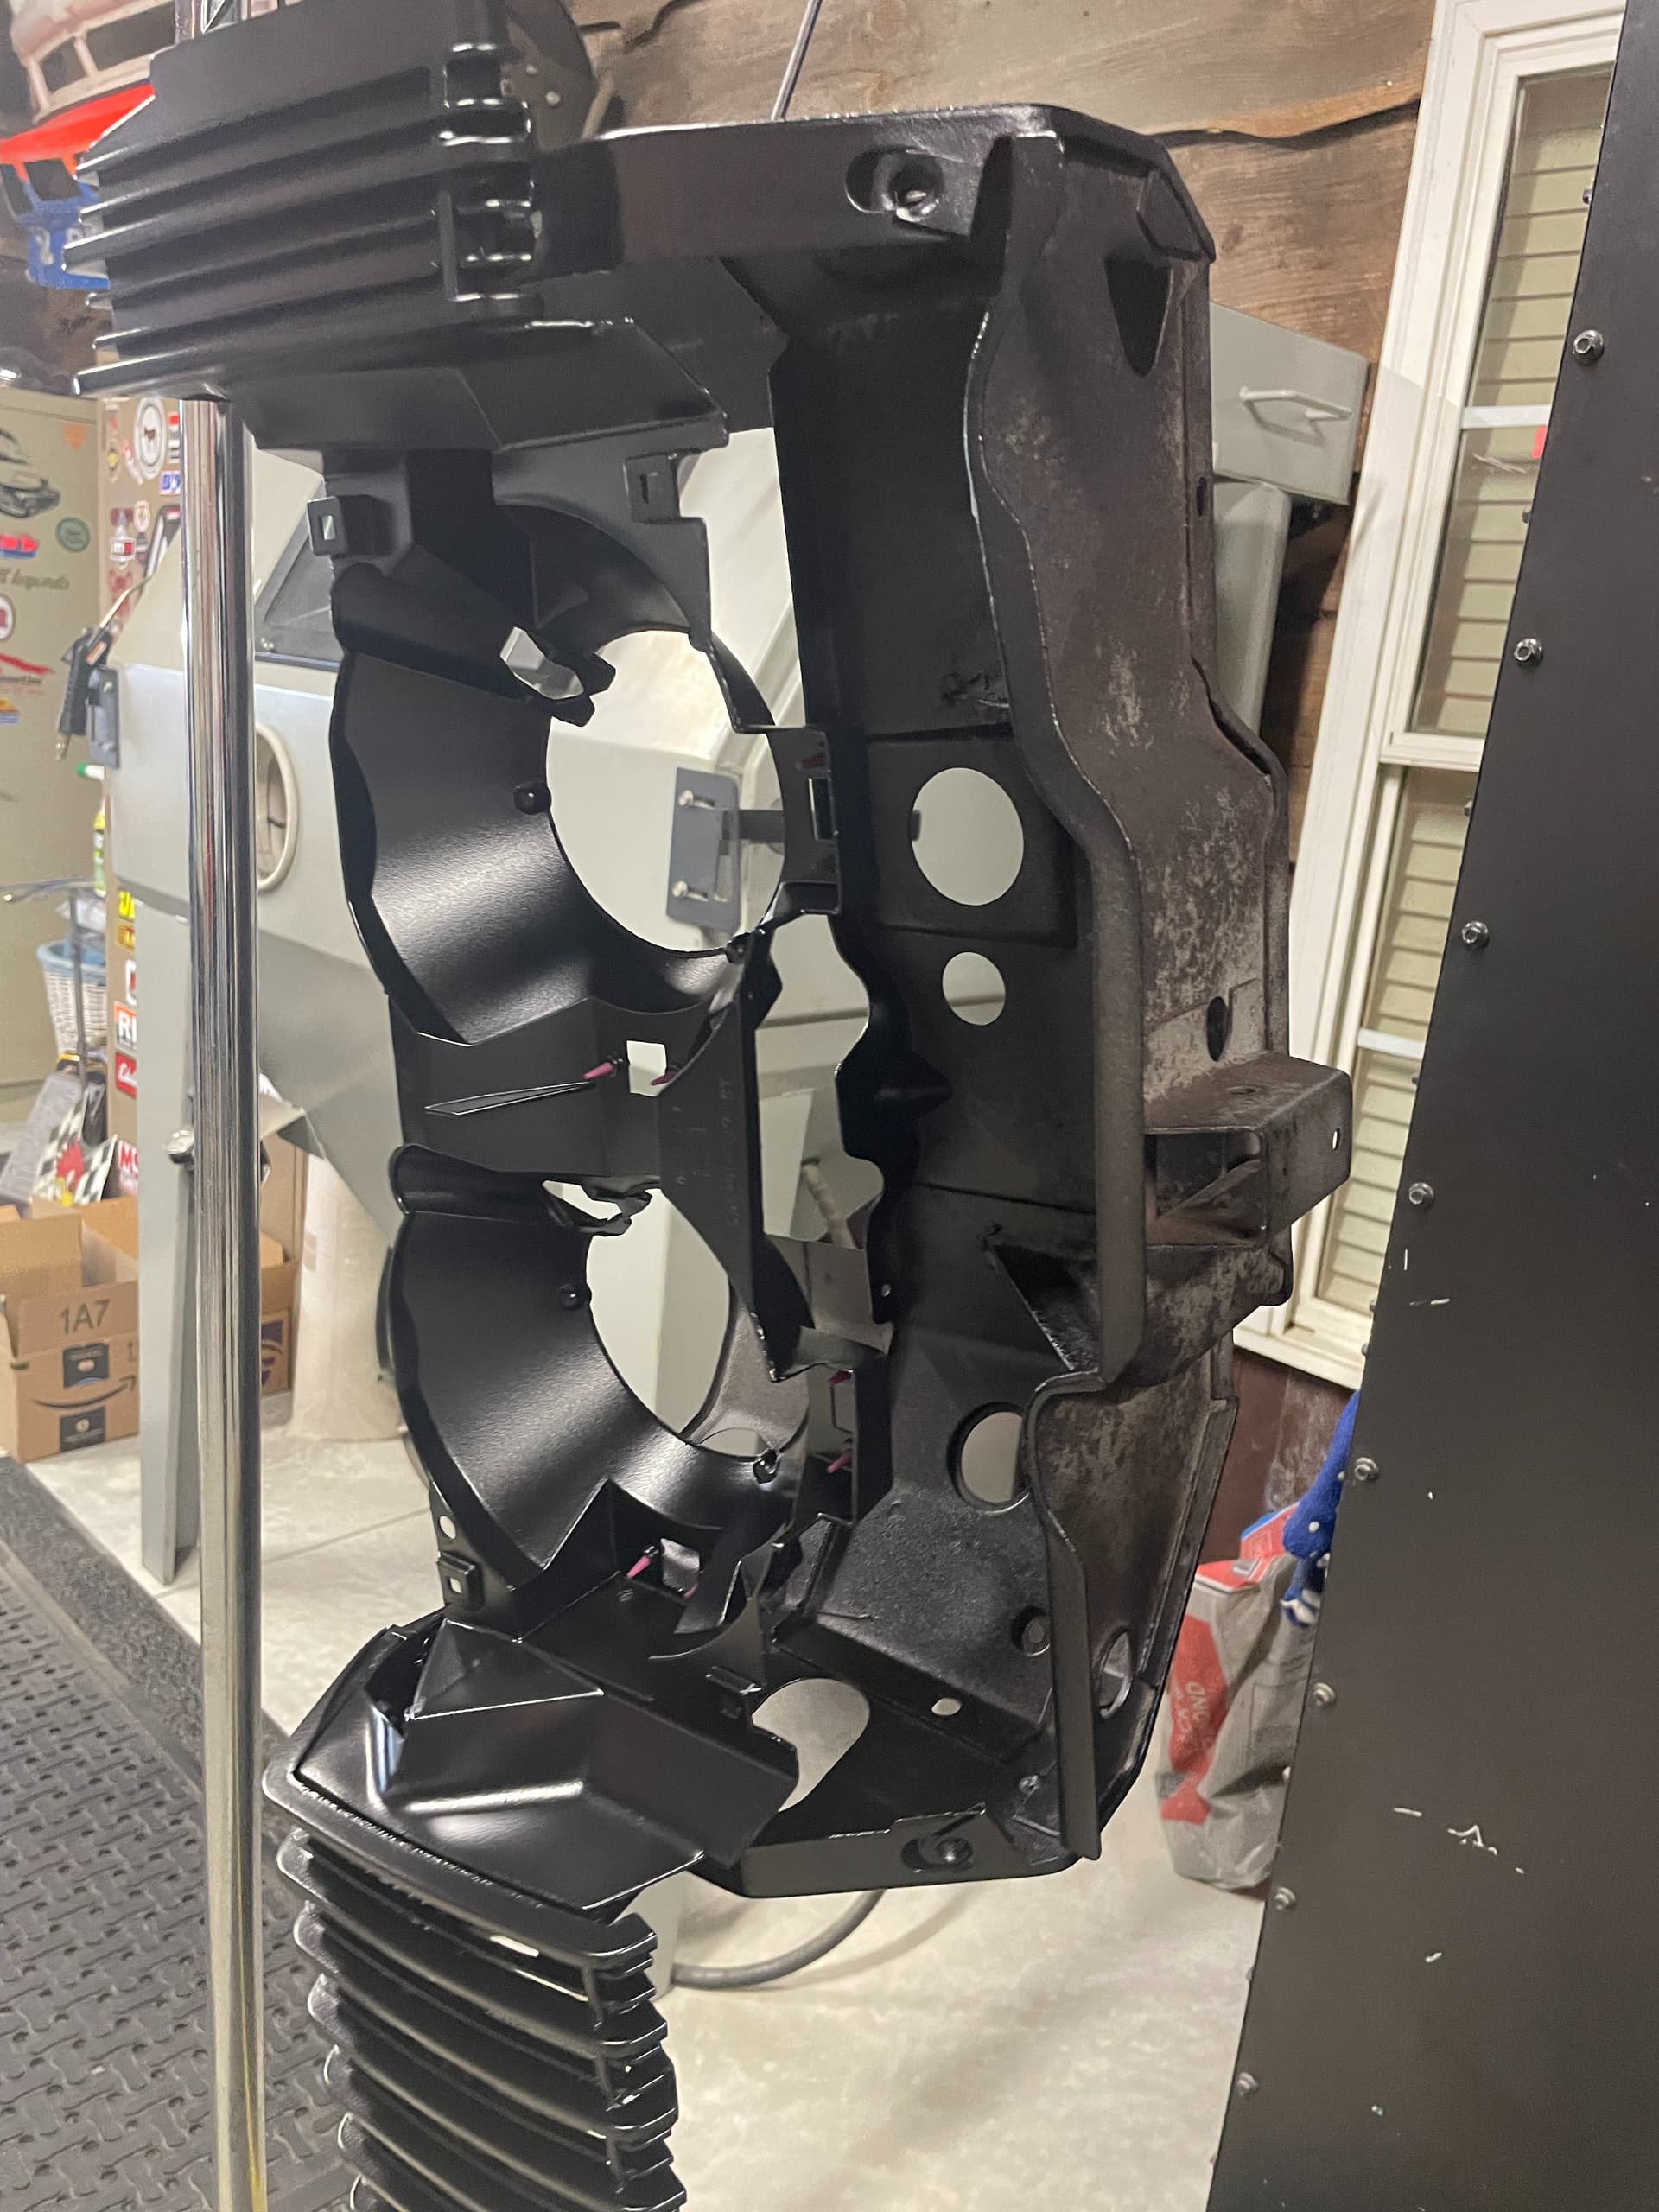
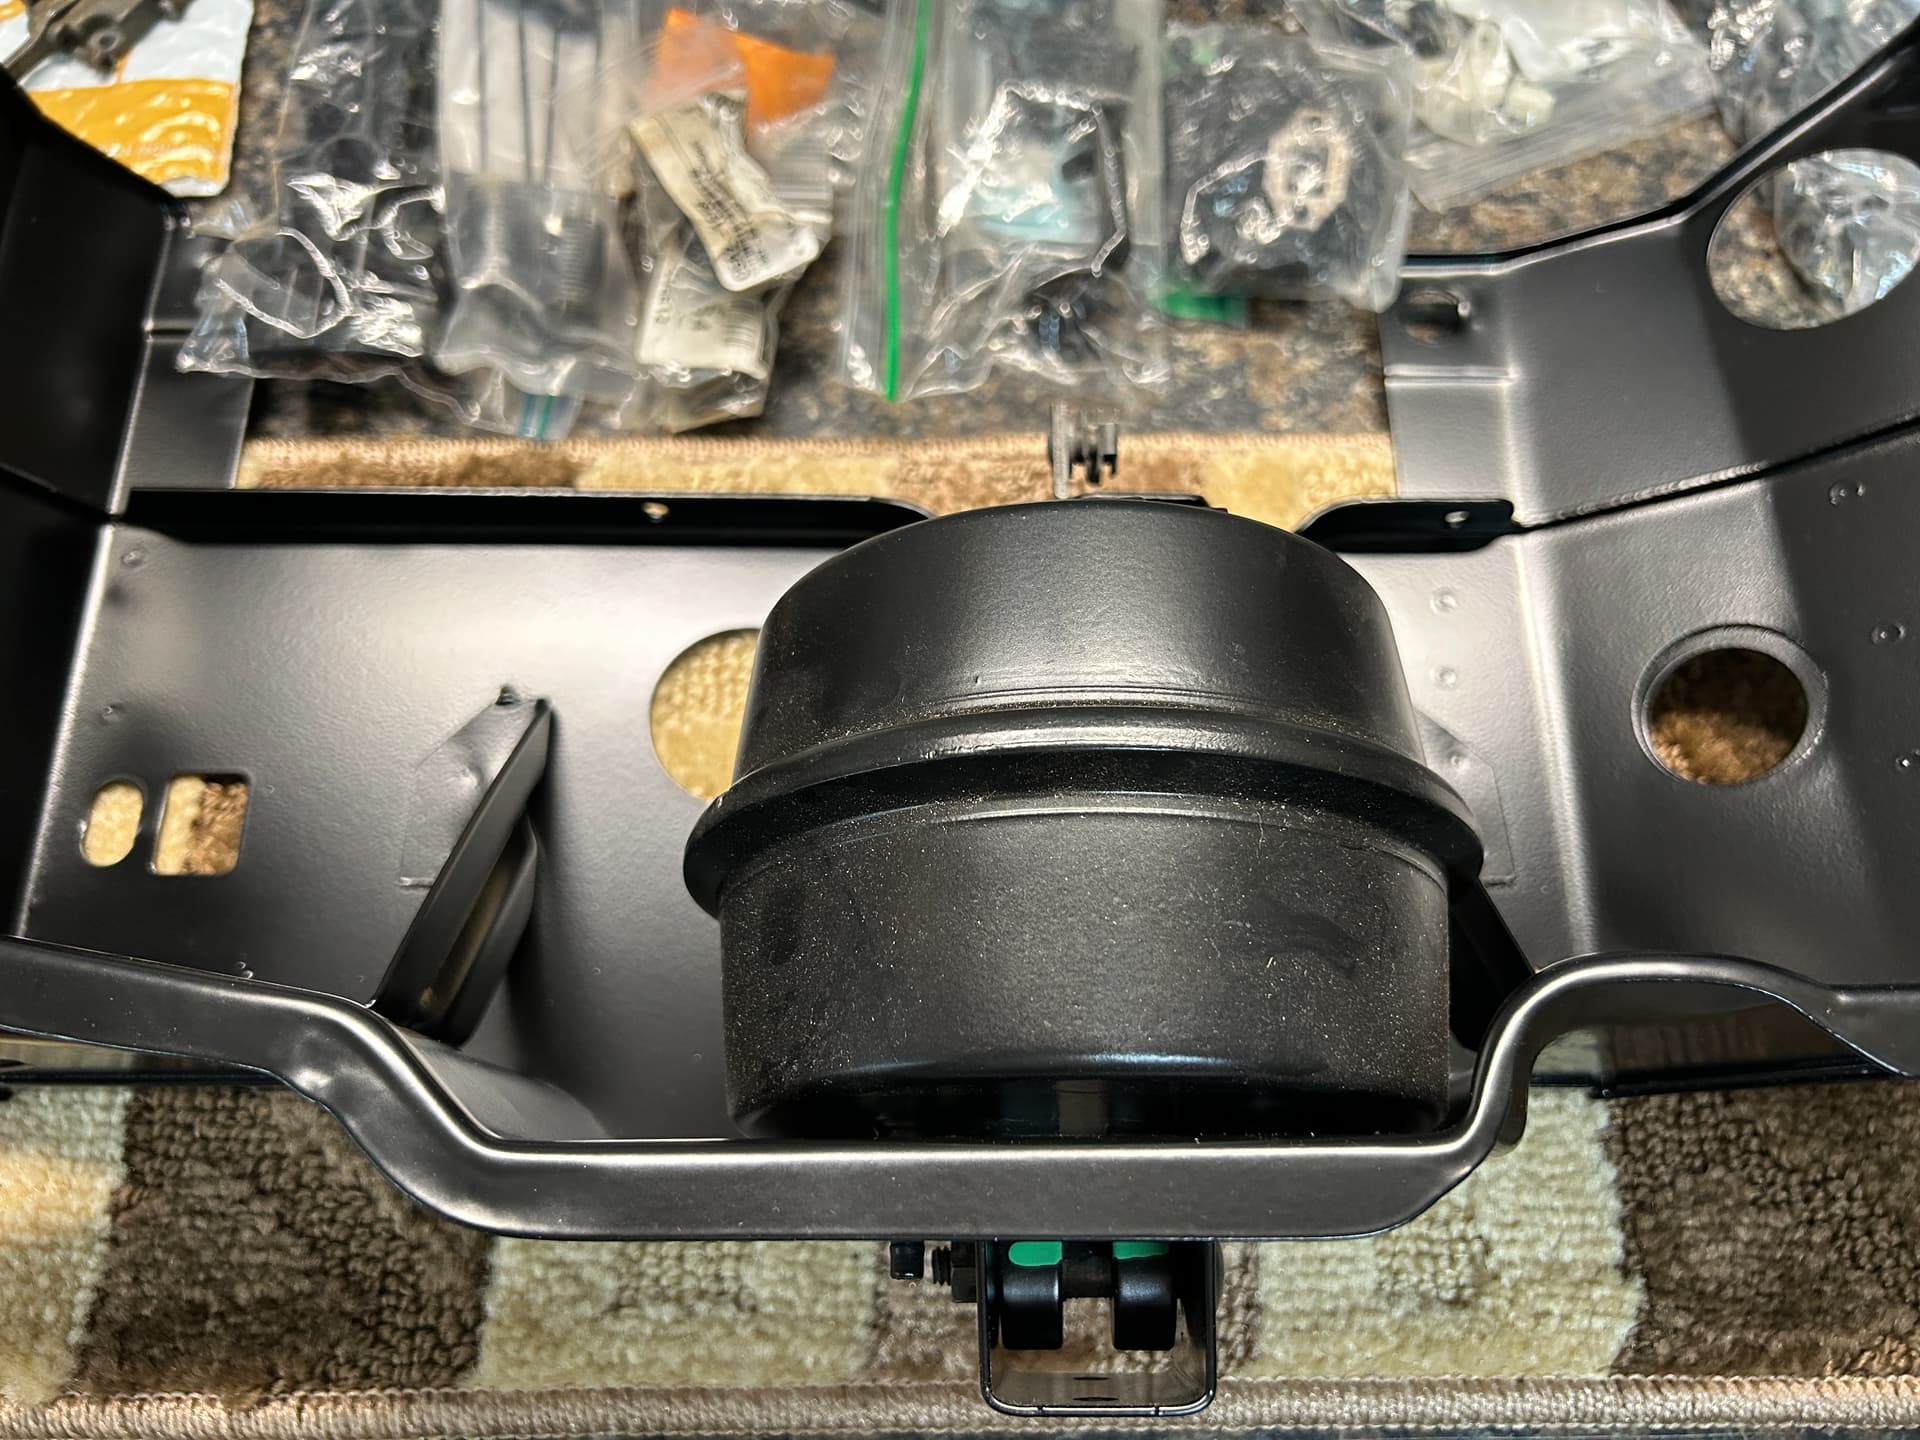
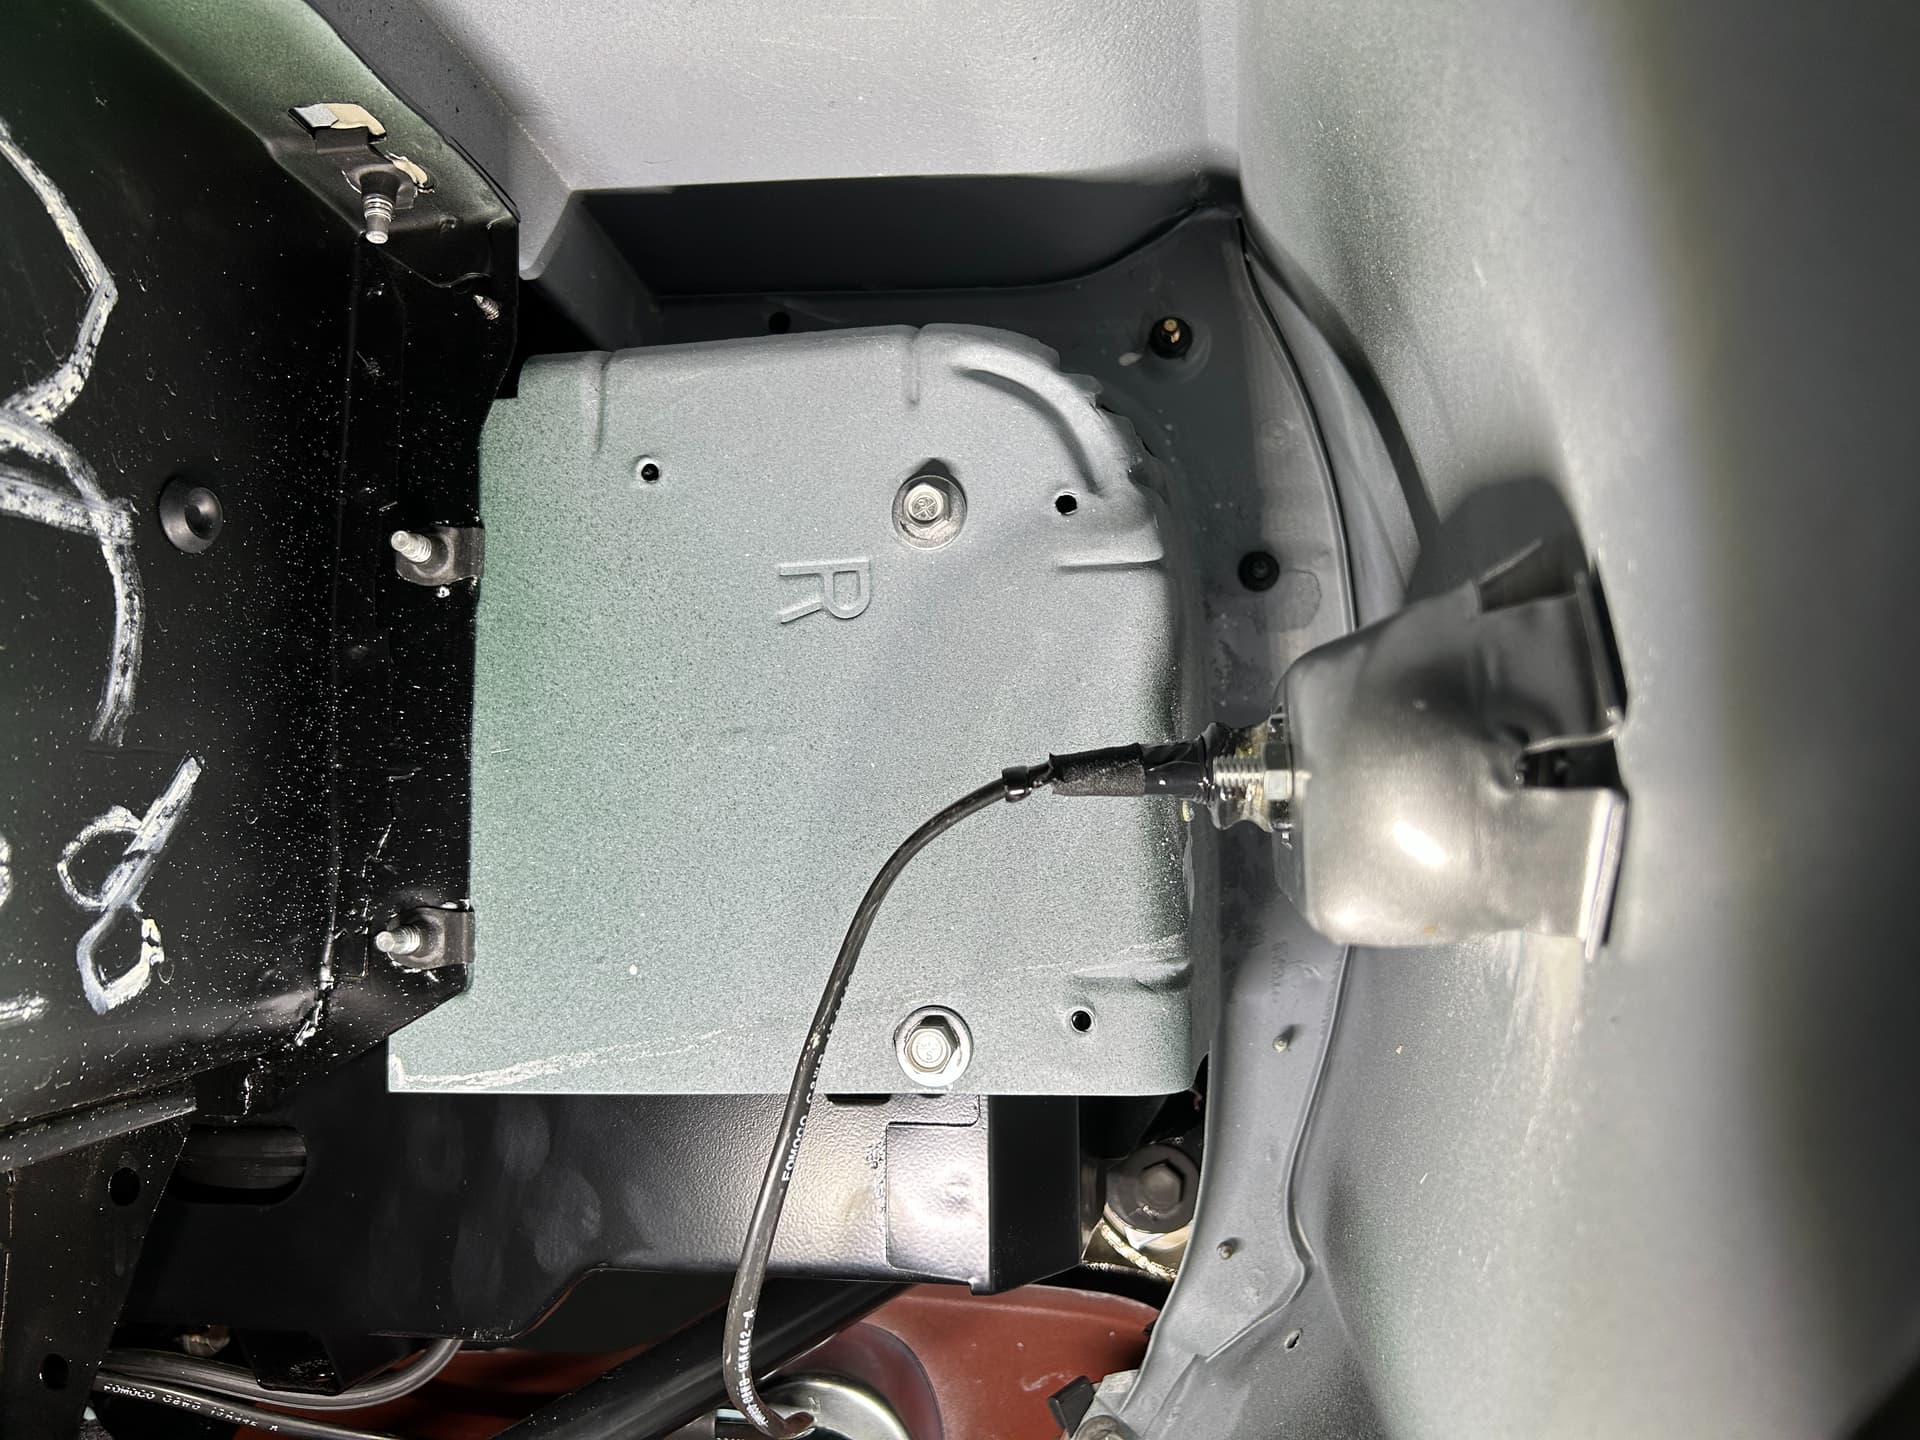
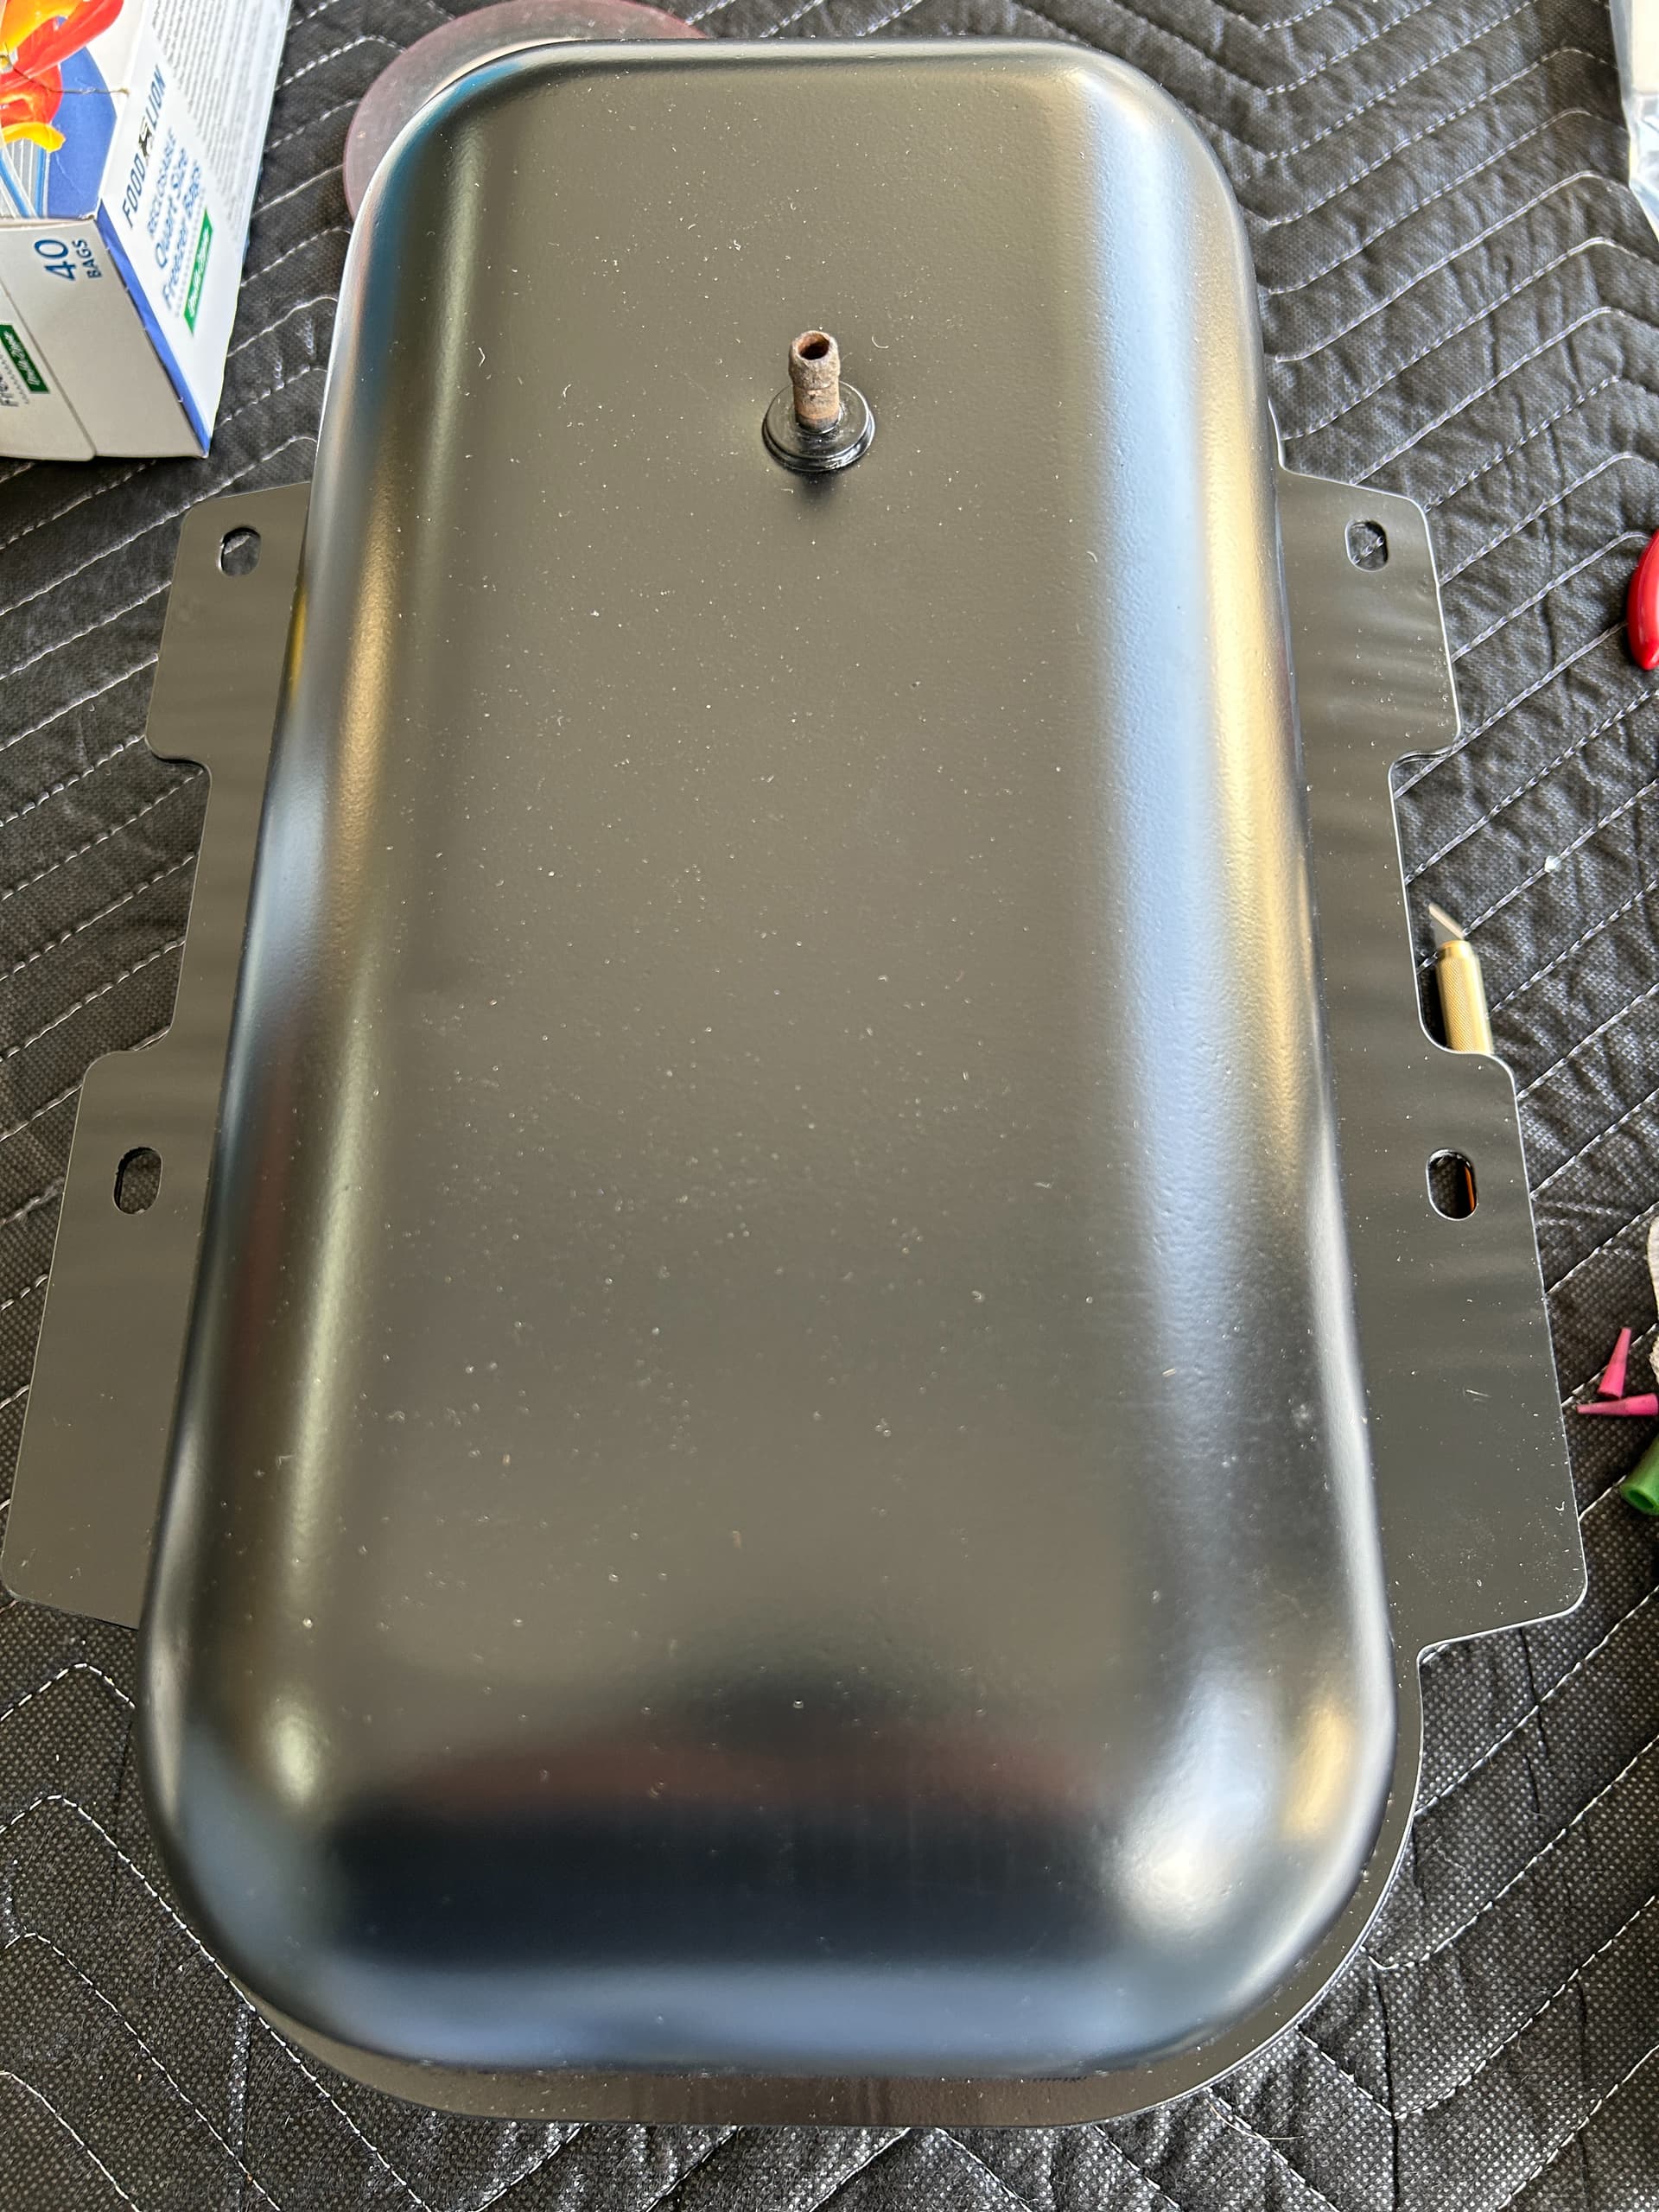
After watching Don from WCCC’s video on the vacuum canister repair I decided to take on the task a few months back. Don’s kit has everything you need to replace the top seals and now the canisters work perfectly. The canisters received a fresh coat of paint afterwards along with a replication of the factory yellow and green paint marks.
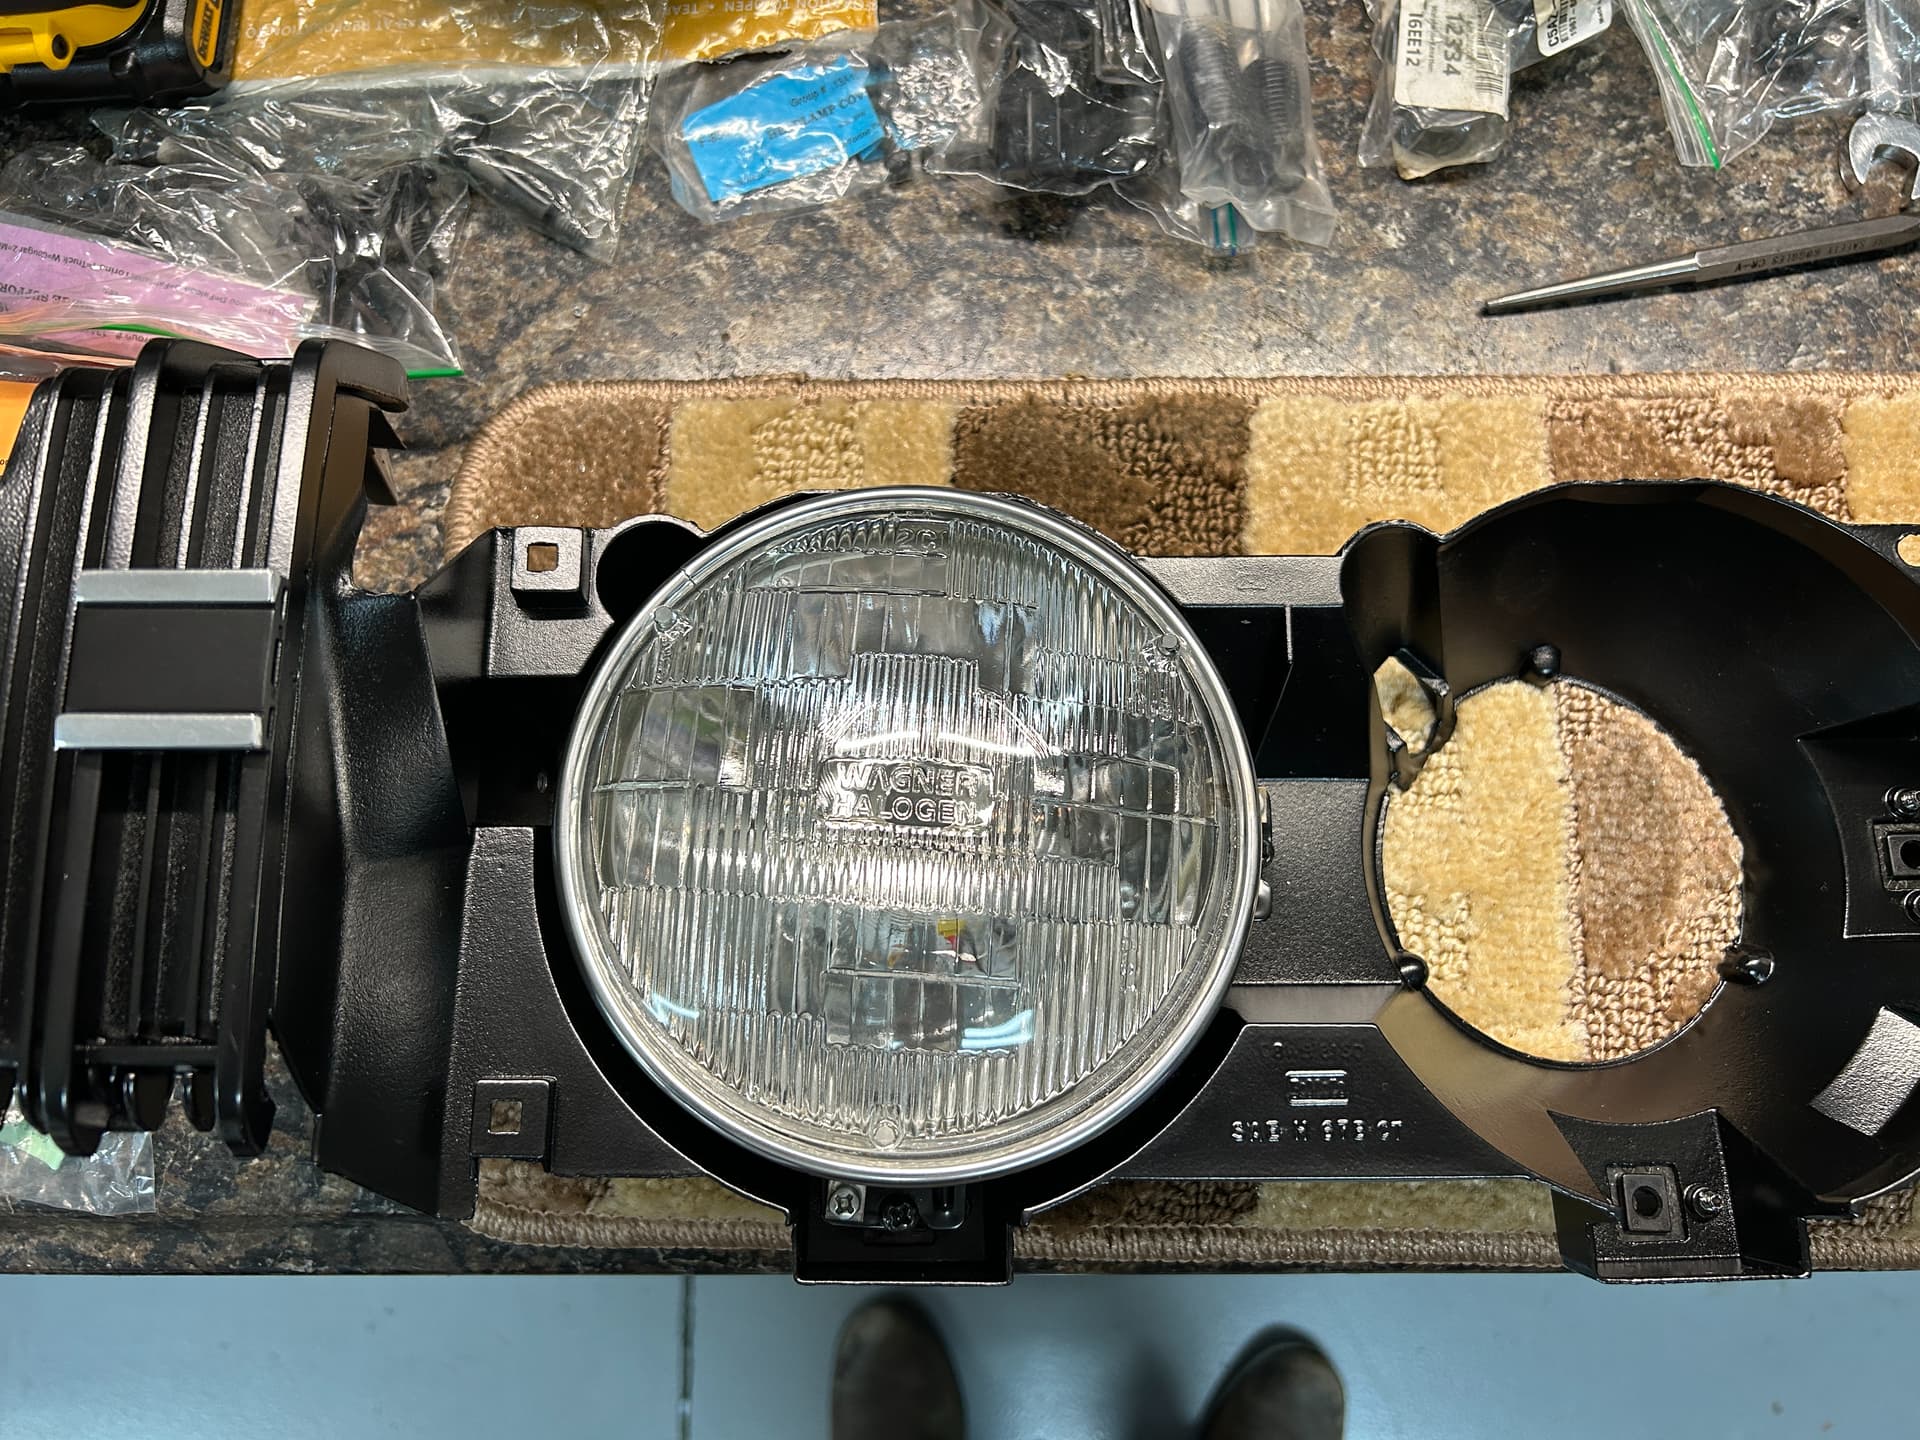
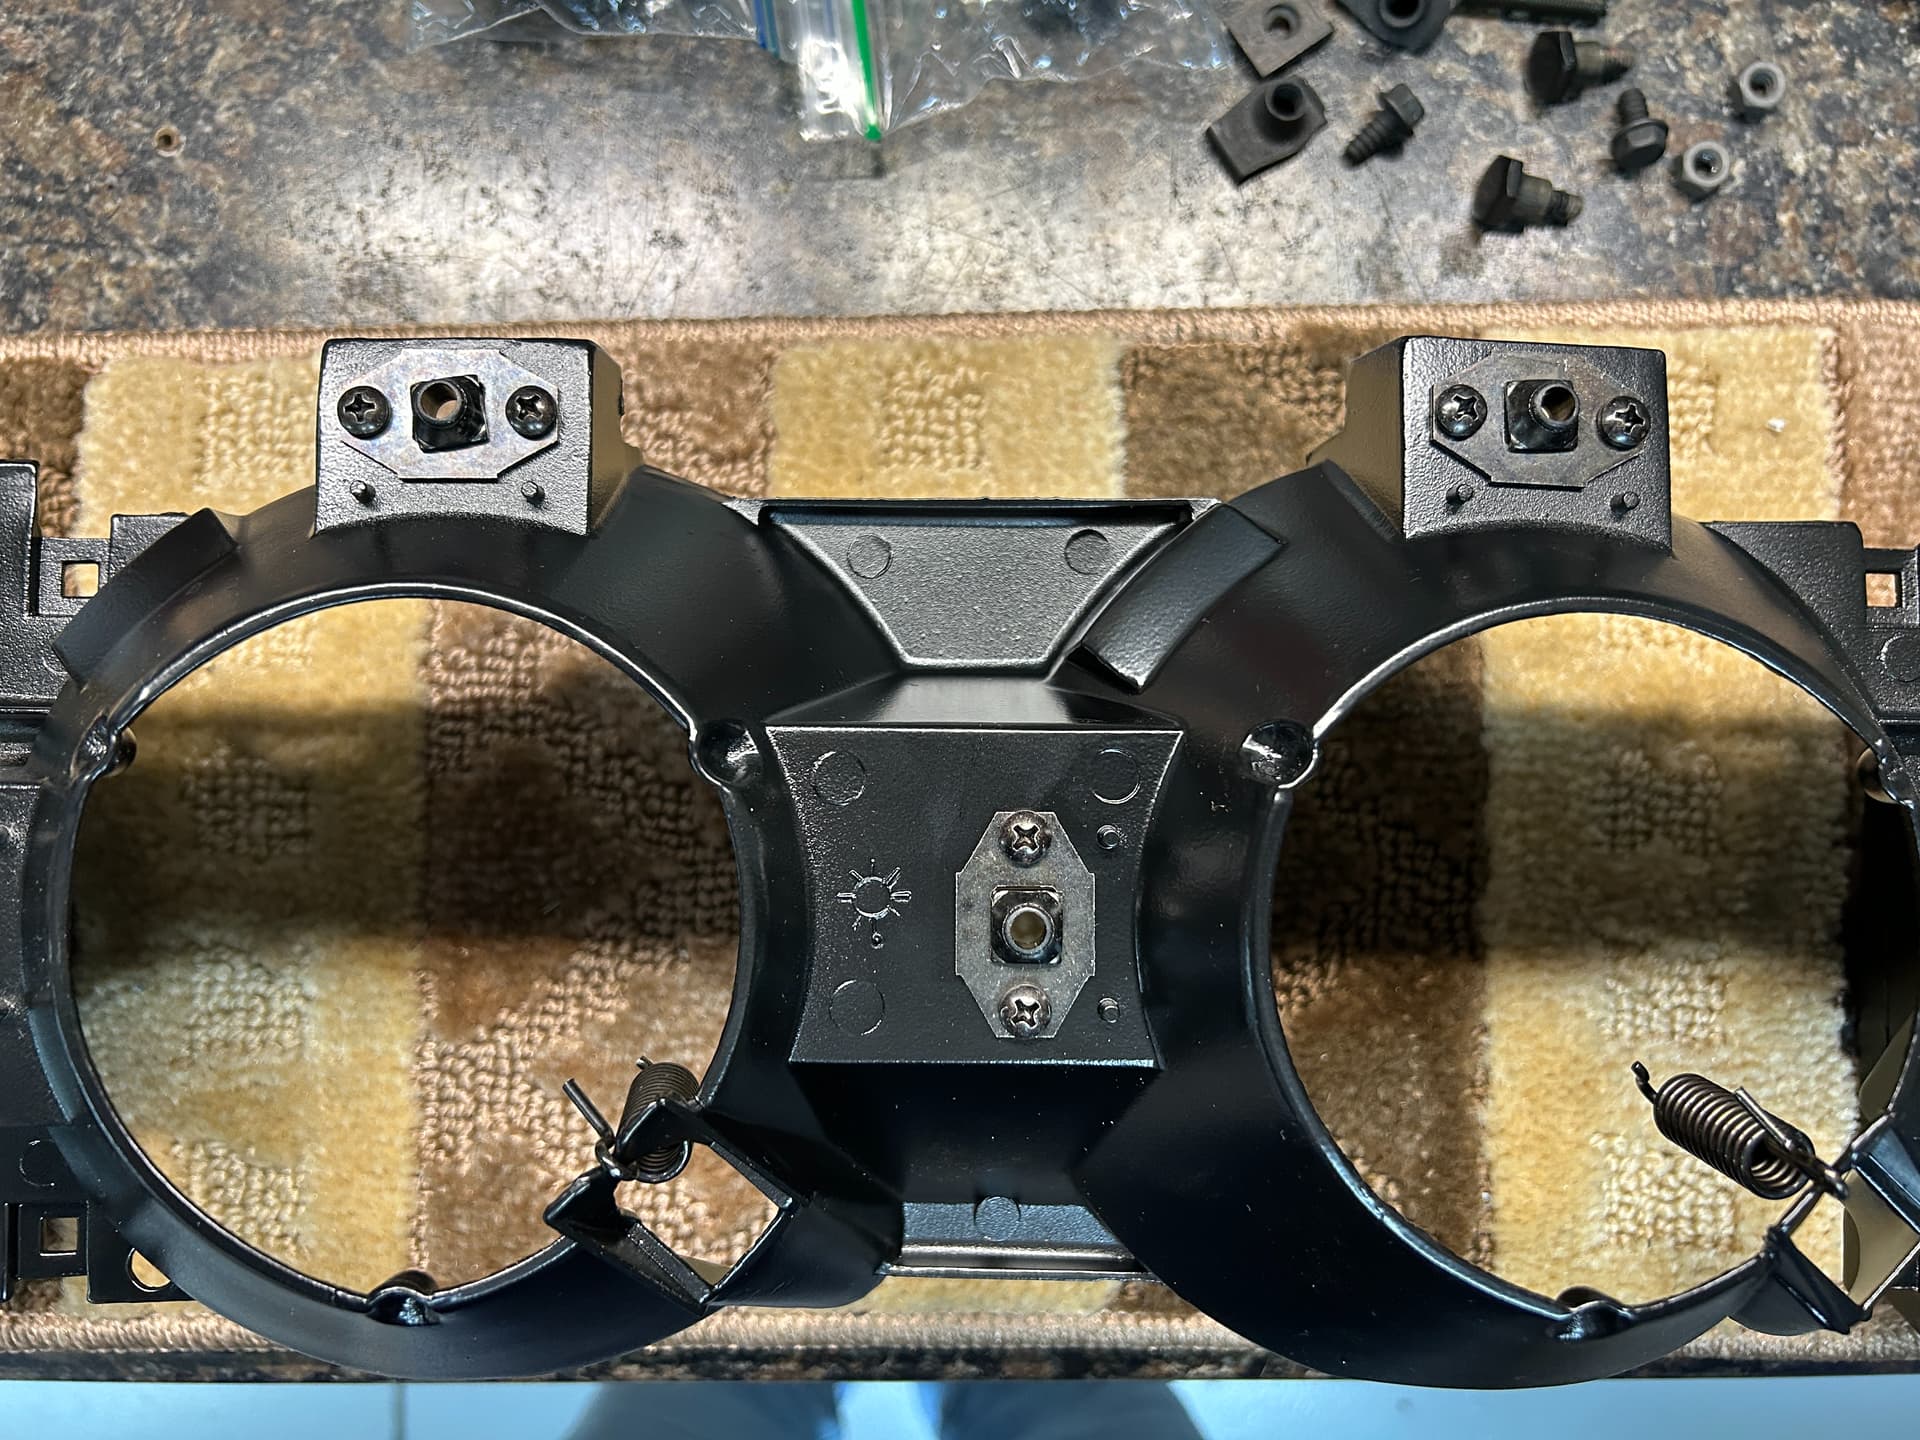
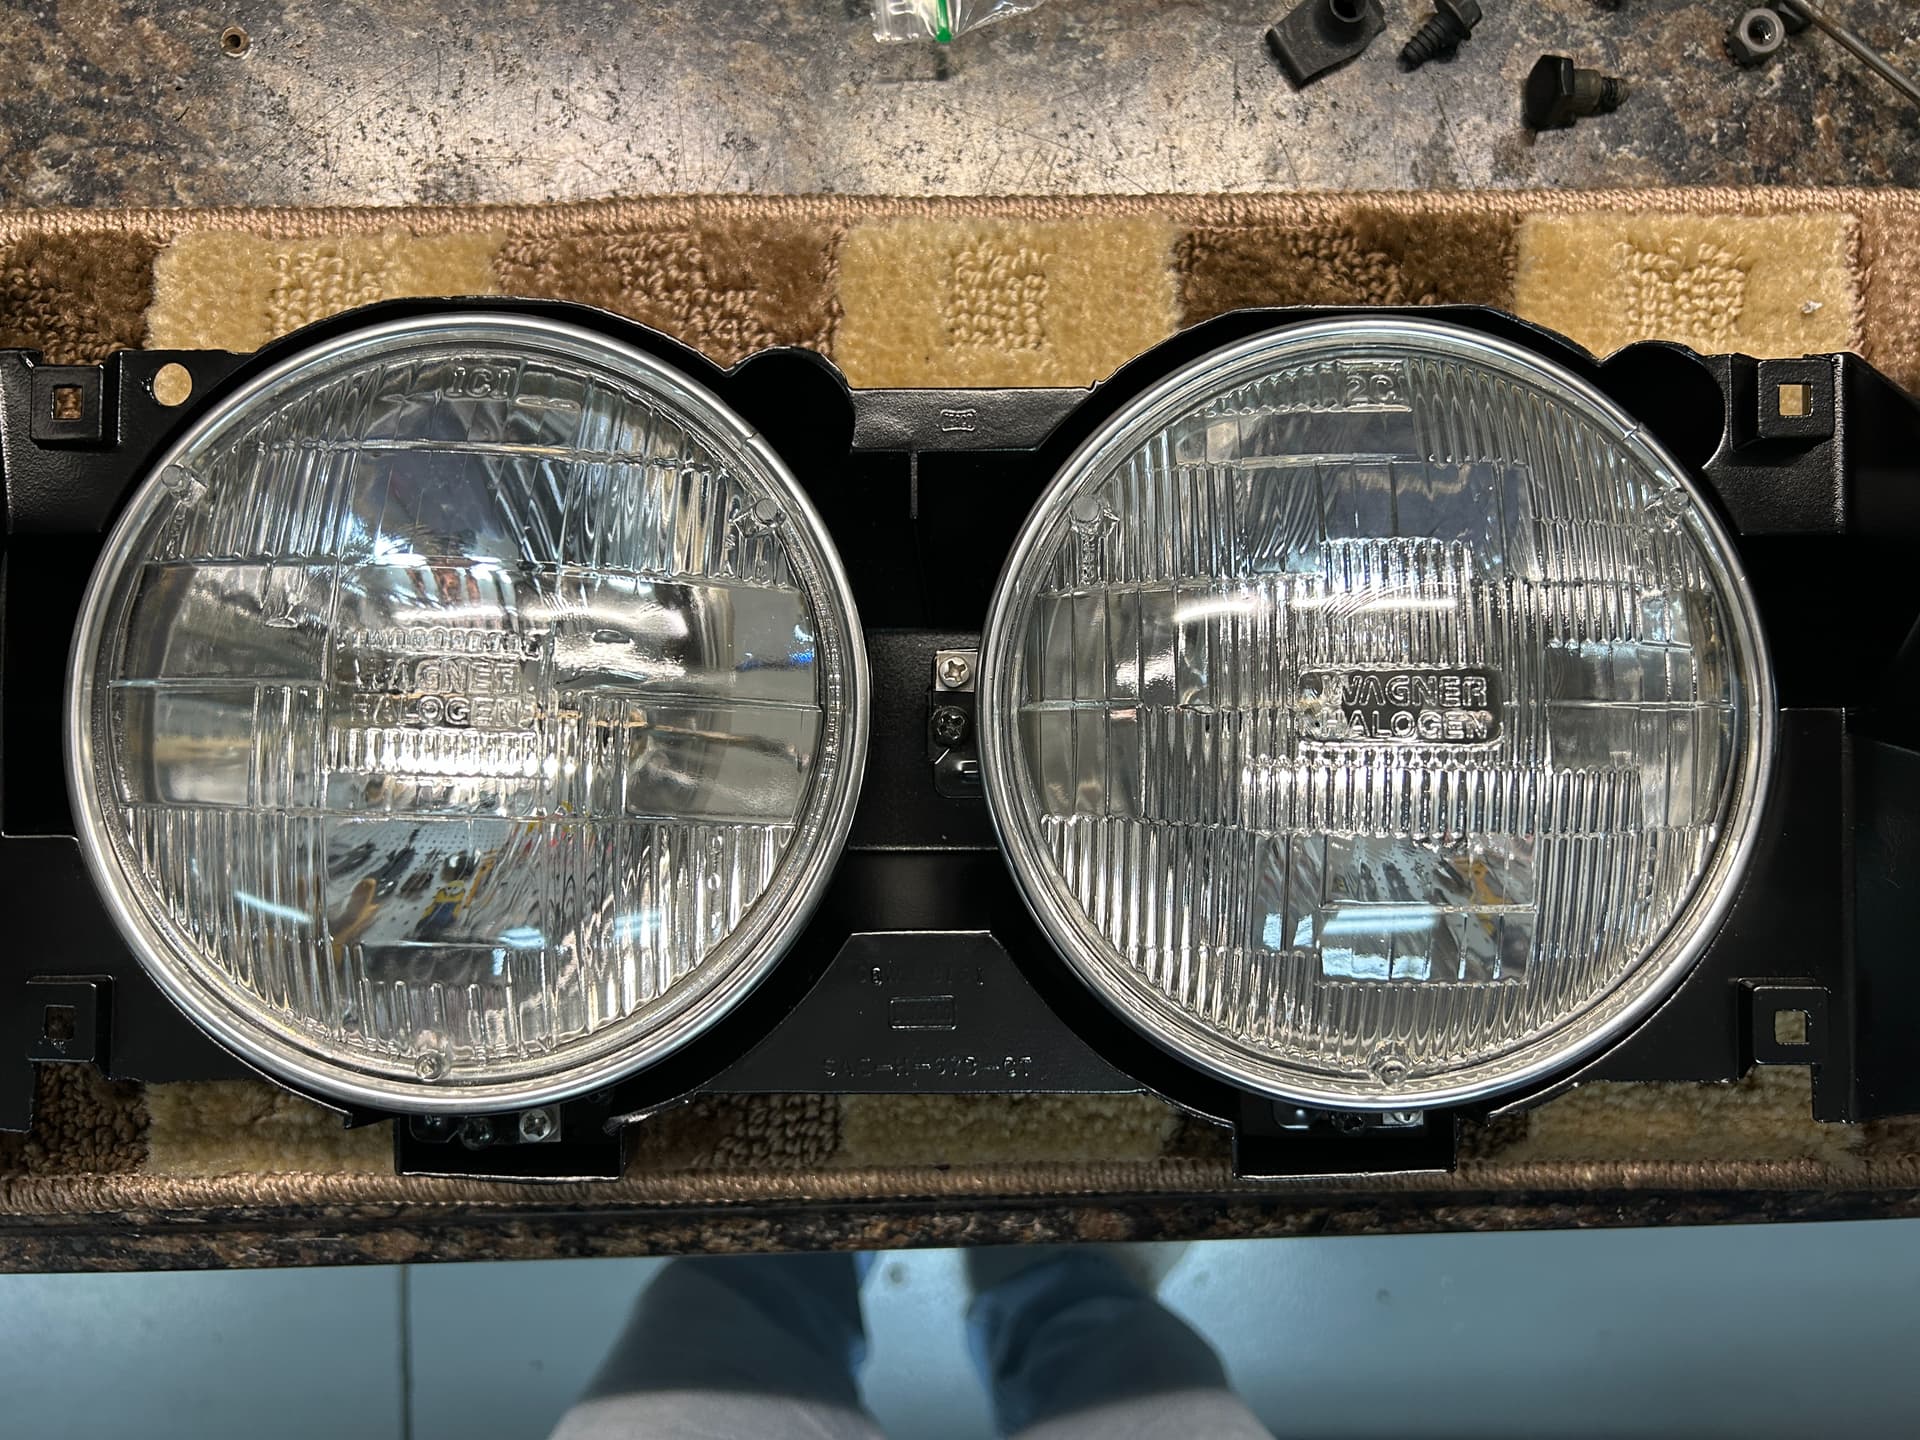
All new hardware was used for reassembly including the headlight adjusters. Headlights were mounted in the grill assembly next along with the GTE trim. The grills are then bolted to the buckets and the headlight doors installed.
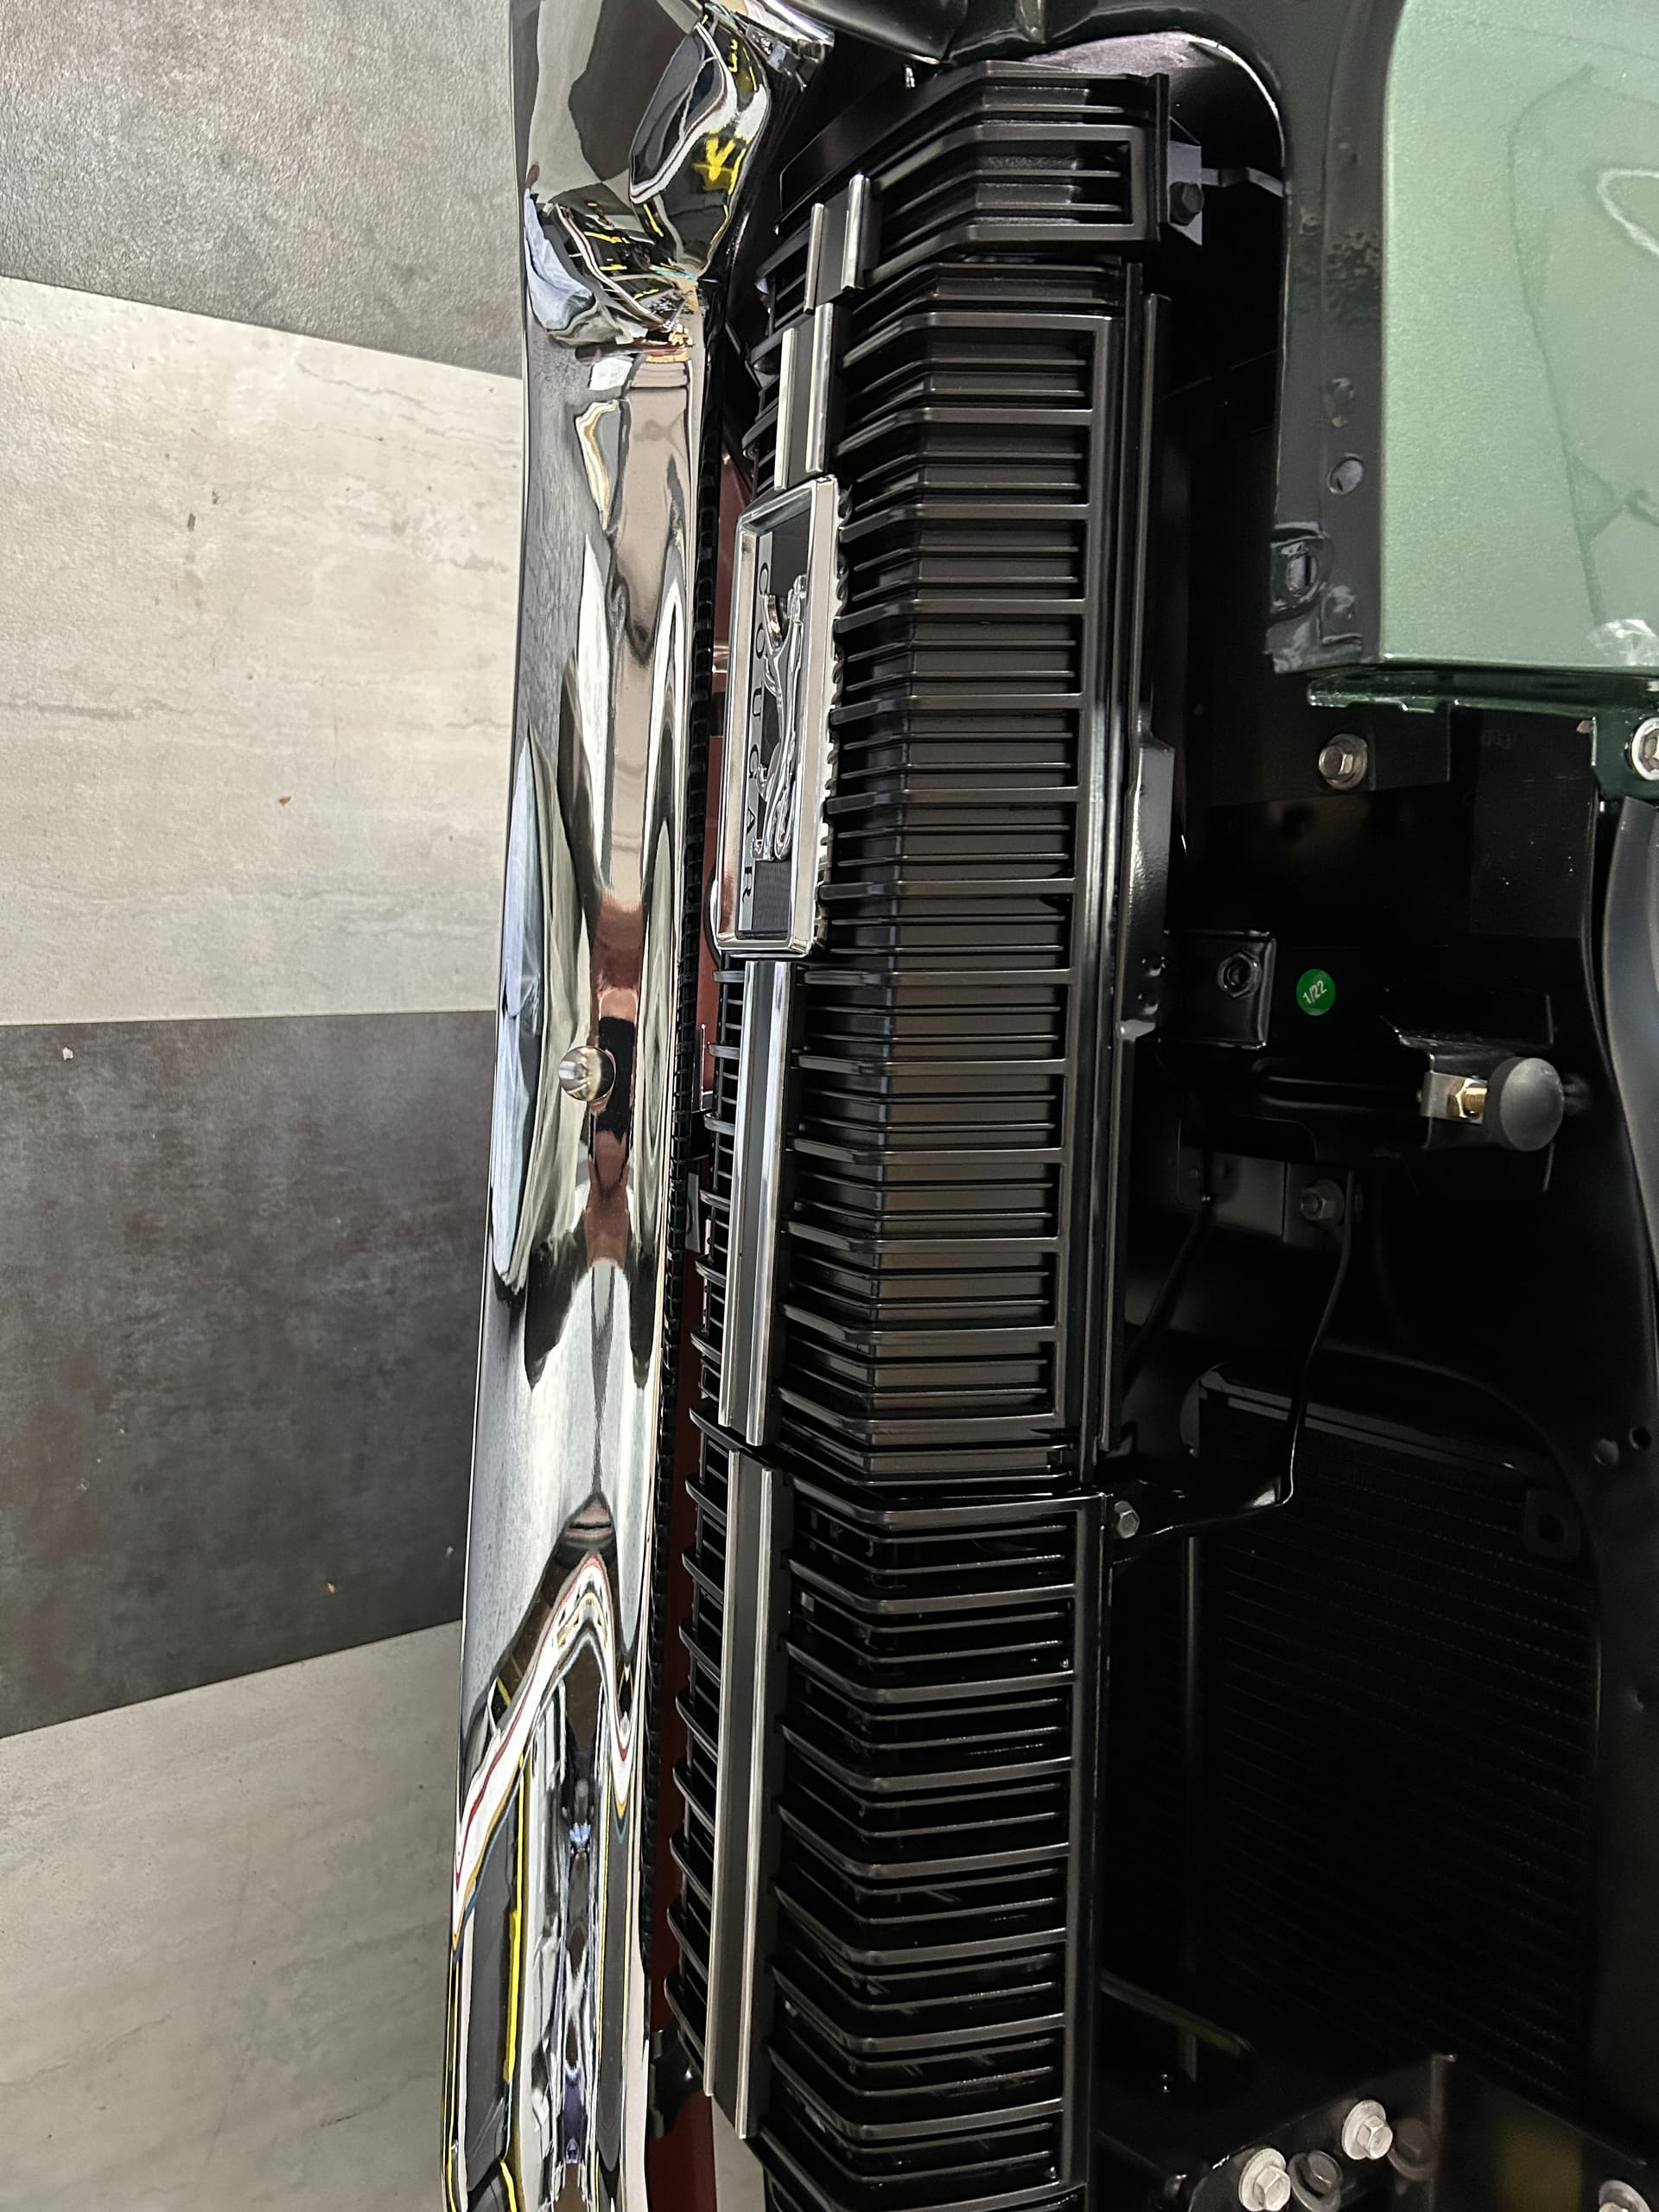
With the fender extensions off the headlight/ grill assemblies pretty much slip right into the front of the car. Once they were properly aligned the attaching bolts were tightened and the door was leveled using the bumpers on the top of the headlight door.
Once they were properly aligned the attaching bolts were tightened and the door was leveled.
2 Likes
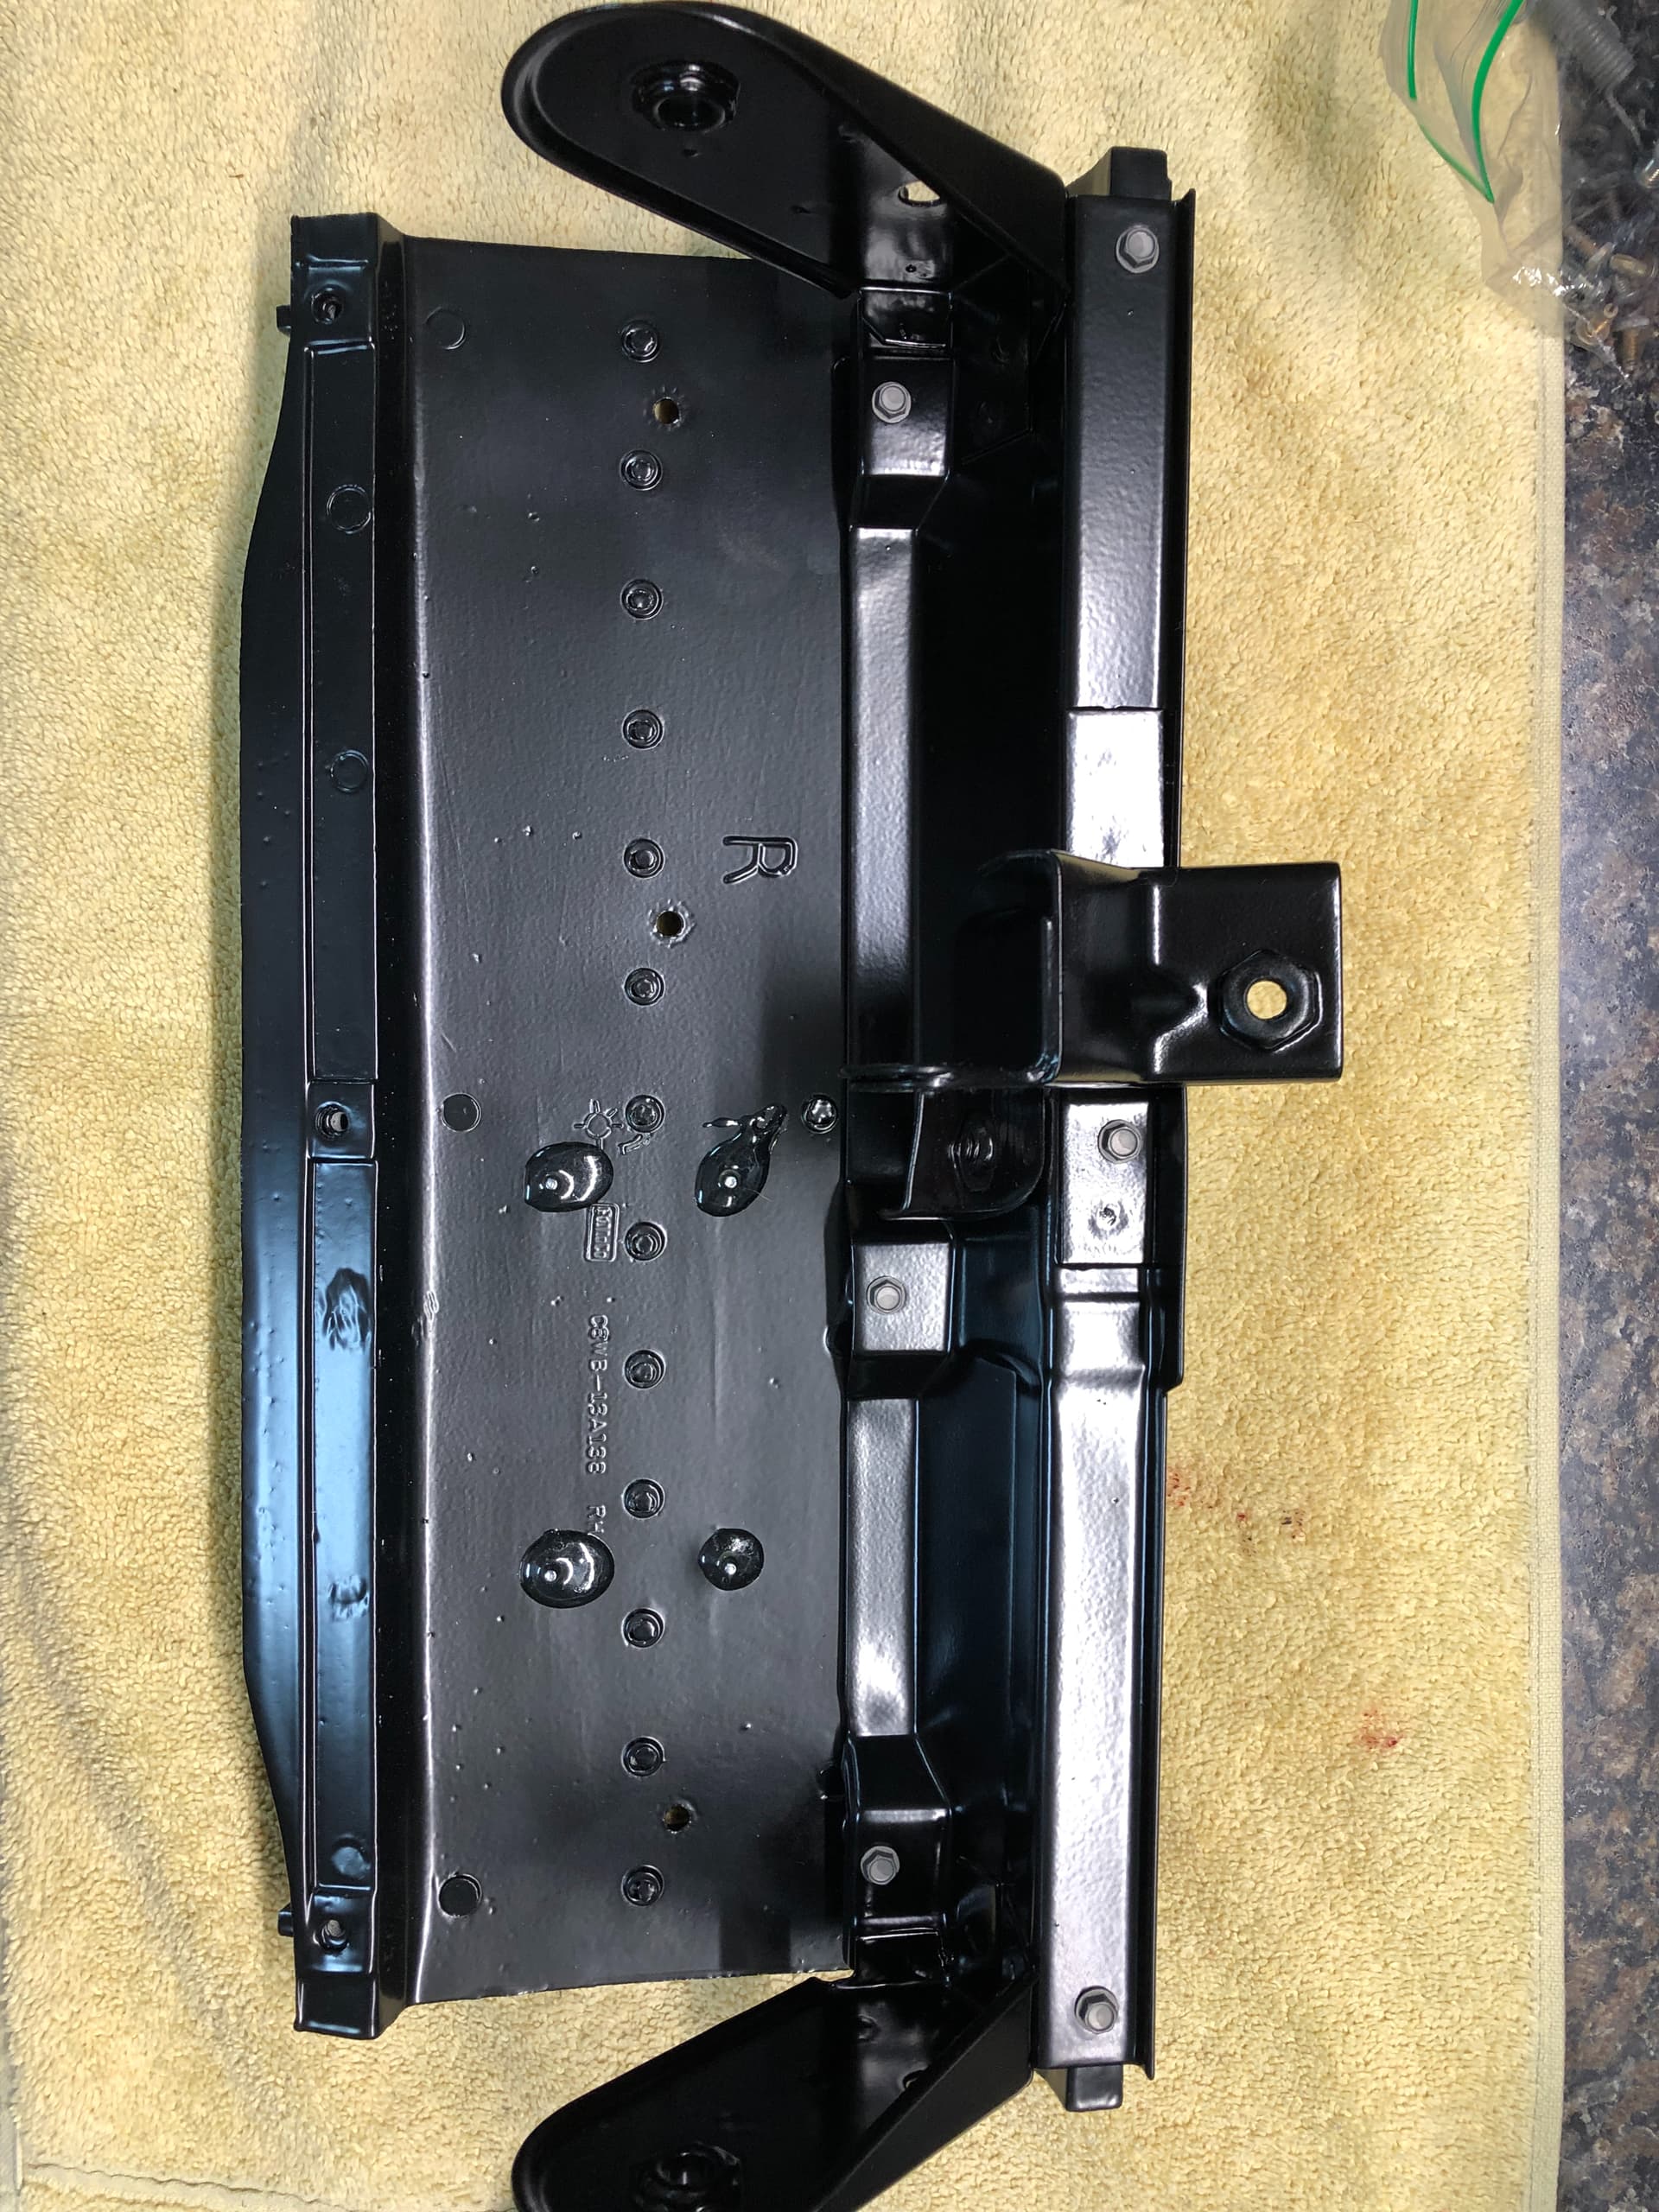
I spent the afternoon building the driver’s side bucket. I took some more step by step photos in case someone has theirs in pieces and needs some reassembly assistance.
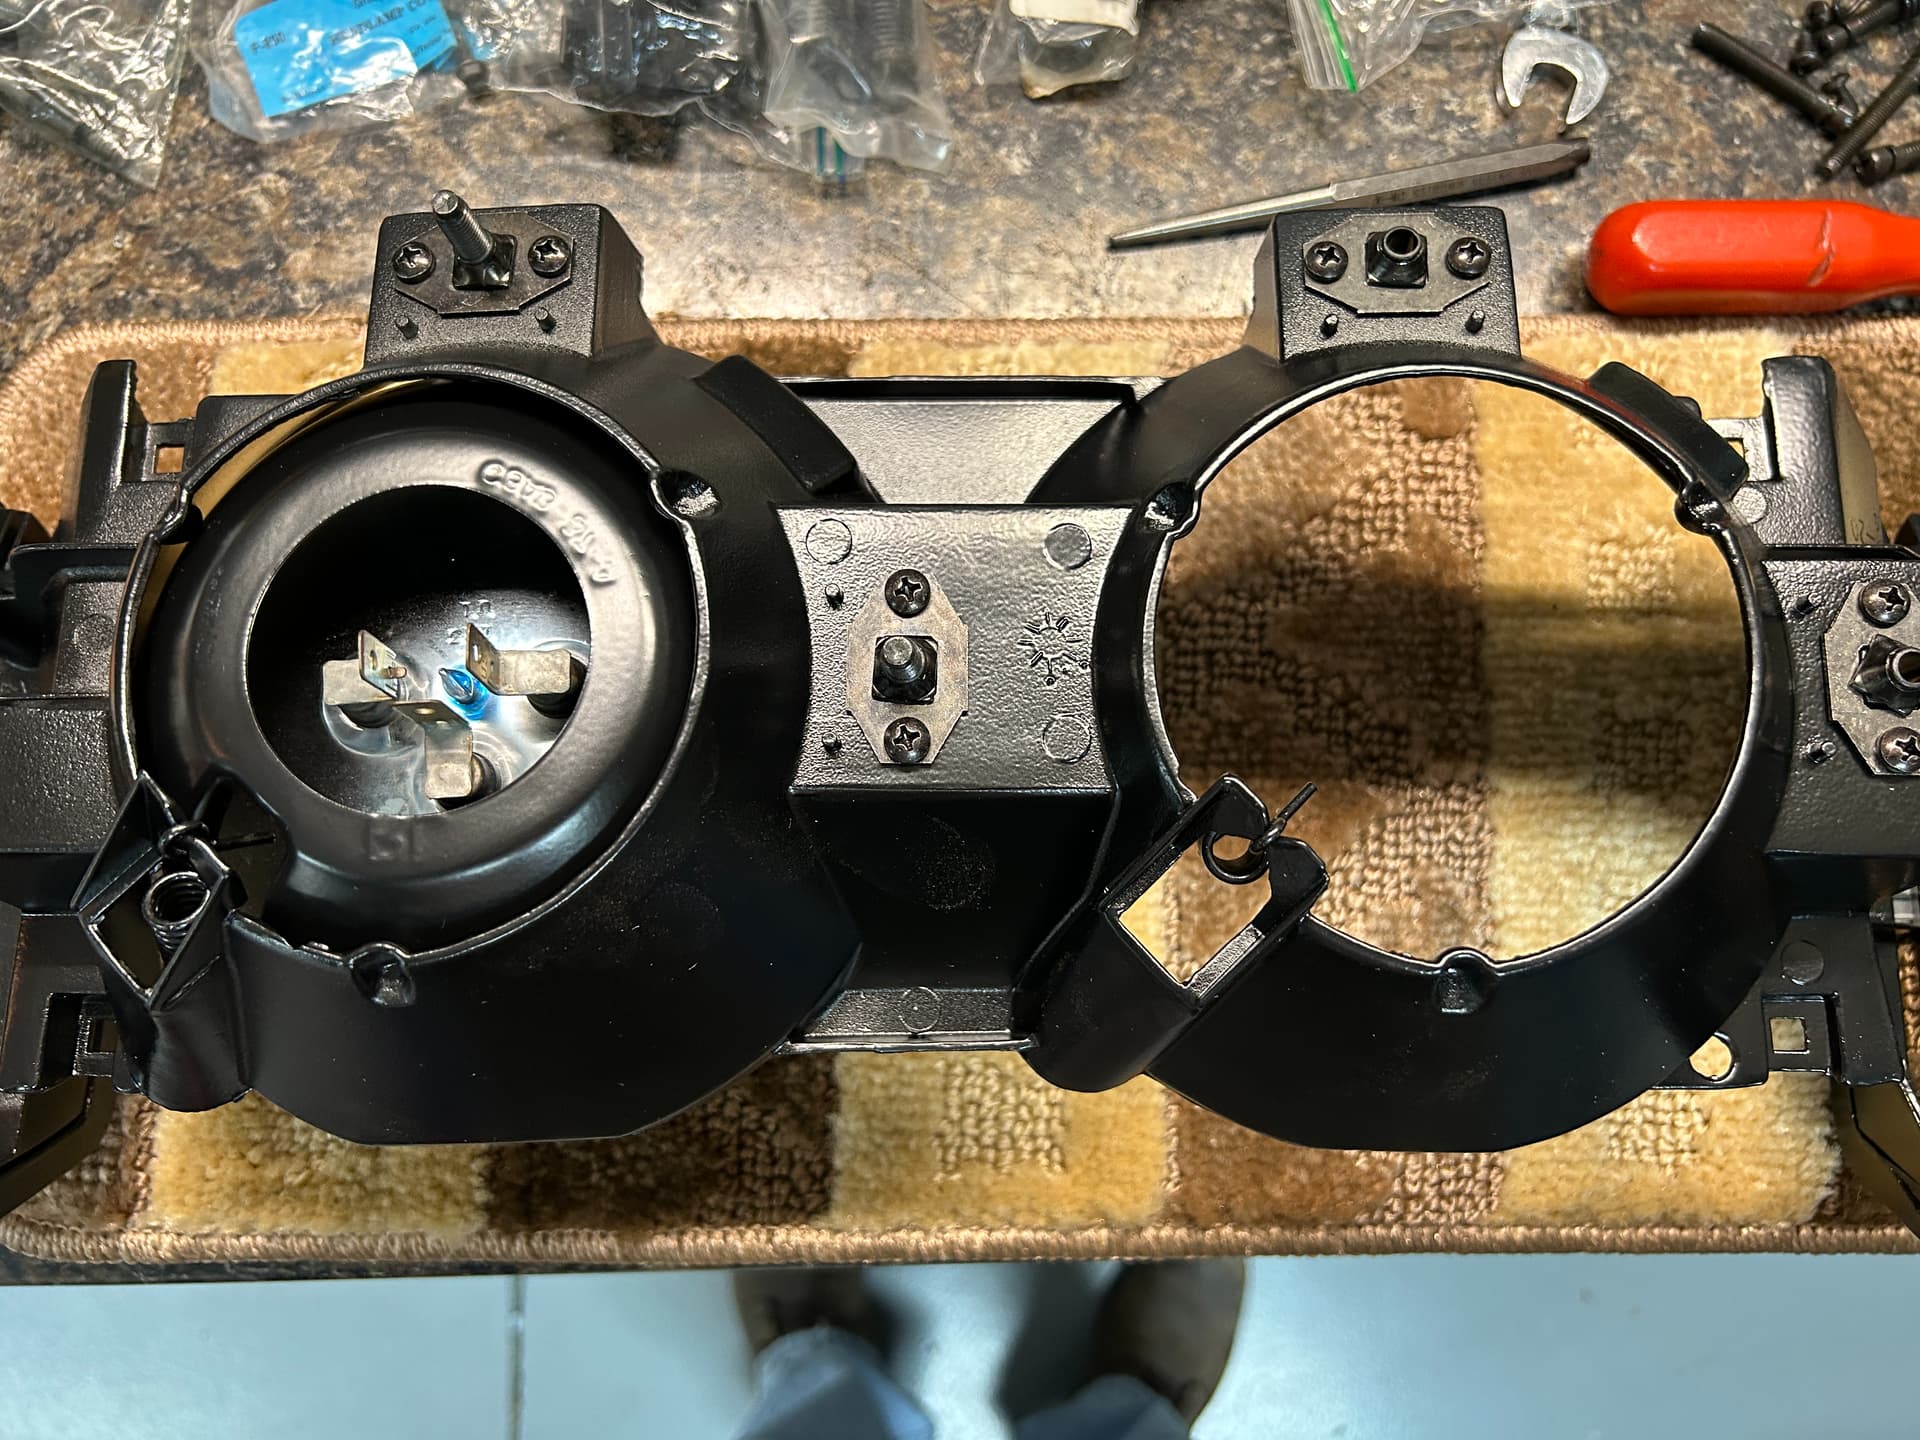
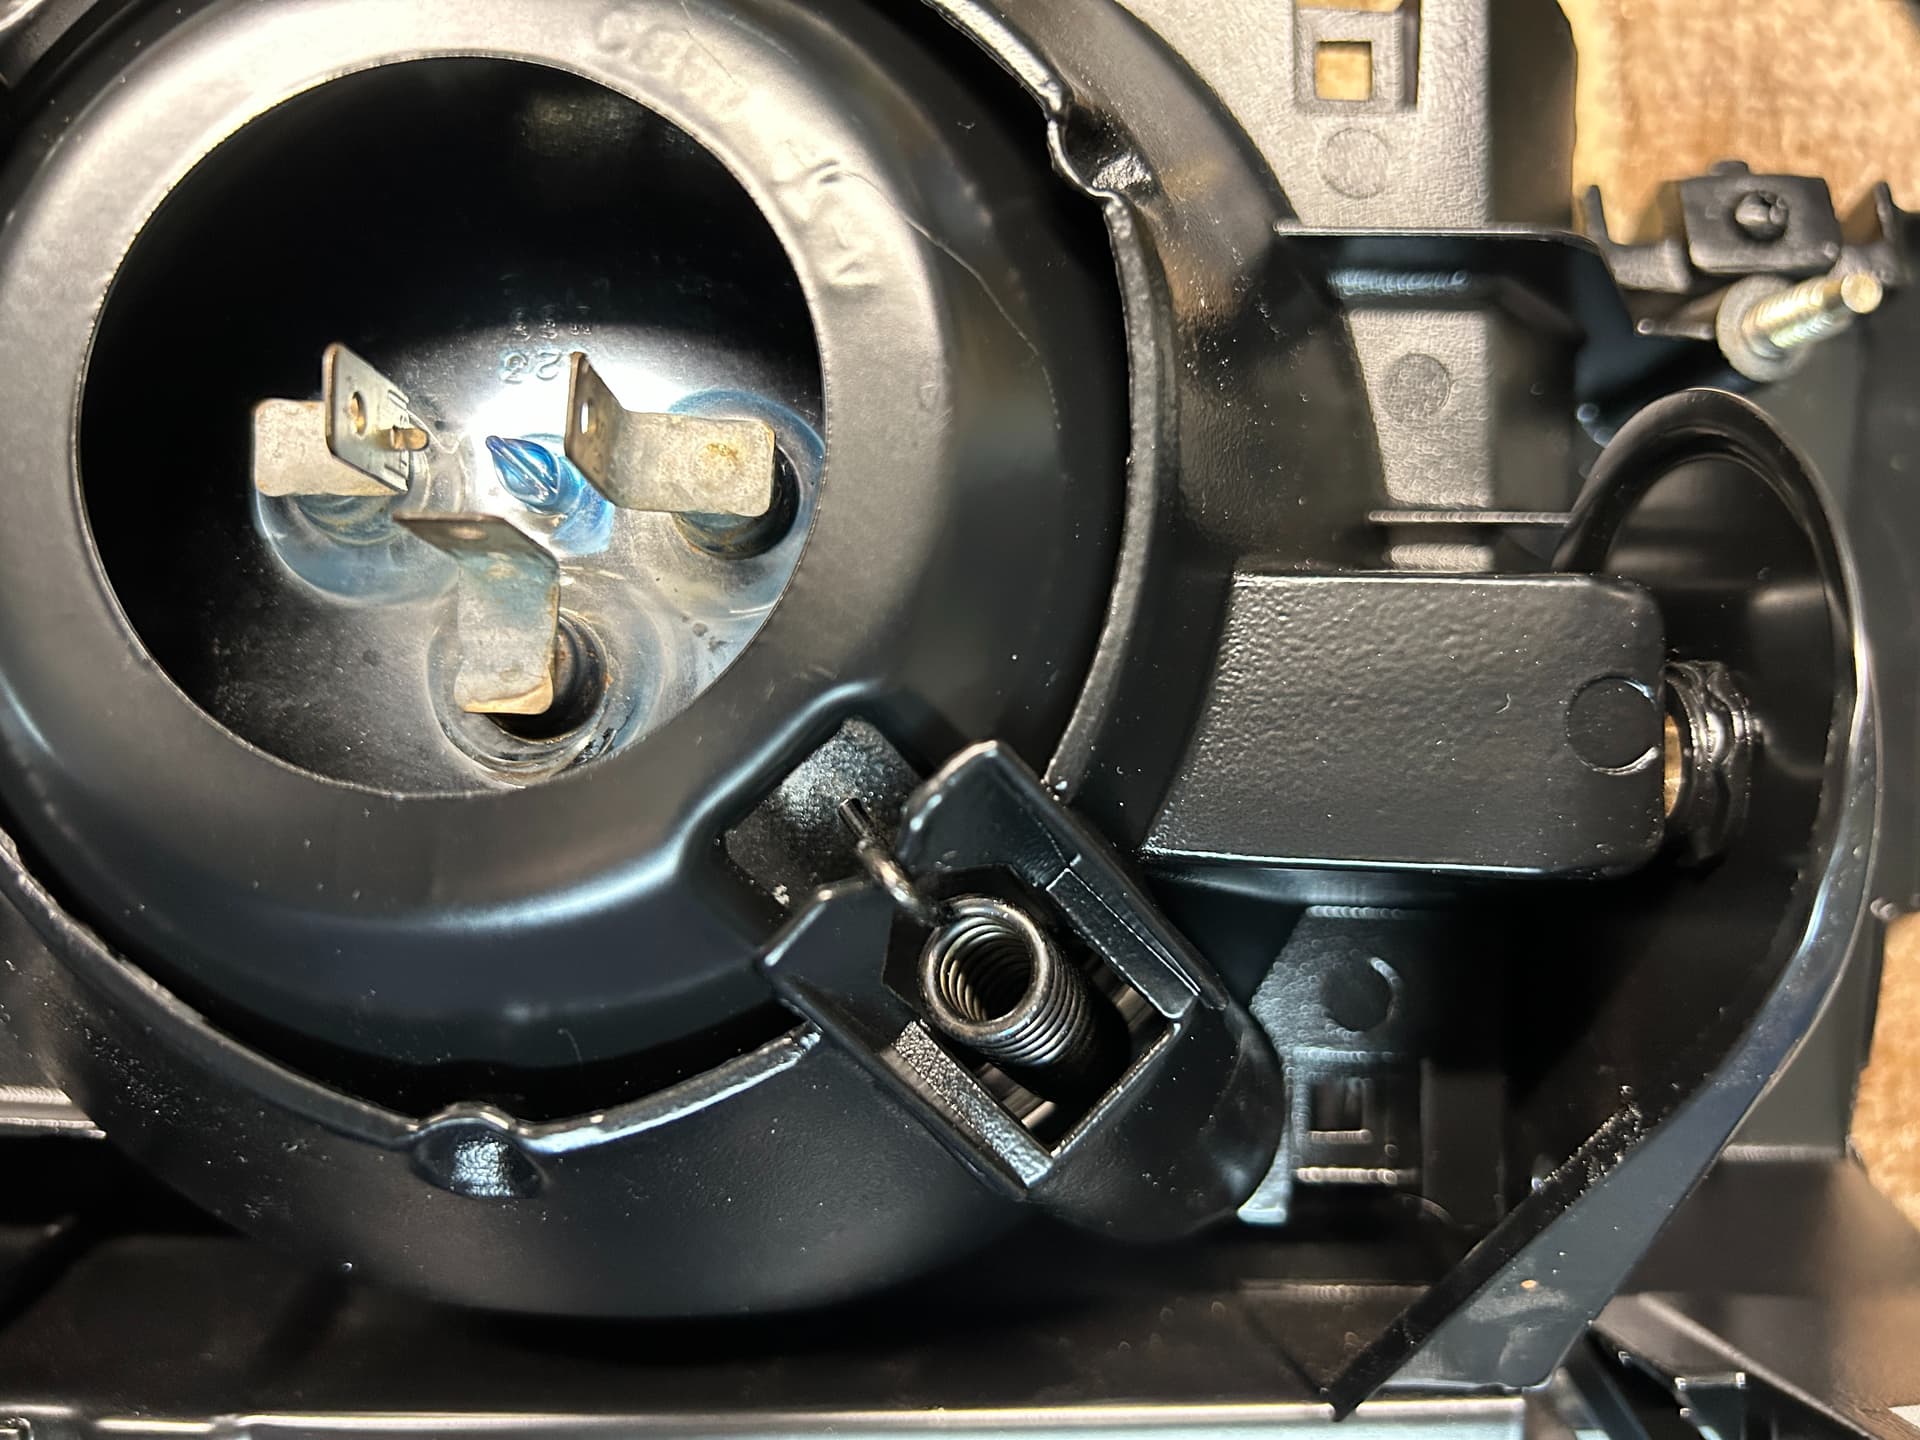
Once I had the exterior GTE trim installed new headlight adjust springs were installed. If your attaching points for the springs are split WCCC has some repair clips available. Mine were in good shape but I have had to use them on a set prior.

The springs are then attached to hole on the headlight retainer ring not the headlight cup.
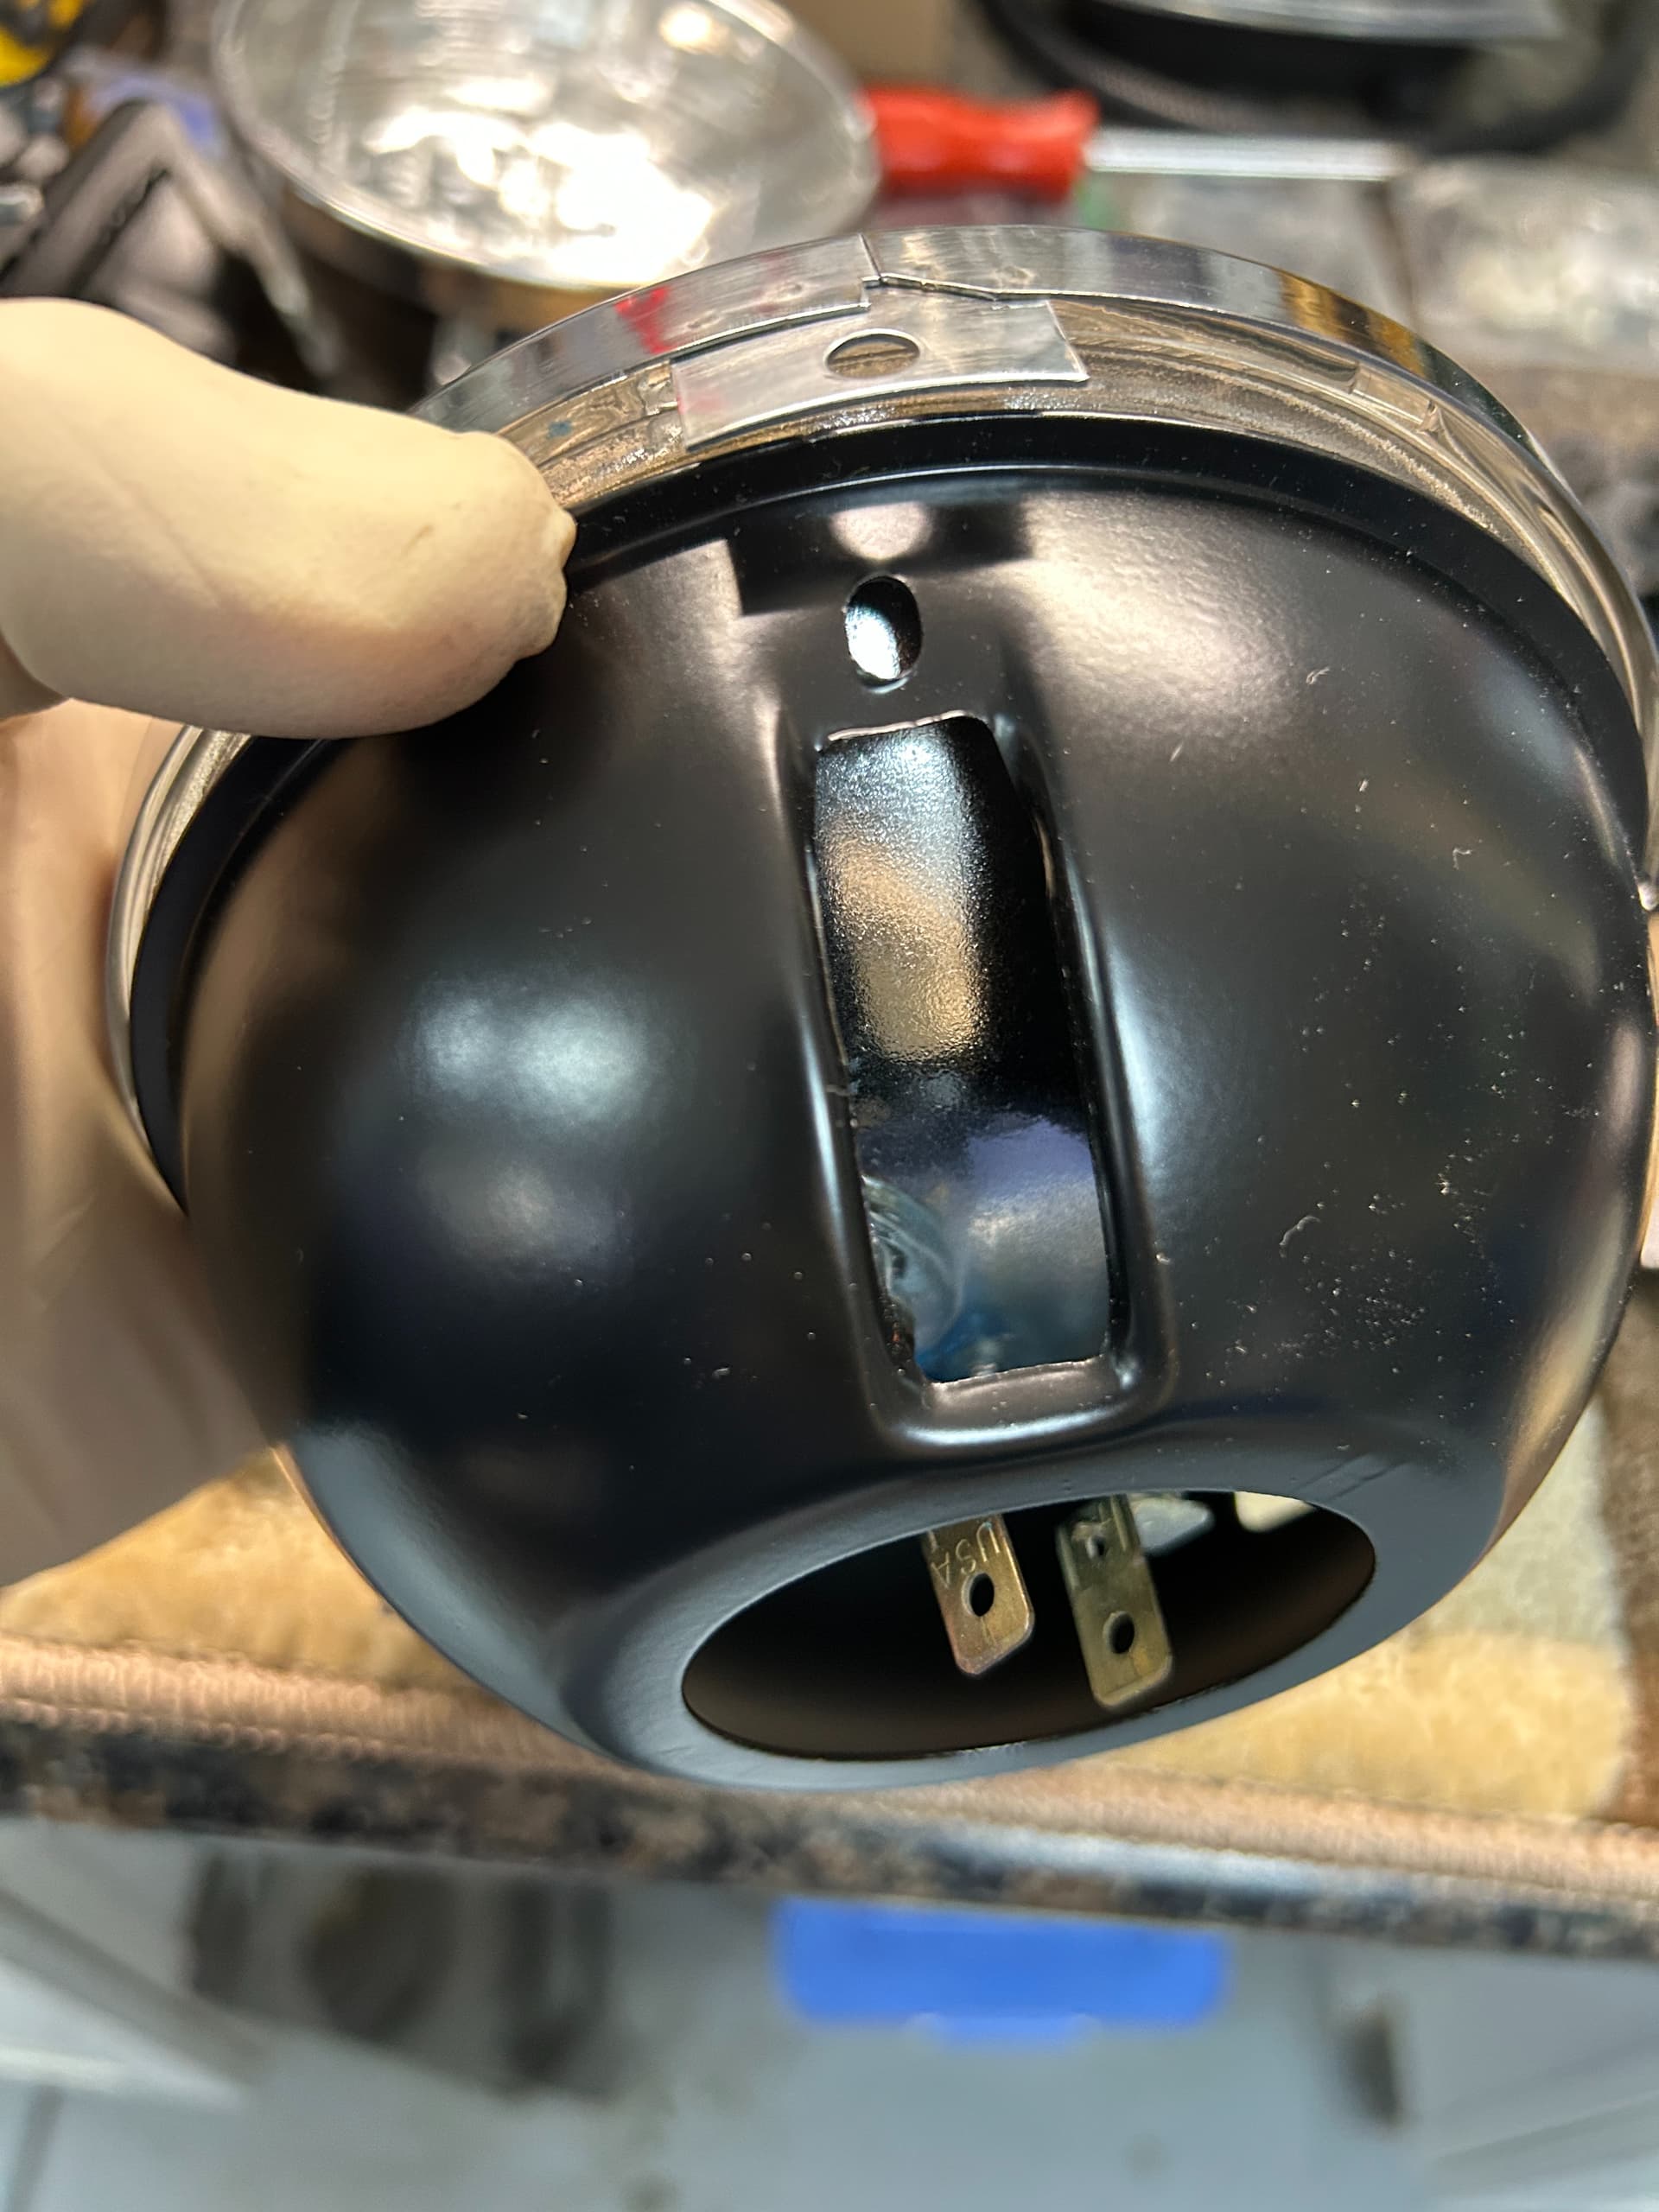
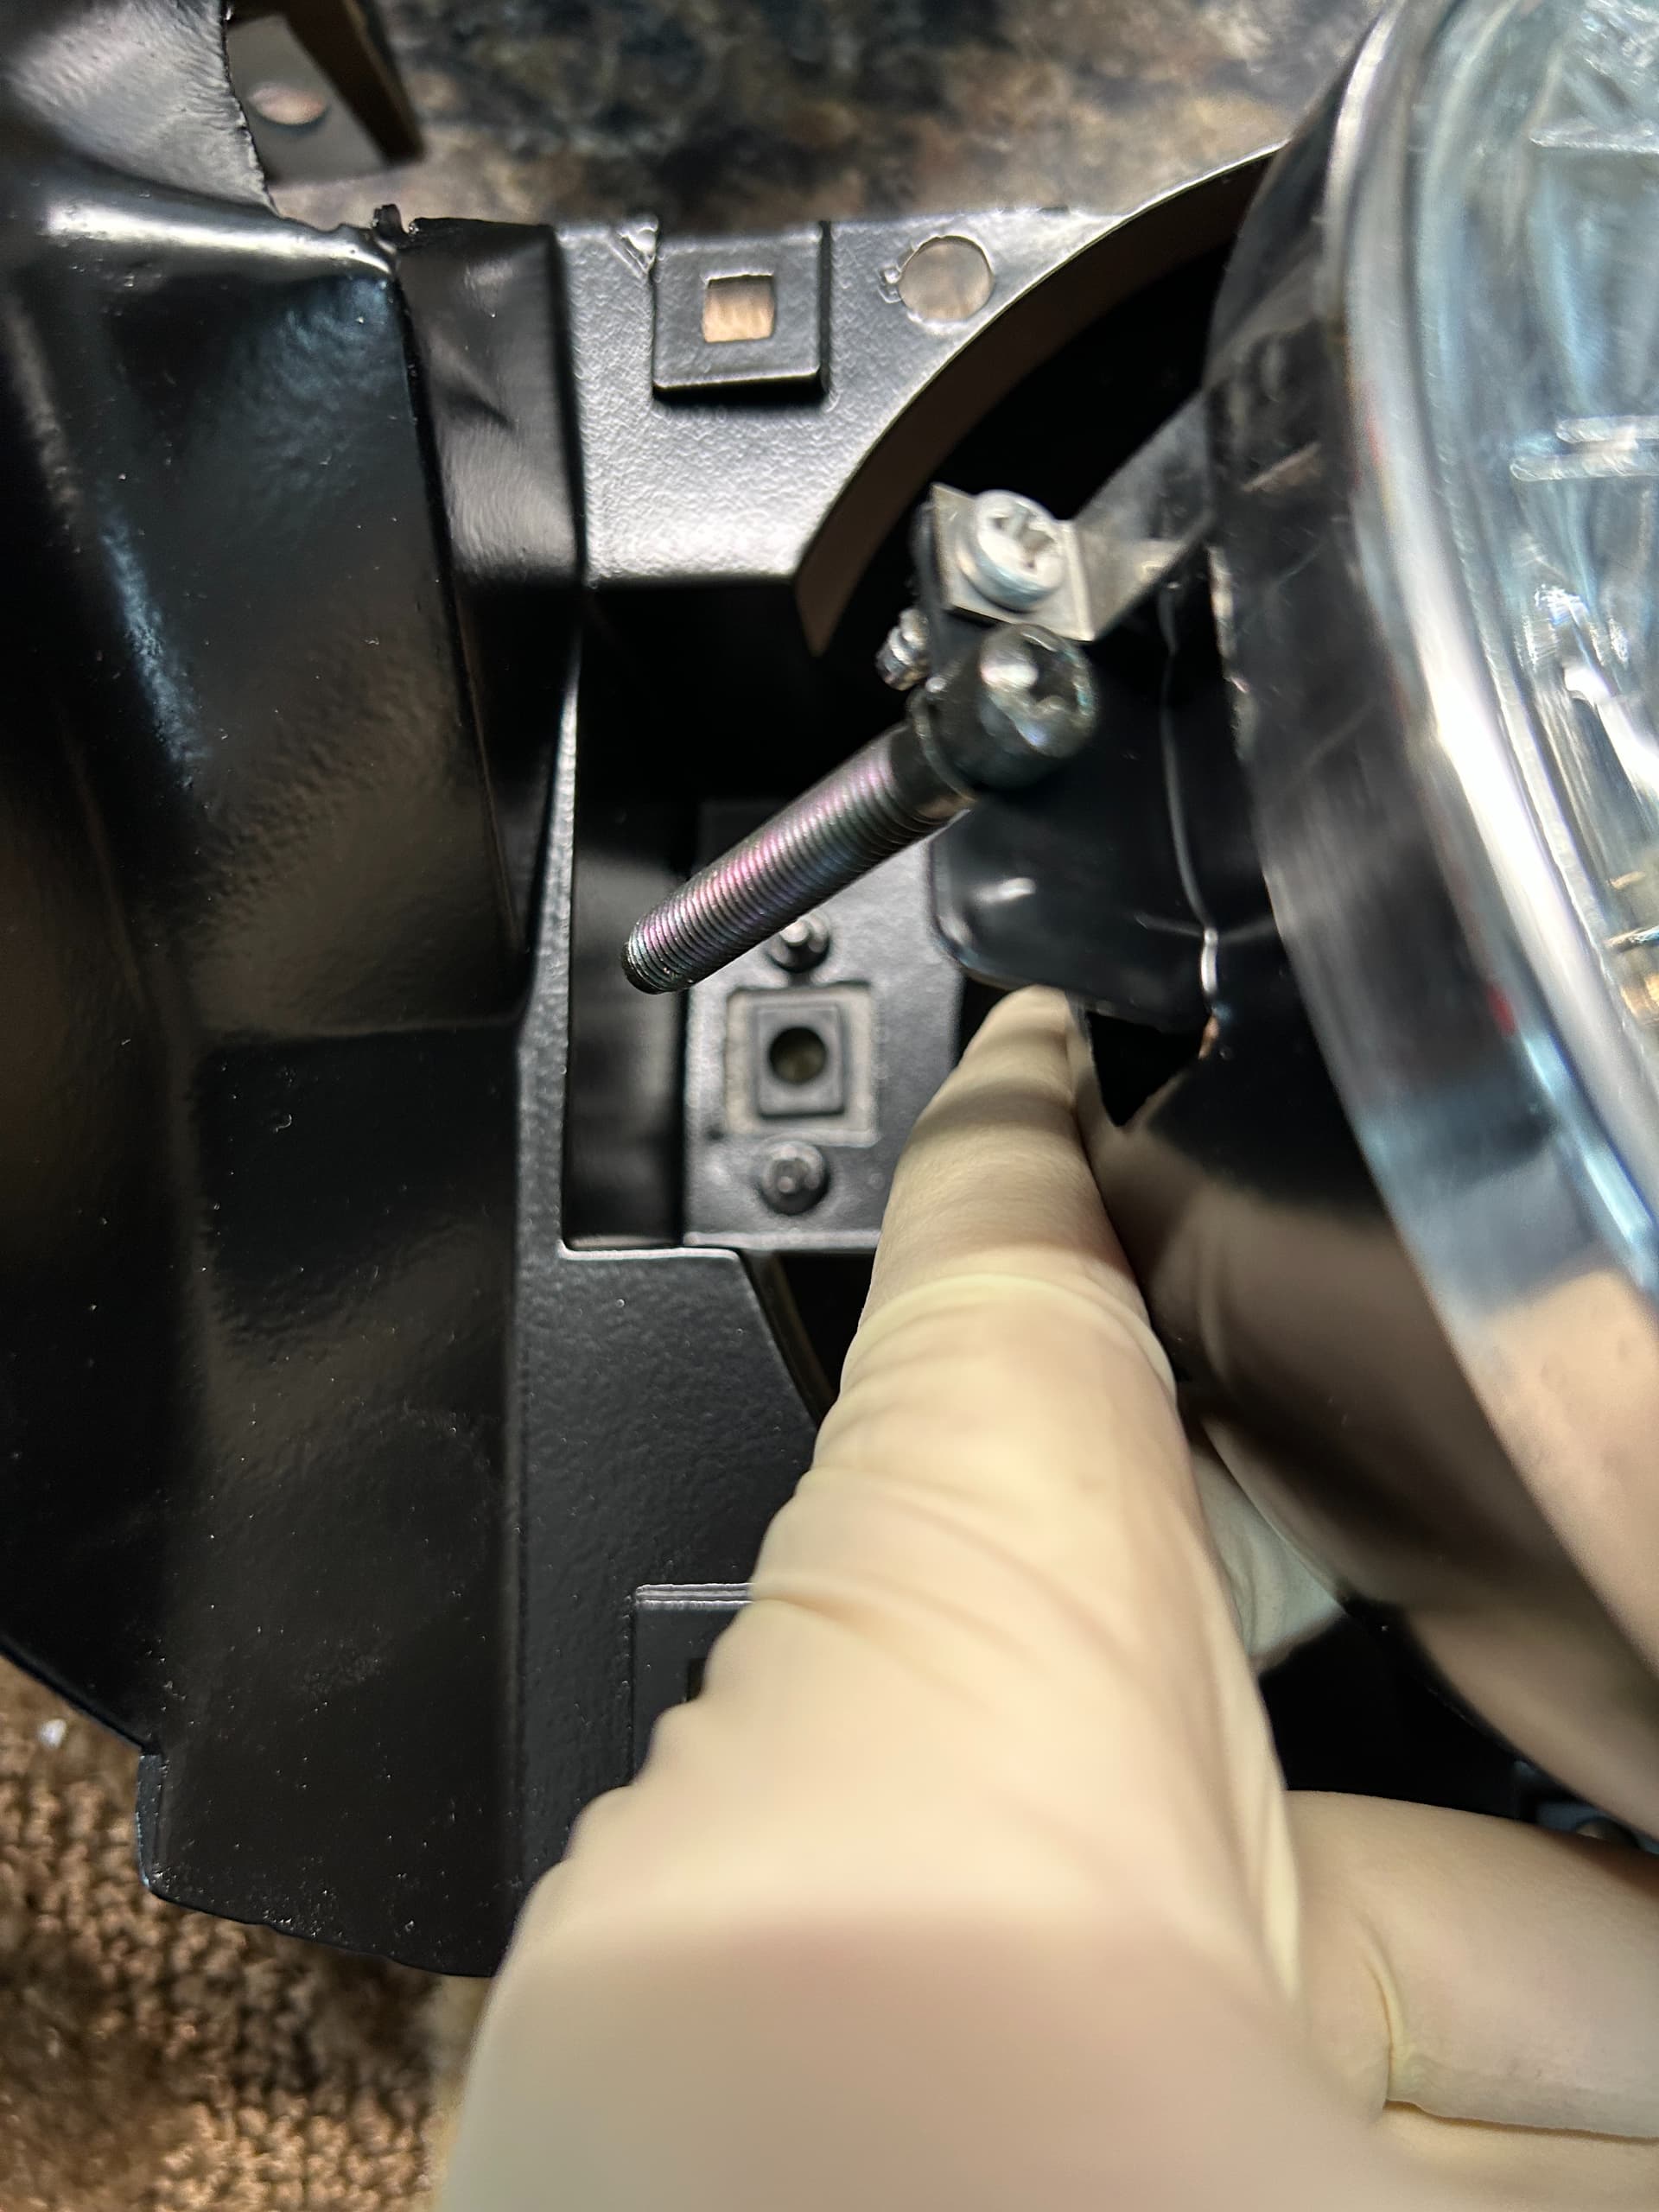
Once the springs are hooked to the retainer, install both adjuster screws into the slots on the buckets then set the light in place.
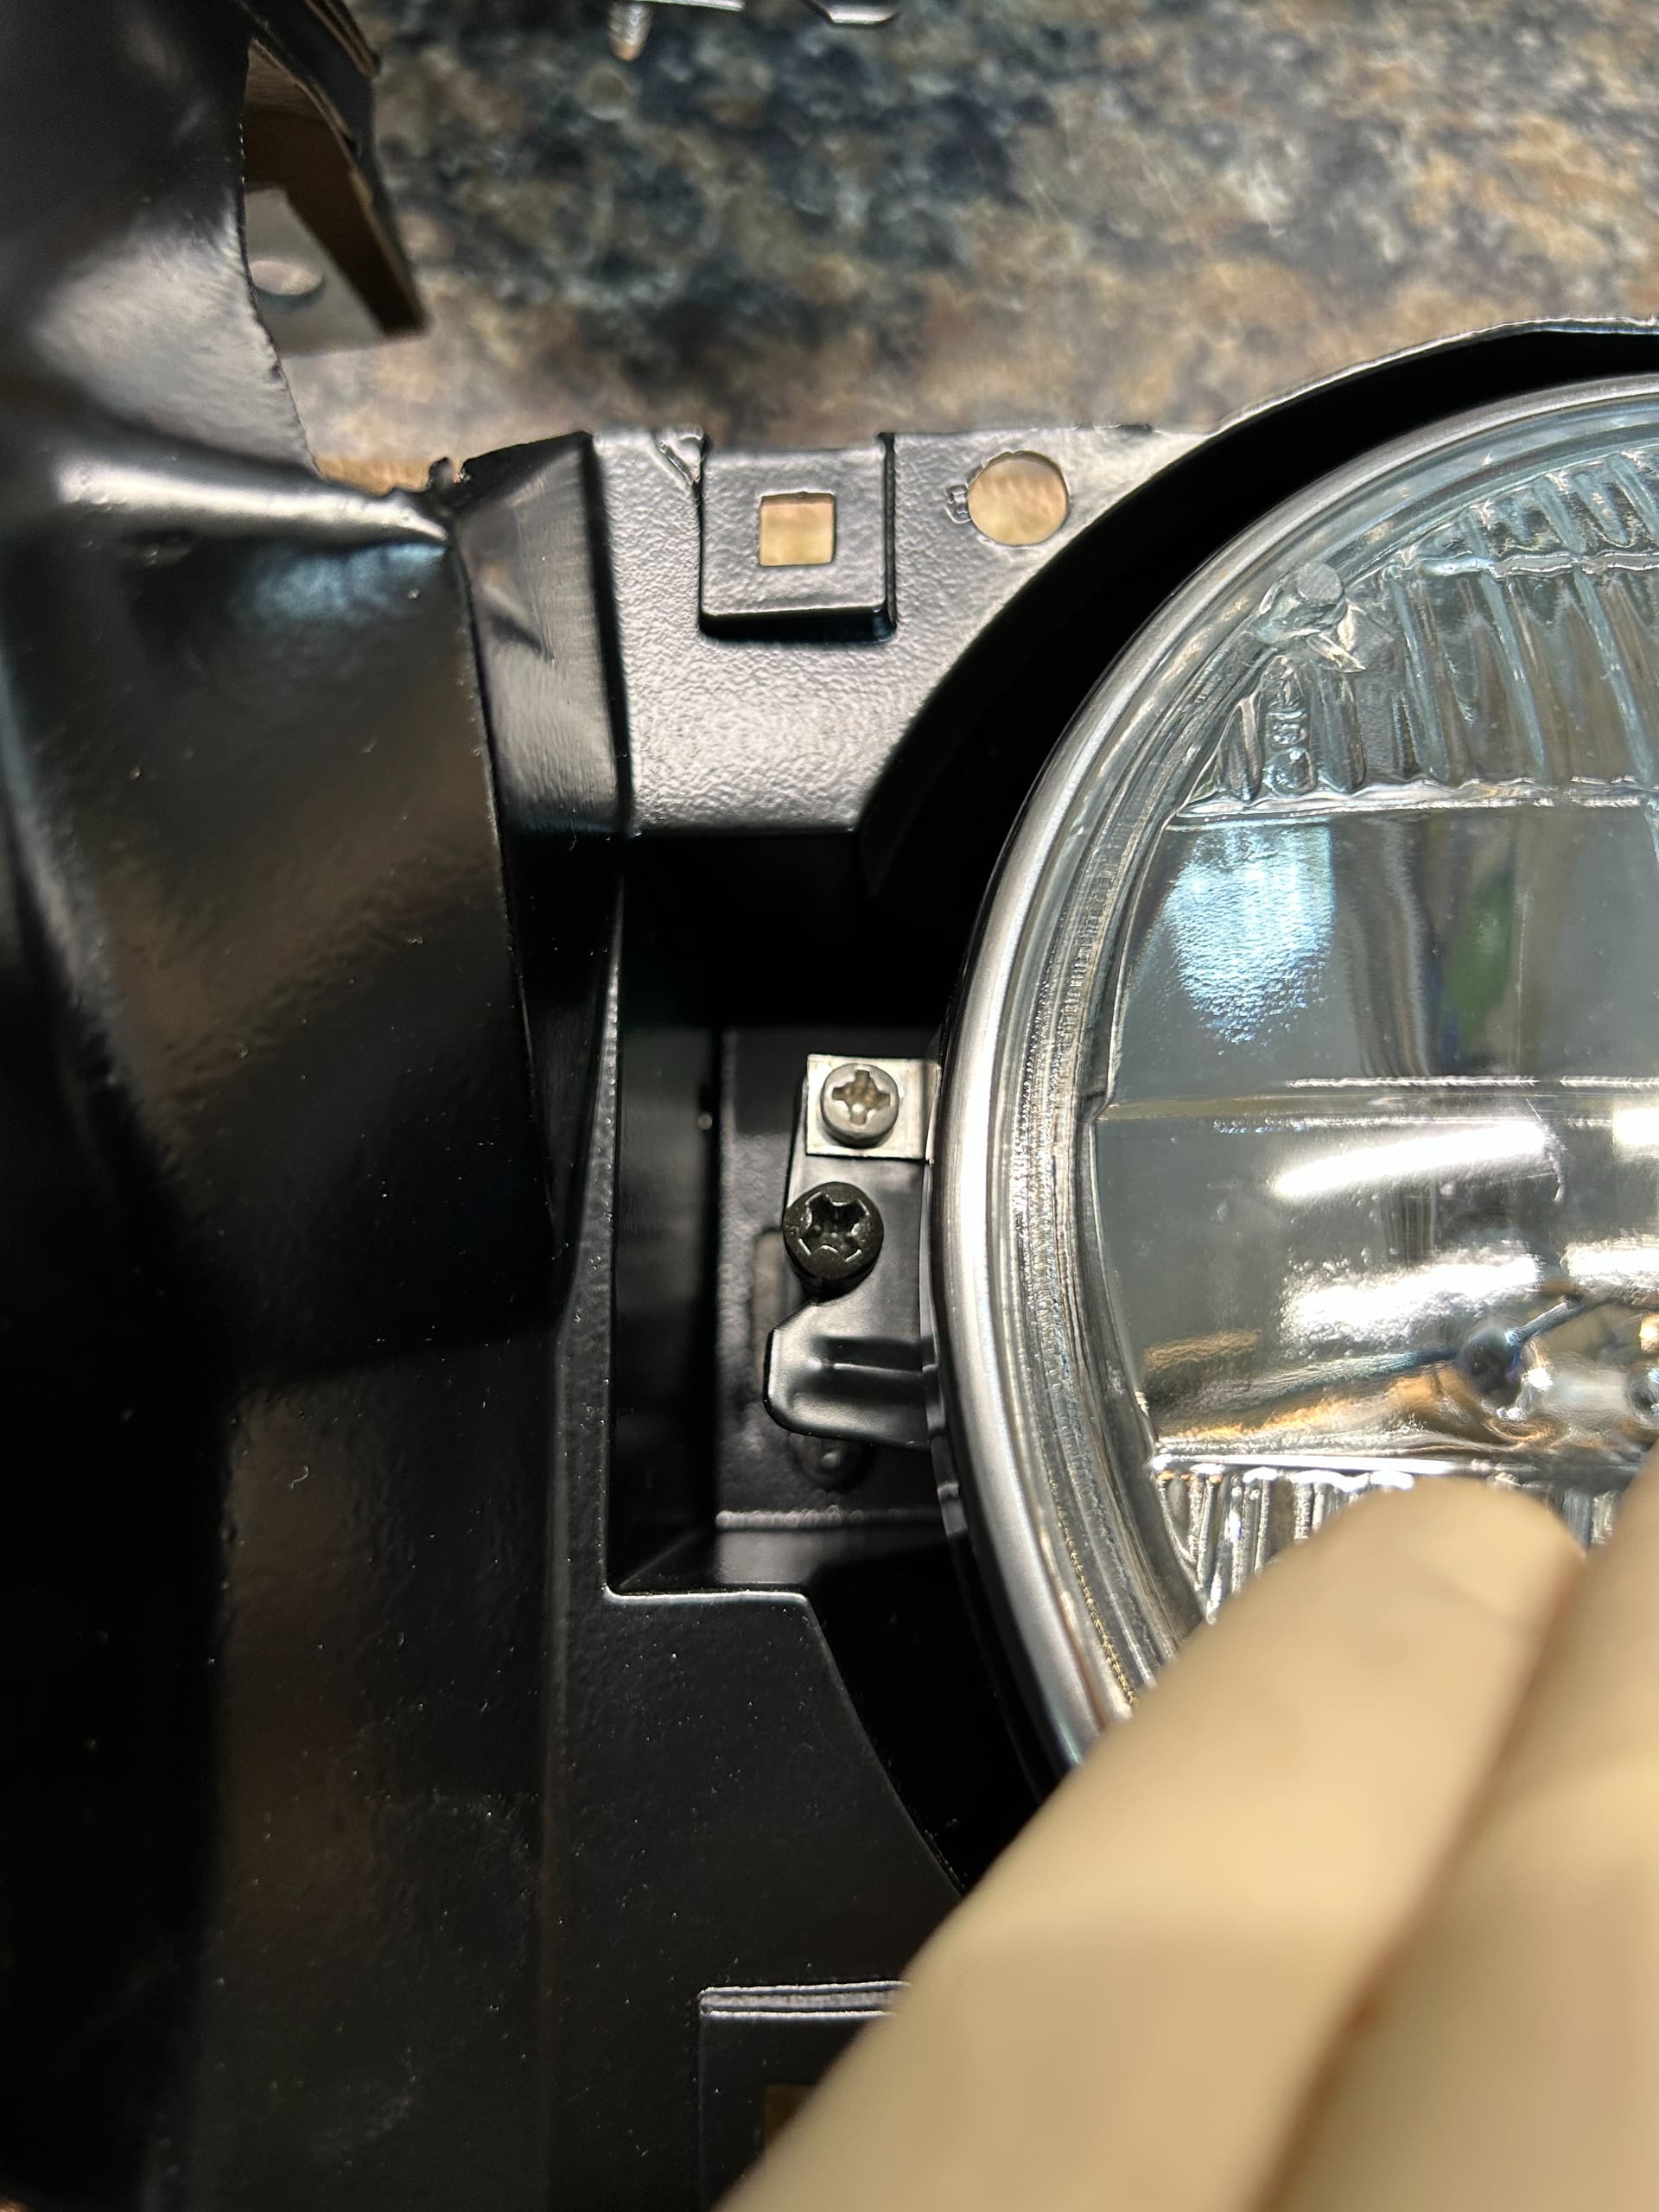

Now that the headlights are finished the headlight door can be installed. When I assembled the right side yesterday I attached the door in the bucket which was much more difficult.
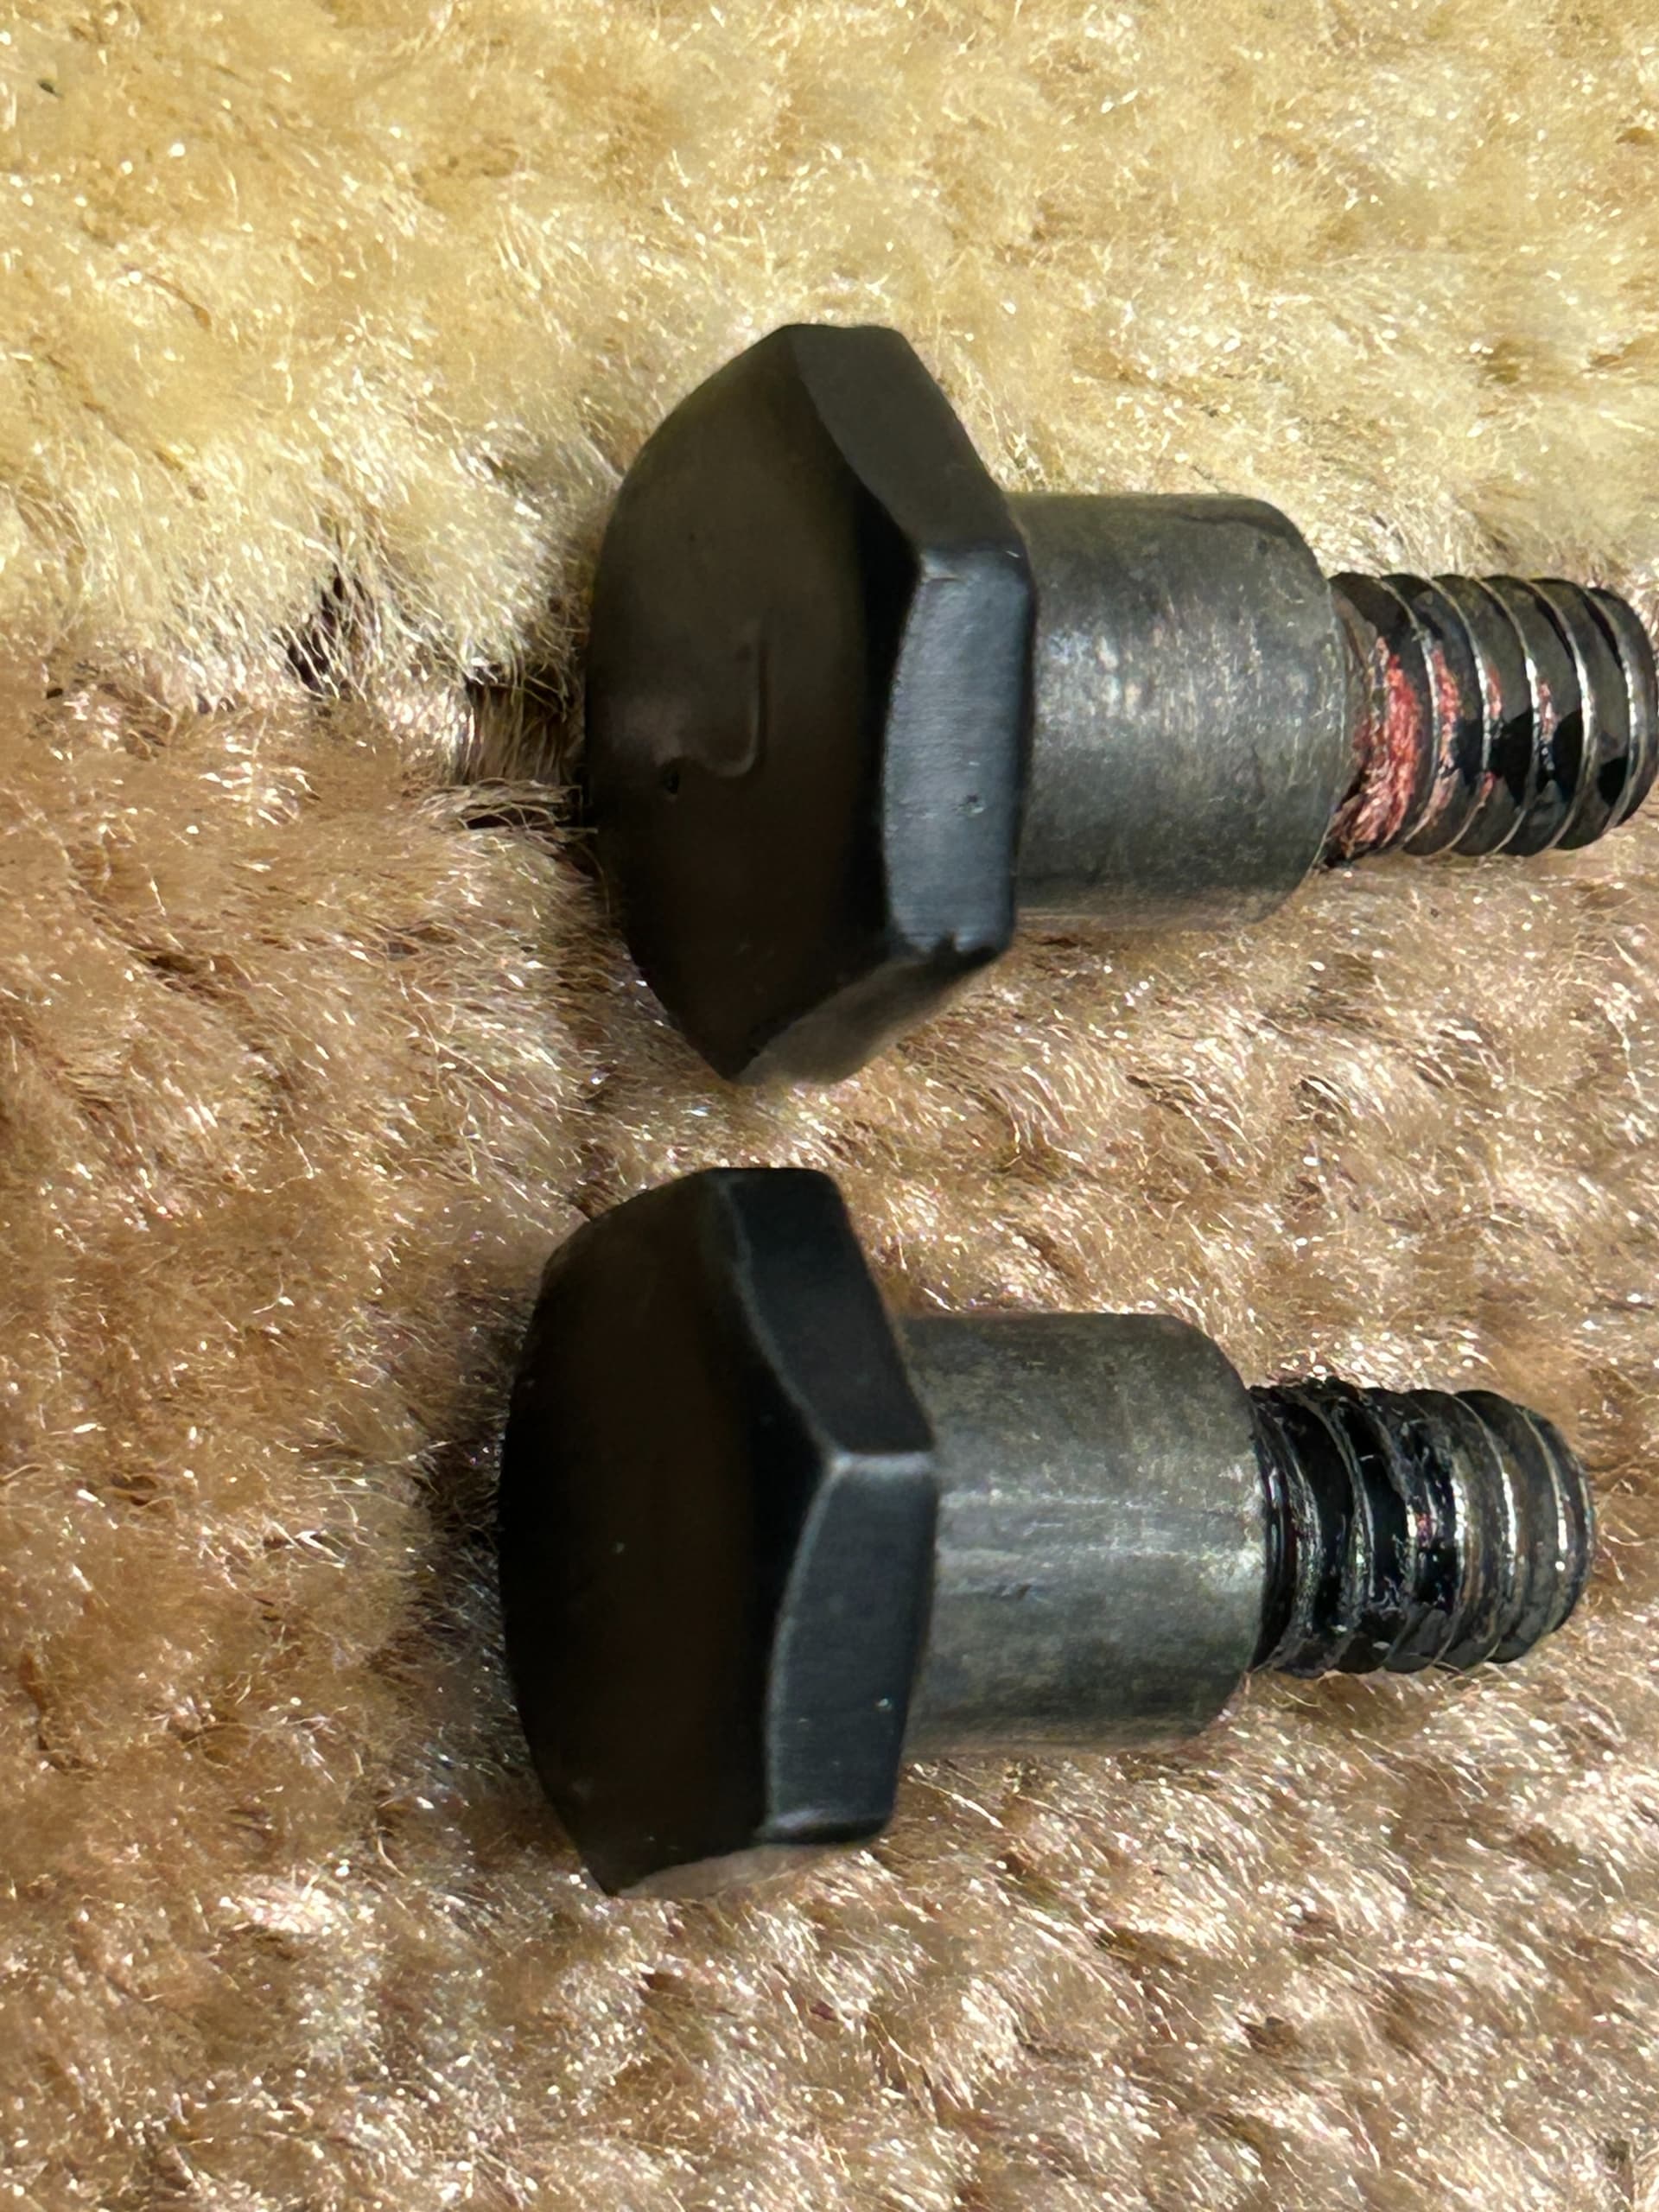
There are brass bushings in the headlight door pivots, make sure they are clean and put a little grease on the attaching bolts. The attaching/ pivot bolts also had loctite on them from the factory.
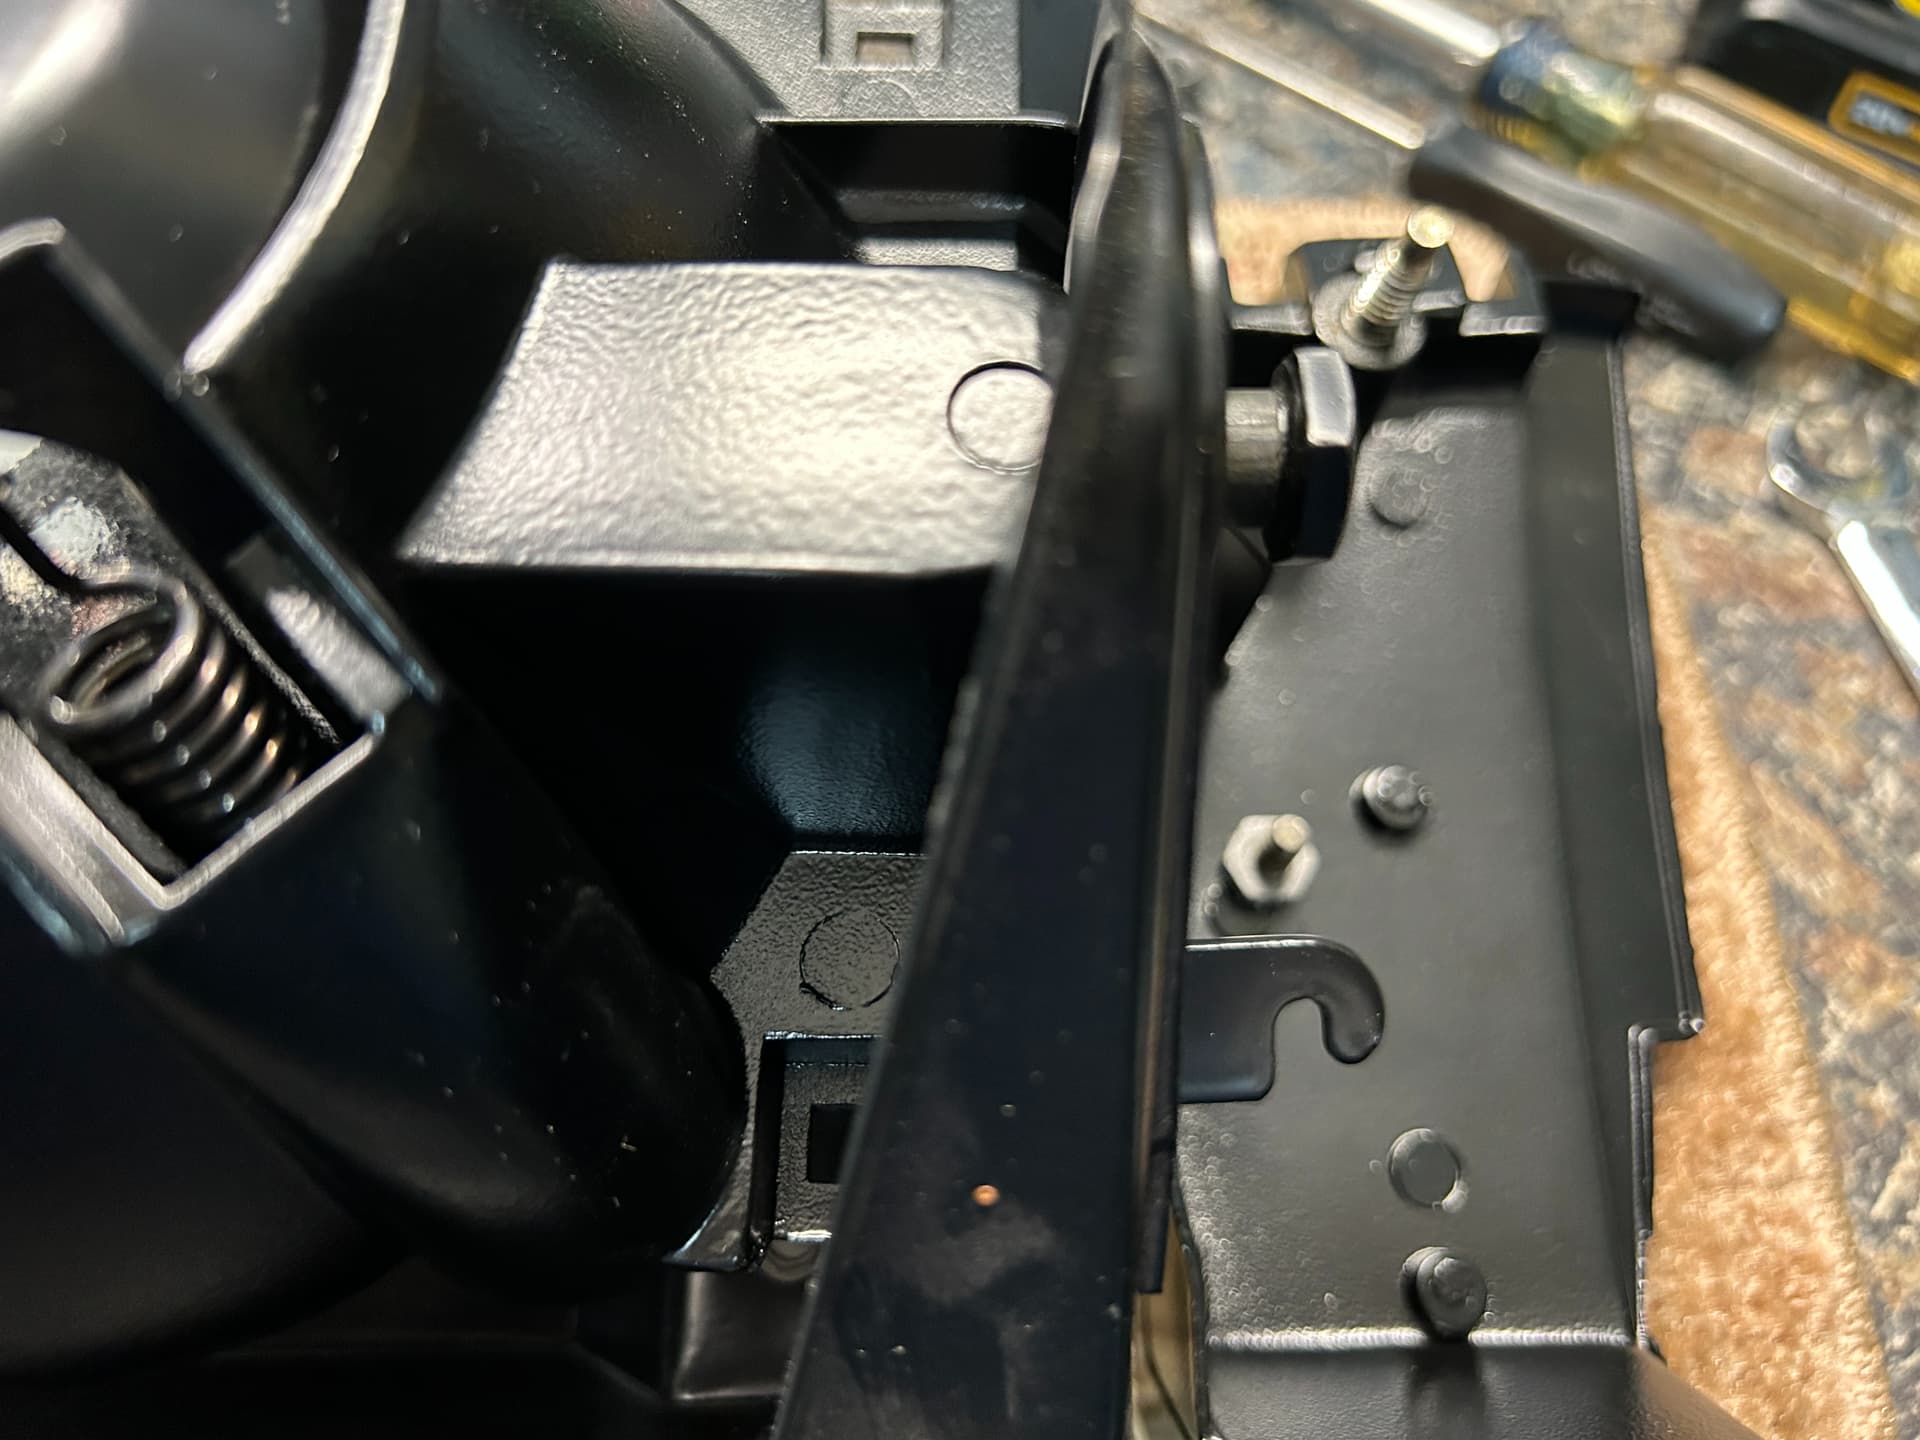

The grill can now be installed in the buckets. Be sure to install all of the speed on the bucket prior to installing the grill as you will have better access.

Once the grill is bolted down to the bucket the headlight door assist springs need to be installed. A hook end pick works great to stretch the spring.

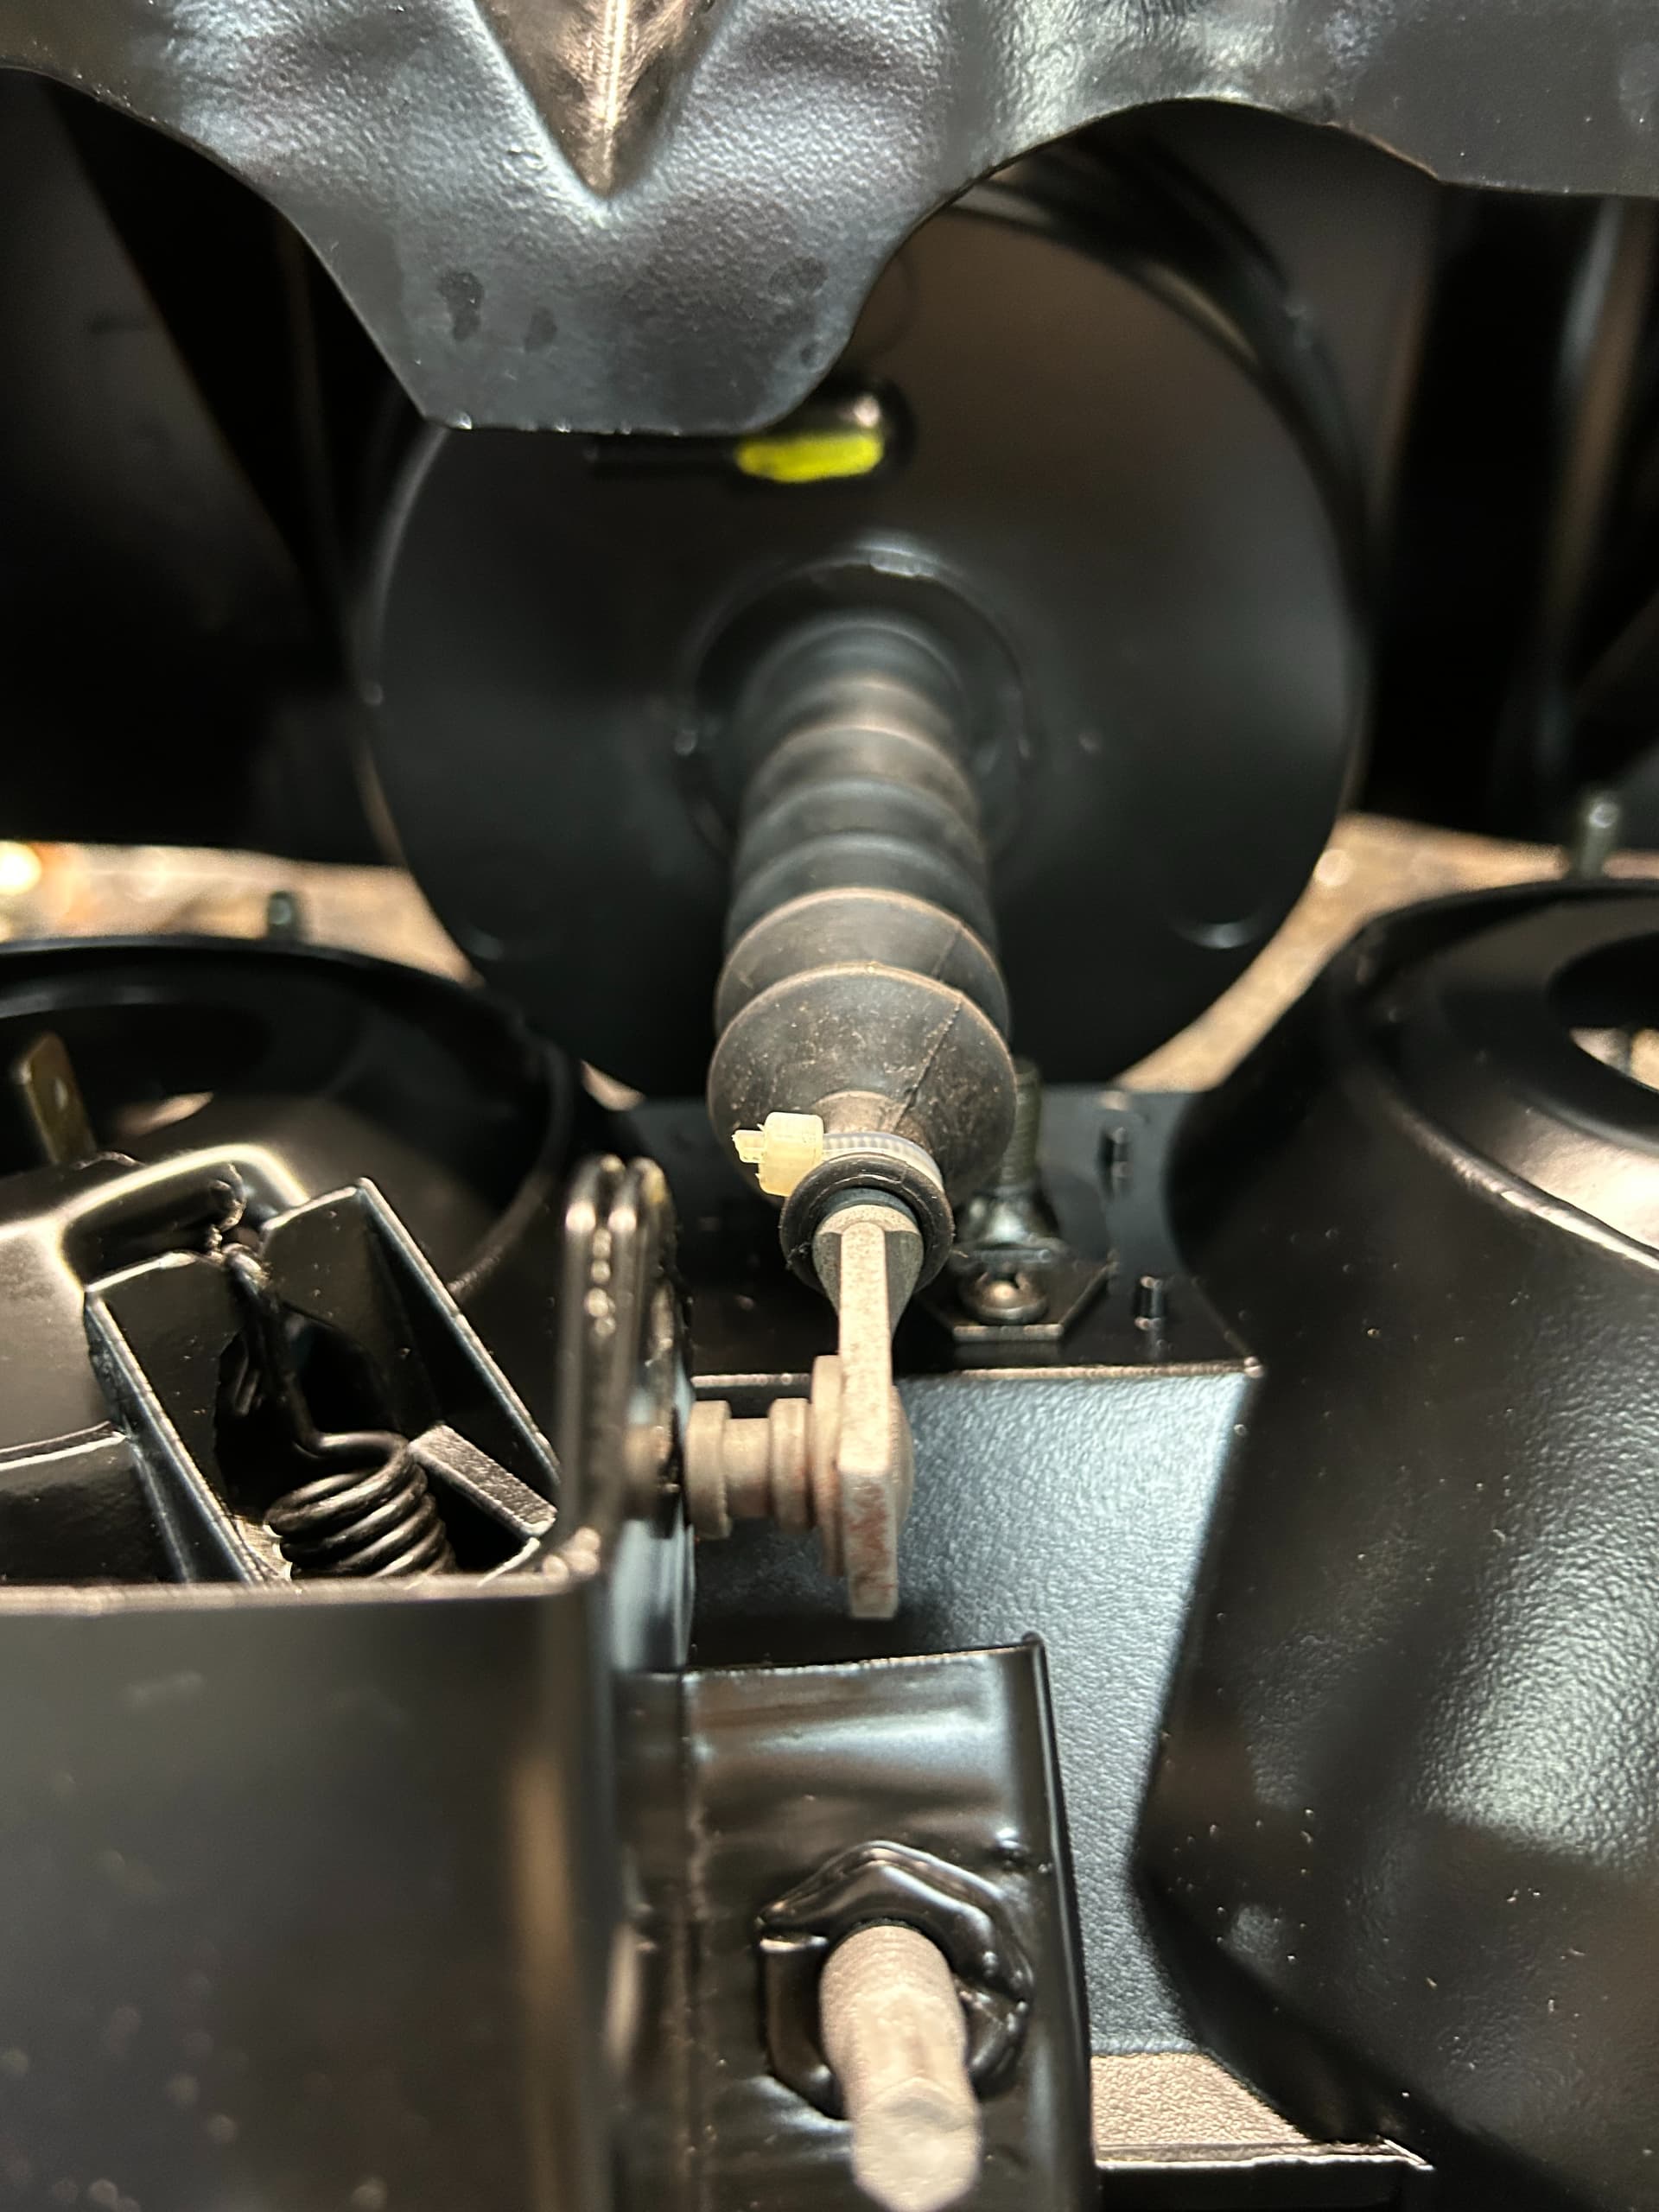
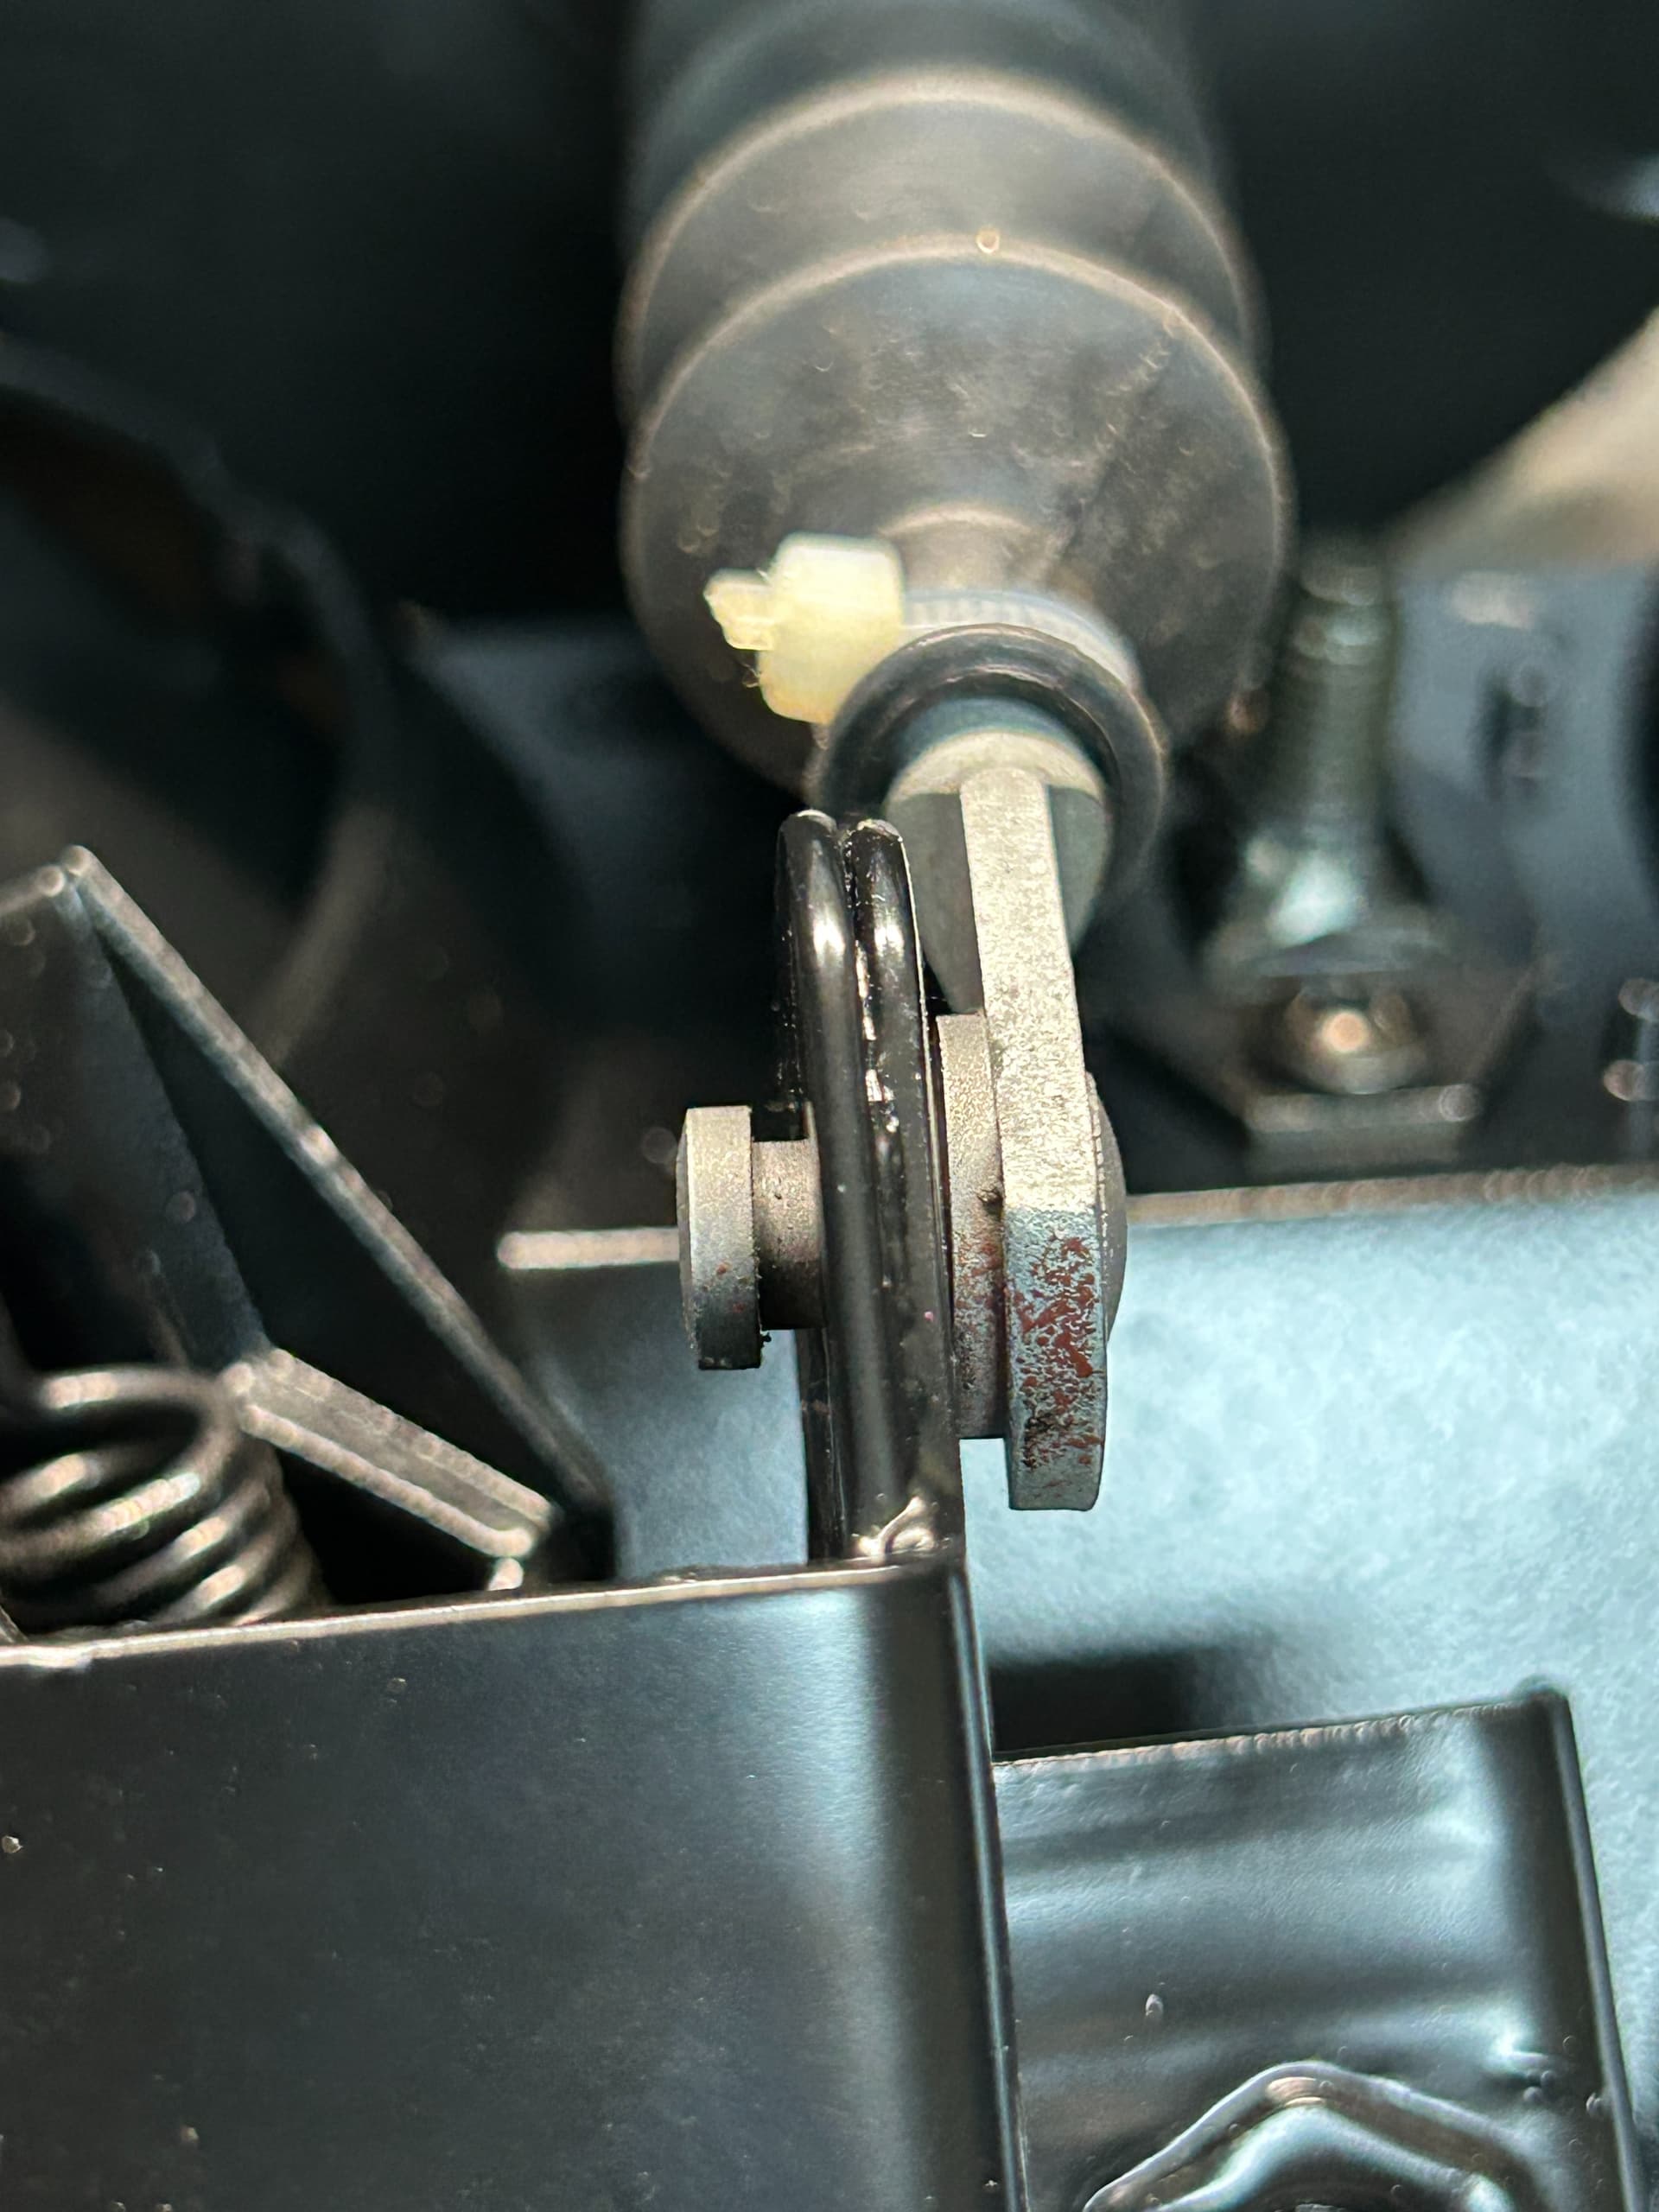
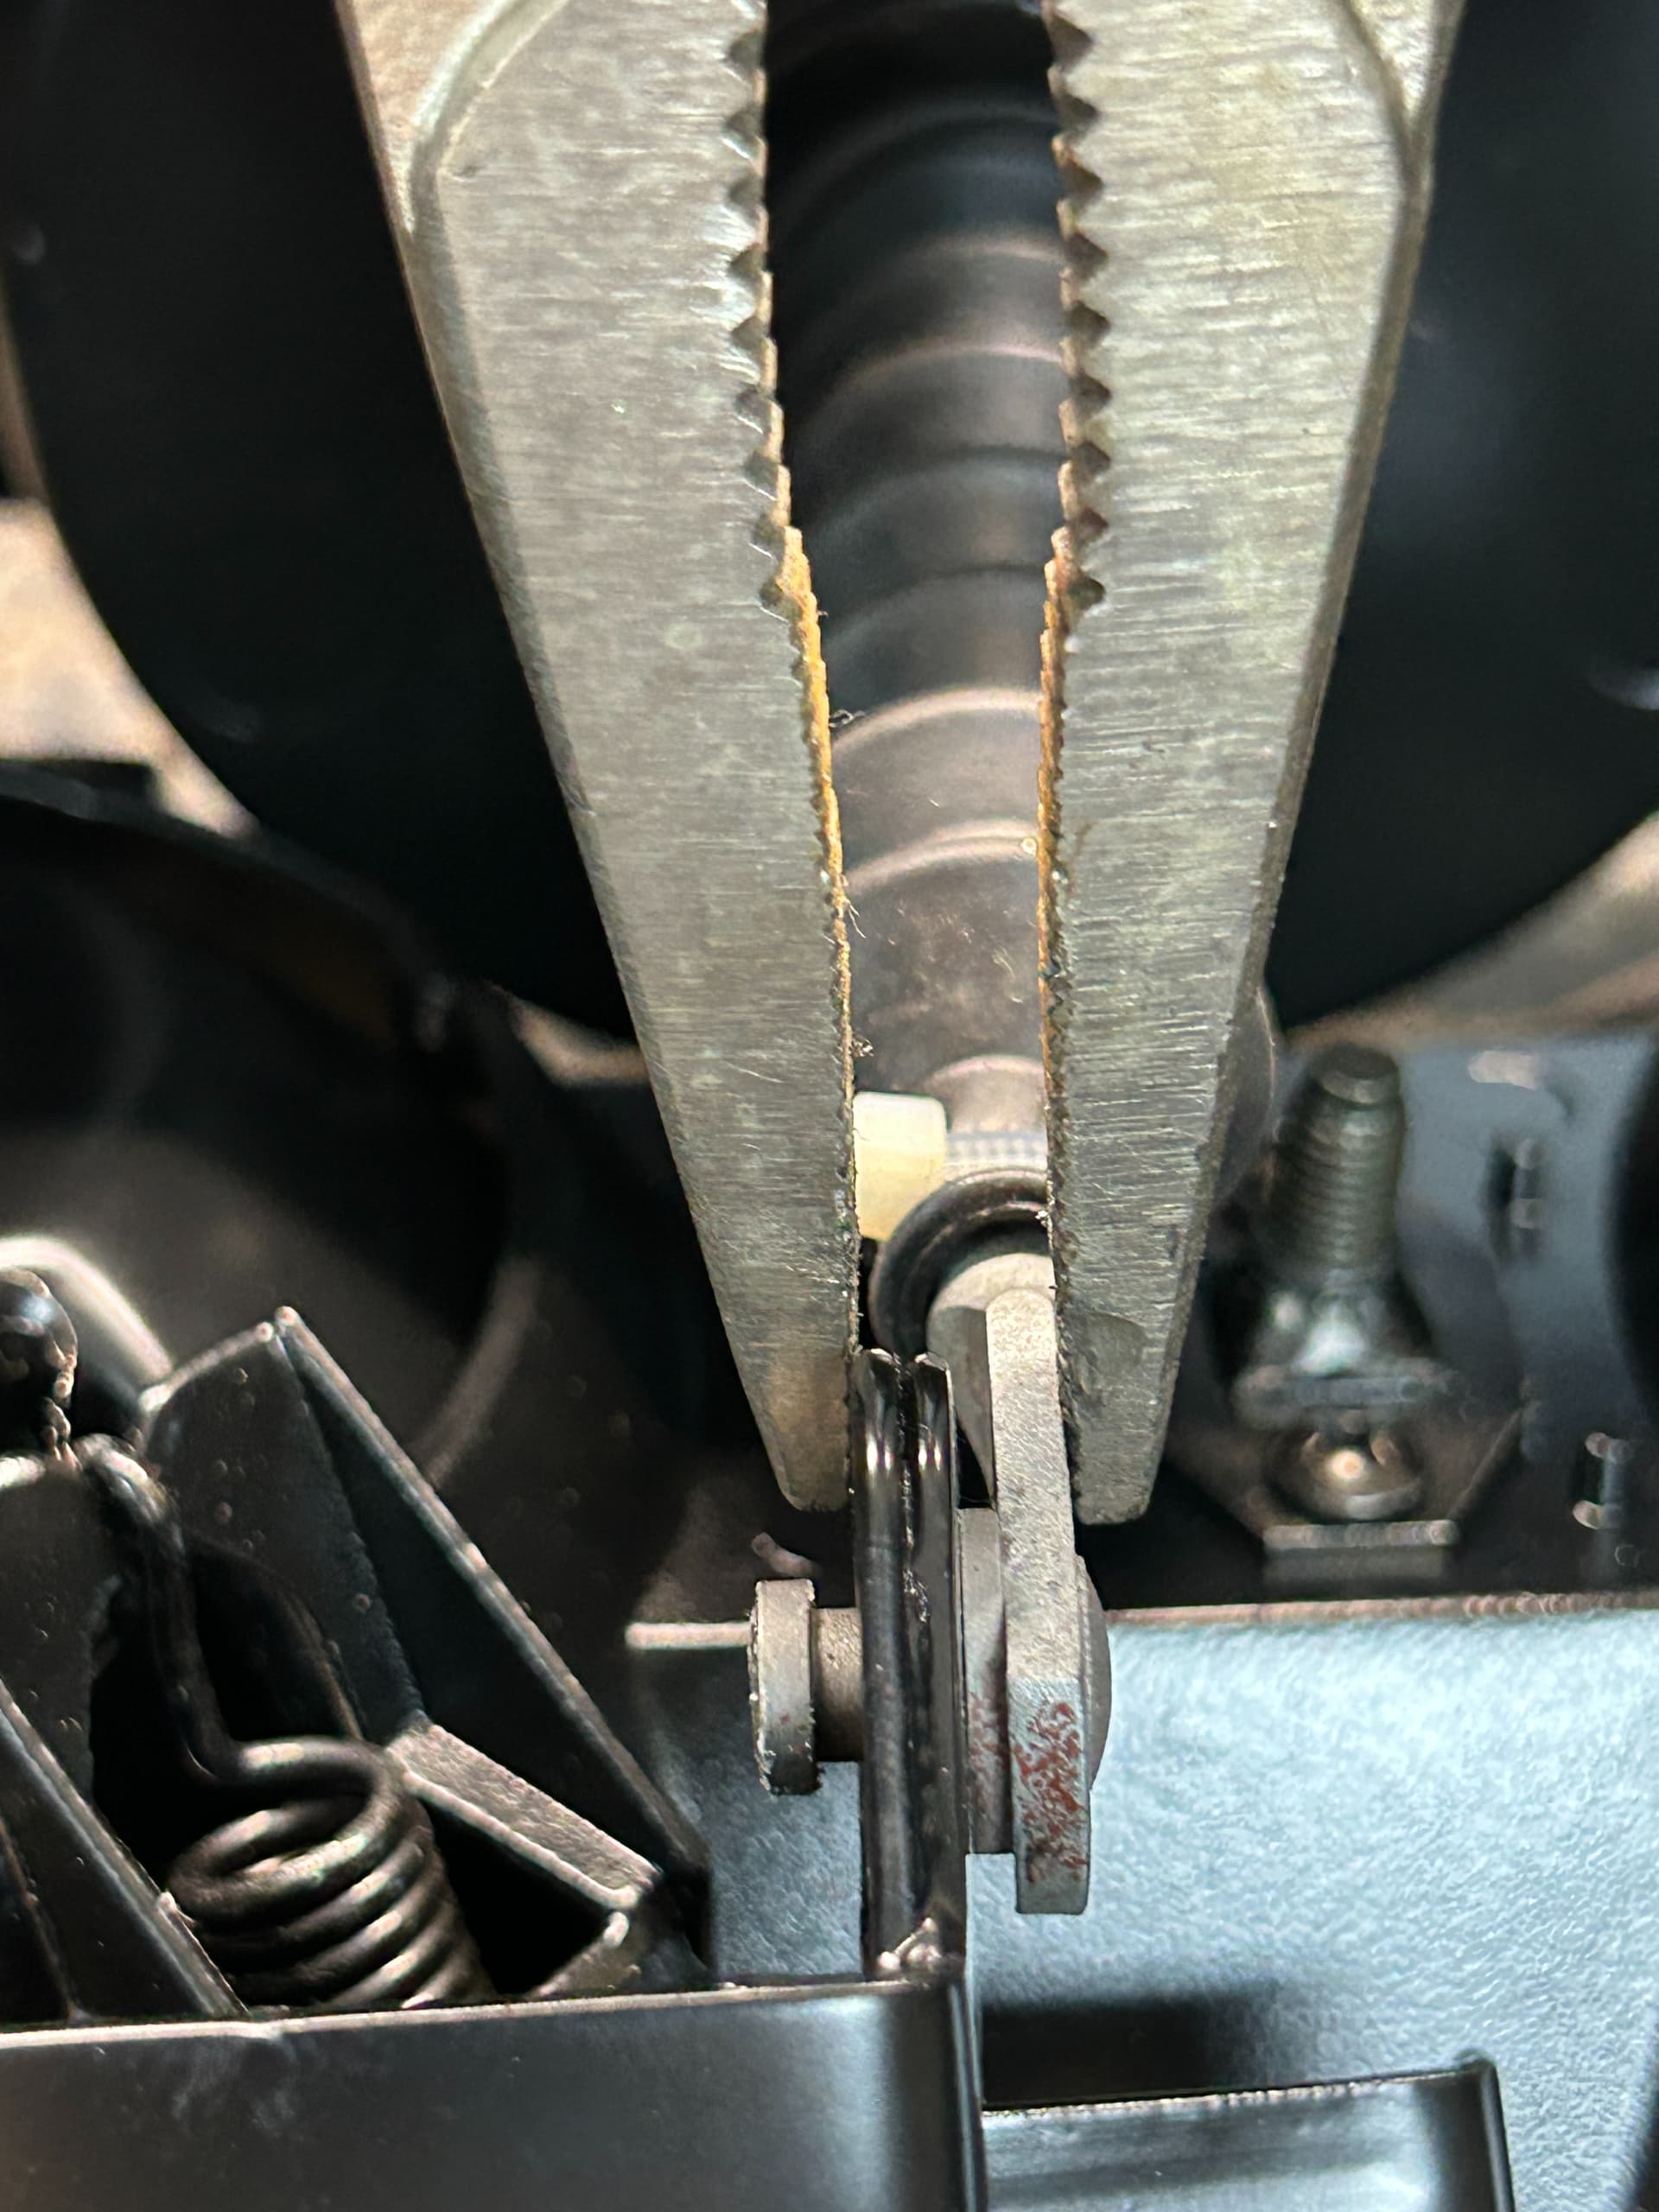
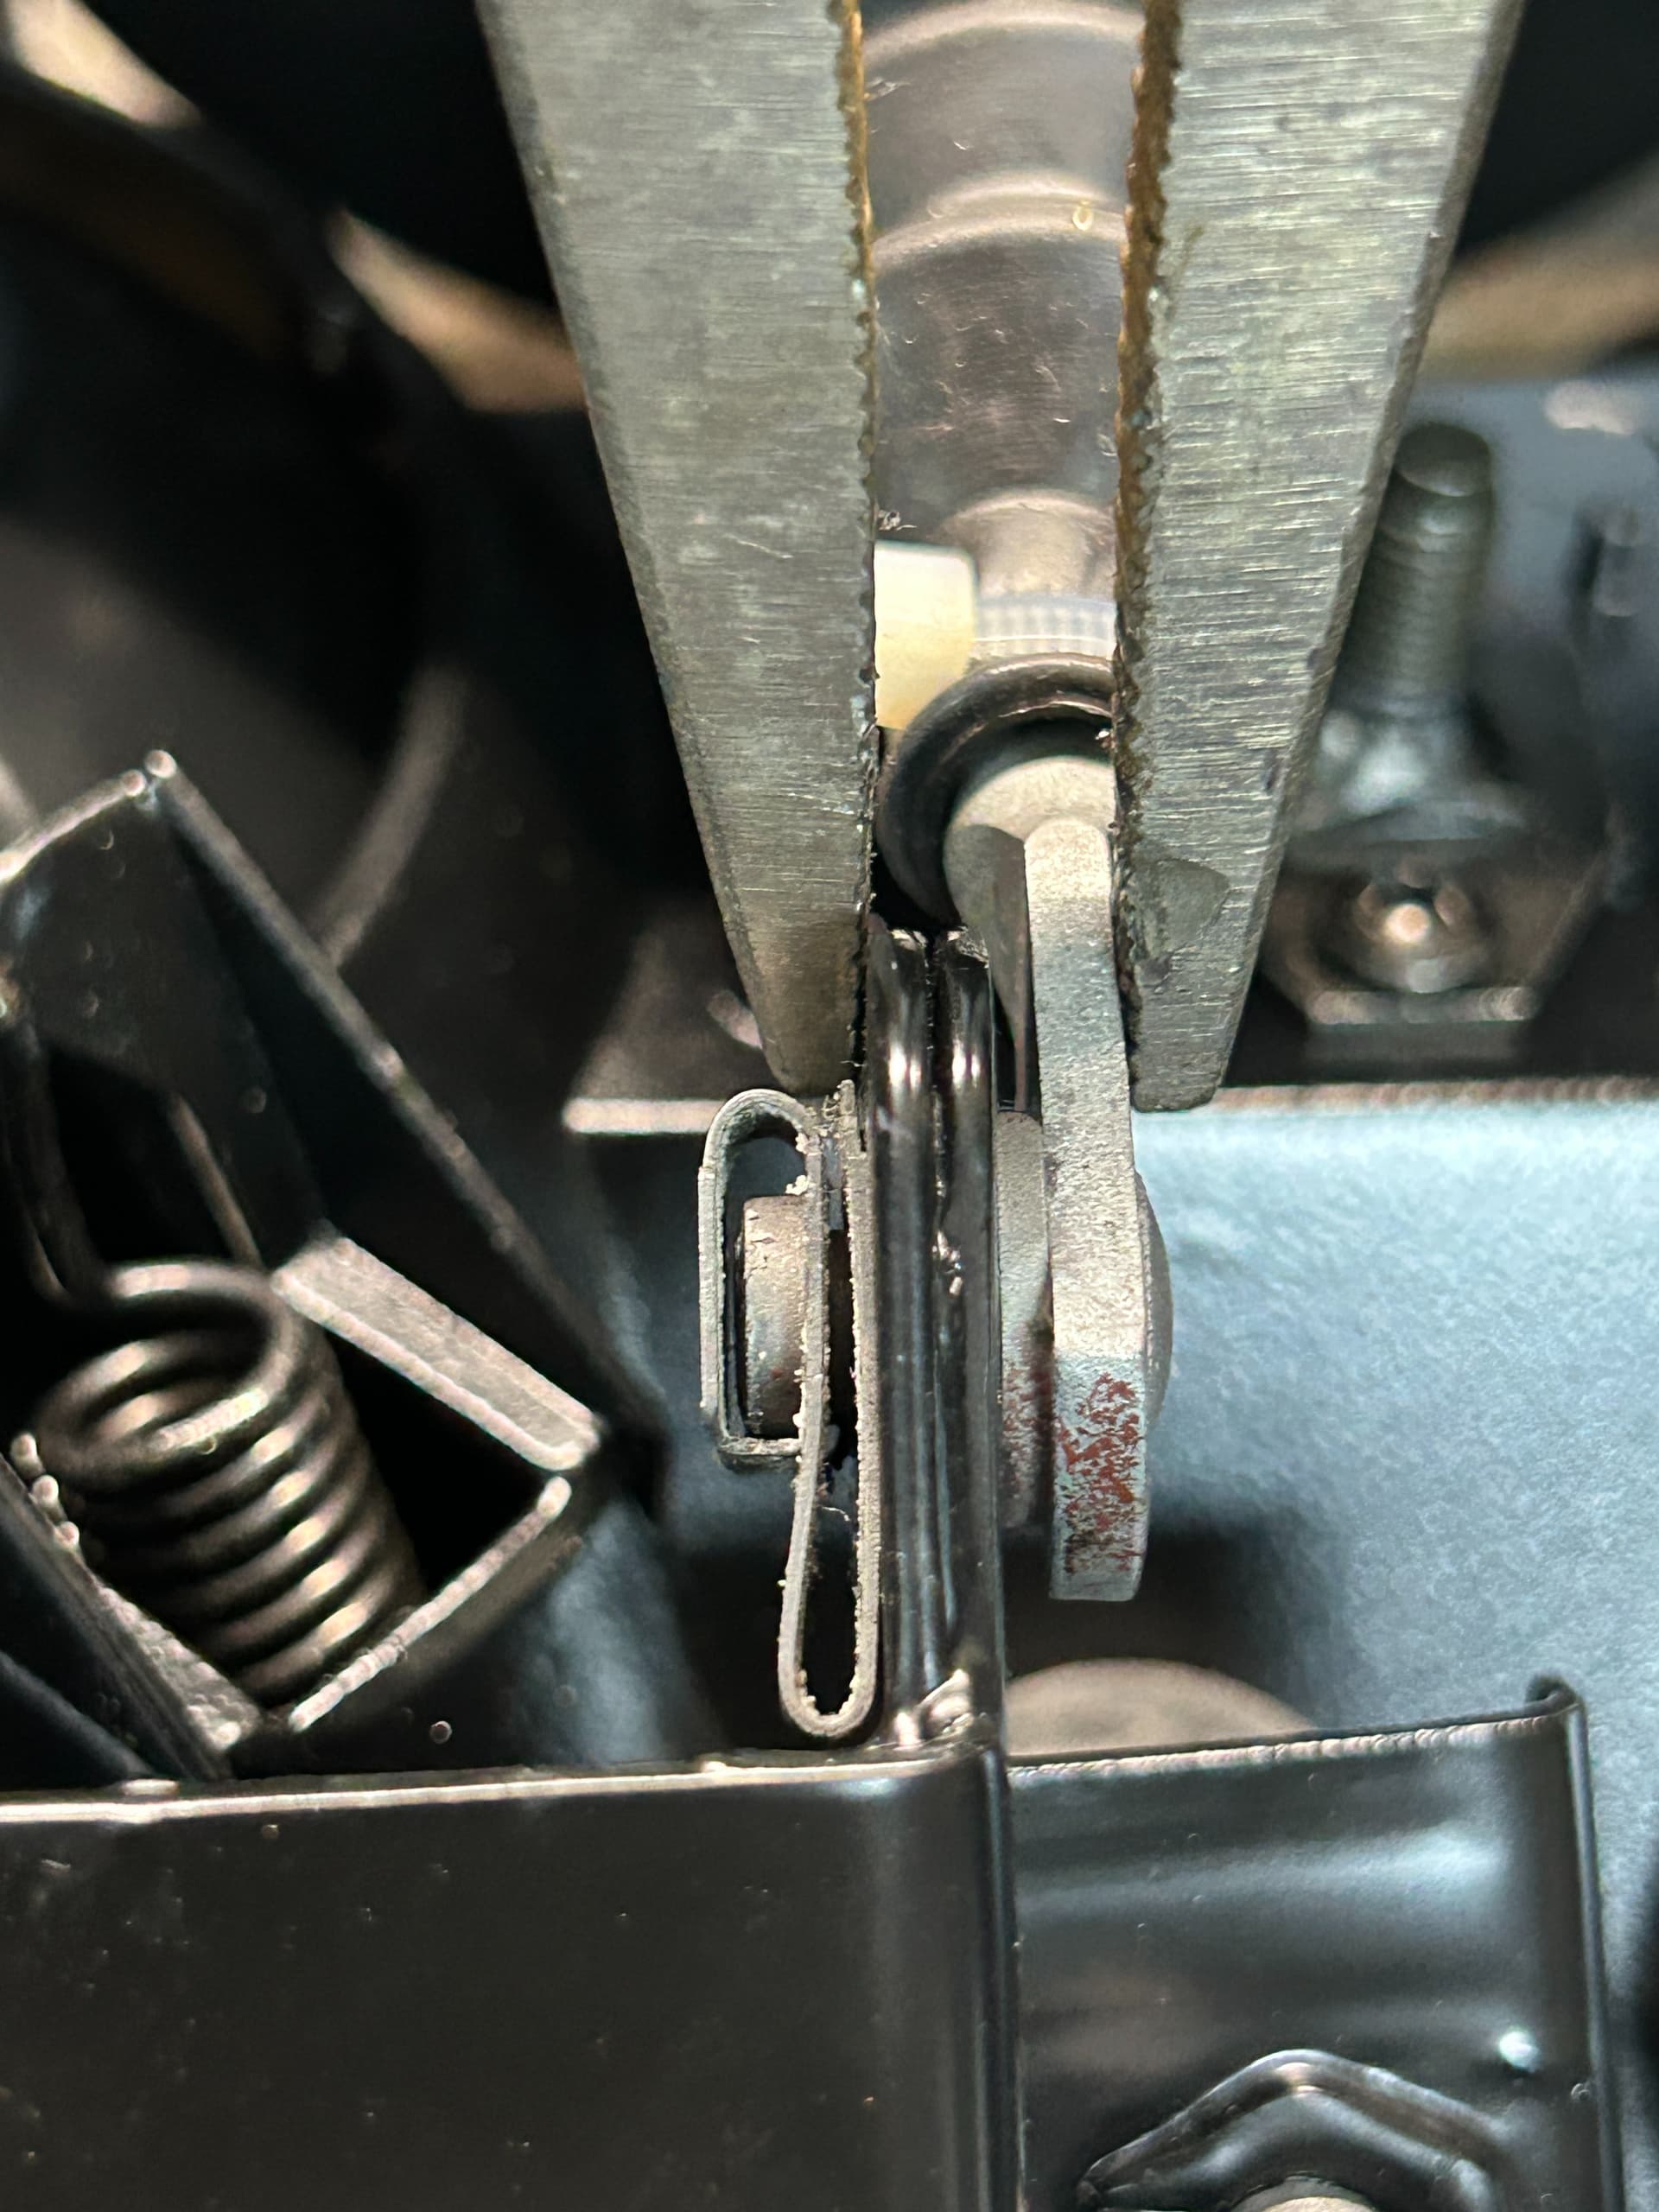
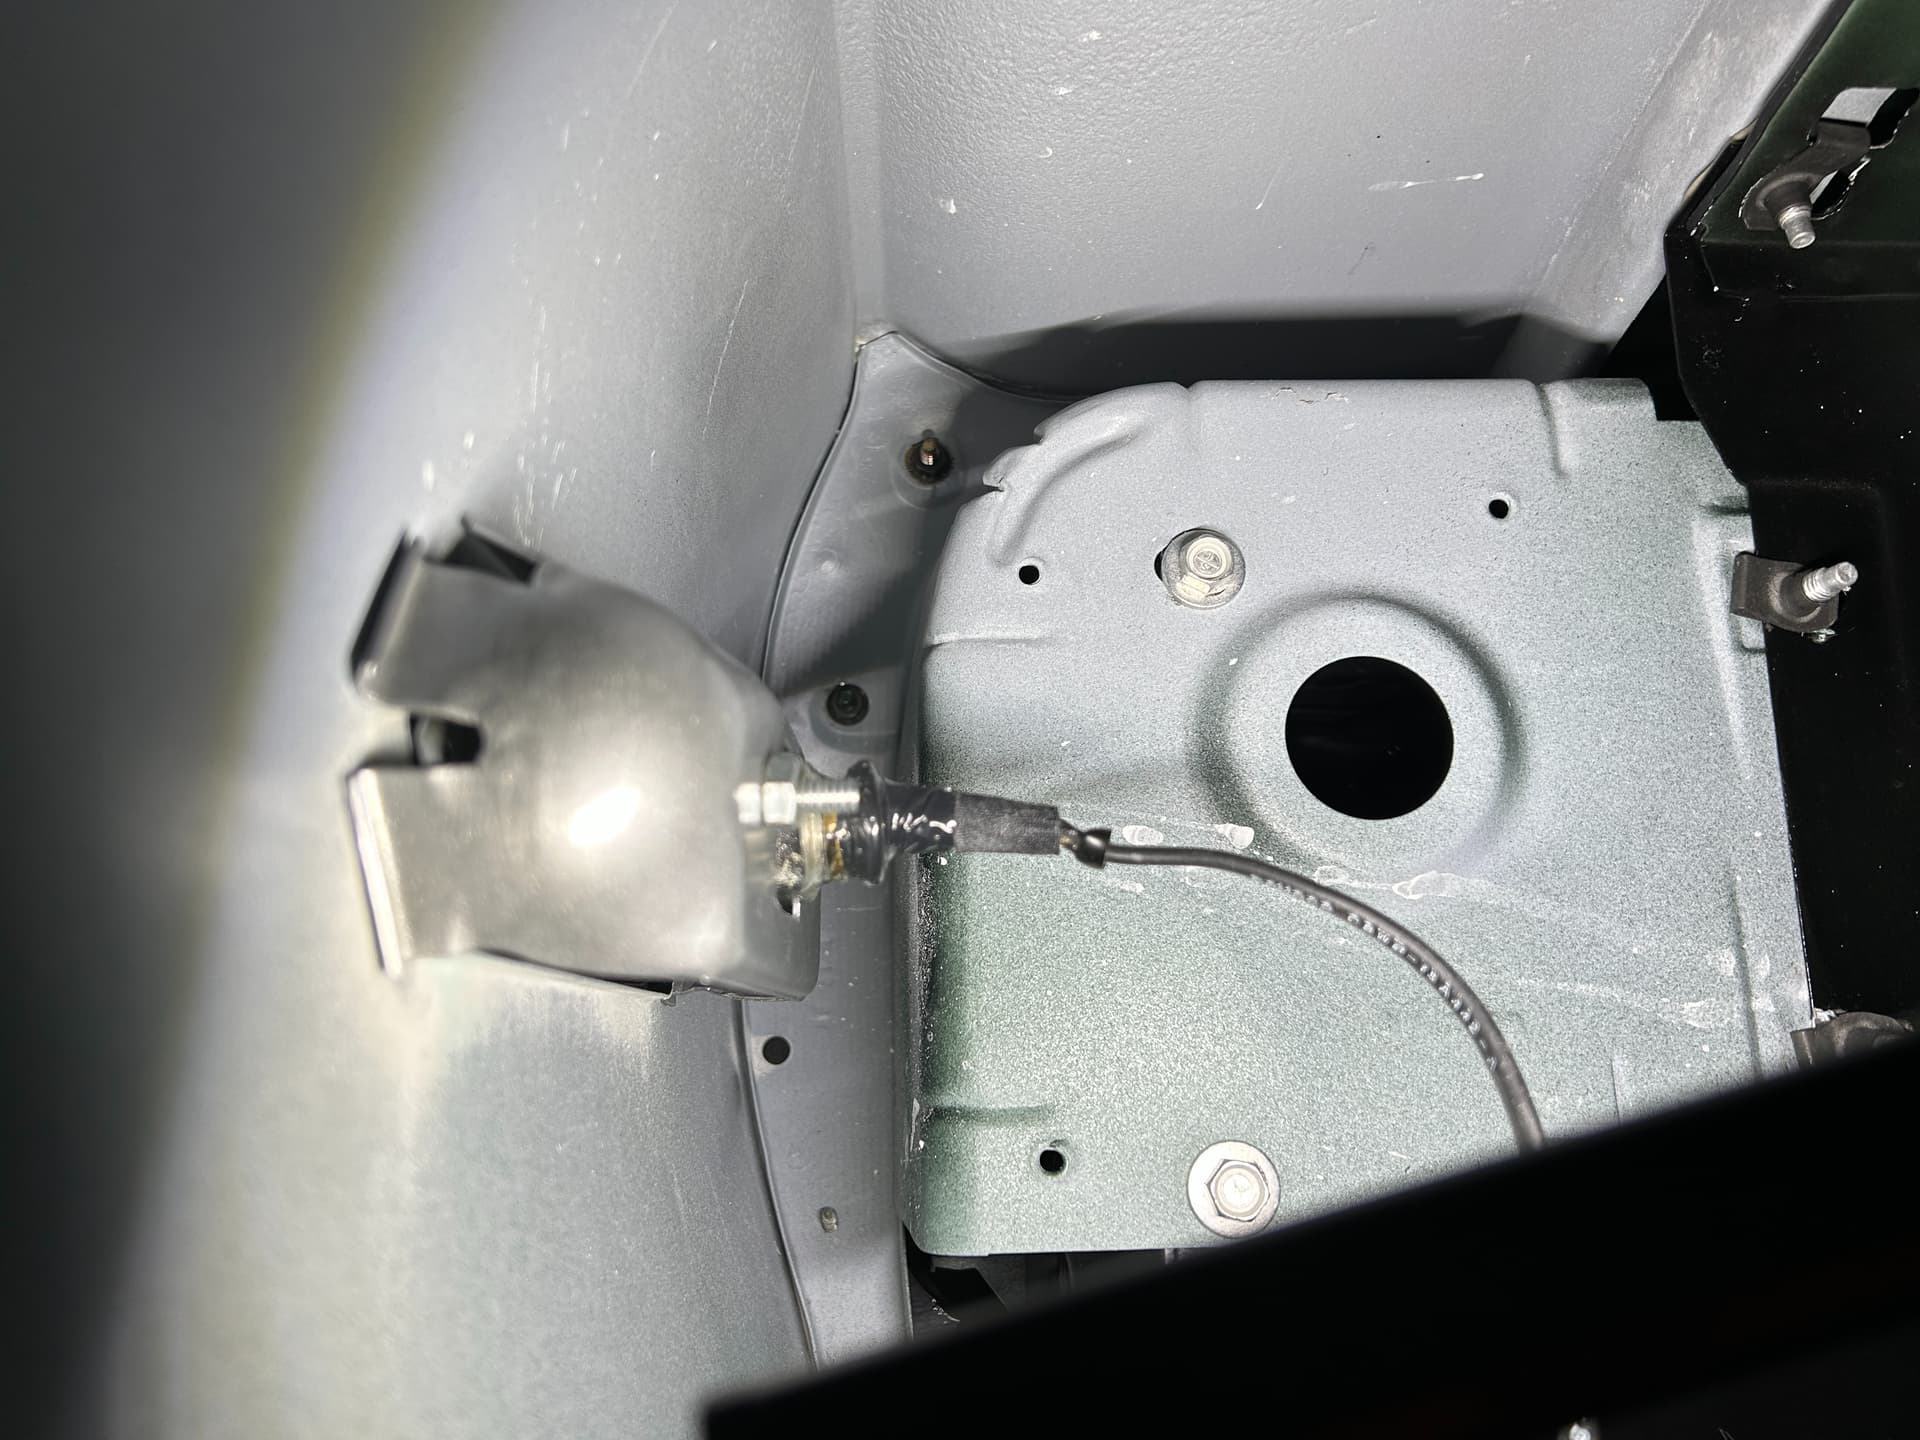
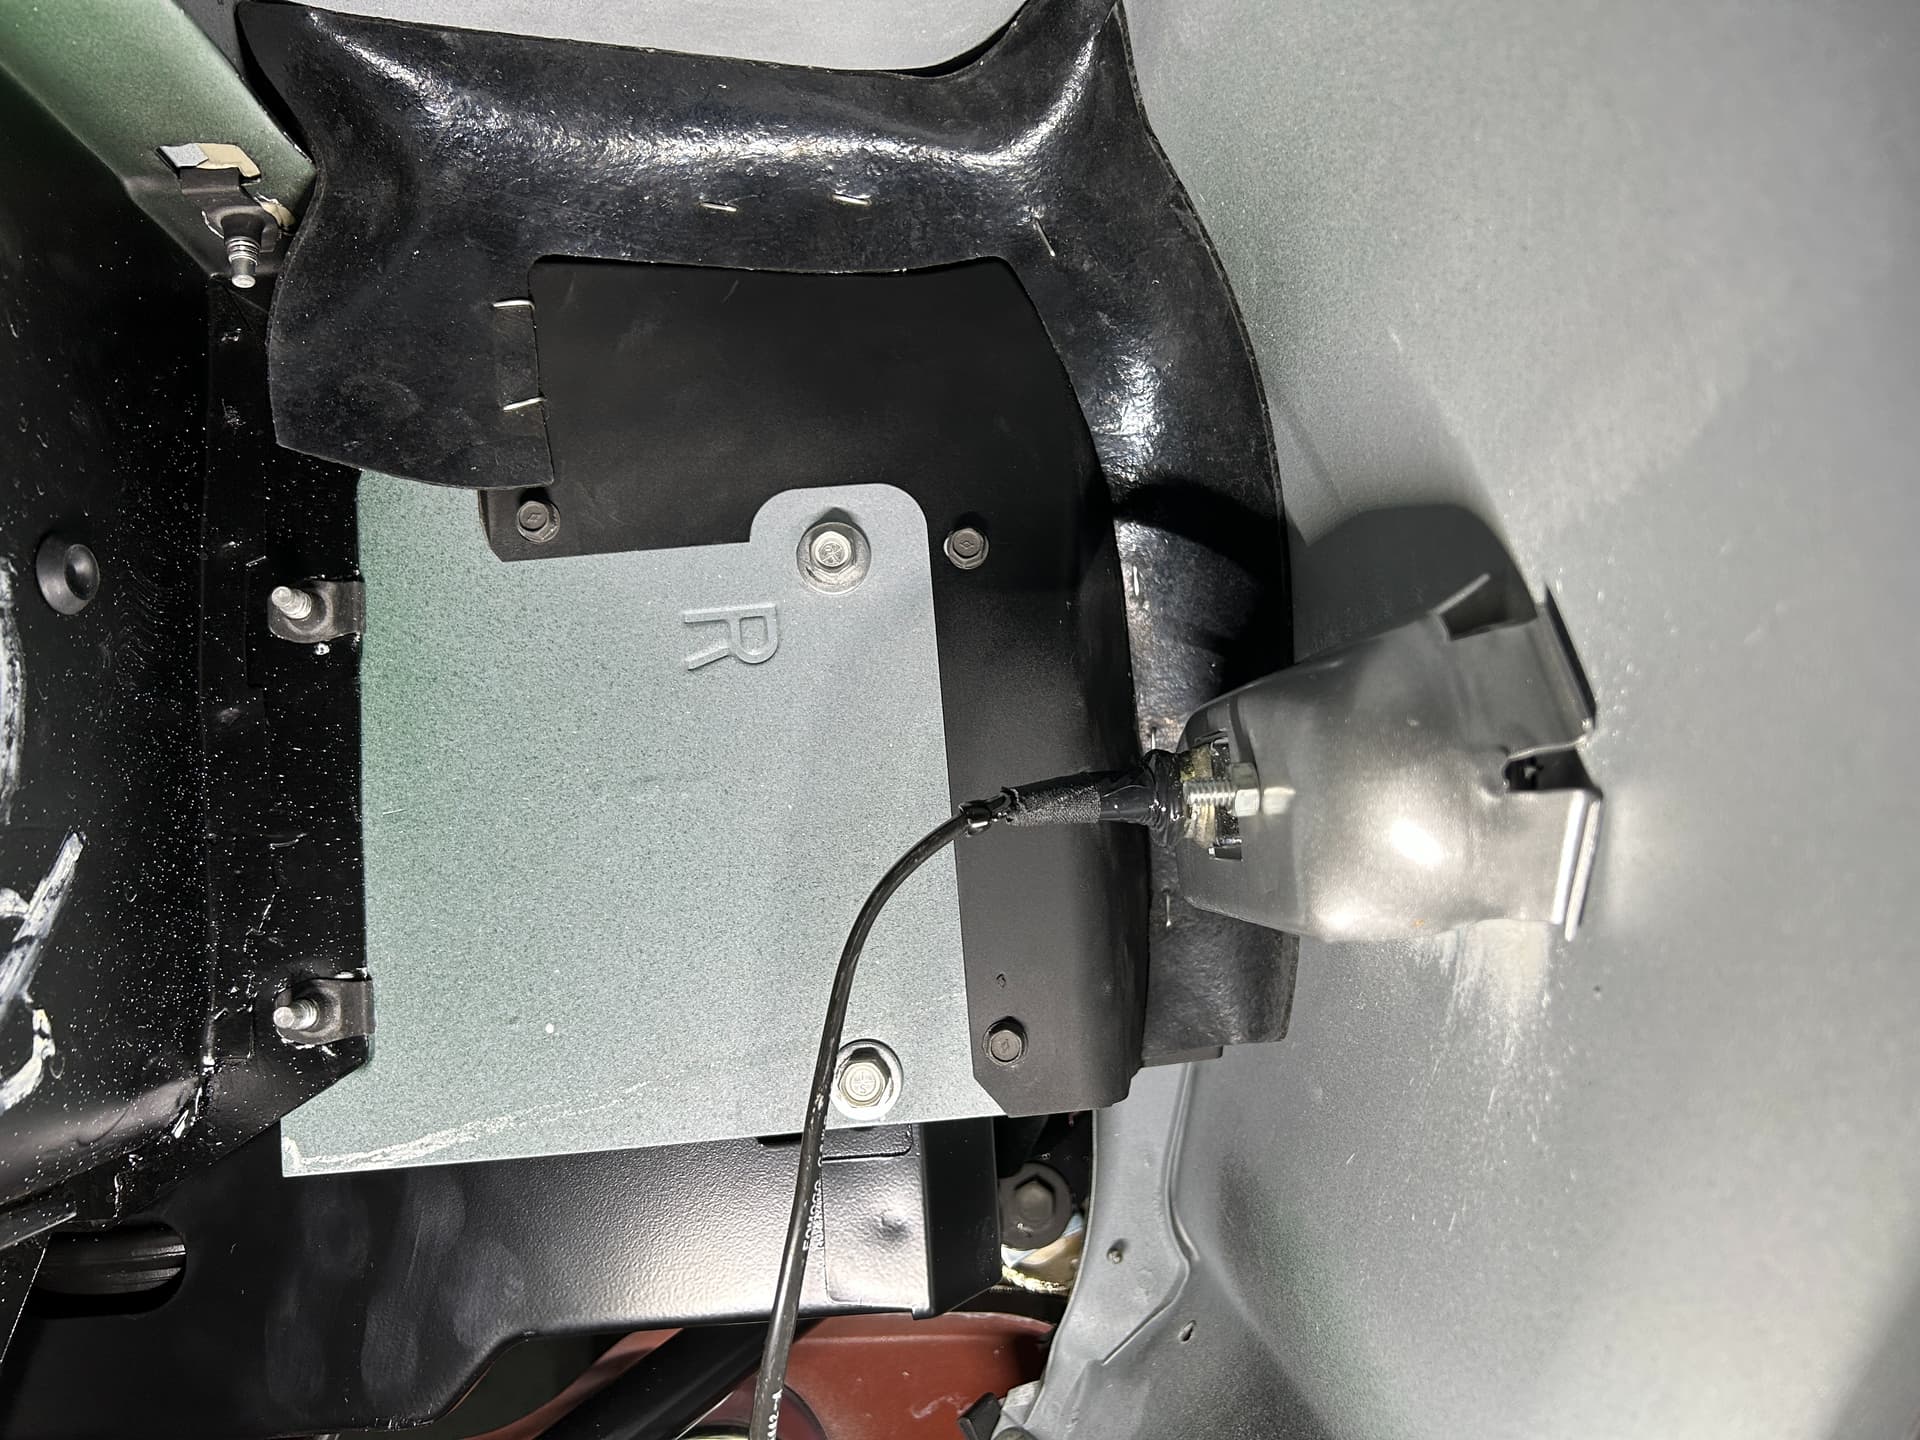
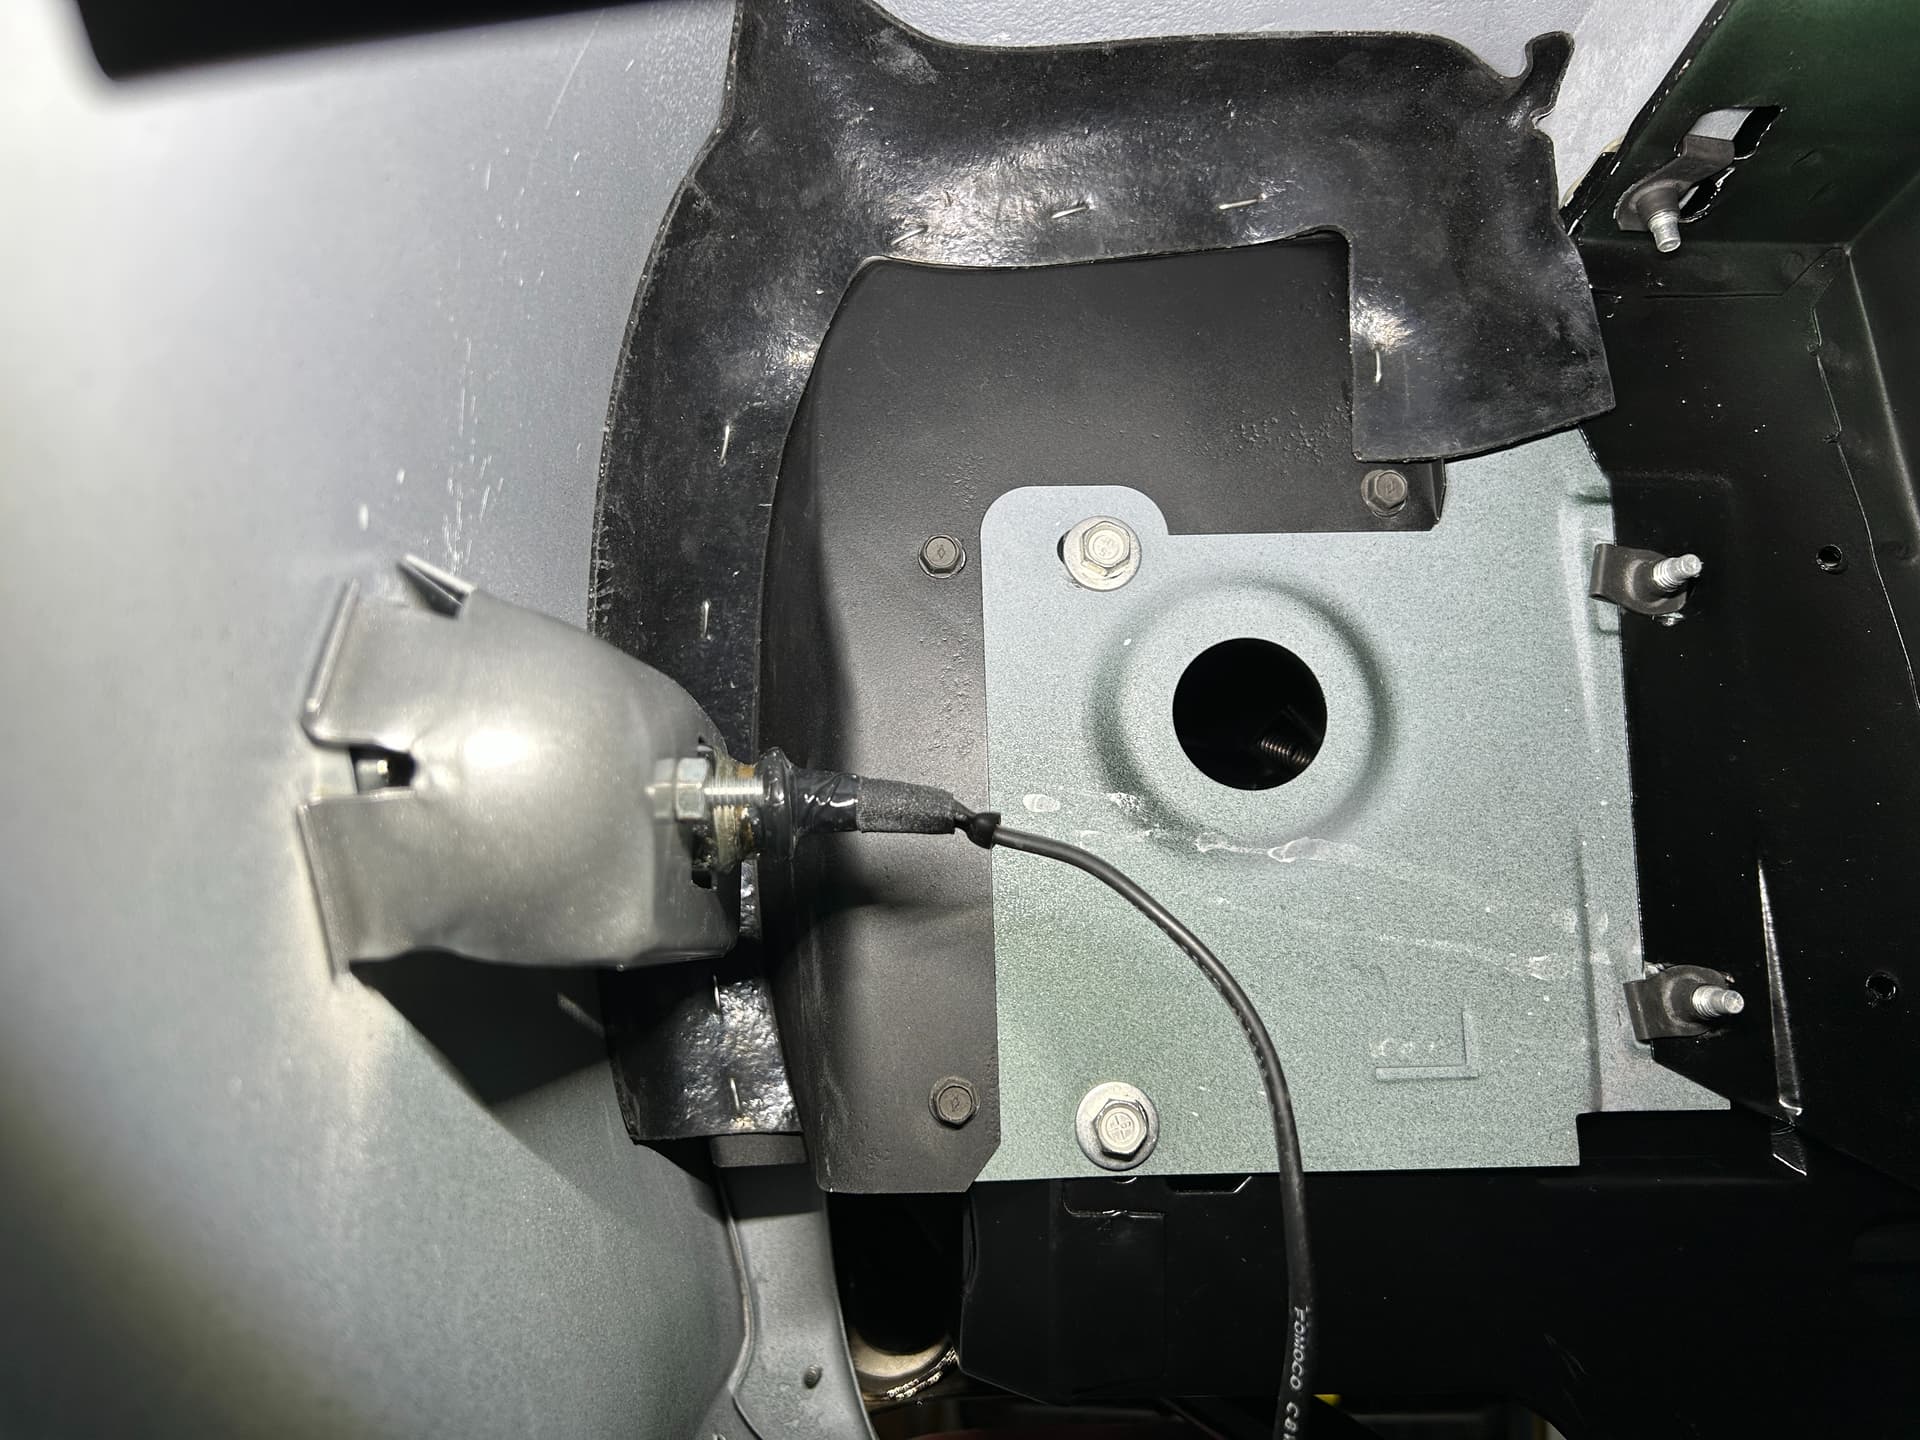
Next is to attach the vacuum canister to the headlight door. Once the pin is attached to the door I used a pair of needle nose vise grips to hold it secure while installing the attaching clip otherwise when you try to compress the clip to install it it pushes the pin back out of the headlight door.
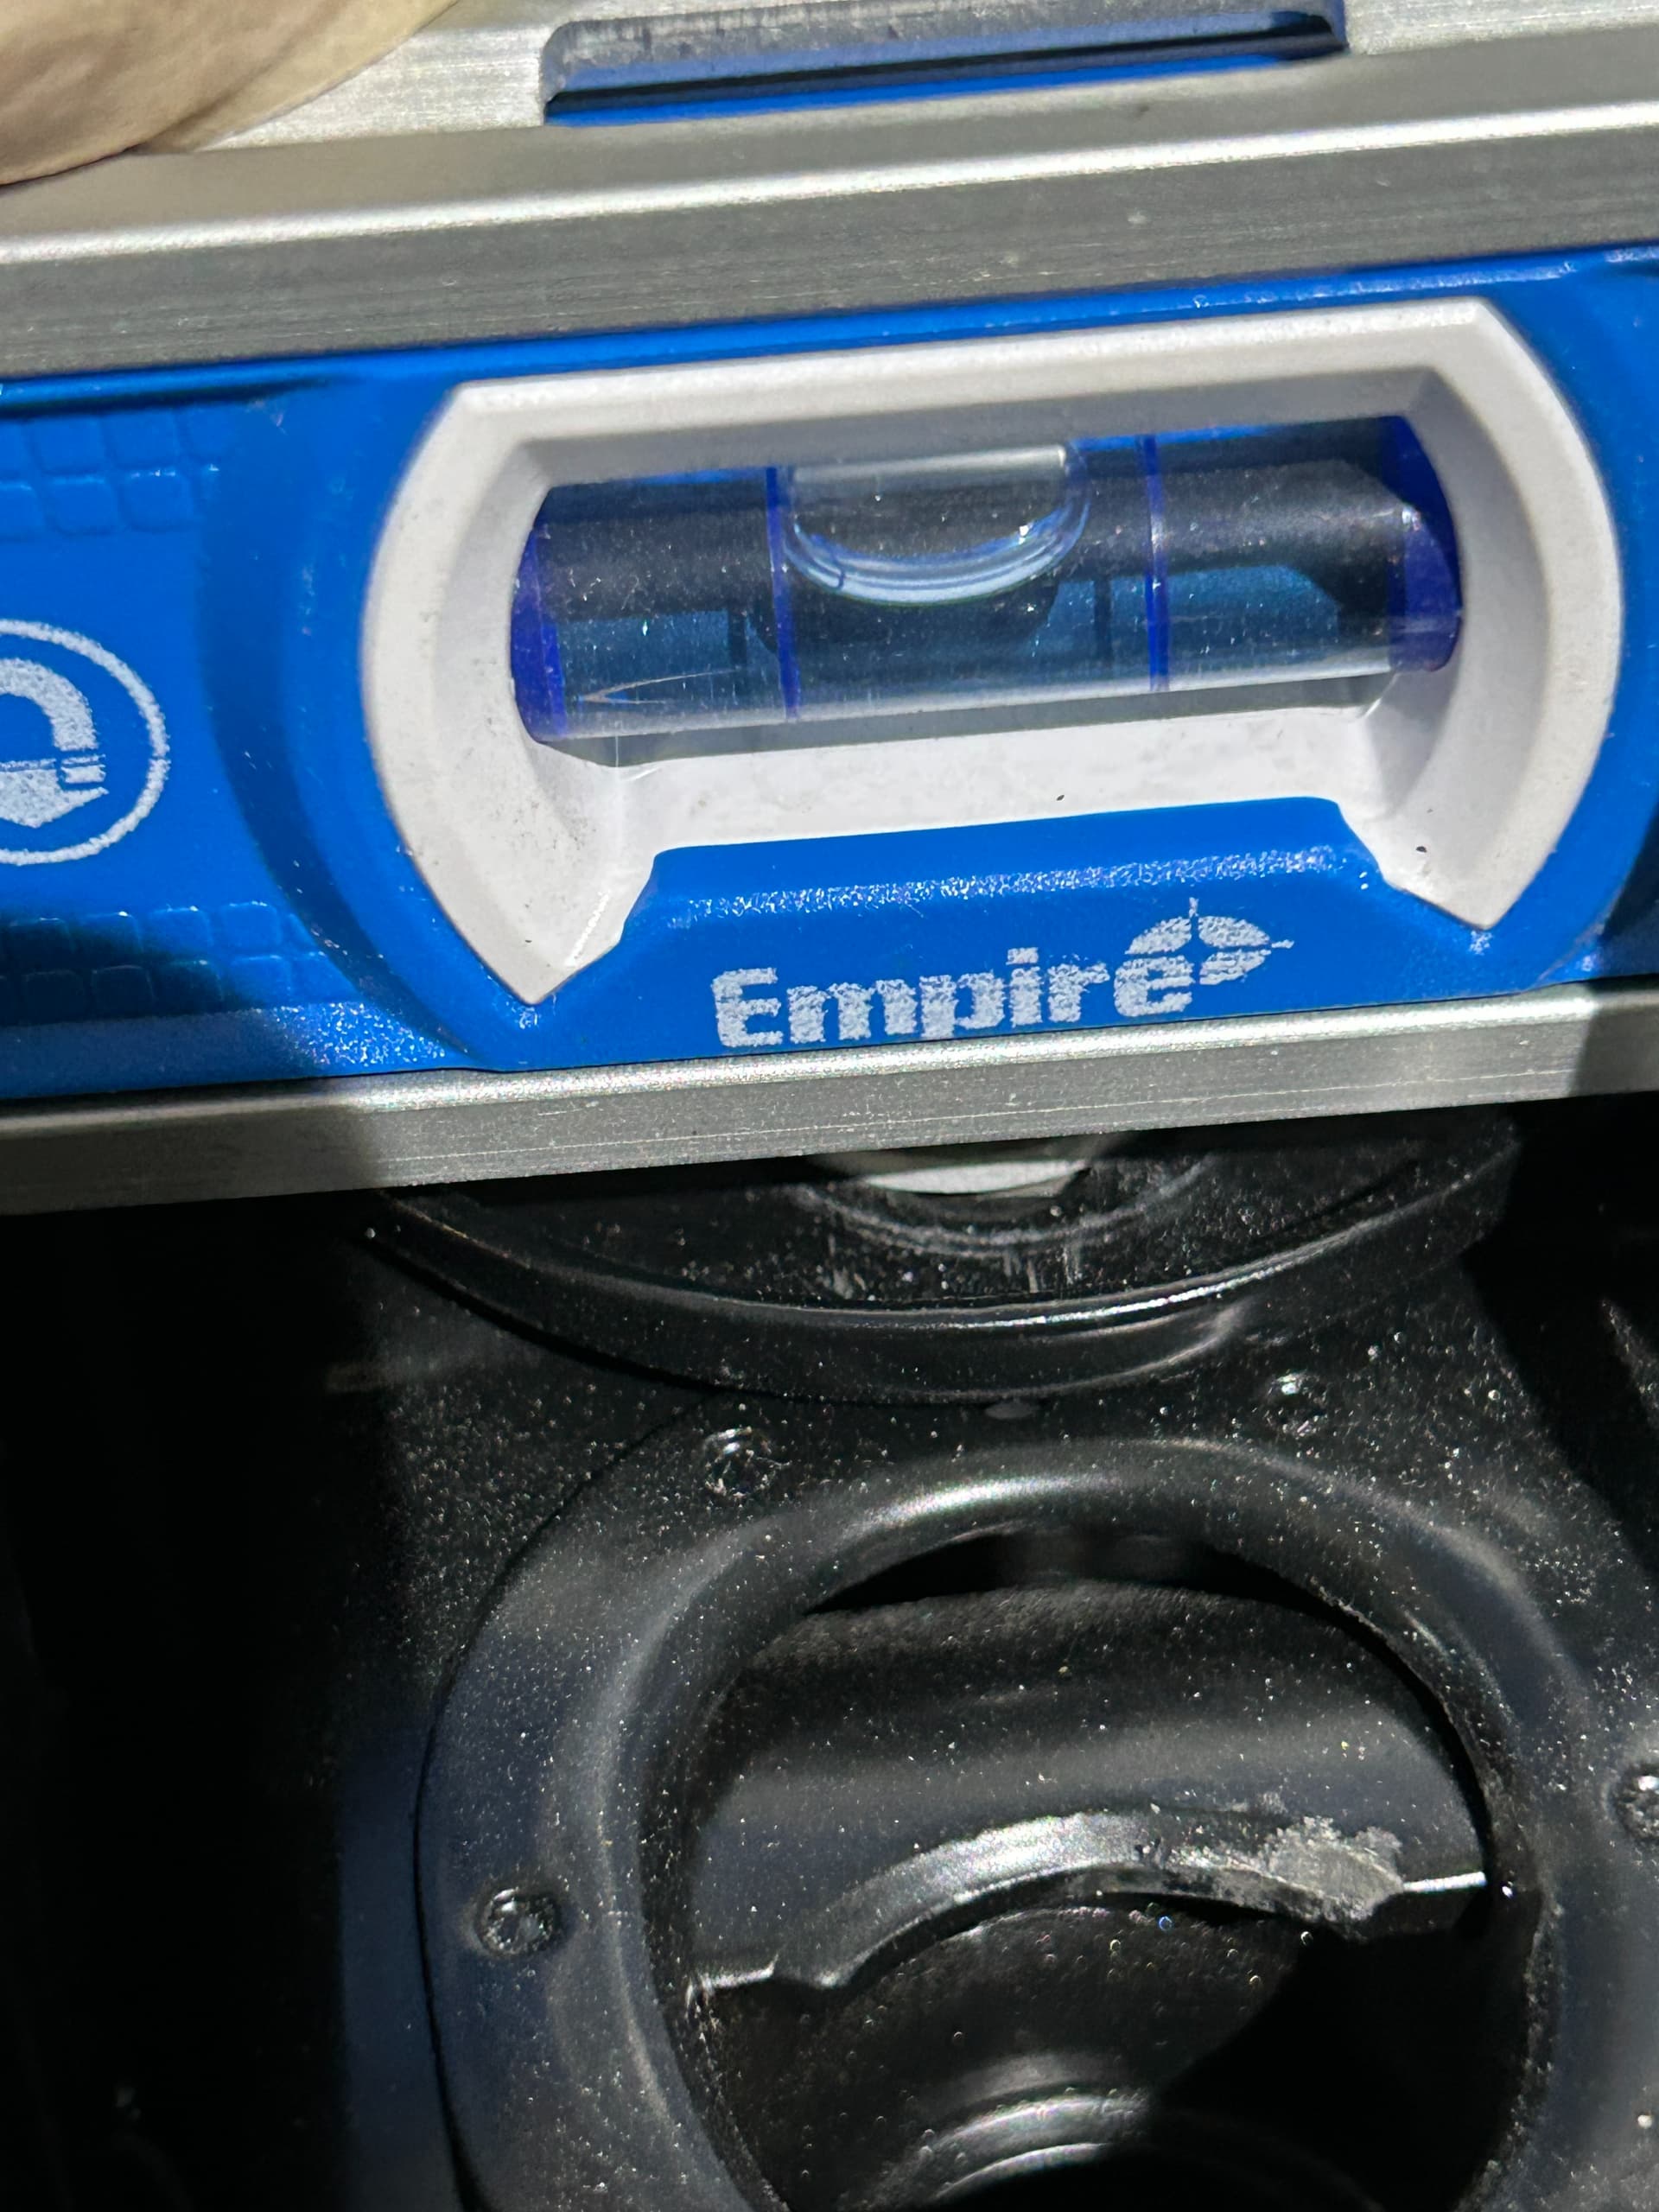
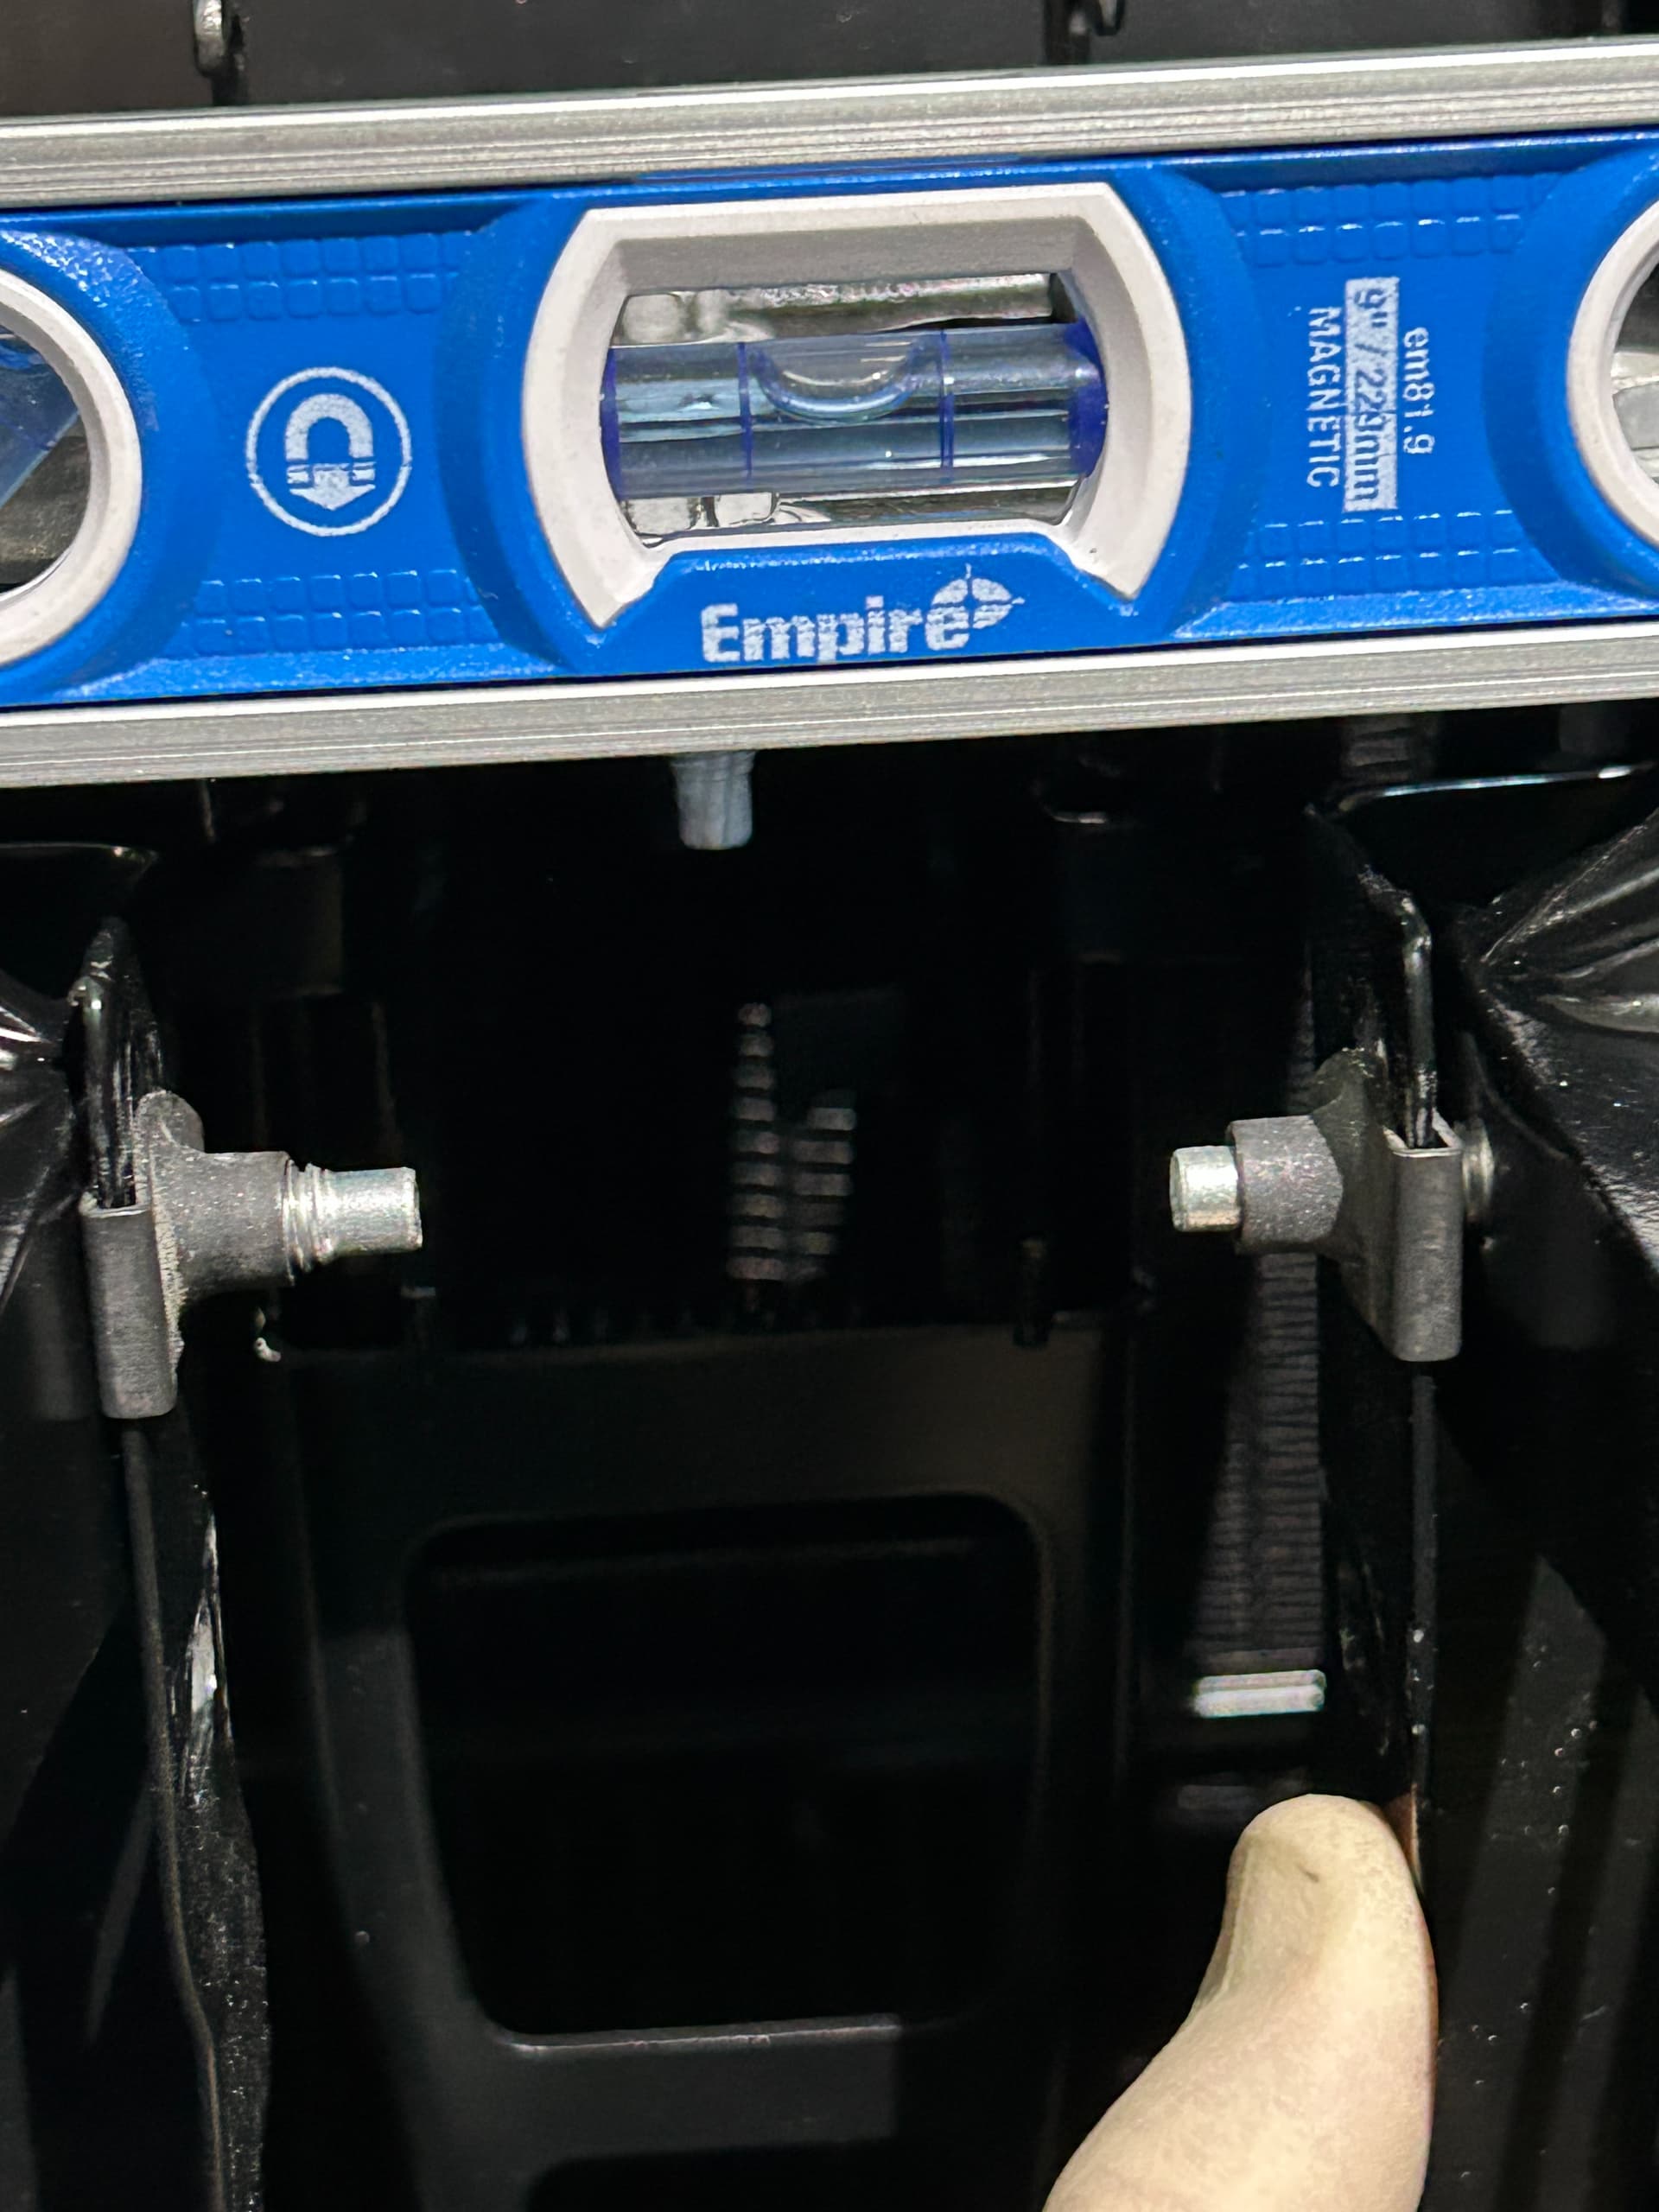
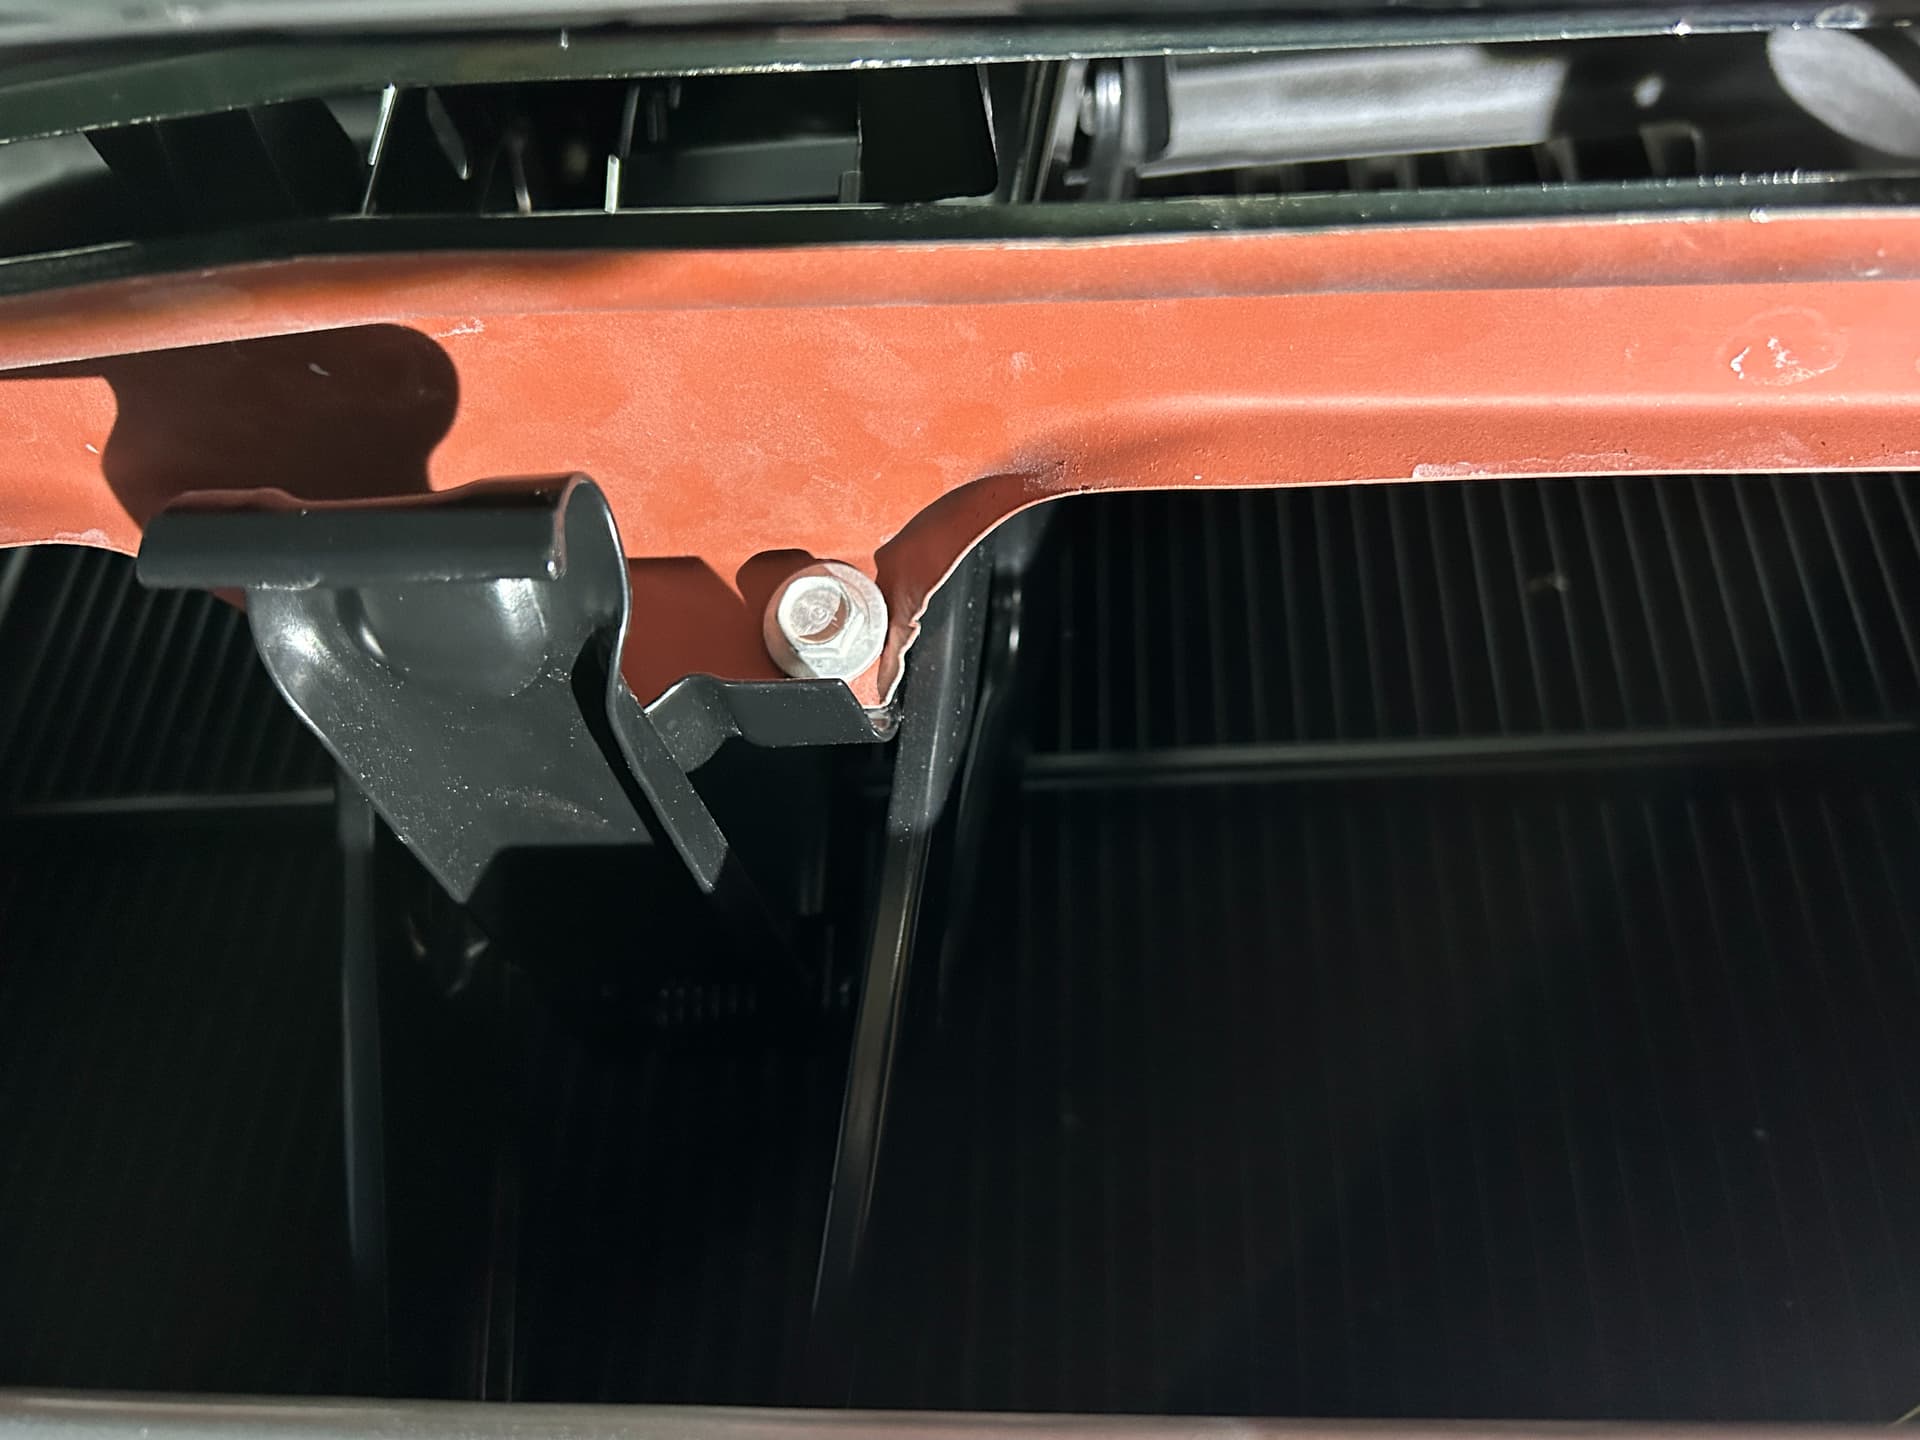
Again the buckets slip right in with the fender extension off. I then verified the level of the car side to side so that I could match up the level of the grills once installed.
Now the bumper to grill filler can be tightened at the six attaching points.
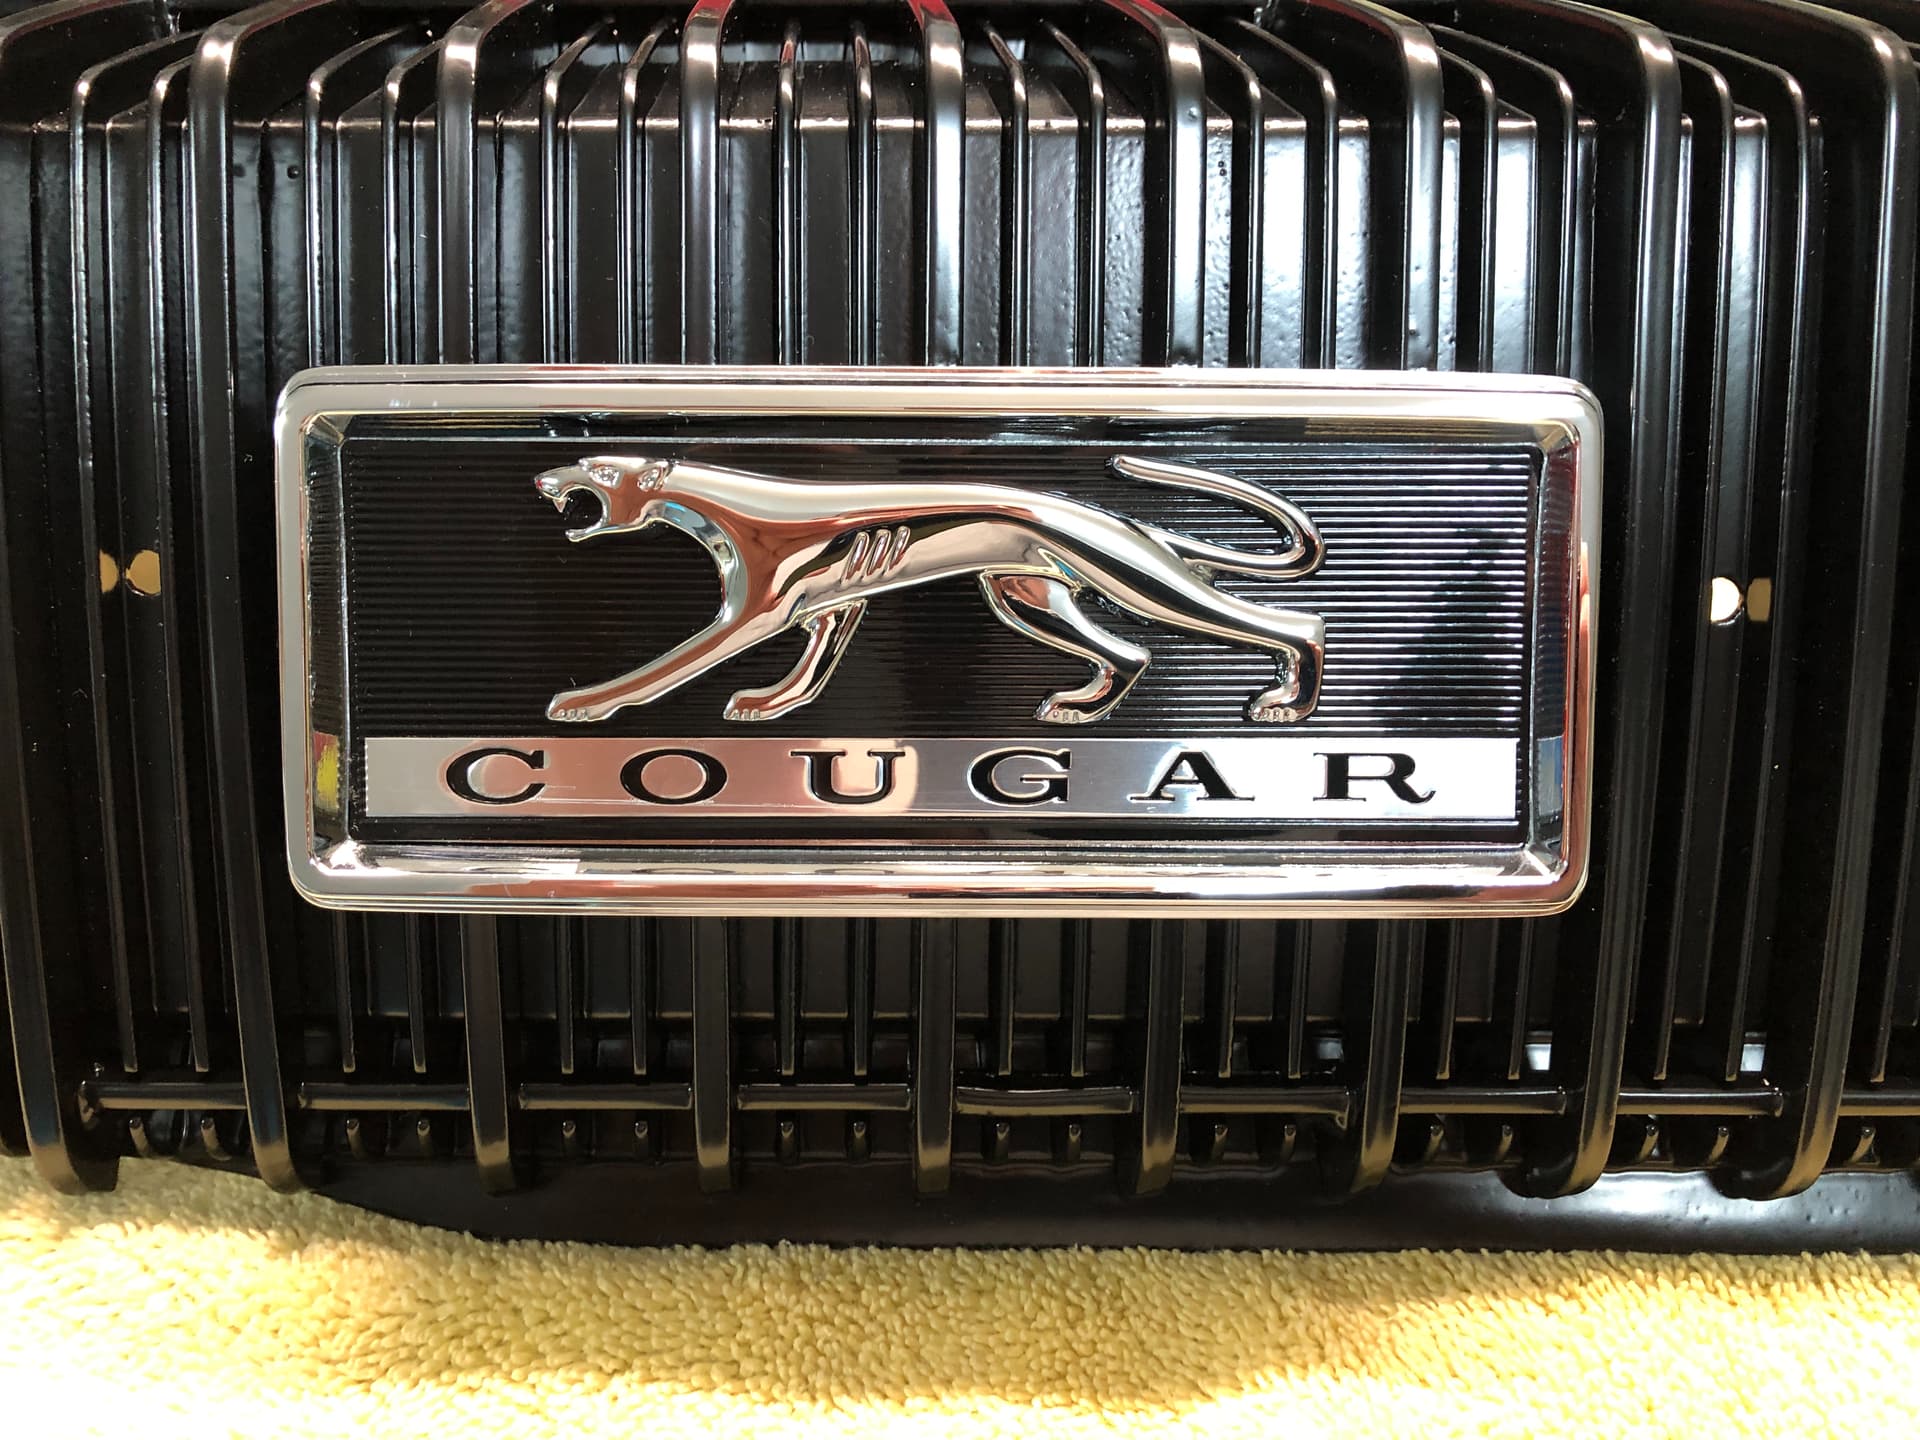
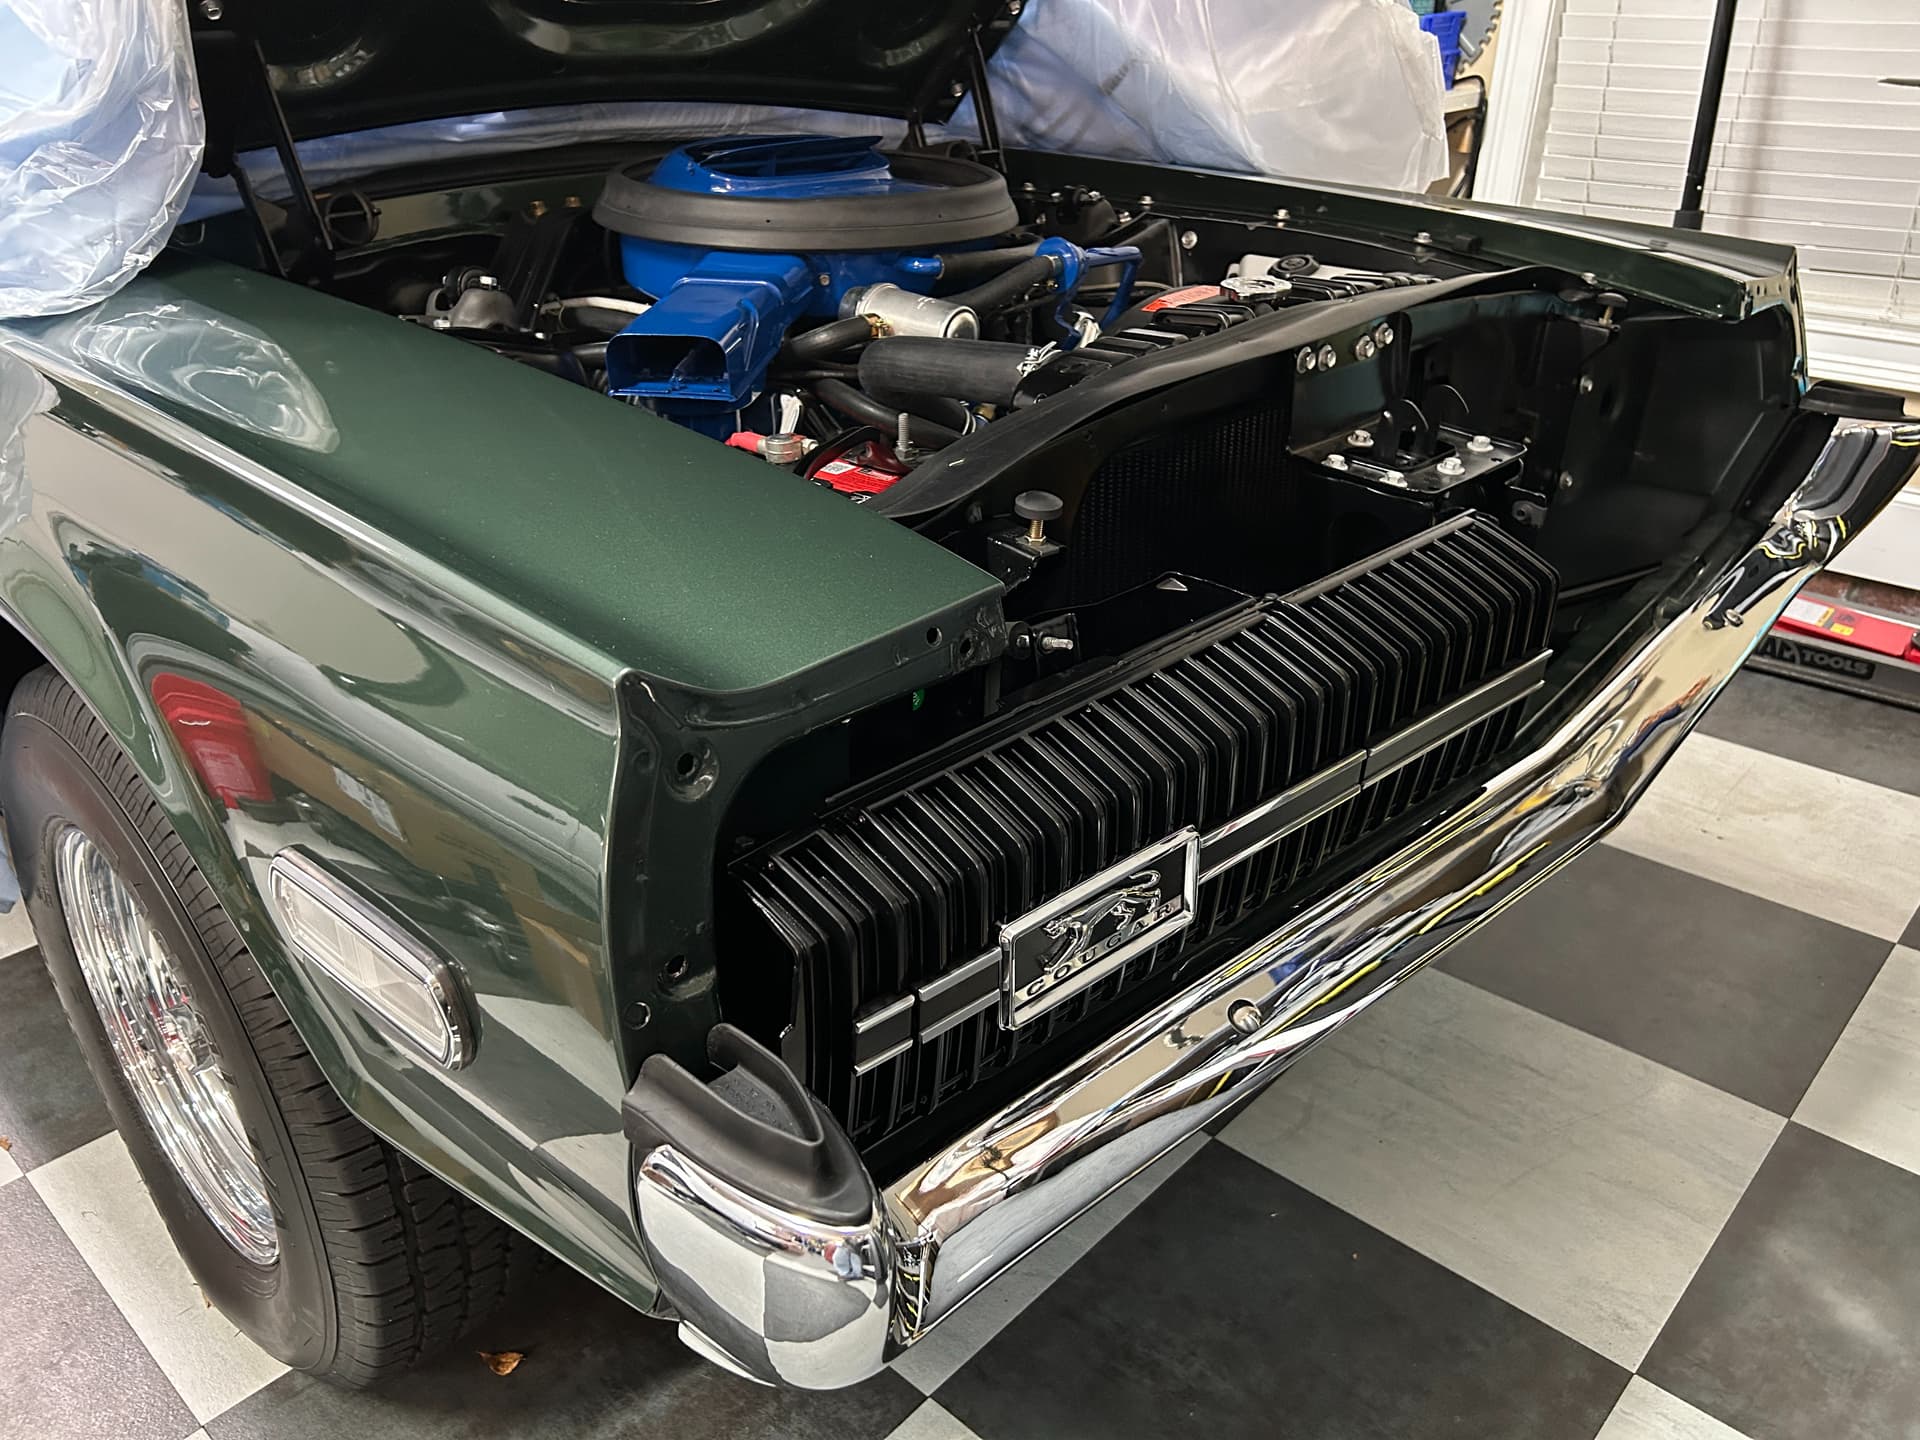
I think the only thing sexier than a Cougar grill is a blacked out Cougar GTE grill!
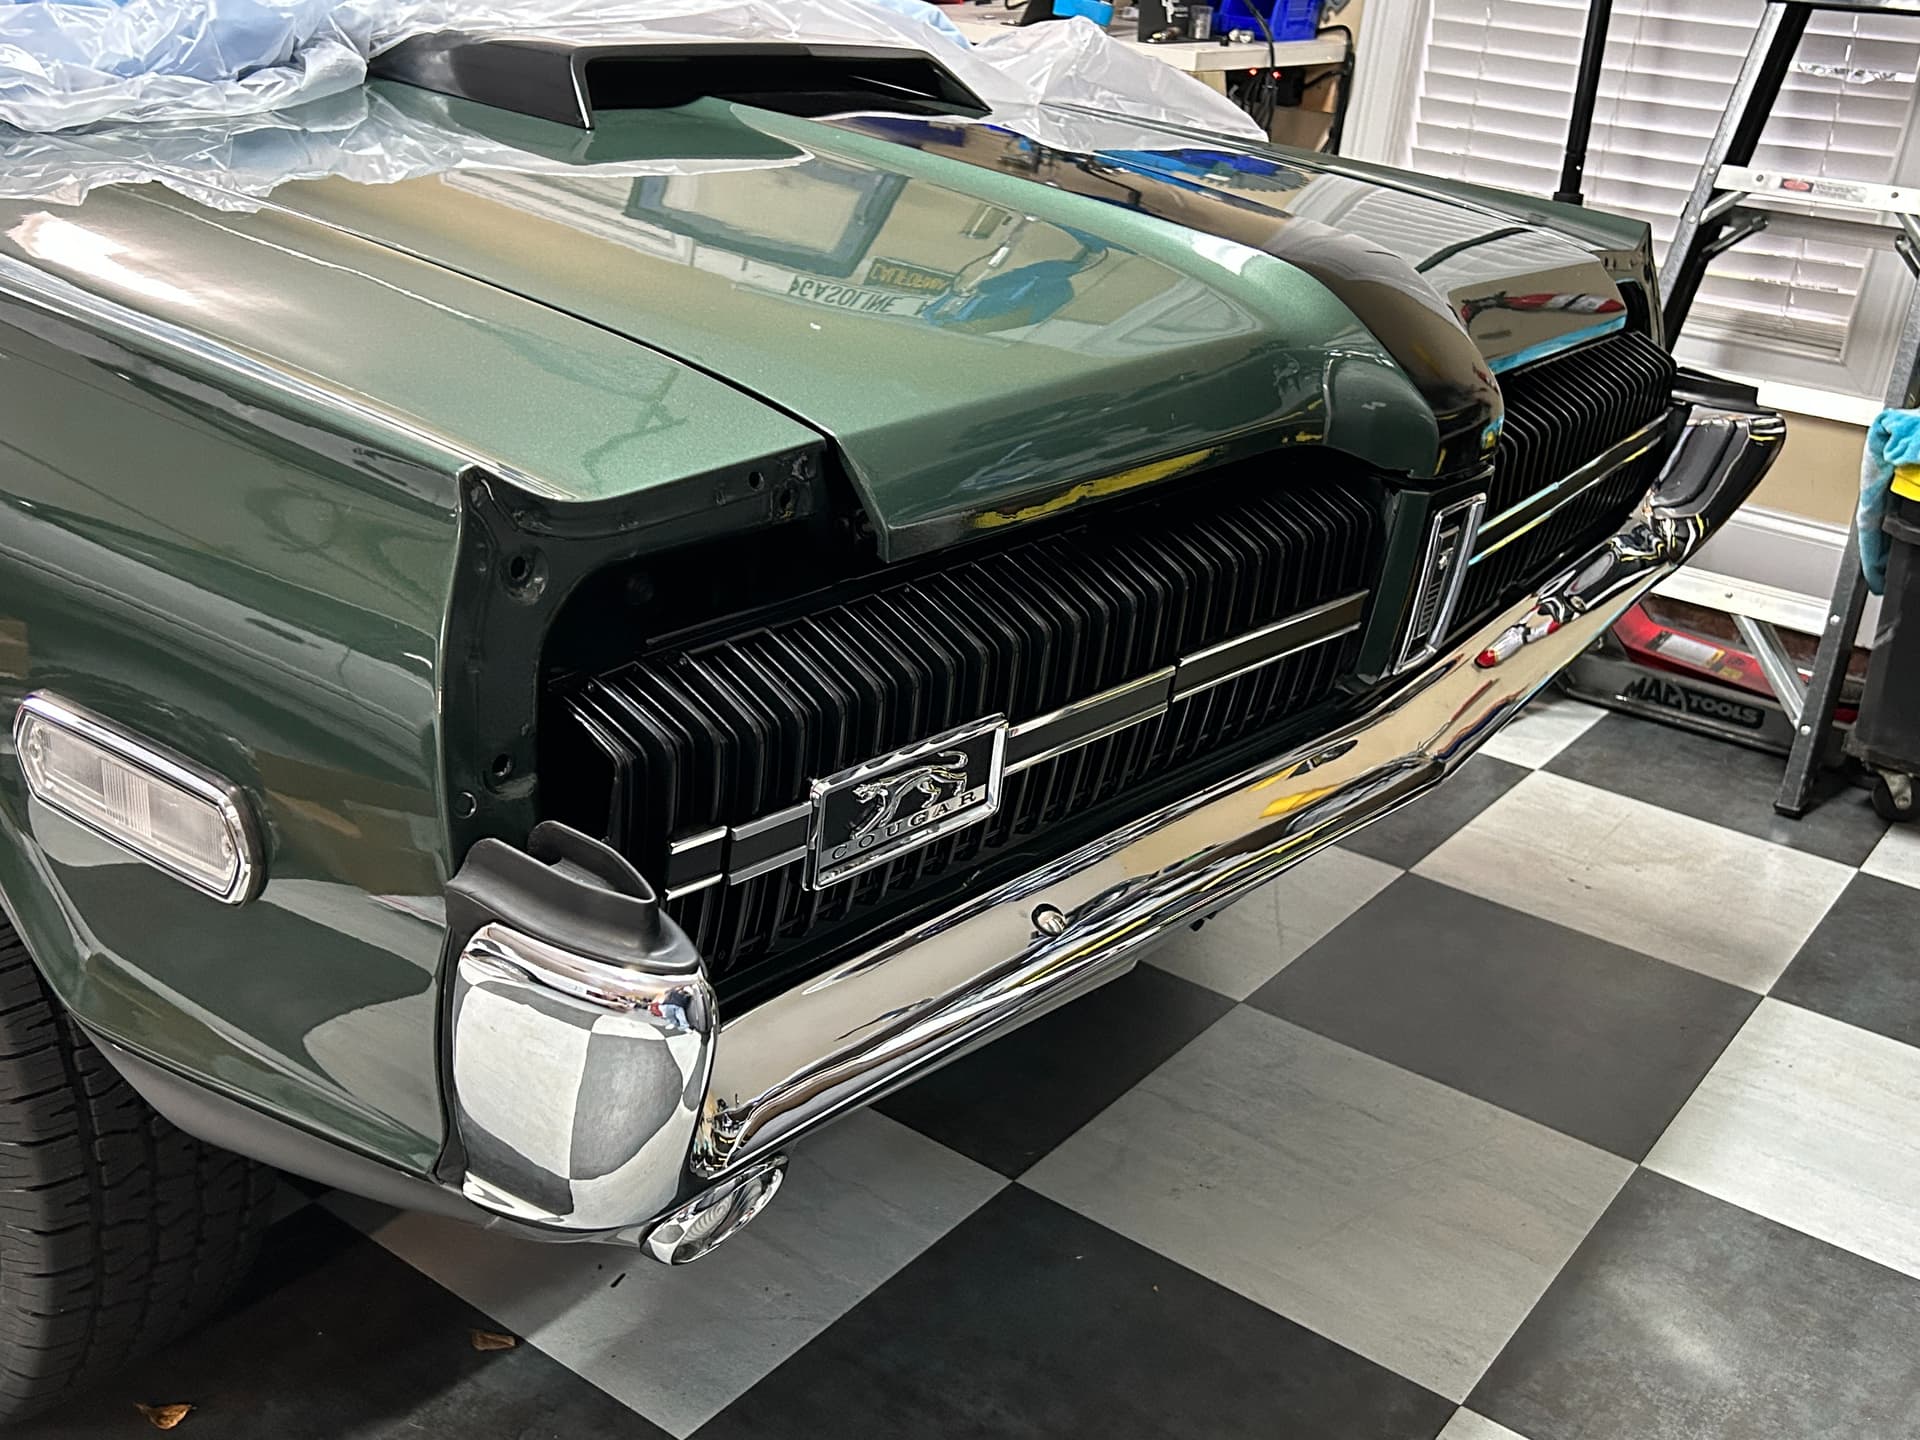
1 Like
Front fender extensions are finally on. Spent a great deal of time trying to get the alignment correct using tips from one of Don’s videos, shims and a porta power. They were painted after the rest of the body and in hindsite should have been fitted then.
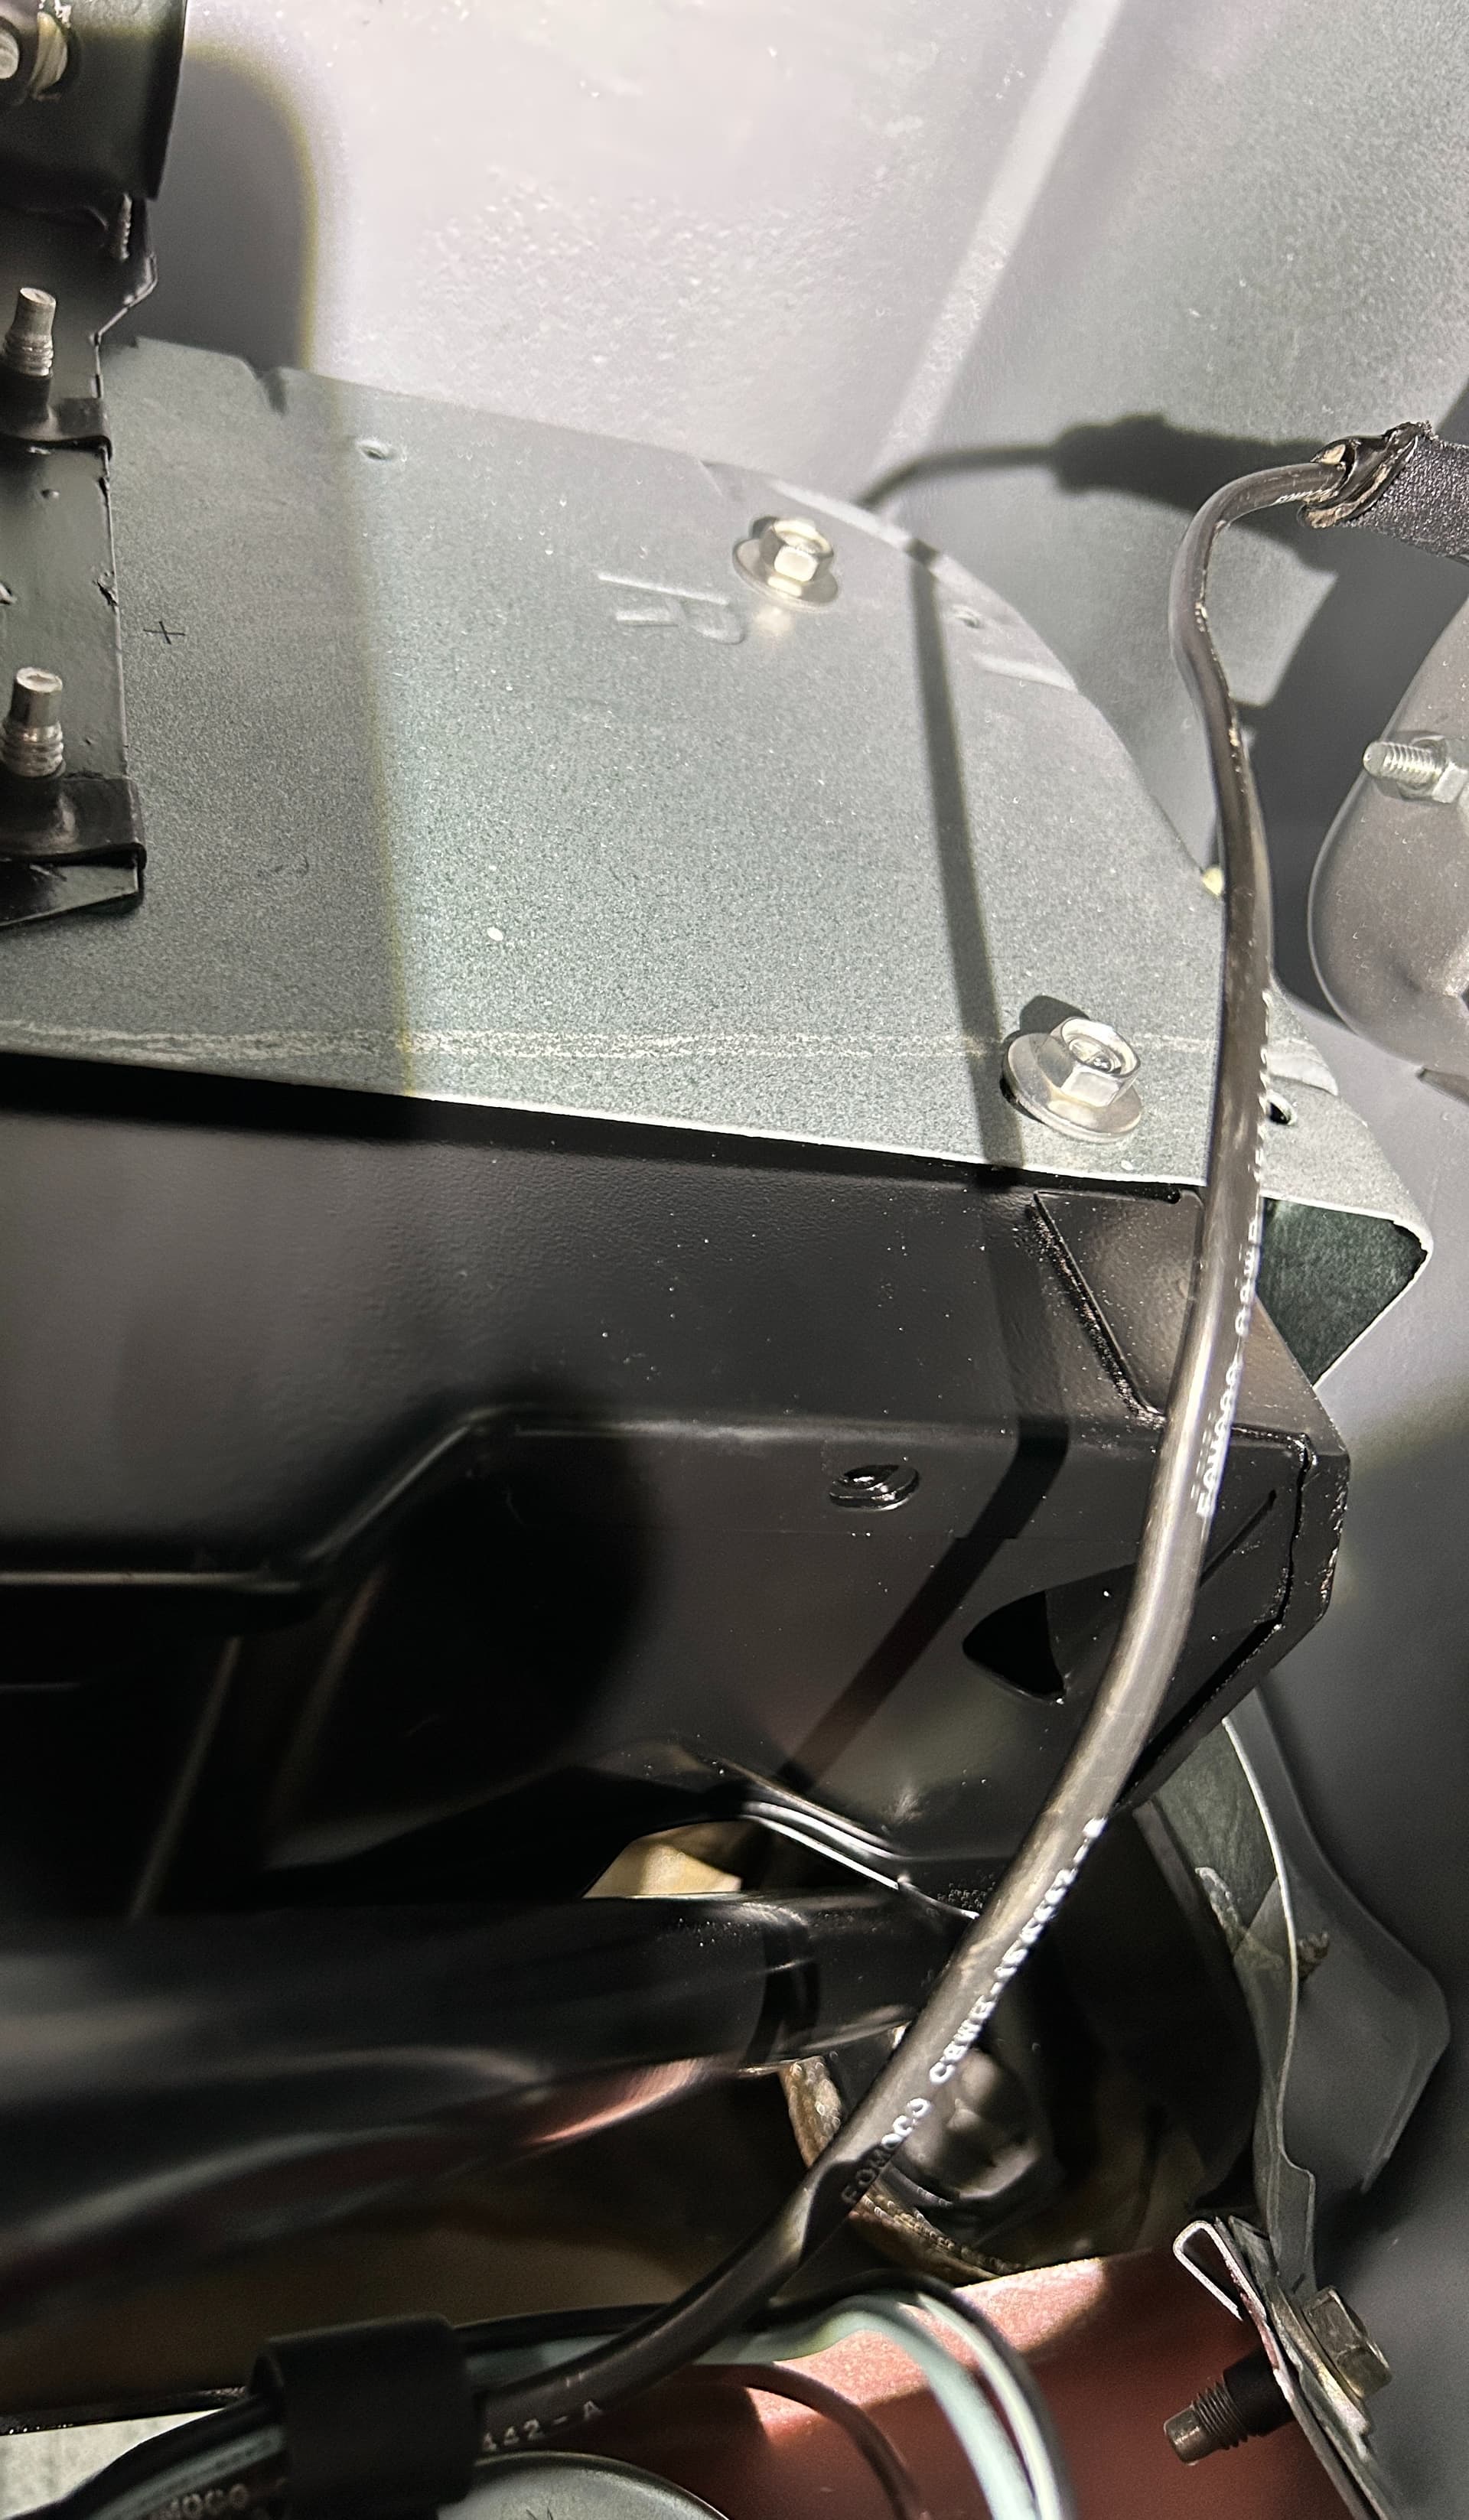
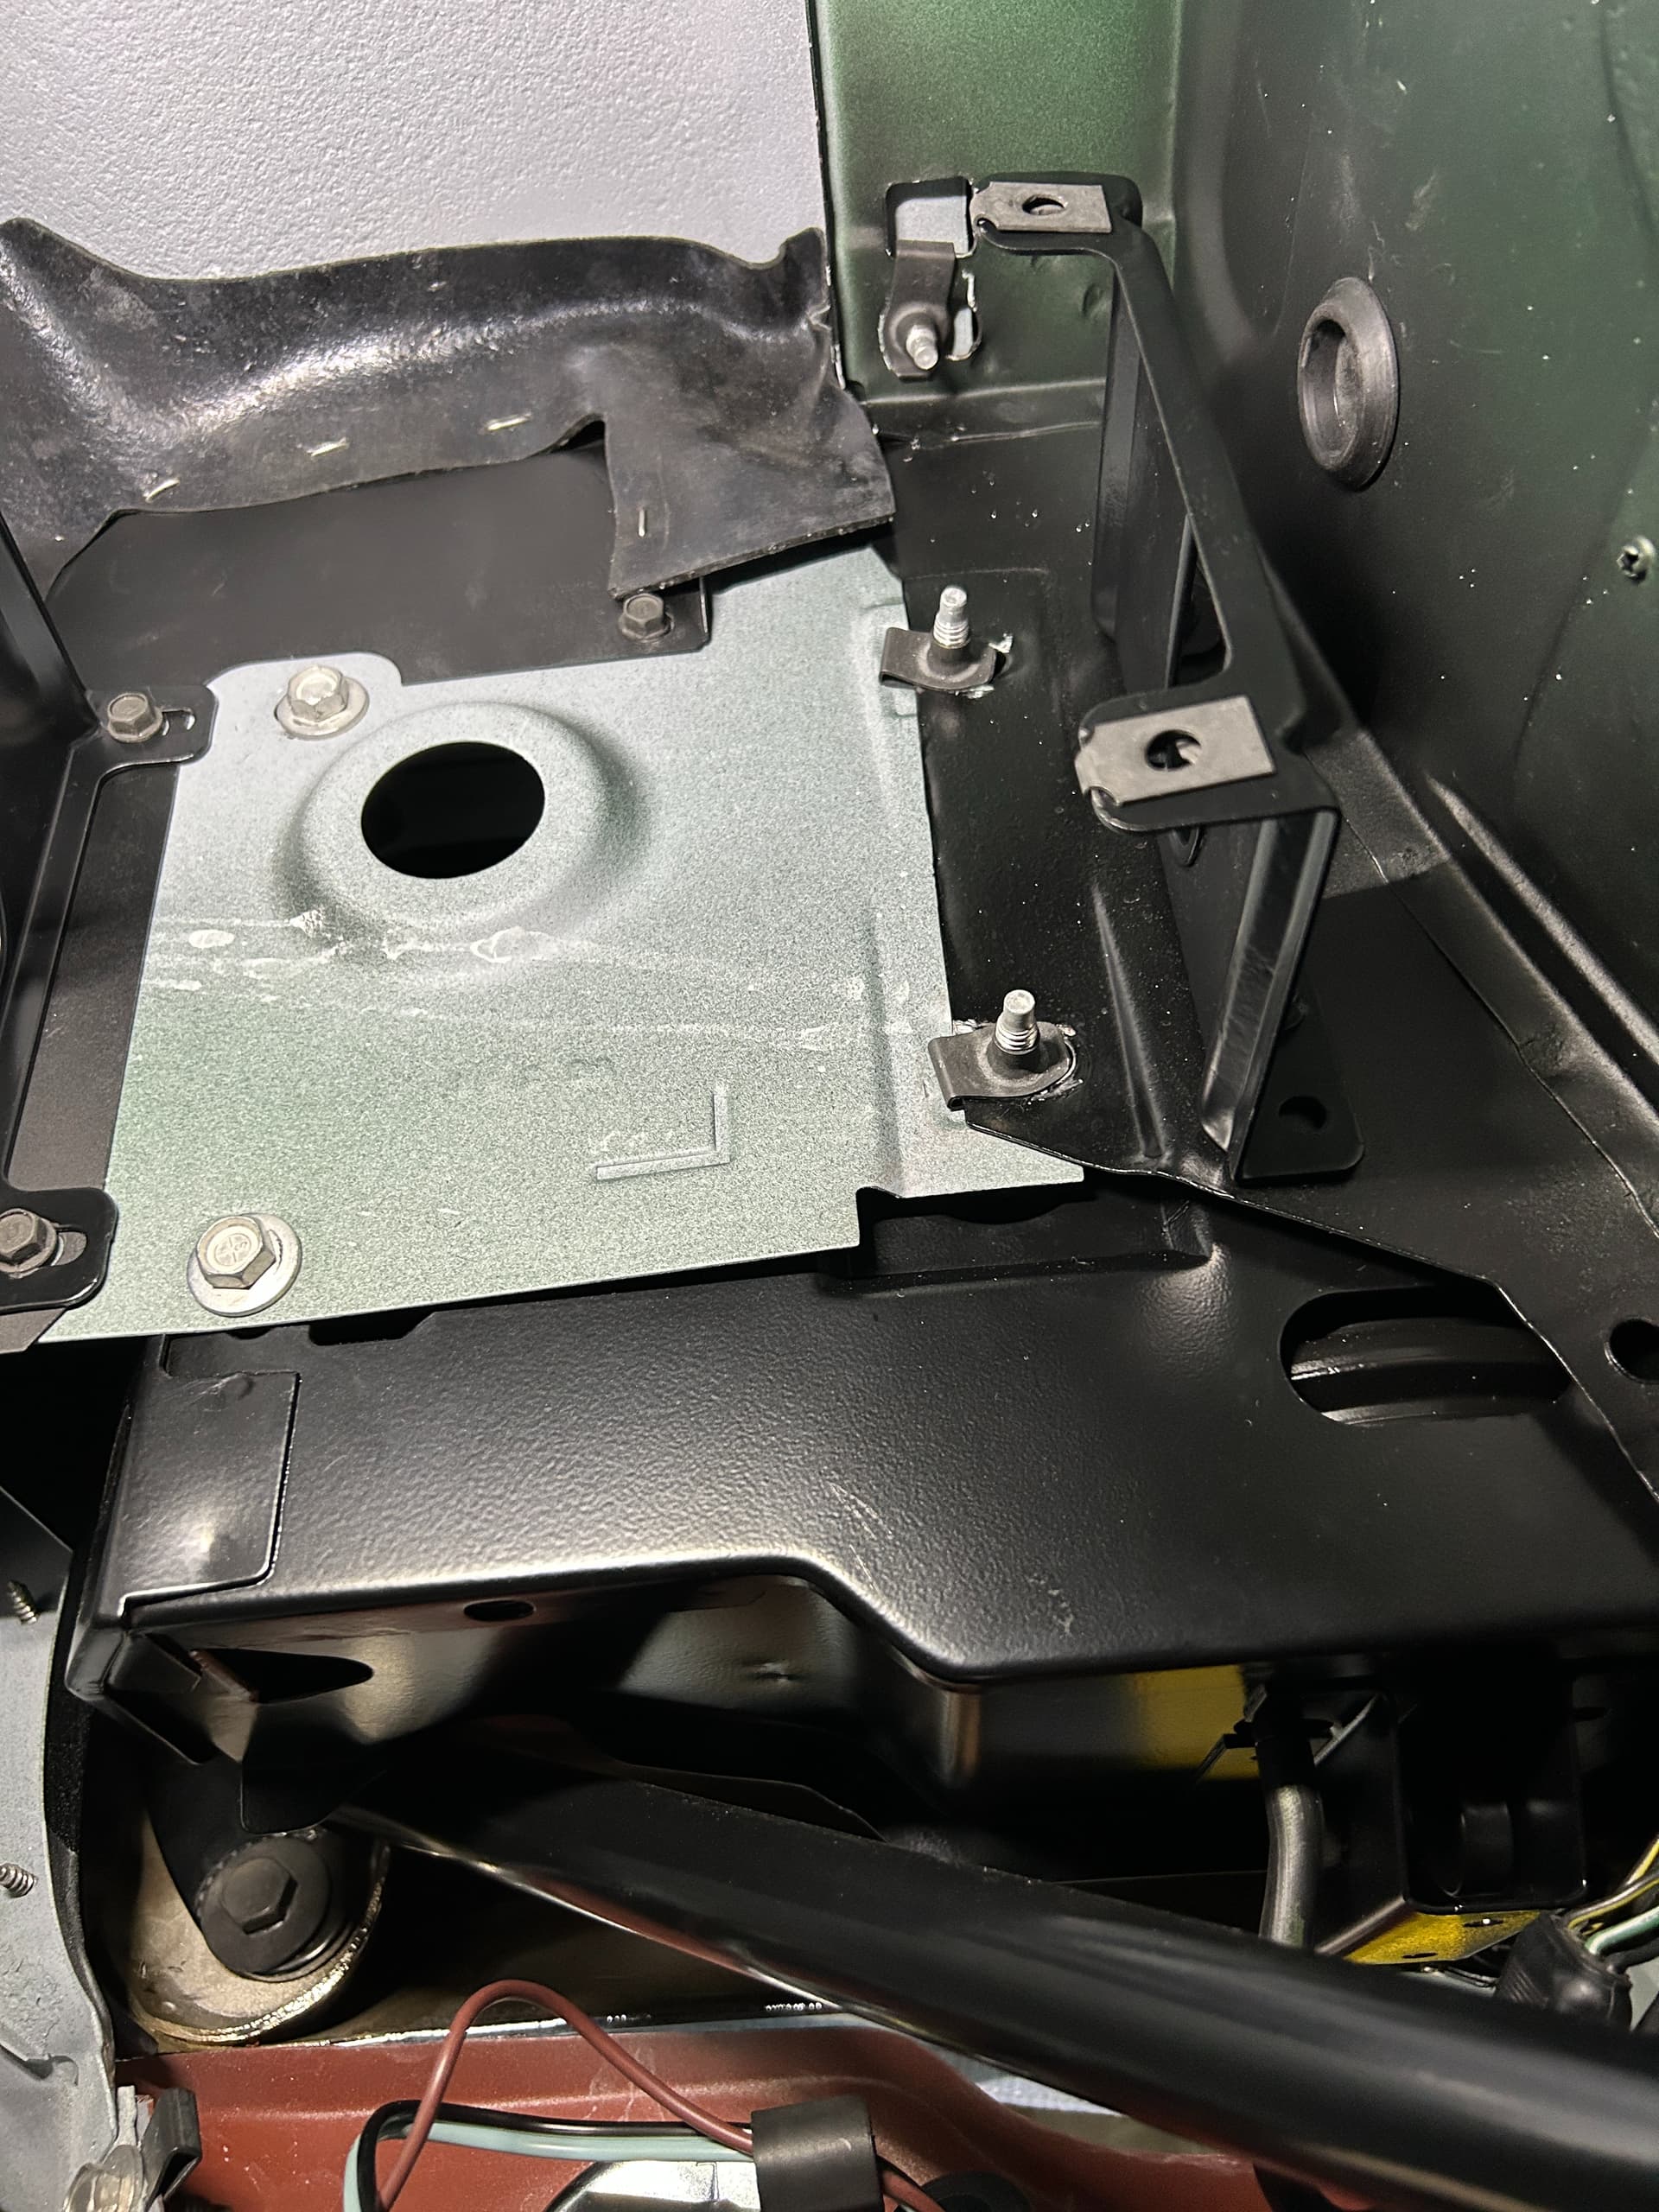
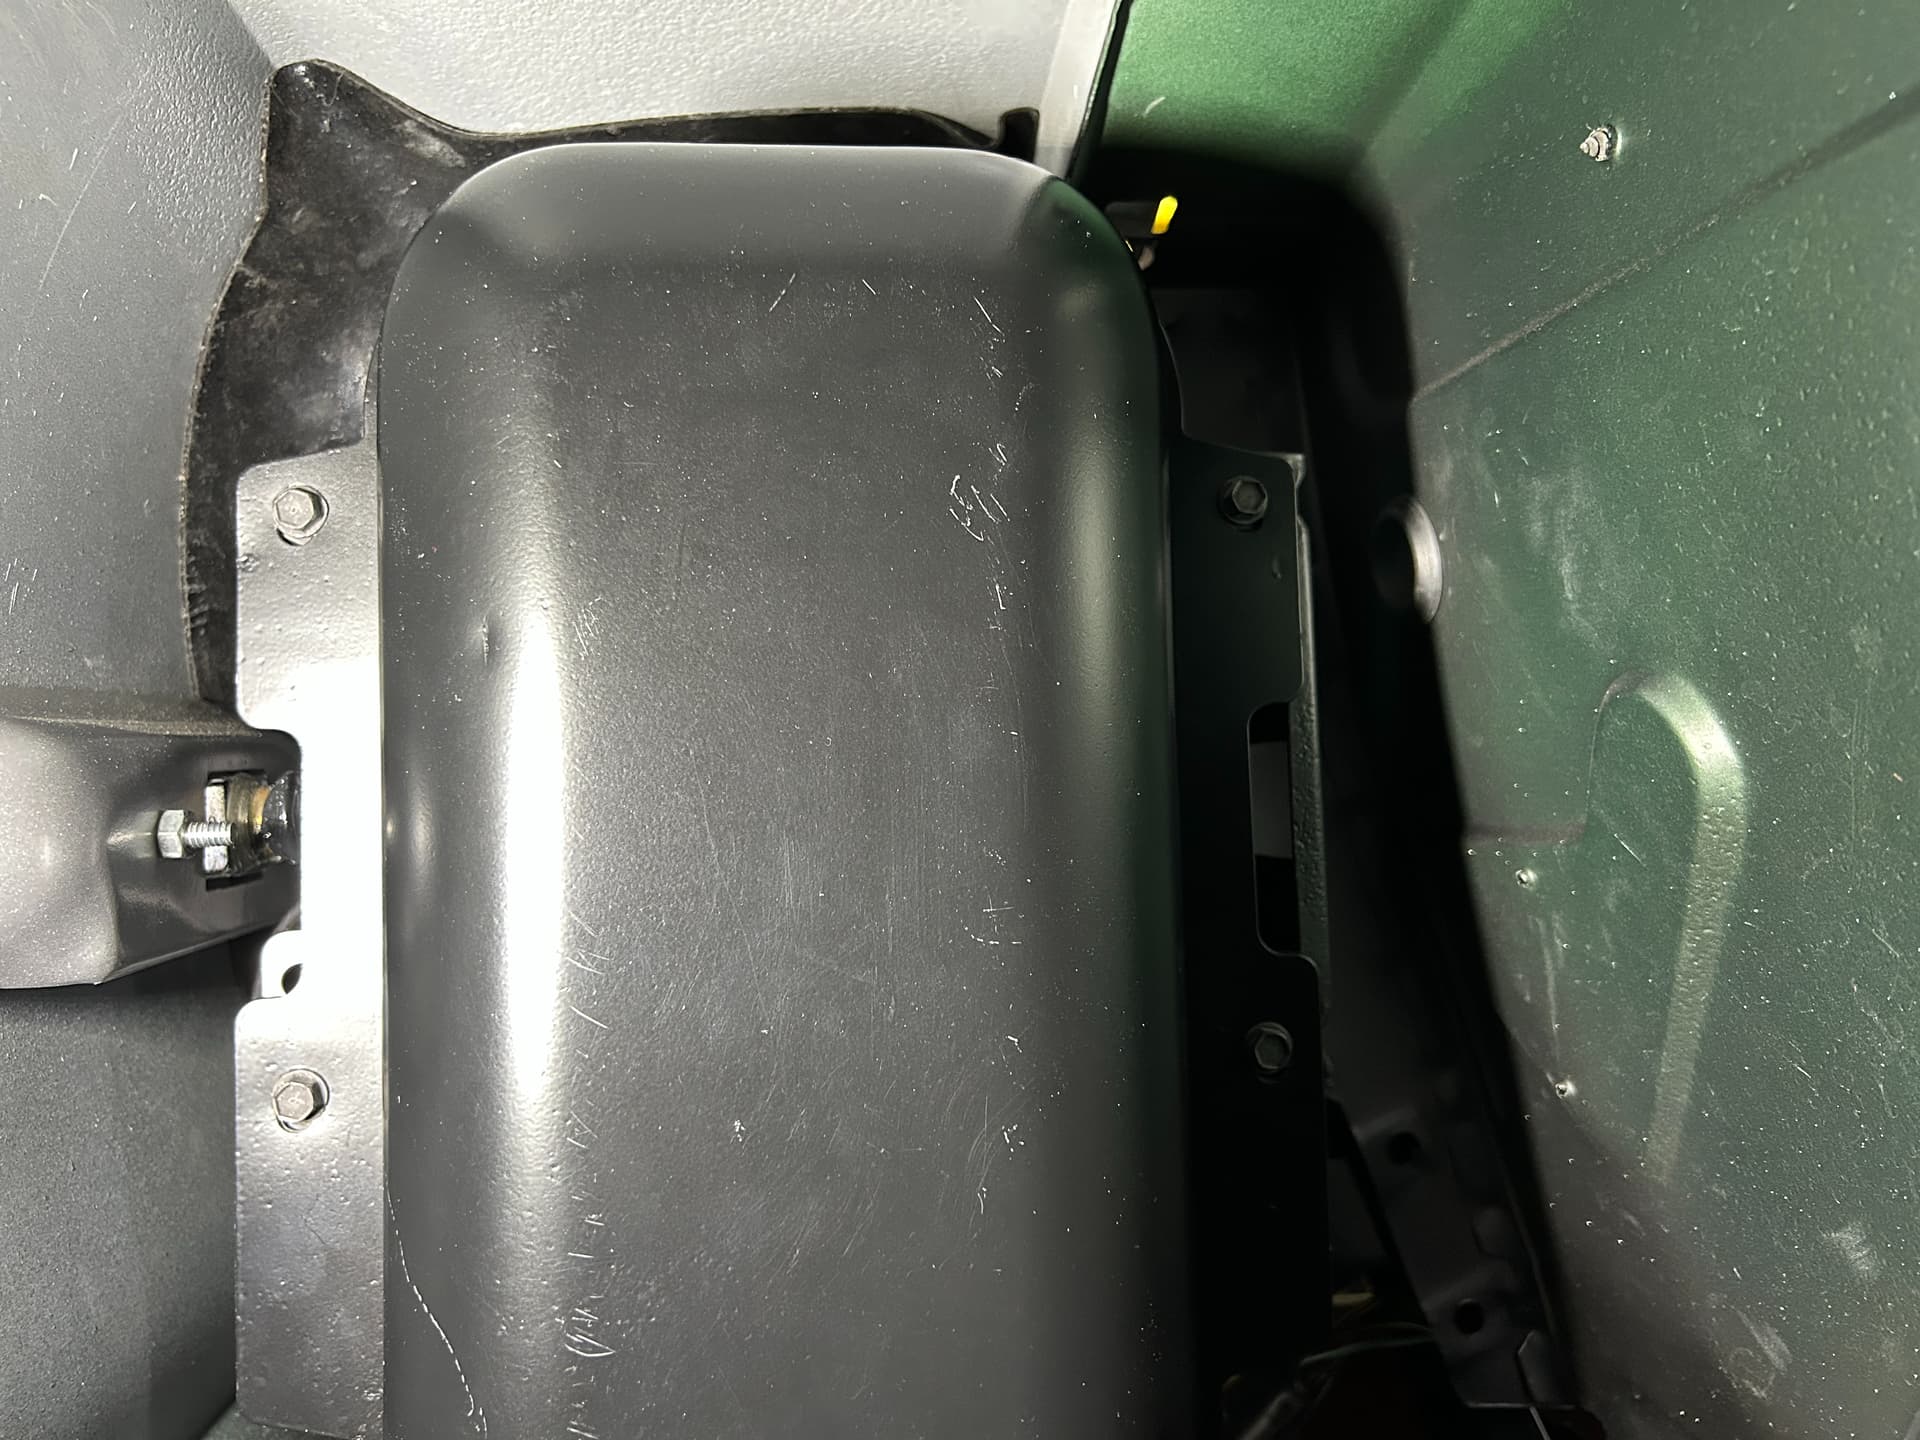
Once the fender extensions were on the front inner splash shields went in. New rubber seals and paint were installed. This will all be covered though once the factory type sound deadener is sprayed.
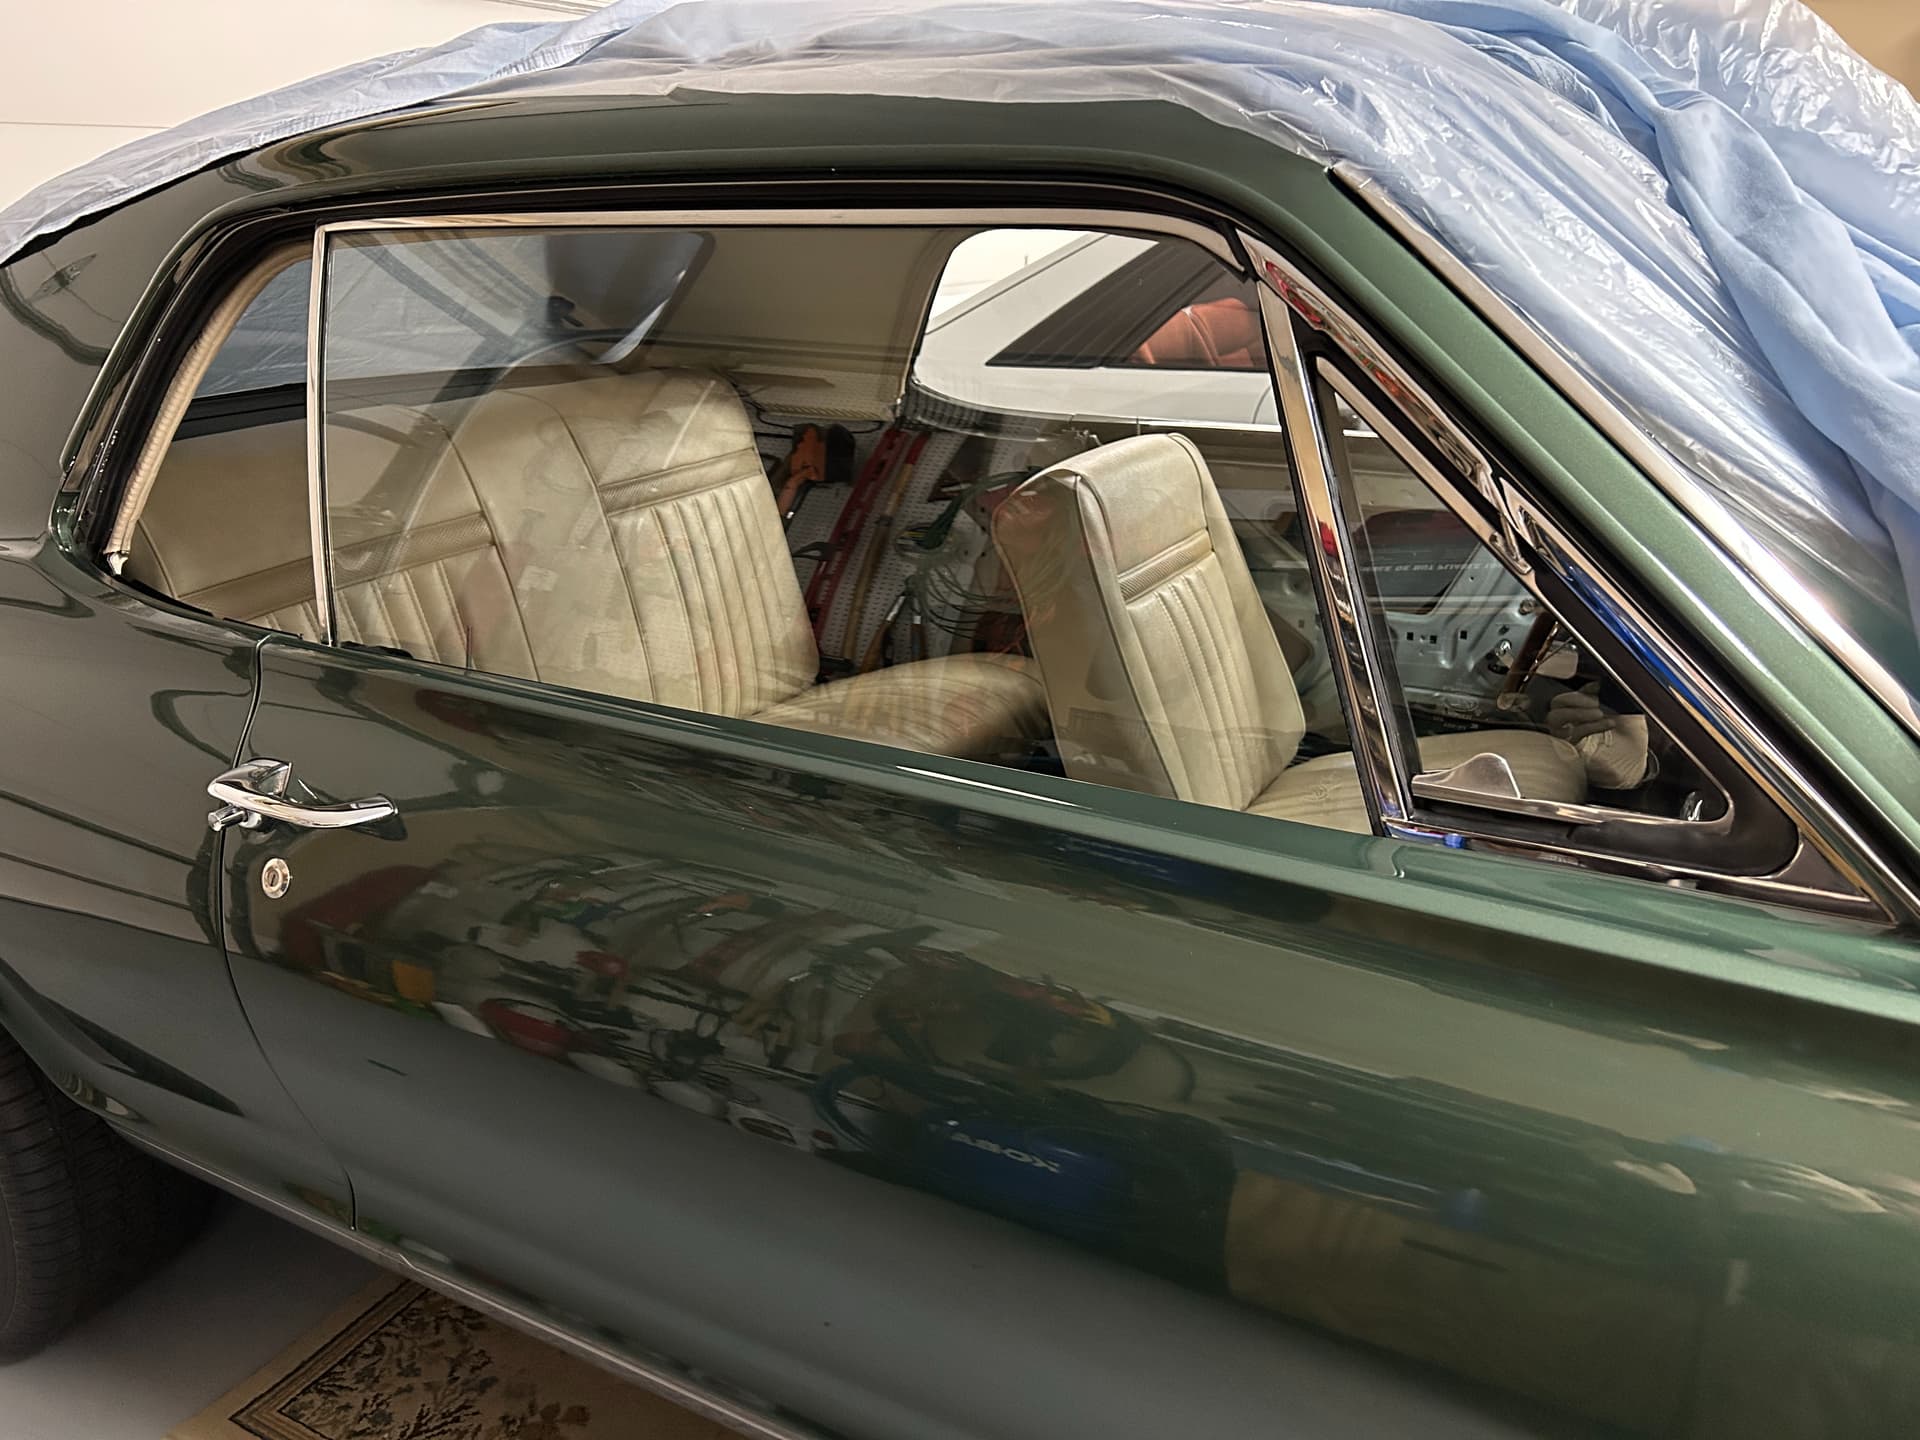
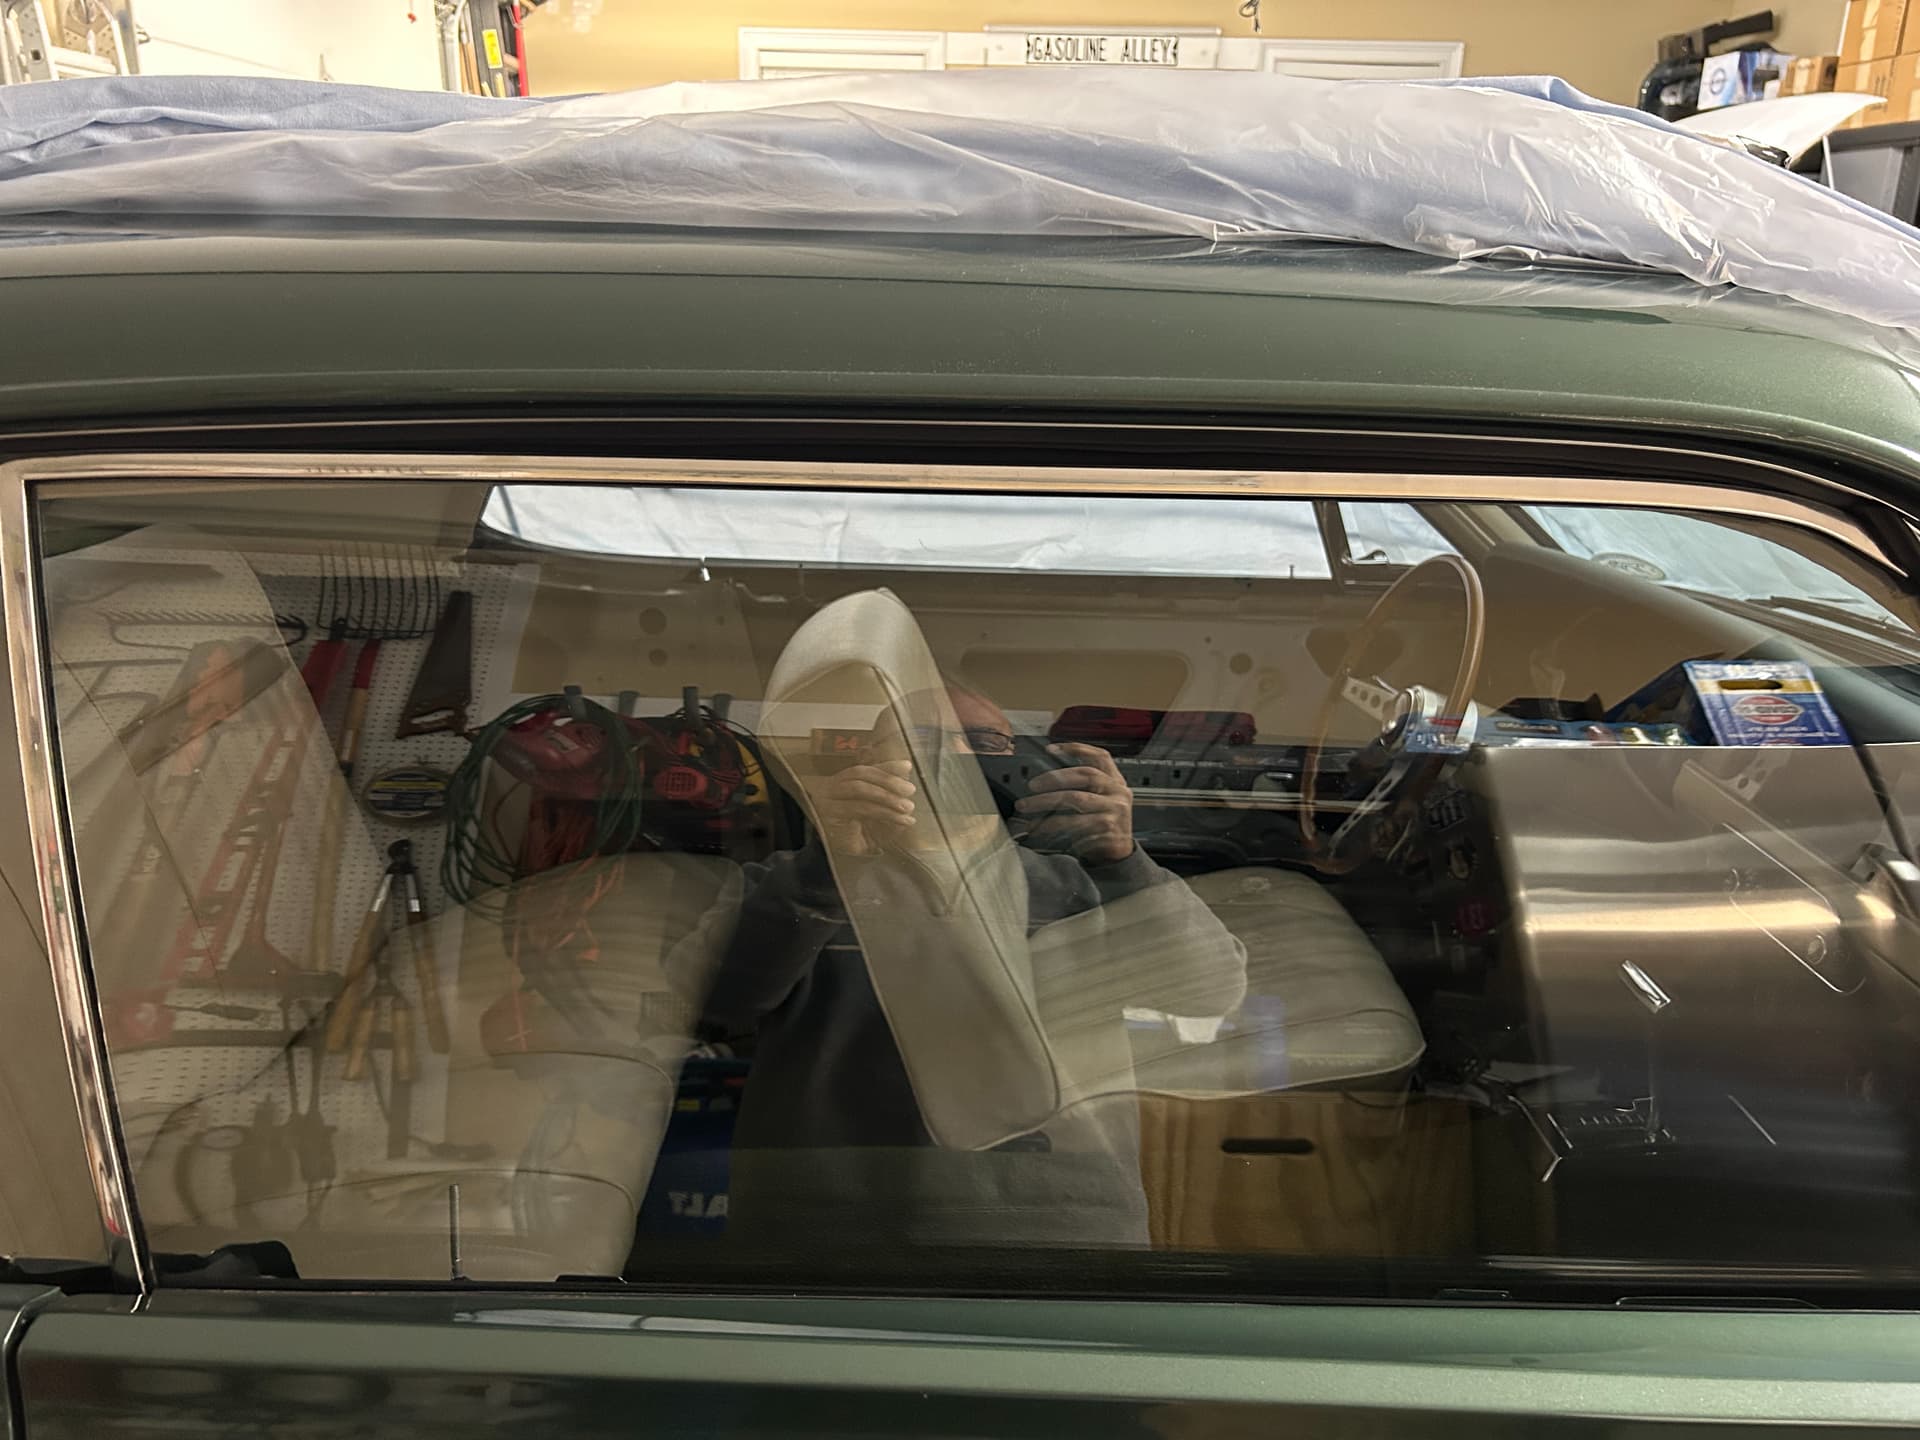
Last weekend I tackled the front vent windows and door glass. The reproduction vent window frames required a little bit of work in the adjustment holes to get them to line up to my satisfaction. The vent windows and side glass were removed from their frames and new glass tape installed as the old stuff was pretty rough after 50+ years. WCCC sells the correct thickness glass tape. The job is tedious but worthwhile by allowing you to; clean and buff the glass and polish the frames.
I followed Royce’s build and tips on the glass adjustment which made the job much easier.
I’m holding off putting the quarter glasses in as I am waiting on the GTE side trim from the refinisher. The quarter glass window tracks really restrict access to the trim attaching nuts.
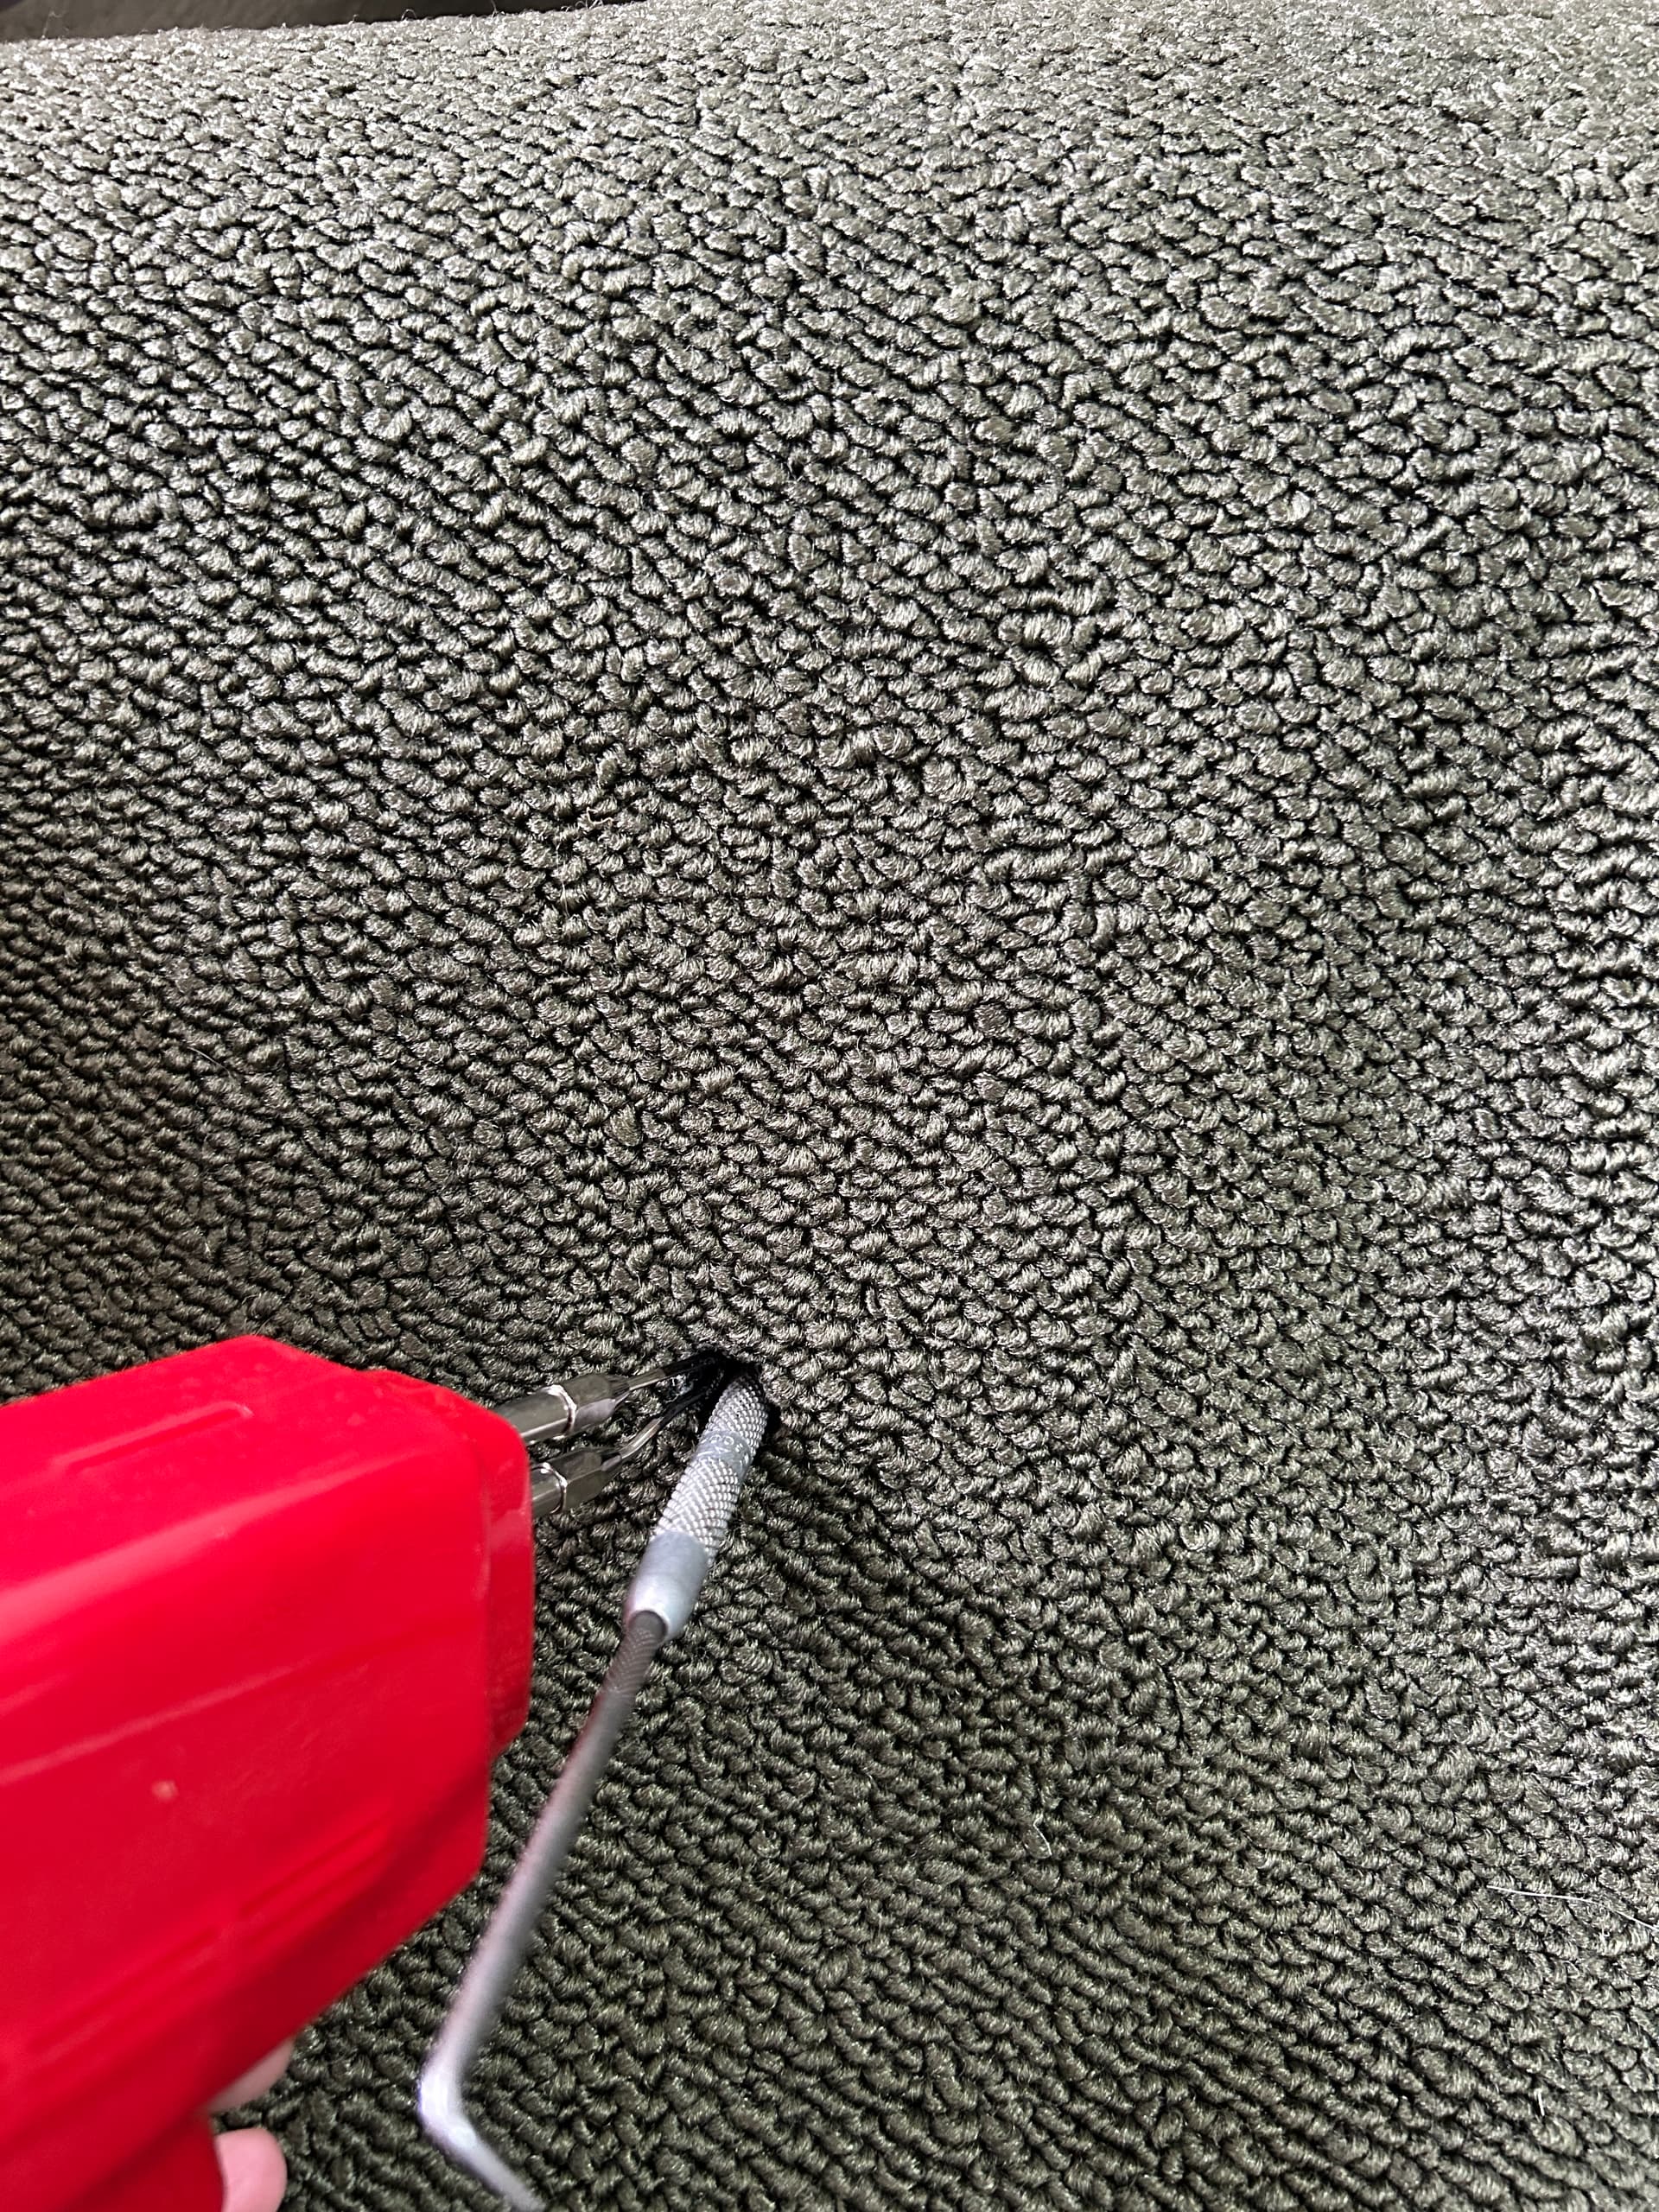
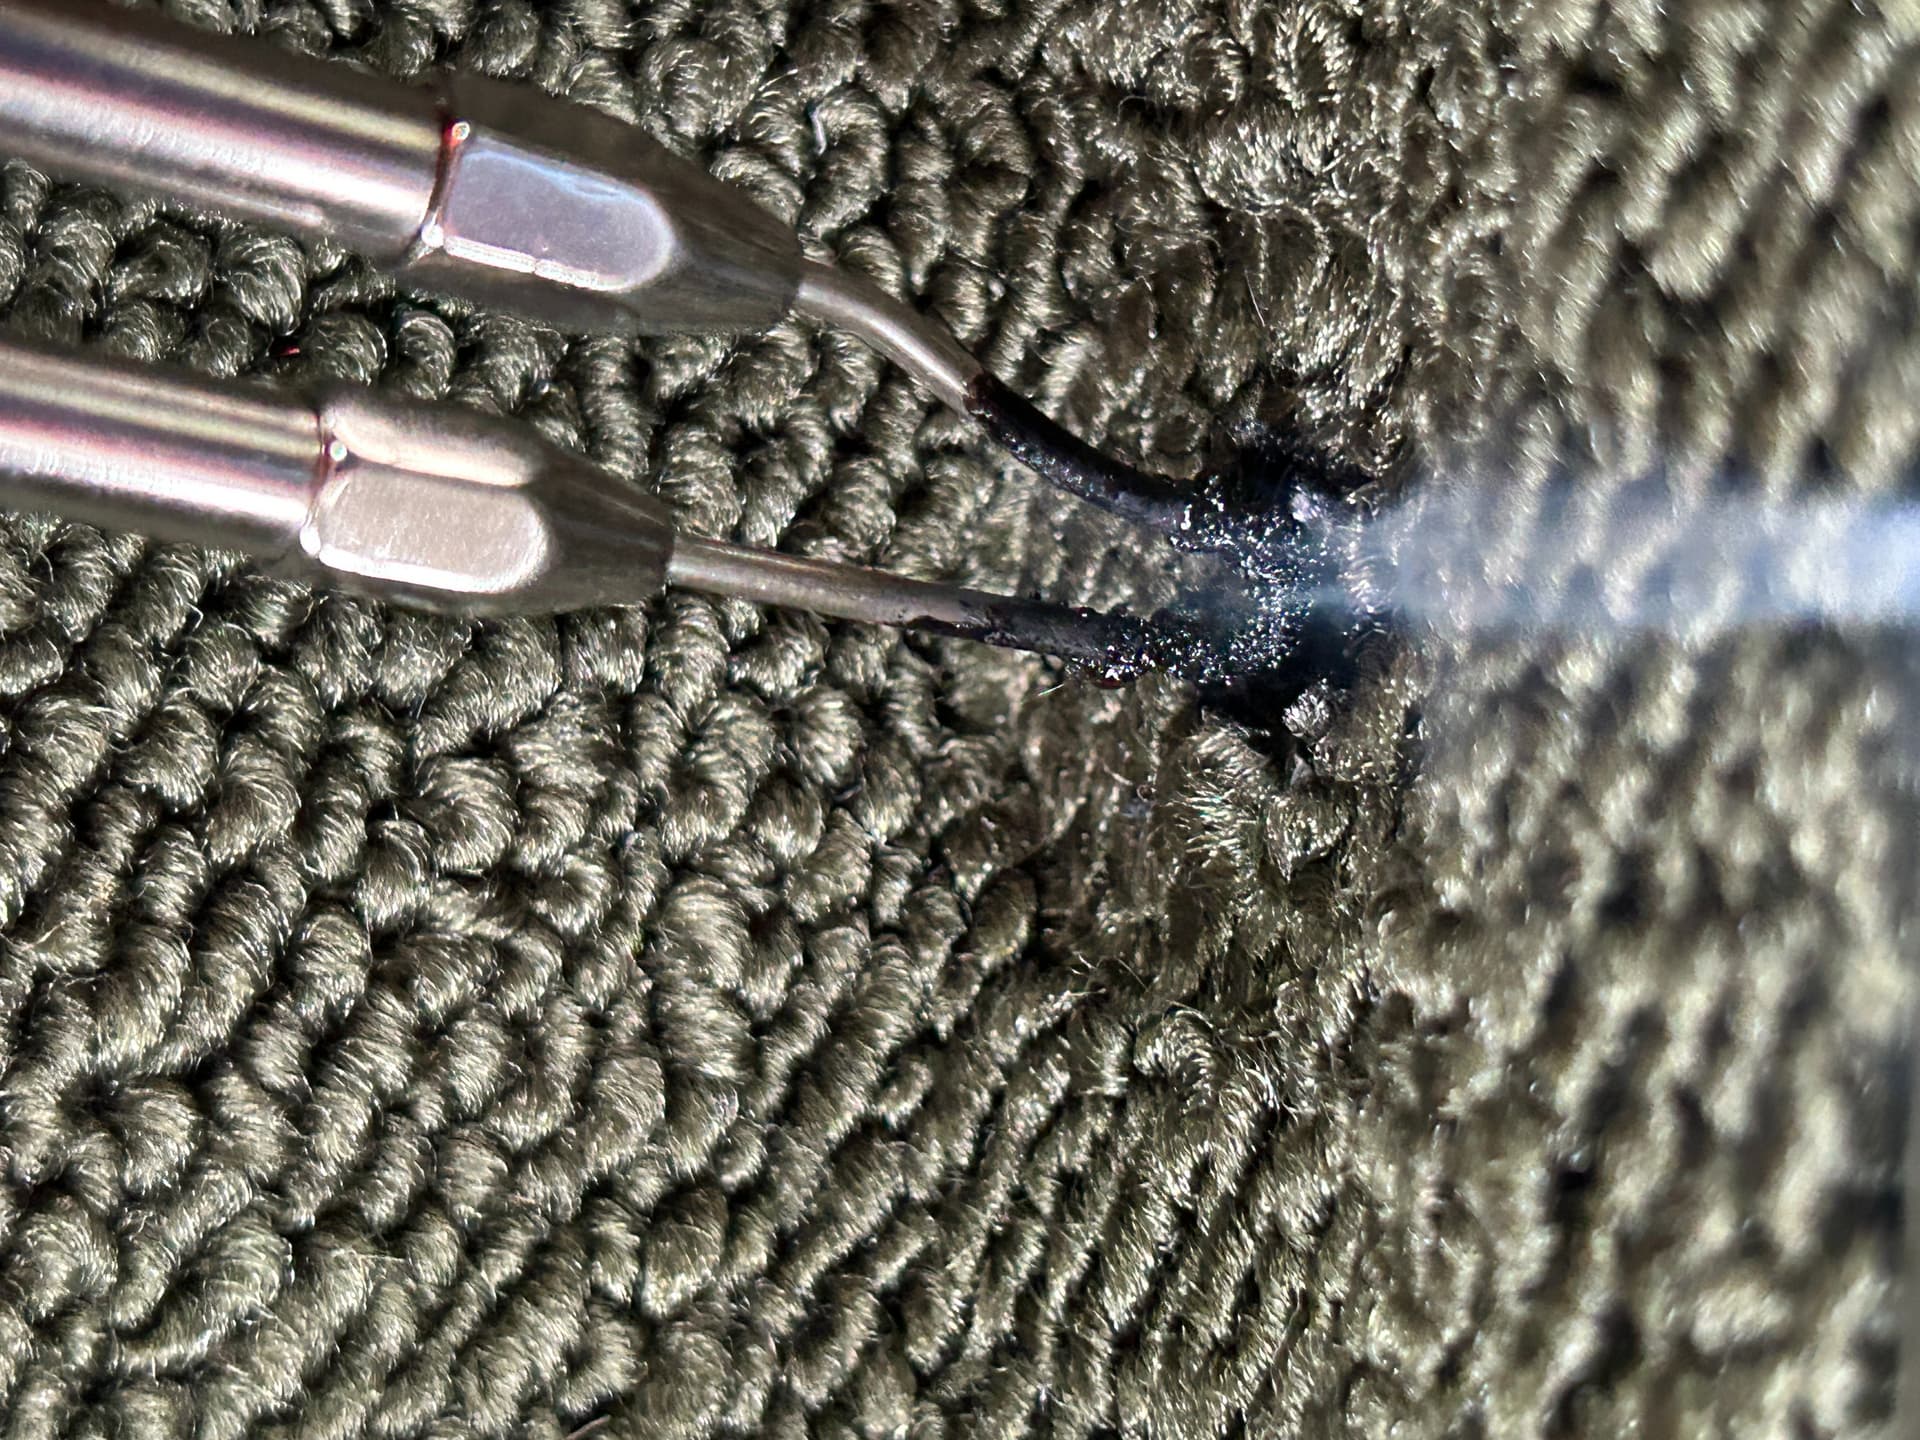
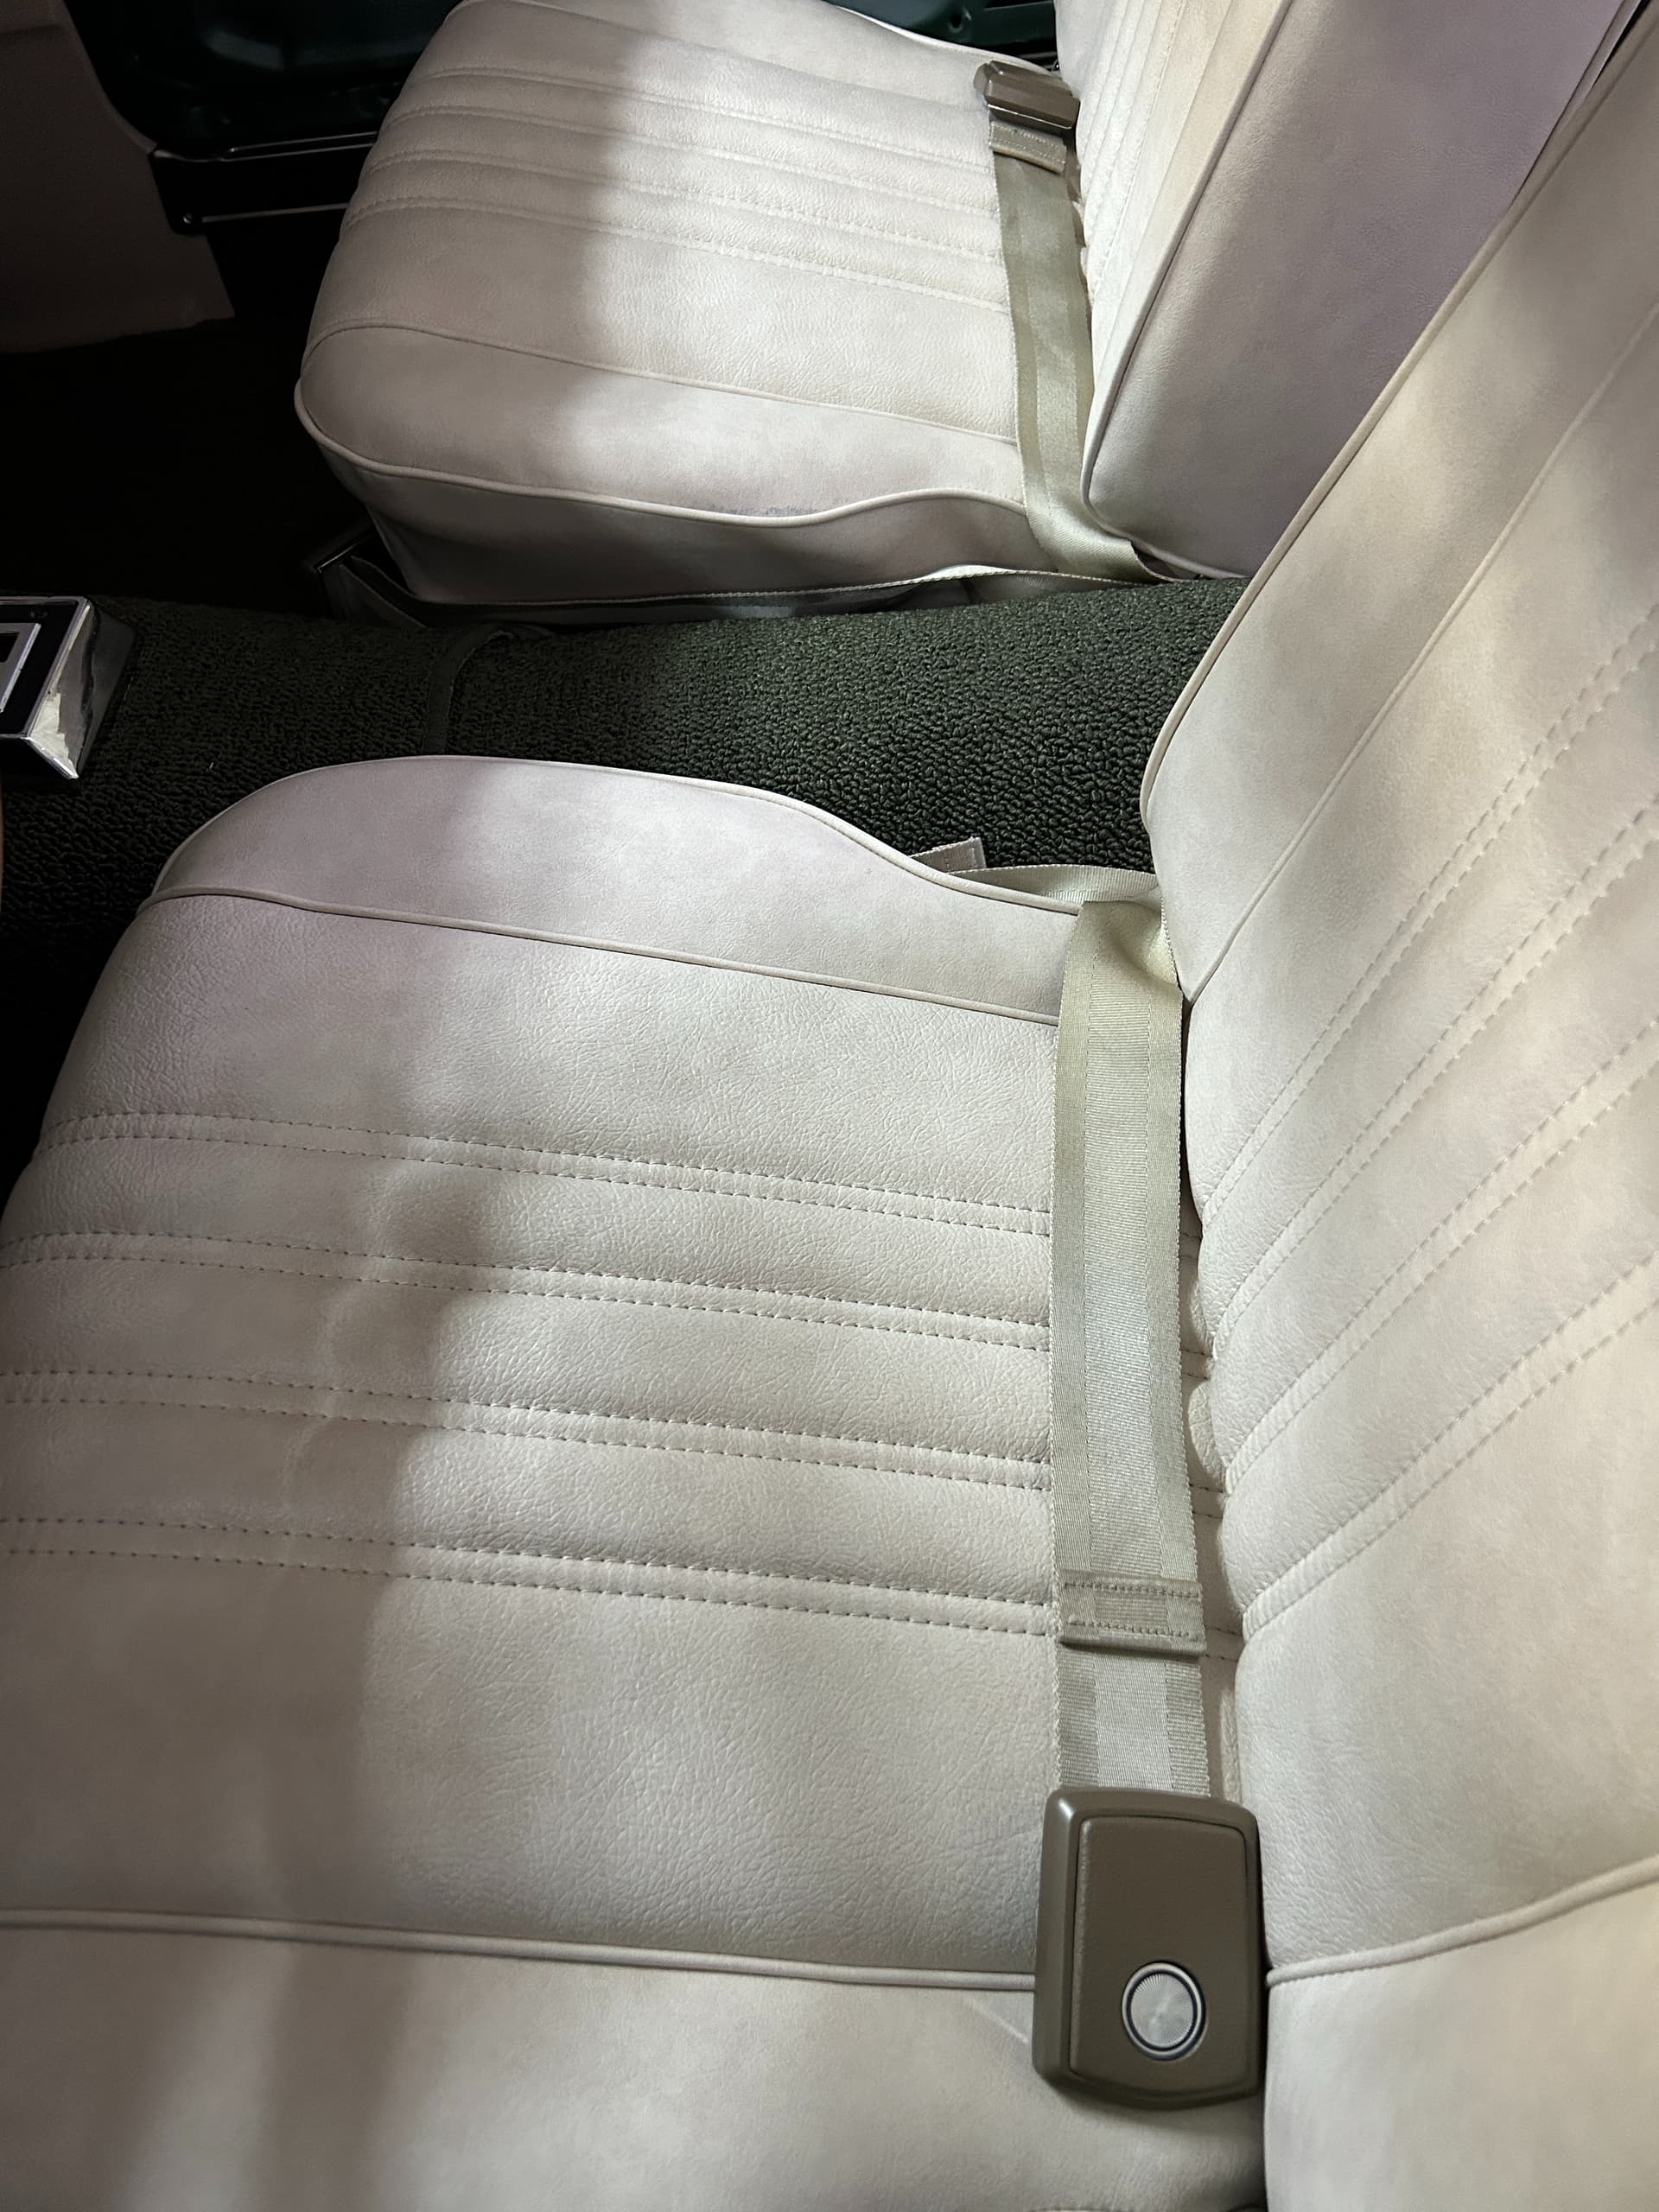
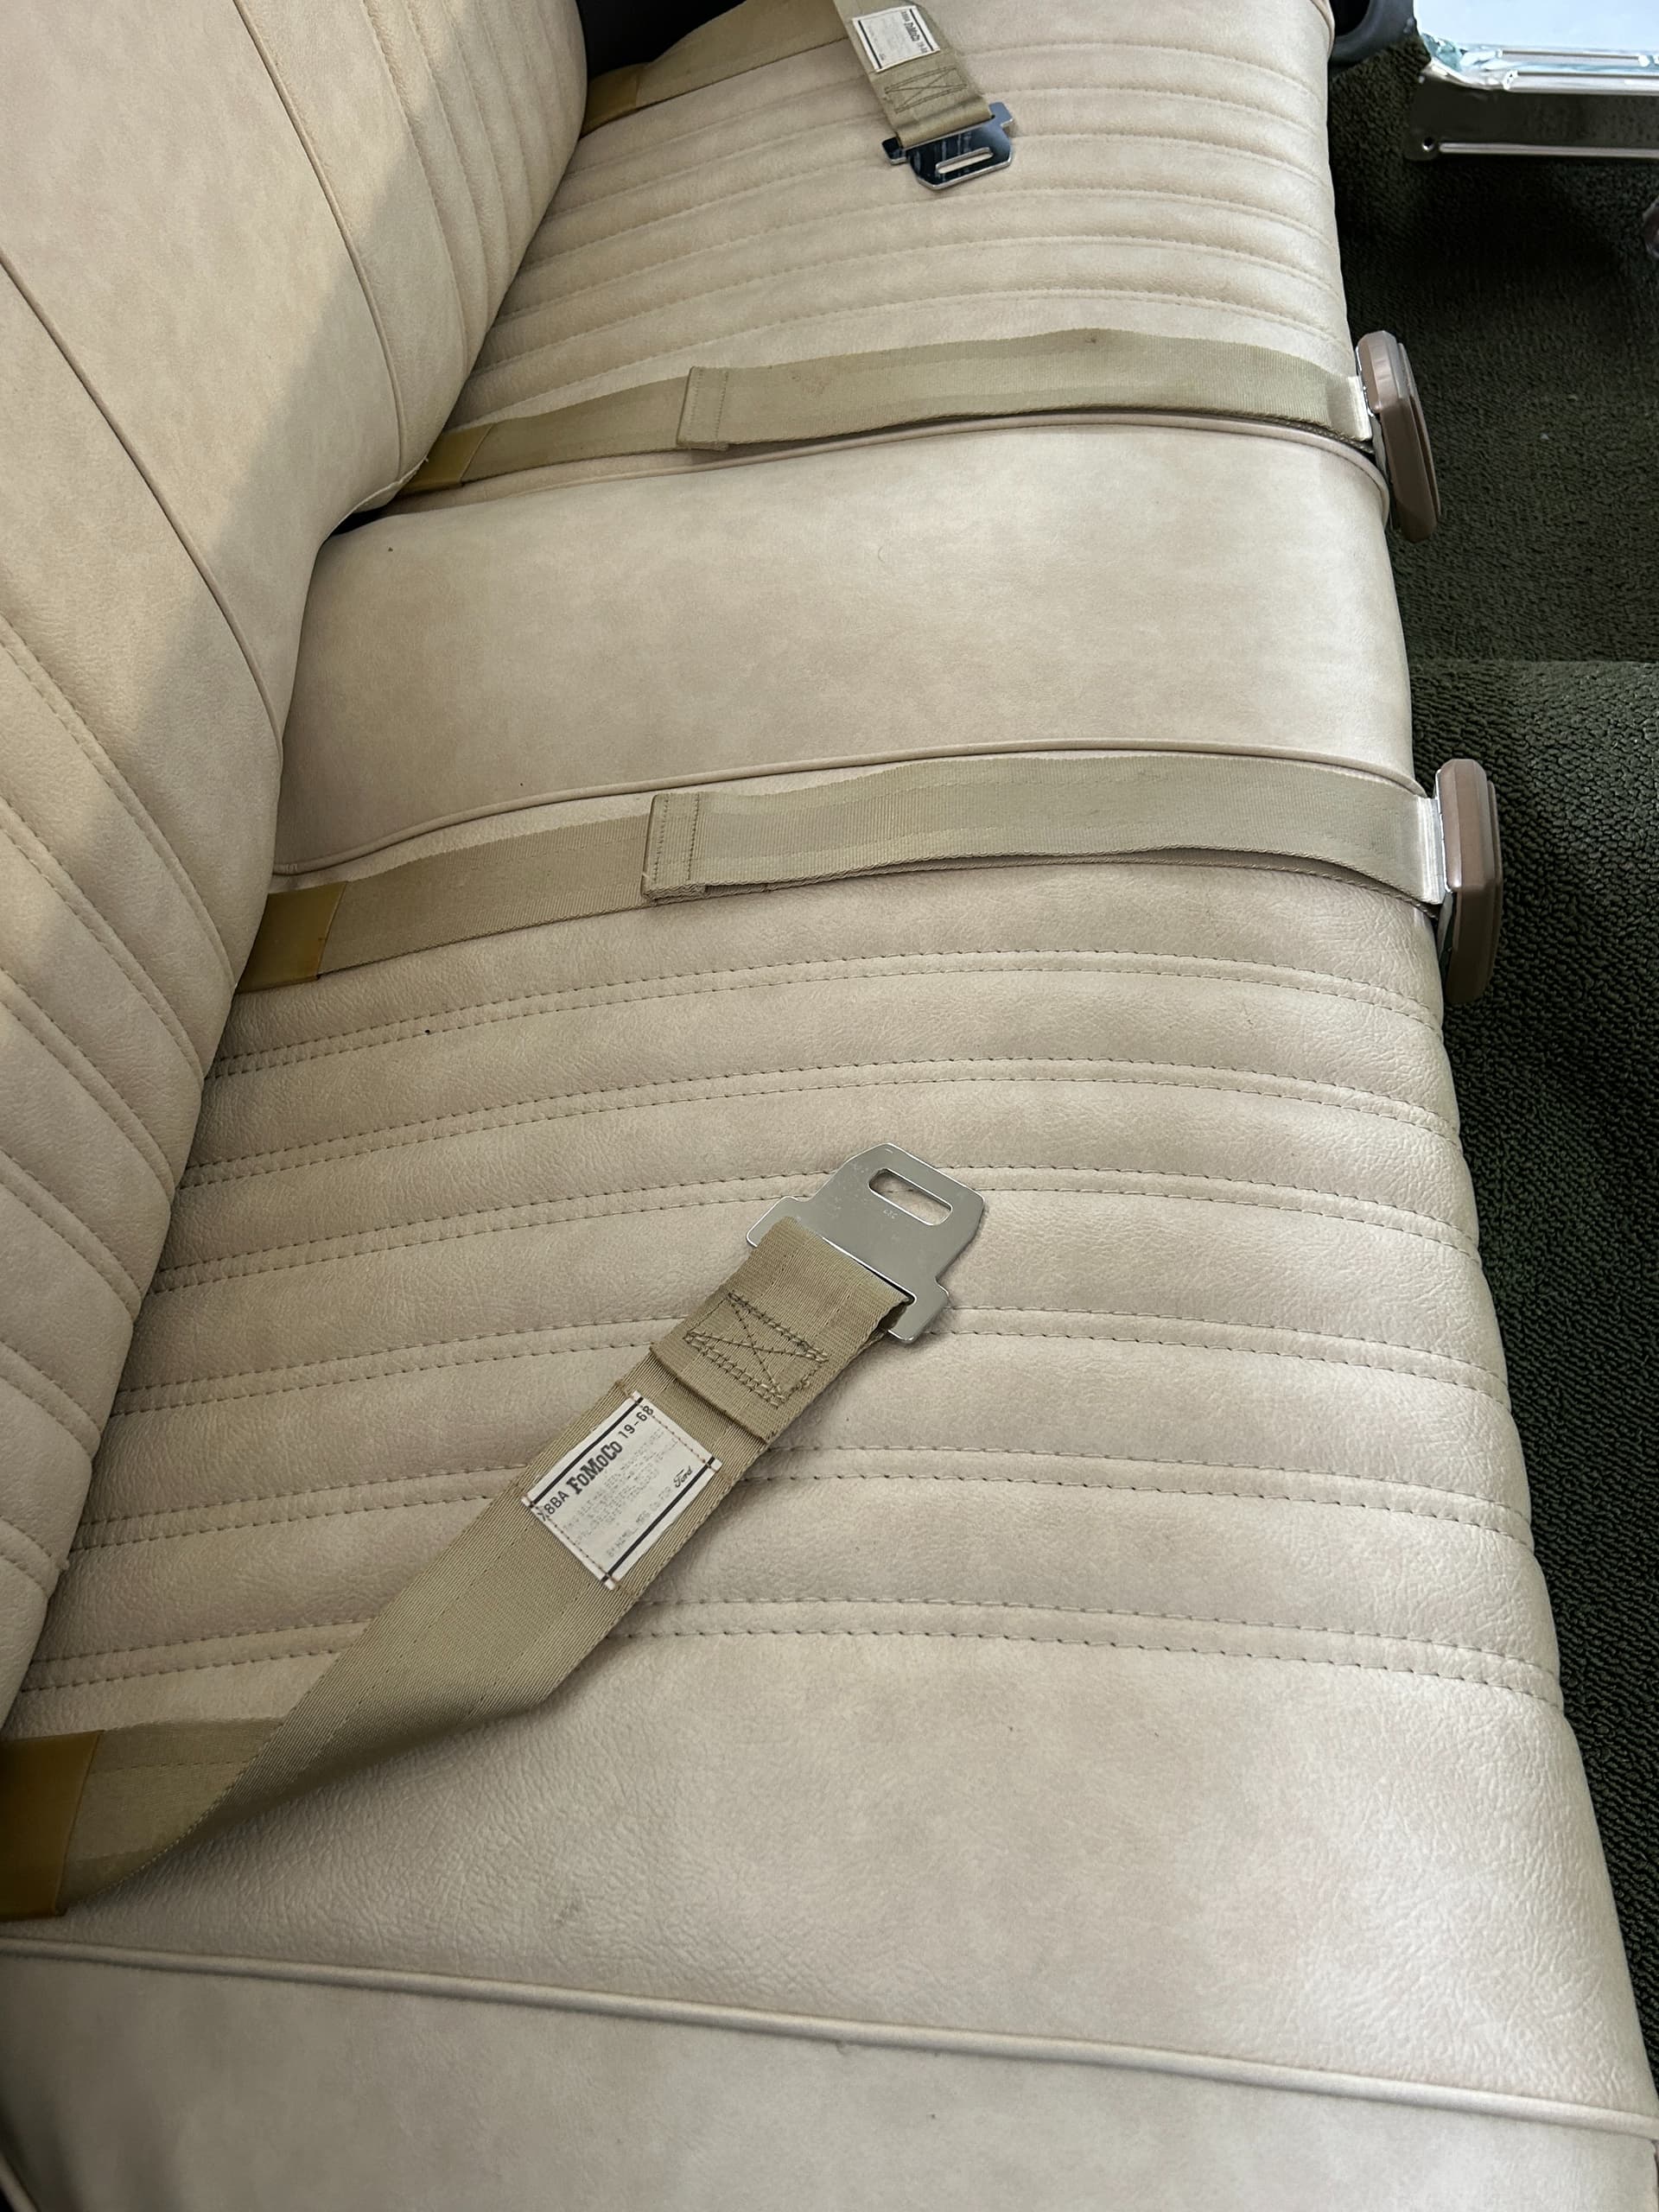
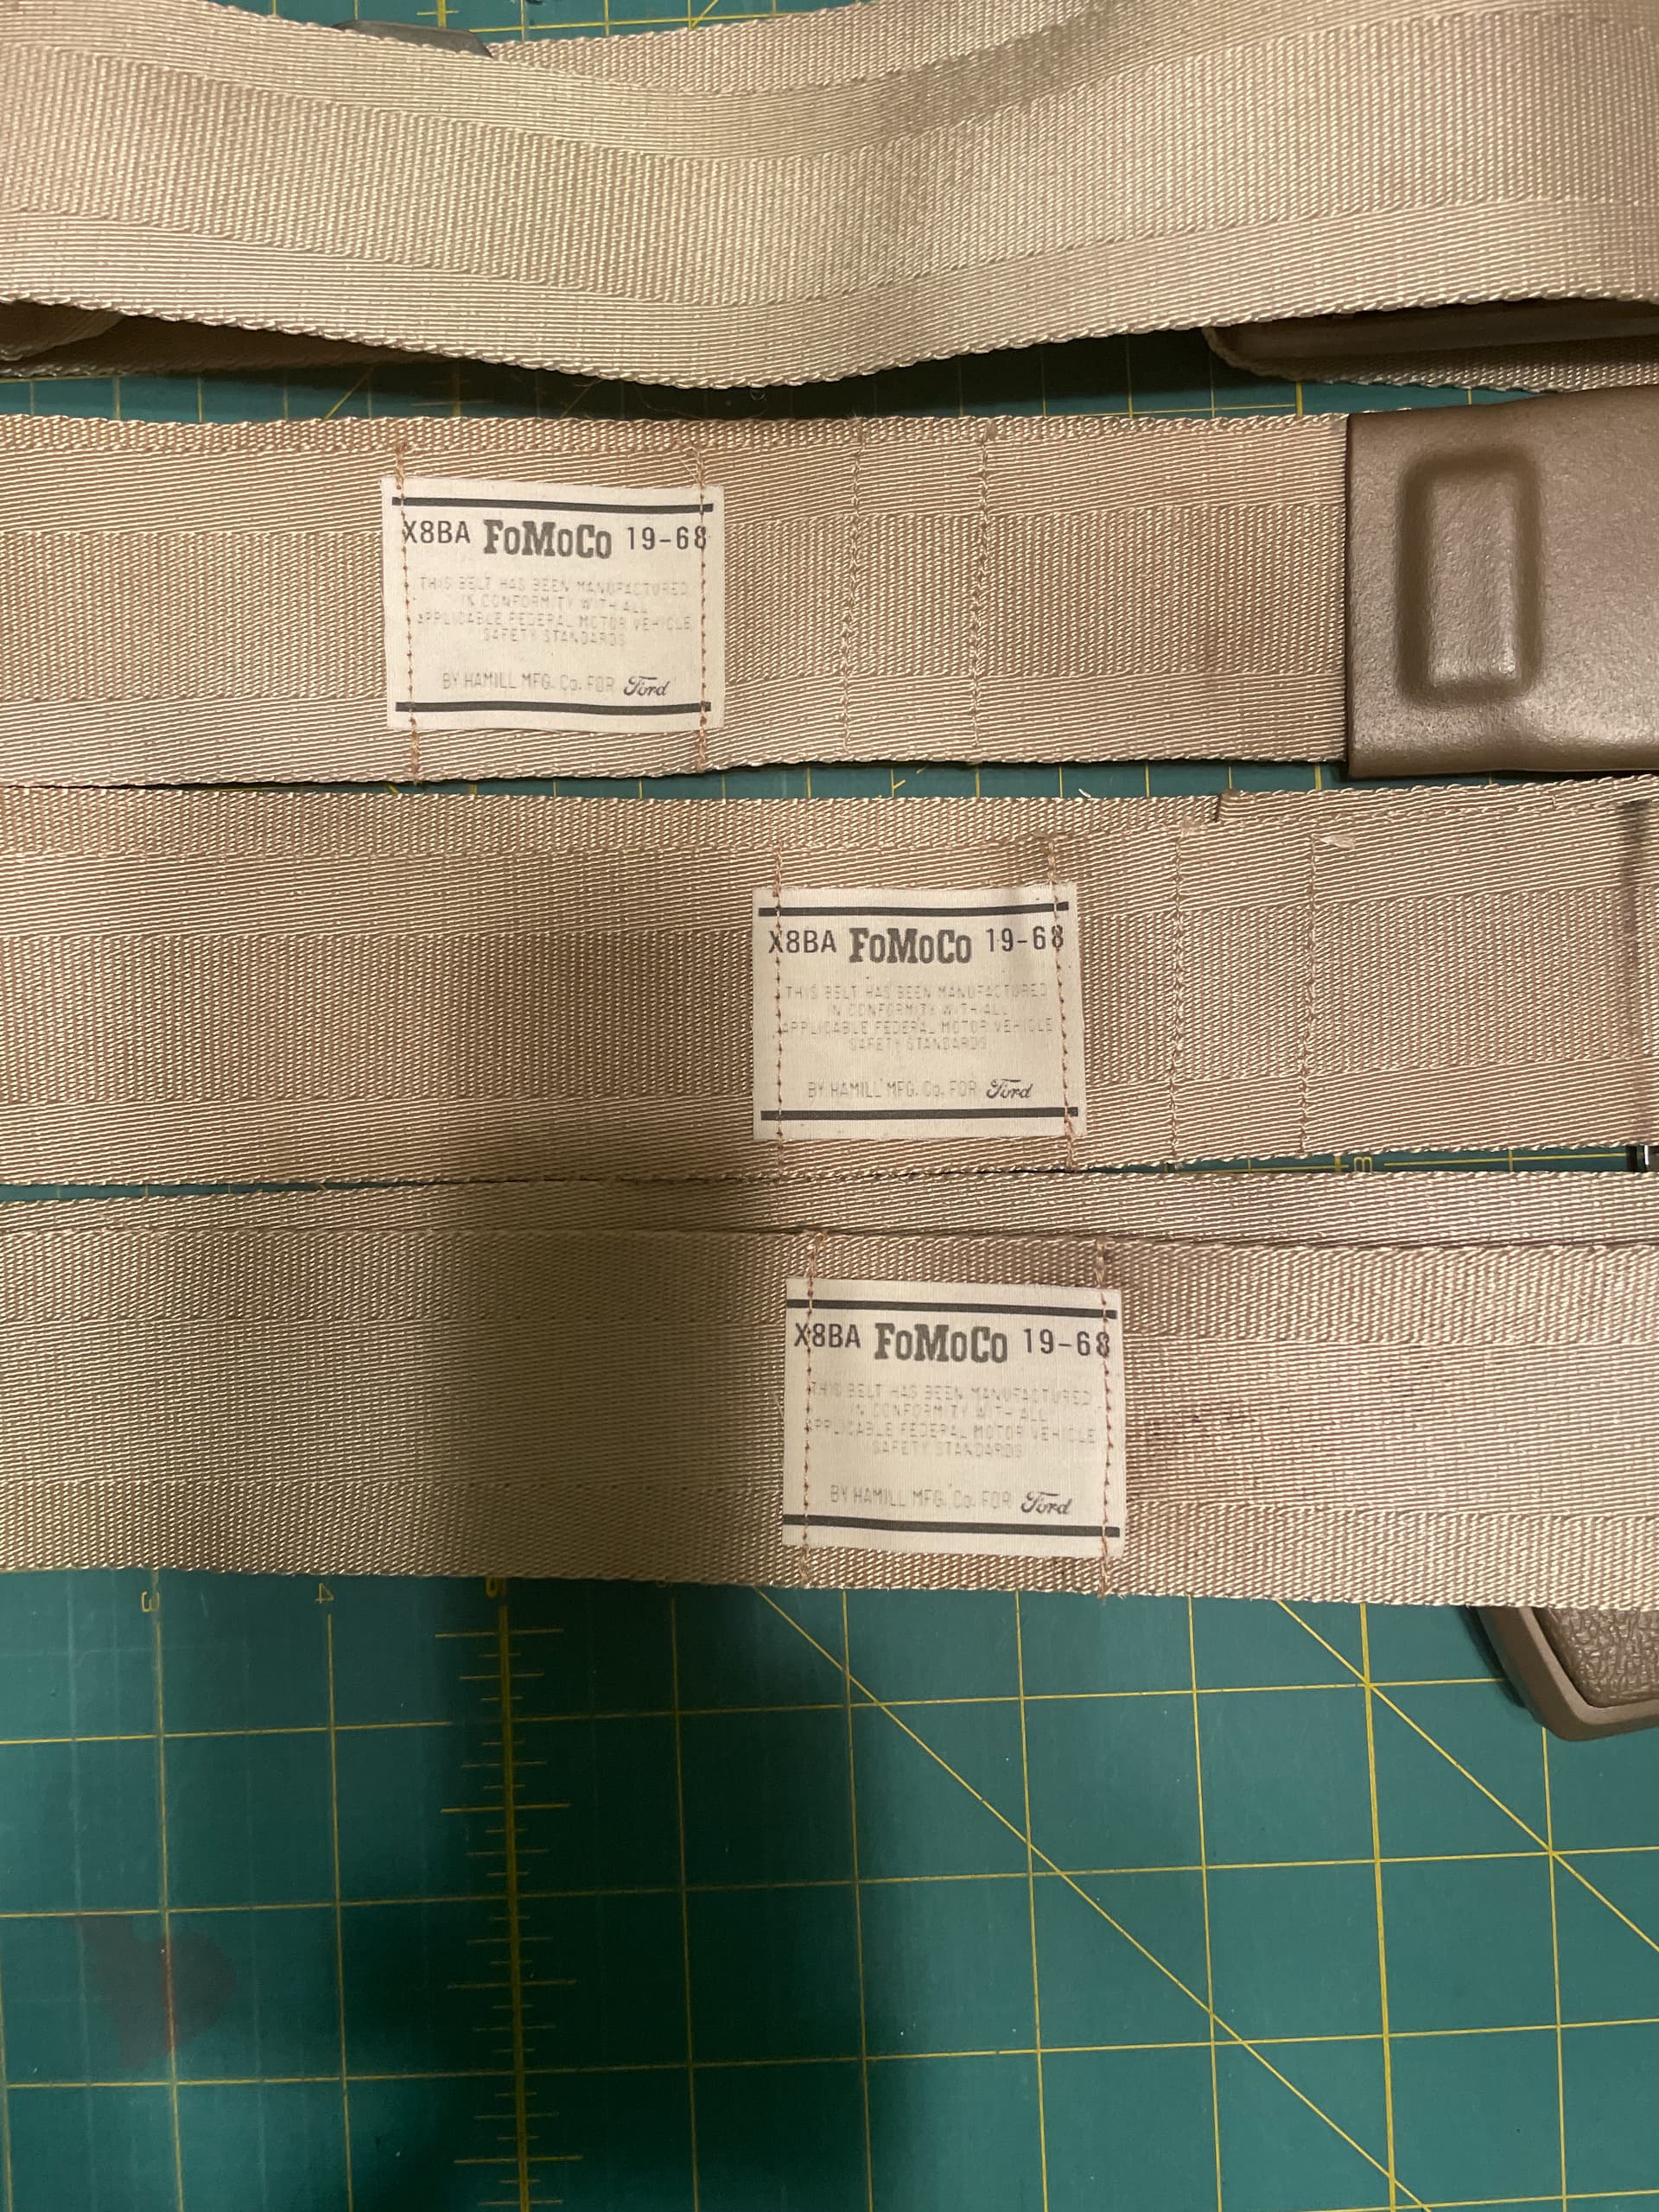
This afternoon I decided to tackle the seatbelts. The factory belts are parchment and extremely difficult to find a decent set. It took three sets to get a decent complete set. Someone mentioned in a previous forum to soak the belts in Dawn dishwashing liquid which worked extremely well.
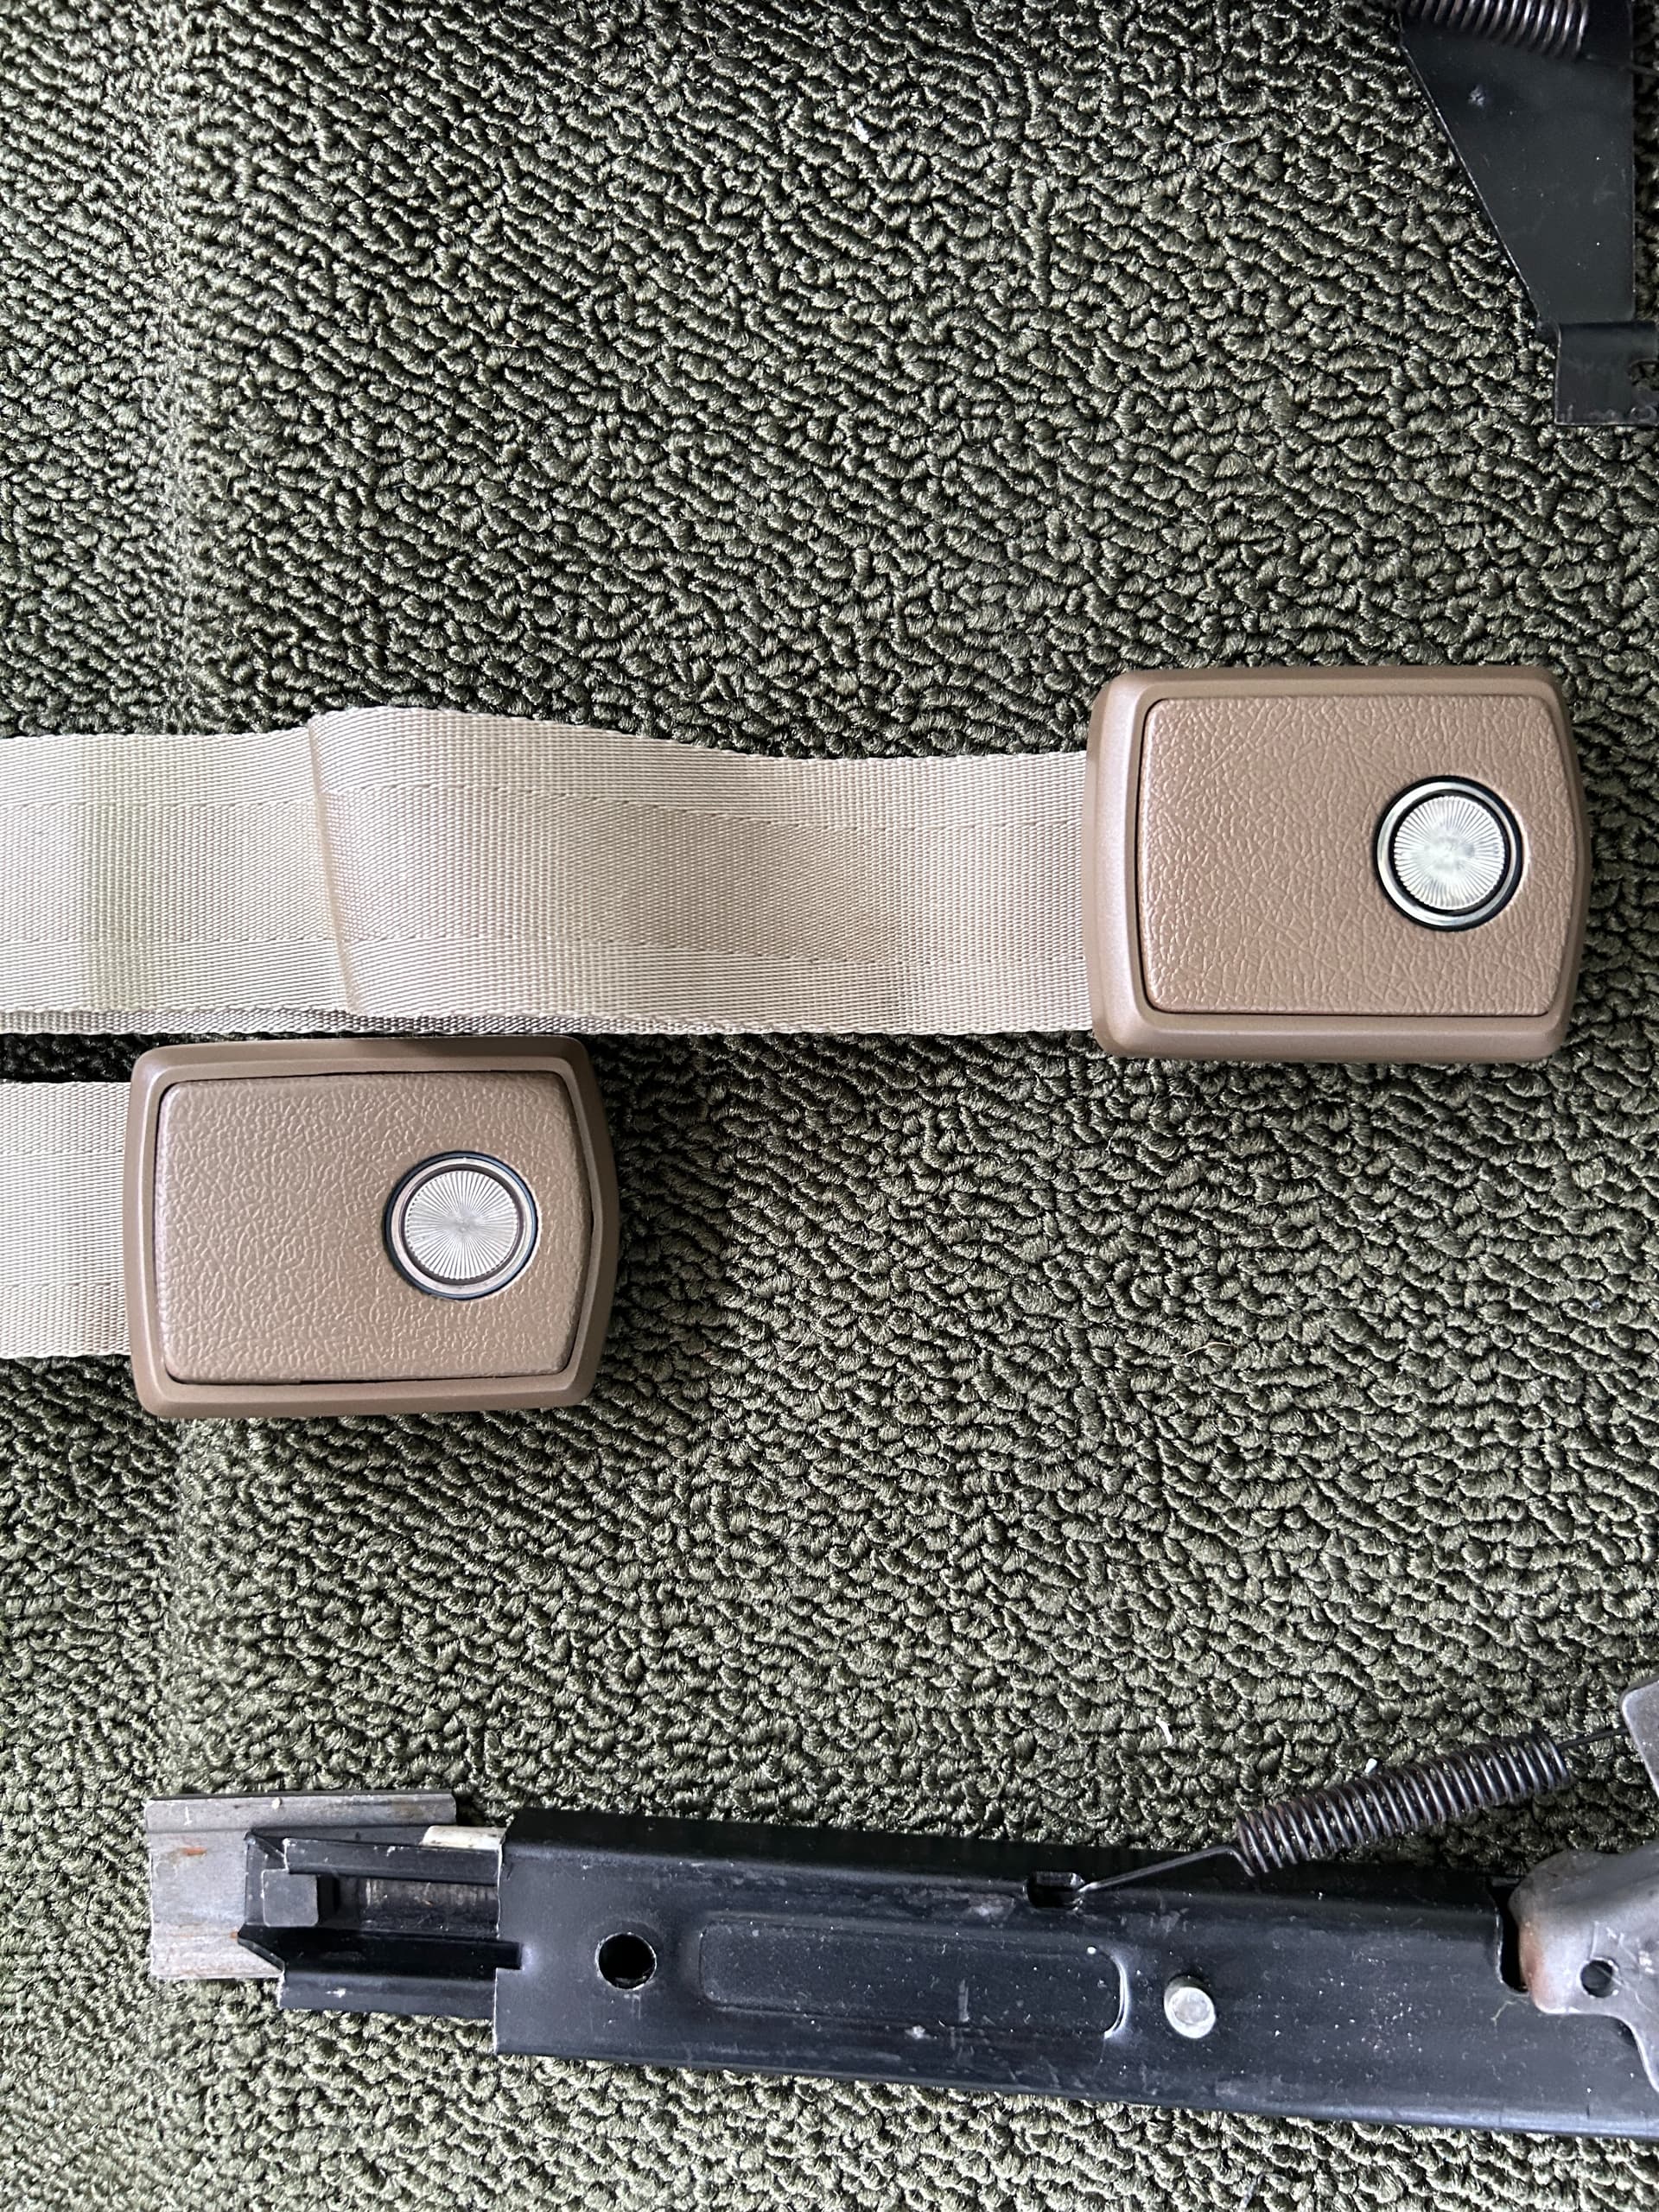
The tags for the belts thought pretty much evaporated after soaking for a few days. I took the best tag to a printer friend of mine to replicate the image so that we could reproduce the tags.
My mother has been handy in the sewing department her entire life and when discussing my issue with the labels she told me about a type of fabric that could be run through an inkjet printer and printed on. We uploaded the image my friend duplicated and she went to work removing all of the old labels and duplicating the stitching on the new labels.
2 Likes