The completed steering wheel is still about 3/32" different than the original even after all the shims are in place. The repro has the black turn signal cancelling cam in place.
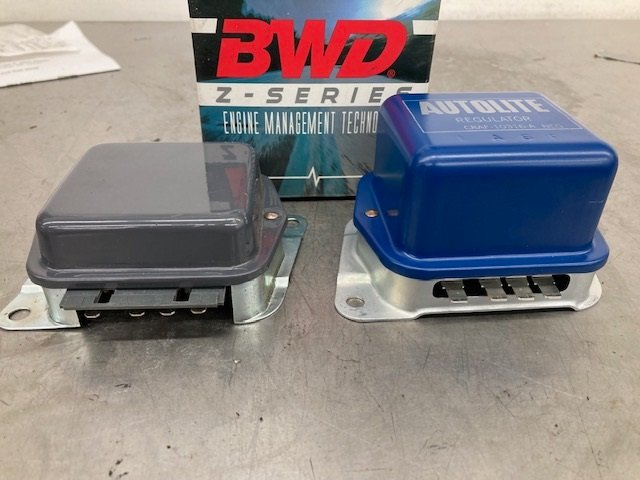
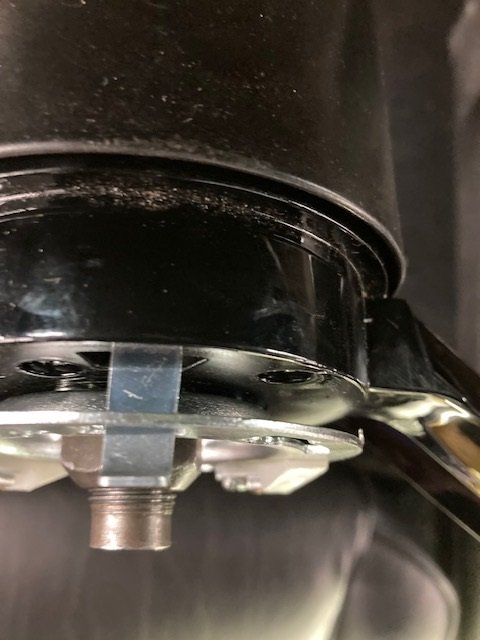
Another issue was that the alternator field was getting battery voltage all the time which caused the ammeter to peg any time the engine was running. I took off the new reproduction voltage regulator. This picture shows it next to an electronic VR from the local auto part store.
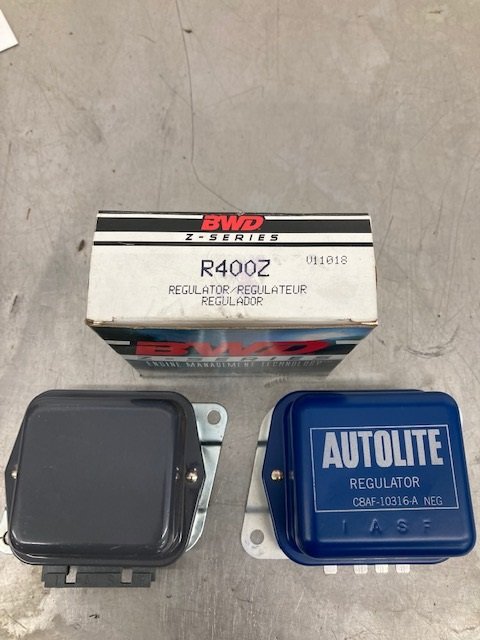
Profile view shows the height difference. The original style Autolite cover is made tall enough to clear an OEM mechanical voltage regulator.
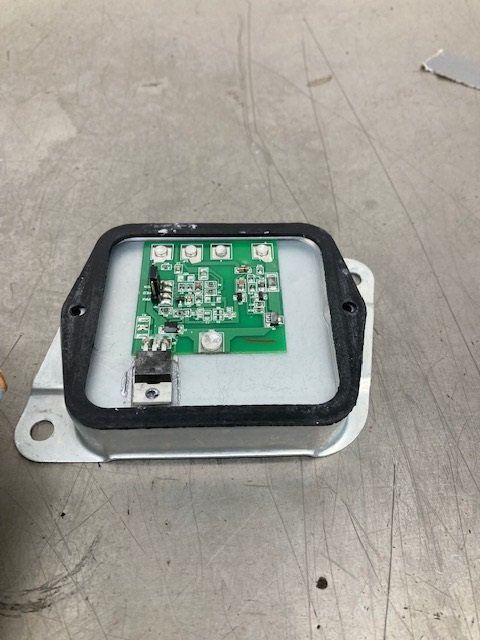
I drilled off the covers on both regulators. The little hollow stem rivets spin so you have to lay the 1/8" drill bit on its side and grind the tail of the rivet off, then use a 3/32" punch to remove the main body of the rivets.

I was expecting to find an old style mechanical regulator under the cover of the reproduction VR. I was surprised to find an electronic one inside (picture) - OK great effort but it still doesn’t work right. The new one also has a printed circuit board but is entirely different - and hopefully works. I put the Autolite cover on the new VR using brass split rivets. Will test it tomorrow.
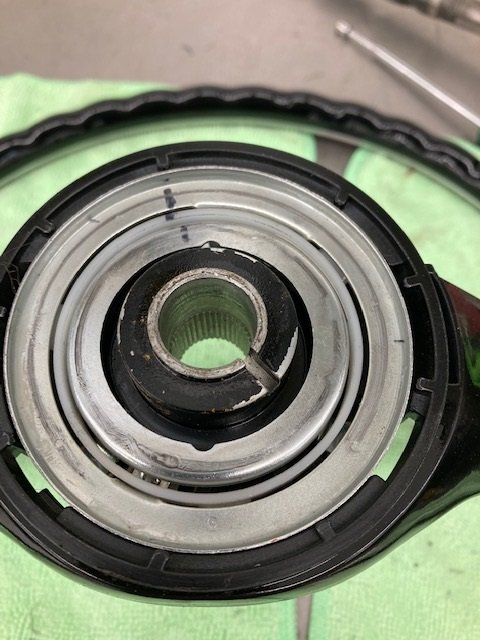
So I figured out that the horn contact rings cannot be shimmed endlessly - eventually the horn + 12 volt contact becomes too short where it comes through the steering wheel. If I keep on shimming I will have to add to the contact via a welded piece. Not what I was hoping for.
I think the issue with this particular wheel is that the splined center hub was not broached properly, so the wheel sits too high. The stock wheel works fine. I have called Best In Show and left a message with no response yet, we will see what they have to say.
Still no word from Best in Show - I will try calling again tomorrow.
This afternoon I loaded it in the trailer to go to the muffler shop. Video:
https://www.facebook.com/royce.peterson.98/videos/429827961833092
Looking good Royce!
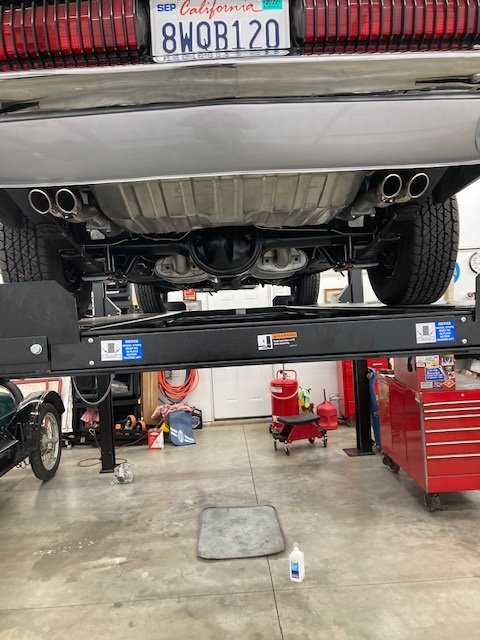
The exhaust was being worked on today when I got a call from the local chrome shop. The rear bumper was ready to pick up! I had to install the bumper as soon as I got home. It’s as perfect as it can be.
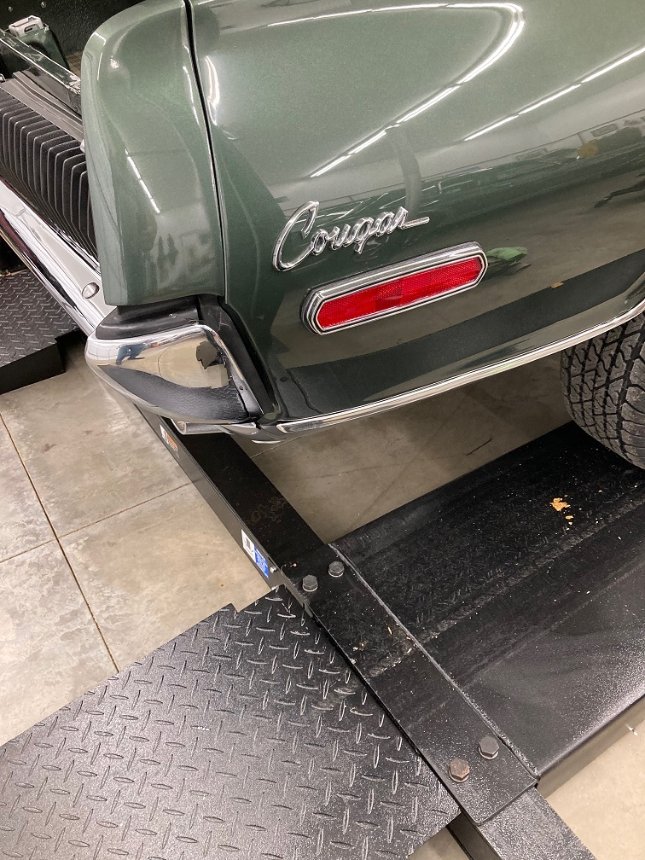

After the bumper and related trunk cardboard was installed I was able to lift it up and see the new exhaust system. It turned out well. Those are Scott Fuller reproduction GT-E exhaust tips, Summit racing mandrell bent tail pipes, and Magnaflow mufflers.
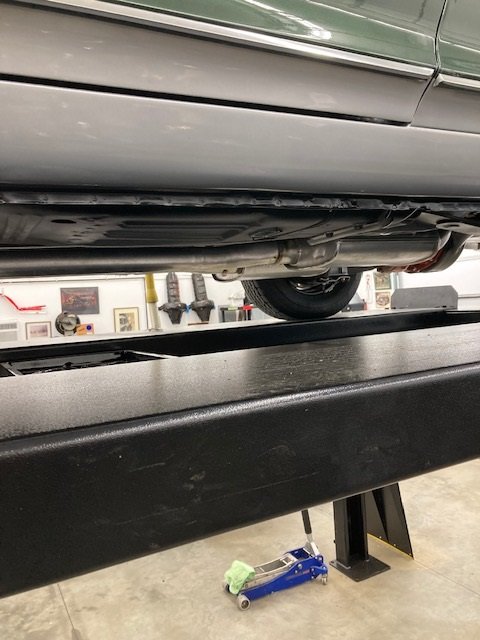
Did the Magnaflow mufflers come with the correct mounting tabs for the hanger or did you have to get the tabs from Wccc and weld them on?
I made my own and welded them on.
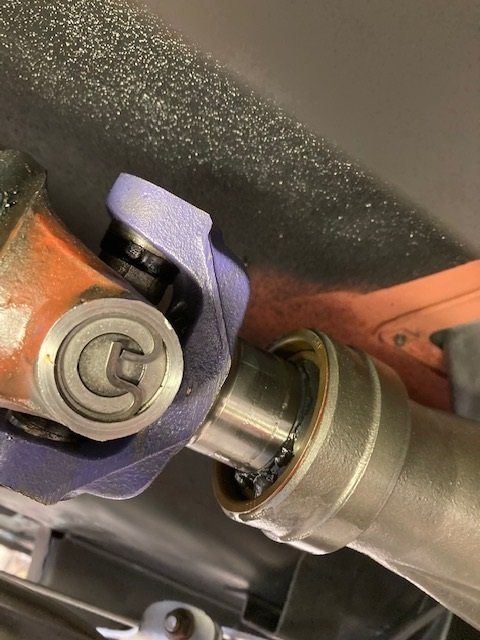
Today I went back to work trying to figure out why the horn contacts were not touching the horn ring. I decided to compare my Red R code XR-7 since it also had a Best Of Show steering wheel. But the horn worked fine in that car. Here’s a picture of the steering wheel installed with the horn pad removed. Notice the wheel is almost flush. It’s about 1/16" proud of the steering column.
Then I looked at the Best In Show steering wheel in the green R code GT-E. It’s nearly 1/4" out from the steering column.
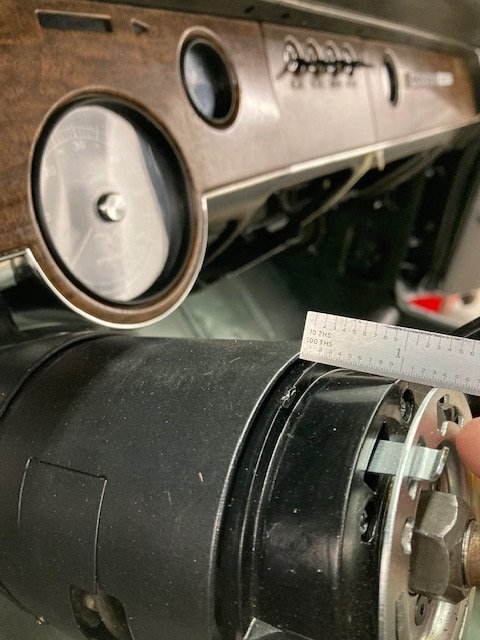
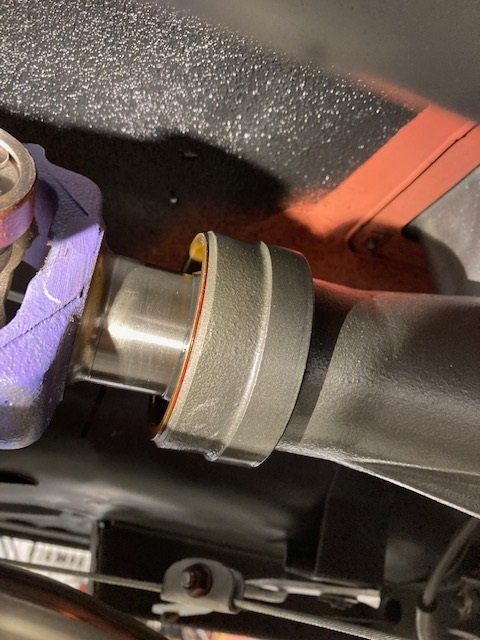
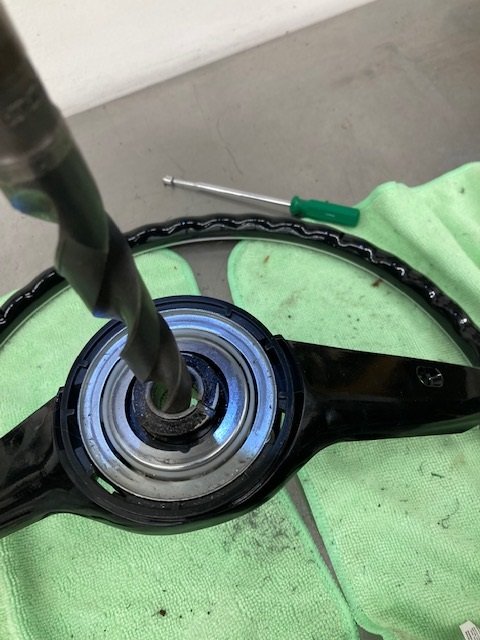
Long story short, I removed the steering wheel in the green GT-E and measured the shaft diameter at .750". I measured the beginning of the taper on the steering wheel at .740".
So I drilled it .750" to a depth of about 5/8". Installed the wheel and it works great now!
Video:
And that’s persistence
Restoring a 50 + year old car often means doing things twice before they turn out to be acceptable. This was the case with the starter in this car. It sounded a little loud the first time I started the car but that was with no exhaust system to speak of so it didn’t seem that loud overall. After the new muffler and exhaust system was installed it was embarrassingly loud.
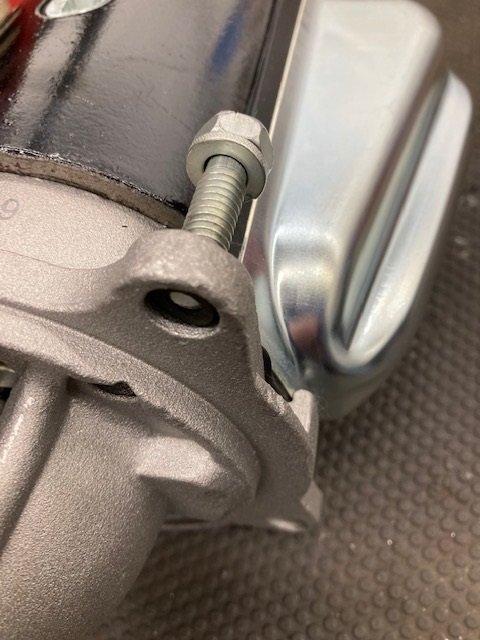
So today I took the starter out and disassembled it to see what had happened. The nose of the starter was chewed up, allowing the starter gear to move further rearward than it was supposed to. I probably could have fixed it somehow but since a rebuilt one is around $80 exchange including tax I did that instead.
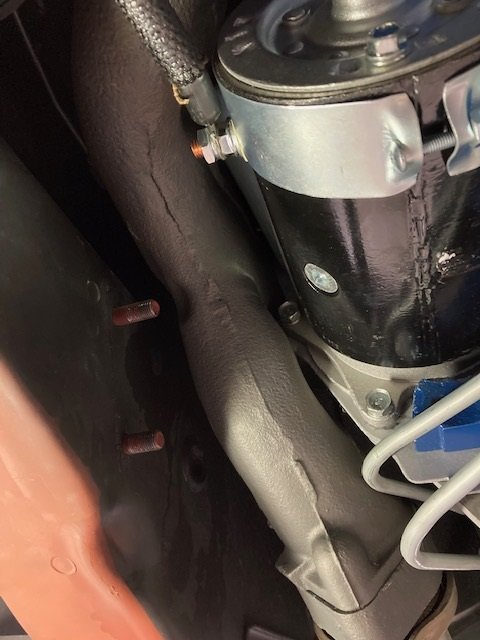
I use a piece of 1/4" ID vacuum tubing to hold the top starter bolt in place. It makes the job super easy. Notice in the last photo the idler arm is missing. I take off the two nuts securing the idler arm to the frame to give great access to the starter.
The fresh starter was quiet and fixed the problem.


The weather was just spectacular here in Tulsa today. About 65 degrees, no wind, sunny. Perfect for setting the timing and adjusting the carburetor.
With a vacuum gauge connected the engine seemed happiest at about 12 degrees initial advance set at 600 RPM. Vacuum was about 20" after all was adjusted. I checked all the fluids, the PS pump needed maybe 8 ounces. Here’s a video of it running:
https://www.facebook.com/royce.peterson.98/videos/937518503550444
I cleaned the windshield because the stage was set for the first test drive. This car has been off the road since 1980! After a trip around the block I put the car up on the lift to see what was leaking. The transmission is filled with Type F B&M Trick Shift - it’s blue. About a teaspoon had leaked onto the pan, and it was wet around the transmission yoke too. I wiped off the yoke, and re - torqued the wheel lug nuts to 90 Ft - Lbs.