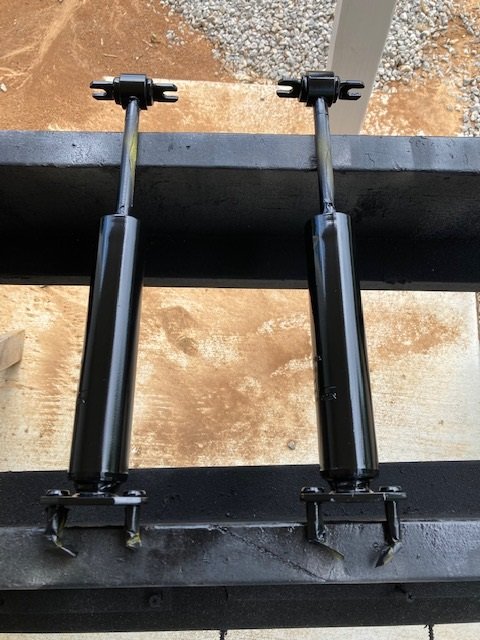
Gabriel is the only manufacturer who still makes and sells a Cougar length specific shock for the rear so we got a full set. The rears were semi gloss black but the fronts were red. I hit them with a scotch brite pad and then wiped them down with wax and grease remover before masking and priming and painting them.
Enjoy seeing how others do things…gives me a better idea of how to tackle mine.
As for the rear shocks, I thought these were longer as well as I bought a set :
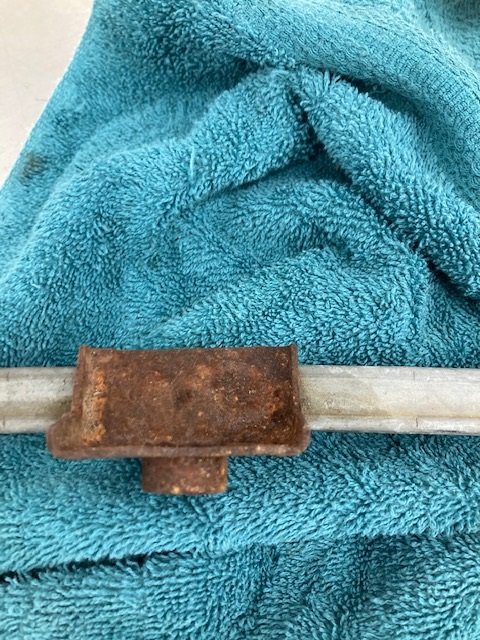
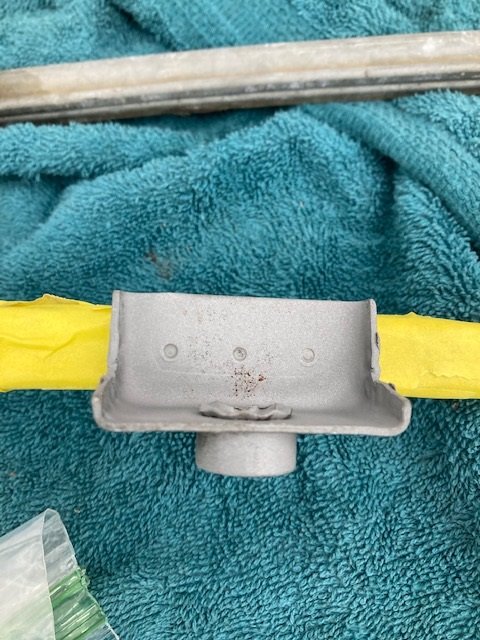
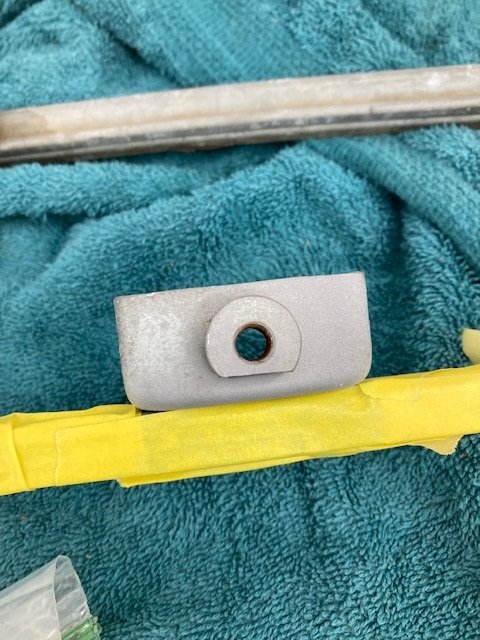
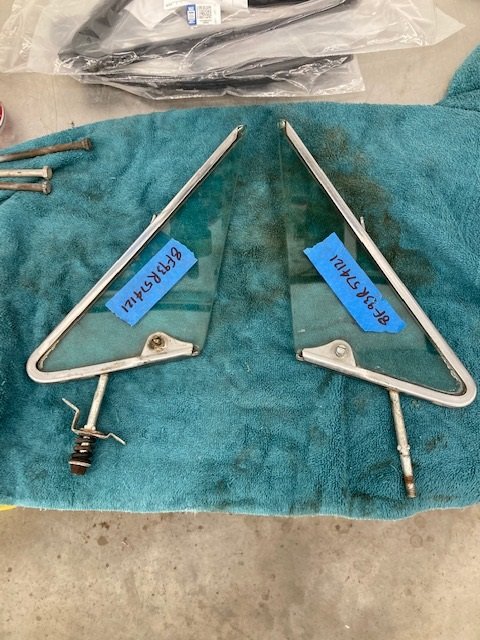
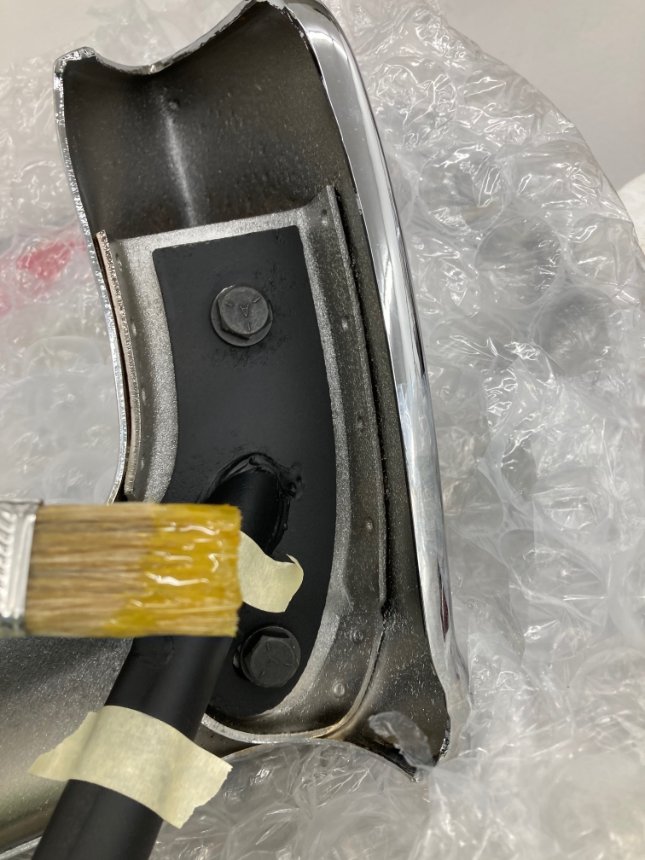
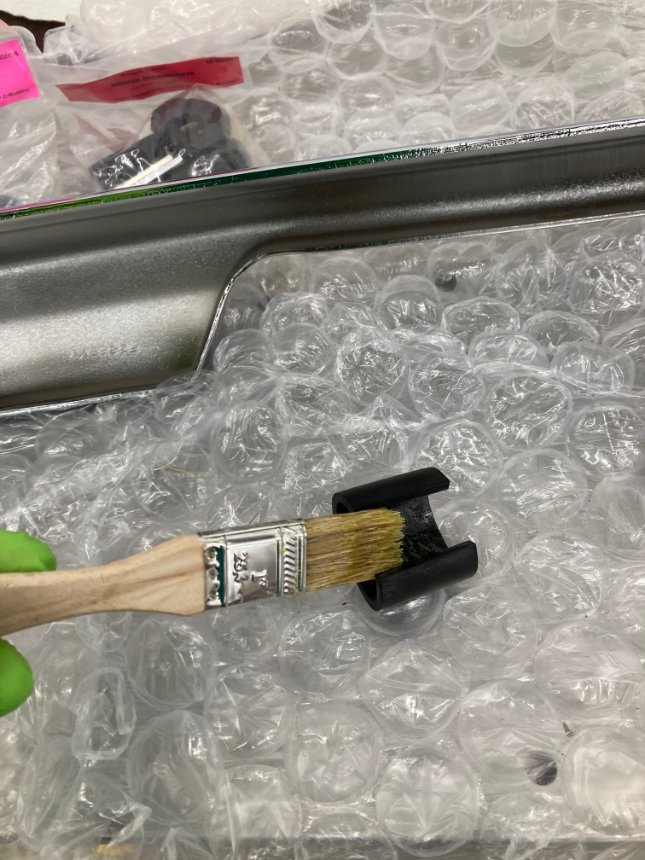
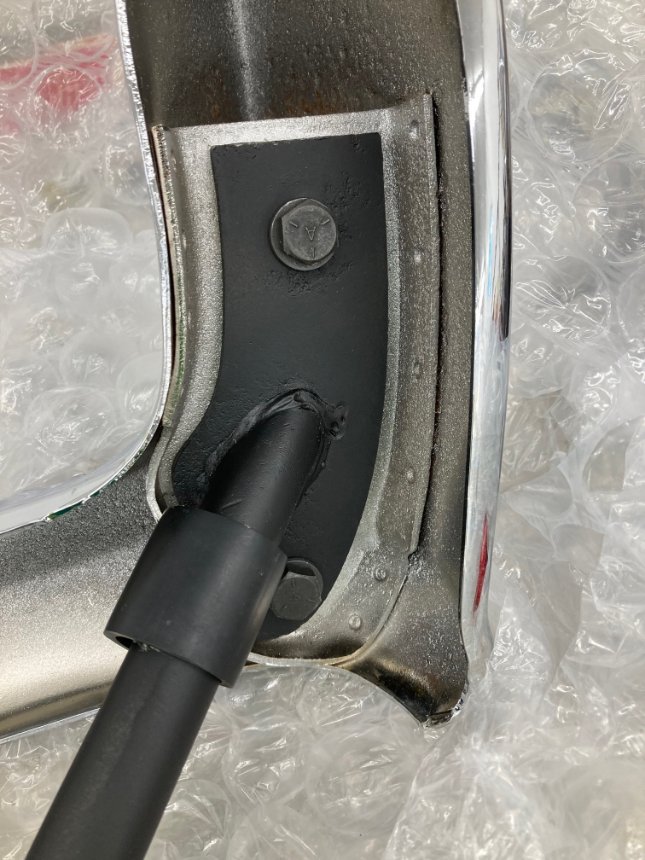
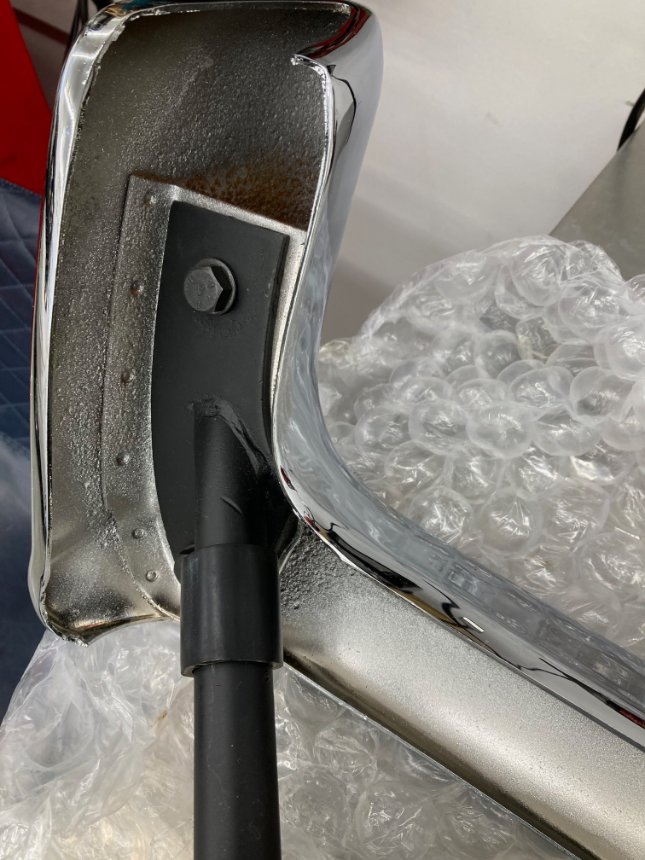
Working on the vent window assemblies today. The track angle plates were quite rusty so I had to bead blast them and paint them.

The vent windows were the ones originally from this car. I had the frames re - plated as well as the vent window handles. The reproductions are made poorly and incorrectly. I polished the stainless parts on the buffer wheel.
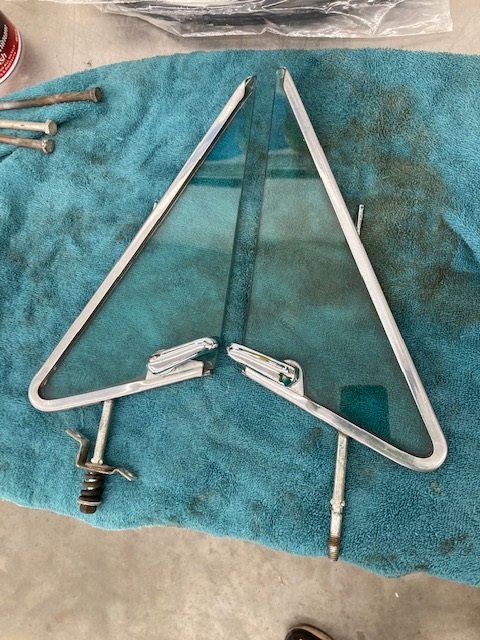
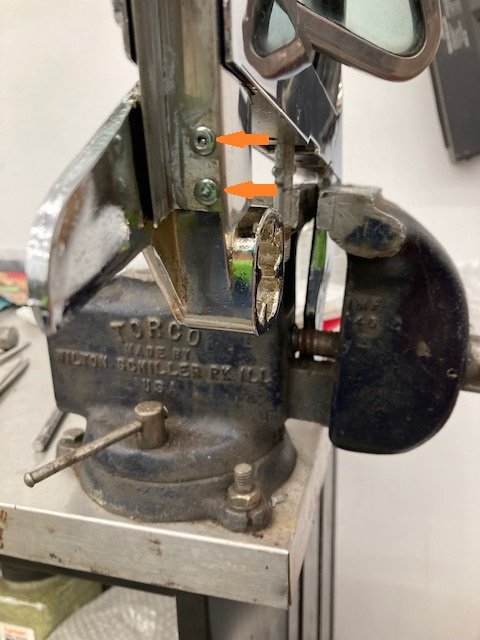
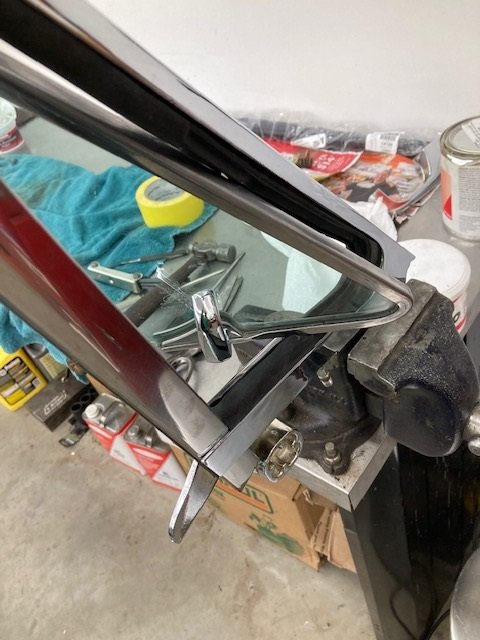
The stainless trim is held to the newly plated vent window frame with a 8-24 screw at the top and a pair of 1/8" pop rivets (orange arrows) at the bottom. The rubber is installed in the frame first, then the stainless part can be installed as well as the glass. Finally the tabs are bent over on the rubber seal , the channel is installed, and the glass run can be tucked into the channel. A single screw secures the glass run at the top.


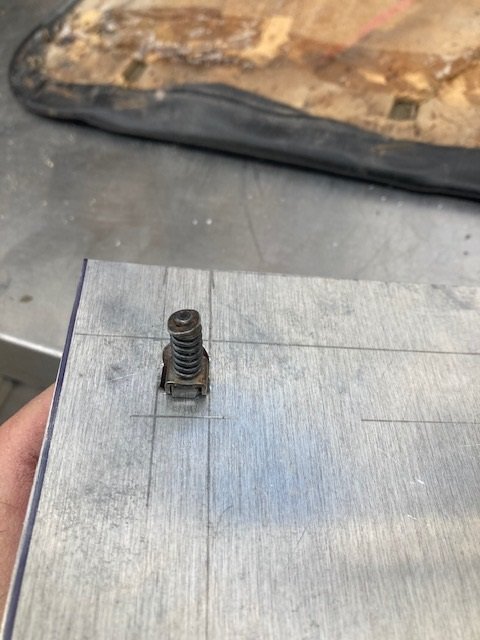
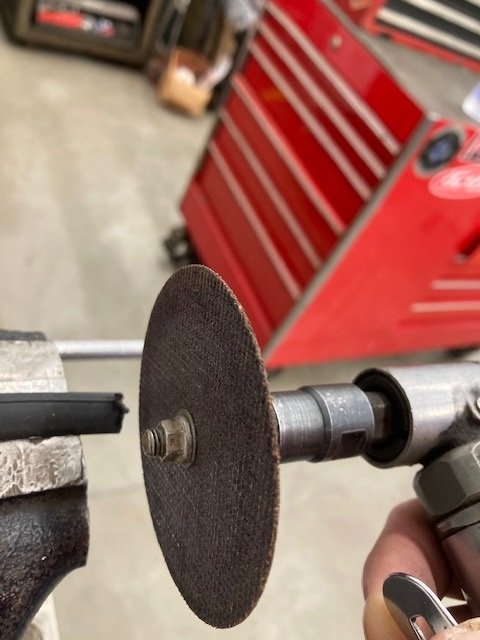
Started the day working on the rear 1/4 windows. One of the 8-32 screws that held the seal on snapped off. Worked on the screw for a good hour drilling out the broken shank and re - tapping.
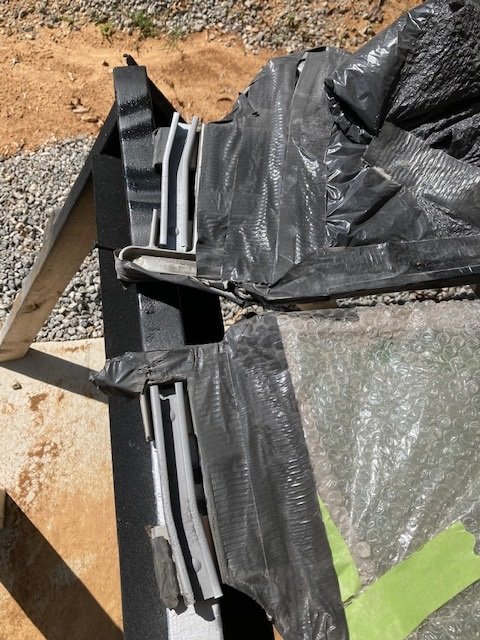
The chrome was nearly flawless and the glass outstanding. The tracks were very rusty and one even had a stuck roller in it. Bead blasting after carefully masking with duct tape followed by some flat aluminum paint so they don’t rust again.


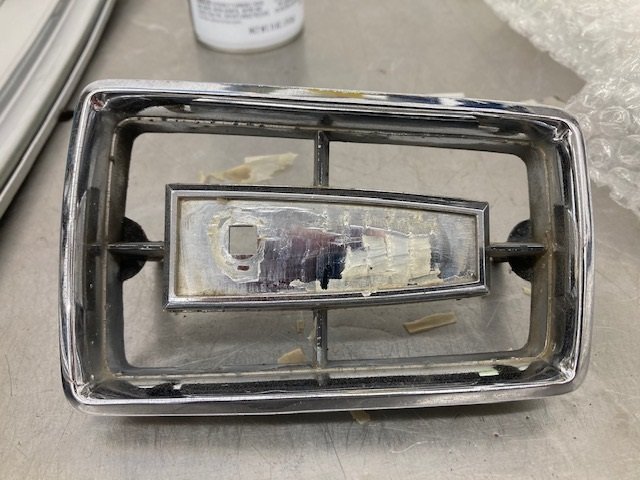
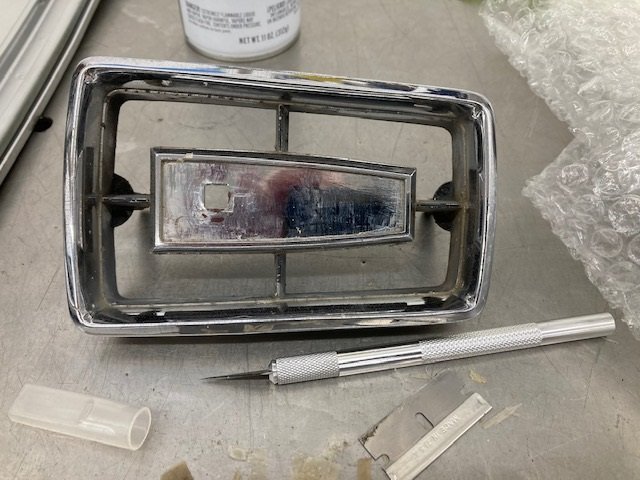
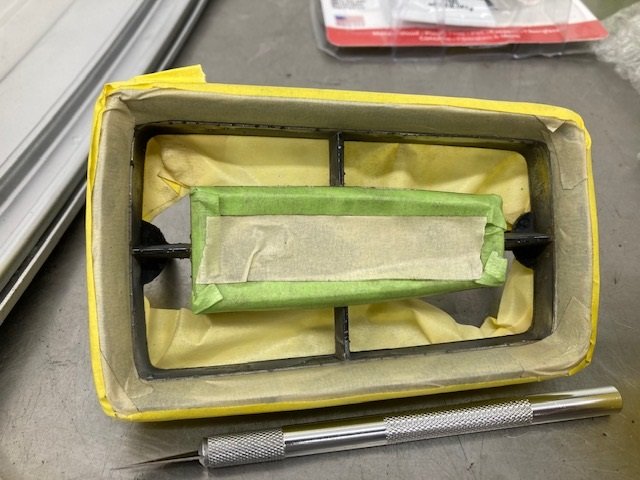
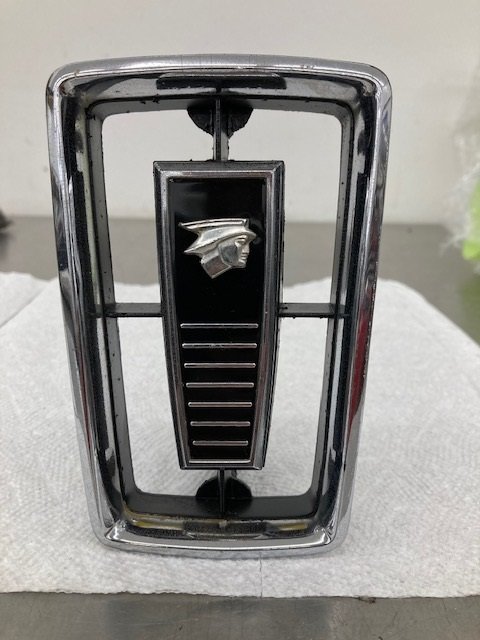
While the paint was drying on the window tracks I worked on the grille center medallion. Again the chrome was excellent but the Mercury man and the sticker were both pretty sad. I knocked out the Mercury man with a hammer and punch, then peeled off the sticker. There was lots of glue residue under the sticker. Masked it off and painted semi - gloss black. Then a new sticker and a Mercury man from WCCC made it look really good again.

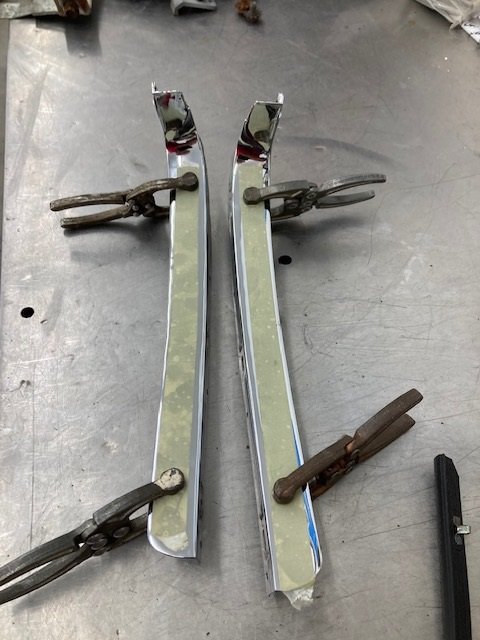
The brackets for the rear quarter window trim were, of course, seperated from the trim long ago. I had the quarter window pieces rechromed. I attached the brackets to the trim this morning with JB Weld and clamped them together.
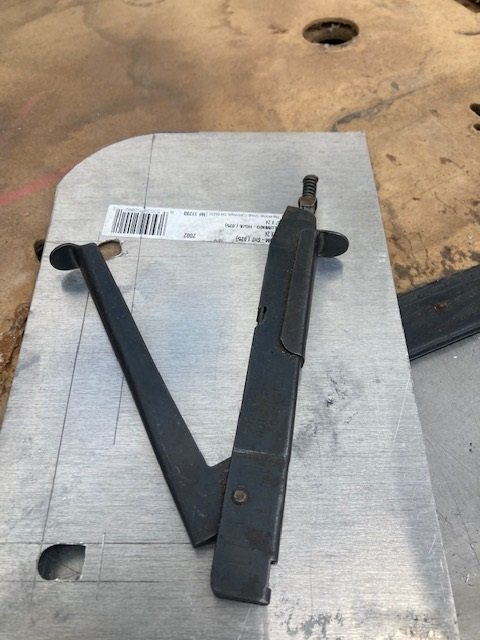
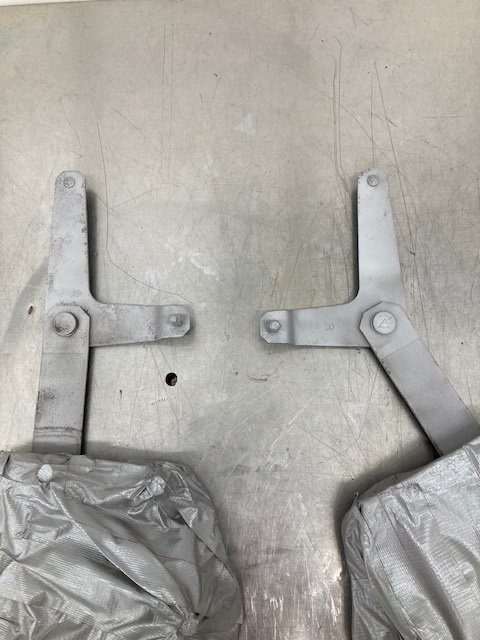
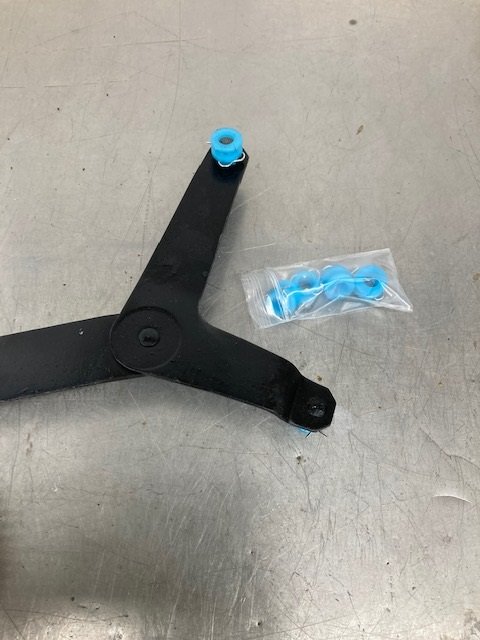
The mechanism for the rear quarter windows was typical. Covered in rust, bent, broken rollers. I straightened the bent arms and then masked the regulators with duct tape.
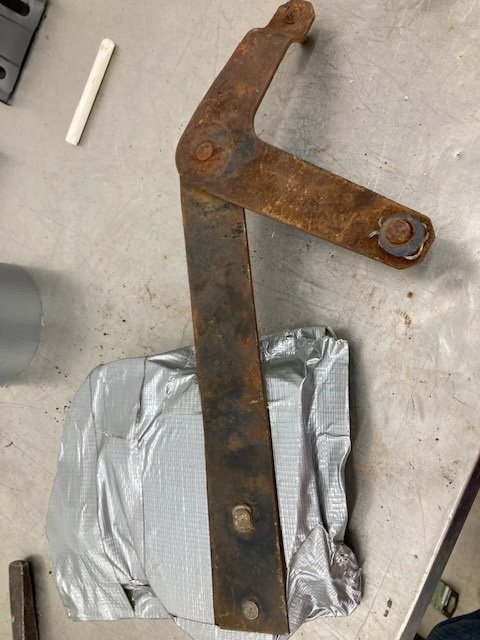
I also pulled off the stuck / broken plastic rollers. Then bead blasted them, painted the arms semi gloss black and installed new plastic rollers with Vaseline as a lubricant. They actually roll now!
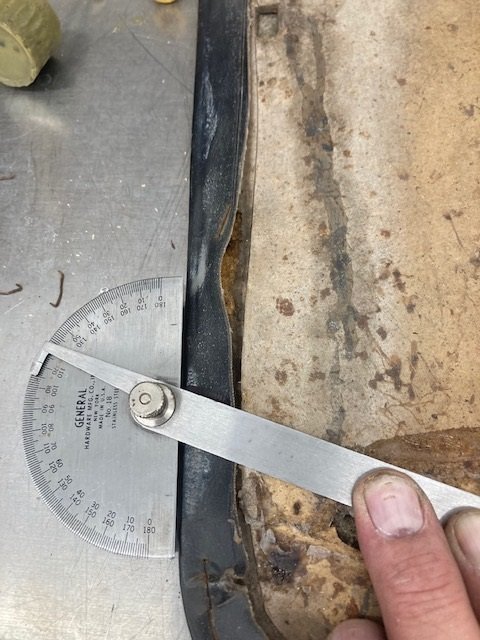
The epoxy was dry on the rear quarter trim so it was time to install the outside seals. Problem is the vendors were all out. So I made my own using an outside door seal. I removed the attachment clips, cut the pieces 12 1/4" long. Then notched them as needed so I could bend them to fit the contour. Finally I was happy with the shape so I clamped them together and drilled them. Pop rivets hold the seals to the mounting brackets.


Working mostly on interior stuff this week.
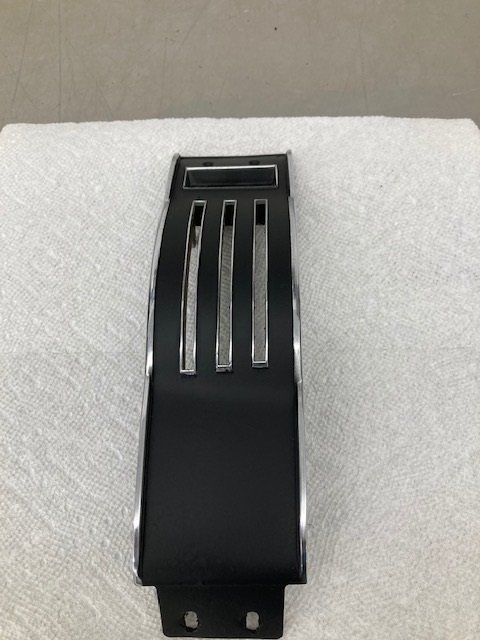
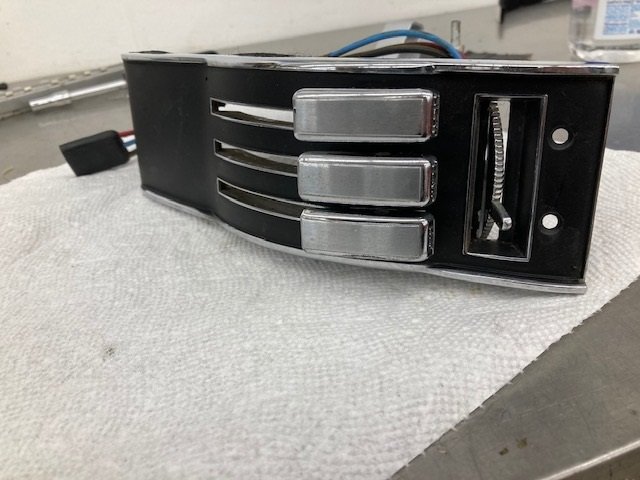
The heater / defroster control needed some attention. While still serviceable no one had cleaned it or polished it in the past 53 years. On top of that the black paint was scuffed up.
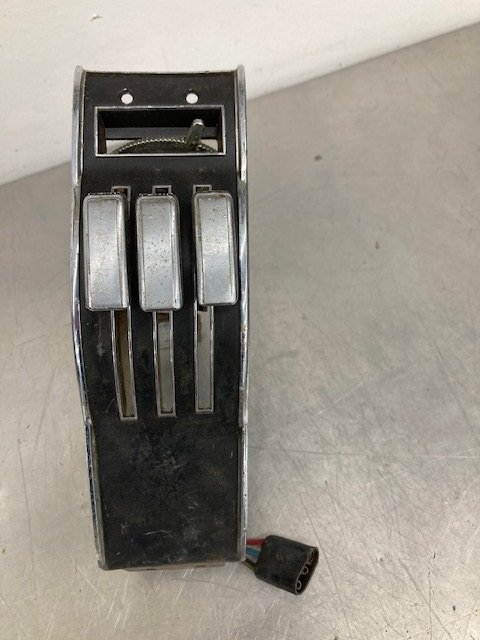
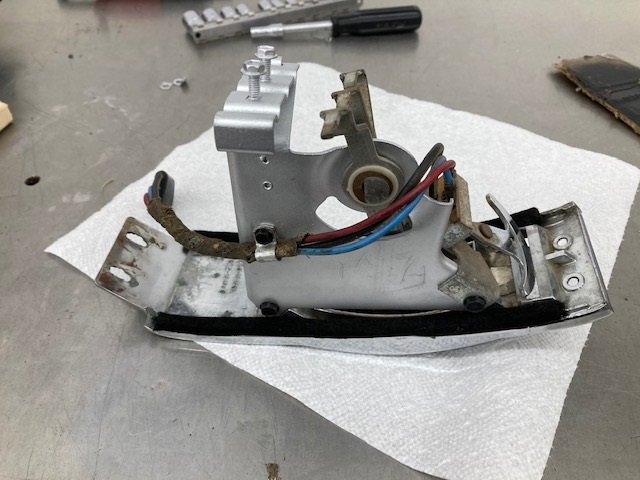
I disassembled it and polished all the chrome and brushed stainless parts. Then masked off the bezel for some semi - flat black. A little scotch brite was all the black part needed. 0000 steel wool and some chrome polish fixed all the bright parts.
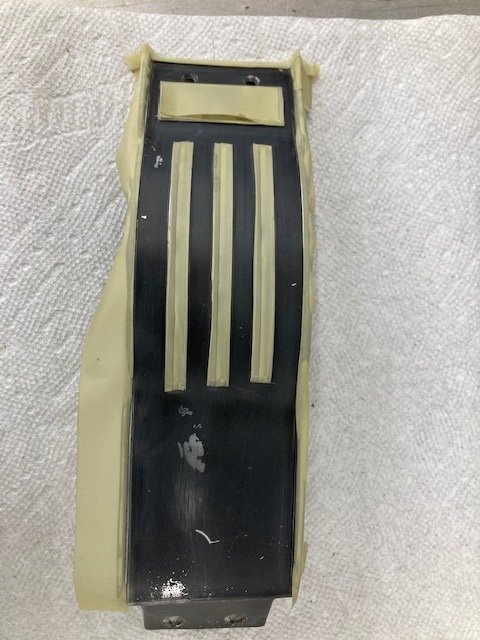
After reassembly it will get bagged and go on the shelf until the car gets back from the paint shop. There were remains of two strips of foam rubber on the rear surface. I had some 1/8" thick self adhesive black felt that replaced the foam strips.
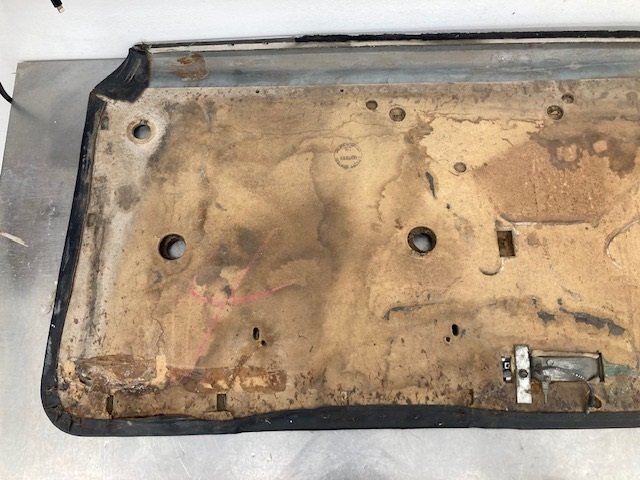
Today I started working on the door panels. We are lucky enough to have two good black 1968 XR-7 door panels that don’t have any rips or extra holes drilled or cut into them. At least the vinyl part was presentable.
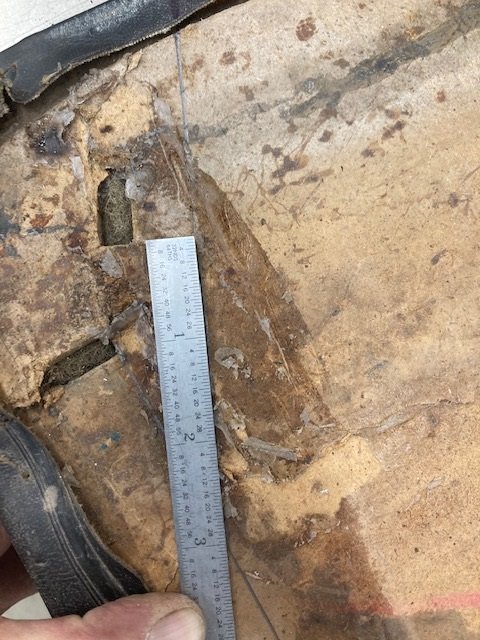
The driver side panel needed some repair work to the cardboard door card. Someone had ripped out three of the clips at the lower front corner. Someone else tried to repair it with hot glue and a paint stir stick. The stir stick fell off leaving a bunch of hot glue that needed to be peeled off.
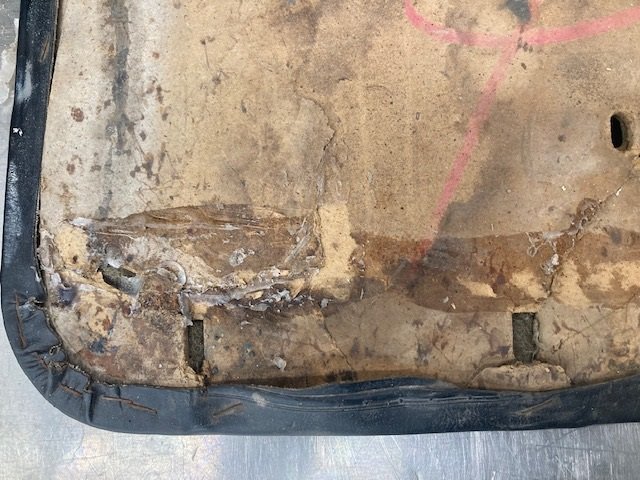
This is something I have fixed before so it’s not too bad. I started by cutting a piece of .025" aluminum sheet to size. Then I laid out where the two bottom door clips are located. I drilled a 3/8" hole where the round part of the hole in the carboard is.
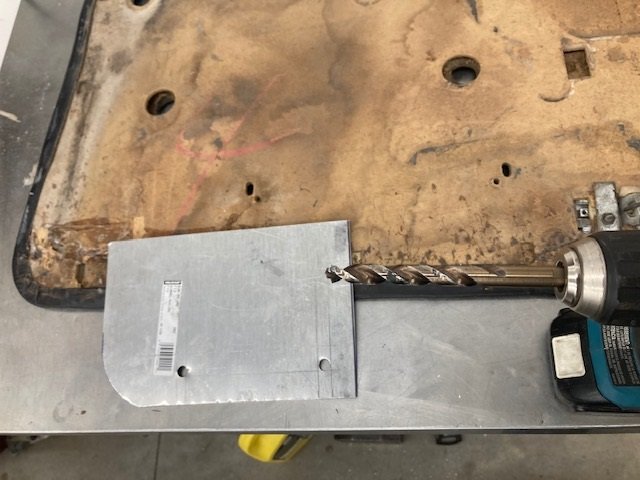

I used a hand nibbler to create the square part of the two holes. The nibbler takes a bite approximately 1/4" by 1/4" every time you squeeze it. These two holes took about 5 minutes to cut.