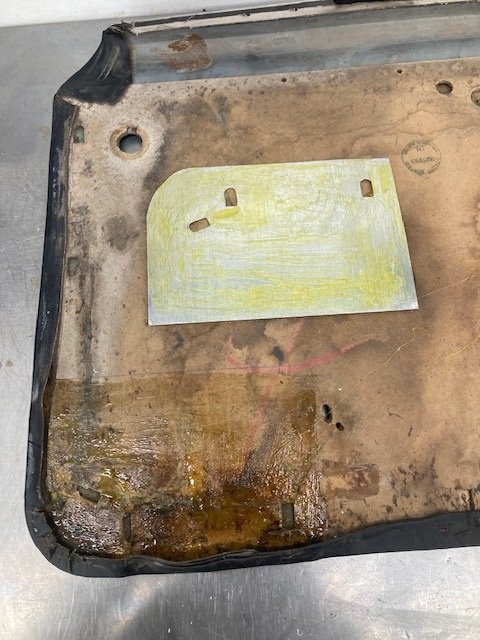
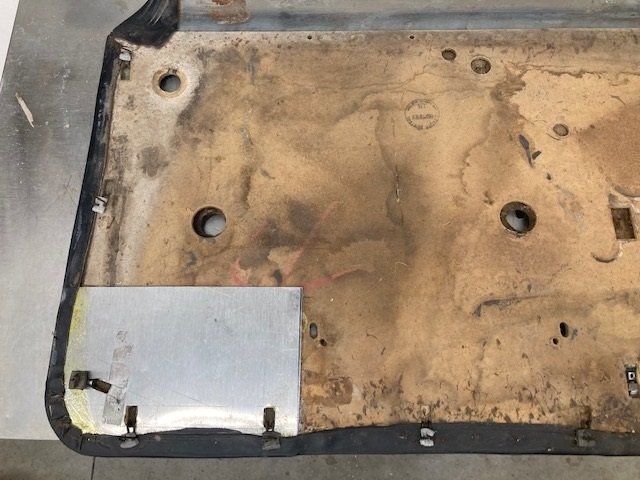
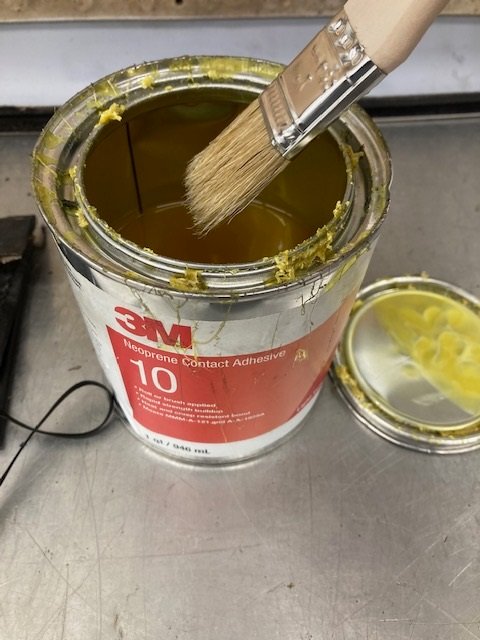
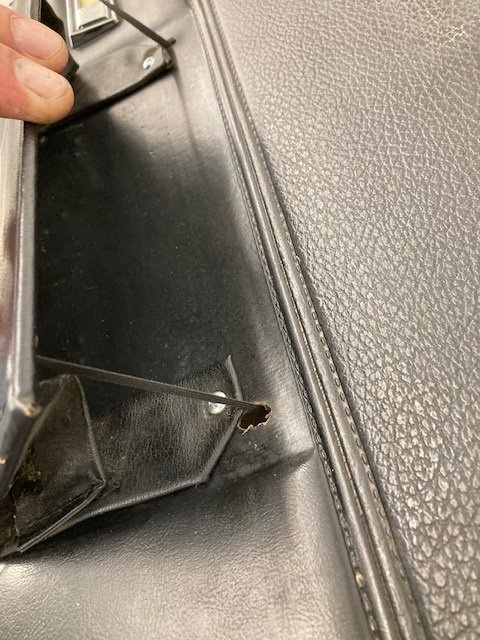
With all three holes cut in the aluminum I pulled the staples from the vinyl around the area. Then I used 3M #10 contact adhesive to secure the repair piece to the door panel. You brush both sides, then let it dry until it is not sticky. Then assemble the pieces carefully - they won’t ever come apart again.
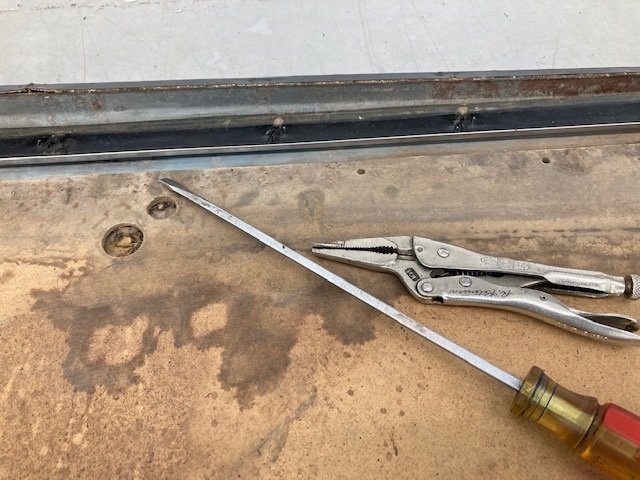
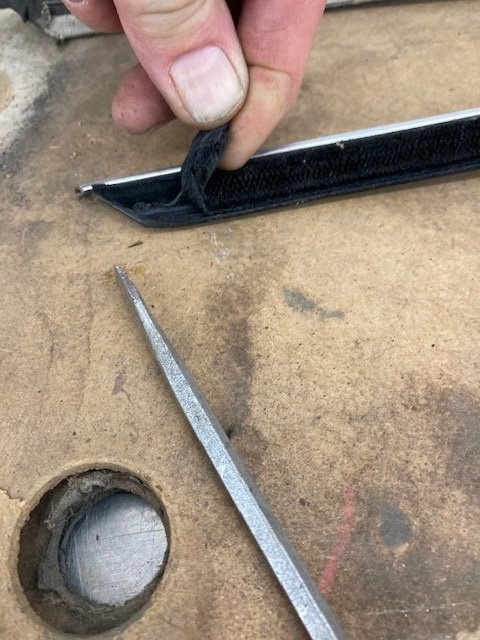
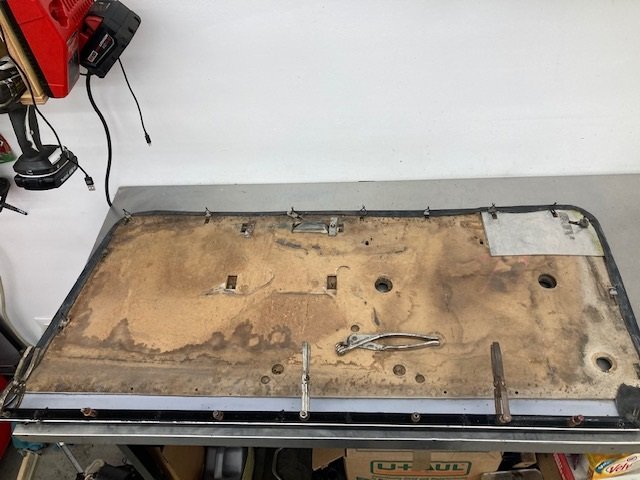
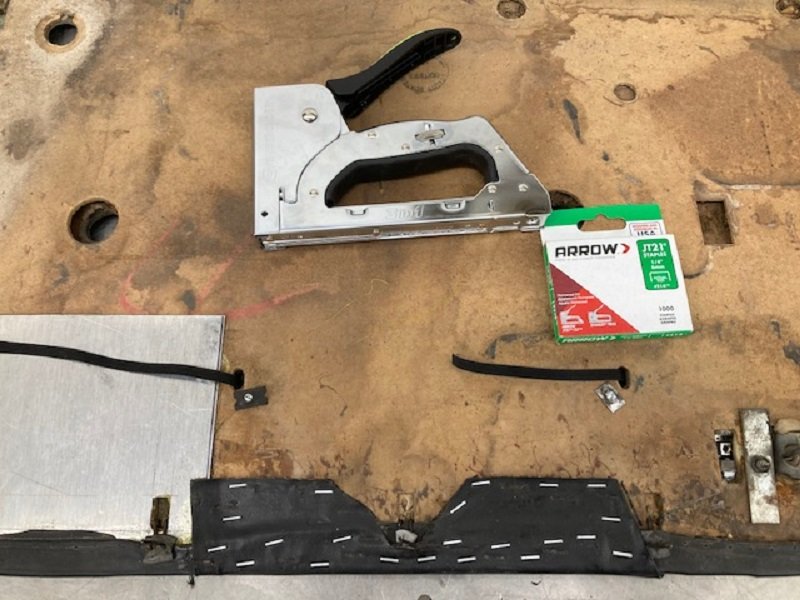
Still working on the driver side door panel I turn my attention to the worn out fuzzie at the top. To get it off we pry each staple up with a long straight slot screw driver, then straighten it using needle nose vice grips. After all the staple ends are straight the screw driver is put in between the door panel and the fuzzy in the center of each staple. Turning the screwdriver releases each staple. Eventually the fuzzy is off and the door panel still looking good.
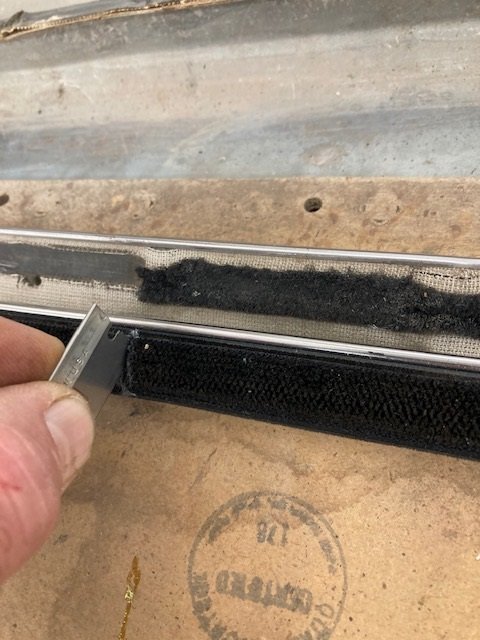
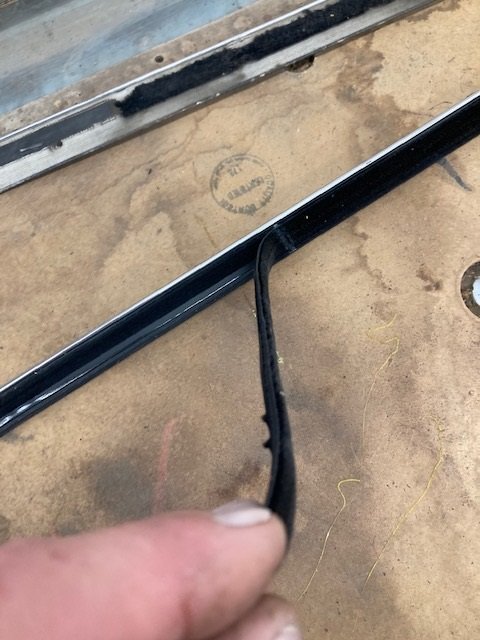
The new fuzzy is not side specific, both ends are angled and the felt goes full length. Which is not like the original at all. I mark where the felt stops and cut through the felt with a razor blade. Then peel off the felt, making the fuzzy side - specific. There is no felt behind the vent windows.
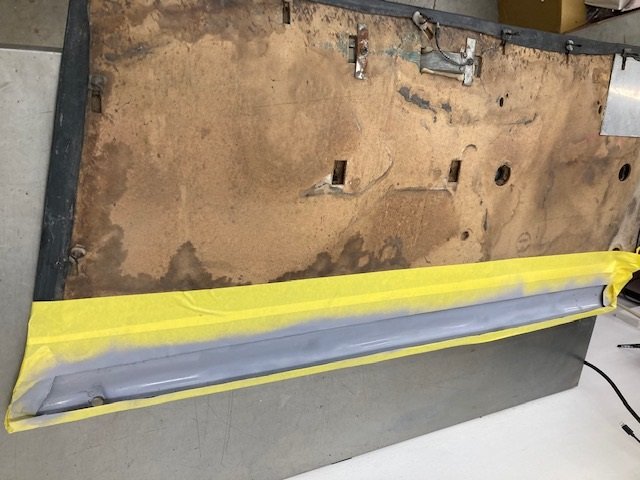
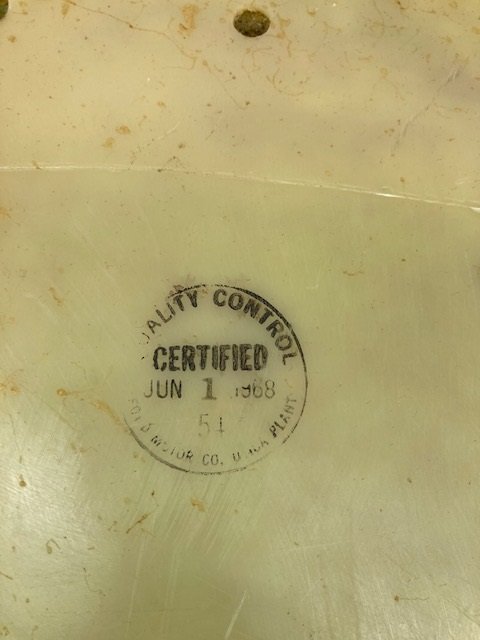
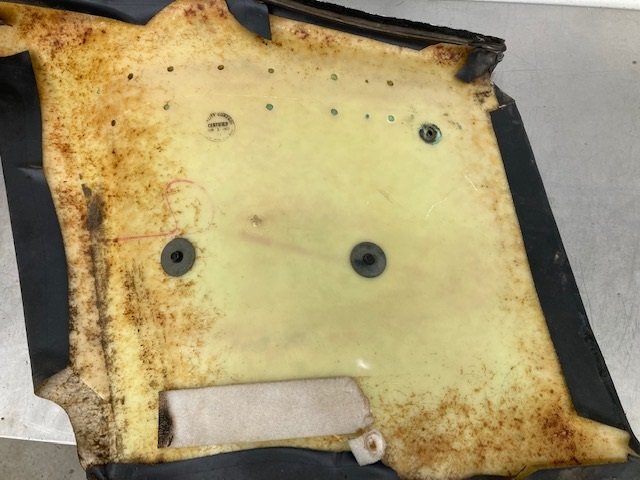
The top of each door panel is galvanized steel bent to give it a curved shape. Ours had some rusty spots so I sanded it and primed it gray to prevent future rust.
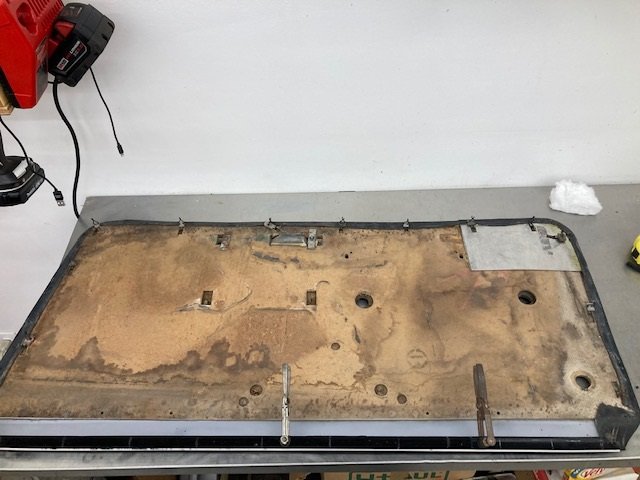
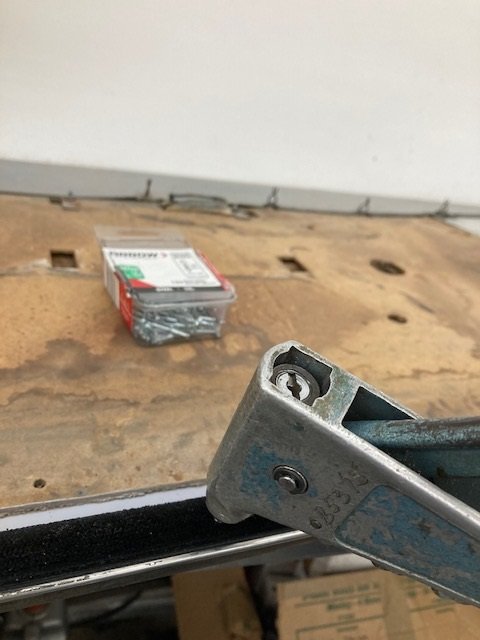
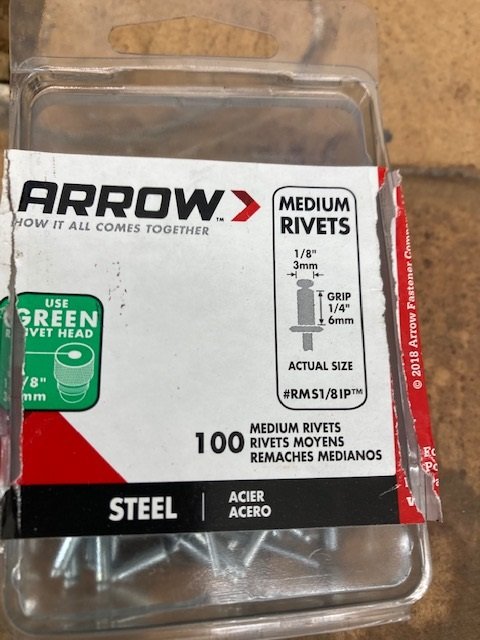
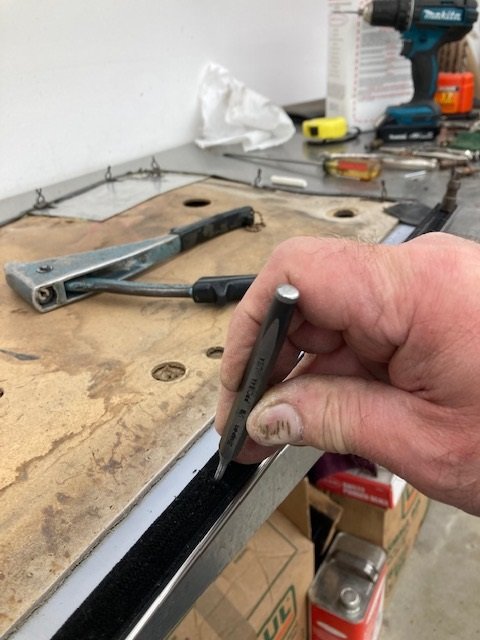
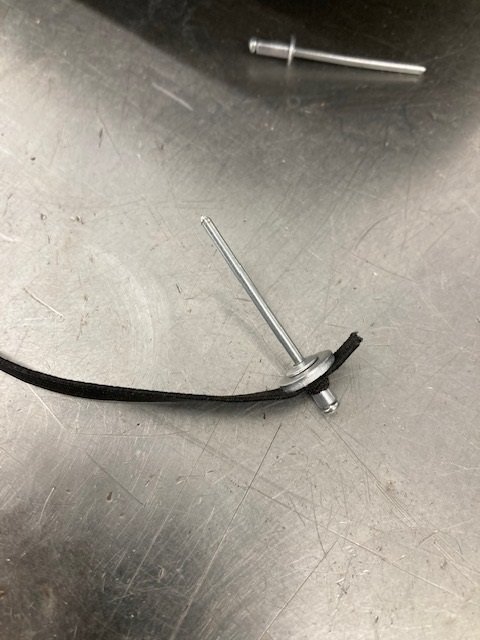
After the primer dries I lay out where the pop rivets will go using a tape measure and chalk. The staples were 3" apart behind the vent window, after that they are spaced 4". I used clecos to secure the fuzzy temporarily. After all the holes were drilled I took it all apart to clean out the metal shavings between the two pieces.
Since there is no felt on the forward portion you need to use shorter pop rivets so the panel will still slip in place later.
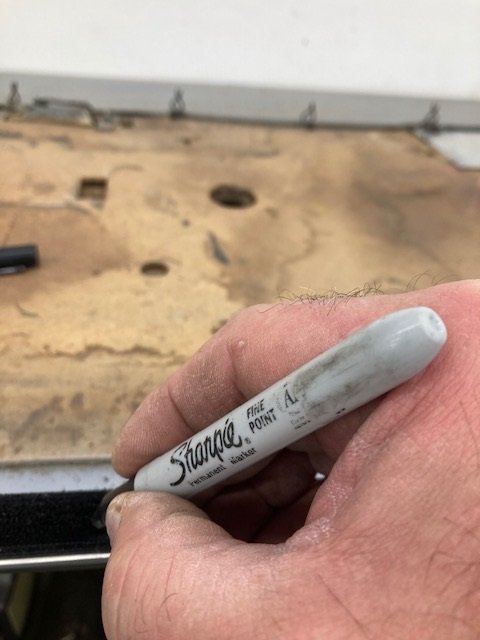
The pop rivets are nearly invisible because they sink into the felt. To make them completely disappear I black out the head of each one with a Magic Marker.
Looks great Royce. I was able to reuse my staples. I drilled little holes in the fuzzies that matched up to the original staple locations. My way might have been more time consuming and frustrating, but it did work well. My fingers and hands were not happy, but I was very happy with the outcome.
Always have done it with staples just to be correct and original. remember to “black” those out also with a Sharpie as they can really stand out at a show especially with the windows rolled down. Plus they originally were dark
I used the staples too (painted the tops low gloss black) just to keep it original. But of course Ford originally installed them by machine. Getting those heavy staples tightly crimped by hand was a real PITA. I think I like the rivet idea better.
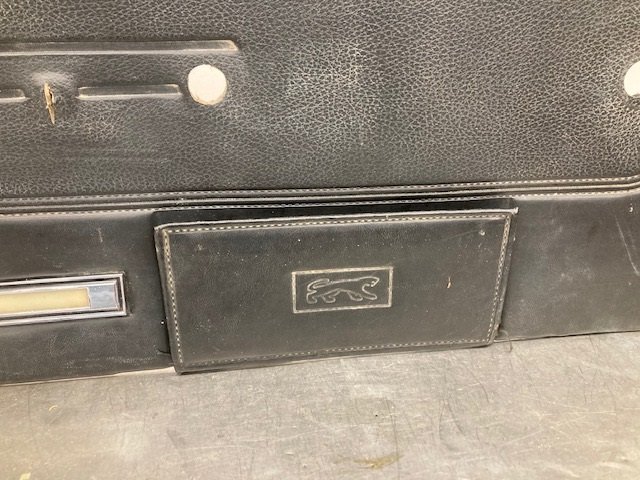
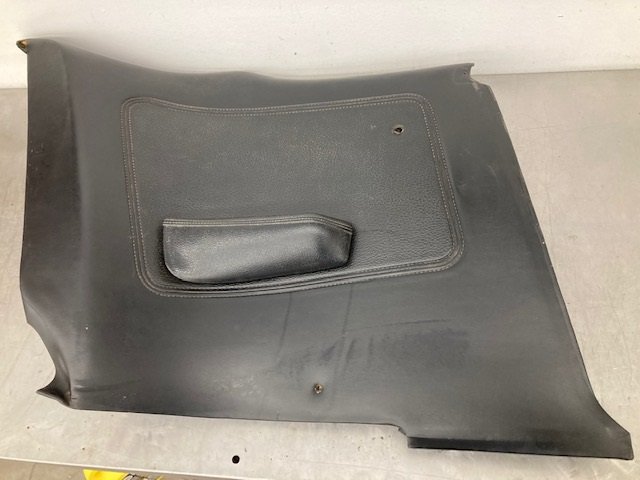
Still working on the driver’s door panel. The one that is original to the car was in sad shape. The panel vinyl portion was ripped on the front lower corner. All of the attachment clips were torn from the cardboard backing. The one decent part was the map pocket. The panel we are planning to use - the one that has been repaired - had no map pocket.
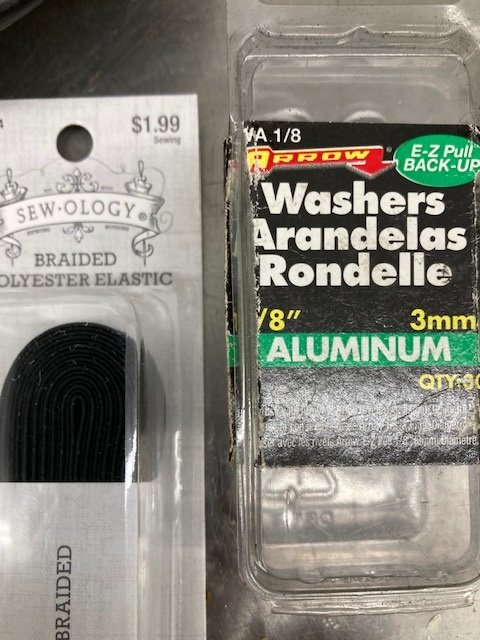
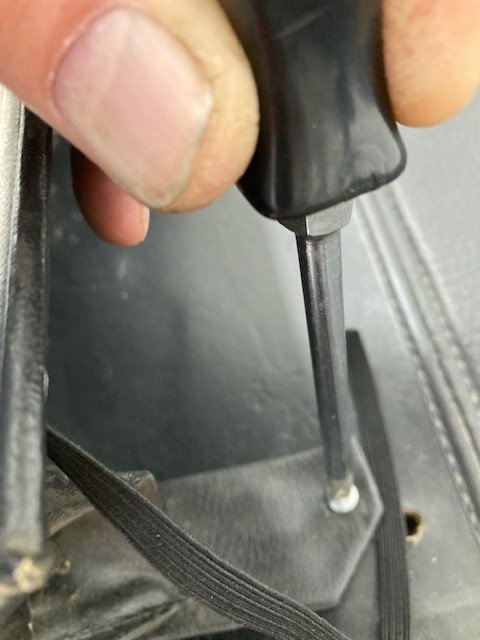
The original map pocket, while it looked pretty good, had an elastic that was missing the “D” rings on both sides. Replacing the elastic would be the biggest part of the job. I got a package of new elastic from the local Hobby Lobby for $2.14 including tax. Used some 1/8" pop rivets and washers to attach the elastic to the inside of the map pocket, being careful not to drill through the vinyl on the front.
The original screws that held the map pocket to the door were pretty rusty, as was the PAL nut that goes on the back side. Fortunately I had some new hardware that was better. I put contact cement on the lower flap where it attaches to the door panel, and glue on the door panel. Then I screwed the map pocket in place and stuck the adhesive. Finally I stapled it as it was attached originally.
Originally the elastic had a small plain steel “D” shaped ring stitched to the ends of the elastic. I don’t have a sewing machine so I simply pulled the slack out of the elastic and used a few staples to secure it so the map pocket would work right.
The panel was still filthy. After fixing the map pocket I cleaned it with 409 spray and some rags. It’s looking pretty good now.
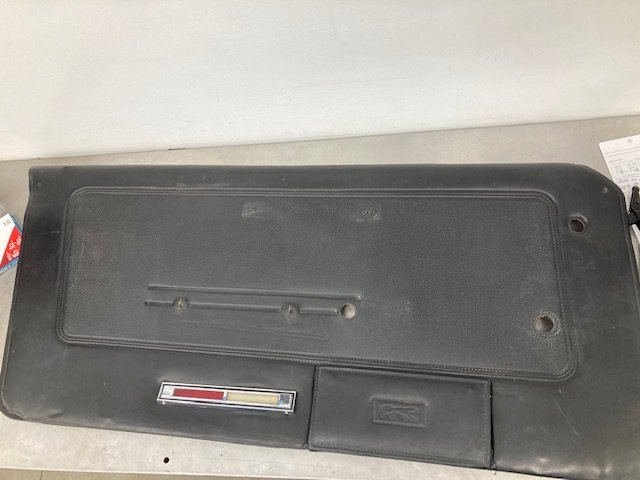
The rear seat panels were in pretty good shape other than being moldy and the window fuzzies were worn on them. I basically just had to clean them several times each and replace the fuzzies.
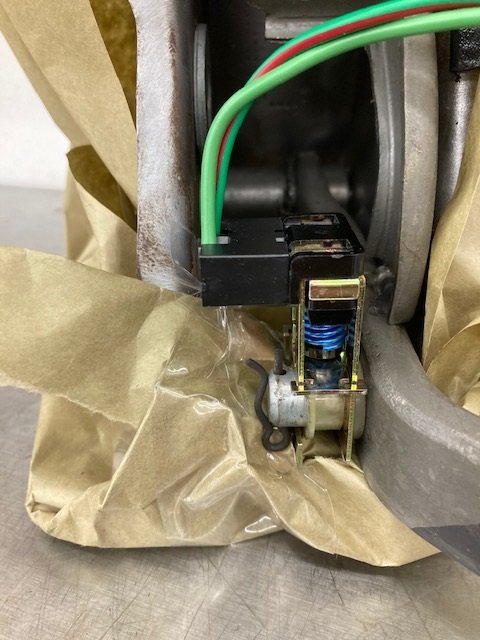
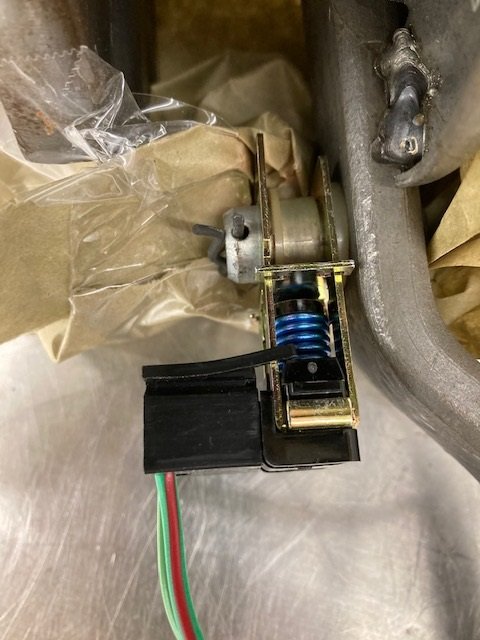
The brake switch needs to be installed with the plastic “hat” and ring in order that the brake lights come on as soon as the pedal is touched. Also be aware there are various brake lamp switches depending on what brake option the car has. Finally there is also an extension harness that makes connecting the switch a lot easier.
Installing a new brake pedal pad and stainless trim is easy to do with the pedal off the car. It’s a tough job with the pedal in the car. I use a blunt chisel to fold the stainless tabs over with clamps securing it in place. After all four tabs are bent I use pliers to squeeze the tabs so they are tight.
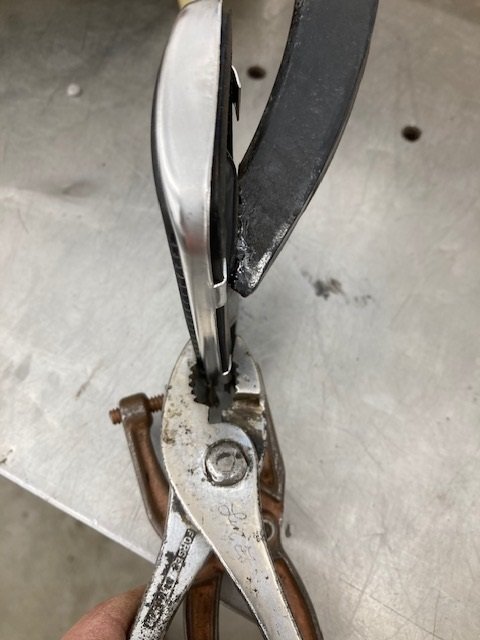
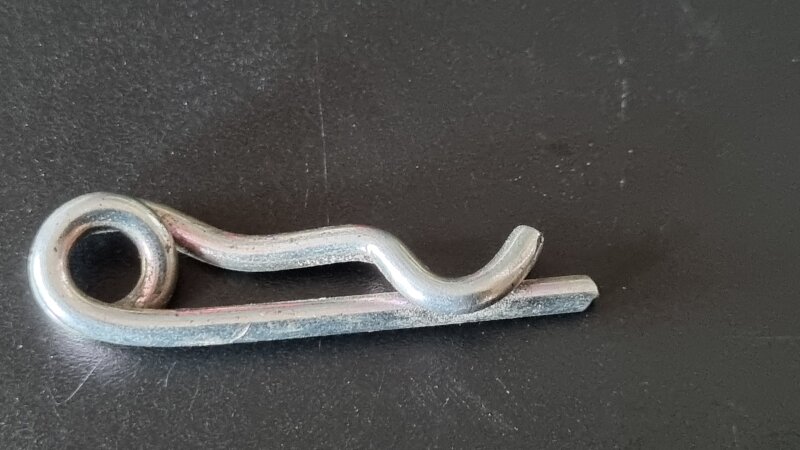
Royce, I just noticed that you are using the wrong clip to secure the brake light switch / brake booster rod in the pictures. I am sure it is just something you put there temporarily but just to avoid confusion the correct clip looks like this.