Glad you agree Royce! At the end of the day, not being a GT-E or XR7G, I didn’t think color correctness/not being concourse build would hurt the value too much.
I have spent a lot of time in research and meticulous labor to make sure everything is as original to factory as possible outside of color, not skipping any steps in between. Hopefully when I’m done and take it around to shows, someone else will agree with that sentiment.
I love working on these cars as much as I enjoy driving them. I’m sure I’ll be tackling another project as soon as this one is done, so I’m hopeful that I will be able to find a good home for this at that time, with someone who appreciates my build effort and vision.
I agree with your choice as well. One of my J codes has a red interior and it’s quite a lot with a red dash pad. I may do the same as you since I have an extra black one and the red one is trashed. I don’t think it will look bad with the black exterior.
I think it will look great with the black exterior!
Question, is your center console plastic housing red or black? That the only other piece that color is up in the air at the moment. Mine is currently dark brown if you look at the pics, and think I will dye it landau black to make it pop and match the dashpad.
Getting the shell down to bare metal was the most laborious part of the process. Again, had to use a variety of wire wheels, stripping disc and dremel discs to get all the nooks and crannies.
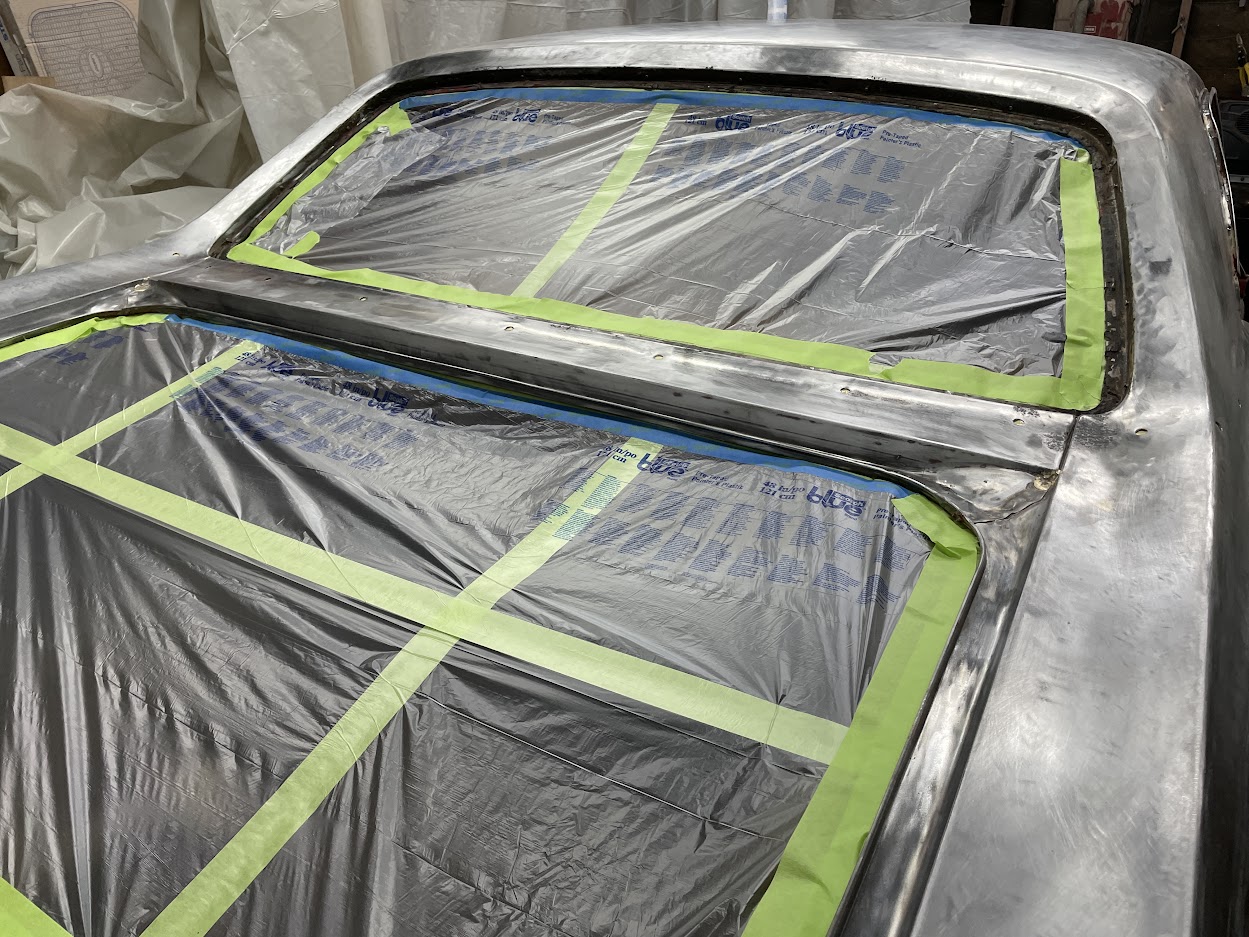
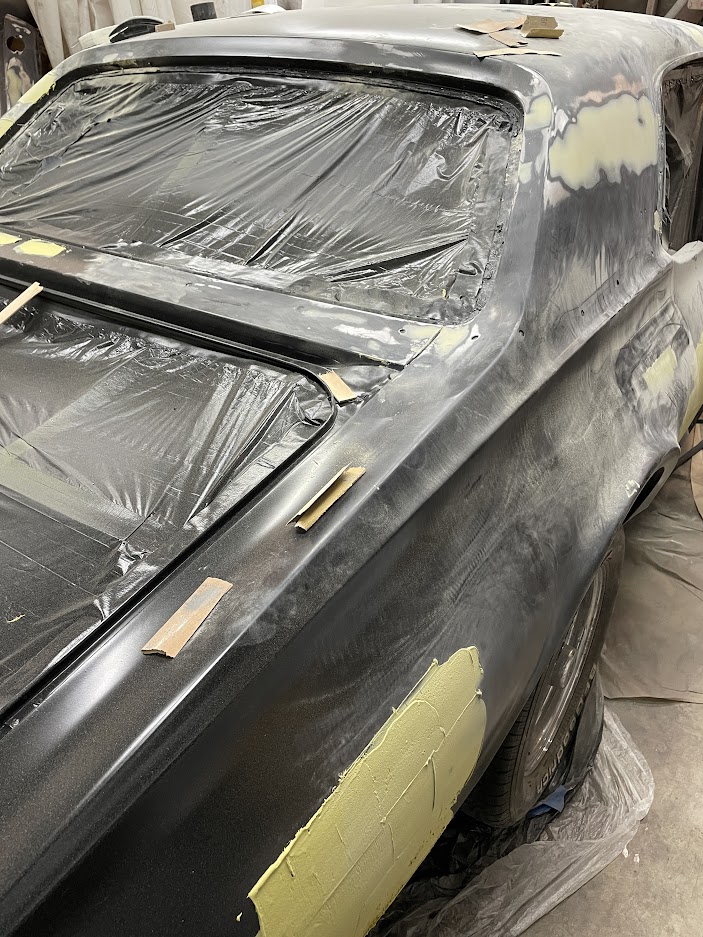
Getting the car ready for epoxy primer:
Had to protect that restored dash at all costs! Another layer of plastic wrap went over this before sealing up the door jambs.
The lower dash and glove box / ash tray door should also be black in a '68 XR-7. The factory frequently screwed this up as some were painted in a matching shade like a standard '68 would be.
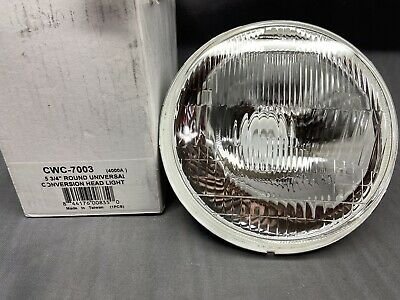
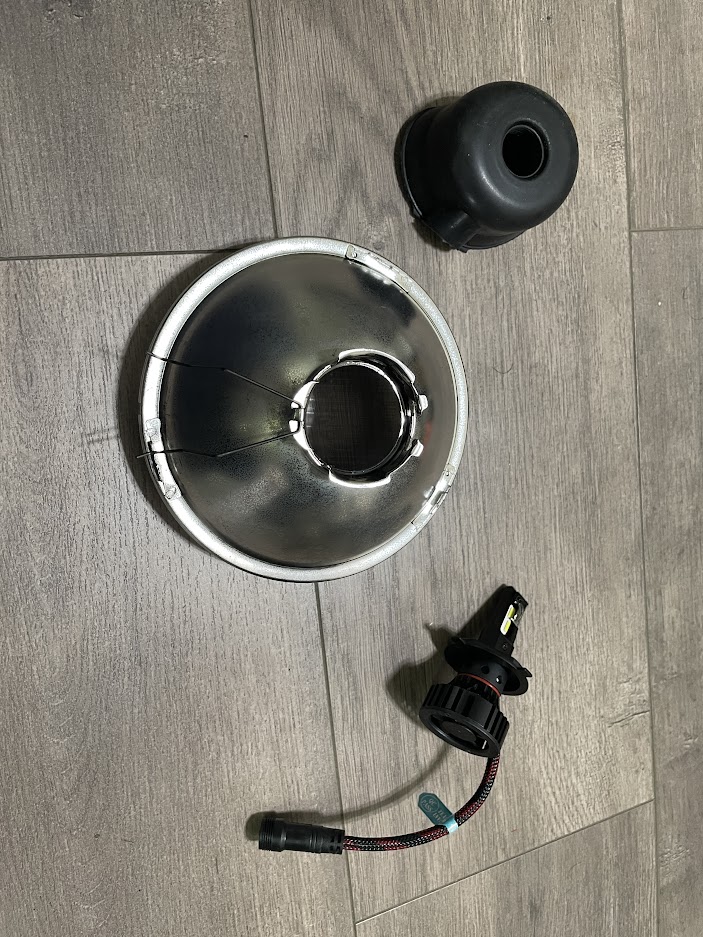
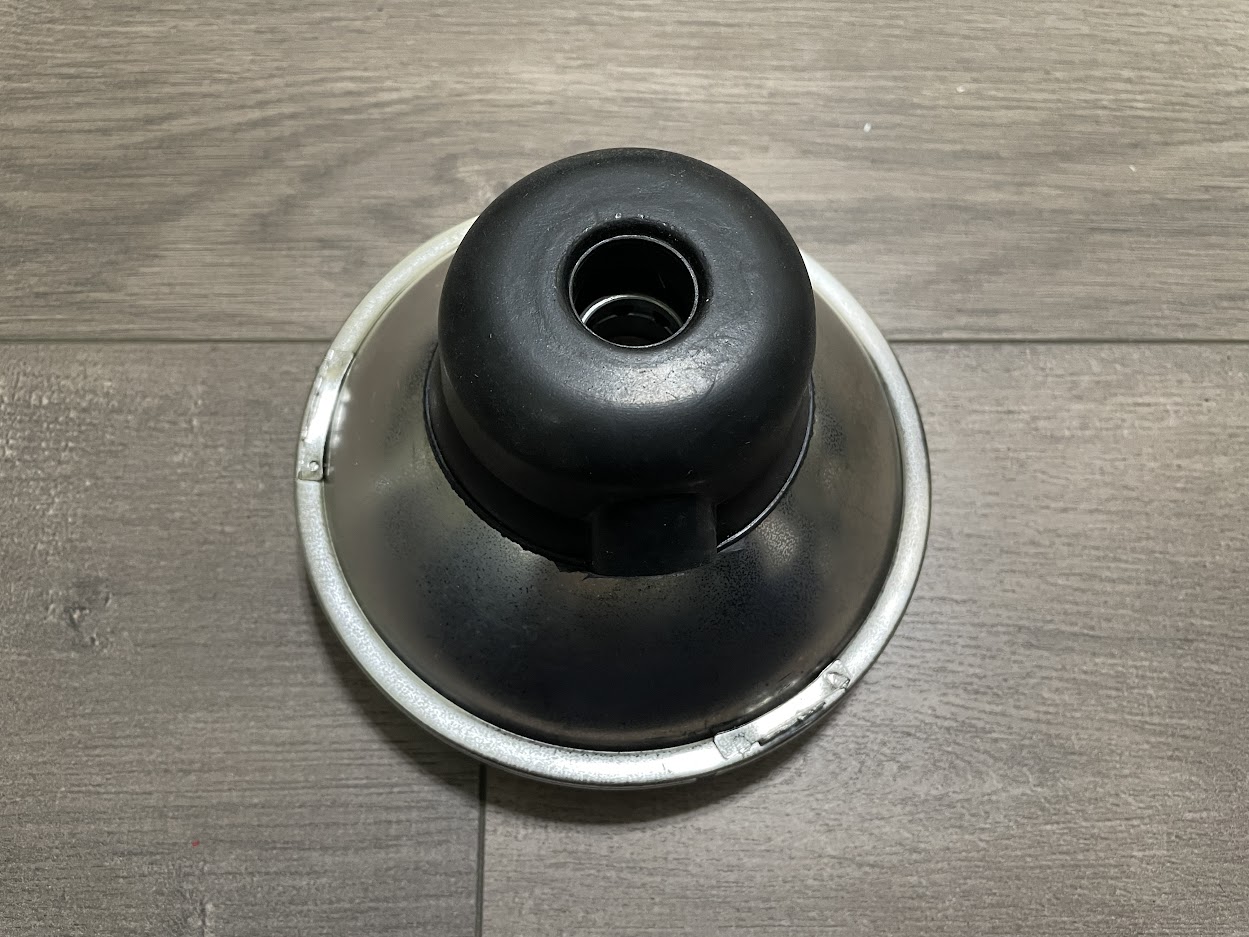
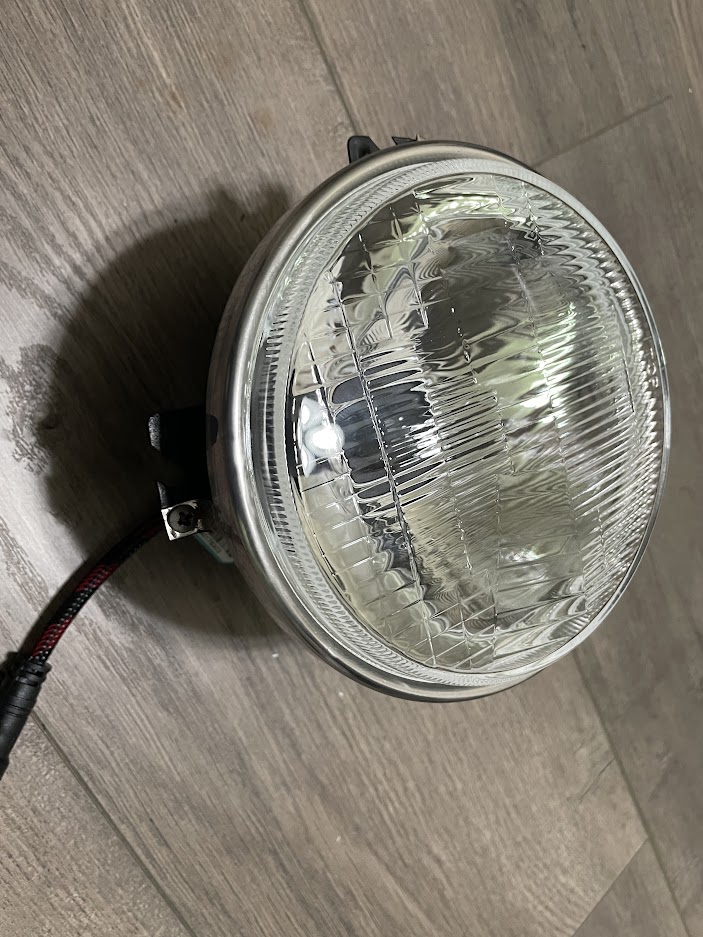
Onto the center piece of the Cougar, the front grille. As I work on the body work over the weekends, I spend available weeknights restoring the headlights.
Taking everything apart
Dirt, UV Damage and overspray all accumulated to make a pretty sad looking grille to start with.
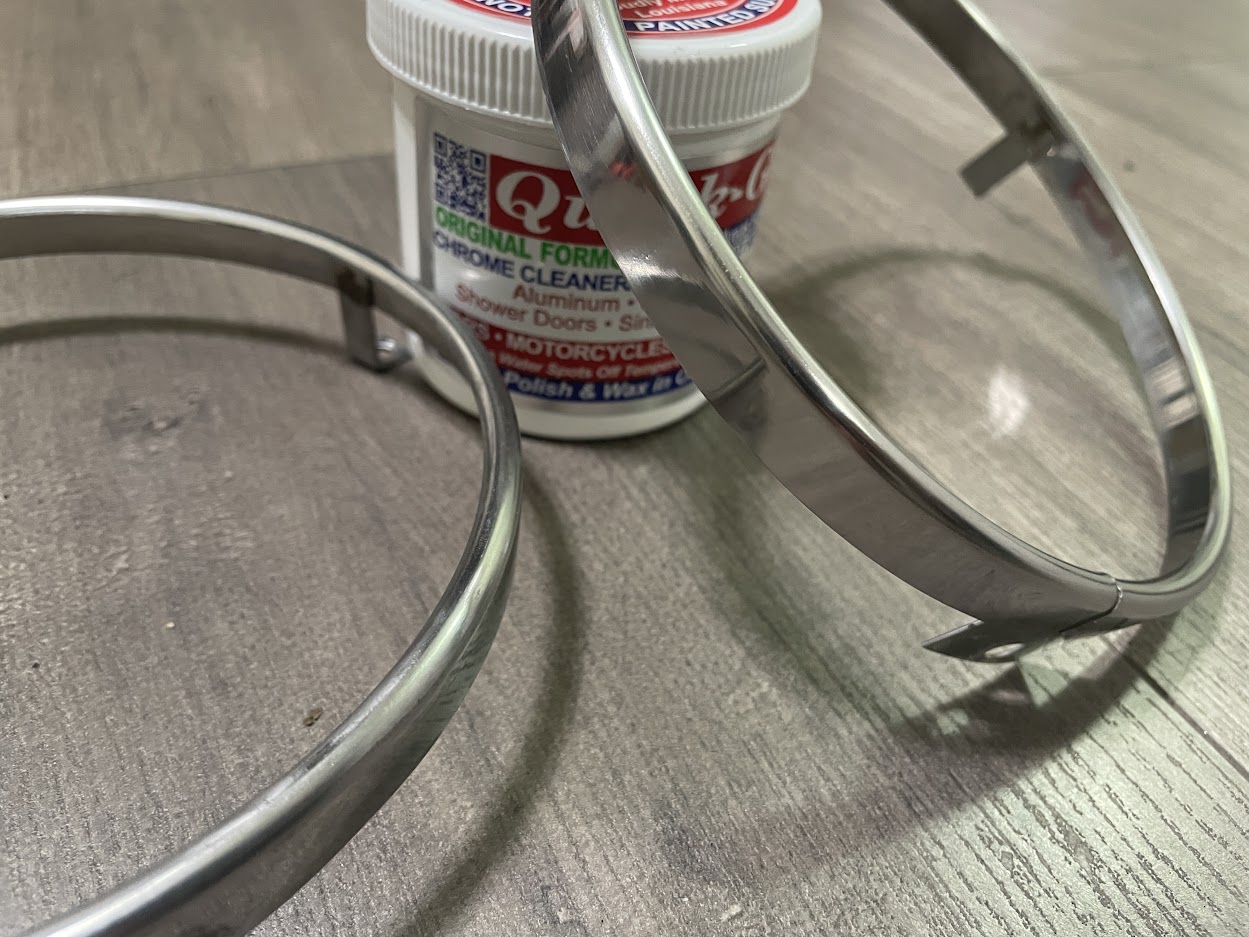
The lack of attention to detail on the previous paint job was suprising…they even managed to get overspray on the headlight retaining rings.
Using a Dremel with a cut off wheel, I was able to make quick work of removing the chrome from the housings.
Another “Before” shot. Luckily, the chrome itself was in good condition, so I was able to polish it later on.
Restoring the bars, I wanted to ensure I had the factory Argent color on the sides of each bar. Super tedious, but worth it in my opinion versus going just black on the top and bottom.
First step was to scuff everything to prep for paint.
I found that painting the horizontal bars first works best. Tape off the lines as such to avoid additional clean up after the fact.
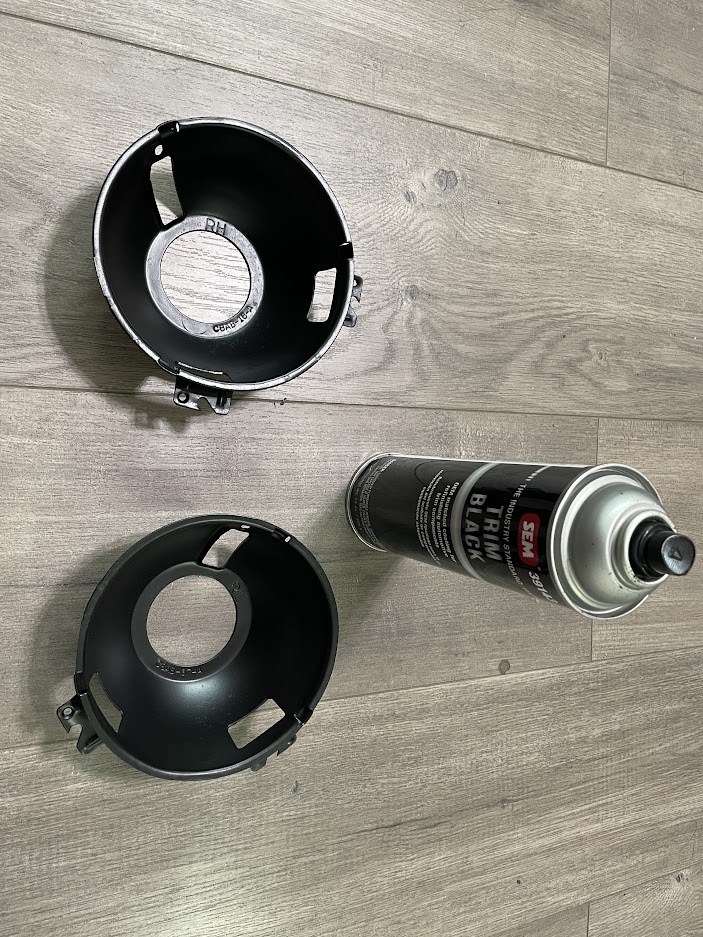
2-3 Coats of SEM trim black bring the horizontal bars back to life.
Now onto the argent silver on the sides of the bars. You want to make sure that the SEM trim black has dried for a few days so that when you mask over it, your paint does not peel.
In order to make sure you get the soft edge on the side of the bars, make sure to leave a tiny bit of slack when masking the chrome bars. Enough to have a slight dimple between each bar. This will give you those soft edges like from factory. Leave the bottom inch uncovered so you can get down into the corners around the horizontal bar, you can clean up the chrome after with a bit of paint reducer/thinner. You can then simply turn the bars over and spray them from the backside
Krylon Metallic Aluminum is what I found to be the closest match to Argent Silver. Give it a nice 2-3 coats while spraying at an angle to get full coverage
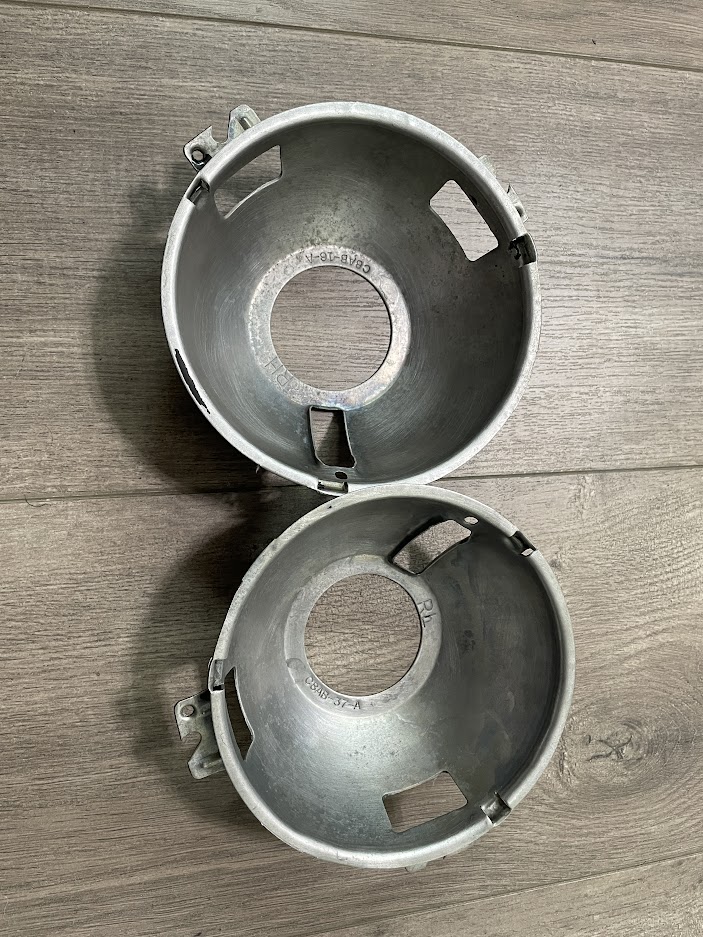
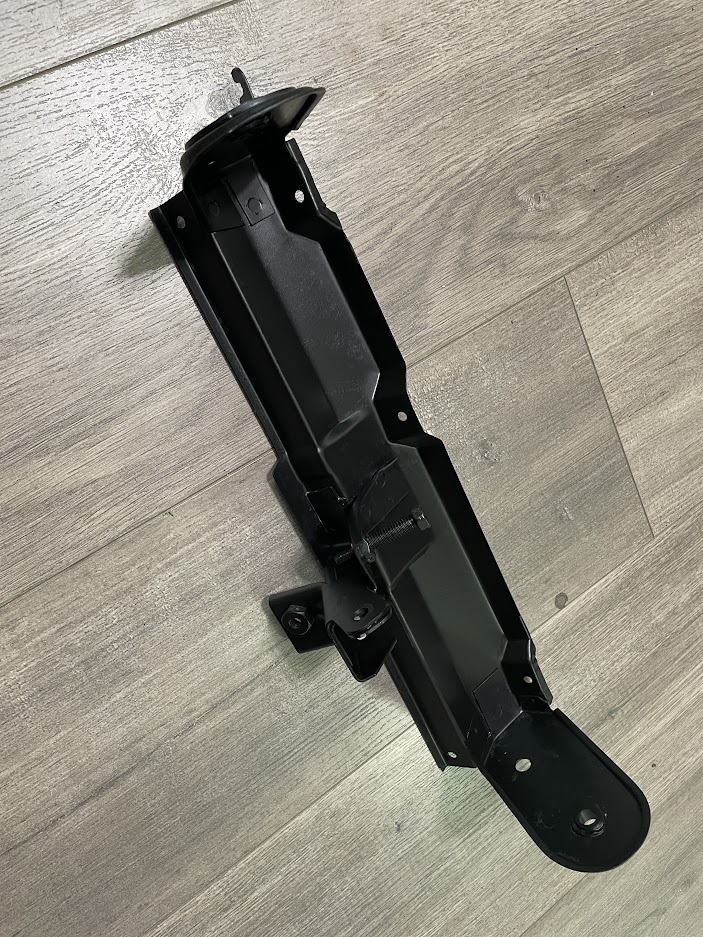
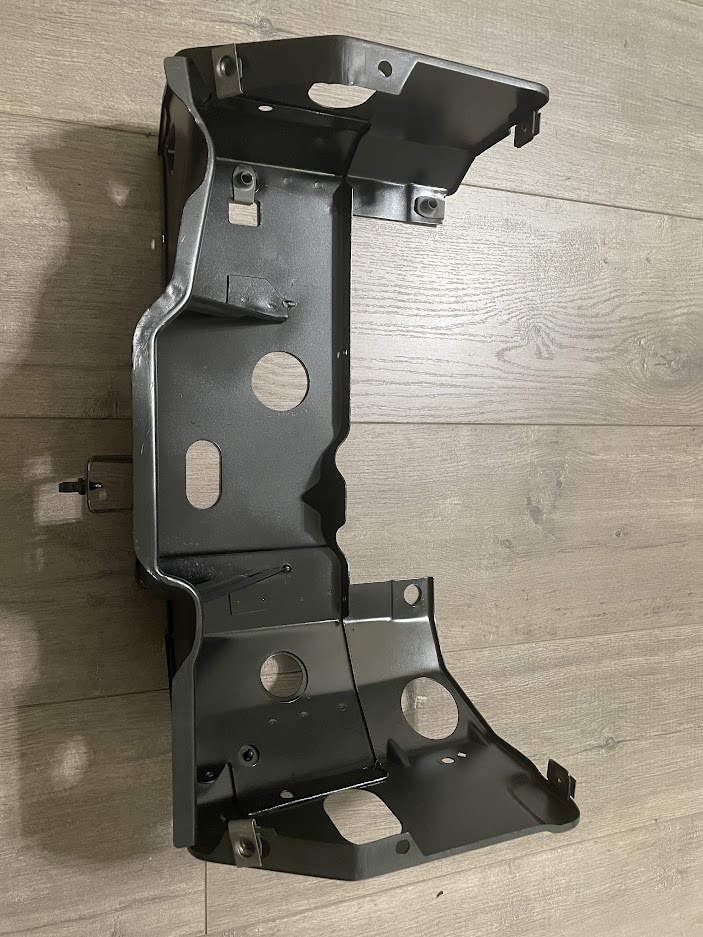
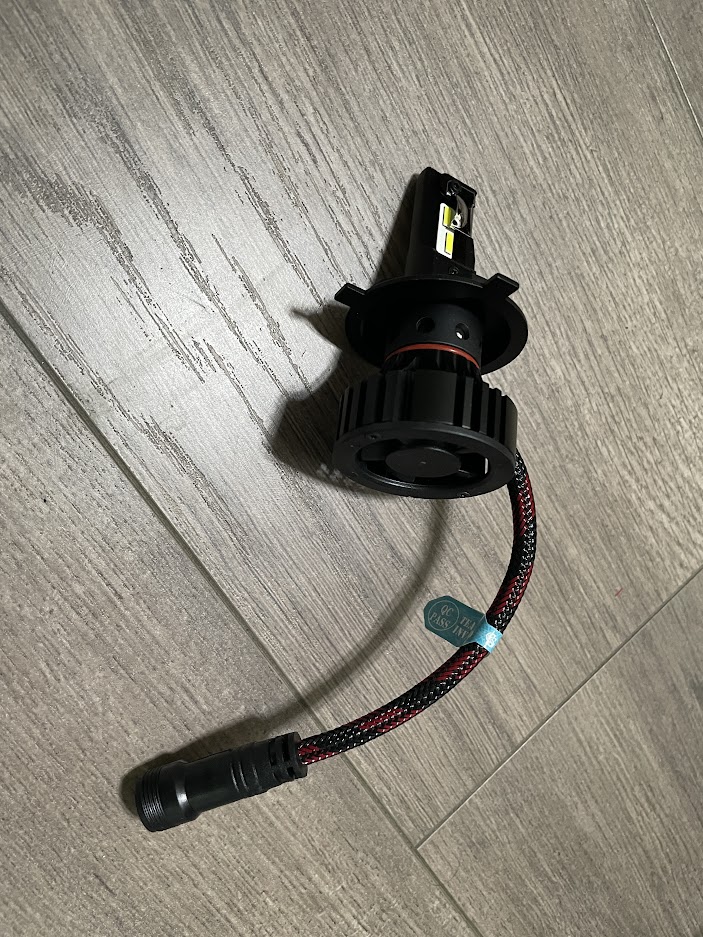
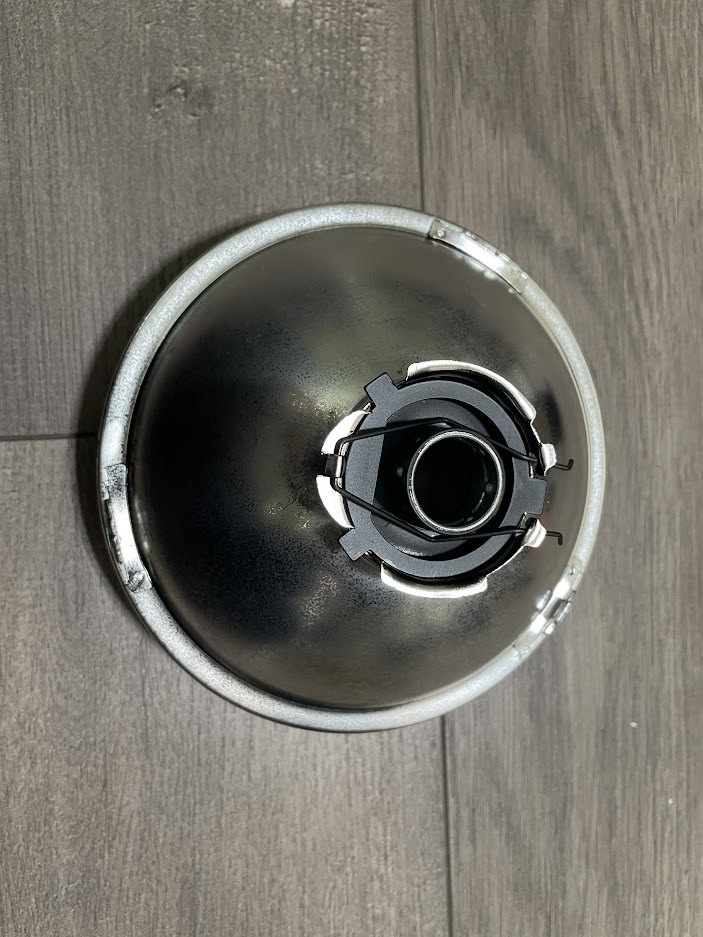
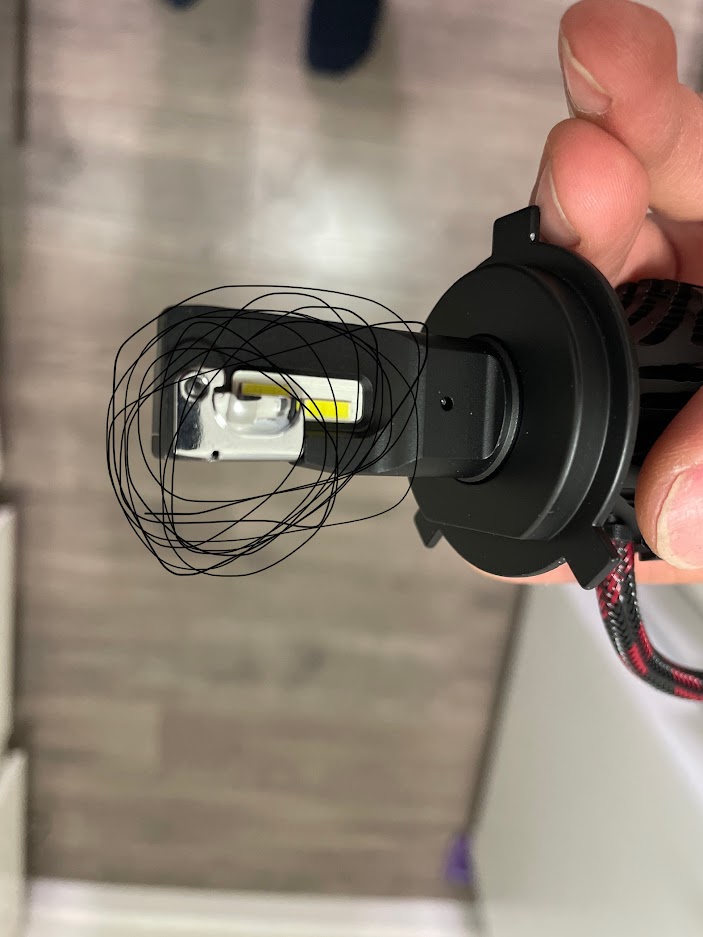
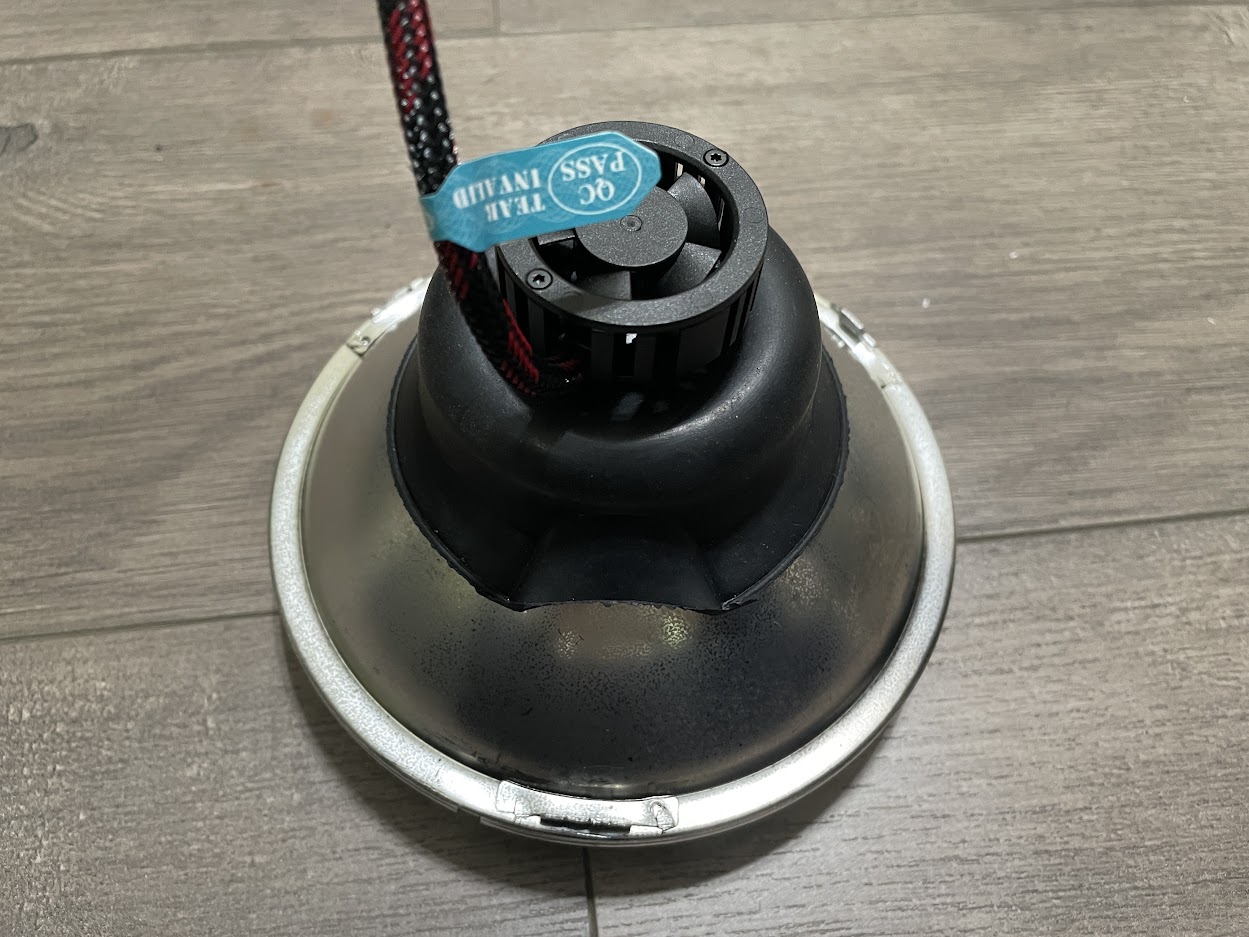
As I don’t have access to a large sand blasting cabinet, I had to get creative with restoring the rest of the headlight assembly.
I dunked the components that needed to be resprayed in a 5gallon bucket of 50% ZEP industrial cleaner and water. This melted the paint right off in a about a day or 2. Then hosed it down to remove any remaining paint. No dust mess and gets into all the nooks and crannies!
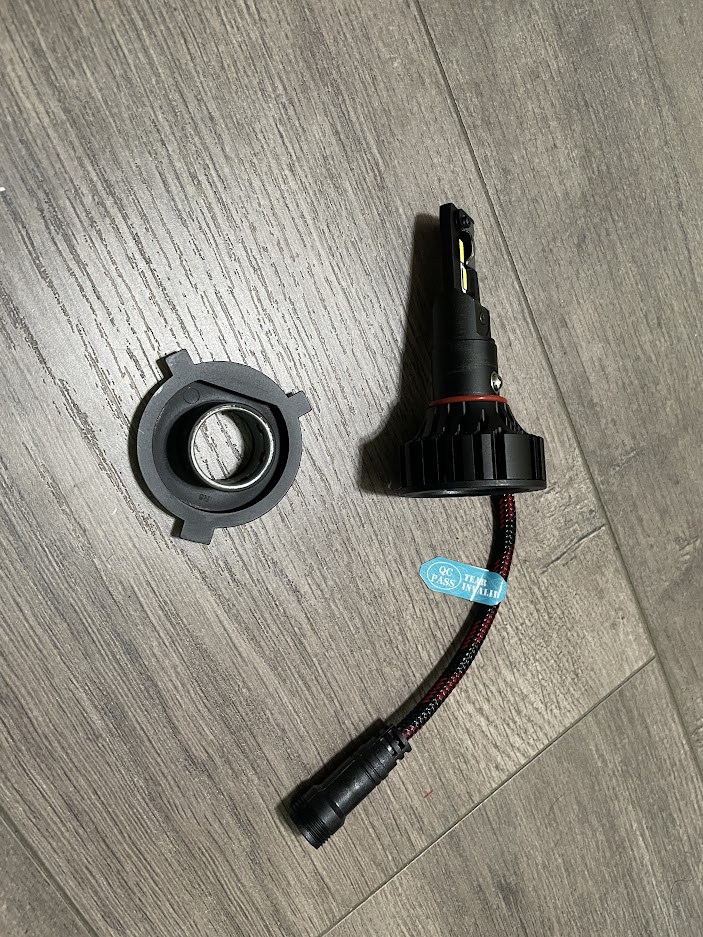
After, I soaked each part in a 5 Gallon bucket of Evaporust for about a day to remove any rust. Cleaned it with 91 Iso Alcohol to remove any residue and after a quick scuff they were all ready for paint.
Method worked really well and I advise for anyone who doesn’t have access to media blasting.
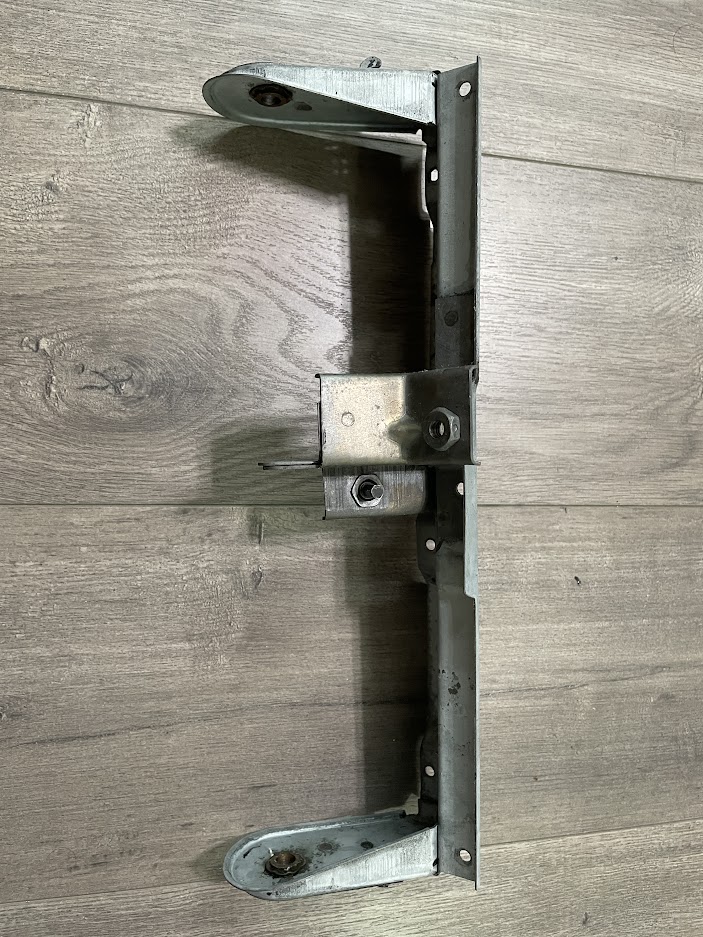
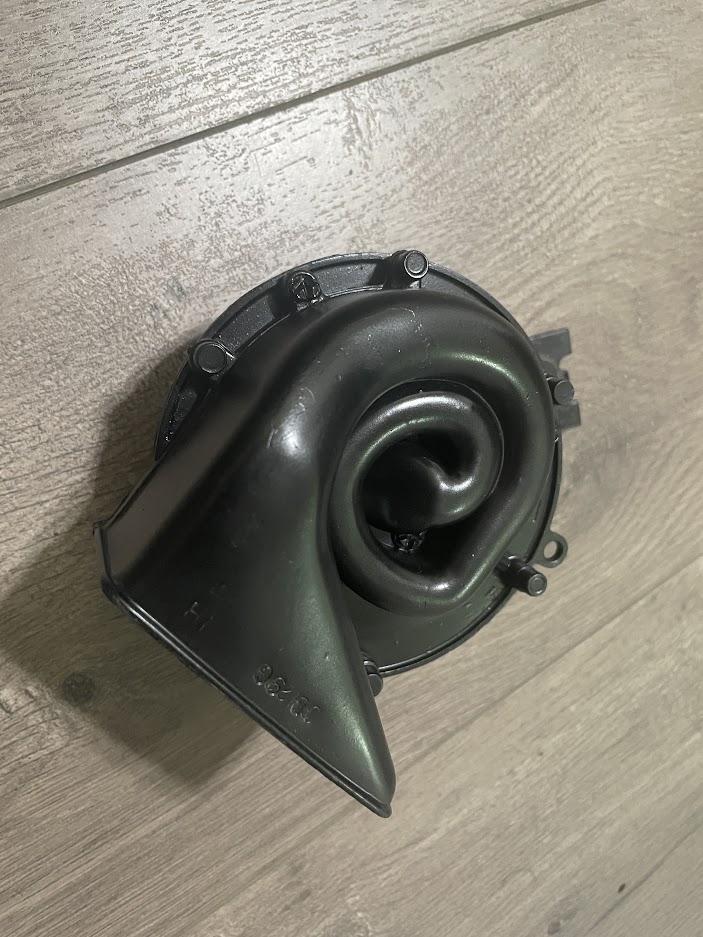
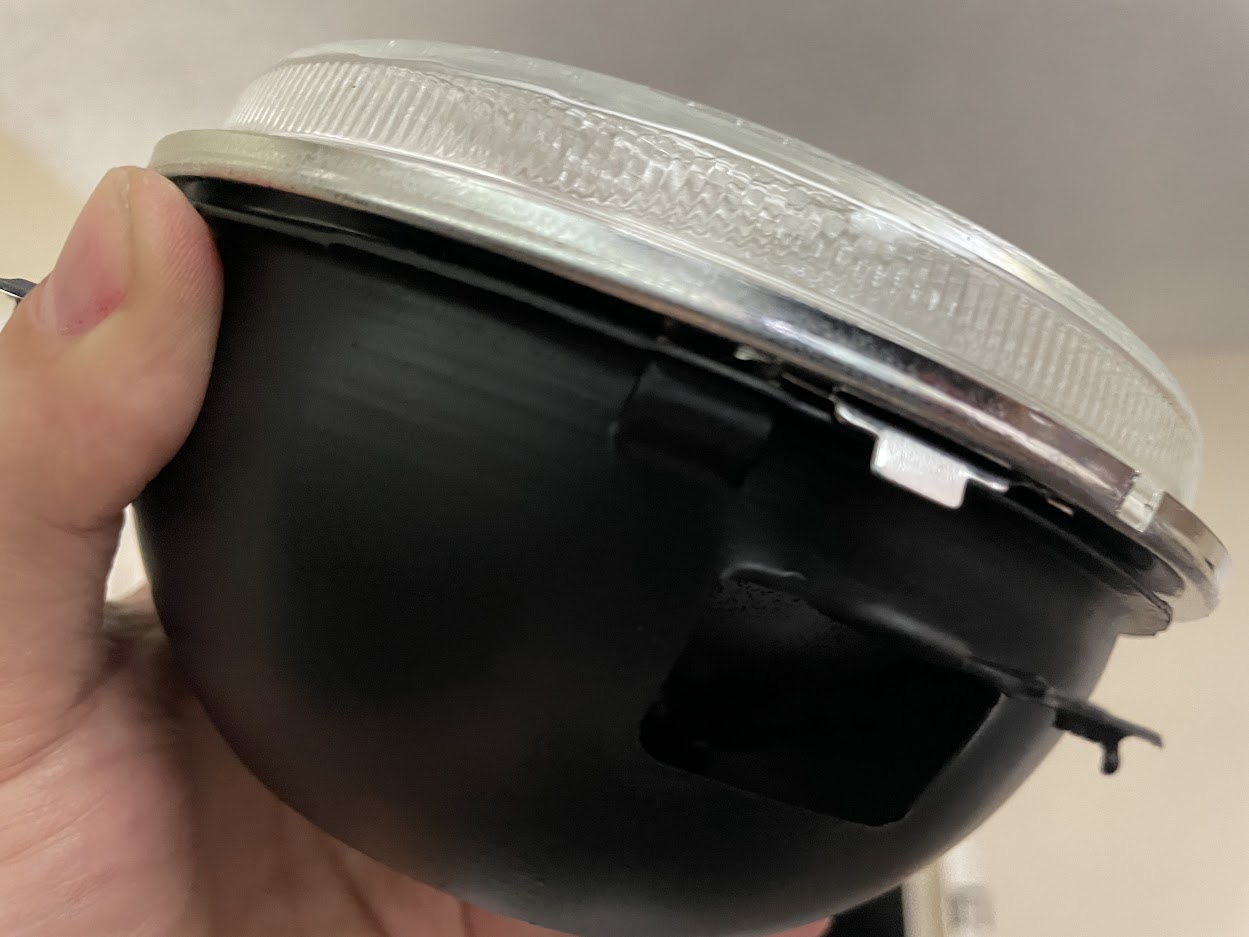
Headlight bracket and horn were painted with semi-gloss enamel from Seymour paints rather than trim black. I believe this is how it was from factory? Let me know if I’m wrong.
Haha, thanks, I appreciate it. I guess being a bachelor helps with time management.
But in all honesty, I hate sanding/prep work as well because it’s super tedious. As if it wasn’t enough to have to sand the body work, you also have to do the small parts here and there. That’s why I use the “ZEP tank” as I like to call it to avoid sanding when possible. Nice to be able to just throw multiple parts in the tank and come back a few days later, hose them off and just use a scotch bright pad to scuff.
Have had the seatbelts off for a while now, and although PO had converted the original Saddle interior to dark red, the seatbelt components where left in saddle. Assuming it was tedious work to color change to red so they just skimped out.
All the plastic/vinyl seatbelt components where sprayed with OER Mustang Dark Red and then clear coated. I replaced the chrome bezels with new Scott Drake Repops.
Acid dying the seatbelts where the most laborious part of the process.
Removing the retractable seatbelts from the vinyl housing was a pain, but some heat and patience went a long way. After the vinyl housing came off, I removed the spring mechanisms so that the entire unit could be cleaned then dyed.
Started off first by deep cleaning them a few times with OxyClean:
Once they were as clean as I could get them, they started the dying process. I purchased a 16 quart chili pot and a candy thermometer for under $20 on Amazon to complete this process.
I broke the acid dying into two even sessions, six seat belts for each portion. This made sure I had a consistent color across all belts.
The dying process was pretty straight forward.
Fill the pot with 2 gallons of water, heat it to about 100 Deg. F.
Add 2 TSPs Powdered Dye
Drop in seat belts
Heat to just under boiling point 180-190 Deg. F., add 1/4 cup white vinegar and at that point heat for about 20 min.
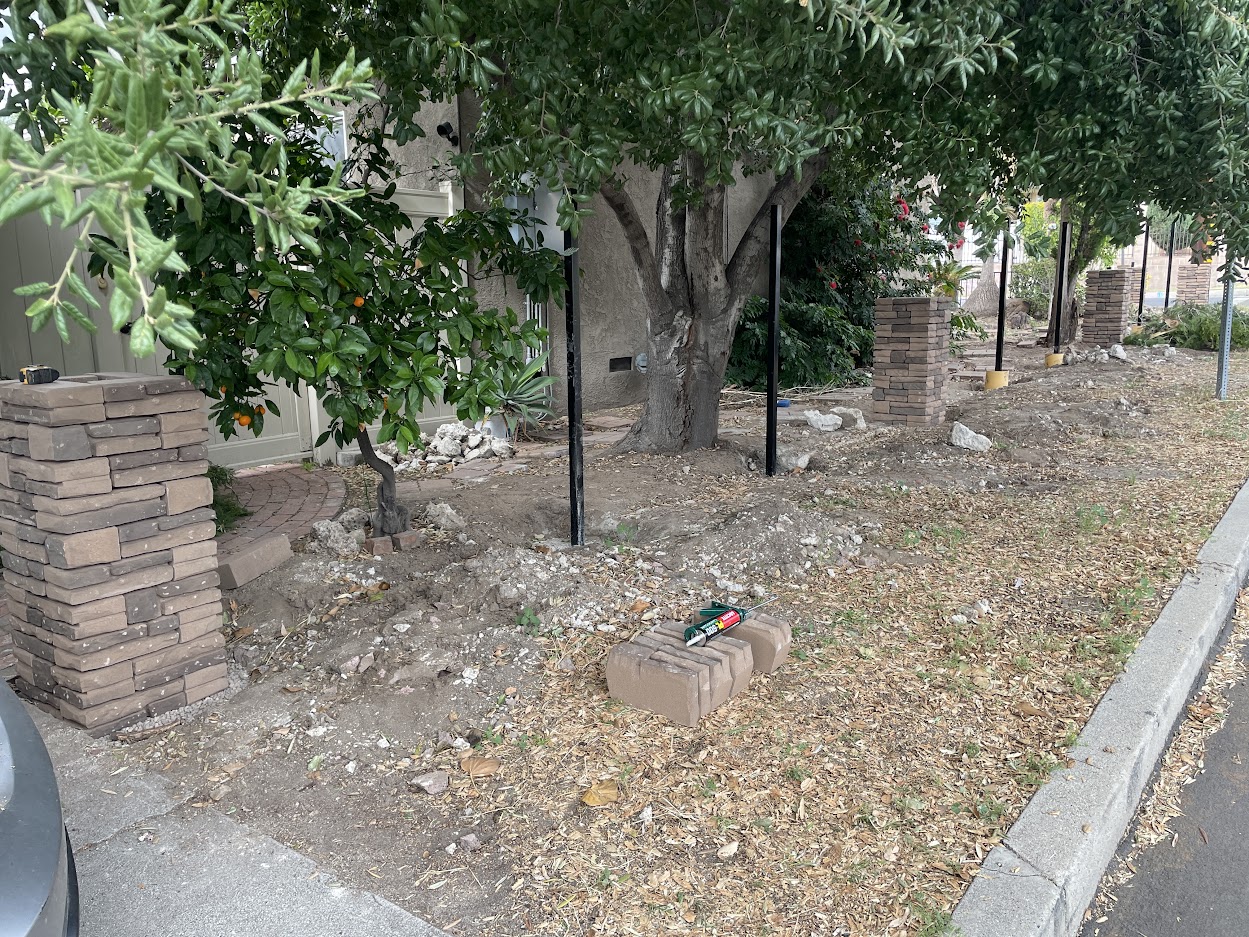
After spending the last three months demoing an old block wall and putting up a new fence for the house, I finally got a chance to start up the body work on the cougar again.
For the curious, here’s my fence project.
A few pictures don’t do the work involved justice, but I’ll save that for another forum, back to the cougar!
Like I mentioned, was able to get back on the body work. If all goes well and to plan, should be able to finish up the body work by the end of the month and move onto primer.
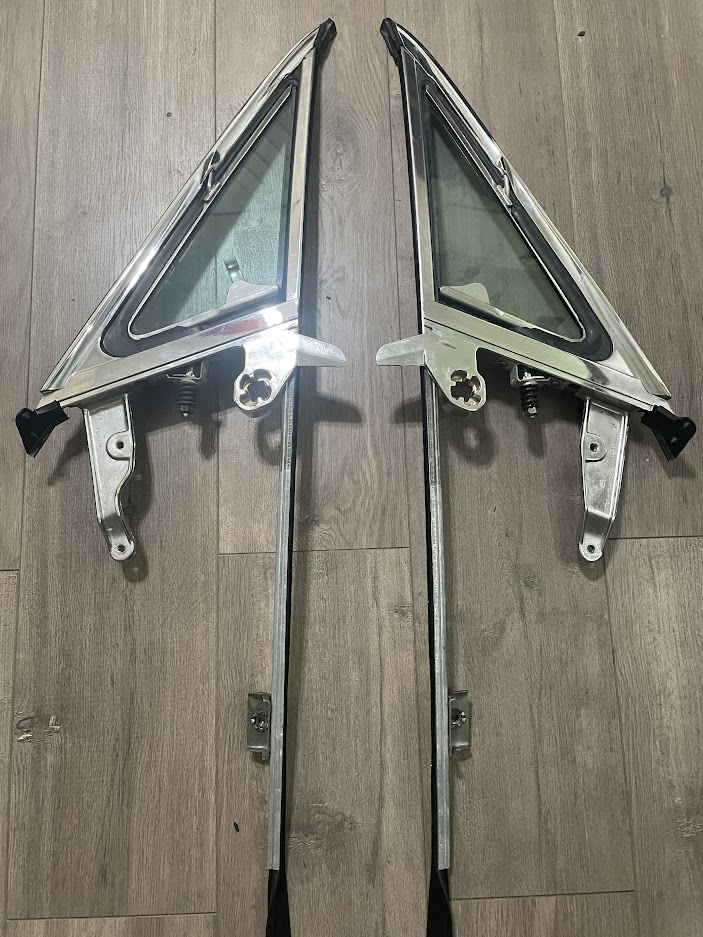
I was also able to get the vent windows restored. The chrome was in decent enough shape with minimal pitting. Polished them up, replaced all the seals and buffed out the glass as well. I did replace the handles as the pitting on the handles was beyond repair. I like that the repops have that plastic bit on the end as to not scratch up the chrome frame.
So after starting to take the cat apart last August, I spent the last few weekends on the rest of the body work. I’m happy to say that the body milestone is FINALLY complete. This has been without a doubt my least favorite and most stressful part of the rebuild so far. Trying to get the sheet metal as close to perfect as possible before using filler, then meticulously laying filler, sanding, and addressing all the highs and lows is A LOT of time consuming work. But, at least I know I did a quality job and have a good foundation to lay my primer on and block sand.