While the fenders are off, I tackled the wheels wells to freshen them up a bit. Bunch of overspray in the wheel wells and fender frames from when the car was painted previously, along with years of dirt and grime.


Took an abrasive nylon brush wheel and gutted what was falling apart already. Purple power degreaser made quick work of the grime.


I SHOULD HAVE LEFT WELL ENOUGH ALONE! After button up the wheel wells, I realized how out of place the suspension was, that along with a shot LCA boot and a squeaky UCA made me order suspension parts to swap out. Oh well, that will have to be done later.
Another “While I’m At It” popped up when I decided to address some of the surface rust in the floor pans. Since everything was in decent enough conditions, I decided to to take the whole interior down to metal.

I spent an entire day degreasing the interior, wire wheeling then dousing any rust in acid etch, gutting any loose/flakey seam sealer and surface and scuffing up all of the old paint. I decided to go with Eastwood’s Rust Encapsulator to protect the interior from and further rust issues. Used a foam roller, brush, and my spray gun to achieve coverage inside.


Overall pretty happy with the encapsulator, its pretty resilient and sticks to almost anything it seems.
coming together, keep up the good work!
A NEW MILESTONE THIS WEEKEND! I was able to lay the first surfacing coat of filler primer on the shell and start my first pass in shaping!
https://lh3.googleusercontent.com/pw/AM-JKLUNtuAMPxvMeJSv6m0ca3A9JHQ-Cf4FSizBlCnFFturrTLtmpiWWdK1ZQUCyi173yJy4nuUiPM_4Ju9cGBL9Bh8xRBbcbjA1X_uvdKTcDMe89hJUz-caGWaI1e63_j3mVFzWMvu7h21N5s0rqcBOR8xiA=w1684-h1263-no?authuser=0


Since the epoxy underneath the primer is black, I had to steer away from the traditional black guide coat and go red. I used some Dupli color sandable primer as the guide coat and it works out really well. I use 220 grit for this pass which is just as abrasive as I like to get on the surfacing pass.


Once I get this all blocked, i’ll hit it with another session of filler primer and block that to make sure it laser straight before paint.
Two years since my last post, but boy have I put in a lot of work that wasn’t documented. I’ve found that the posts and pictures on this forum have done wonders on helping me revive my cougar, so I’ll start slowly adding the progress I’ve made over the years and finally get to where I am at now.
Sanding, sanding, primer, more sanding and then some more primer


Prepping for and applying seam sealer


Panels were primed and prepped separately

Outdoor blow up booth for painting the panels that I could remove from the vehicle

First look of that Magnetic Grey Metallic under the hood and trunk lid


Being a vinyl top car, and my first time painting a full car, I decided to tackle the body in segments. Taped of everything but the jambs, roof and cowl and got to work. The vinyl top covers the tape lines between the roof and the quarter panels and made this a smooth process for me.


Well, that was back in November of 2022. Taking a trip down memory lane myself. I will continue to post in the upcoming days until I get up to my recent progress in 2024!
1 Like
Well another year flew by and I’m happy to say that this cat only needs about 3-4 more days of weekend work to get back on the road.
During the last 3 yaers alot was done on the car so I’ll try to cover all bases a post at a time, making up for my progressive lack of posting.
For the interior underlayment, I purchased a seperate roll of jute in bulk to attach to the tar base. I simply layed out the roll and traced over the outlines with a box cutter. Here are some pics of the process and end result. I ended up sandwhiching the jute between the tar liner and the the more common rubber liner to give it an “as close to factory” finish as I could.


Redid my fender mudgaurds by sanding and respraying with a flat black that matches the fenderwells and stapling on new rubber.


Dont forget the strip caulk when reinstalling!

As for the front suspension, I chose to take the advice of many of the members here in not purchasing the new repro UCAs on the market. Instead I rebuilt my UCAs with MOOG components and just opted to purchase the repro LCAs.
UCAs pulled of the car


Painted with a “chassis black” paint

Cut a groove in the new MOOG shaft threads to ensure grease properly travels up and down the threads to avoid that dreaded squeak these are known for:

Here they are with then new UCA shaft kits installed:

I also added the elbow grease fittings while I was at it for easy maintenance in the future

I also ended up replacing all tie rod ends, idler and powersteering arms with MOOG components as well.


Old LCA vs new repro LCA:

Spent time prepping and respraying the cross beams and sway bars:


Replaced the sway bar bushings while I was at it:

Finally installed back in the car:

That pretty much wraps up the suspension. I had previously replaced all the shocks with Excel G shocks, the spring perches and the spring dampners. No more squeaks!
I made sure to order the quality vinyl top with the correct stitch patterns. I ended up laying the vinyl top over the car for a few weeks to go through some hot/cold stretch/shrink cycles to make it easier to work with when adhering to the roof.

I used 3M 1357 adhesive to adhere the vinyl to the roof. Before doing so, I went over the newly painted roof with some red scotchbrite pads to ensure it had something to grab onto.

I did one half of the roof at a time, making sure everything lines up correctly. It was important not to overstretch or under stretch the vinyl here as both can lead to problems down the road. Relief cuts obviously become important as you work through the curves and corners.


1 Like
Nice work- looks like factory!
Appreciate it, thats the goal.If and when it shows up on BAT, I’m counting on those details to be taken into account 
1 Like
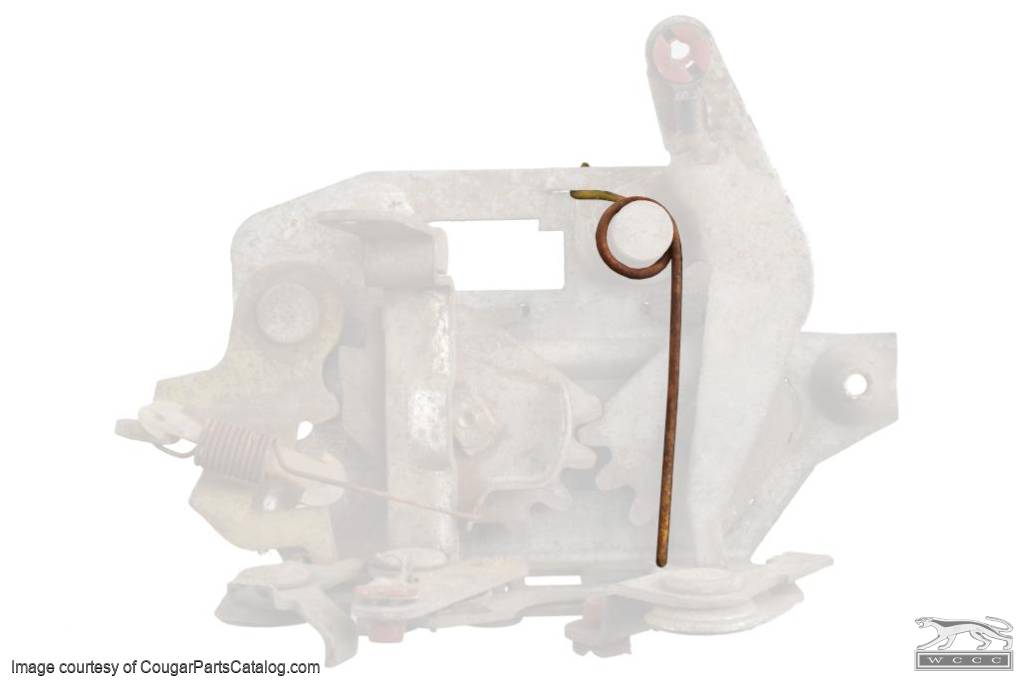
Tackling the door latch springs were a bit of a pain, to say the least. The door latch torsion springs, although were functioning without a hiccup, were a bit rusty. I made the mistake of removing them and dipping them in evaporust overnight. This actualy caused the spring to snap at its weakest point. I some rust was what was keeping the spring together. (ran into the same issue later with the spring on my thermal snorkel, will get into that later)
Below is the spring im referenceing, taken from the WCCC site:
Since there didn’t seem to be reproduction springs on the market, I ended up purchasing same wire diameter stainless steel rod and cold rolling them to the same shape.
Here is what they look like back on the latch

I also ended up replacing the lower springs as well, of which repros are luckily made.
Here is everything cleaned and greased up again before going back on the car. Don’t forget to clean the contact sensors!
You’re doing a really nice job. I admire your willingness to tackle all phases of the project.
1 Like
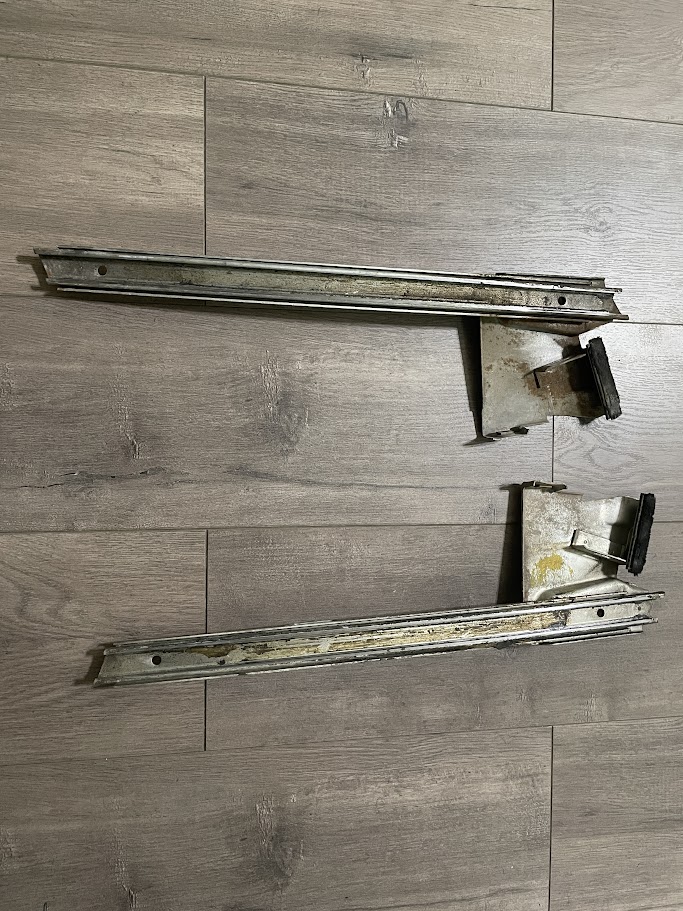
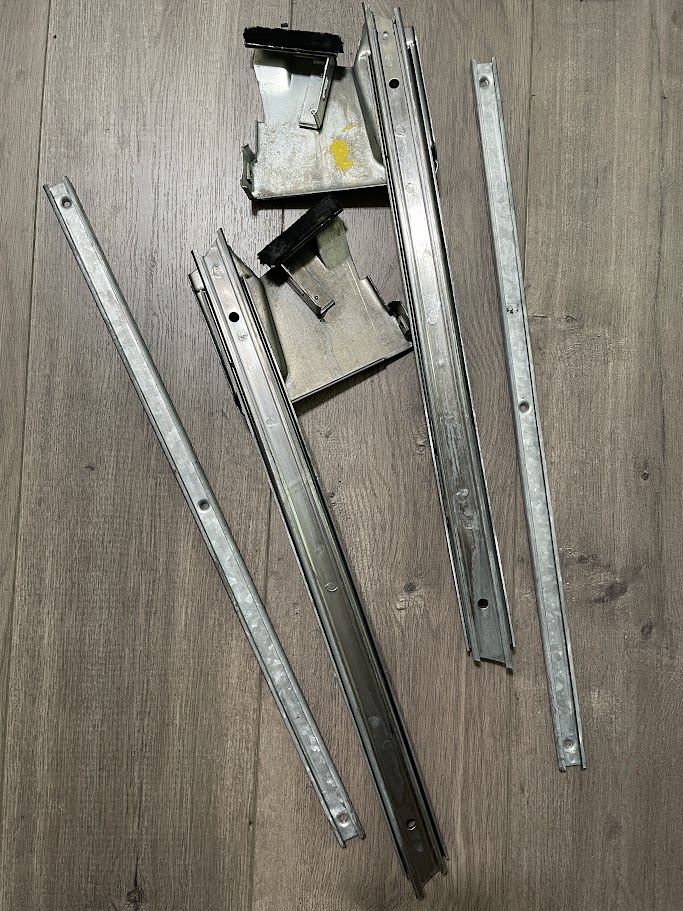
I ended up restoring and rebuilding alot of the internal components in the doors and rear quarter panels besides the latches.
Some before and after images of the window tracks here. I ended up using the ZEP bath trick on these as well to clean up all the grease and crud. After I dunked them in evaporust for a few days then pulled them out and let them air dry to hold a bit of that rust proof coating. Wiped them clean after and applied a generous amount of window grease before installing.
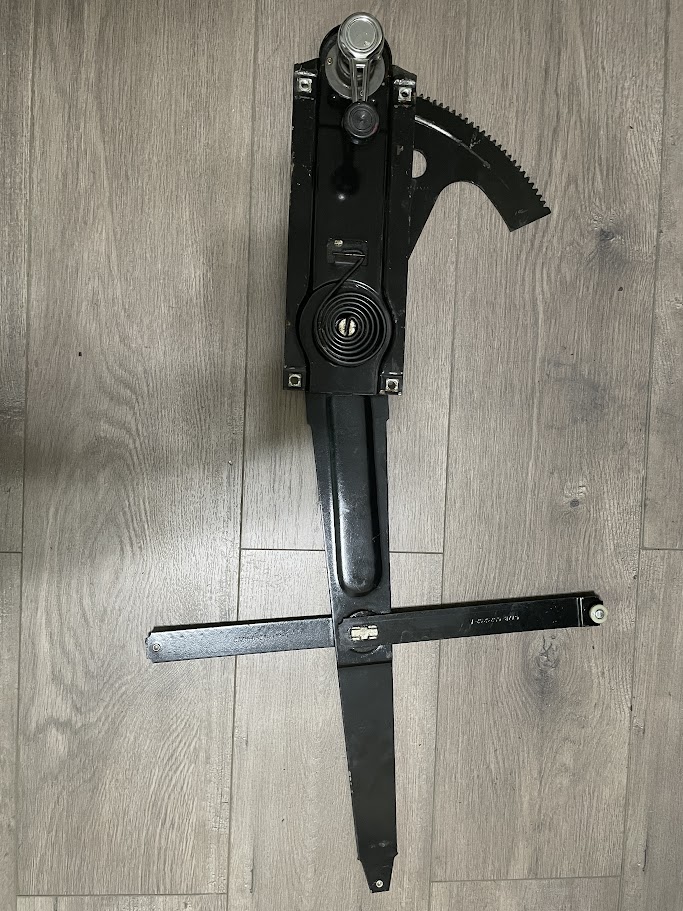
Window crank mechanisms cartridges were cleaned, repainted and restored. Ended up replacing alot of the worn out plastic rollers. Heavily greased the gears before installings them. My front driver side window gear was completely shot, so I ended up ordering the repro from RockAuto, it was a spot on match! I ended up purchasing new repro knobs and replacing them while I was at it.
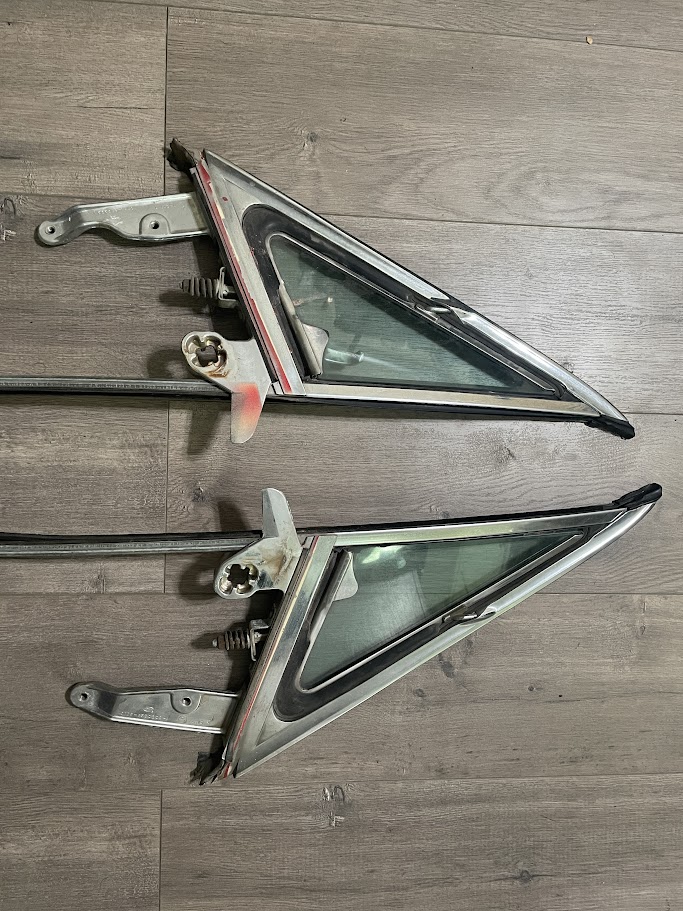
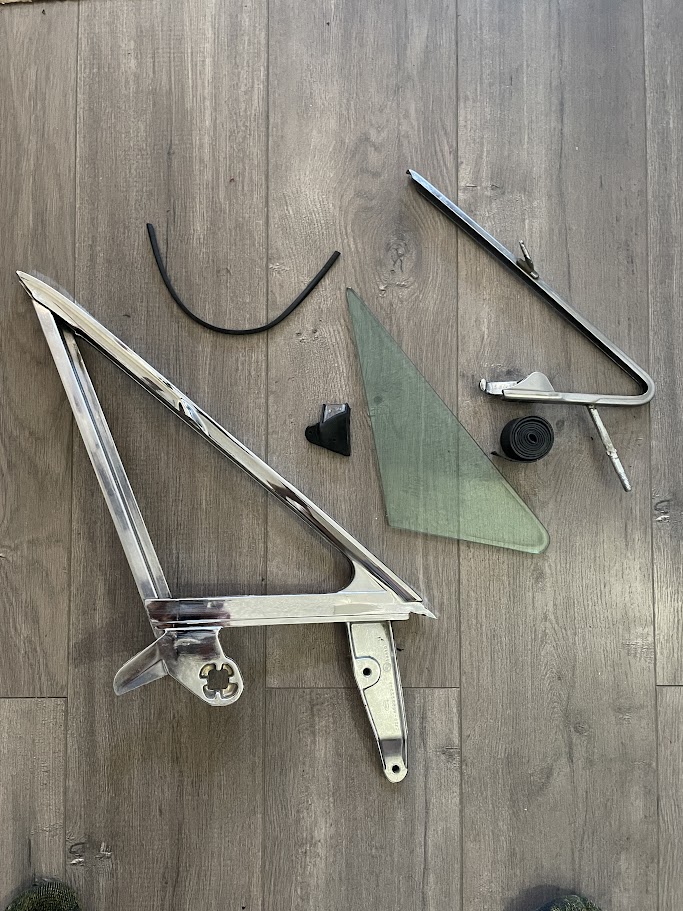
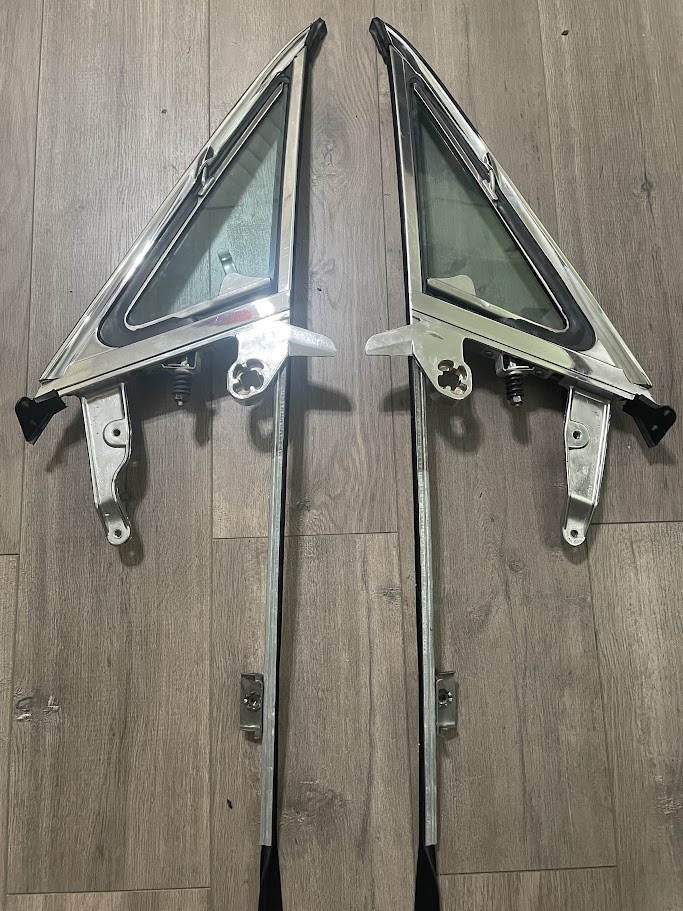
Condition of the vent windows before blowing them up and restoring. Replaced all the seals and the felt runners. Used the same ZEP and Evaporust bath trick and then some steel wool and chrome shine to remove the old overspray and spruce up the shine!
The vent window frames were in good condition under all the crap. Often, they are badly pitted. Nice work.
1 Like
You are doing really nice work! But you might want to rethink leaving Evaporust on parts without rinsing. Evaporust is an acid that will just keep working away on the metal without a rinse. And it doesn’t offer any long term rust protection by leaving it on. Better to rinse Evaporust off, and then apply an actual preservative.
1 Like
Thank you. appreciate the praise.
I went back and forth on the Evaporust topic alot. But all sources seemed to point to the there is no acid in evaporust and “To prevent re-rusting, dip the item back into clean Evapo-Rust solution and allow it to air dry” and that’s straight from CRC/evaporust website. How to be Rust-Free in A Snap with EVAPO-RUST® Rust Remover
That being said, I’m open to suggestions…what product have you found is best for rust prevention?
There was minimal pitting, but not enough to justify new vent windows and potentially have to deal with fitment issues or the “rounded off-edges” after rechroming.
I use phosphoric acid, rinse, and then WD-40 to dry and protect. But you’ve done your research, and are correct about Evaporust! I was wrong to assume it was phosphoric acid based. I’ve had a gallon of it for several years, and will try it next time!
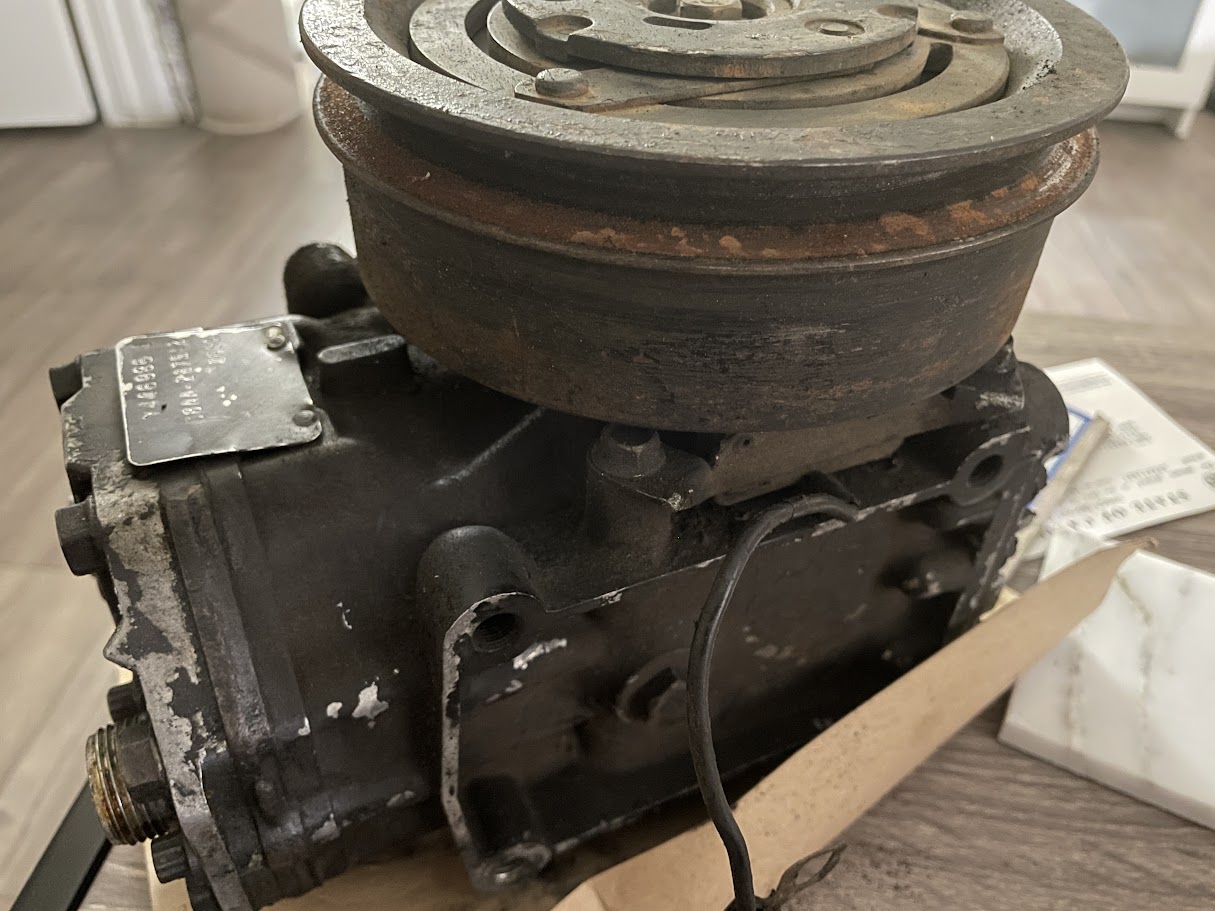
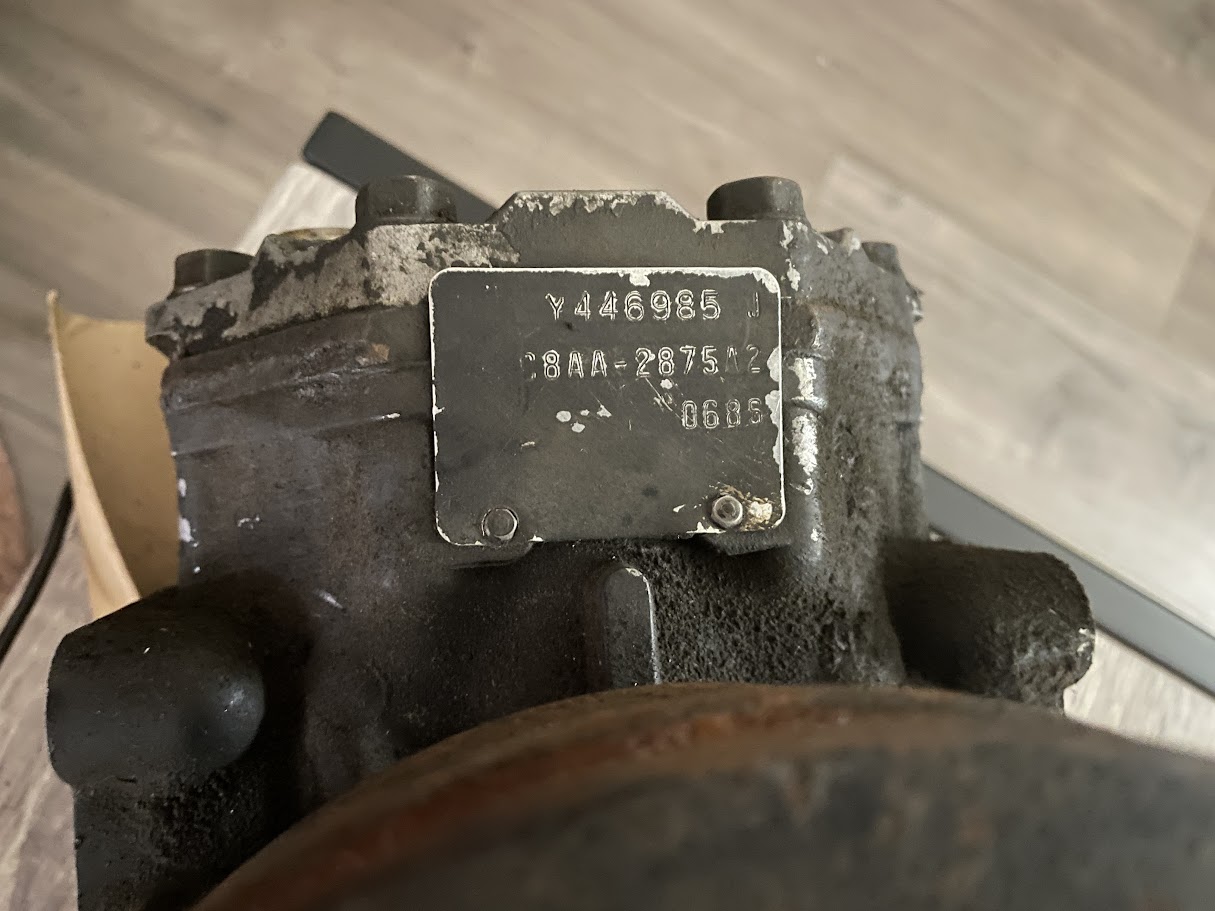
Air compressor rebuild was fun as I had never tackled something like that. Mine was the factory York compressor that needed a compelte overhaul.
Opened up the entire compressor, making note every every washer, screw and nut. I actually had to replace two .5 millimiter thick washers that took me forever to find a matching set for purchase.
Wish I had taken more pictures, but completely cleaned the interior of the compressor using 91% alcohol and mild degreaser.
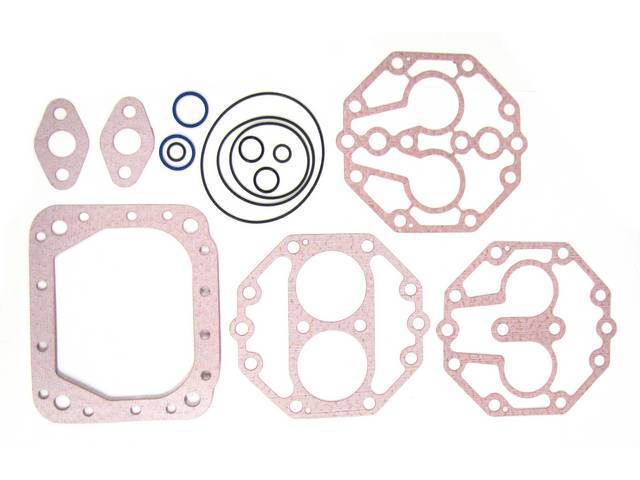
I bought a york compressor gasket kit that had all the necessary gaskets and seals
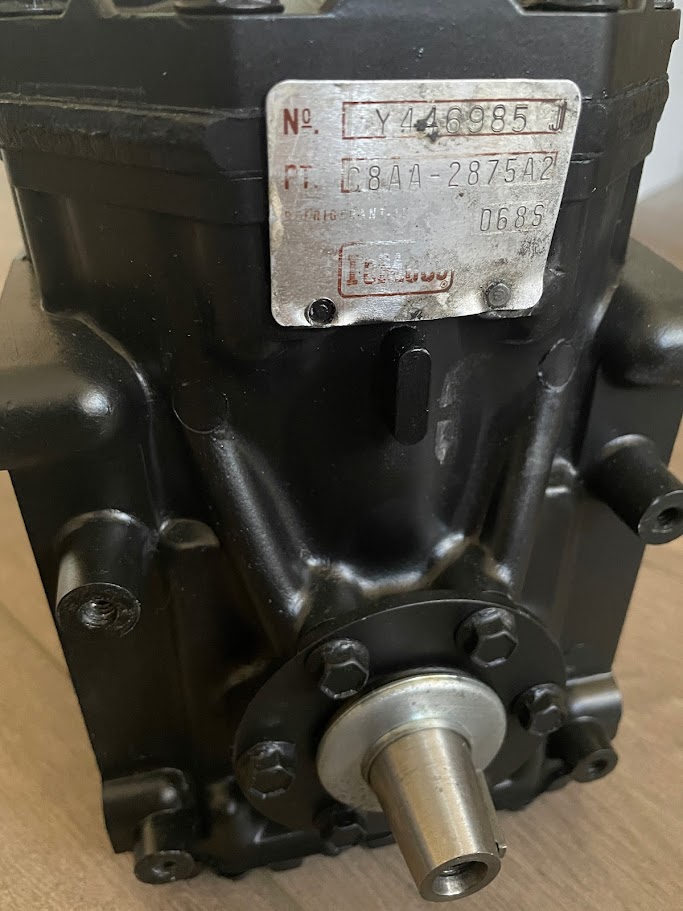
Rebuilt and repainted:
Also replaced the magnetic contact controller with a repro one
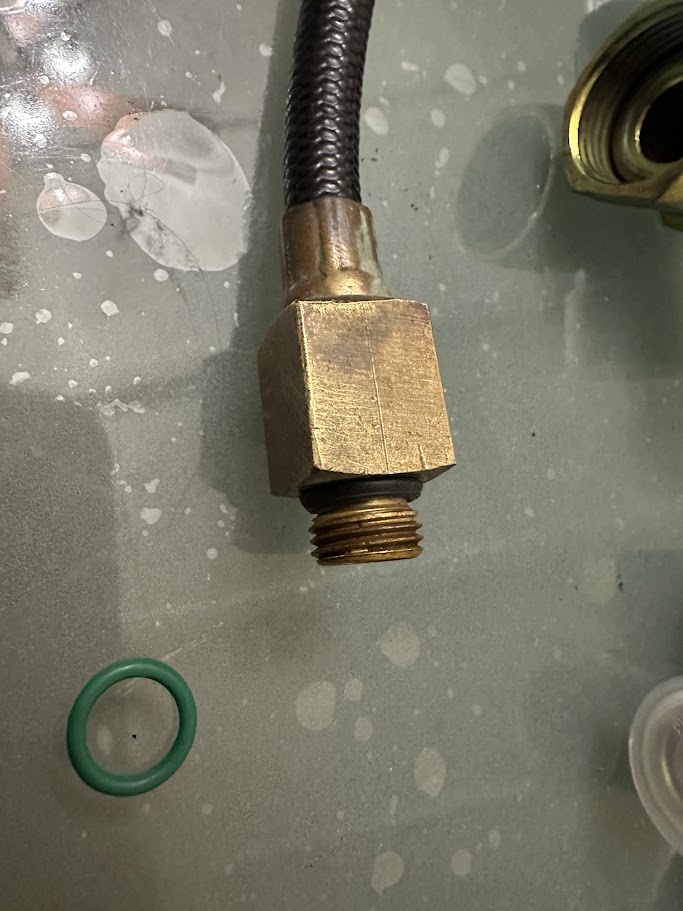
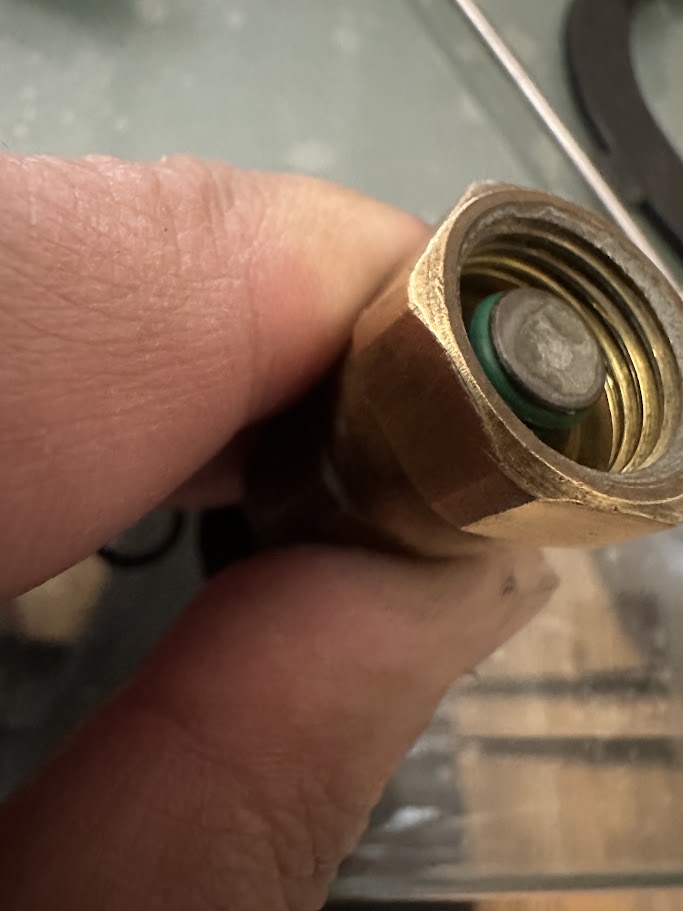
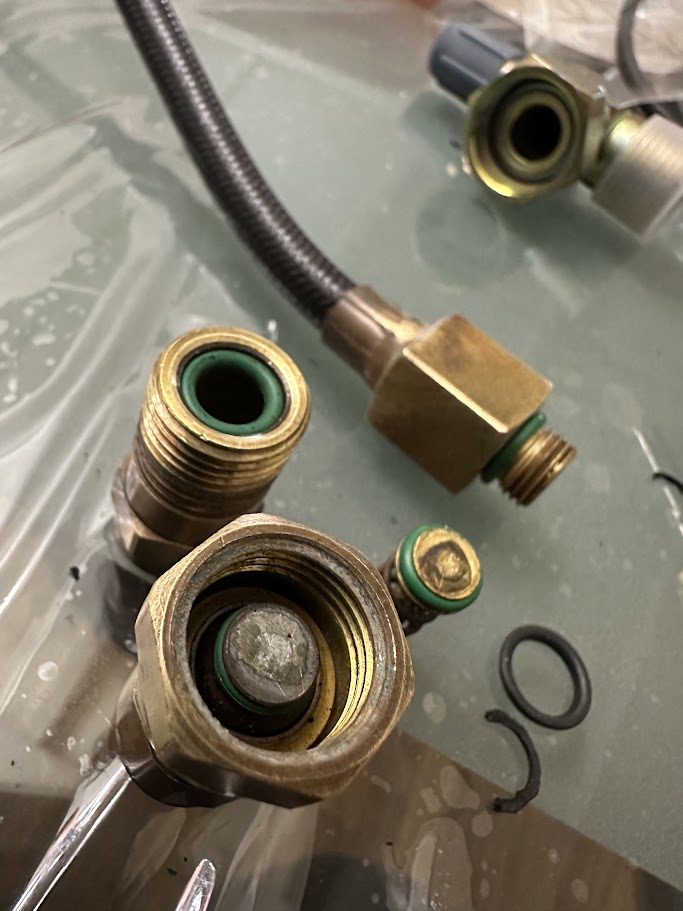
I also wanted to make sure everything that I was replacing was 134a compliant, so made sure new seals and o-rings hit that criteria: