I’ll try that WD-40 method next time, I bet it’ll prove to be more resistant to rust.
I wish there was a cost effective kit to be able phosphate coat things yourself in the home garage, because that would definitely be my go to.
I’ll try that WD-40 method next time, I bet it’ll prove to be more resistant to rust.
I wish there was a cost effective kit to be able phosphate coat things yourself in the home garage, because that would definitely be my go to.
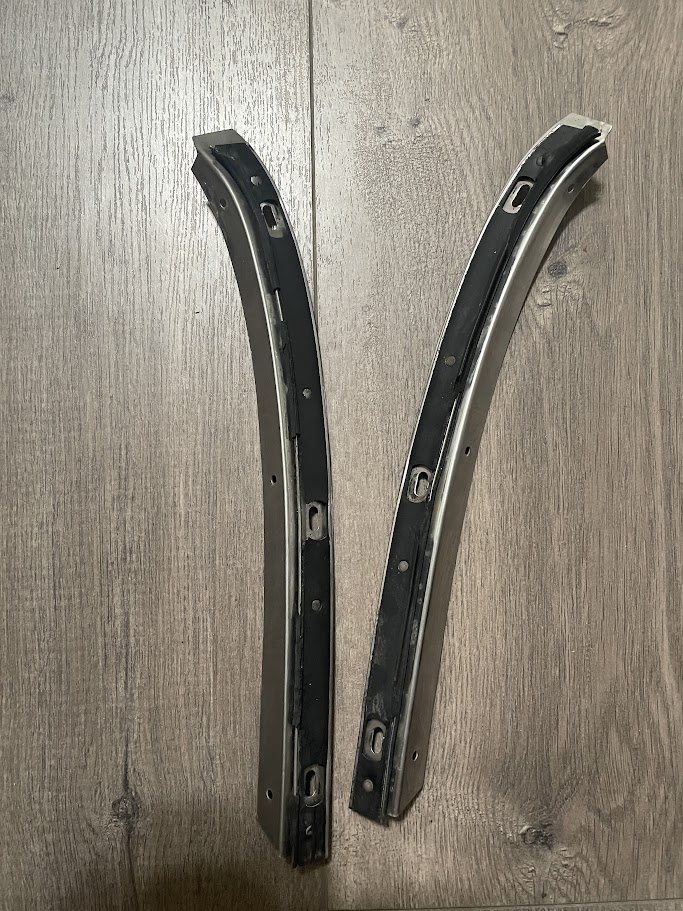
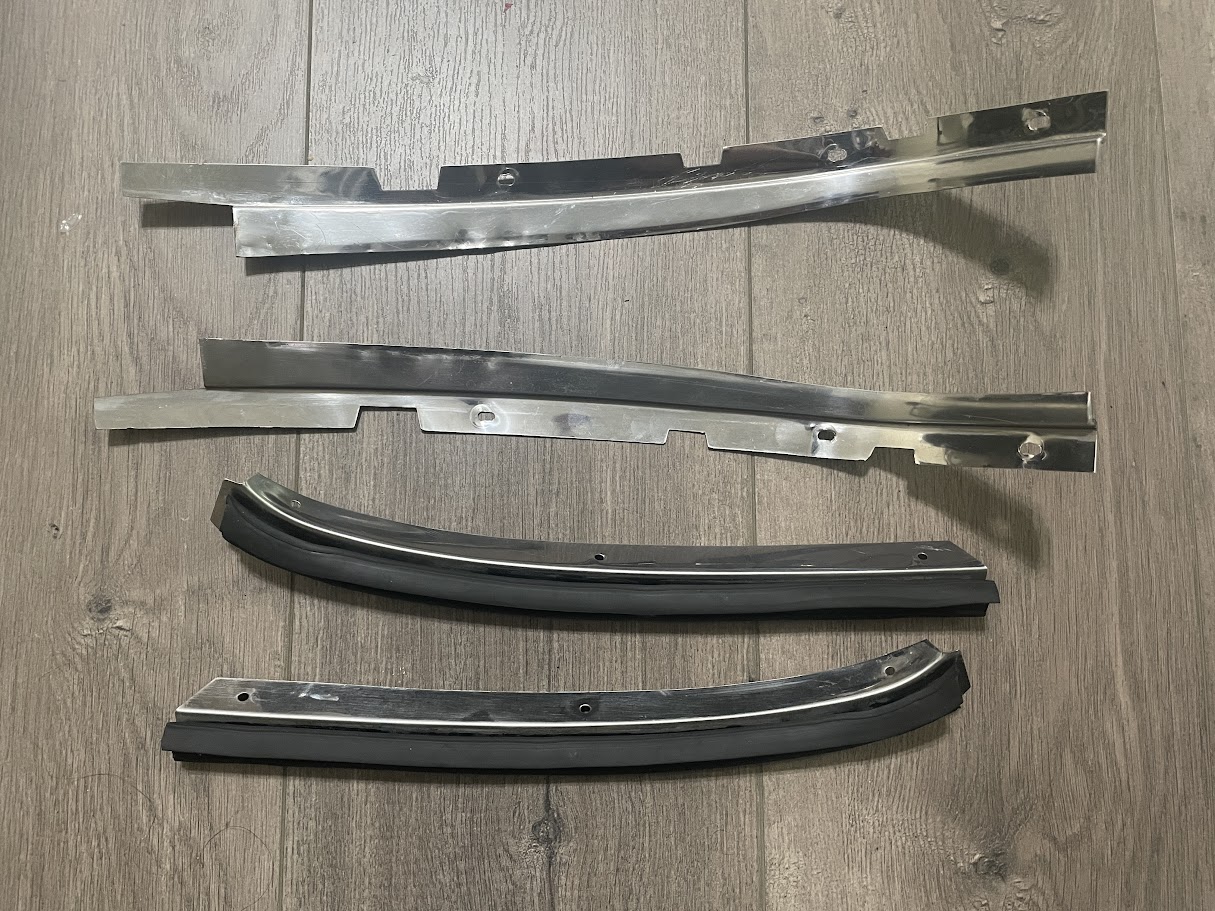
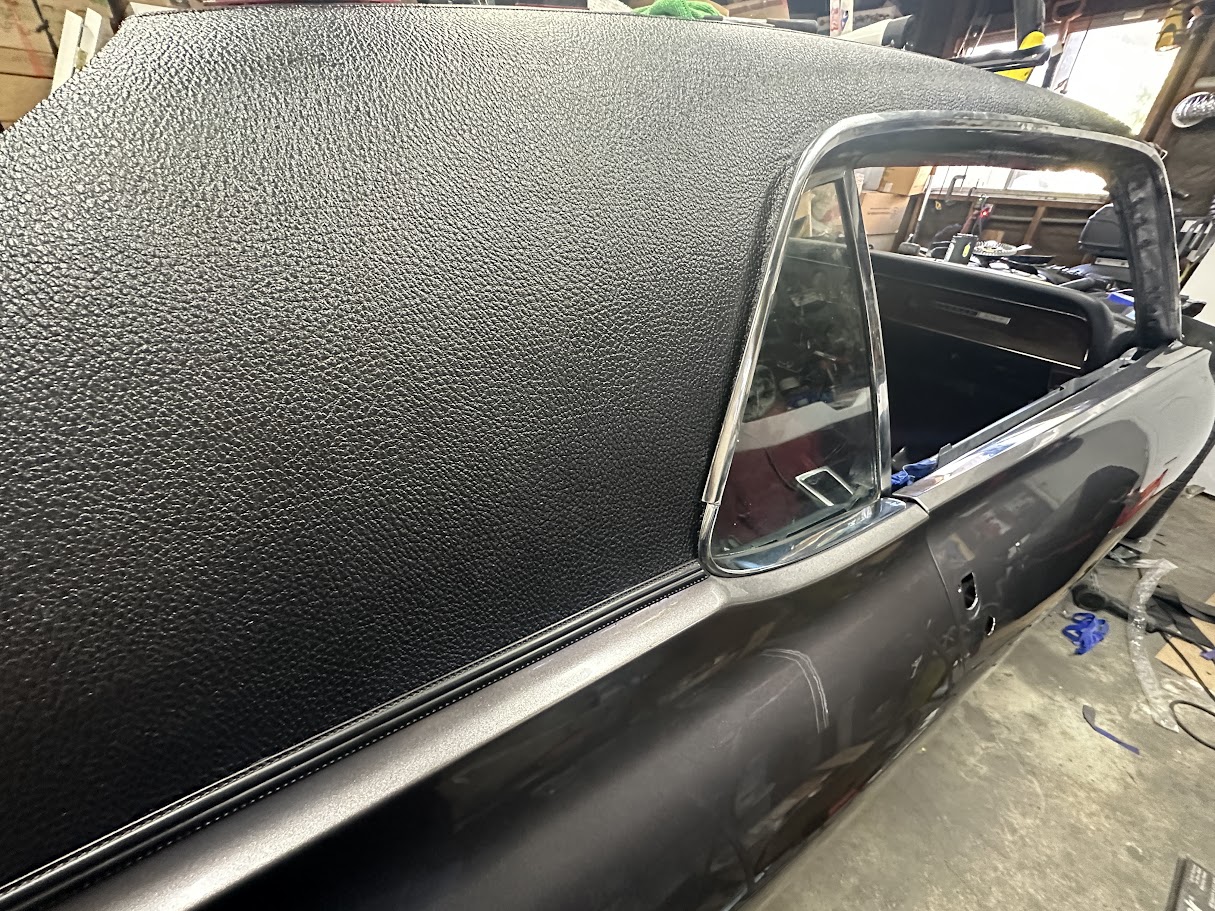
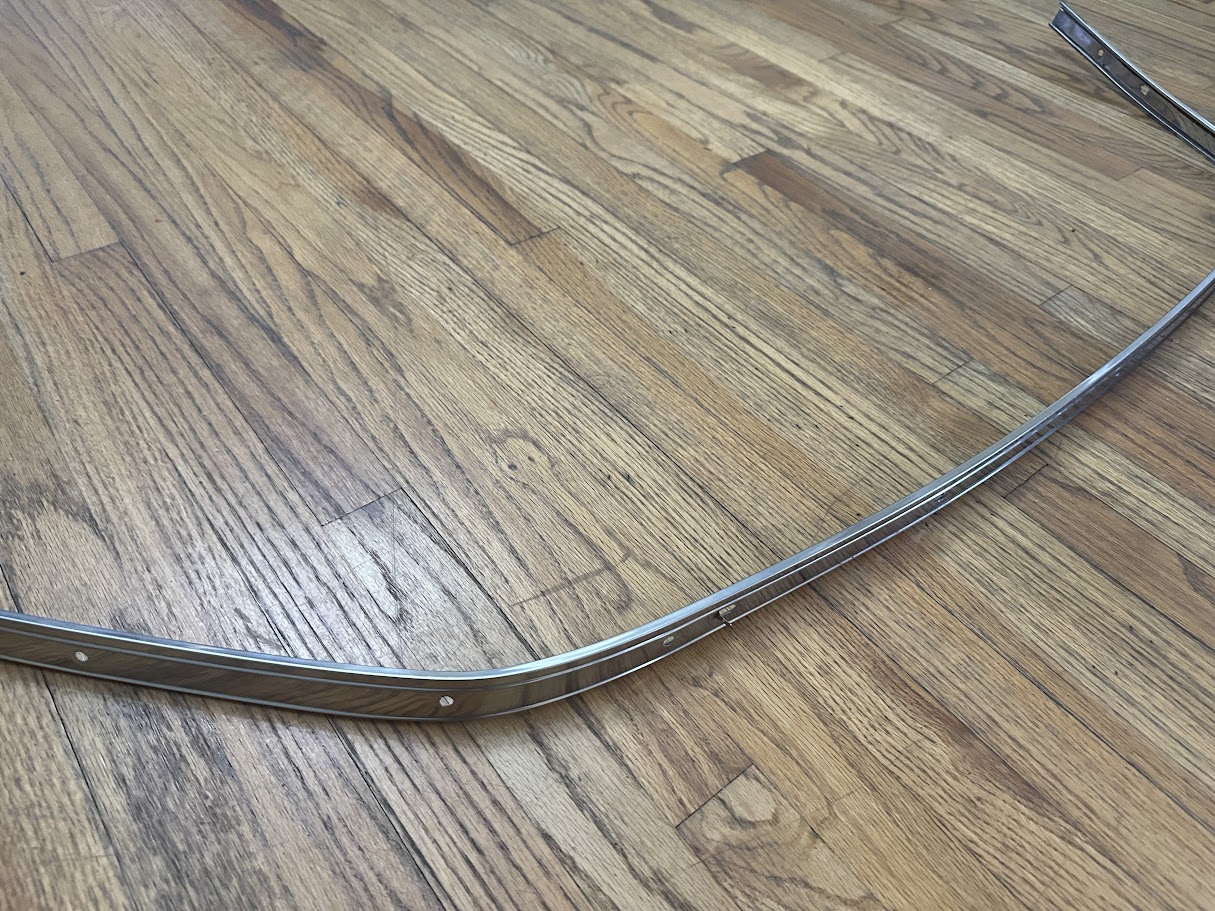
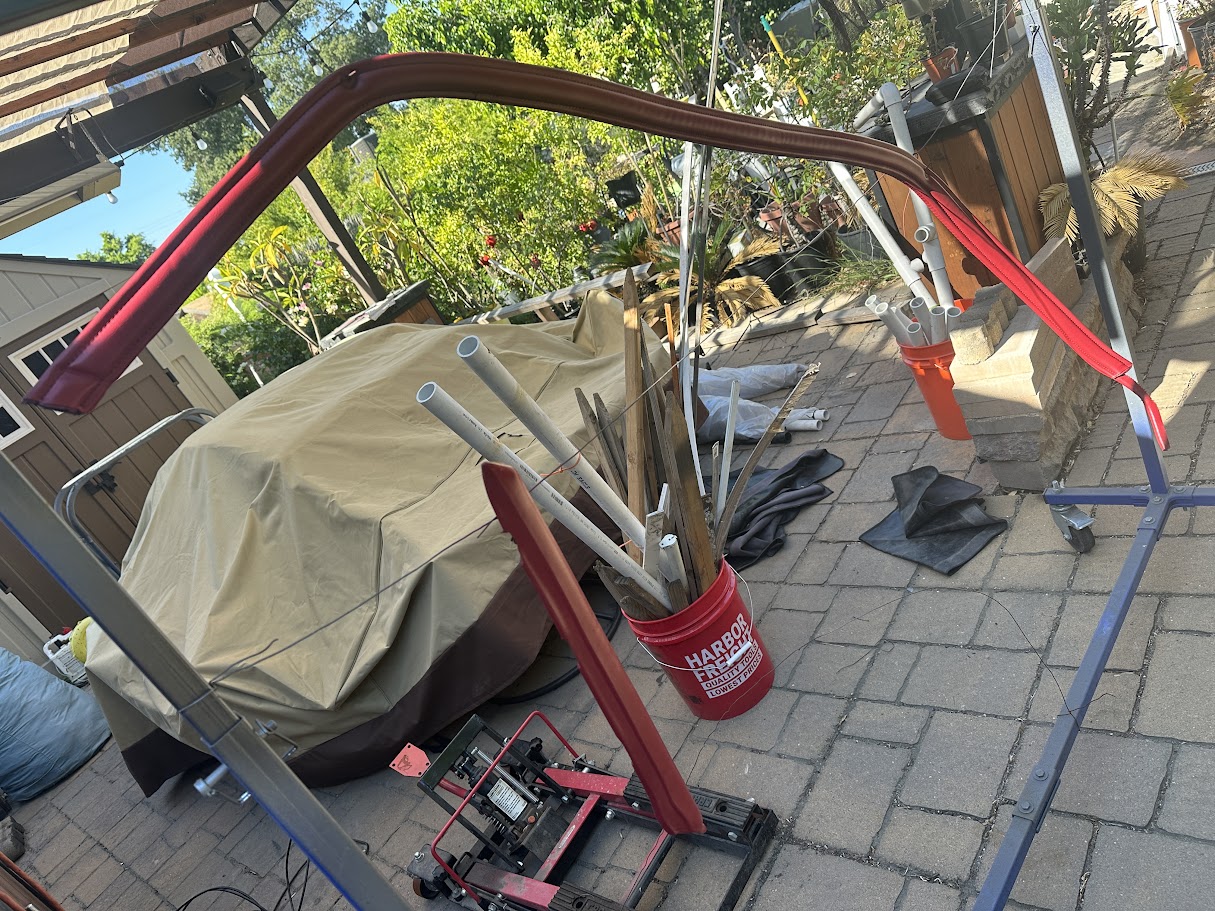
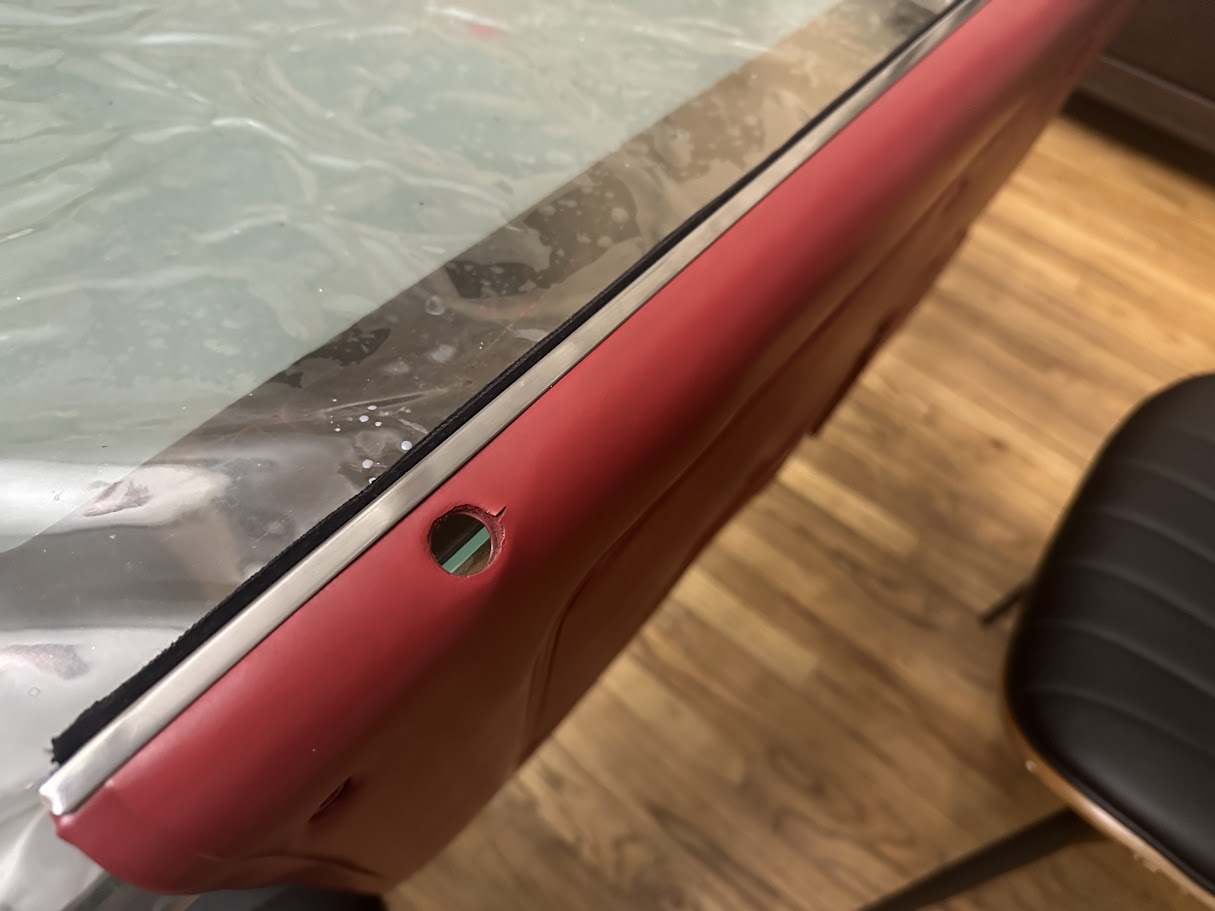
I cant think of a single piece of window trim that wasnt restored or replaced, along with new seals…
Most of the metal just needed a thorough cleaning, but all seals needed replacing
Seal conditions looked like this for the most part:
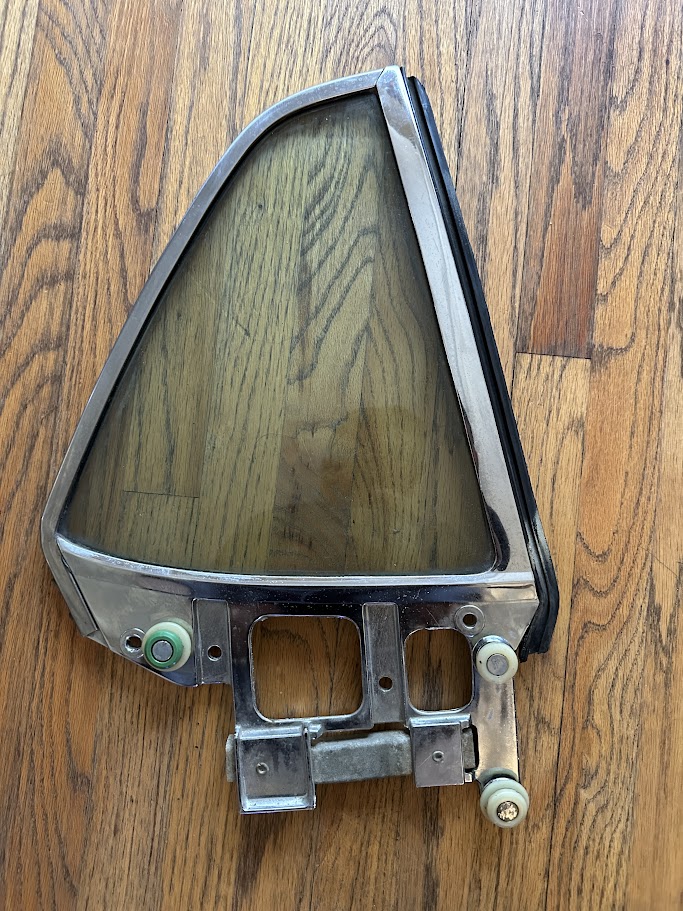
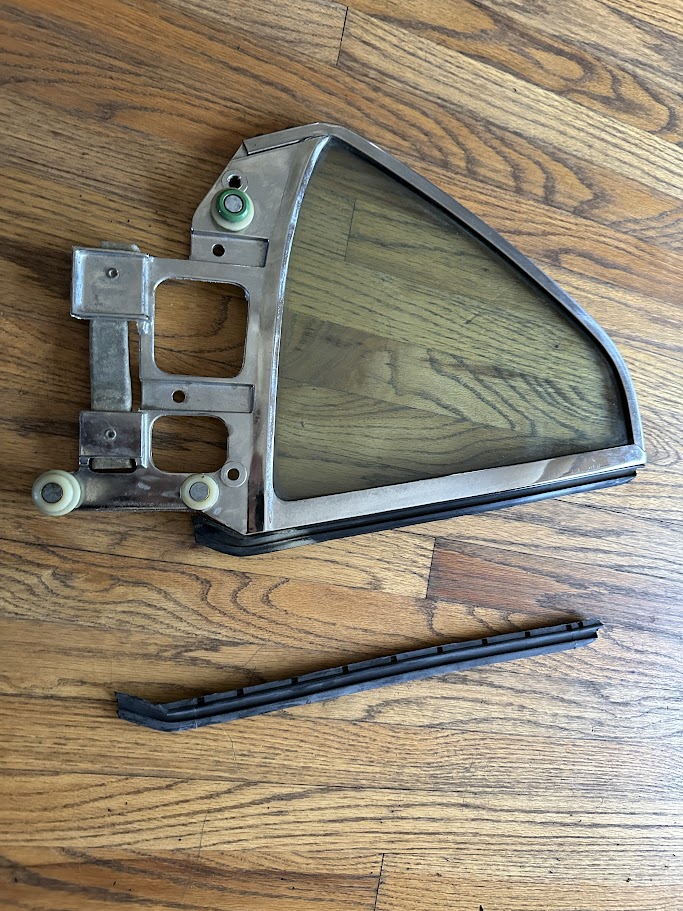
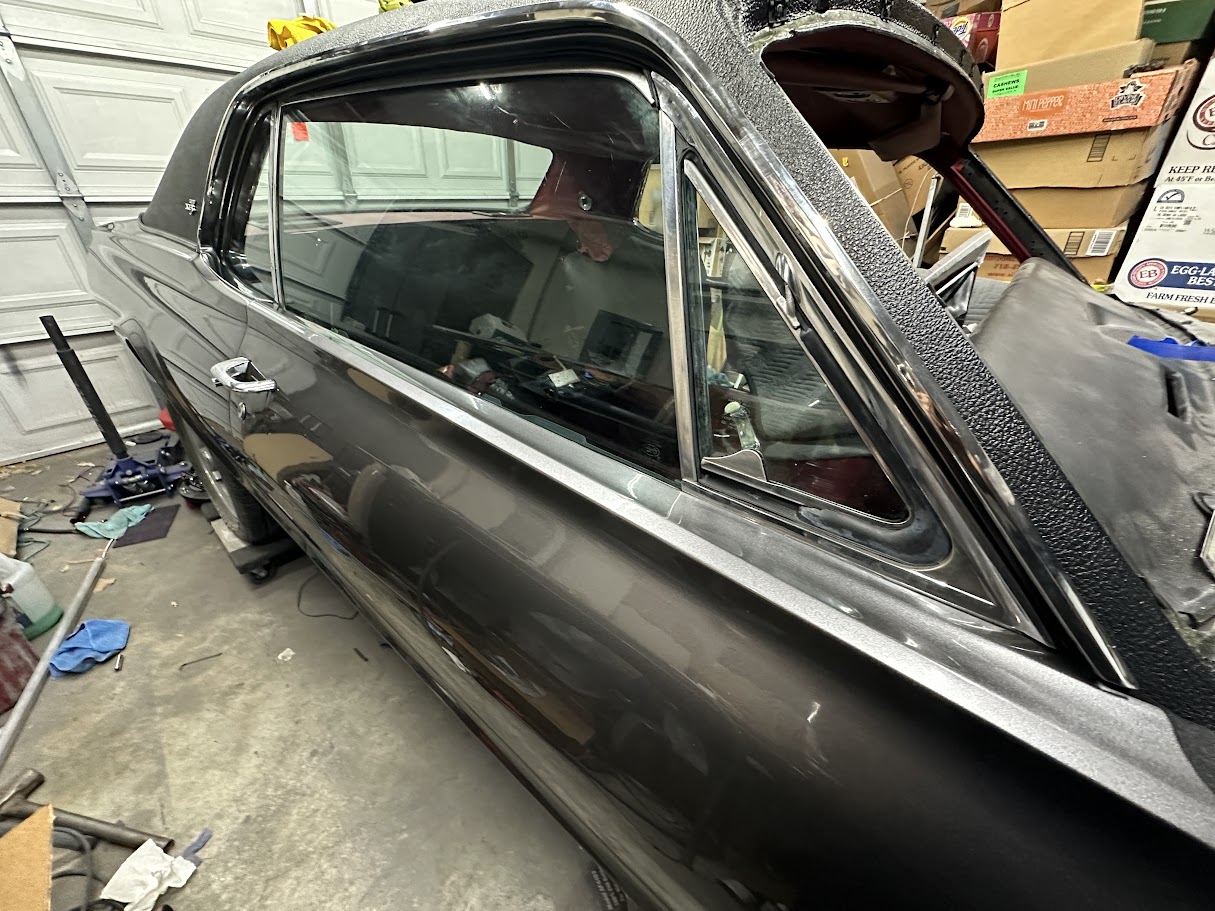
Quarter windows after cleaning and new seals:
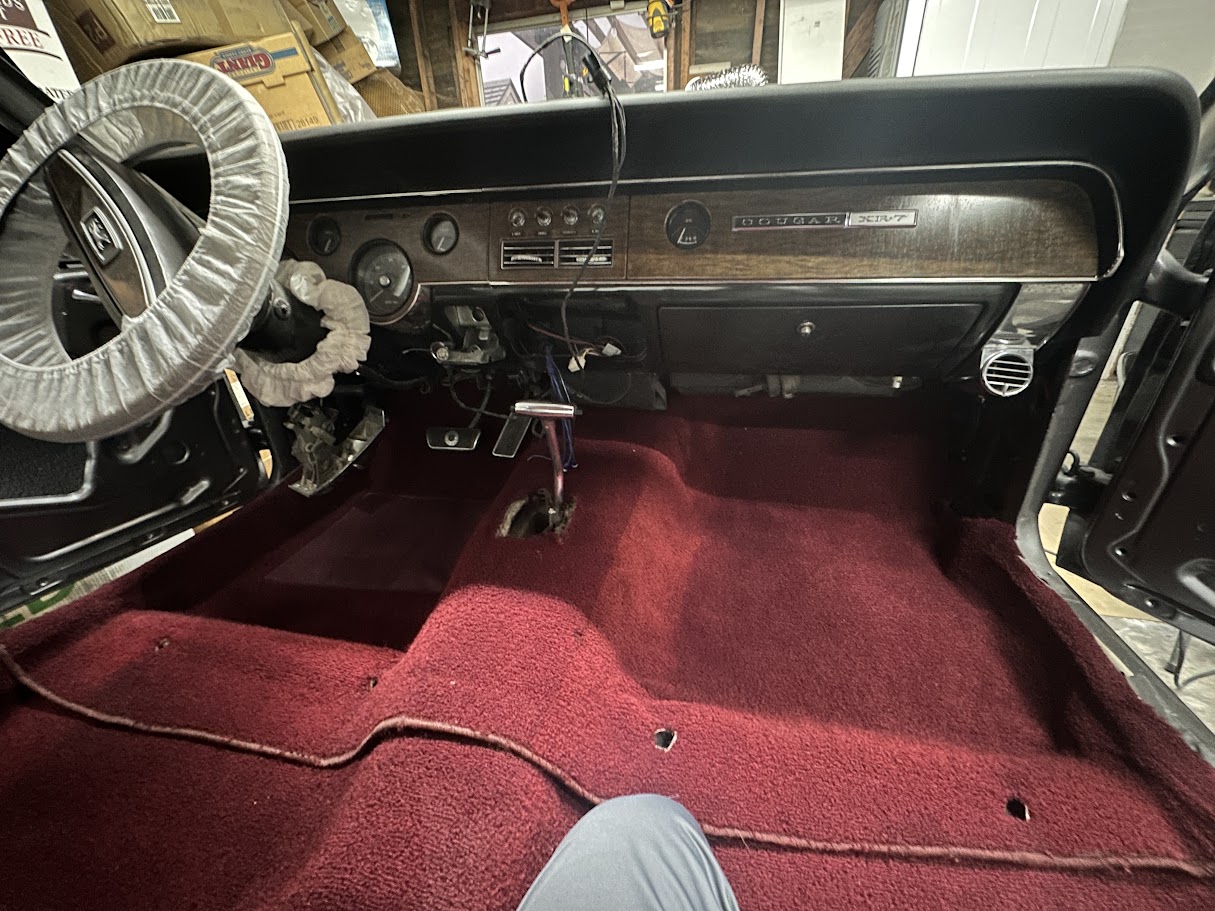
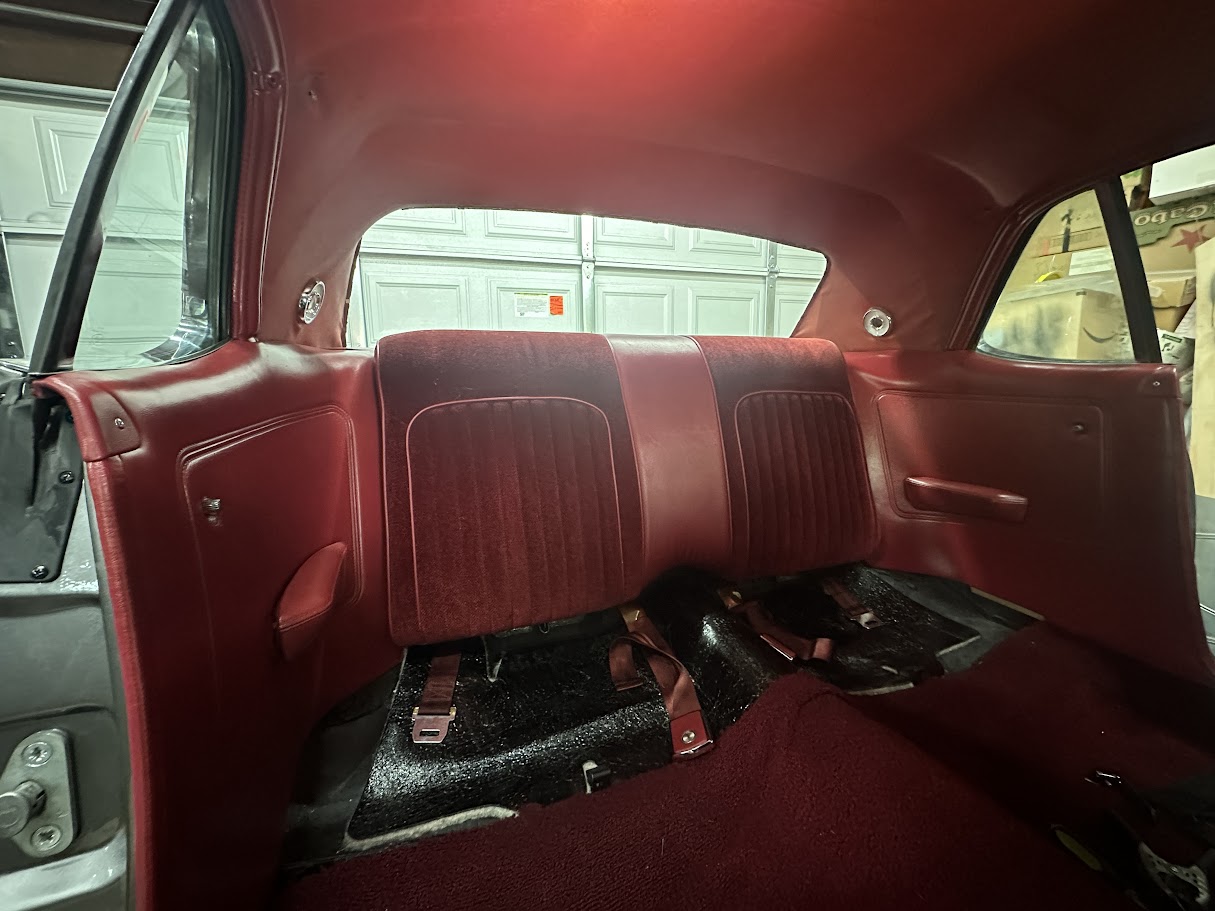
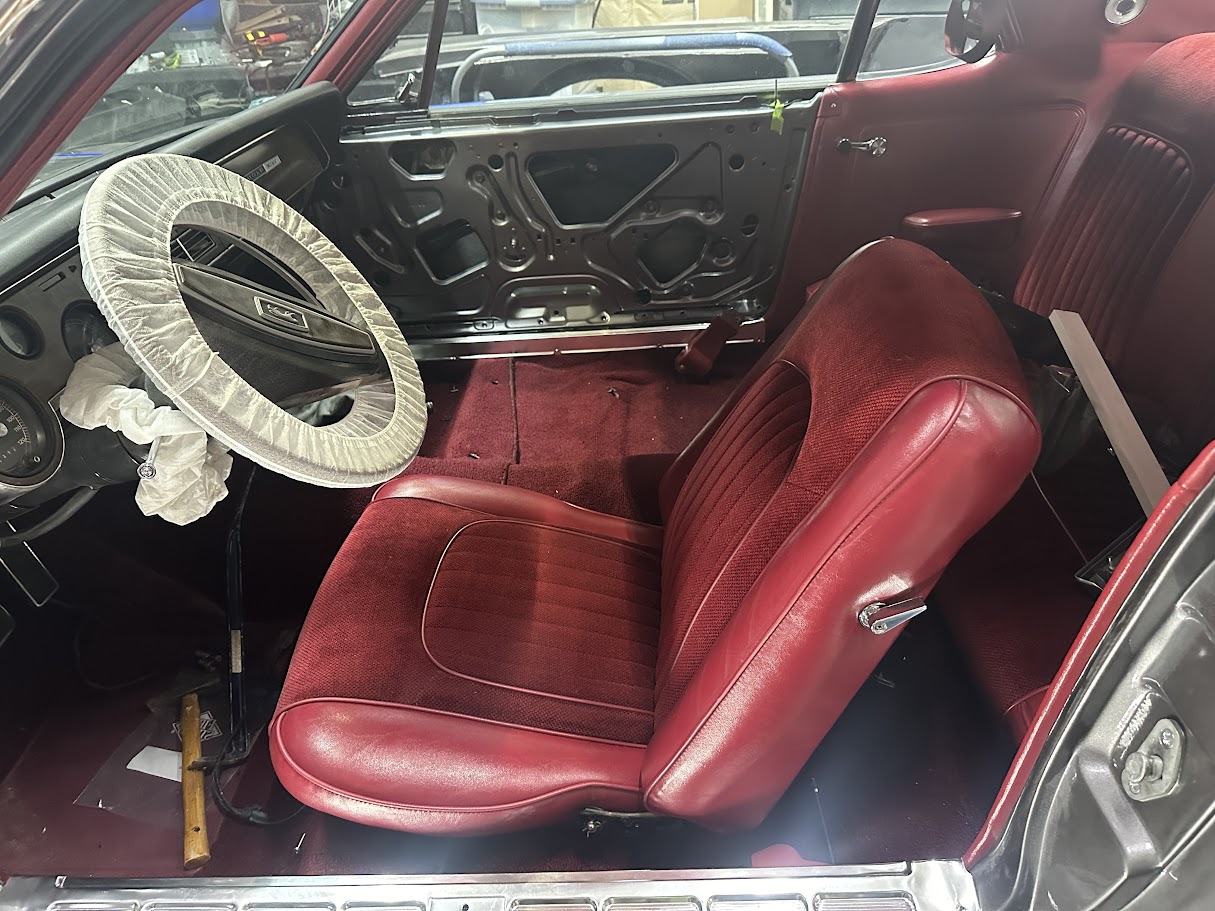
Interior carpeting and seats went in next. I was lucky enought that the underlayment I had put togehter was just about the right collective height to ensure fitment of the carpeting was right.
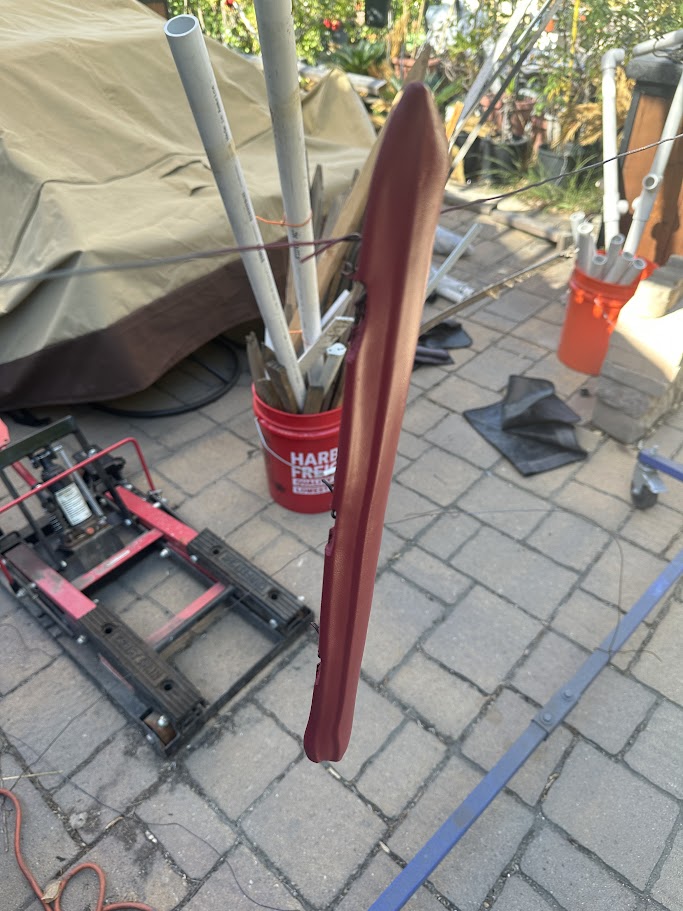
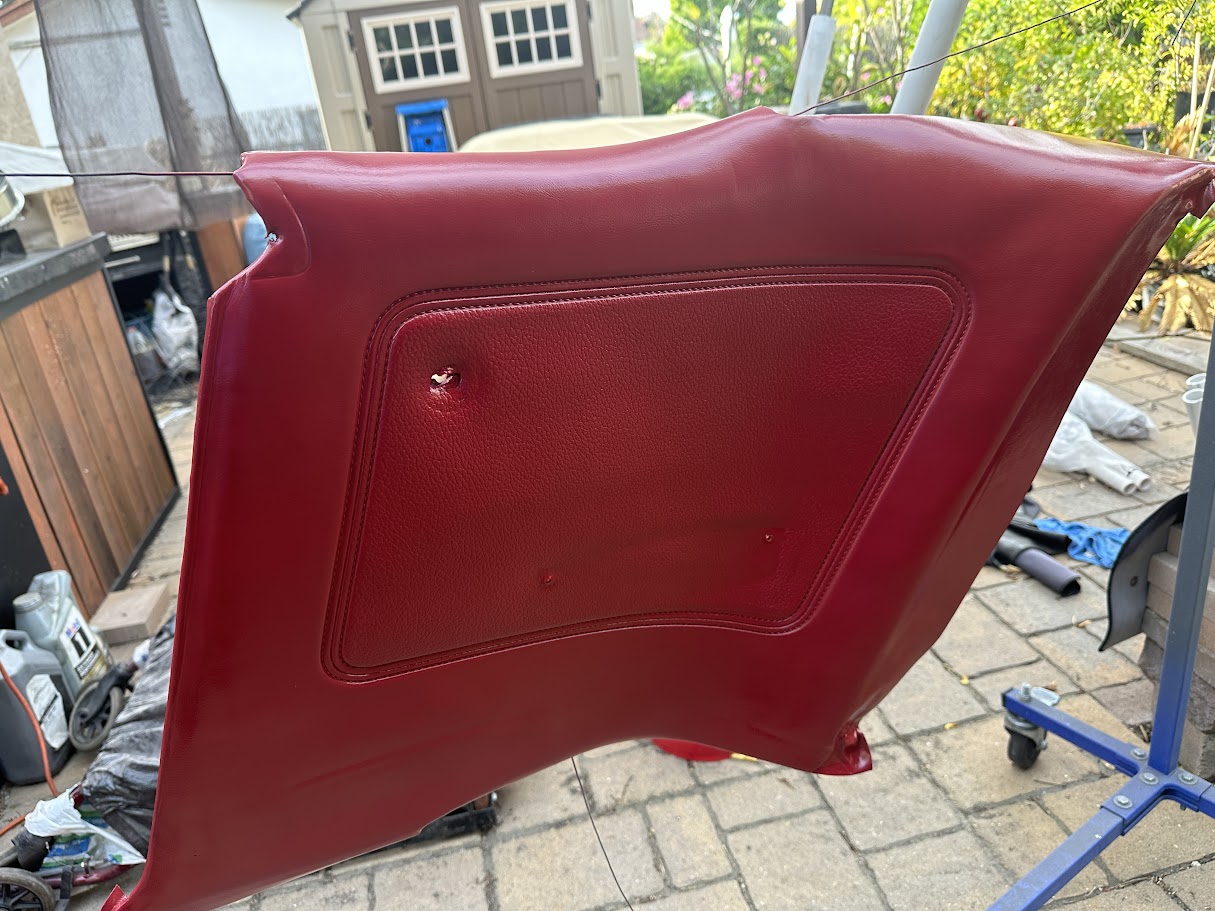
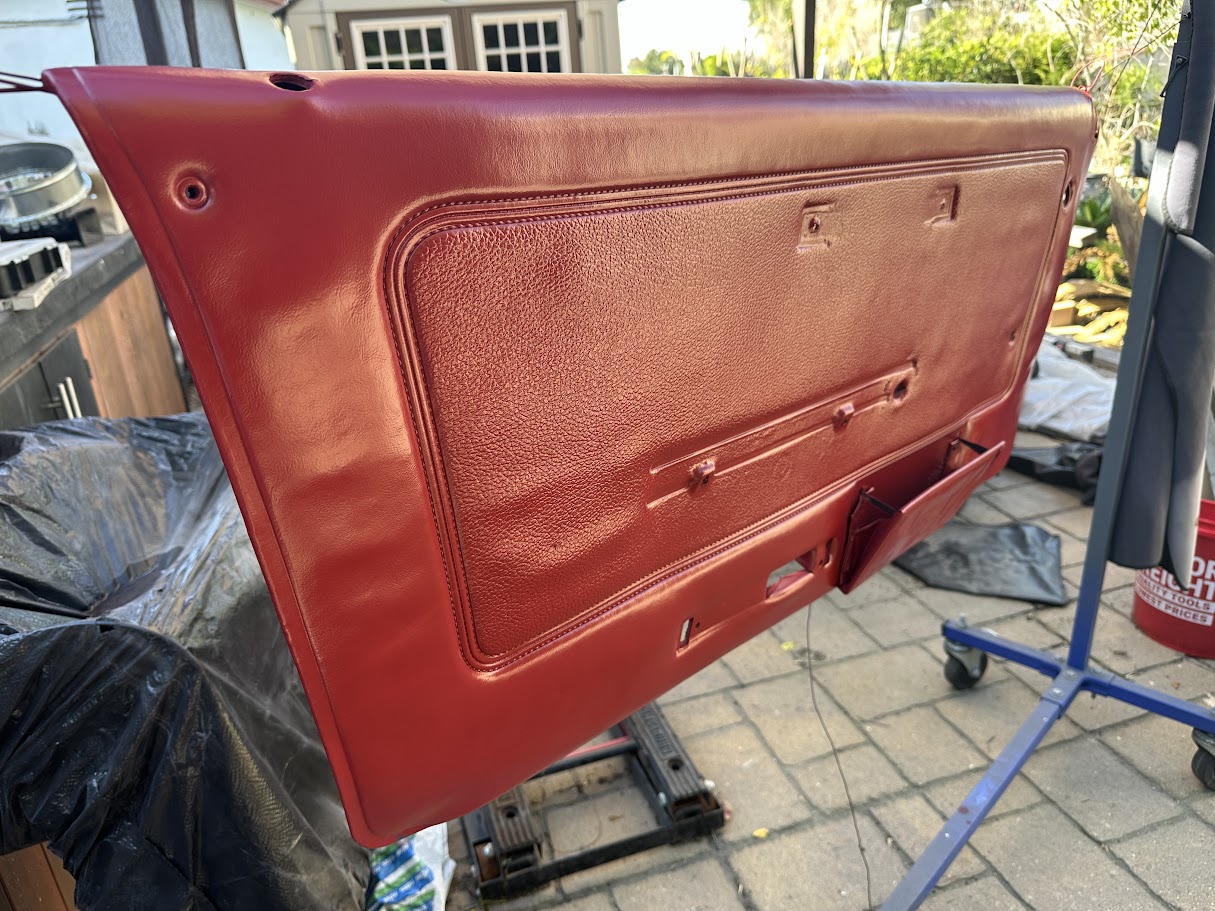
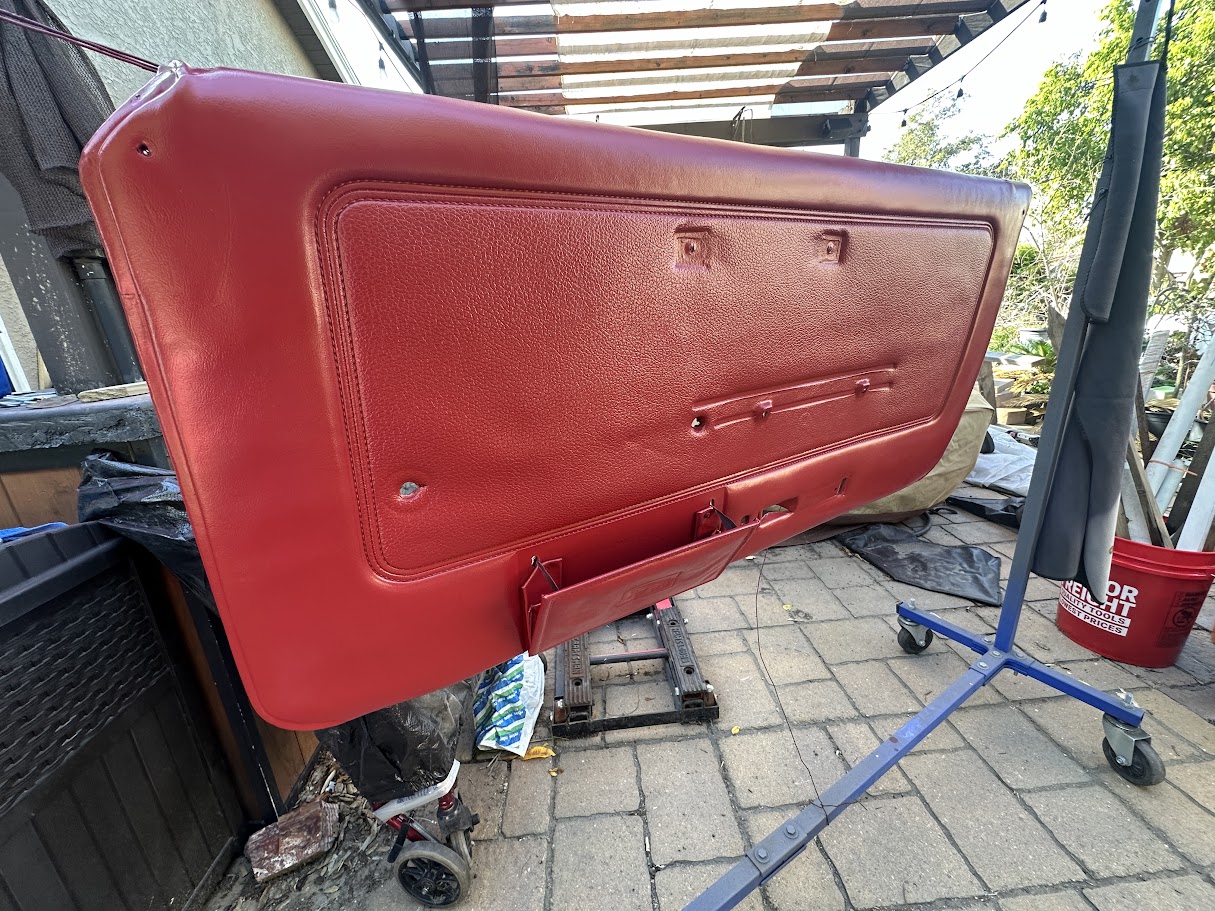
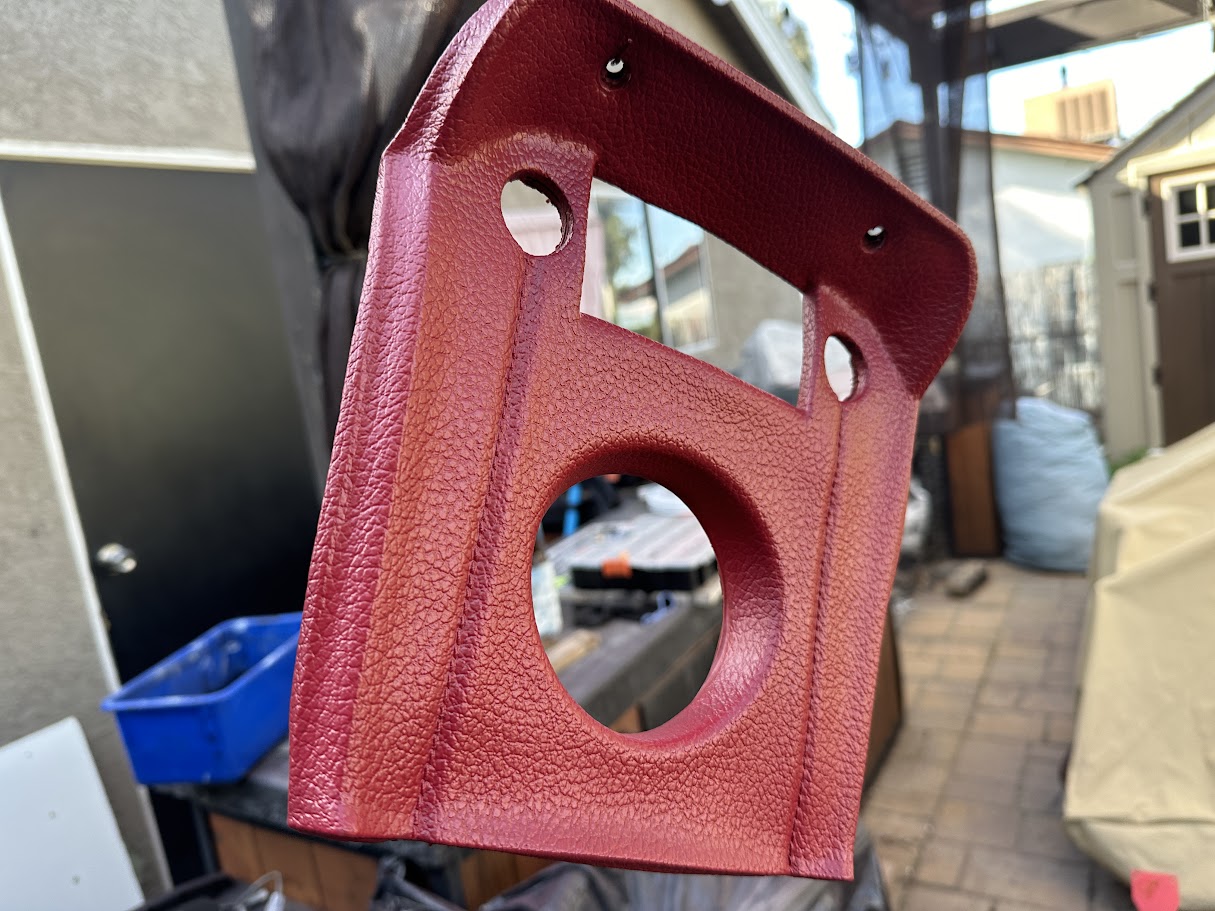
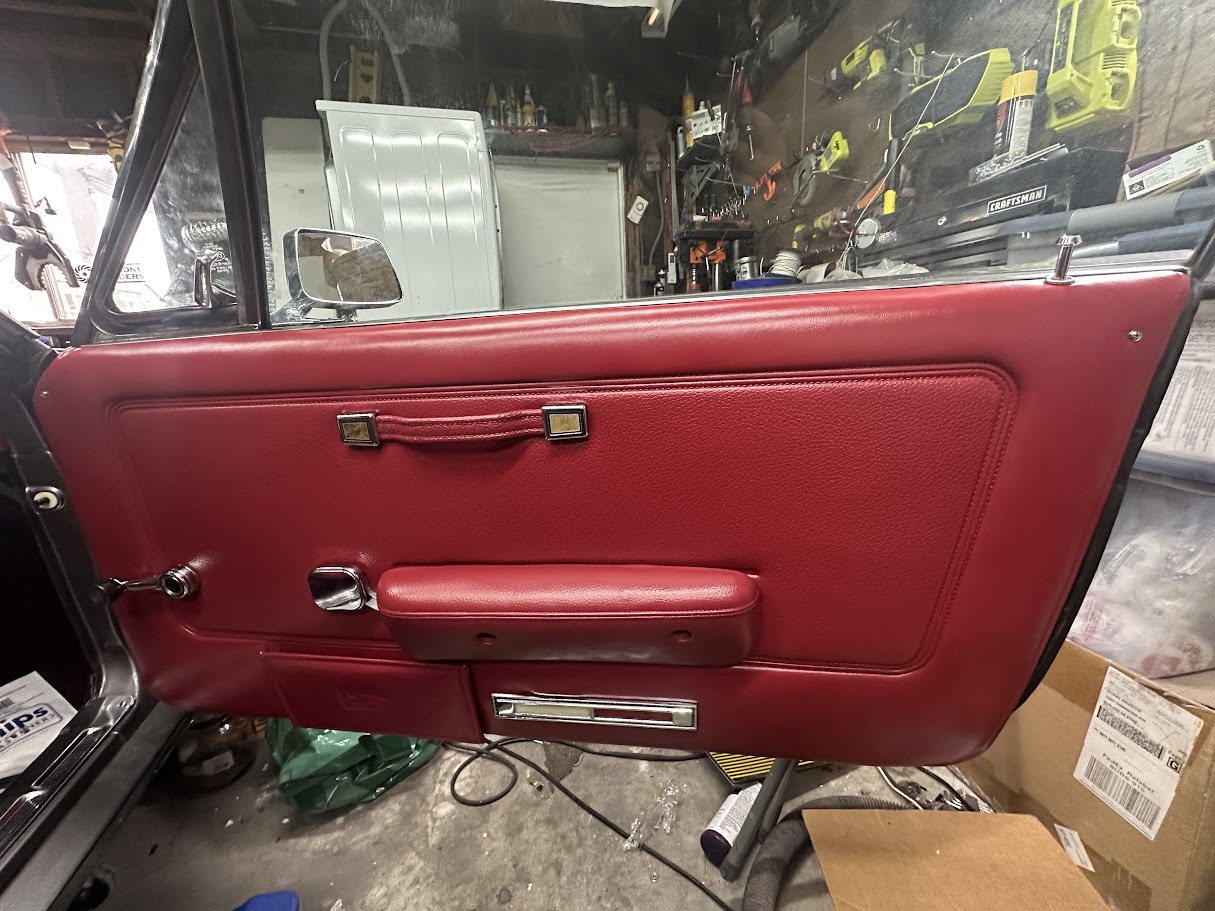
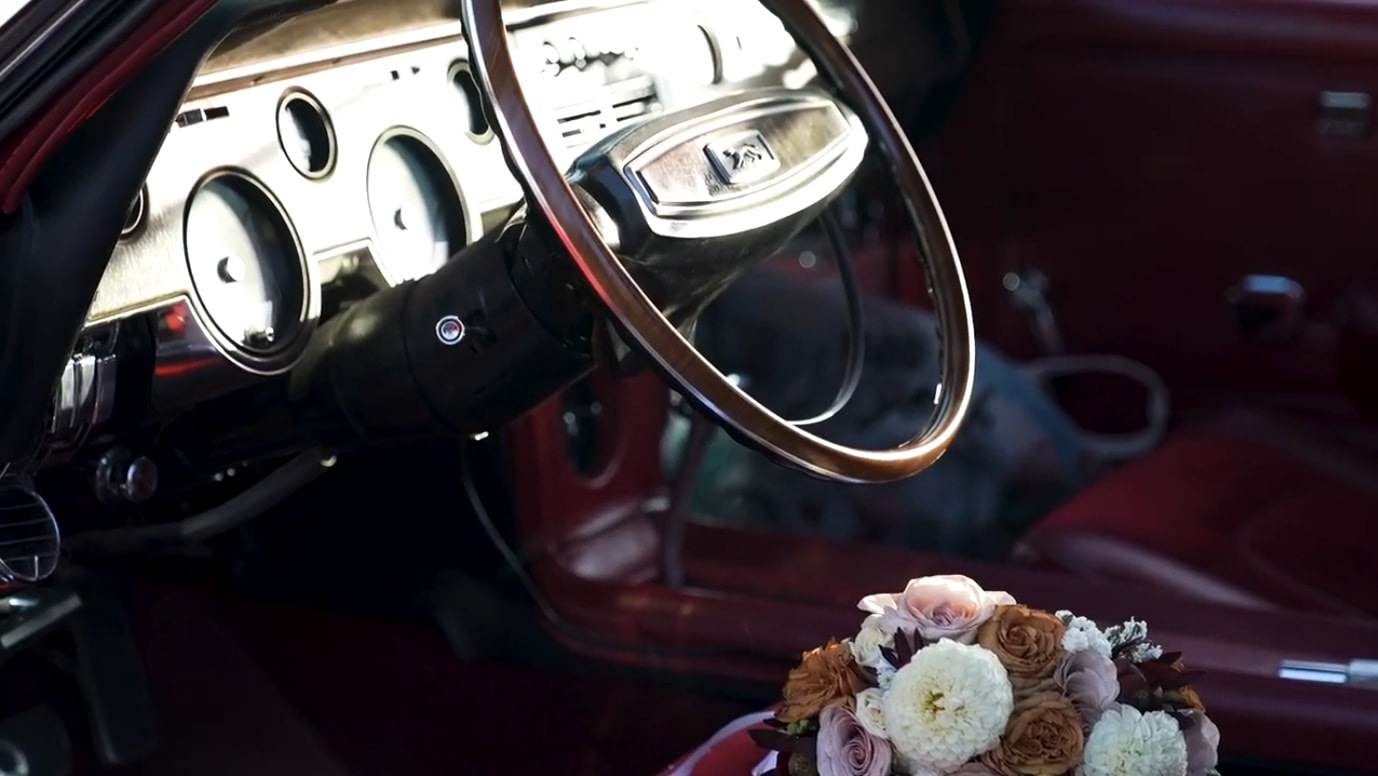
I spent some time freshening up the interior colors. Everything had to be degreased and cleaned before respraying.
I used SEM’s Vinyl prep for alot of the interior pieces, allowing the vinyl to relax a bit and alow the color to absorb.
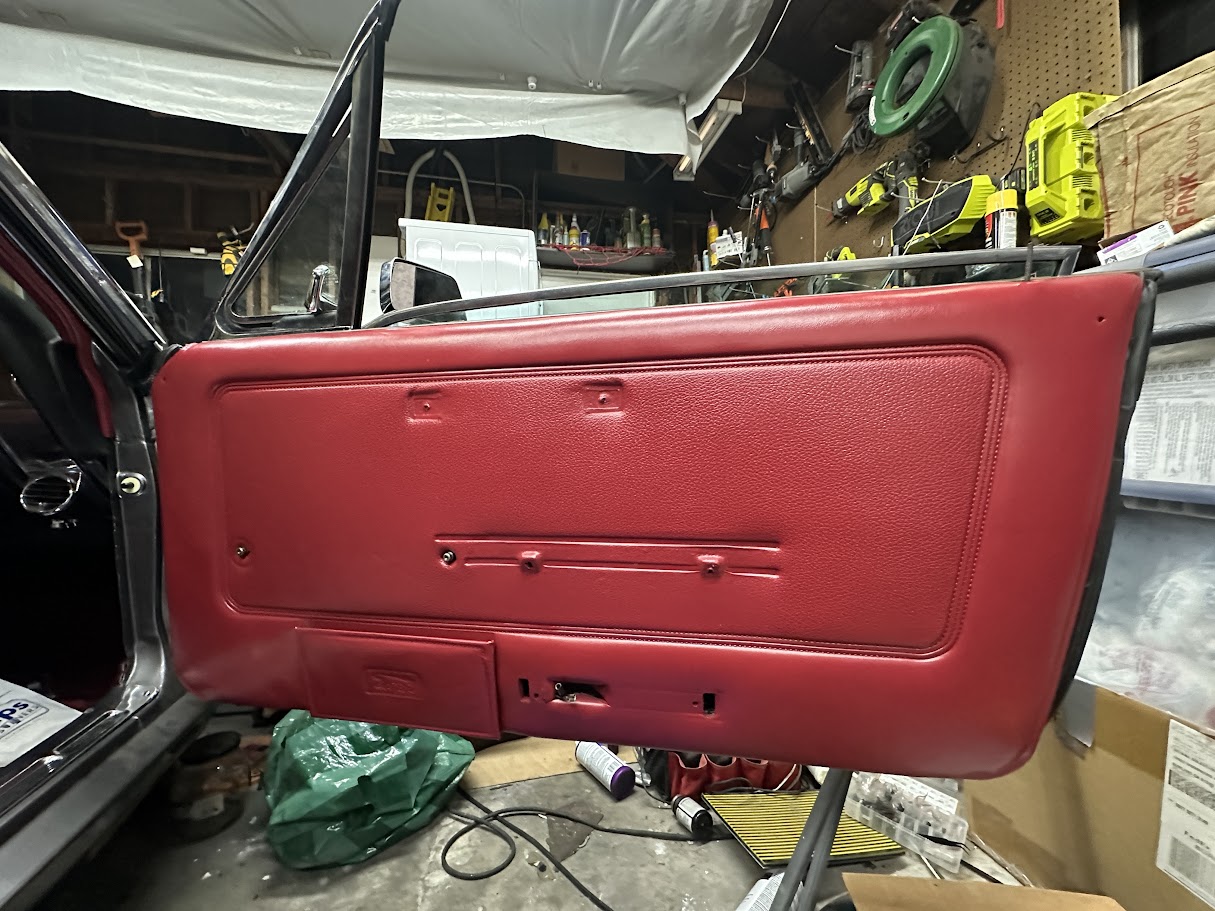
I then used OER’s Mustang Red interior color can, followed up by SEM’s low luster clear. I am thrilled with the final result. Color sticks well, is durable and the low luster clear really leaves the vinyl looking original with great texture.
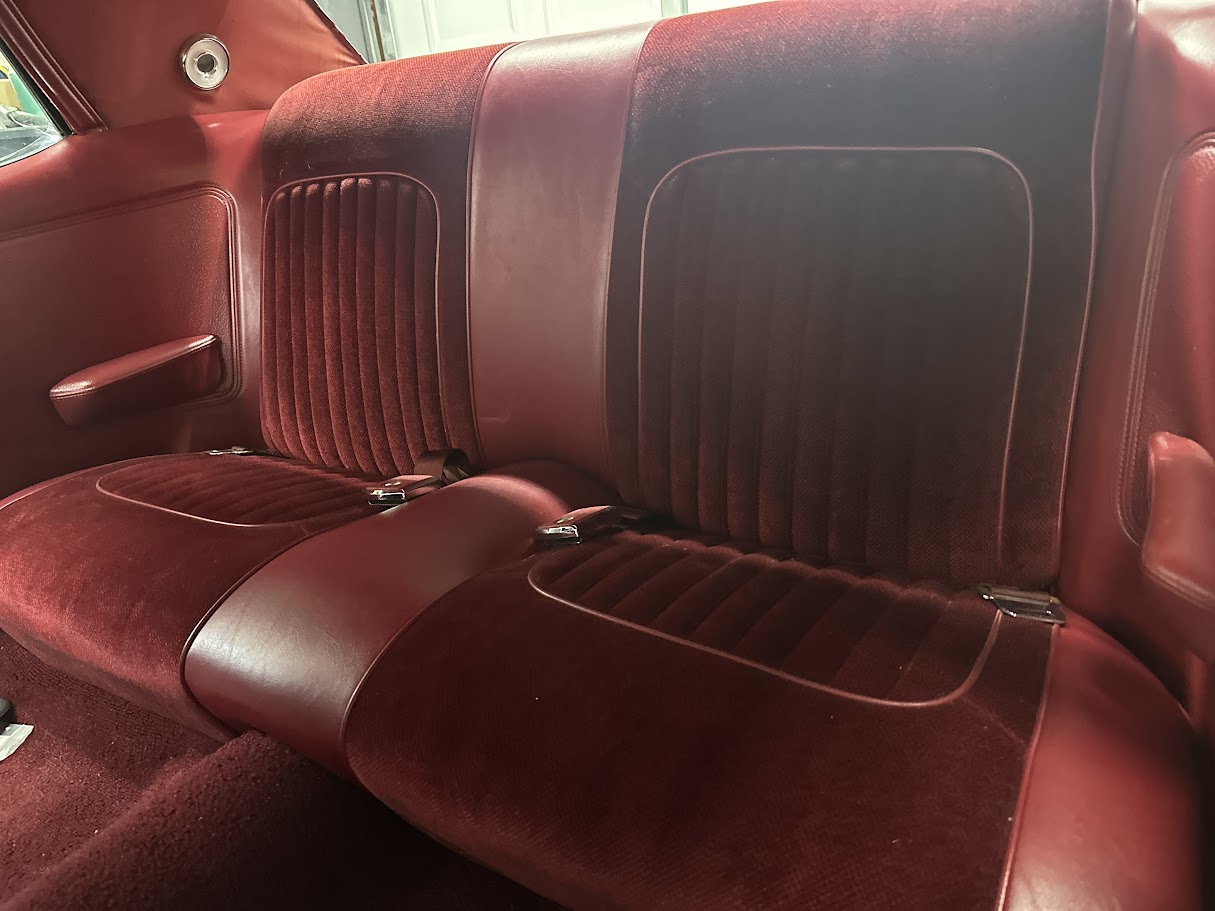
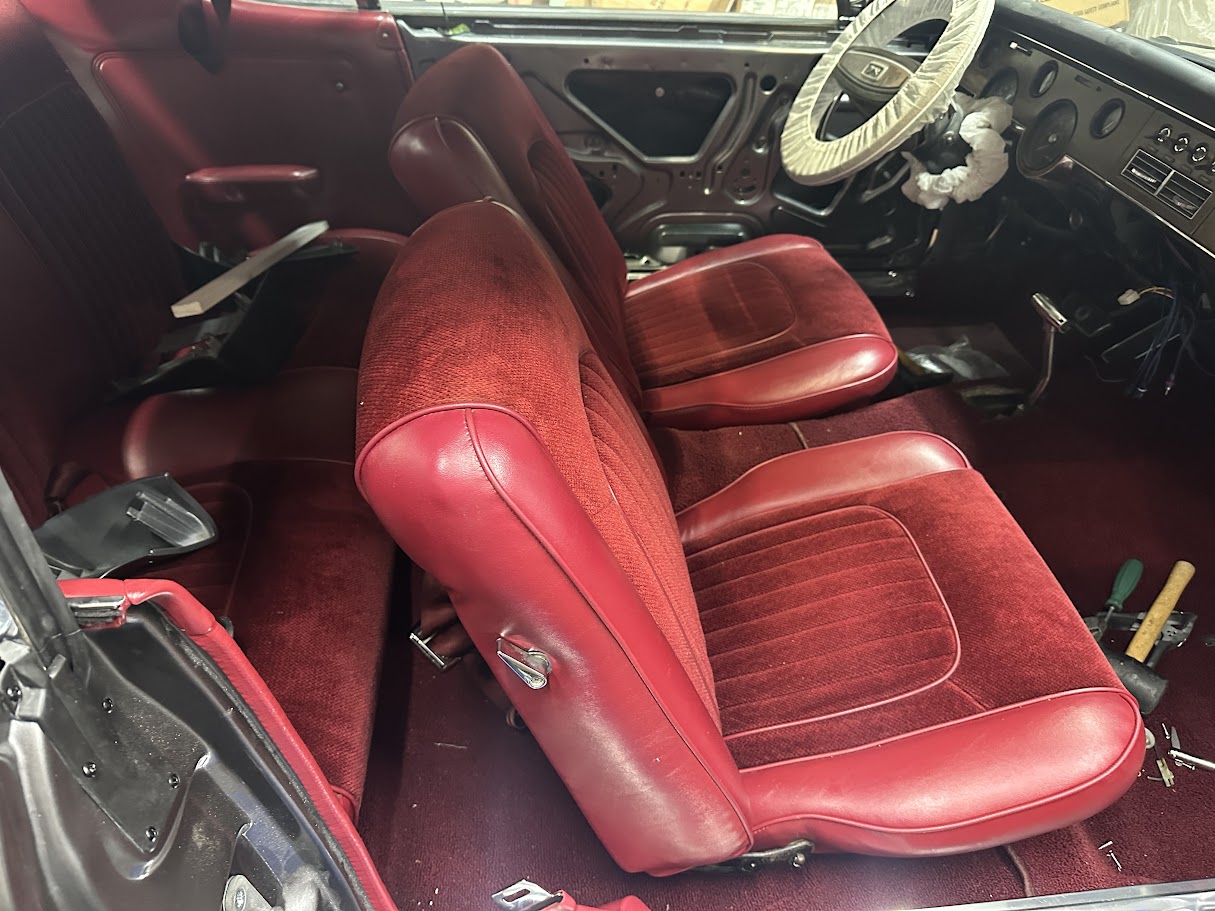
Front seats came next. I had to do a deep clean of the vinyl and upholstery. You can see the difference between the dirty (top of image) and cleaned (bottom of image) sections of the vinyl. I steam cleaned the actual fabric and then started putting everything in.
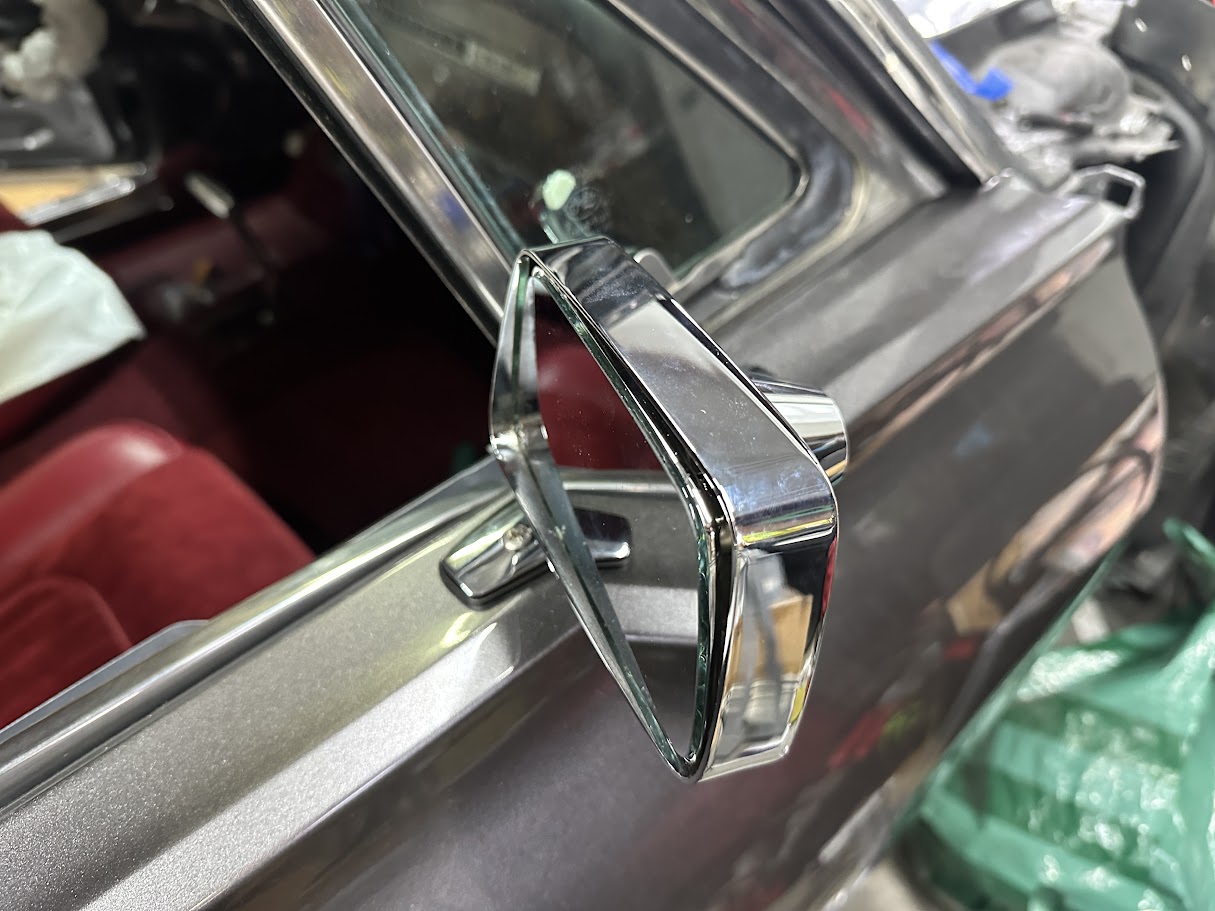
Added a passenger side mirror as well with riv nuts and the proper fasteners.
Stay tuned for more!!!
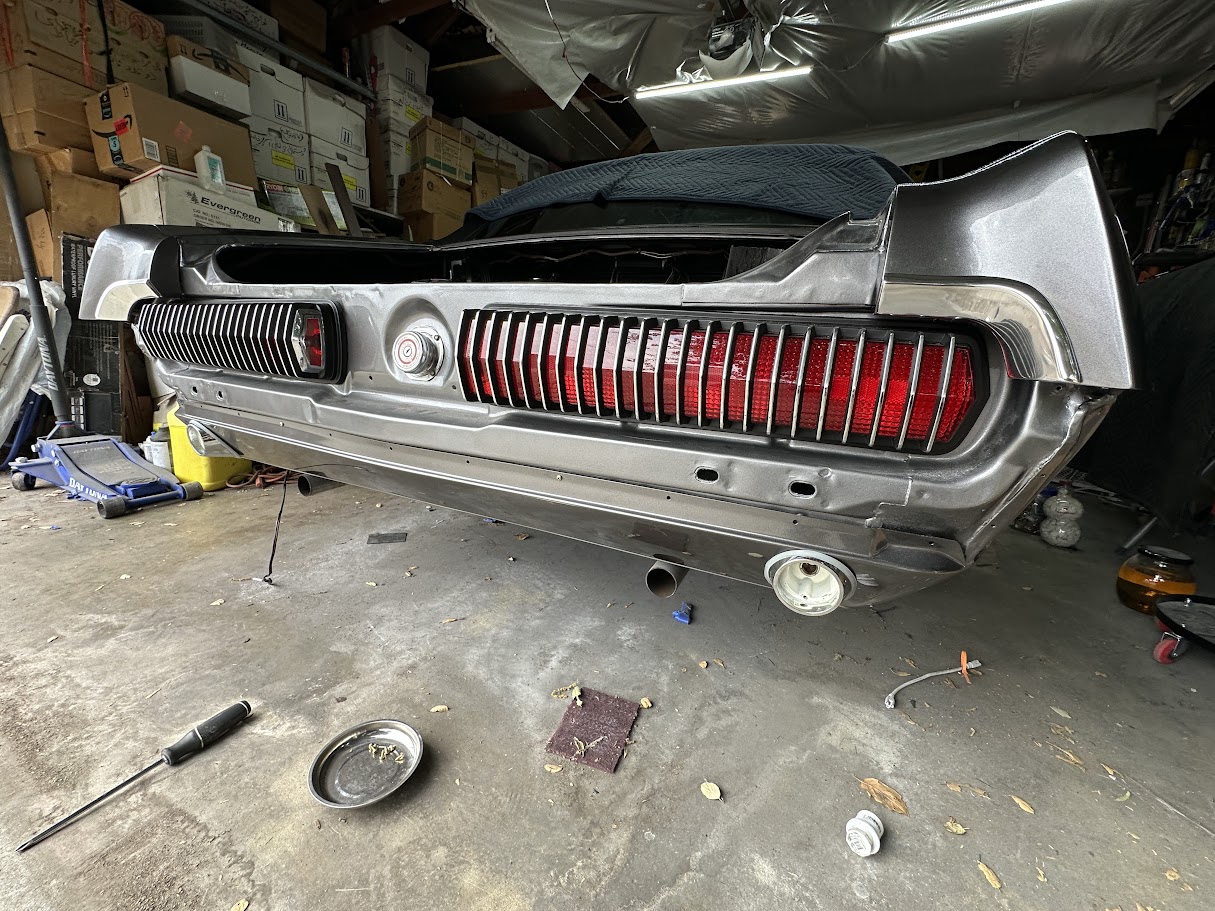
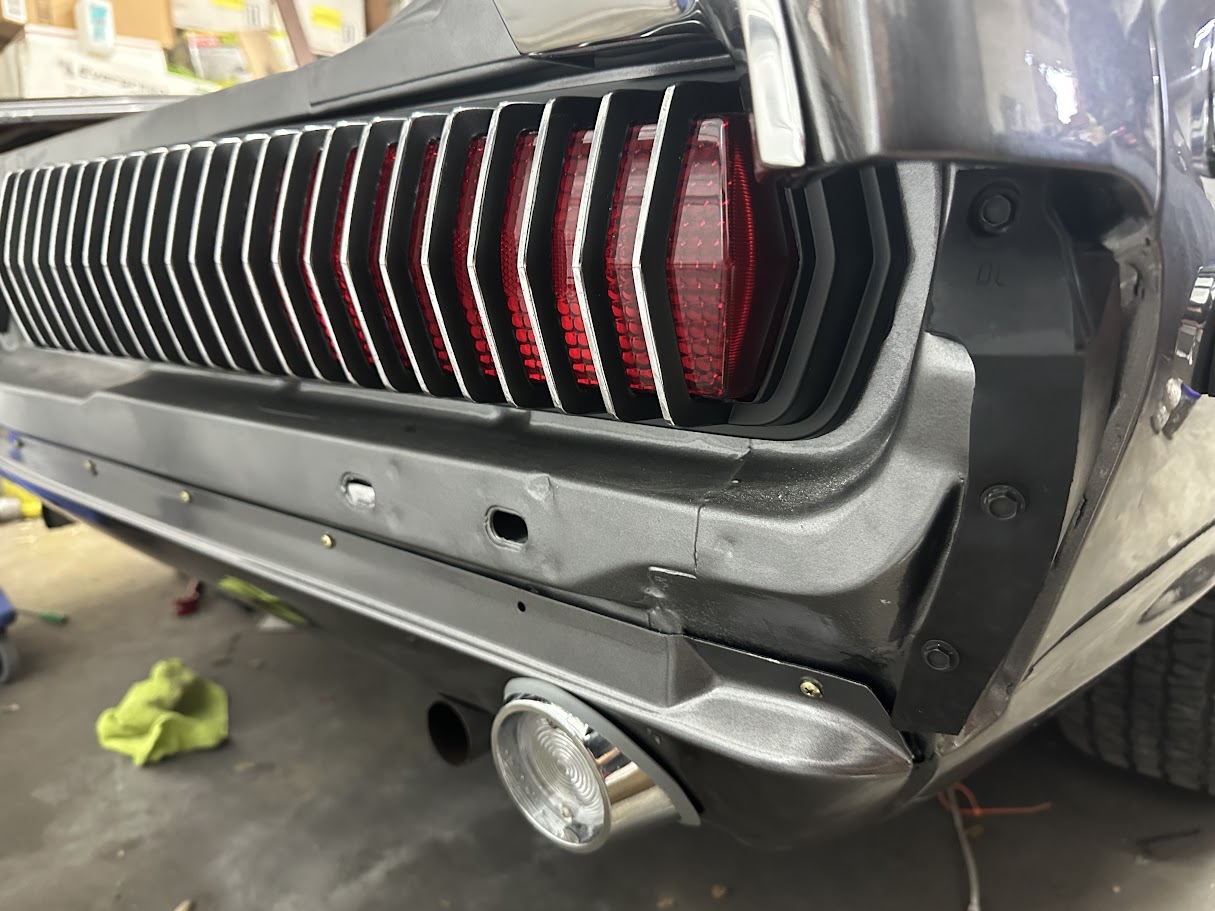
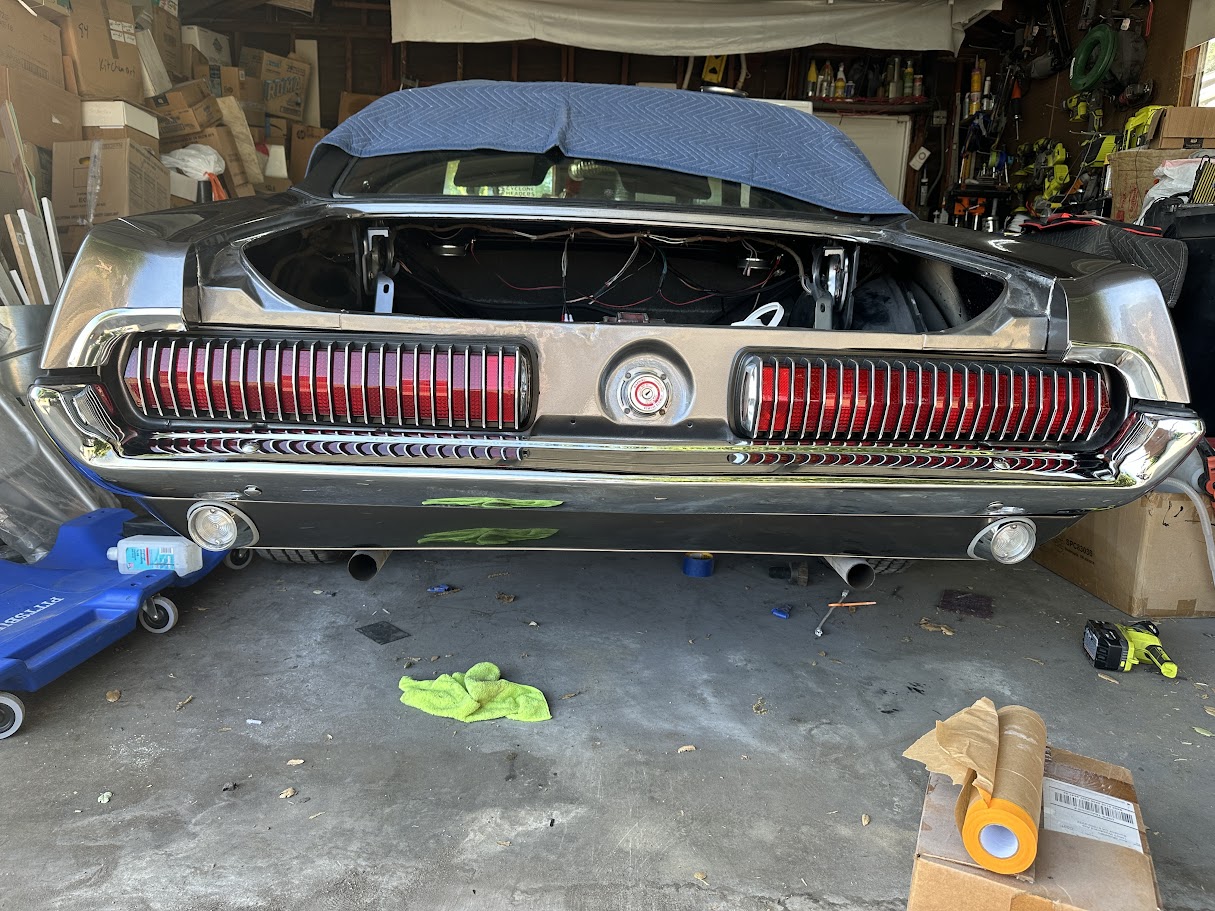
To me to the most beautiful part of the restoration process is putting your bolt on components back on. It’s so satisfying seeing things come together after you’ve labored over all the difficult and time intensive jobs.
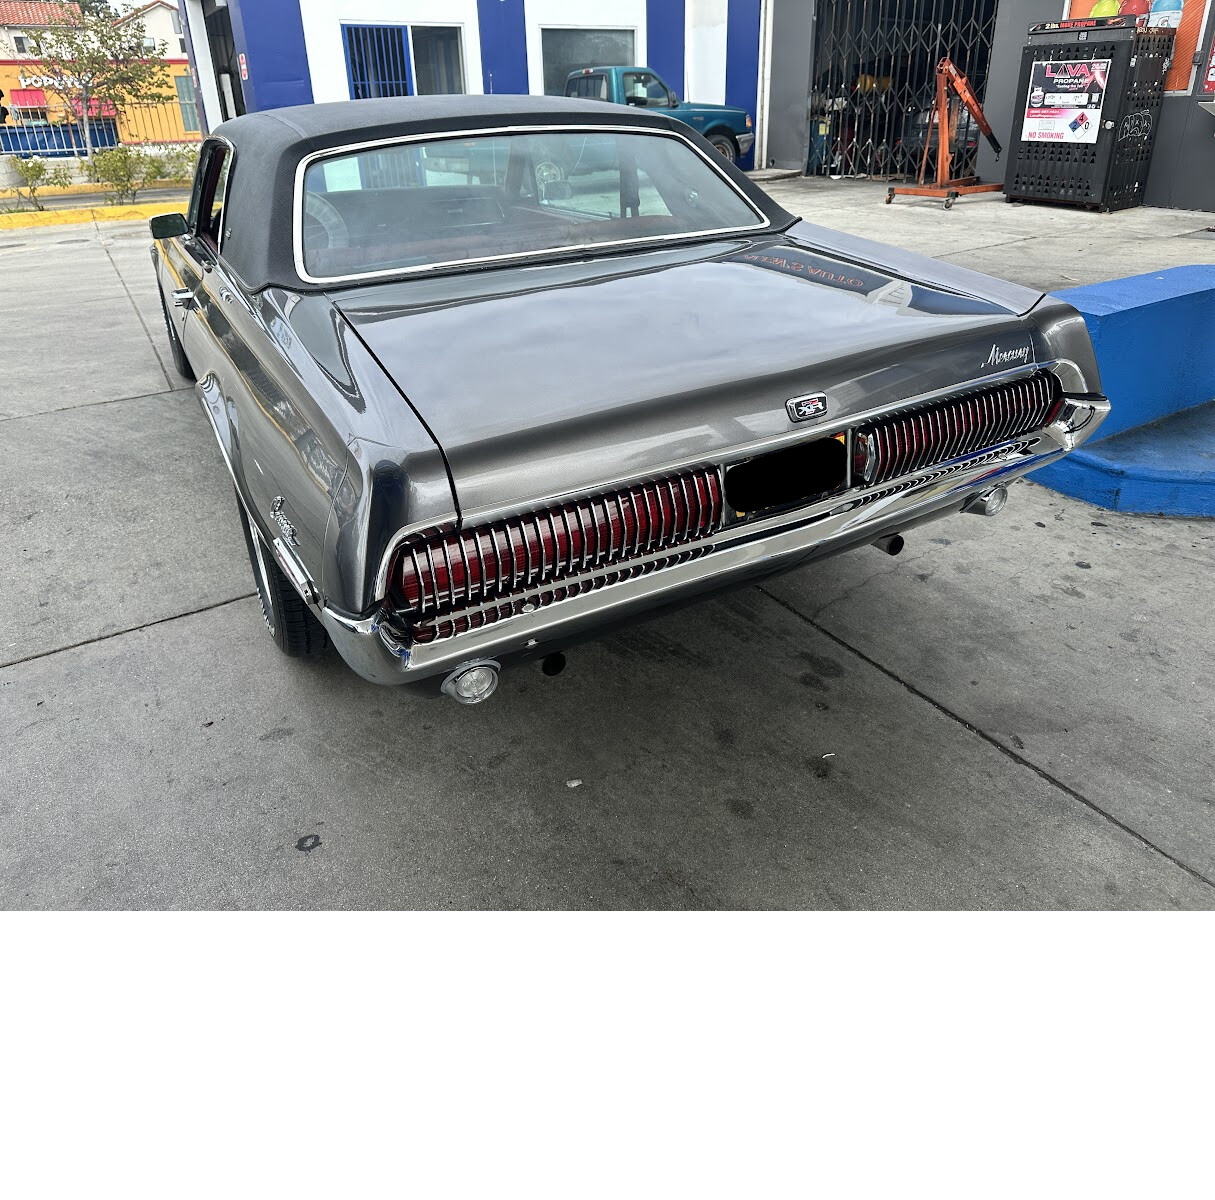
The previously restored tail lights being installed on the car…
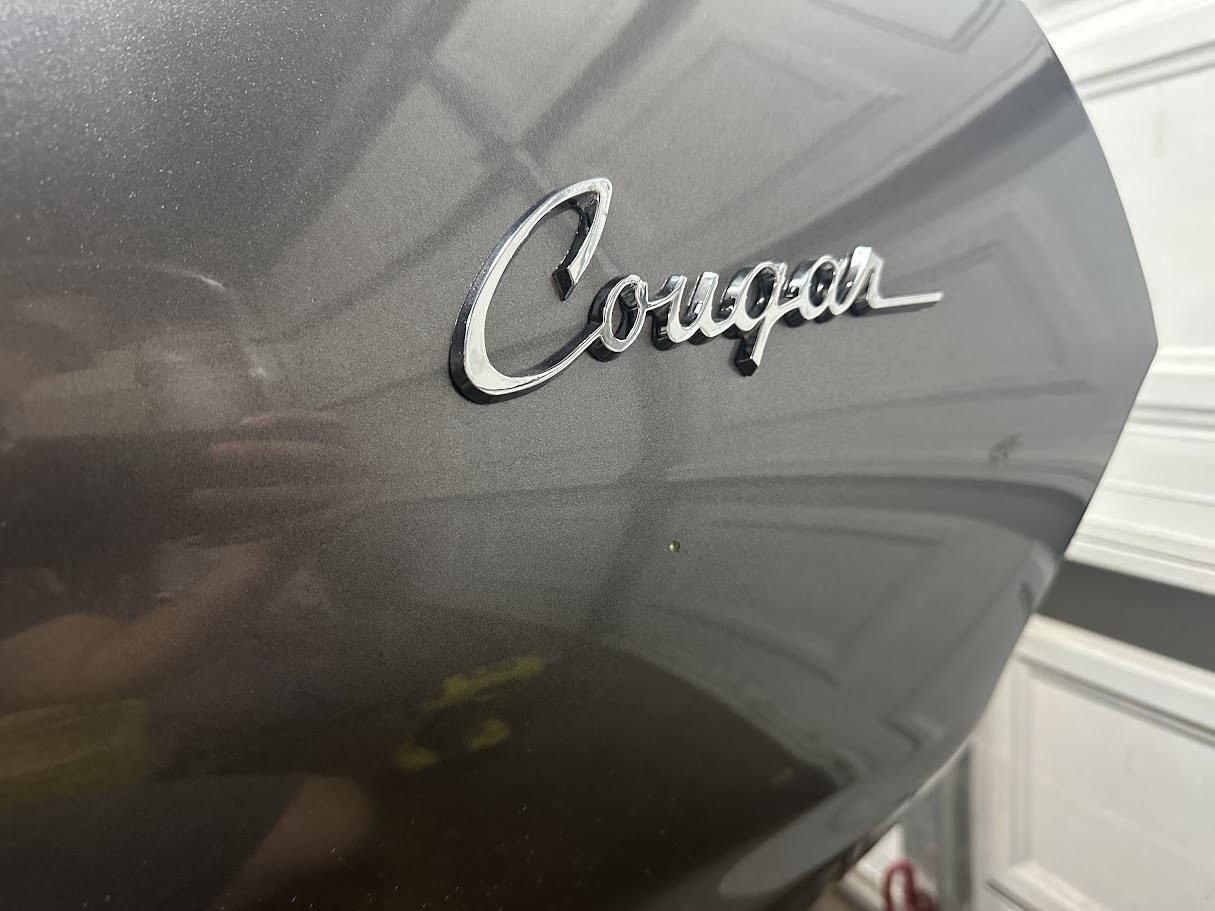
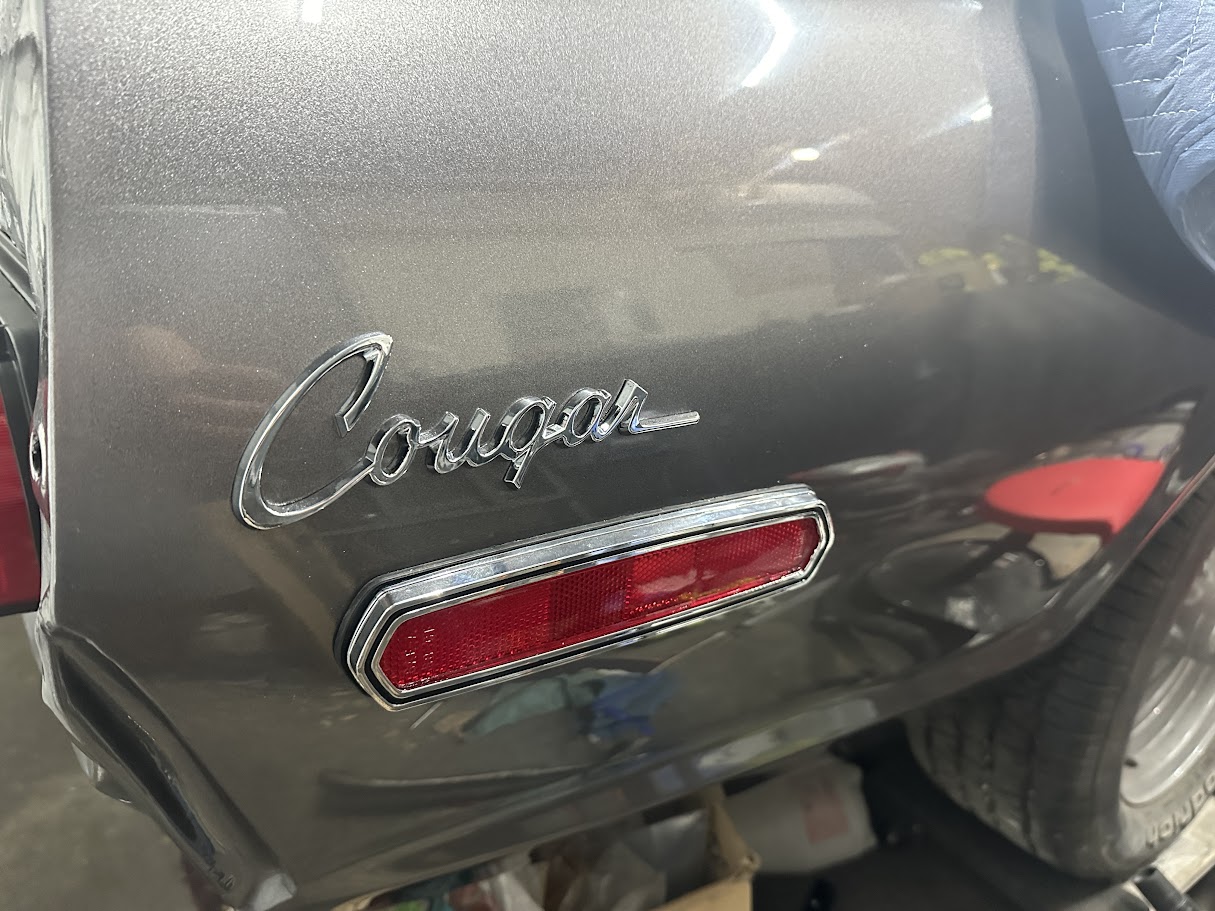
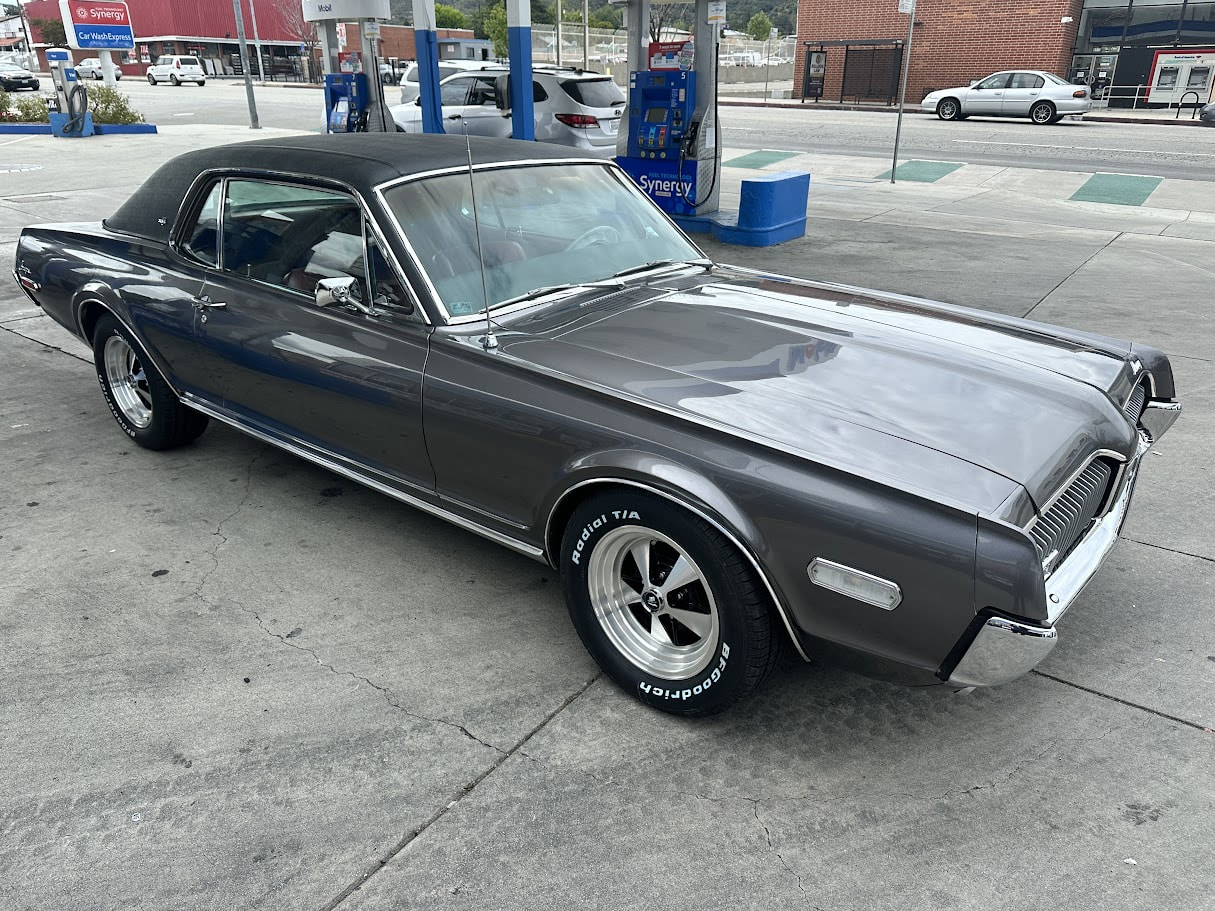
It’s been some time since my last post. Since then got alot done on the Cougar and I even got hitched in it! Have some final things to tackle, like the AC and some decaling, but I will likley be putting the car up on Bring A Trailer later this year once all done. I love the car, love the project, but I’m excited to start on my next project. I want to make sure it goes to a home where it is well taken care of and appreciated. If any initial interest, please feel free to DM me. If you’re seeing this, the whole restoration project was documented so you know what you’ll be getting ![]() . Here’s a teaser of what it looks like.
. Here’s a teaser of what it looks like.
It looks great - and congratulations!