I can get you the colors and placement from my XR7 G
Thanks, never thought about mounting the wheels.
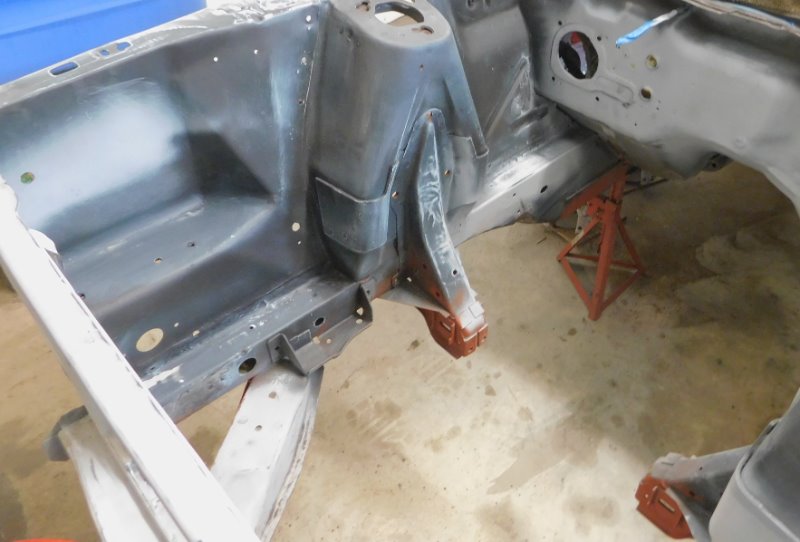
Today is a big day. I’ve been welding, grinding, welding , grinding, priming, filler primer, block sanding, filler primer, block sanding…and then repeat, repeat, repeat.
From here forward it’s all down to a coat of DP40LF and assembly.
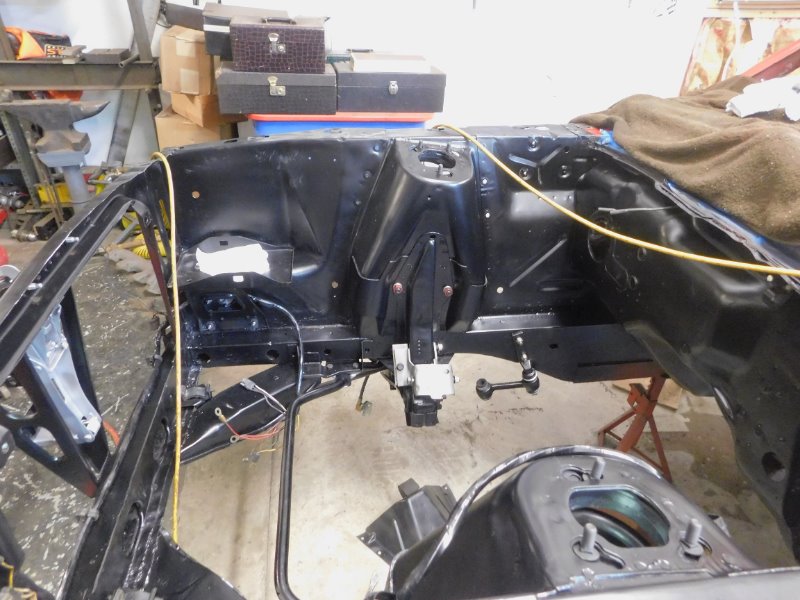
Making progress. Re - wrapped the engine compartment wiring harness after carefully cleaning all the wires with mineral solvent and 000 steel wool. Cleaned all the harness clips with Purple Power and a tooth brush.
Thanks for taking the time to post the photos Royce - love stuff like this.
Can’t wait to see it finished!
- Phillip
It looks like you are doing a great job with this rare Cougar. Well done.
Steven
Royce are you going to do your own phosphate and oil parts treatments ?
I may have to. Starting to get a few things that are going to need it that will hold up progress.
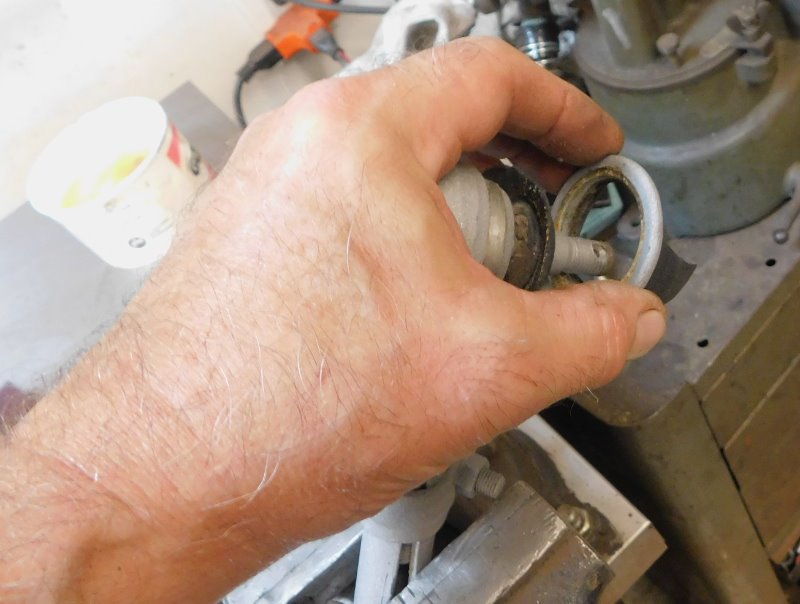
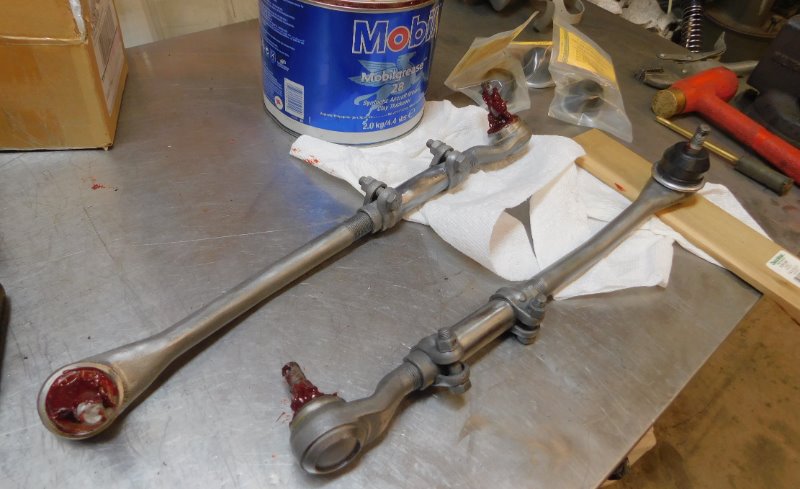
Working on the tie rods today. The ones on the car were rubbish. Luckily I had saved a set of originals from a previous project that were in outstanding shape except for the boots.
The boots can be removed with a brass drift and a hammer. Clean out the old grease, install new grease, and install new reproduction boots.


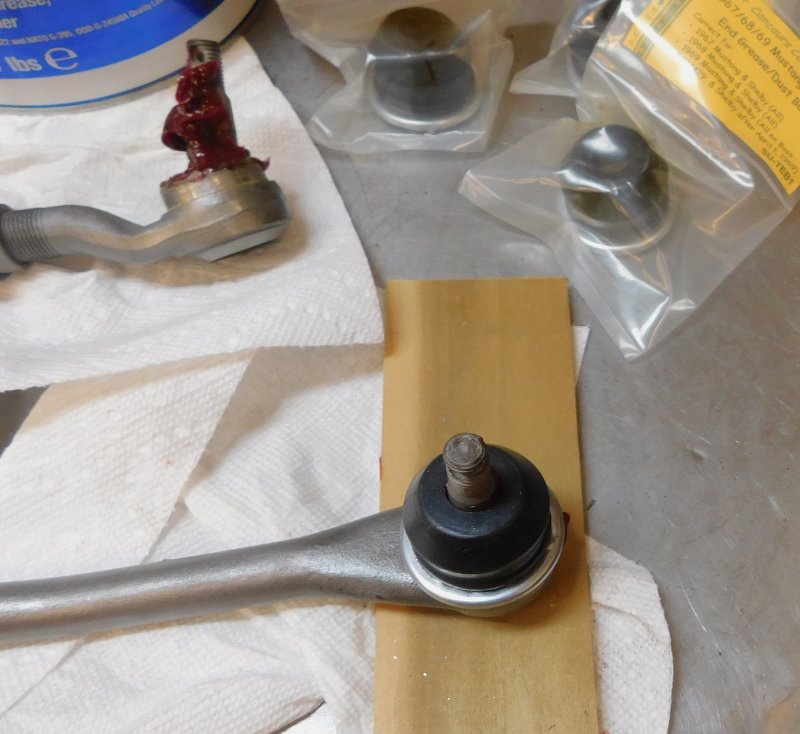
Here’s the installation pictures. I used the brass drift punch again, just light taps on the metal ring that secures the boot. It looks factory.

Very nice work, the rods look very good. I can’t wait to see it finished.
I have been reviewing my 428 4 speed GTE build sheet to help Royce find the correct colors for spring paint marks. He said that there are only about 20 68 R codes accounted for. Of interest for these cars, he says mine is the only complete build sheet. Anyone else know of one that has the build sheet? I would love to compare…
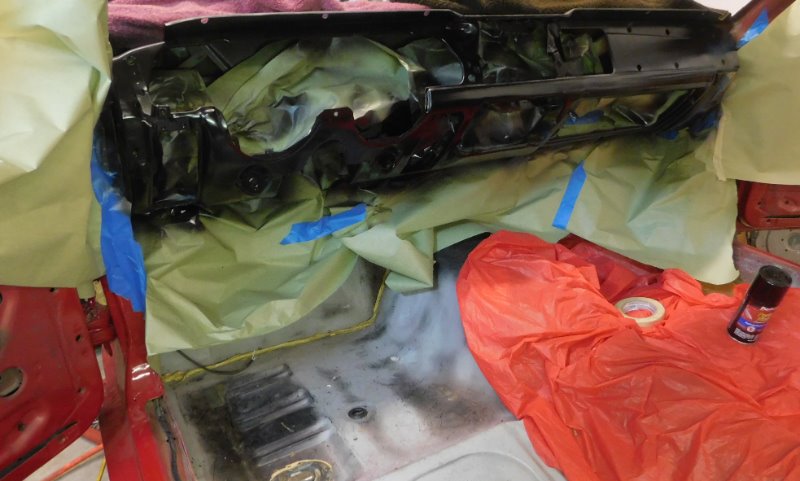
Yesterday the dash area finally received paint. I have experimented with many ways to refinish the slightly metallic black on Cougar dash panels and steering columns for years. The paint that I found to perfectly match the original finish is Duplicolor 8CC0427 Brilliant Black Pearl. The base coat is a Duplicolor Gray Hot Rod sandable filler primer #DAP1692. Here are a couple photos of that process. Key to any good finish when painting is wet sanding between coats.
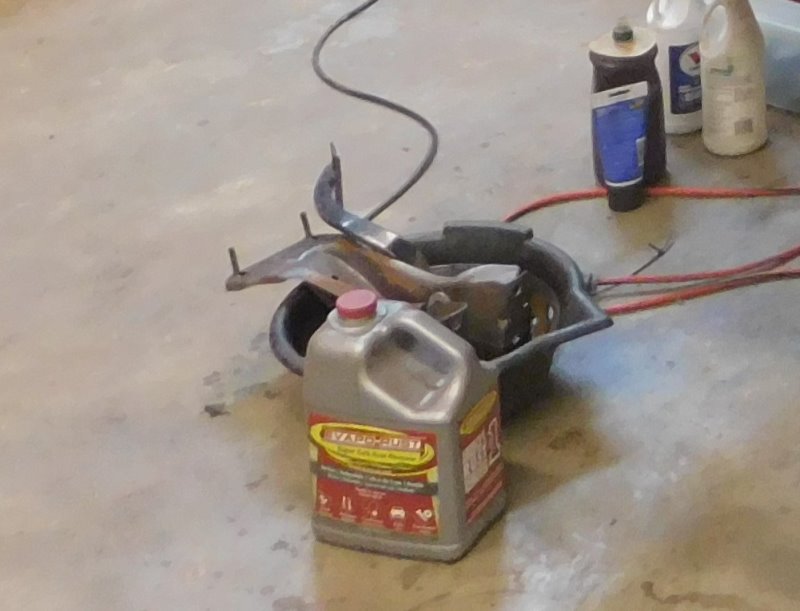
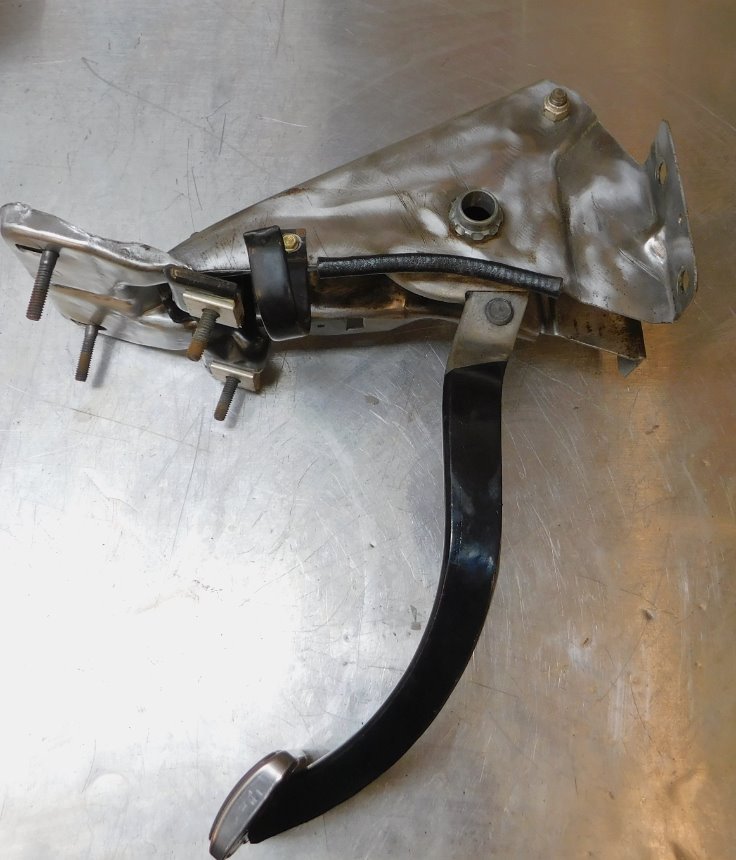
While I was working on the dash there were many items removed for restoration. The pedal assembly was one of those items. A bath in Evaporust removed all the surface rust and made the parts look like new again. This required repositioning each part several times since my plastic pan was not long enough for either part to be completely submerged. As such it took a full day to remove all the rust. Cleaning all the other components, re - assembly and replacing the pedal pad made it ready for re - installation.


Thanks for keeping us up to date on your wonderful progress.
Your meticulous work would make for a great series of articles in LCM.
Bill???
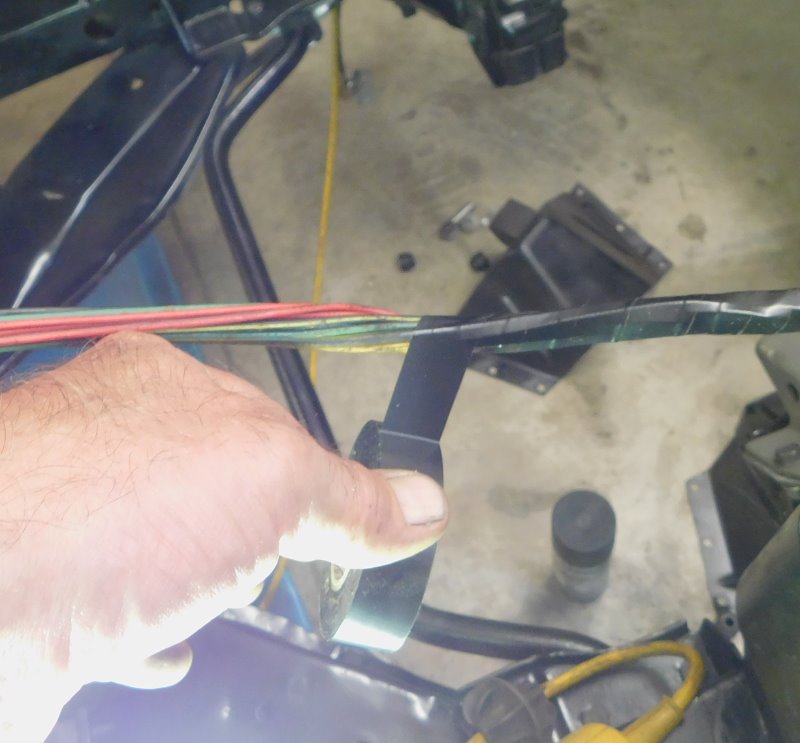
Yesterday I block sanded the glove box door to fix a scratch that I missed. Installed a new hood to radiator support seal using five staples in the original holes. It looks like it should have had six, maybe the installation guy missed one? Thinking about adding one more to make it look better.
Repaired the wire leading to the parking brake warning switch, it was broken. Installed the LH vent assembly and headlight switch. Restoring various parts that mount under the dash including the tilt - away assembly and the heater for installation next.
Any tricks to lining up the existing staple holes with the new seal and staples?
- Phillip
I just sat on a stool and eyeballed where to poke the holes with an ice pick through the rubber to match where the original holes were in the radiator support. The holes in the support were too tight for the new staples, I had to enlarge them to a #50 AWG drill bit first. You push the staples through, hold the staple flat while curling the ends with a needle nose plier.
Lookin good, Royce. I love seeing this kind of exacting restoration work.
Sometimes I think about the funny juxtaposition of the love these cars receive today vs. what I imagine was actually going on as these things went down the assembly line (think of the 1978 movie “Blue Collar” with Richard Pryor & Harvey Keitel).
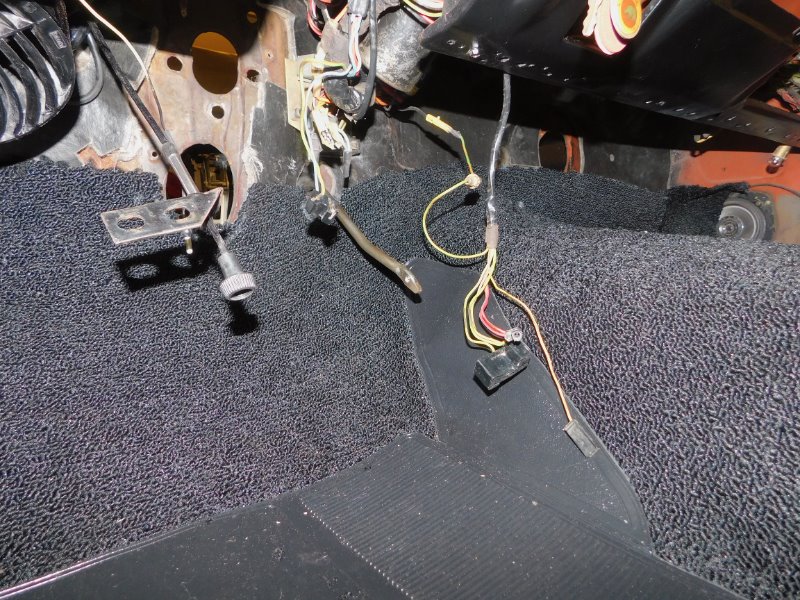
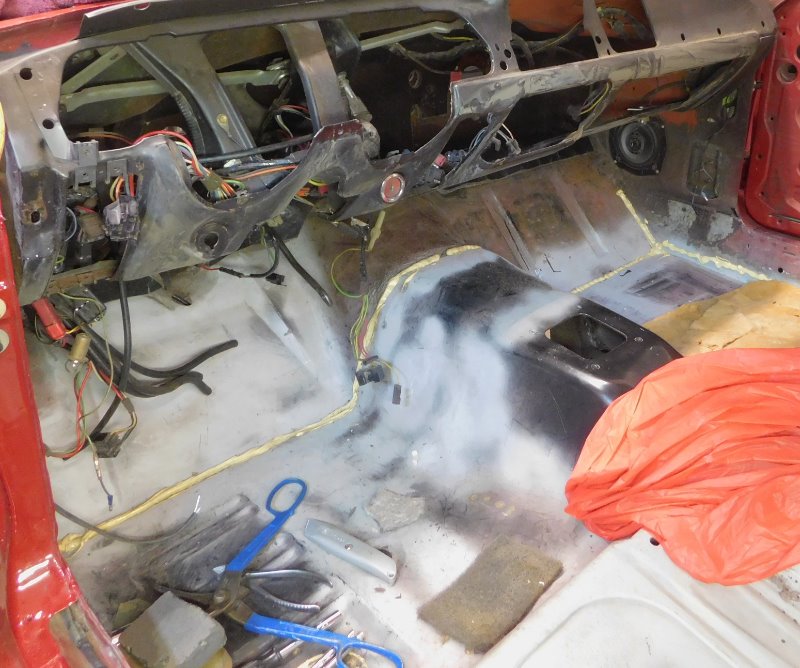
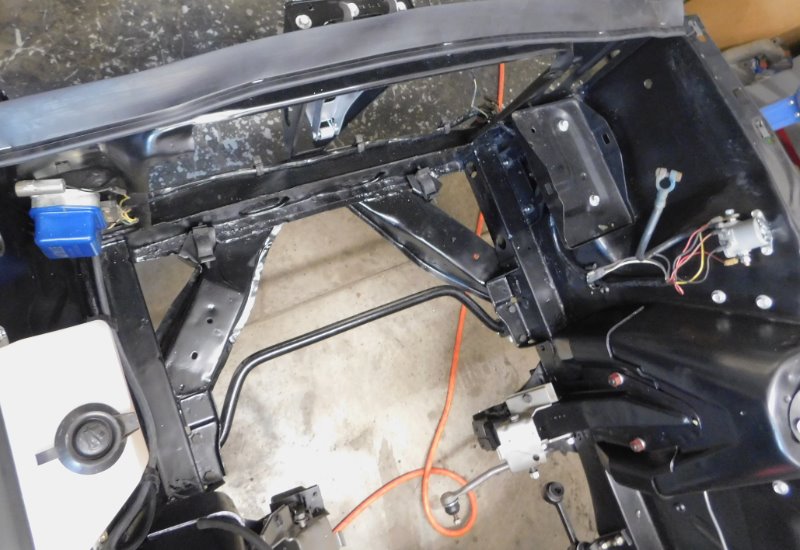
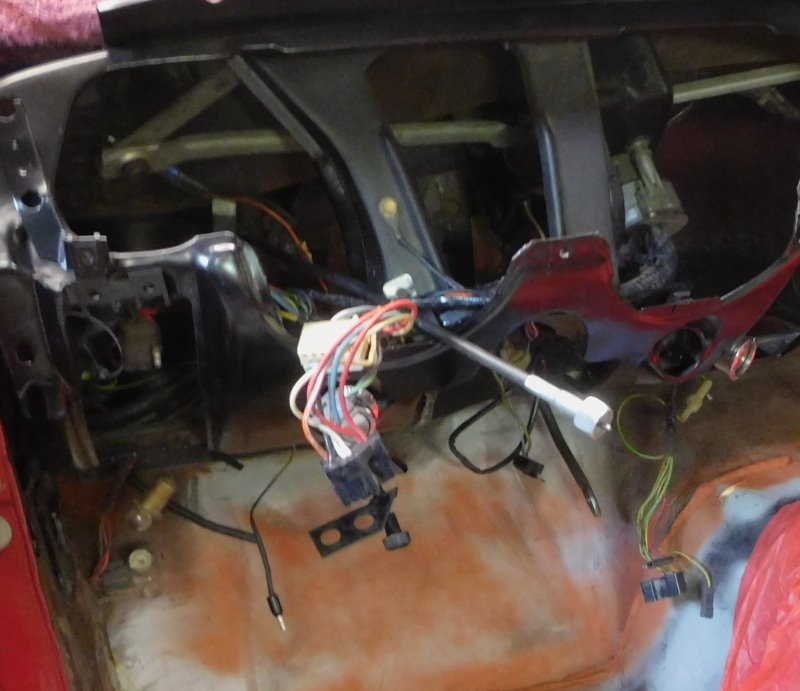
The floor got cleaned, and the underlayment sound deadener pads were placed before the carpet went in. Had to take some pictures of the under dash wiring harness which is nearly perfect, just as it was when it was installed new. The carpet on the passenger side is not trimmed around the heater box or the kick panel speaker yet.