On the tie rods, I read a thread over on the Concourse Mustang site where it talked about finishing these with gun blueing to duplicate the heat treated look. Not sure what the adjusters are suppose to be? Any zinc plated parts come into play, or black phosphate?
Gonna go any further with these along those lines Royce?
After the alignment is done I am going to remove the tie rod clamps and refinish them with polishing and blueing. Same for the sleeves. No reason to finish them now and then refinish them after they are all scarred up. AMK has new bolt / nut kits that are phosphate and oil.
Wow, very nice work! It is beautiful!
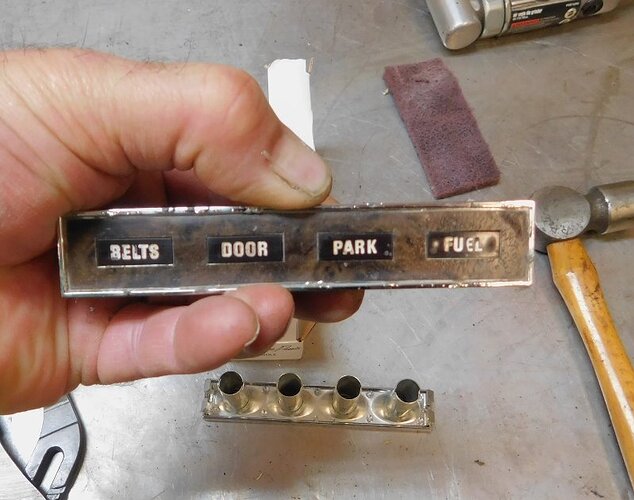
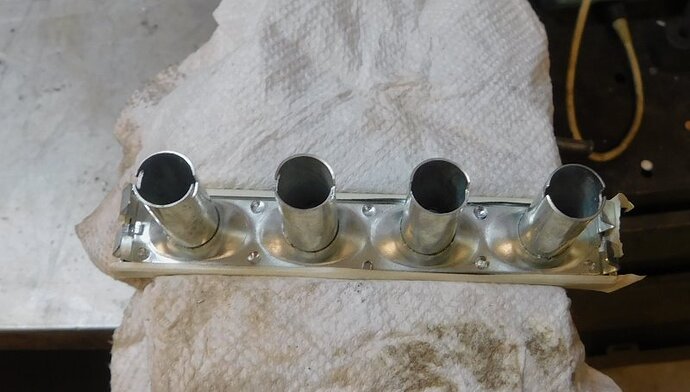
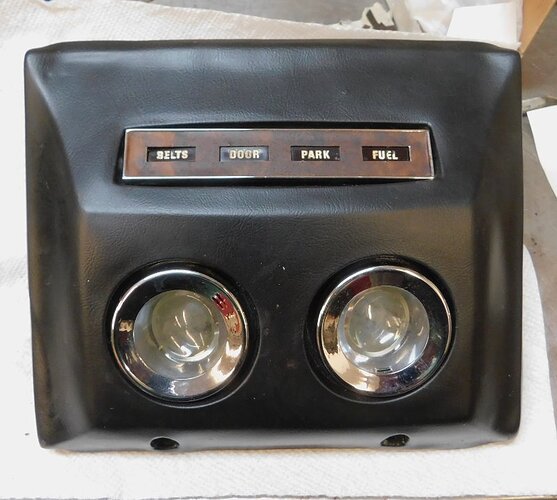
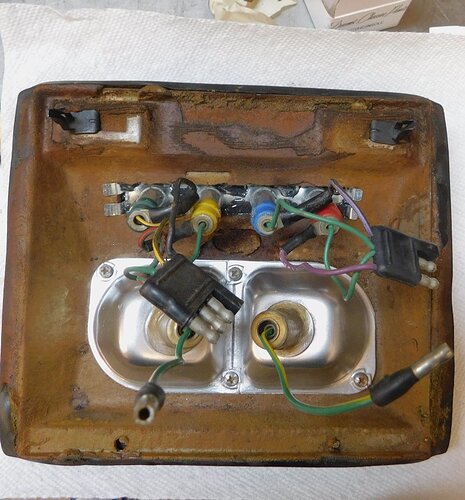
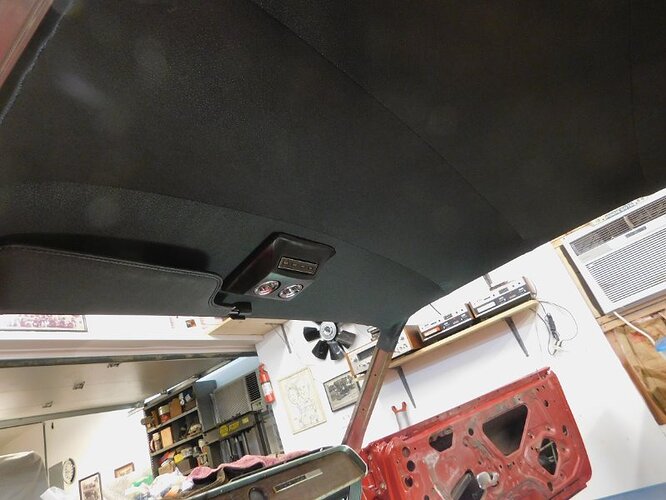
Working towards finishing the headliner this week, so I had to restore all the subassemblies first. The overhead console had pitted chrome on the light bezels and the warning light panel.
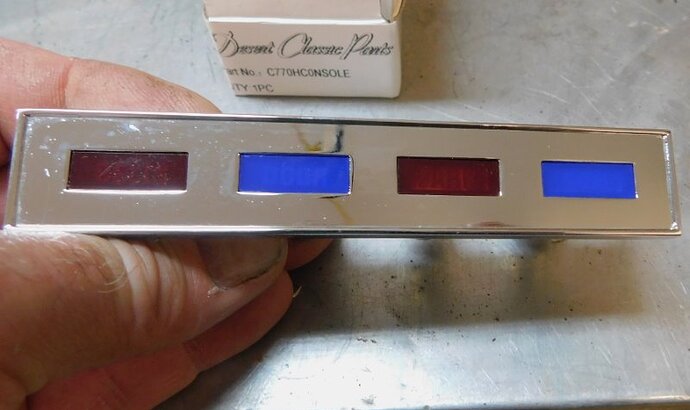
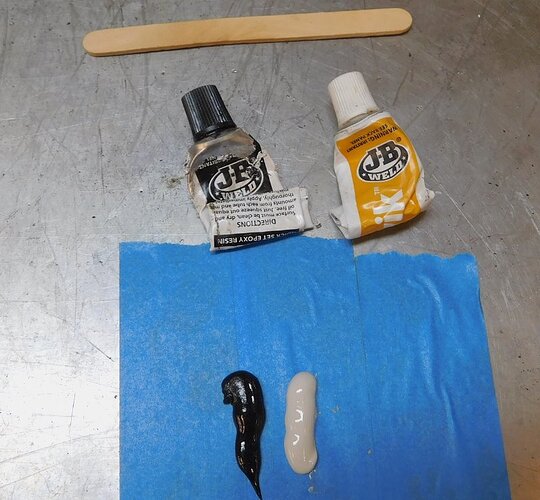
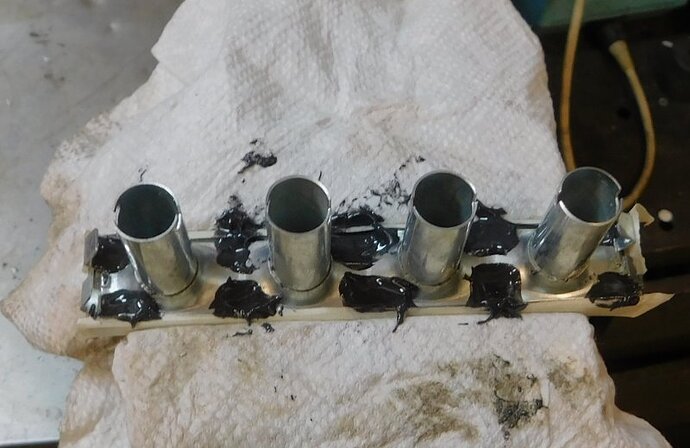
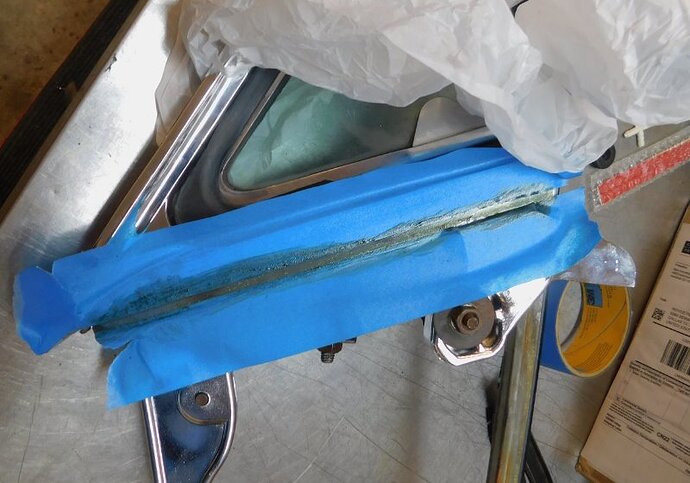
I swapped the repro '67 lenses for the original '68 lenses, then used JB Weld to reassemble it. Note that I masked off the areas where I did not want glue. I removed the masking tape while the glue was still soft so that the end result would be good.
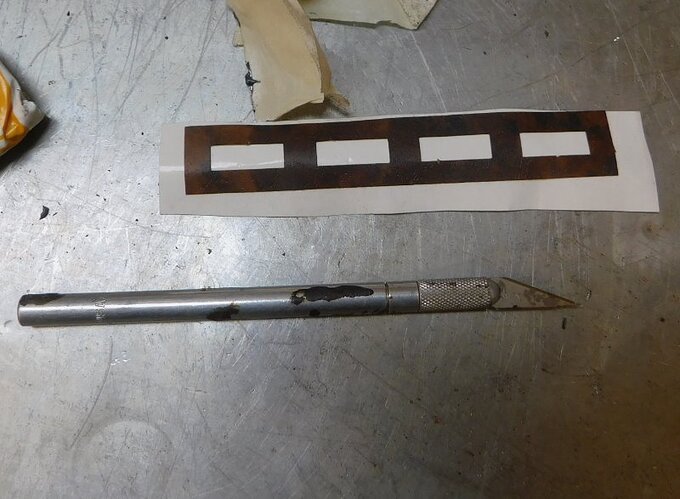
West Coast Classic Cougar also sells a piece of vinyl woodgrain applique that looks quite right. You have to trim it to get the light lense areas removed. They are scribed but not cut. It’s a bit tricky and requires careful work. The finished product is good as new!
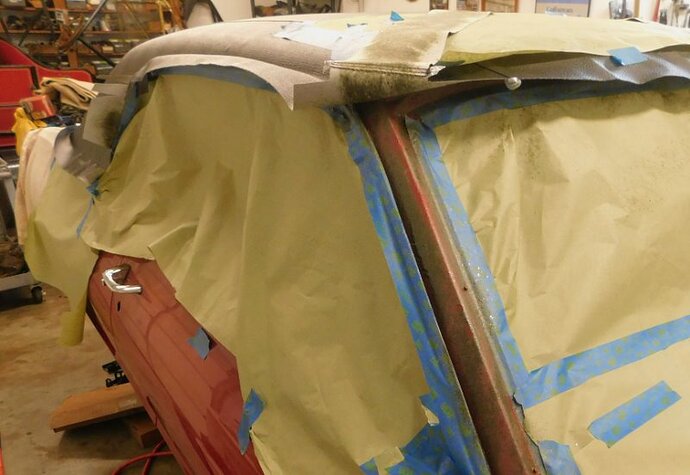
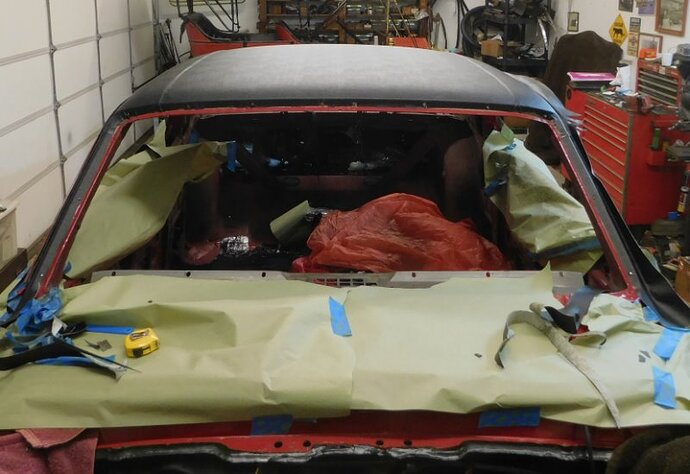
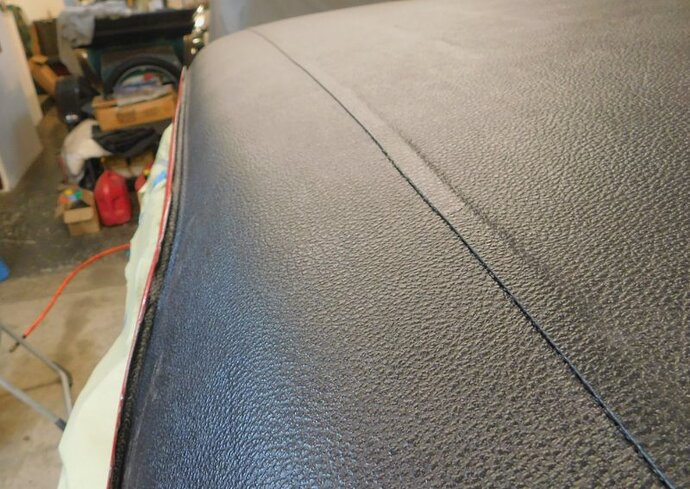
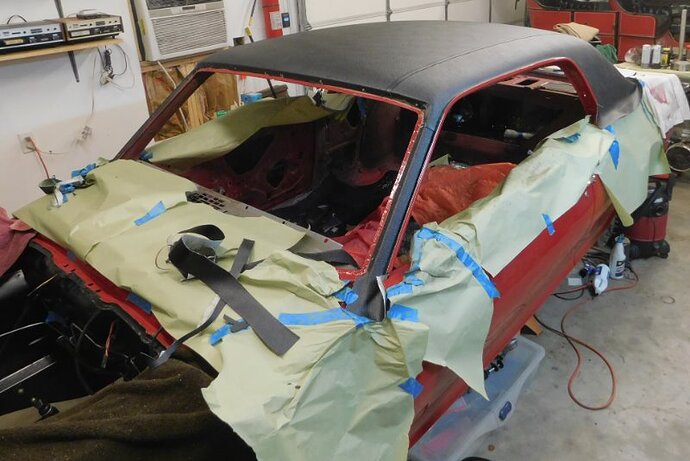
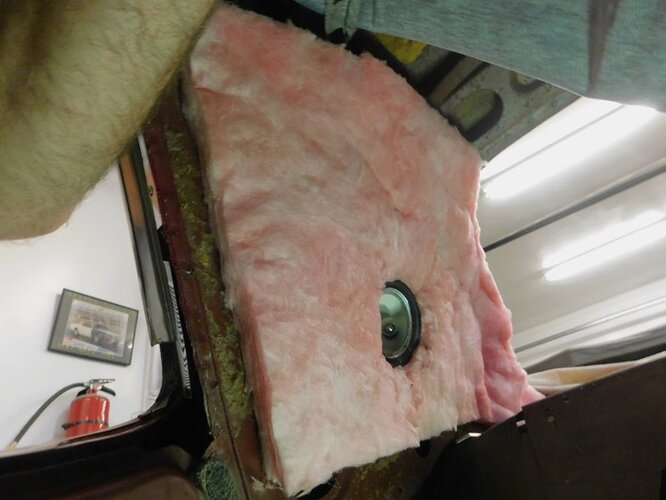
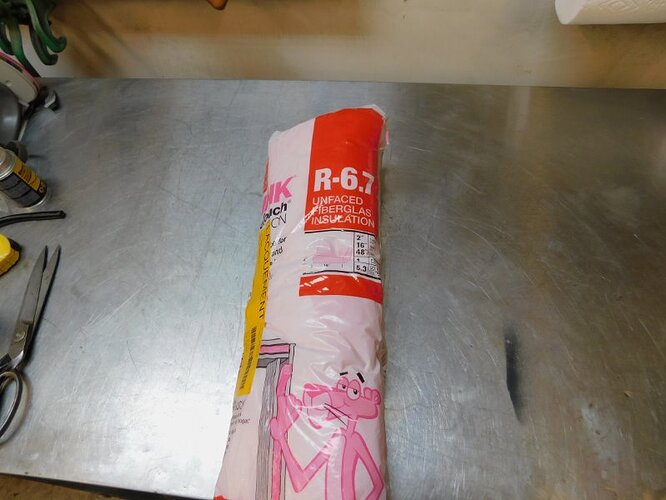
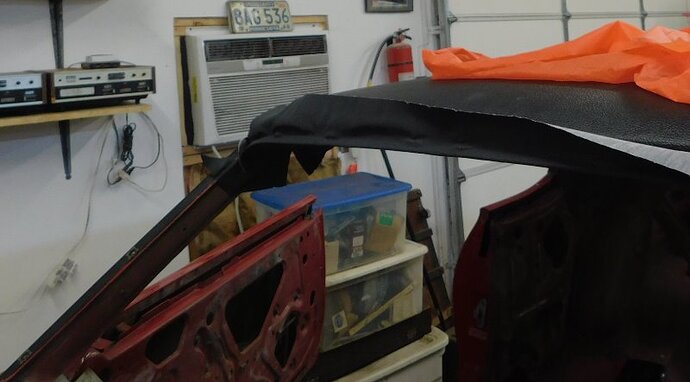
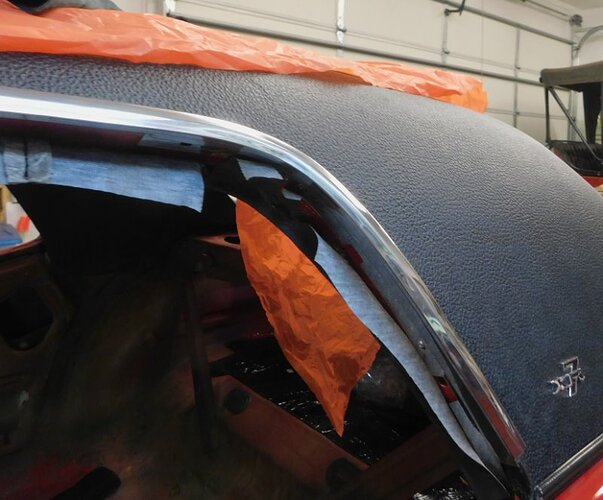
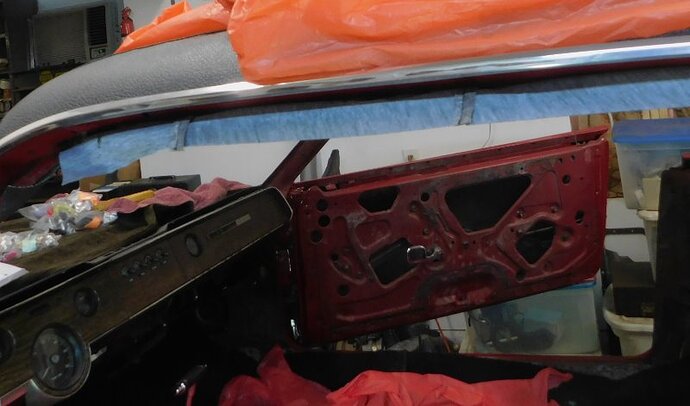
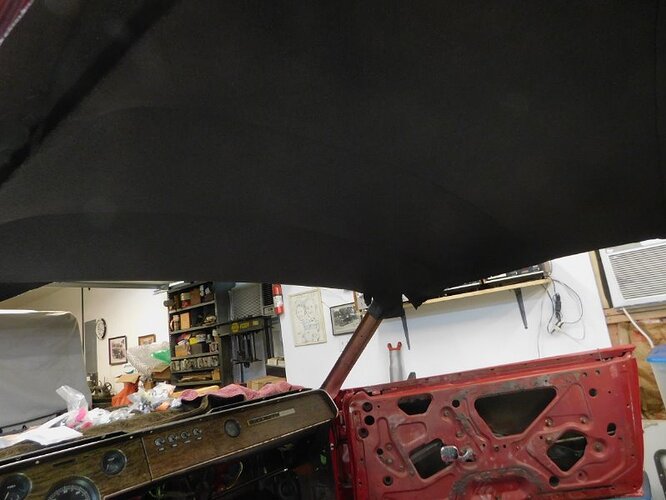
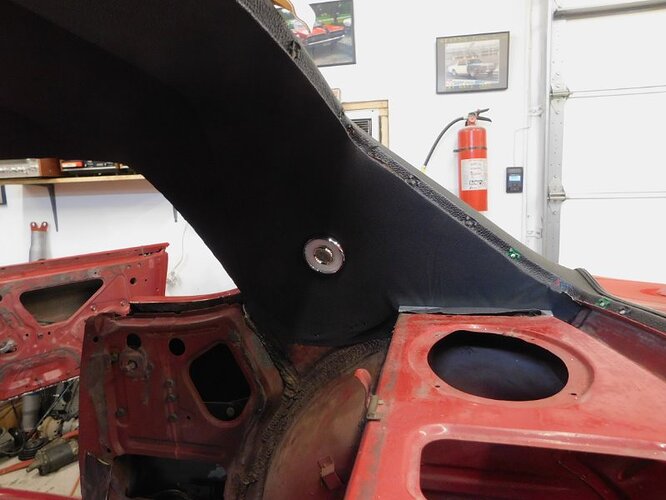
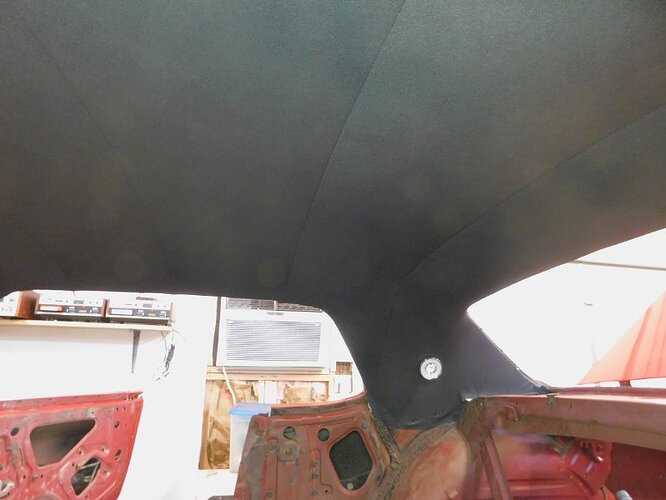
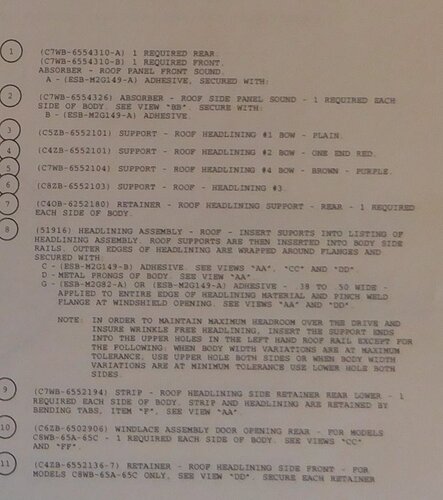
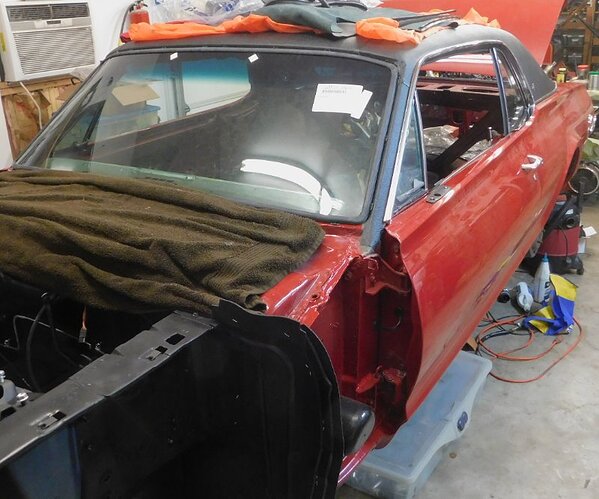
The last two days were spent installing the headliner. It is a lot of tedious but simple work. Anywhere a screw went through the headliner I installed screws in the car before installing the headliner to make finding the holes much easier. Bolts were installed in the shoulder harness holes for the same reason. The insulation had to be mostly replaced since it was mostly missing.
All of it has to be glued in place before you trim anything. If you have a wrinkle it can always be peeled back and re - glued, provided that you have not trimmed off too much already.
It’s all done except the fun part, which is installing the rest of the stuff that attaches to the headliner.
The last two days were spent installing the headliner. It is a lot of tedious but simple work. Anywhere a screw went through the headliner I installed screws in the car before installing the headliner to make finding the holes much easier. Bolts were installed in the shoulder harness holes for the same reason. The insulation had to be mostly replaced since it was mostly missing.
ATTACHMENTS
I’m in the process right now installing the headline in the 67 GT. I’ve never done one before. I have it in place on the bows with a few clip but haven’t started pulling on it yet to get the wrinkles out. Excellent tip on installing the screws first to find the holes. I was just wondering last night what would be the best way to find them after installing the headliner.
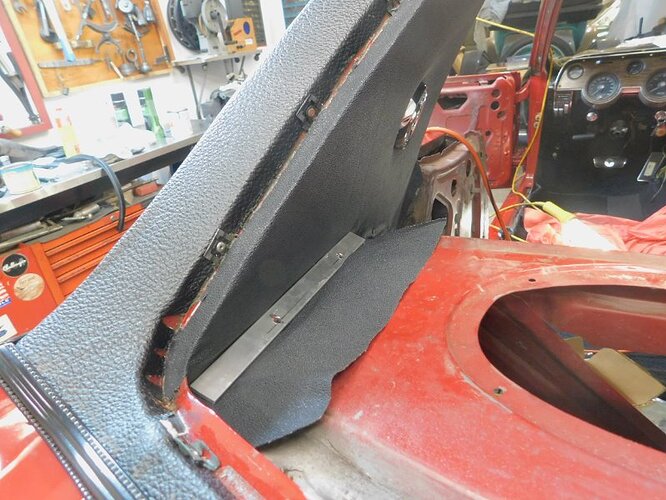
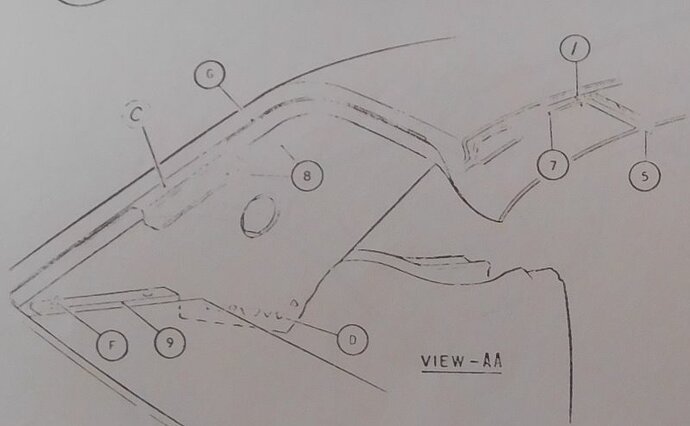
What are you doing with the aluminium pieces on the C pillar?
The correct reproduction for 1968 is also available.
WCCC has them: https://secure.cougarpartscatalog.com/l4e11.html?attribs=76

Well that would have been nice but it’s too late for that now.
Great article! https://www.hotrod.com/articles/rare-finds-1968-mercury-cougar-xr7-428-cobra-jet-dyno-don-nicholsons/
I was not aware of the insulation in the c-pillars! my headliner is clipped up so I can stuff some in there before its too late!
The headliner won’t look right without it.
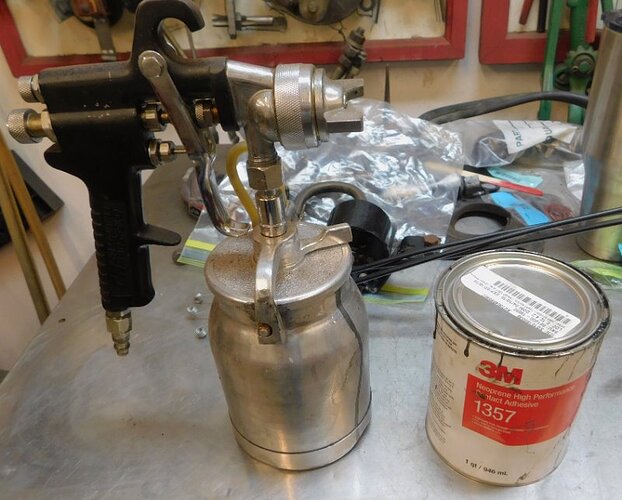
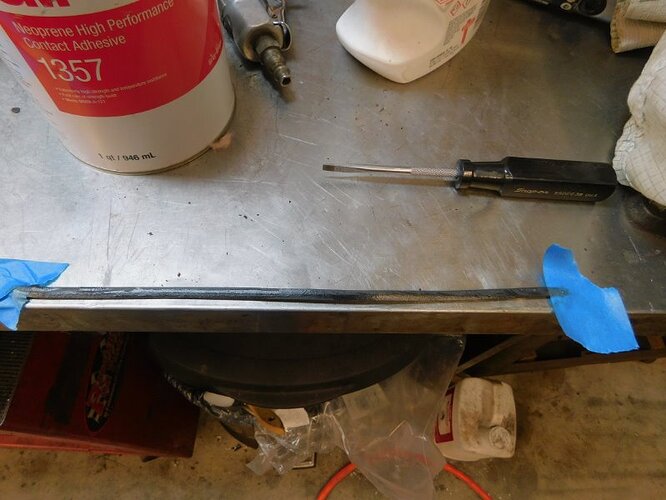
The last several days have been devoted to installing door and window weatherstrip and the windshield. I am now on my second quart can of 3M 1357 glue, which means I am nearly done with glueing.
Each door takes me about 8 hours to assemble and adjust properly. I would not have lasted a week on the assembly line!
