I see you’re using a 3M product. I’ve found if they make a product it’s usually the best of it’s type. Other companies make good products to be sure but with 3M you’re pretty safe.And it’s all so simple-just follow the directions.
I love threads like this since you never know what you will learn! Thanks for taking the time to document your build for us!
Been slaving away on the windows. Those are all finally adjusted and finished.
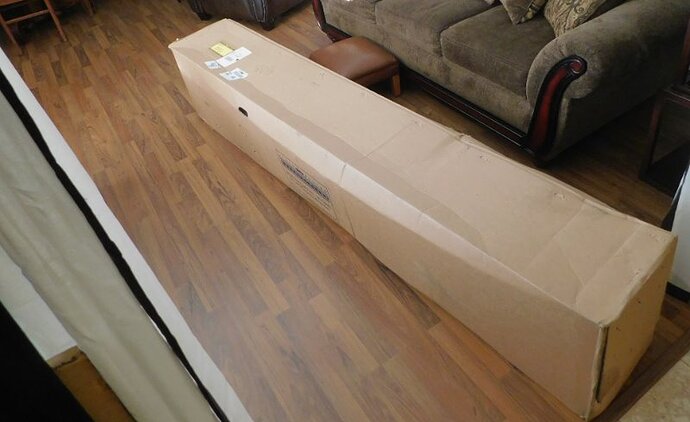
Friday a BIG box showed up. The couch in this picture is 6 feet long.
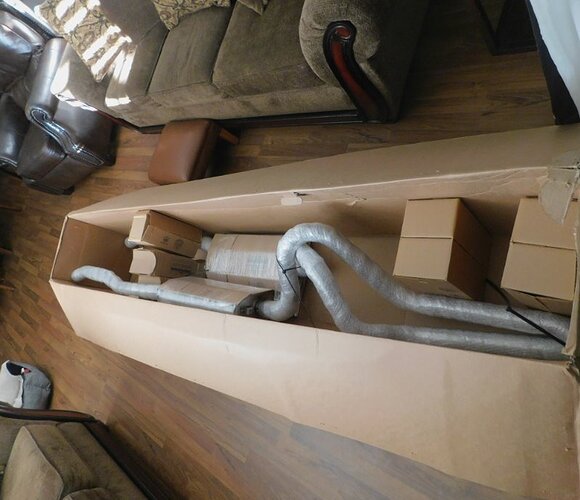
Super nice reproduction exhaust system. We’re lucky to have them available for the Cougars.
Good things come in large packages, too!
I’ve been steadily working on the interior which is almost finished except for the seats and door sill plates. Today I was assembling the console and decided to take the clock apart to see why it wasn’t working.
To open the clock you must first remove the setting knob. I used needle nose vice grips to hold the shaft. Then used another pair of vice grips with tape on the jaws to unscrew the knob. Once the knob is removed you just have to un - bend the crimps holding the lens on the face to remove the clock works.
Inside the clock it was wound but the mechanism was not able to stay running long enough to close the points to wind again. I used my normal routine of hosing down the mechanism with WD-40.
The clock immediately started running. I put it all back together and into the car. It’s been running over an hour now.
Video:
https://www.facebook.com/royce.peterson.98/videos/10213102608541478/
I do something very similar, I use kerosene in a spray bottle to clean things up. I use compressed air to blow it all clean and dry. A think film may remain.Then lube the pivot points with light household oil. Then use compressed air again to blow out the excess. I learned this process from the watch makers in a jewelry store that I worked at as a kid.
Nice work Royce! I just went through the side window assembly process on mine and can attest that it is indeed a PITA. I was also wondering how the heck they did it quickly on the assembly line and got everything perfectly adjusted in minutes.
I suspect the line workers did it so often that they got really fast at it. I would not have lasted a day on that line.
It’s been a while since I have updated this thread. Since last time I have all of the glass installed and most of the interior, except the seats. This weekend I began recovering the seats.
Since this is an XR-7 it had a mixture of vinyl and leather on the seat cushions originally. It had a 20 year old set of reproduction all vinyl seat covers that were in fine shape. But since I wanted original looking interior, I opted to replace them.
Distinctive Industries sells an all vinyl set of seat covers that is fairly accurate to the original patterns. I bought that set of covers, then bought leather hides in the appropriate pebble grain and smooth grain black. I took the Distinctive Industries kit to a local upholsterer. He cut the stiching to take out the panels that needed to be leather as original. Then he fabricated the leather pieces and stitched them back in place. The result is a fabulous set of new seat covers that look like the originals would have.
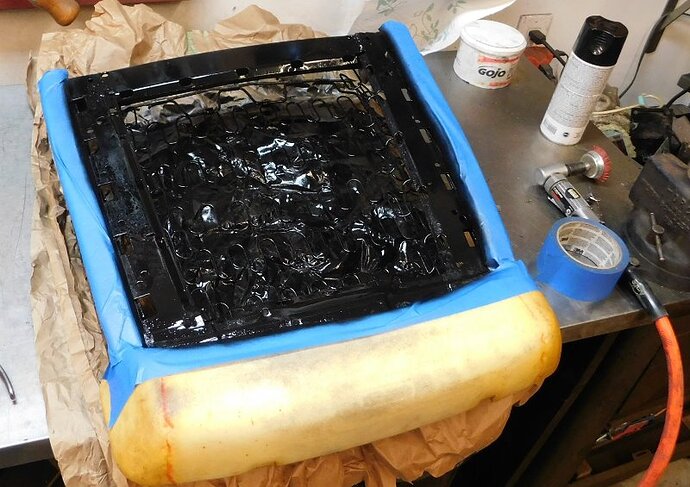
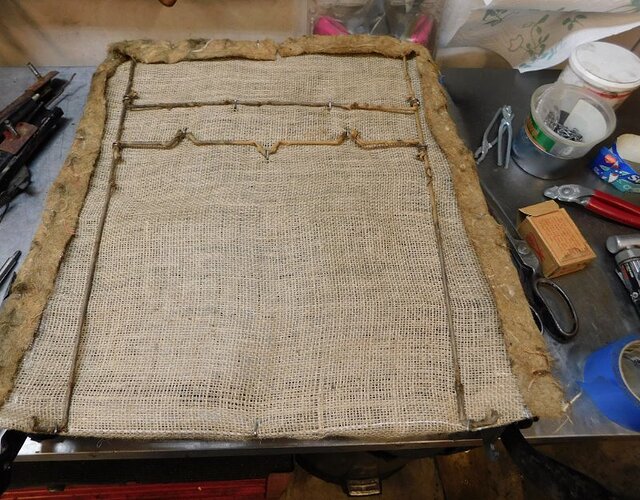
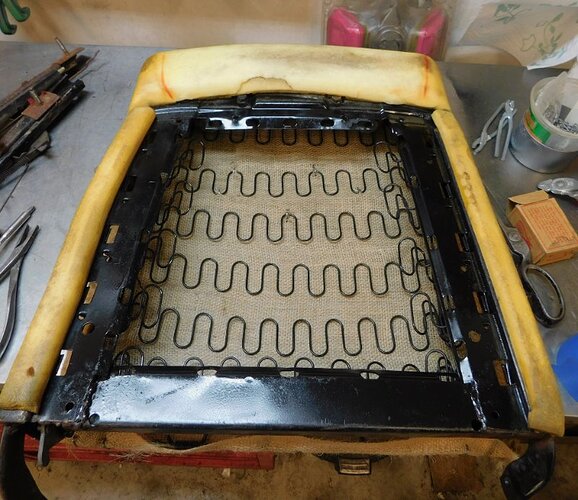
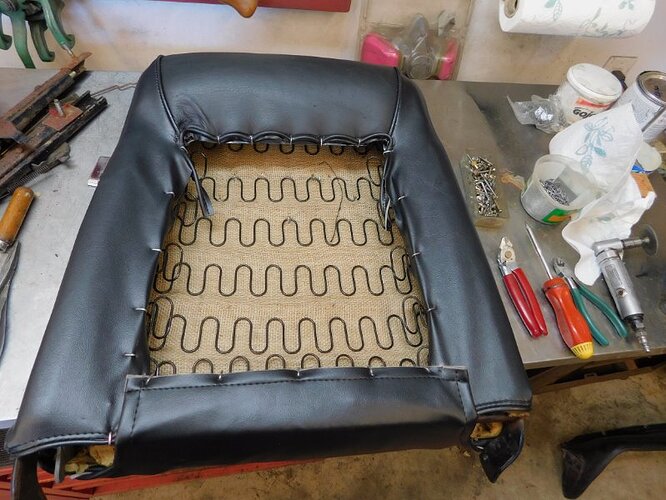
I spent about 5 hours in the garage today working on one seat back. Here’s what it looked like when I had most of the foam and all the burlap off, and had wire wheeled the springs so they could be repainted.
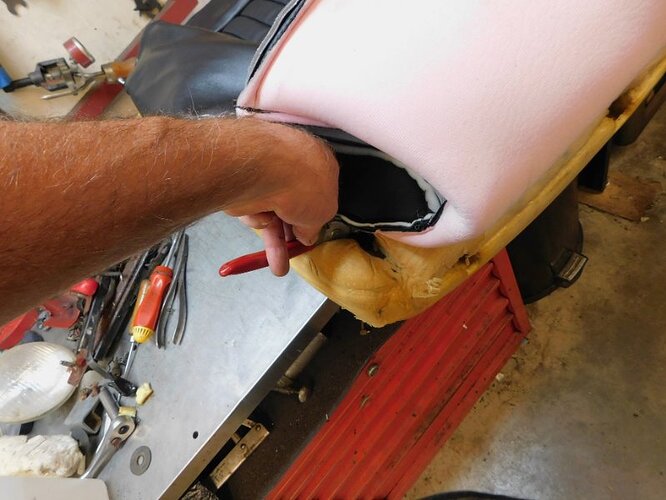
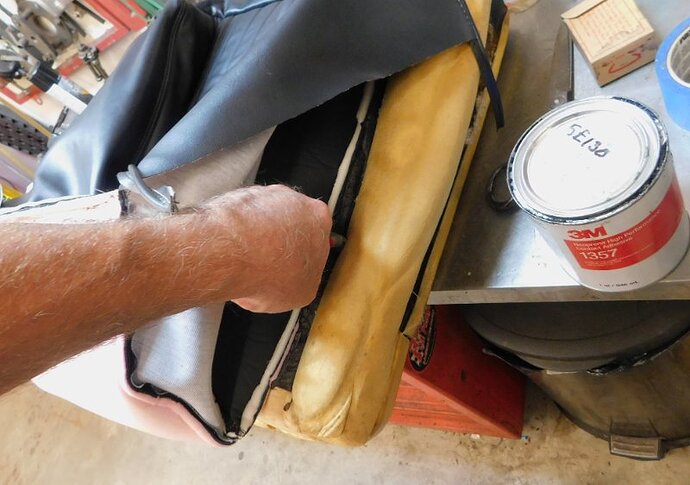
You start with the seat cover inside out. That way you can set hog rings in place to secure the figure wires to the seat frame in the proper place.
After the figure seams are attached to the frame the hard part is turning the cover out and stretching it over the back of the seat. IT was quite a struggle, but I finally got it on without ripping anything.
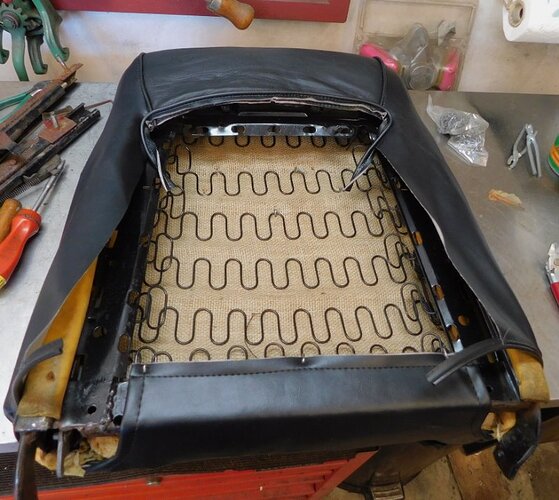
In the photo above I had the bottom secured, which is the wrong order. I removed those hog rings and started at the top, working downwards. The bottom flap is the last thing to be installed before the back panel.
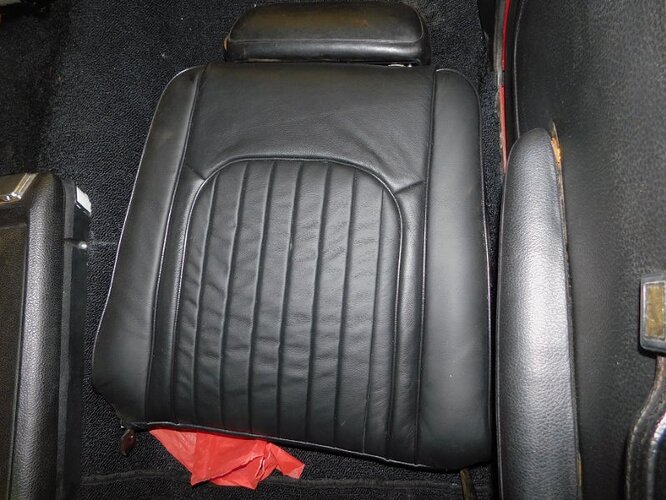
The scariest part was cutting the holes for the headrest ferrules. Thankfully my measurements were accurate. It is laying in the car waiting for the bottom half of the seat which I believe will be done tomorrow afternoon. You can see remnants of wrinkles on the seat, which will disappear once the car gets outside in the sun for a while.
Your burlap didn’t have the wires braided through for extra support? I’m getting ready to do my new burlap on my seats and my burlap has the wires braided through on the bottoms and back. Looks like quite the pain to redo.
Royce thank you for documenting your seat back reupholstering. This is perfect timing as I am about ready to do my 67 standard seats. The frames have been sandblasted and painted and I have all the supplies ready to go. Just got to work up the nerve to take this on as this will be my first attempt at this. Please consider documenting your seat bottom process. Your seat back came out great! Thanks again, Jim R.
I still have the other front seat to go. I will try and take some photos of the bottom. It’s much like the top except no headrests LOL.
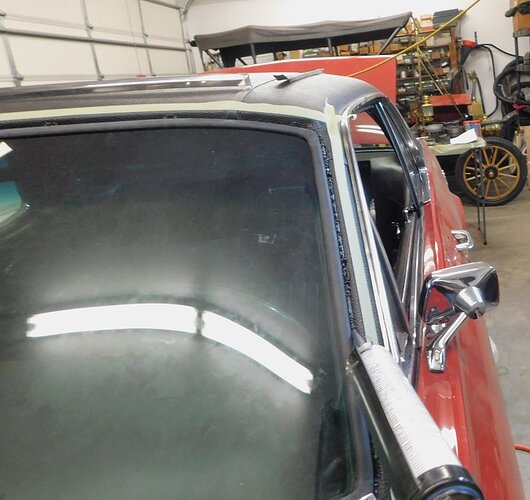
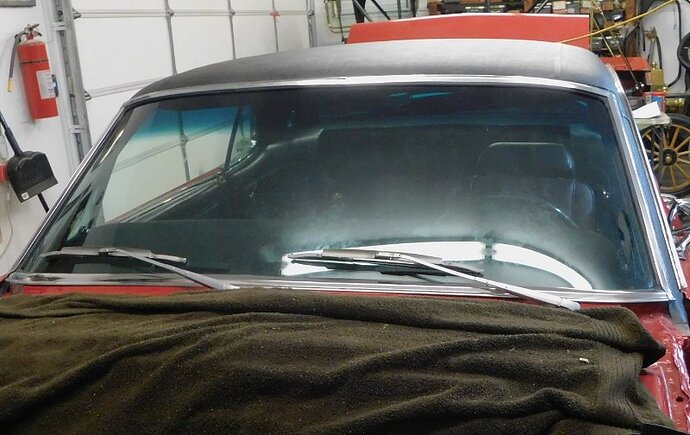
Today for whatever reason I decided that the windshield trim had been sitting on the shelf far too long. I re - used the original trim. This meant that all morning was spent cleaning off old sealant, rubbing out dents, and finally buffing the parts using my Baldor 8" wheel and some jeweler’s rouge.
The sealant is super nasty urethane caulk made by 3M. I used painter’s tape to protect the delicate finish of the vinyl top from the urethane.
