110* temps could stop me from trying out the new shoes!
I did find out I get a random stall/hard start when hot so gotta shake that bug out at some point
Now to deal with the ride height but maybe interior first! Oh and maybe an alignment and and and…
Yes sir, it’s holding all the crusty foam together
I’ve started laying down the dynamat (generic)material and since I’ve been driving it a little with no interior I can find the rattles and hot spots in the floor to apply more mat material in that need it. Need to fix a couple bullet holes in the floor before finishing that.
Yep that’s my plan for the rear at least. The front already had 1” lower springs so I’ll do the Shelby drop to get another .5” or so. The rear I’ll use a block for the time being to match the front. Tire size is about right just need the overall height to be lower.
Eventually I want to use a coil over suspension setup then I’ll have lots of ride height options but that’s not a necessity currently
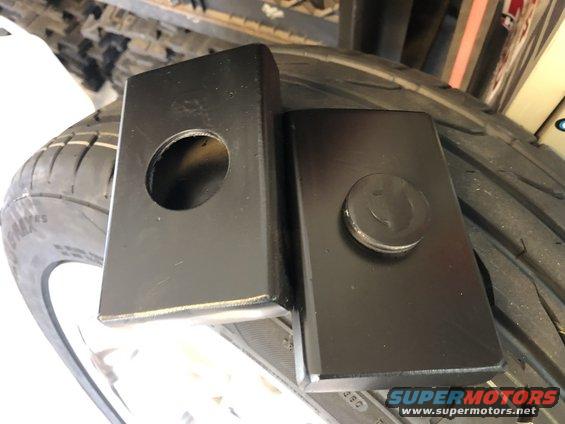
As we all know cougars are a breed all their own and what seems like a simple mod turns into more then it should. Everyone sells lowering blocks that are supposed to fit a cougar but I had my suspicions with the rubber isolator pads and pinion degree wedge. Sure enough they won’t take a conventional block so I built my own. I do not trust much more then 1” with any type of lift or lowering block so if I need more I may have to do something else. I may remove all the rubber isolator stuff which is about 3/8” thick so i can build a 1.5” block and make up the difference. Anything more and I’m worried about axle wrap but that’s another project.
Using 5” long 1”x3” wide 3/16” thick box tube I boxed in the ends for appearance and strength. Since the pinion wedge has a much larger hole for location then the standard leaf spring pin I need match that on my block. I welded some 1.25” diameter steel washers to the center for the pinion wedge. On the under side I cut an equal sized hole for the isolator bracket.
Pretty easy project for an easy 1” lower ride height once I knew what I had to work with. Cost was simply labor since I had all the raw material and my ubolts even had enough length.
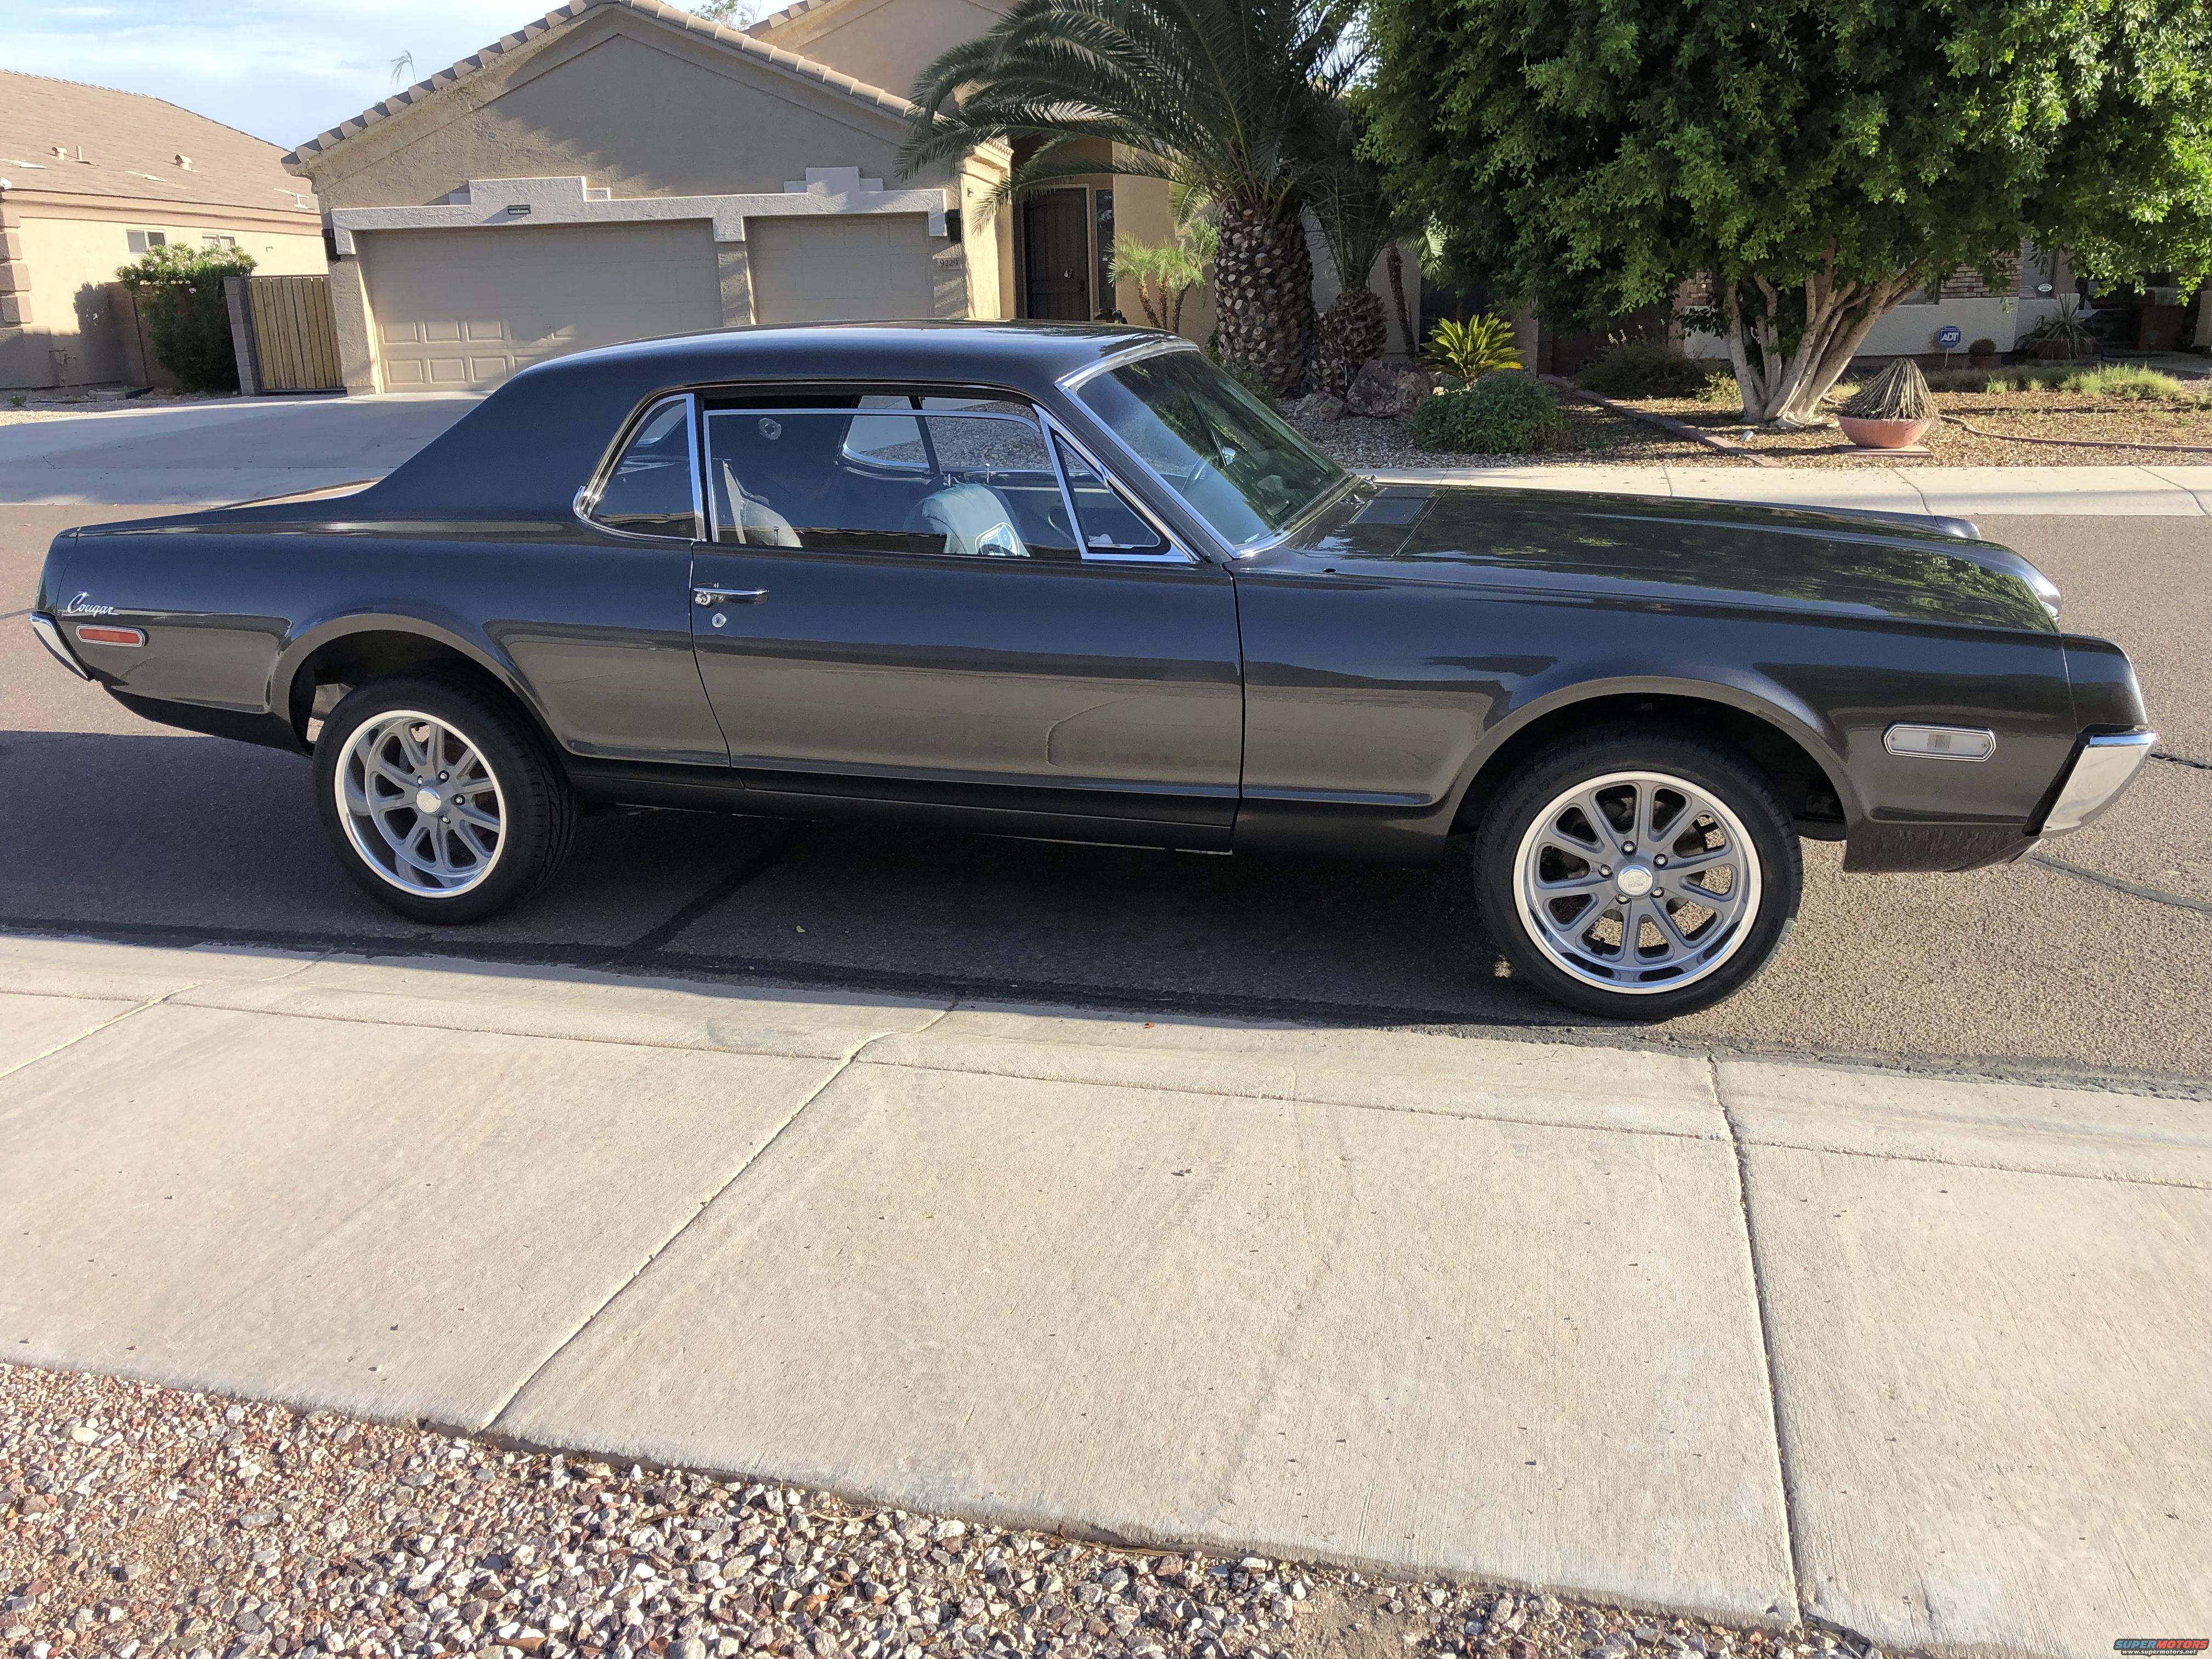
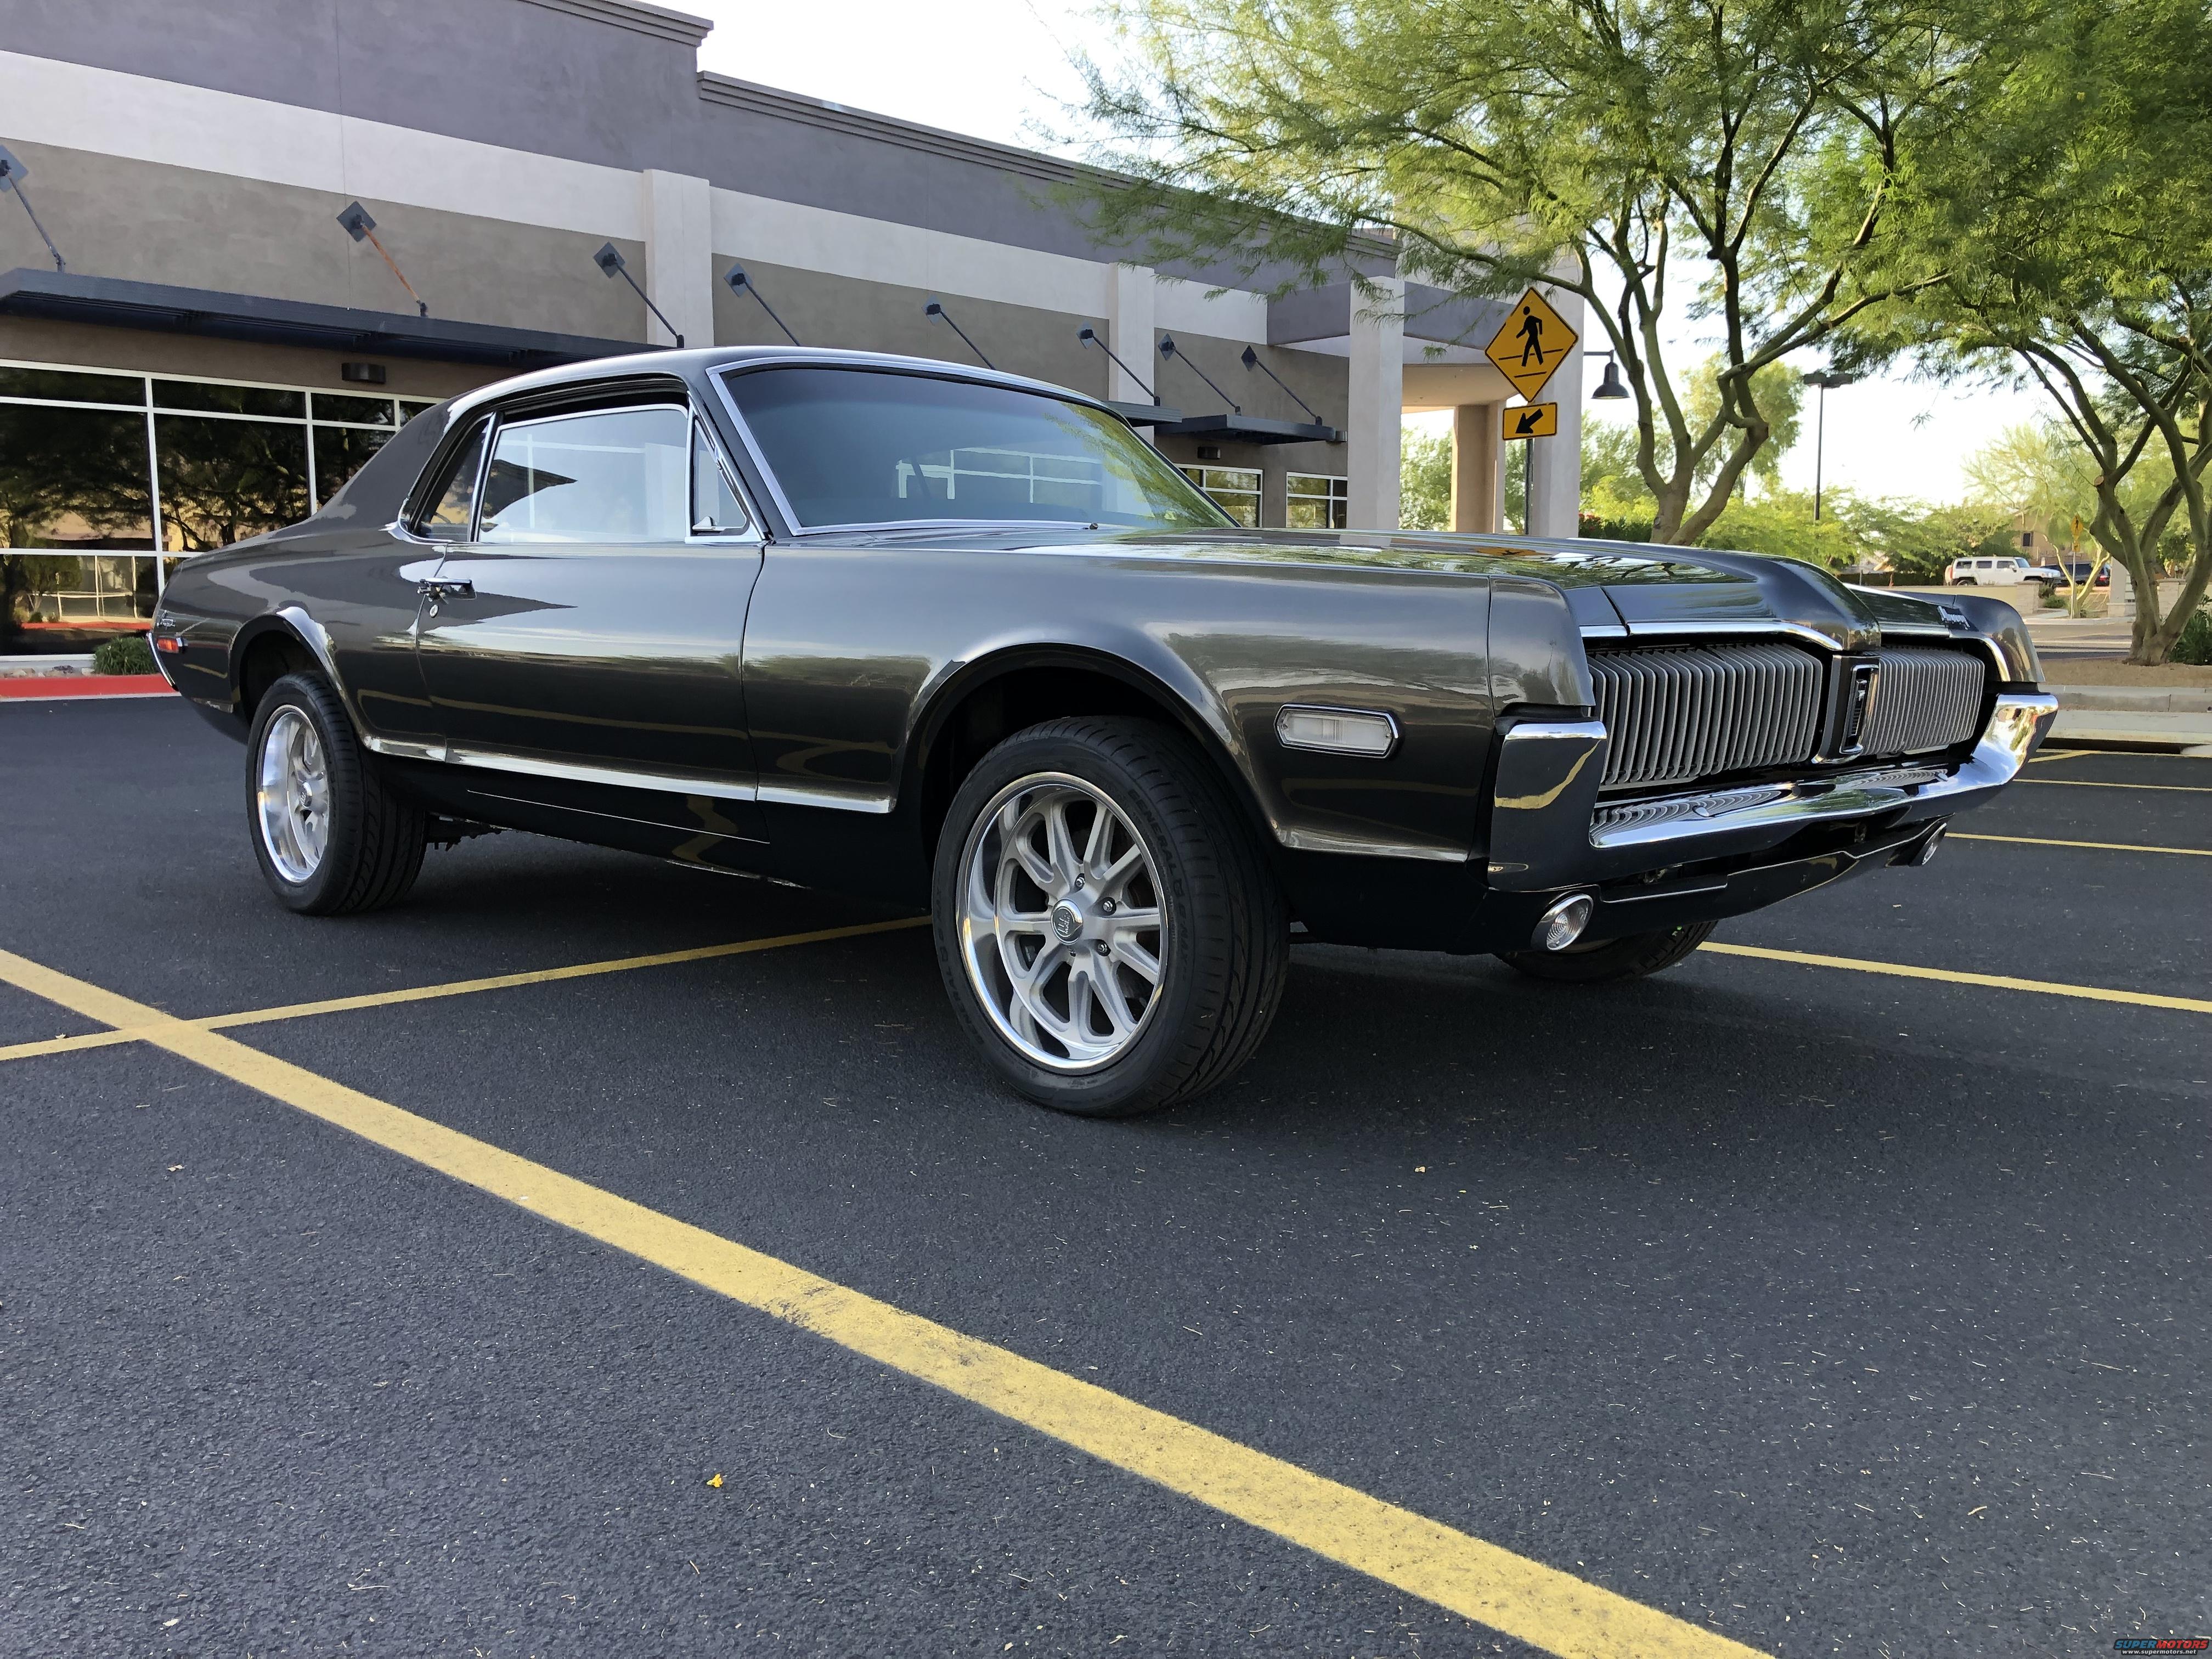
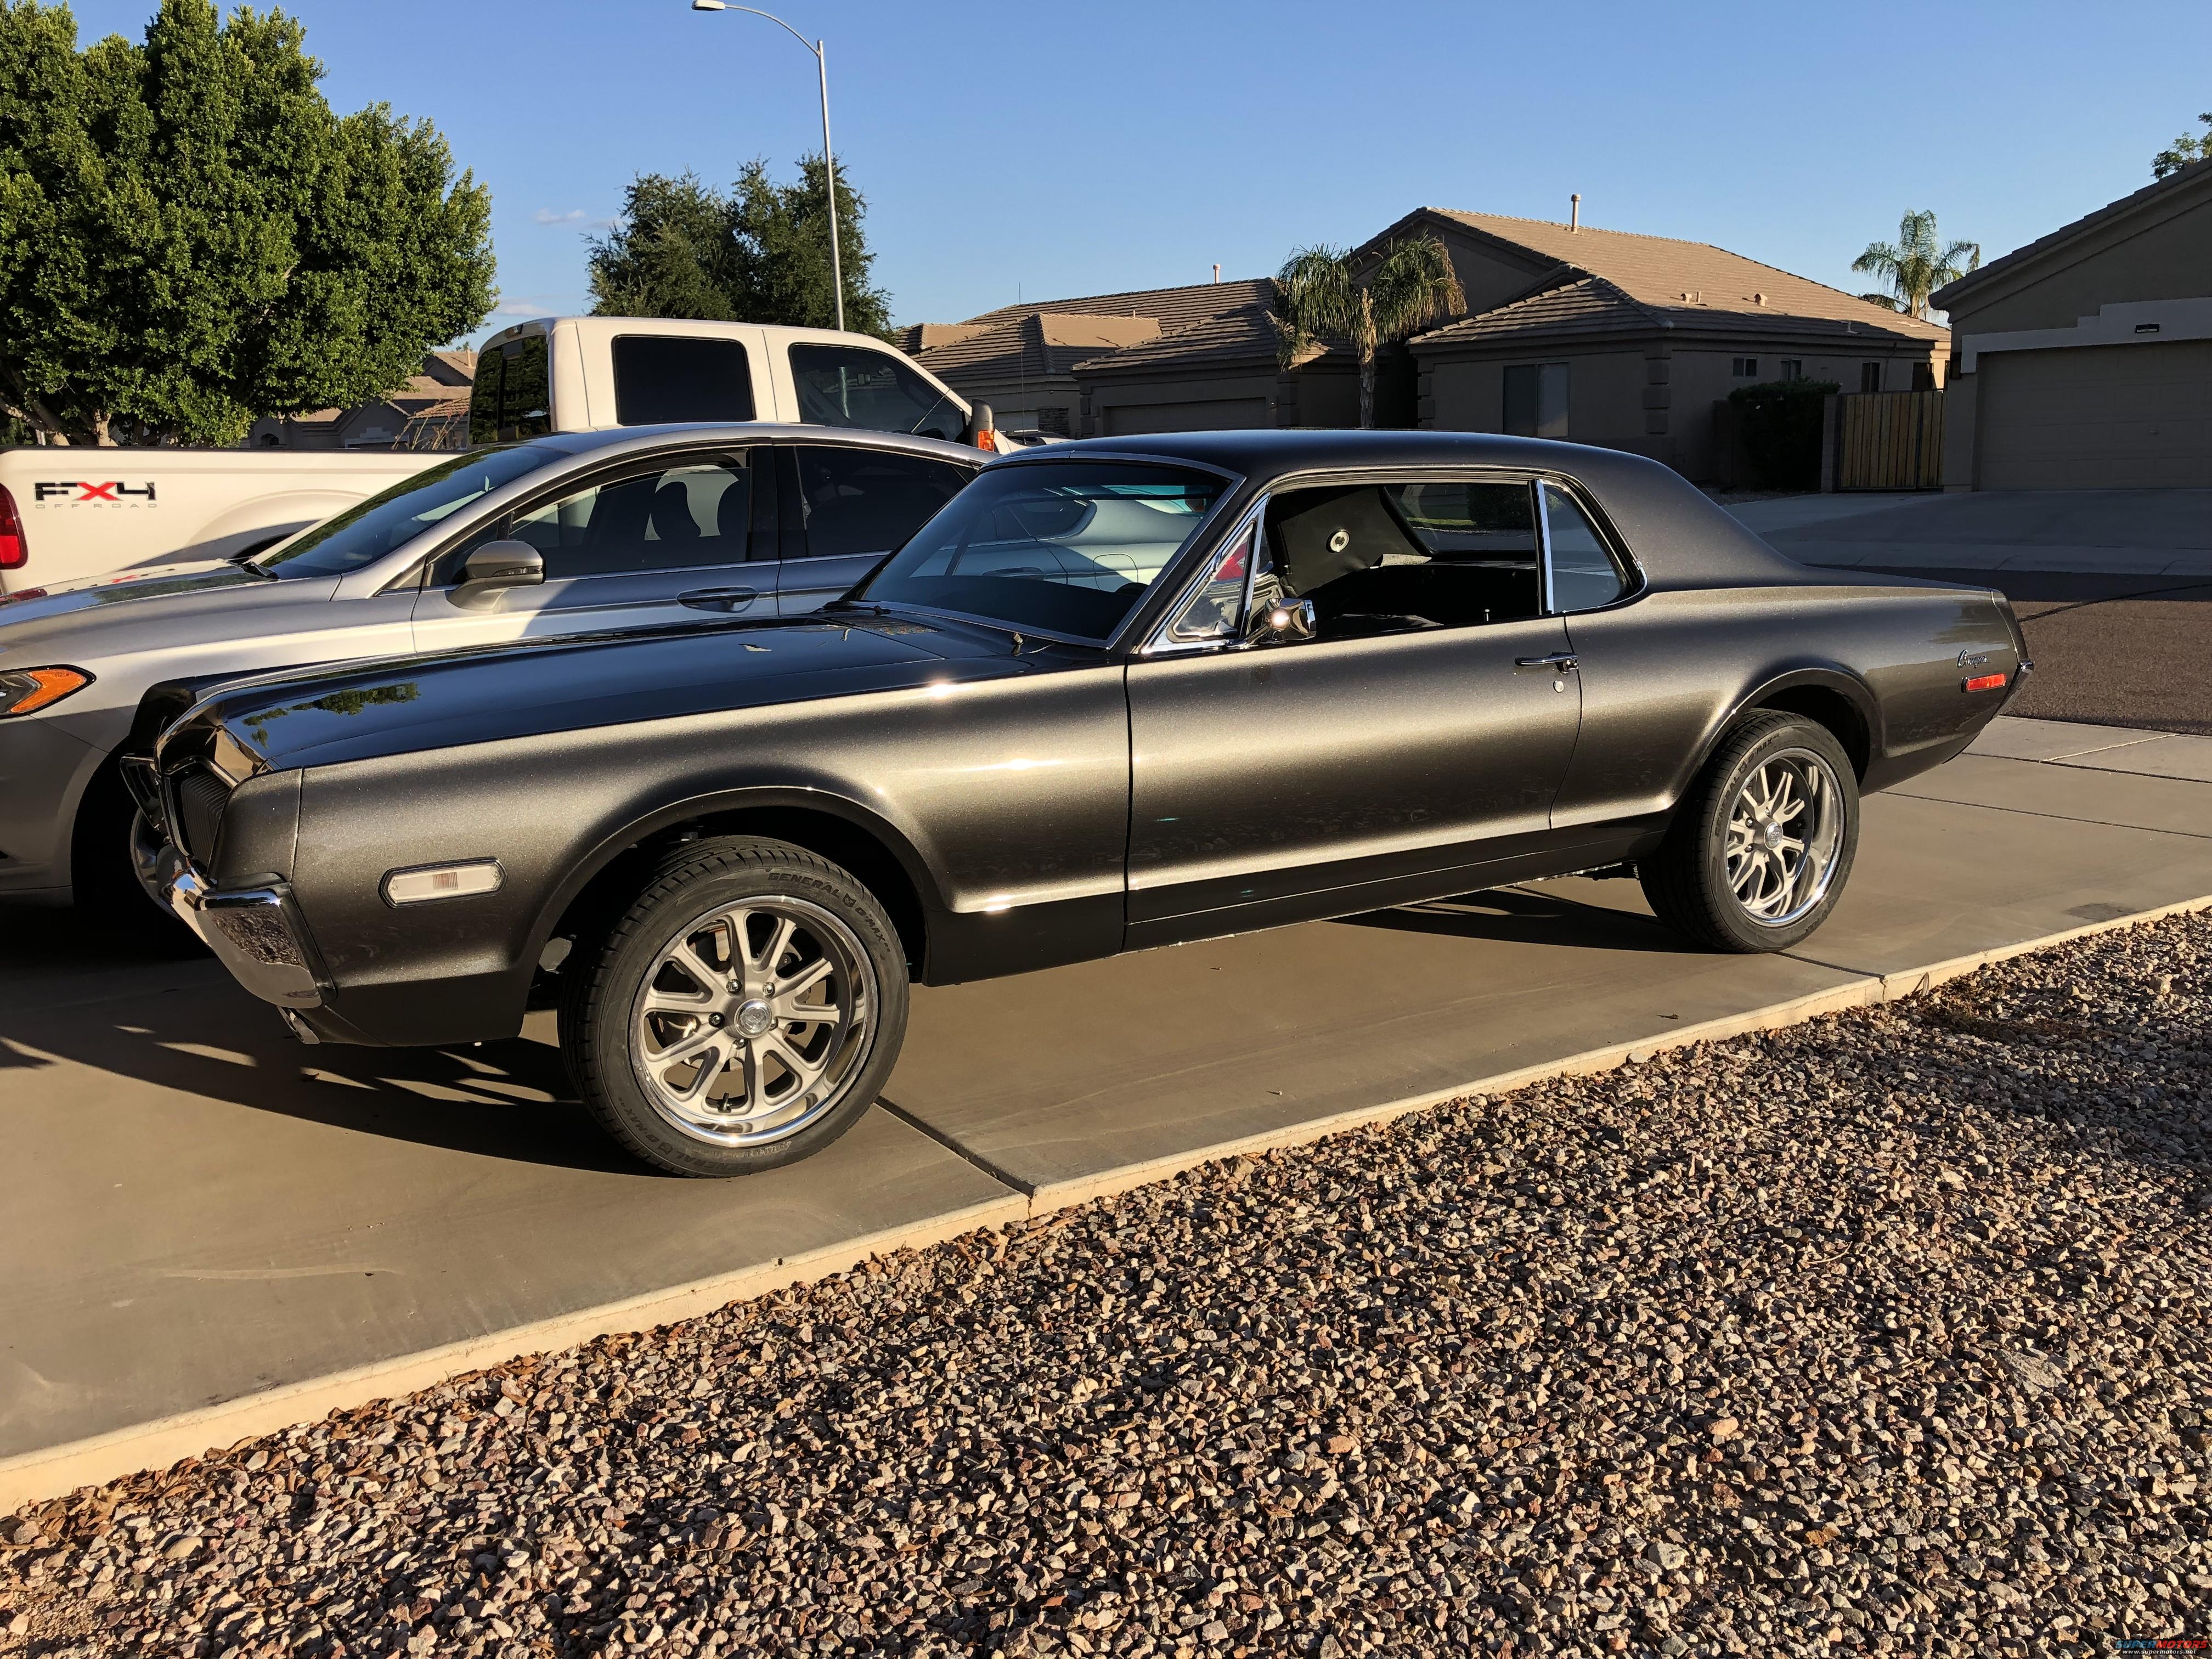
I’d like to add some positive comments about the choice of paint for your 1968 Cougar - terrific ! I rented a Mustang GT in Maui this past Christmas and New Years ( really hot car, fabulous convertible top mechanism when compared to the 1969 / 70 Cougars ), and it was painted in the J7 Magnetic color your Cougar has been painted. Really excellent choice - it seems to have different characteristics depending on the lighting and time of day. Also really impressive when contrasted with the red of marker lights and rear taillights. Glad you didn’t delete the side clear and red marker lights / bezels on your car - they are unique to the '68 and really set it off - red against the metallic dark gray is stunning. Congrats on your top notch resto-mod.
Thanks for the kind words! I know it can not compare to most cars here and non original is not everyone’s cup of tea so I do appreciate the kudos!
This color is one of my favorites on modern fords. It’s been around since early 2000s but it’s changed a bit over the years.
I knew I wanted this color for my cougar from day one but I did debate on going silver too but magnetic one the vote for the things you describe. I honestly hate chrome but this color and chrome contrast is pretty sweet.
Chrome don’t get ya home. I like it in moderation, but I cringe when I see an under hood shot and everything is chrome. Nice job fabricating what you need. The car is coming along nicely.
I can assure you there will be little if no chrome under the hood. Even once the motor is redone I will not slap chrome valve covers and air cleaners on it or chrome pulleys I do have some natural alum valve covers that came with the car and they do not look too bad so they may or may not stay. I may not be a original guy but I do like a nice clean factory look with some tasteful upgrades.
My under hood and chassis have not been addressed yet so they show their age. As I work through particular areas Ill paint and refinish those as needed. I have hopes to run this engine until she gives it up so may be a while under its worth looking under the hood!
Power steering pump decided to start puking all over the place out of the blue so took that opportunity to switch cans over to the 69 style 90* return nipple to better suit my line routing. during disassembly to check it out and replace the seals I had the cam pack fall apart so I got to have fun putting all the springs back in! But it was a good experience to learn how it works internally and figure out how to put it back together.
Had a couple areas of concern inside the pump but parts are not easily sourced so I will more then likely need to replace it in the future but for now it pumps fluid and does not leak! We will call that a win for now…
next up is getting the steering gear out and sent out for a rebuilt. That thing is a wet noodle!
just look at the shiny pump and ignore everything else around it! refreshing one part at a time
3 weeks later Im still messing with steering stuff!
Got the box rebuilt and back in the car.
While working in that area I got the beat up oil pan swapped out with a new one and new bushings in the Z-bar. Found a couple worn out holes in the z-bar from lack of bushings over the year. I could stick new bushing in there but they would not last long with out out of round hole. Repros are pretty cheap but the z-bar may change or get deleted down the road with further modifications so felt like waste to buy one. Got out the welder to do a little correction and make it good as new again.
Its ironic our weather cools down to enjoyable but my free time for garage activity disappears! Such is life!
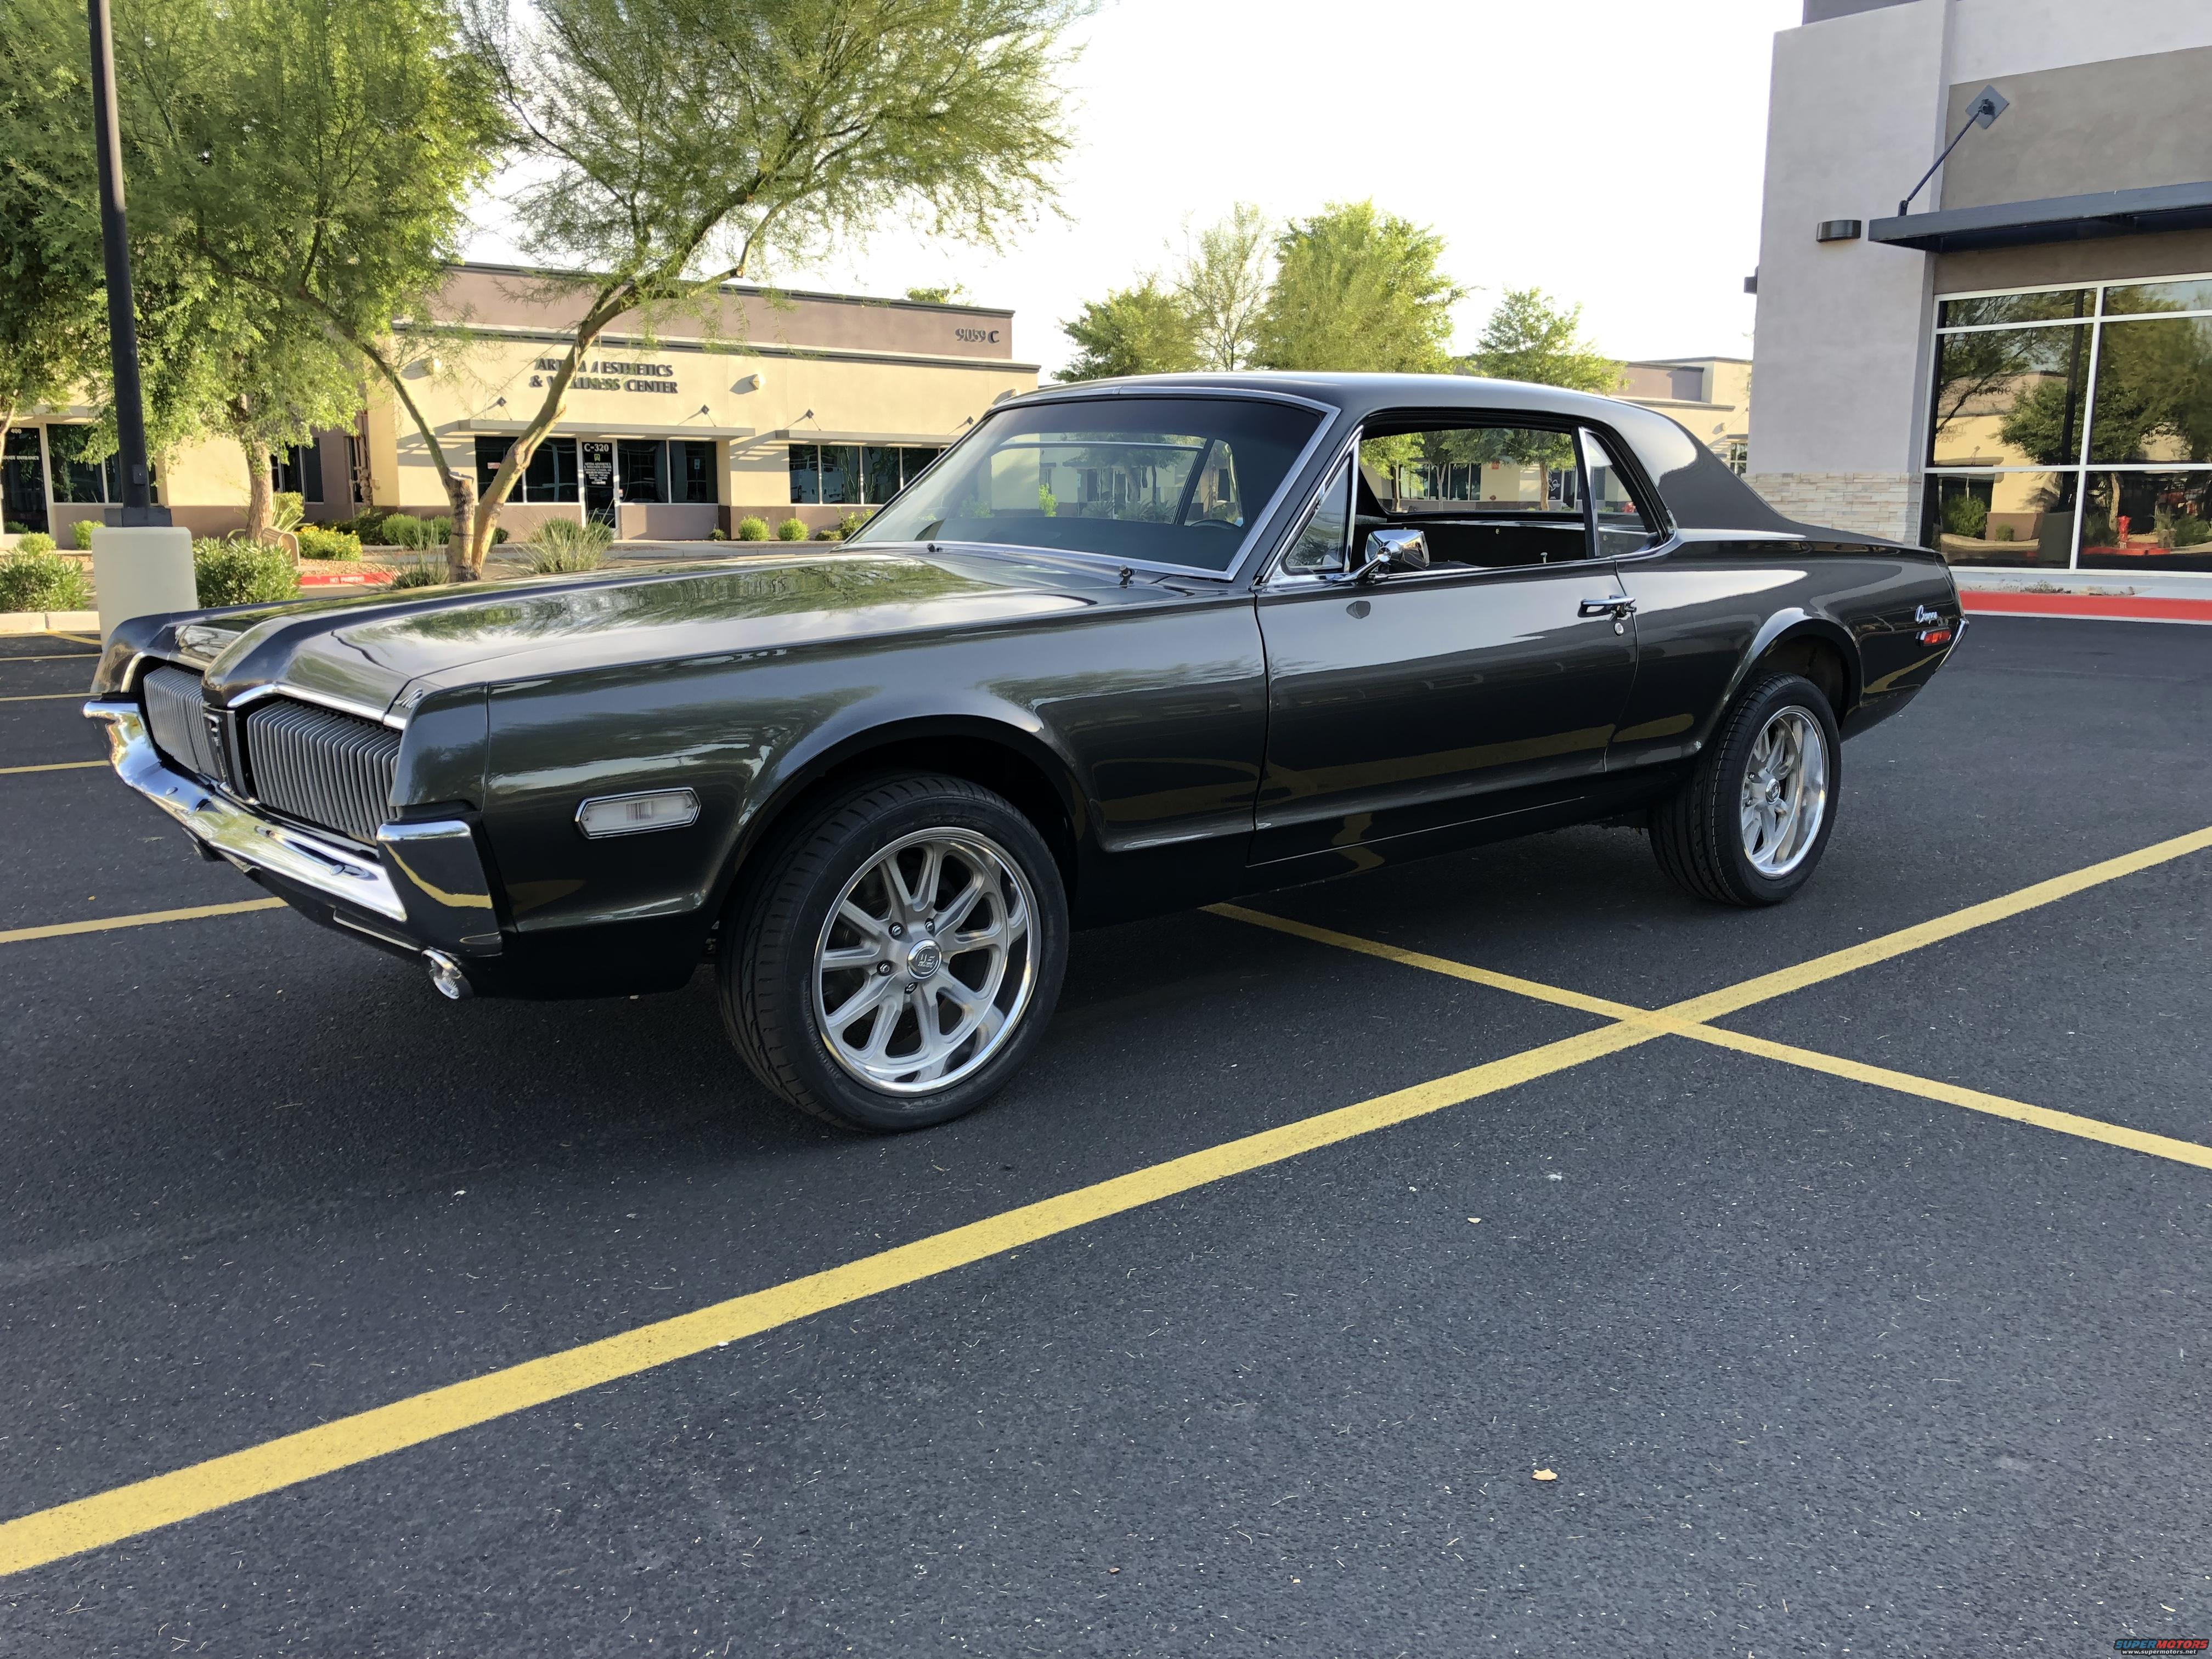
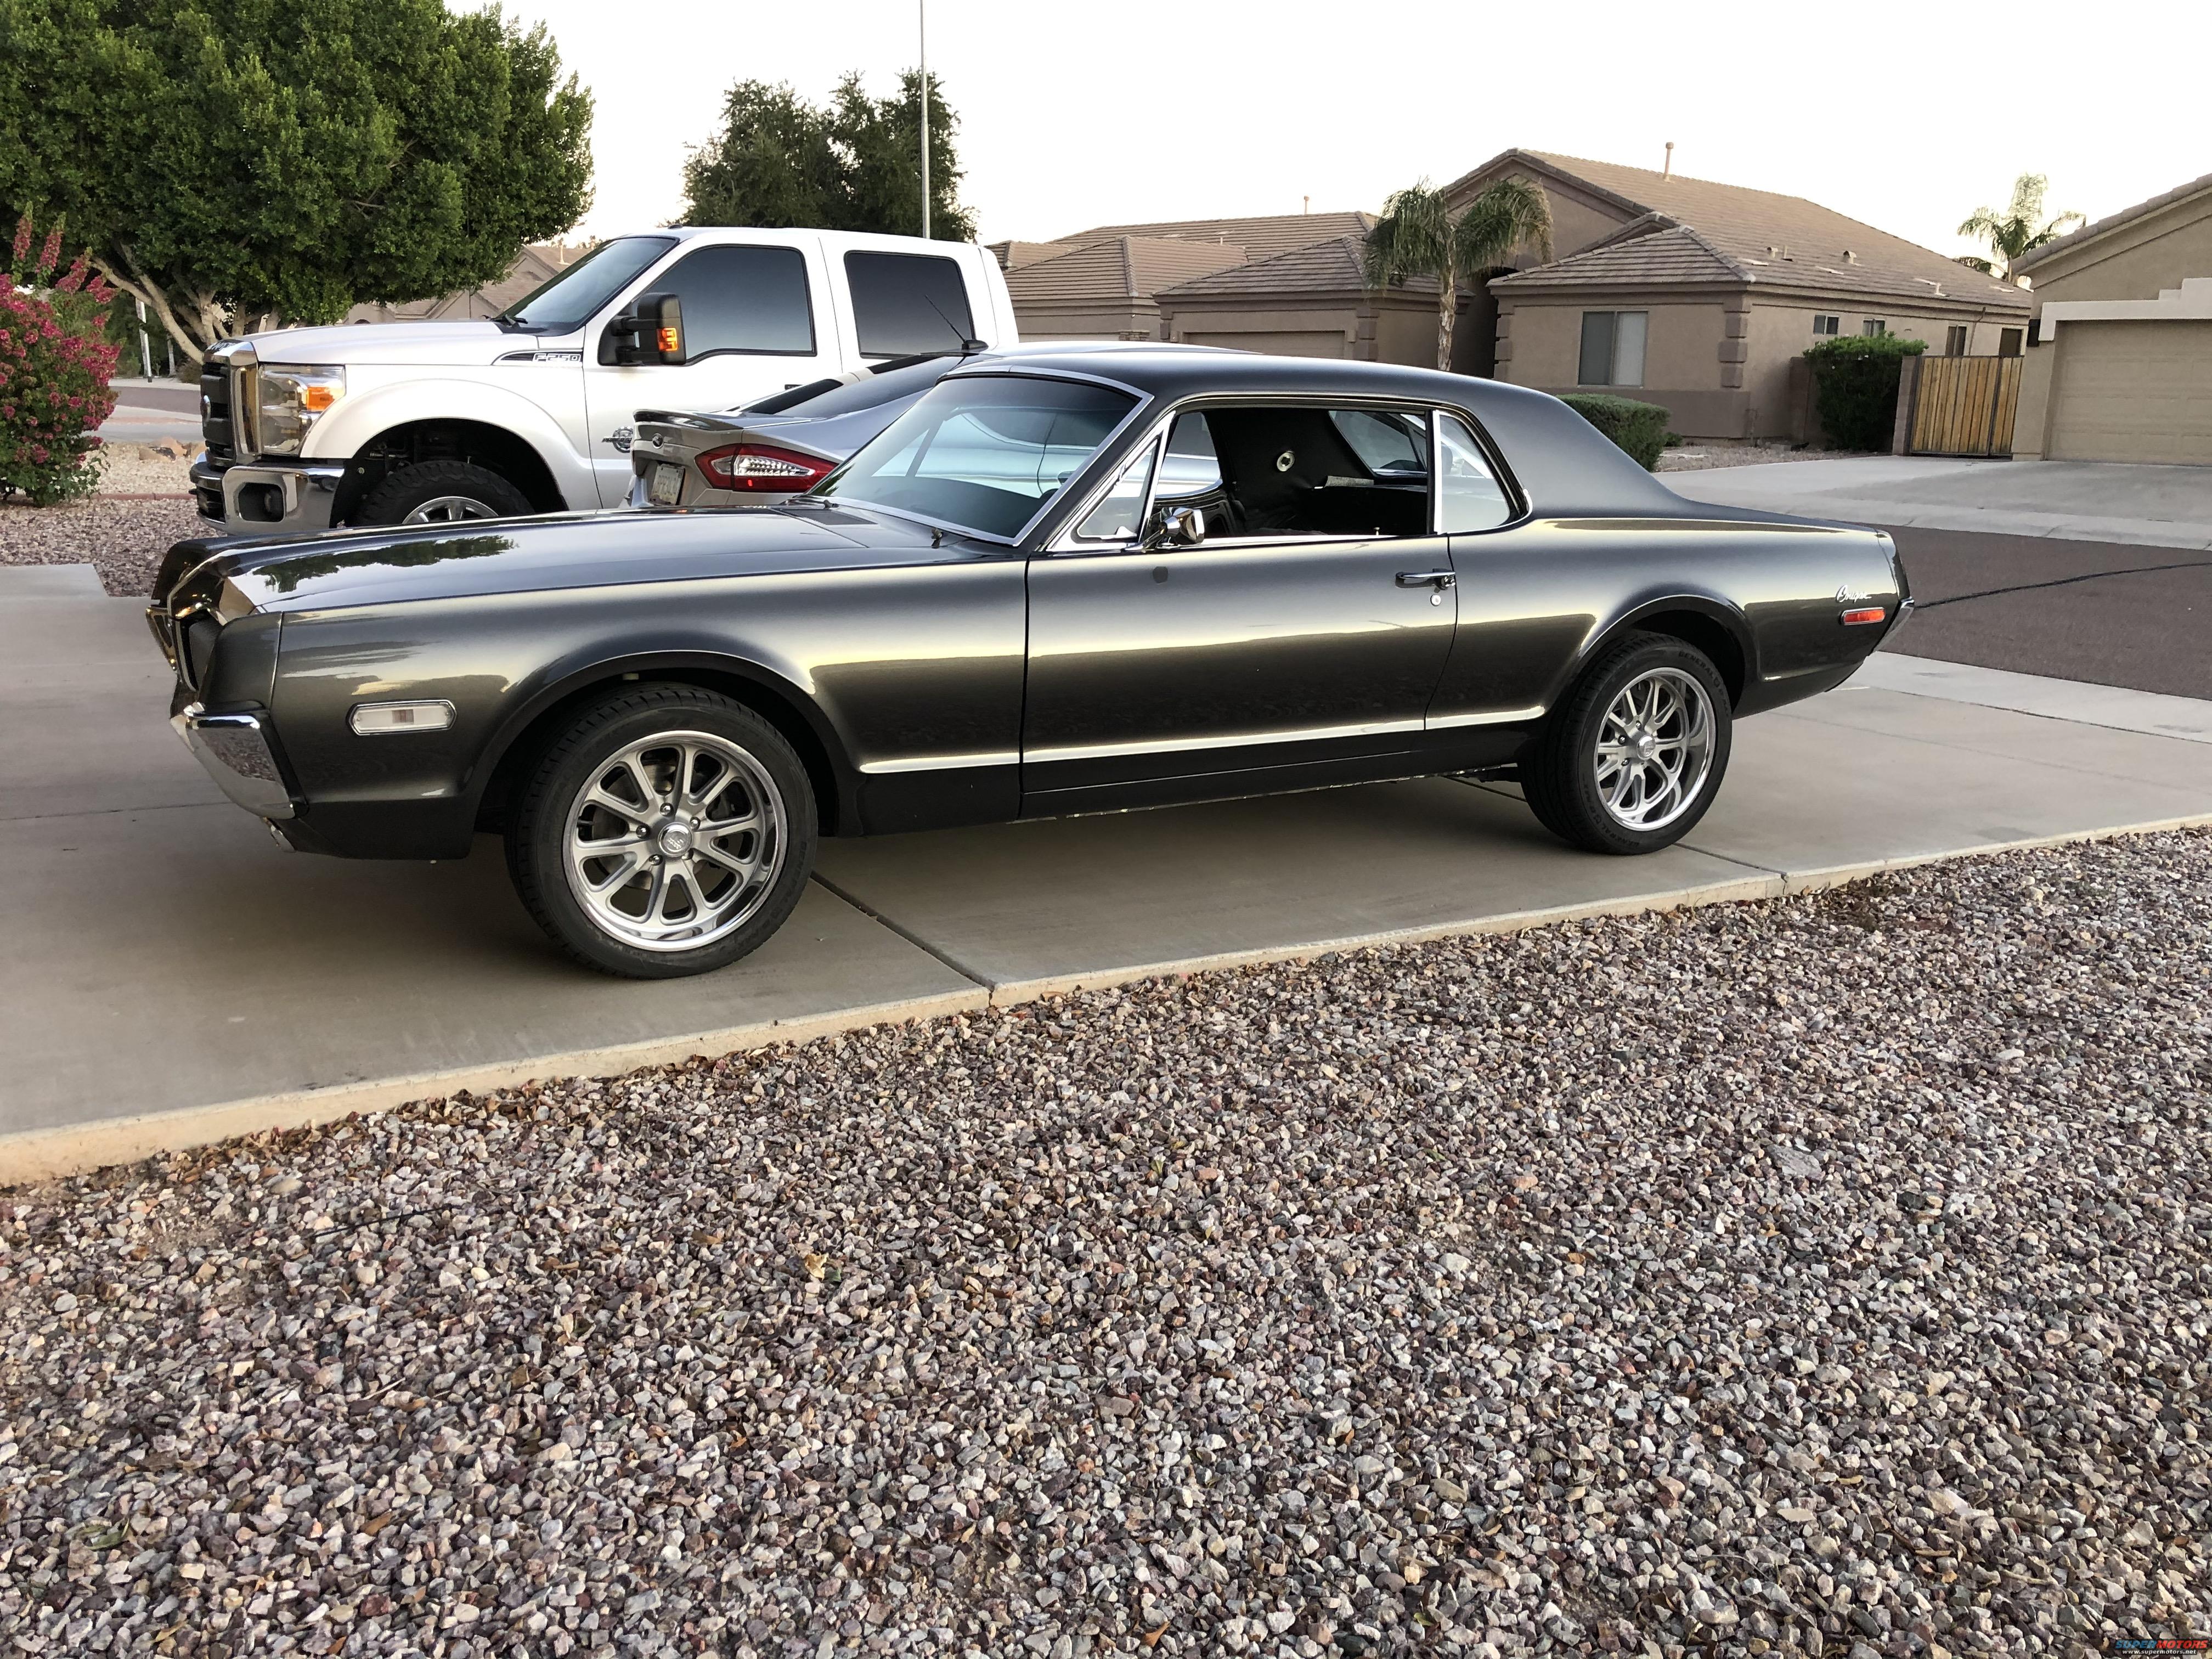
The cougar budget is stretched pretty thin as of late so I am limited on what I can do, but I can accomplish other things for relatively cheap or even free. Sheby drop fits with free so that was next on my hit list. I have got some messages about ride height and lowering blocks recently so I wanted to get a couple comparison pictures . Im still tweaking on the alignment and have not adjusted caster which is noticeably off and opposite of what I need for the lowered suspension. The previous owner that installed all new suspension before shelving the cougar for years following never did an alignment so everything was ridiculously out of spec. Not being able to drive the cougar(no interior) to an alignment shop and towing back and forth can be a hassle I picked up an alignment gauge and decided to align myself.
Already having a 1" lower spring installed in the front I am not able to compare original stock height but this is with 1" lowering spring in the front, 1" lowering block in the rear.
After the shelby drop in the front and with camber corrected to reflect and rear is unchanged from above. Right height is 2" lower in the front vs the rear.
This will be the ride height for the foreseeable future. After the interior is in and I can get the car settled a little more if needed I will drop the rear another inch.
anyone wanting to do their own alignment these are pretty slick.
Been working on door panels recently, new backer boards and repaired a couple of nicks and cuts in the vinyl before using SEM satin black.(I know not the correct black but like it better) The decor trim I used a dark charcoal grey for the weave and a silver that matches the rest of my dash trim for the outer trim that was yellowed from the sun. For the cougar emblem used a chrome paint pen which worked surprising well.
They definitely are not perfect but only so much you can do with 50yr old crusty vinyl. I’m surprised I was able to get them apart and on new backer boards without tearing them. I used a heat gun and heater to warm everything up to make it easier to work. Im happy with the results and cost is less then 100bucks and some time. Pretty good solution to having panels custom made or getting lucky Finding good used in the correct year, color and trim.
DieselD - Your door panels came out great. Did you mask the chrome and “basket weave” area or can you actually separate these elements from the panel to paint? I have yet to disassemble my panels to see what is between the backer board and the vinyl. Nice looking Cougar! Jim R.
The basket weave section is all one piece and does not separate so it involved alot of careful tedious masking, I did this before painting the whole panel. I did the outer section first then the basket weave. Watch the video WCCC did on backer board replacement to get an idea on whats in there. Its not too hard just time consuming. The backers fit nicely tho
Obviously mine are not any where close to correct colors and finish but I like the slight change and brings new life into the old parts. The chrome section is pretty much impossible to look new again so I figured painting it was a good option. I tested the durability and it seems to hold up well, I have to really try to scratch it so it should sold up to general use. The car is parked in the garage so it will not bake in the sun all summer either.
DieselD - Thanks for the response and info on your technique. I like the contrast of the basket weave also. So you painted the chrome surround area, looks nice. I’ll check out the WCCC video. thanks. Jim R
Yes what was the chrome surround is painted, it’s just plastic so I scuffed it up a bit with a red scotch bright pad before painting. I did the surround fist then painted the basket weave then the panel itself.
I can post the SEM colors of your interested in what was used. I also used a adhesion promoter before paint. Also make sure you prep everything really good.
Dawn dish soap is good at getting all the nasty off, make sure to scrub the basket weave really well. Mine had all kinds of dirt stuck in there