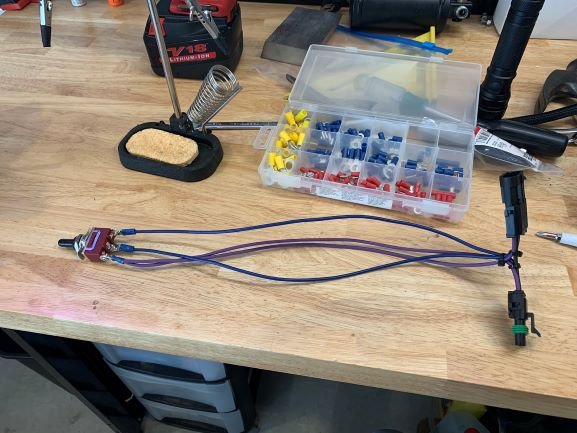
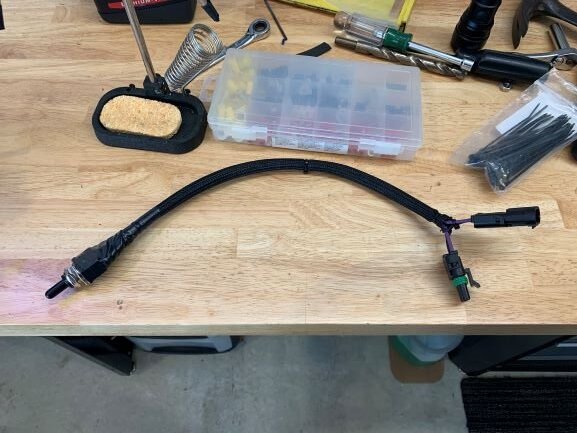
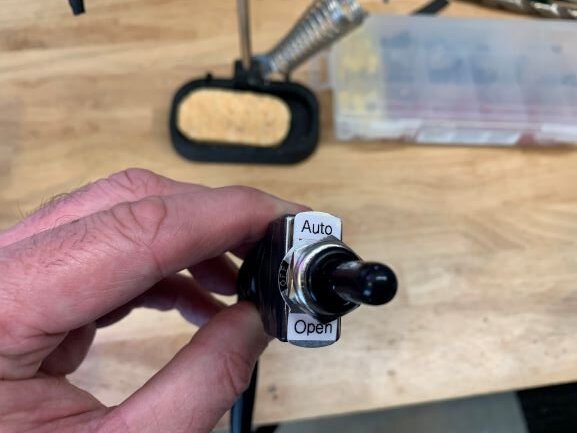
On a side note. When I was emailing back and forth with the Cats Headlight people about stripping out their harness and tying it directly into my panel they had suggested connecting the motor power feed to an accessory powered circuit so if I turned the car off with the headlights on the doors would stay open when the accessory power was killed with the key. This would allow a way to hold the door open when you need service or work around the headlights. I thought this was a good idea especially during the reassembly adjustment process but I didn’t like the idea of the door possibly being left open by accident if I shut the car off before turning the headlights off. So to achieve the same end I made a small switch harness, using a 3-way switch, that can be plugged into the power/relay feed in the grille area and allow manual or auto function of the headlight door motor when I am working on the car. When the switch is set to “open” just the doors open and stay open without the headlights coming on. When the switch is set to “auto” the doors open and close with the headlight switch as normal. When it is in the center “off” position the doors stay closed. I just simply unplug the weather tight connector and plug this harness inline then remove it again when I’m done.
That is a good idea, I did not think of the what would happen if you needed to work around in that area with the electric conversion. I have removed my vacuum actuators but have not done the electric conversion yet so I will have to keep this in mind. It could also work in a permanent install location as a “headlight door override”
Good idea indeed! My only thought with the electric conversion was to unplug the headlight bulbs if I needed to open the doors to service them.
I don’t know that its necessary to permanently wire the switch because I don’t think you’ll need it that often. I wired in a Weatherpack weather proof connector between the cars main harness and the power/relay/ground feed to the headlight motor. All you need to do to use the switch is separate the Weatherpack connector and connect the switch harness to both sides of the Weatherpack connector and you are in business. Takes about 30 seconds.
I do think it will be handy.
It’s been a while since my last post. I have had a few issues getting on board with my painter but that is all finally worked out (Thanks Don). I picked up the powder coated brackets and hardware a few weeks back and I picked up my newly painted grille yesterday so I am ready to get back to work. But first … vacation. lol
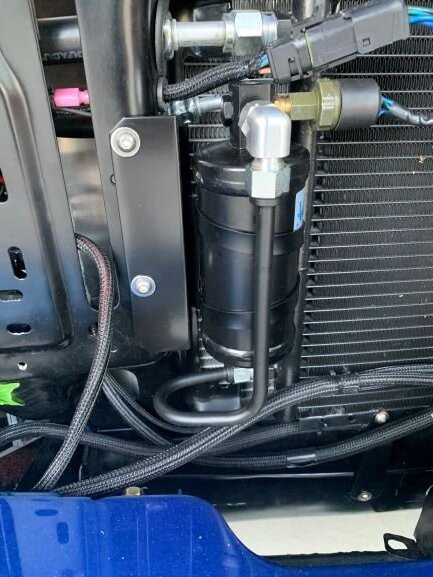
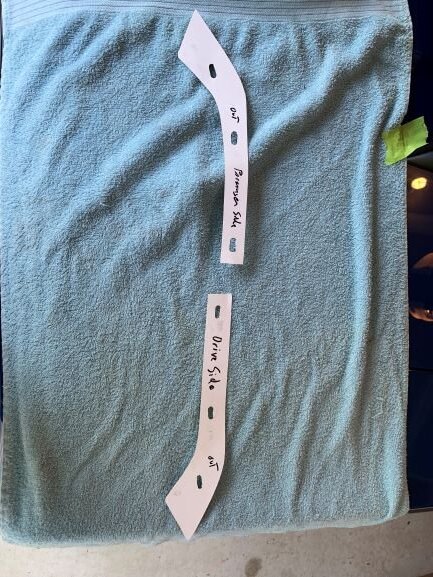
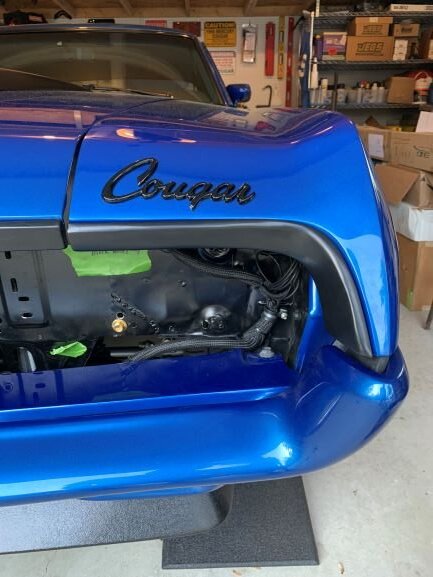
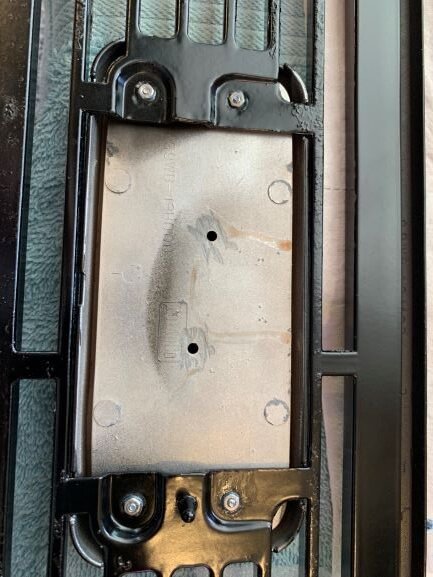
I have done a few things while my grille was incarcerated at the paint prison. I installed the new bracket to relocate the AC drier and rechrged the system to run cold again. I also installed black powder coated right and left eyebrow trim along with the hood lip trim (mine were shaved). I created templates from a pair of fender extensions to lay out the holes then used a dremel tool to route out the slots. Not sure why some pics are rotated.
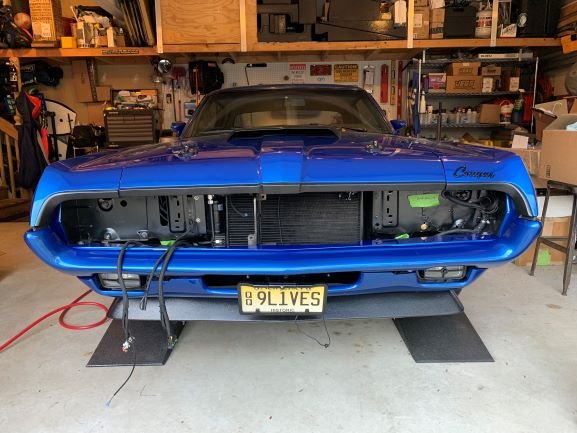
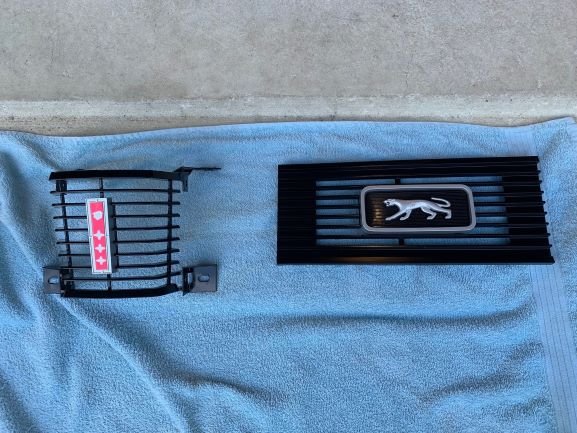
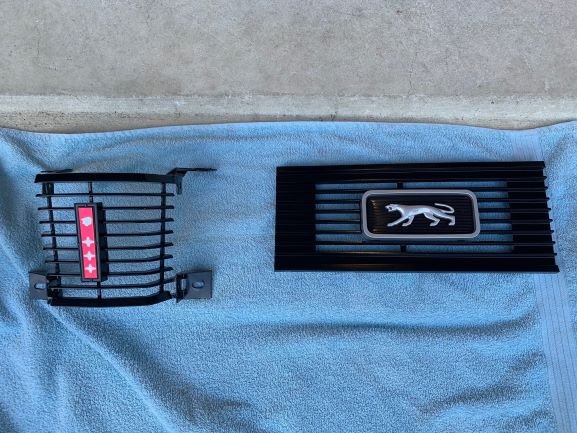
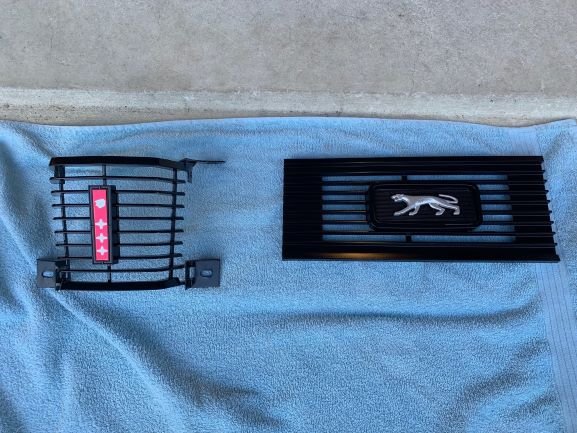
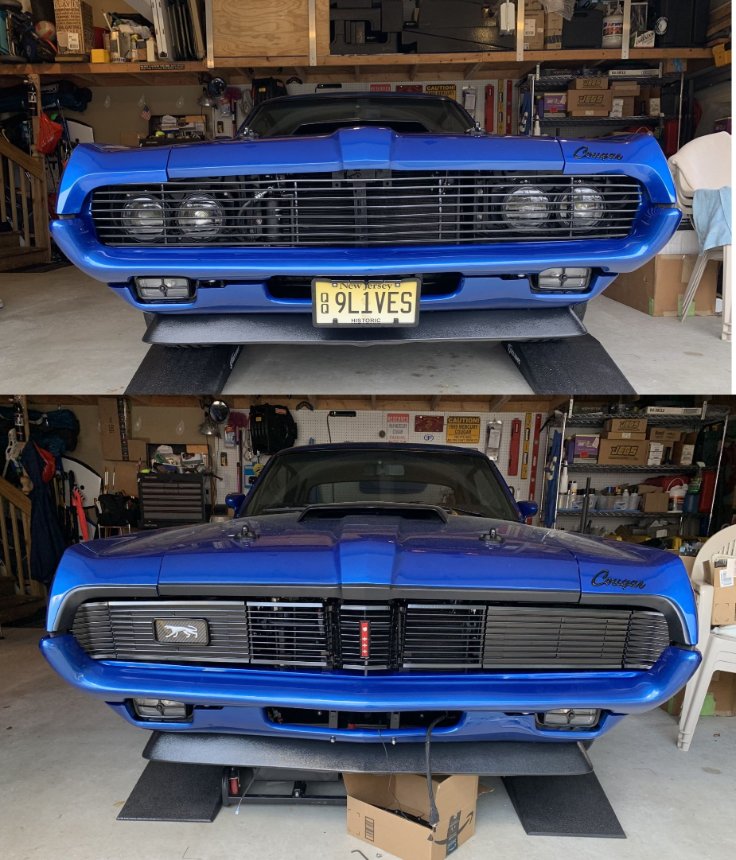
I did one other fun thing yesterday. I laid out the various options for the corral and emblem/Insert trim color combos to choose from. All the trim on my car is blacked out and I do not have any chrome on the car. So I sent a couple extra corrals and emblem/Insert pieces to be painted black and silver(silver to match brushed aluminum rim outer).
I’m liking the last option with the black corral and black emblem insert.
I liked the black eye brow trim.
Also have to say my vote is the the last option of the corral and center grille.
Nice work!
Thanks. I’ll make my final decision once the grille is all back together and I can look at the whole assembly. My son wants me to try a version with the walking cat blacked out as well. Not sure if I’ll like that but might try it.
The black eyebrow trim is growing on me. I really liked the shaved look but the more I look at the blacked out trim the more I’m liking it.
On a related note: Does anyone have a suggestion on the type of adhesive to use to reattach the corral to the headlight door grille? I’m thinking JB Weld but not sure. I welcome all suggestions.
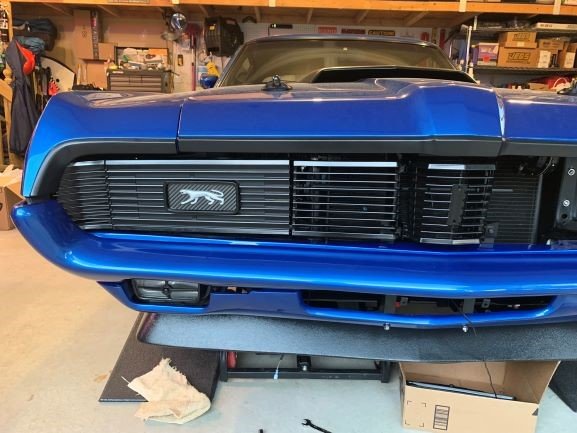
Got back on the grille assembly this weekend. After searching the various forums I found a drill and screw method for reattaching the corral to the headlight door grill explained by 1969XR7Vert on one of the threads. As suggested I used 1/4" long #2 screws and countersunk them so the heads are flush. I used thread-lock on the nuts to keep them from vibrating off. I also decided to make a carbon fiber insert for the corral to match an insert I did on my fuel door. I’m really happy with the look.


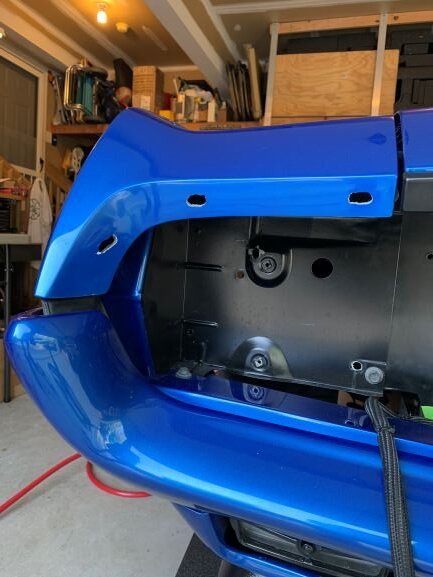
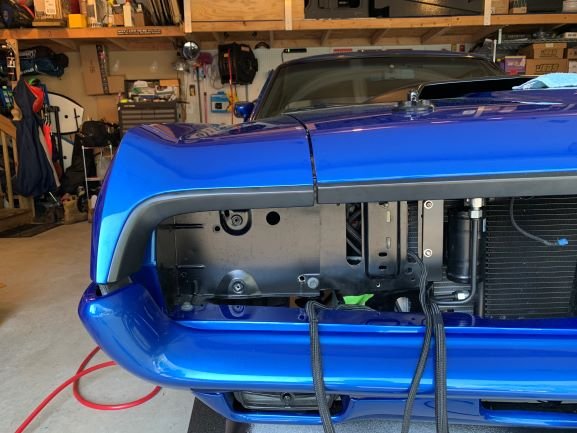
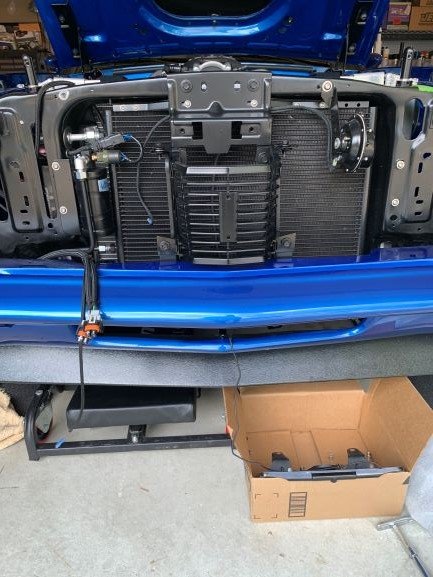
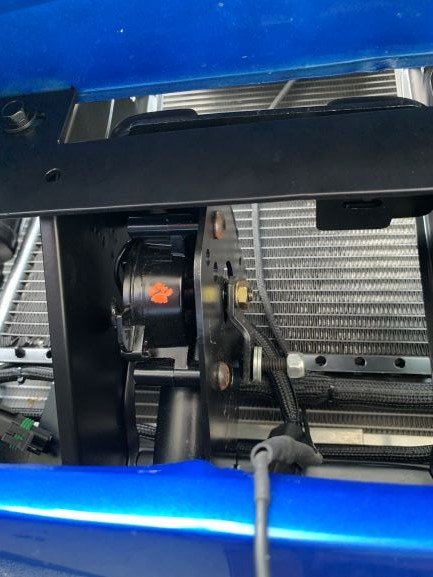
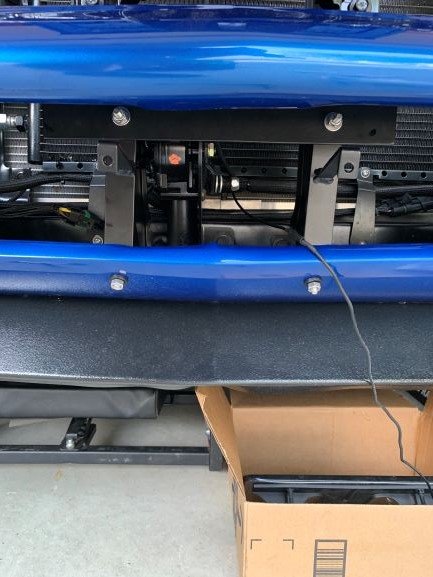
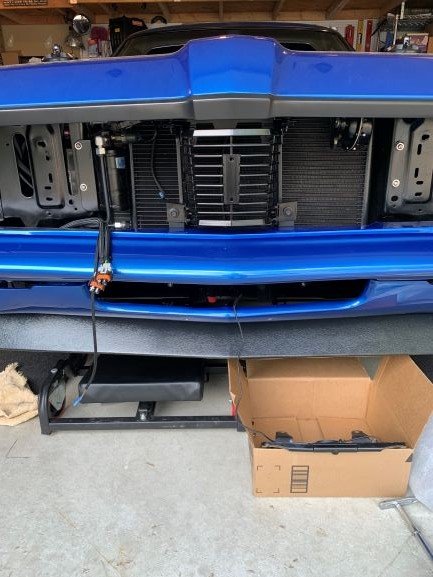
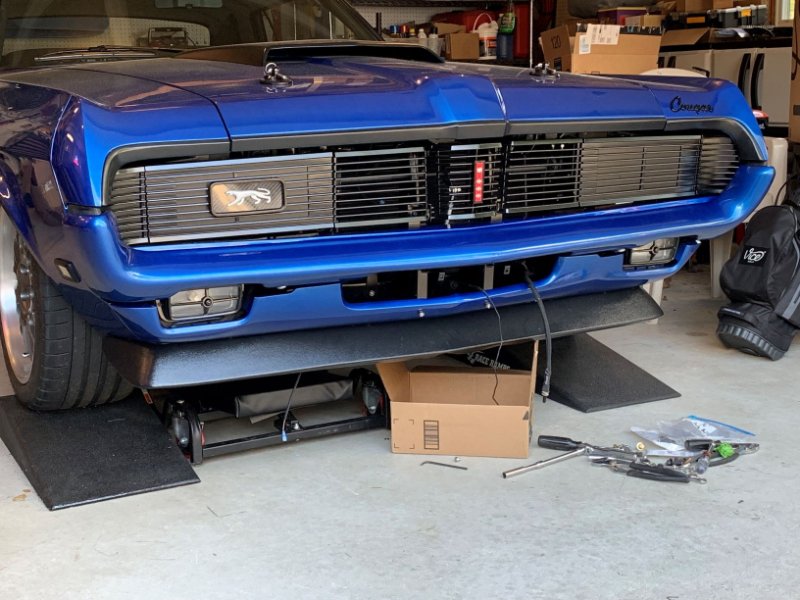
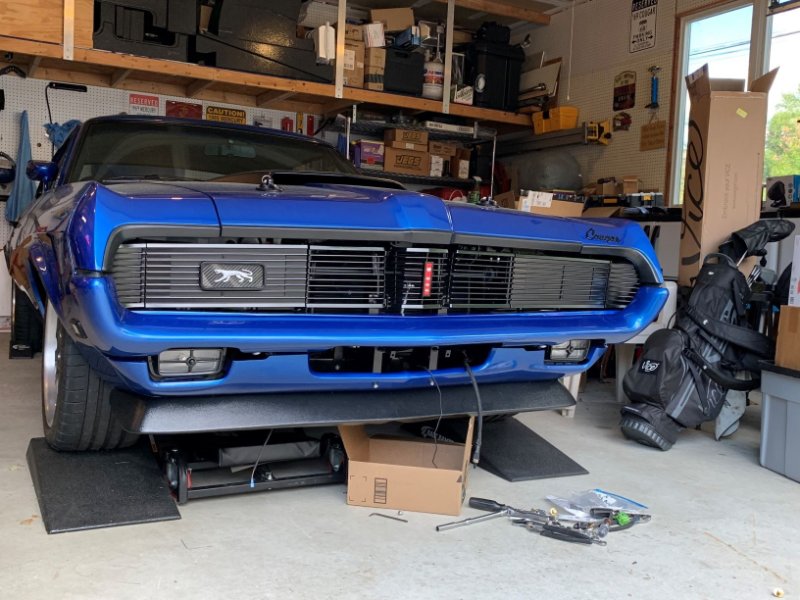
Got the grille all reassembled. The following pictures show the center section installed and aligned along with the brackets and the Cats Headlight motor installed.
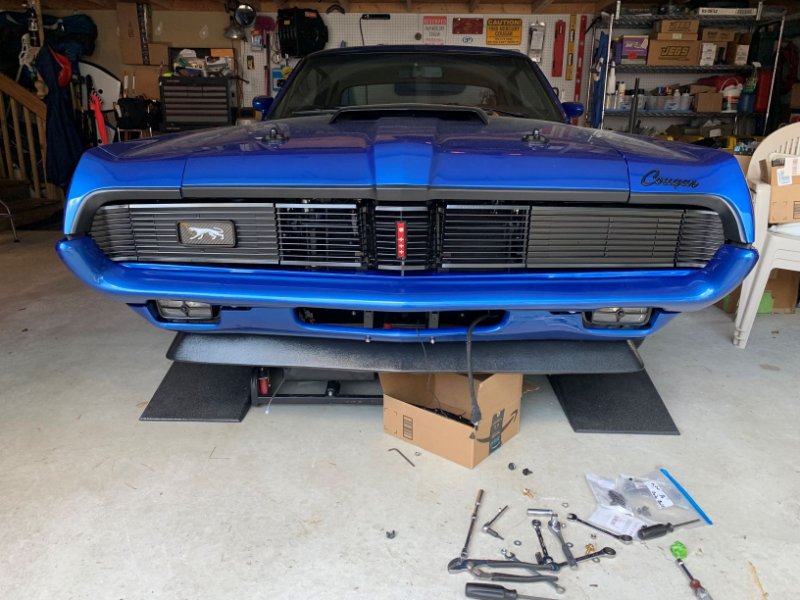
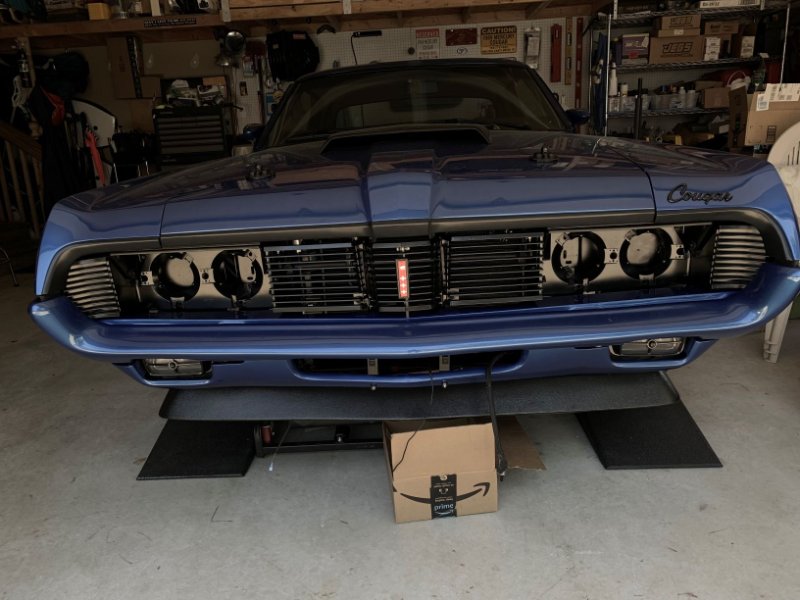
Now on to the final headlight wiring and install. Going to make up small harnesses for each side that attache to the grille sections like the factory.
That turned out really sharp! The grille was from Steve Liebenows 35 year collection out of the Bay area. He recently moved and unearthed some items that had not been disturbed in his garage rafters since the last big earthquake!
Thanks Don. Really appreciate all you help locating everything and your patience with all my quirks. The grille was in great shape and didn’t require a lot of prep work. It looks much better in person then in the pictures. Once I fire it up this weekend and get it out in the daylight I will take some better pictures.
Awesome work- thanks for the inspirations…
Like that carbon corral!!
Just in time for the WCCC calendar contest!