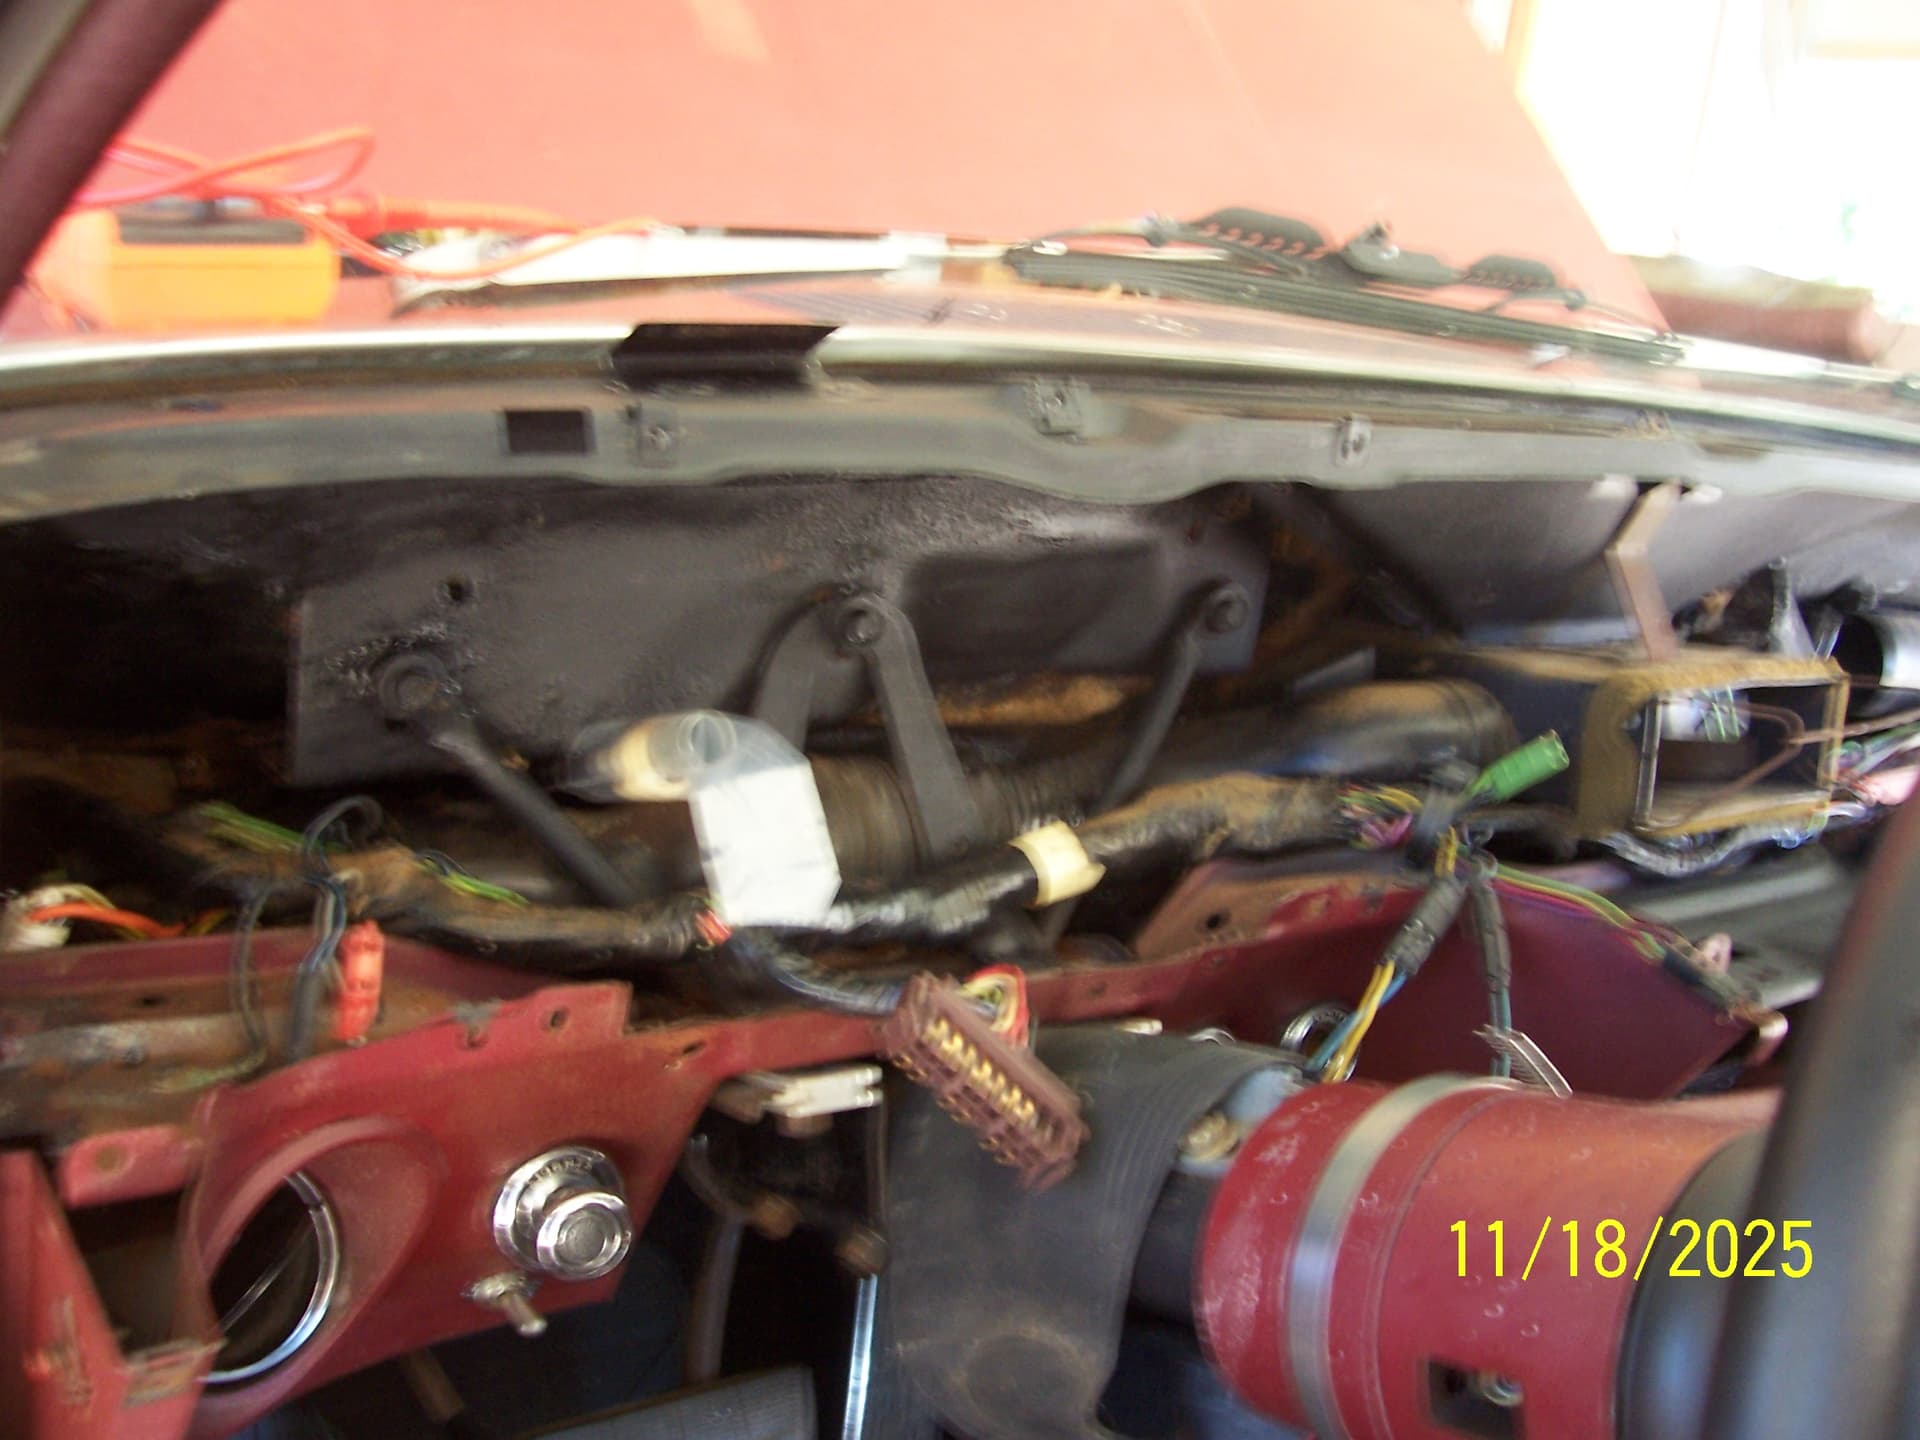
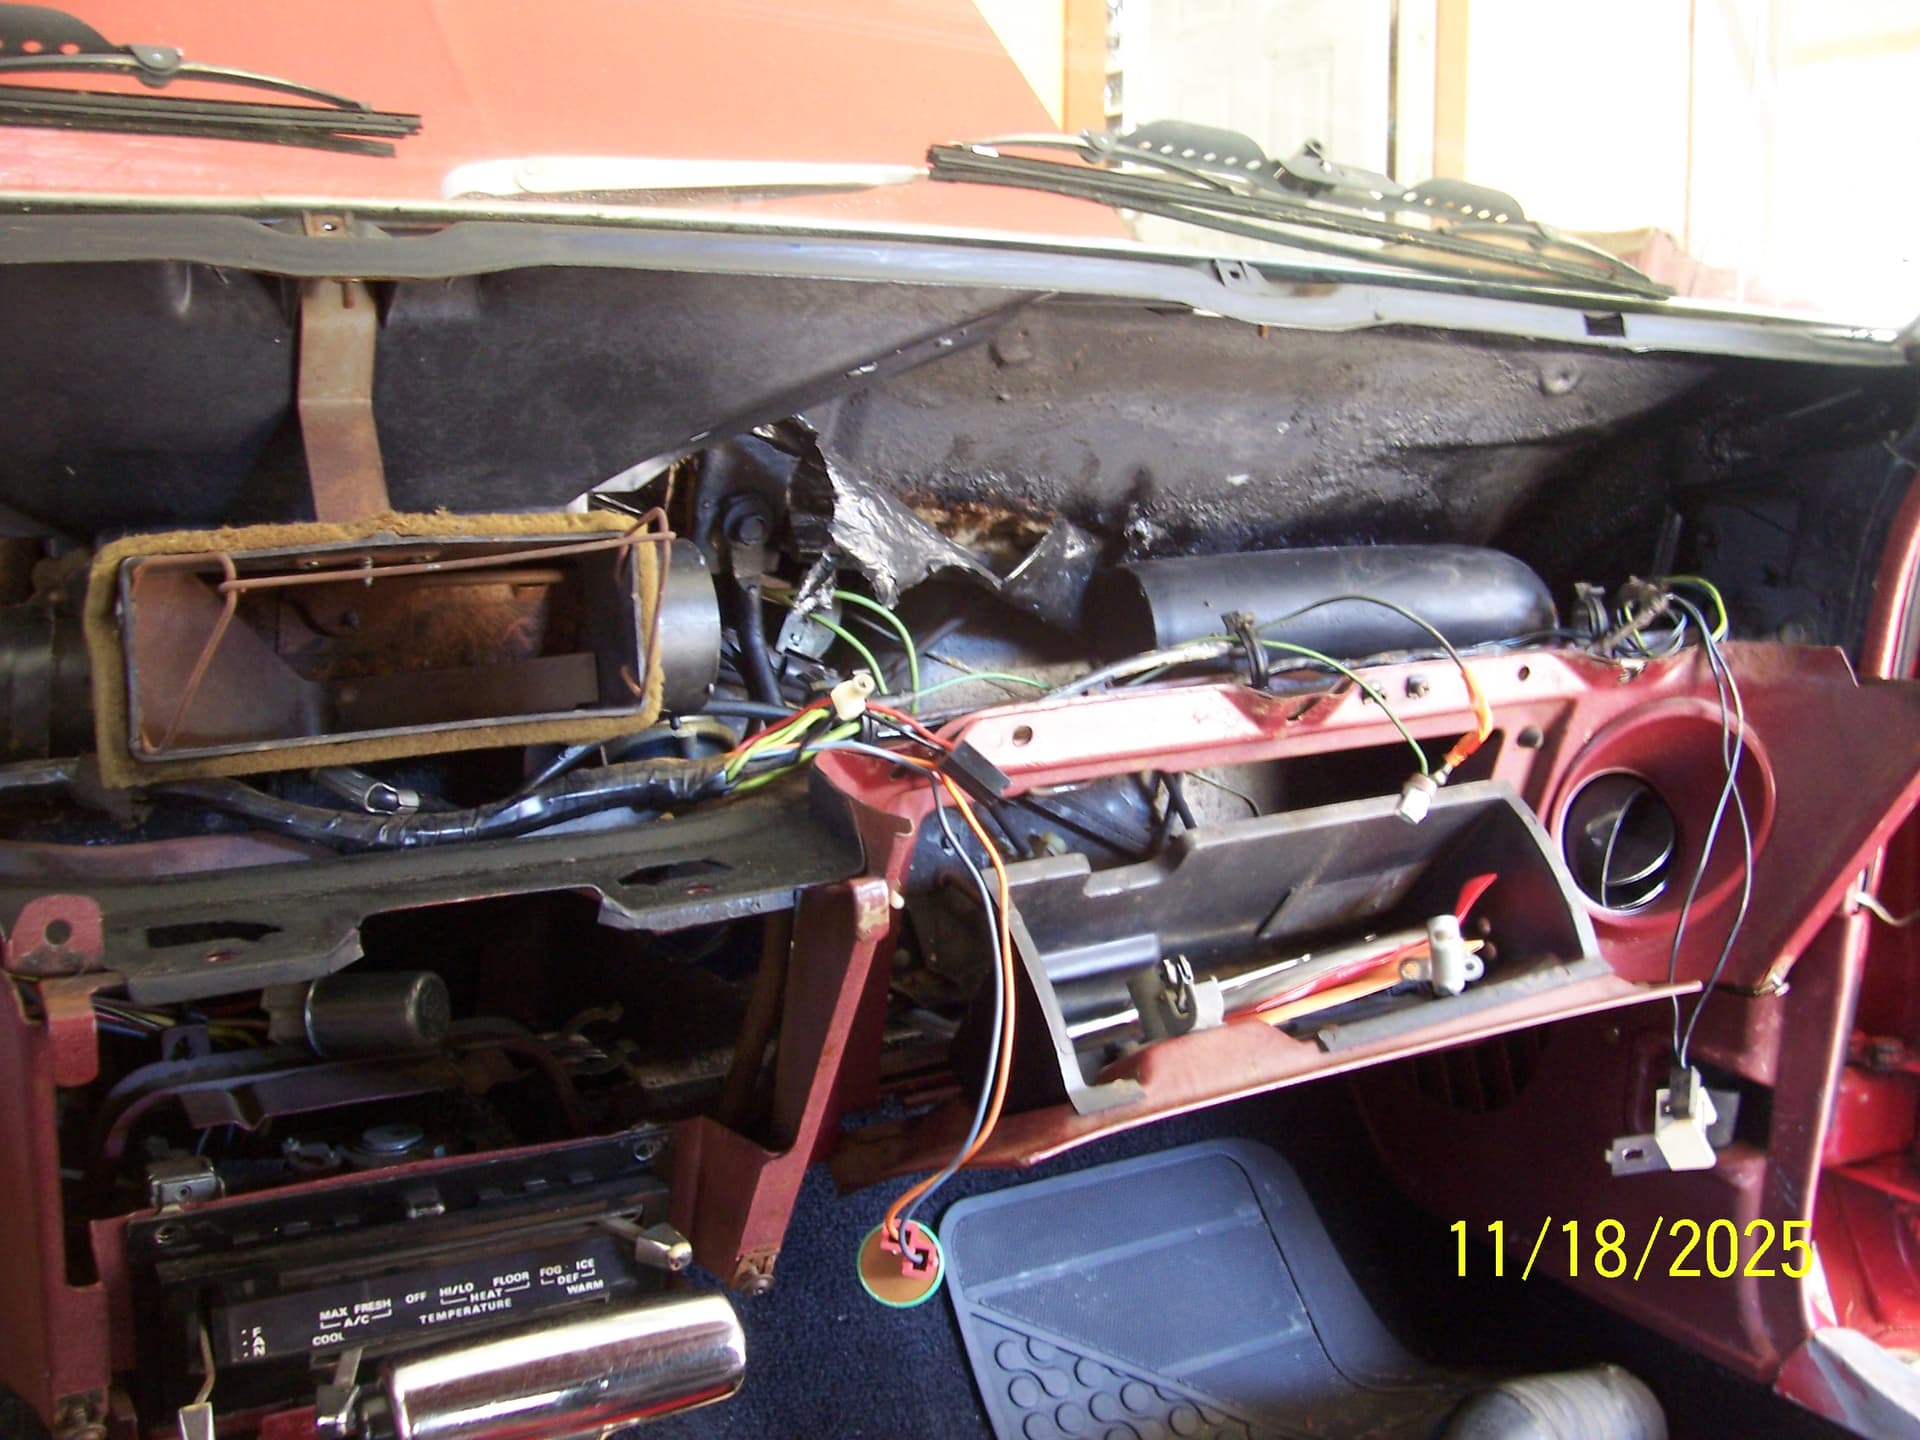
The “inquiries” in this current project are predominately electrical/gauge oriented and posted in another thread under maintenance, restoration and repair 1970 base model console lights and gauges so as not to muddy the waters too much, I’ve opted to post the “progress” here and will update as I work my way through. For me, the task overwhelmed me at first, but once I took my eyes off the “BIG PICTURE”, I was able to drill down and focus on one thing (mostly) at a time. Stage 1 in this plan is DASH REFORMATION.
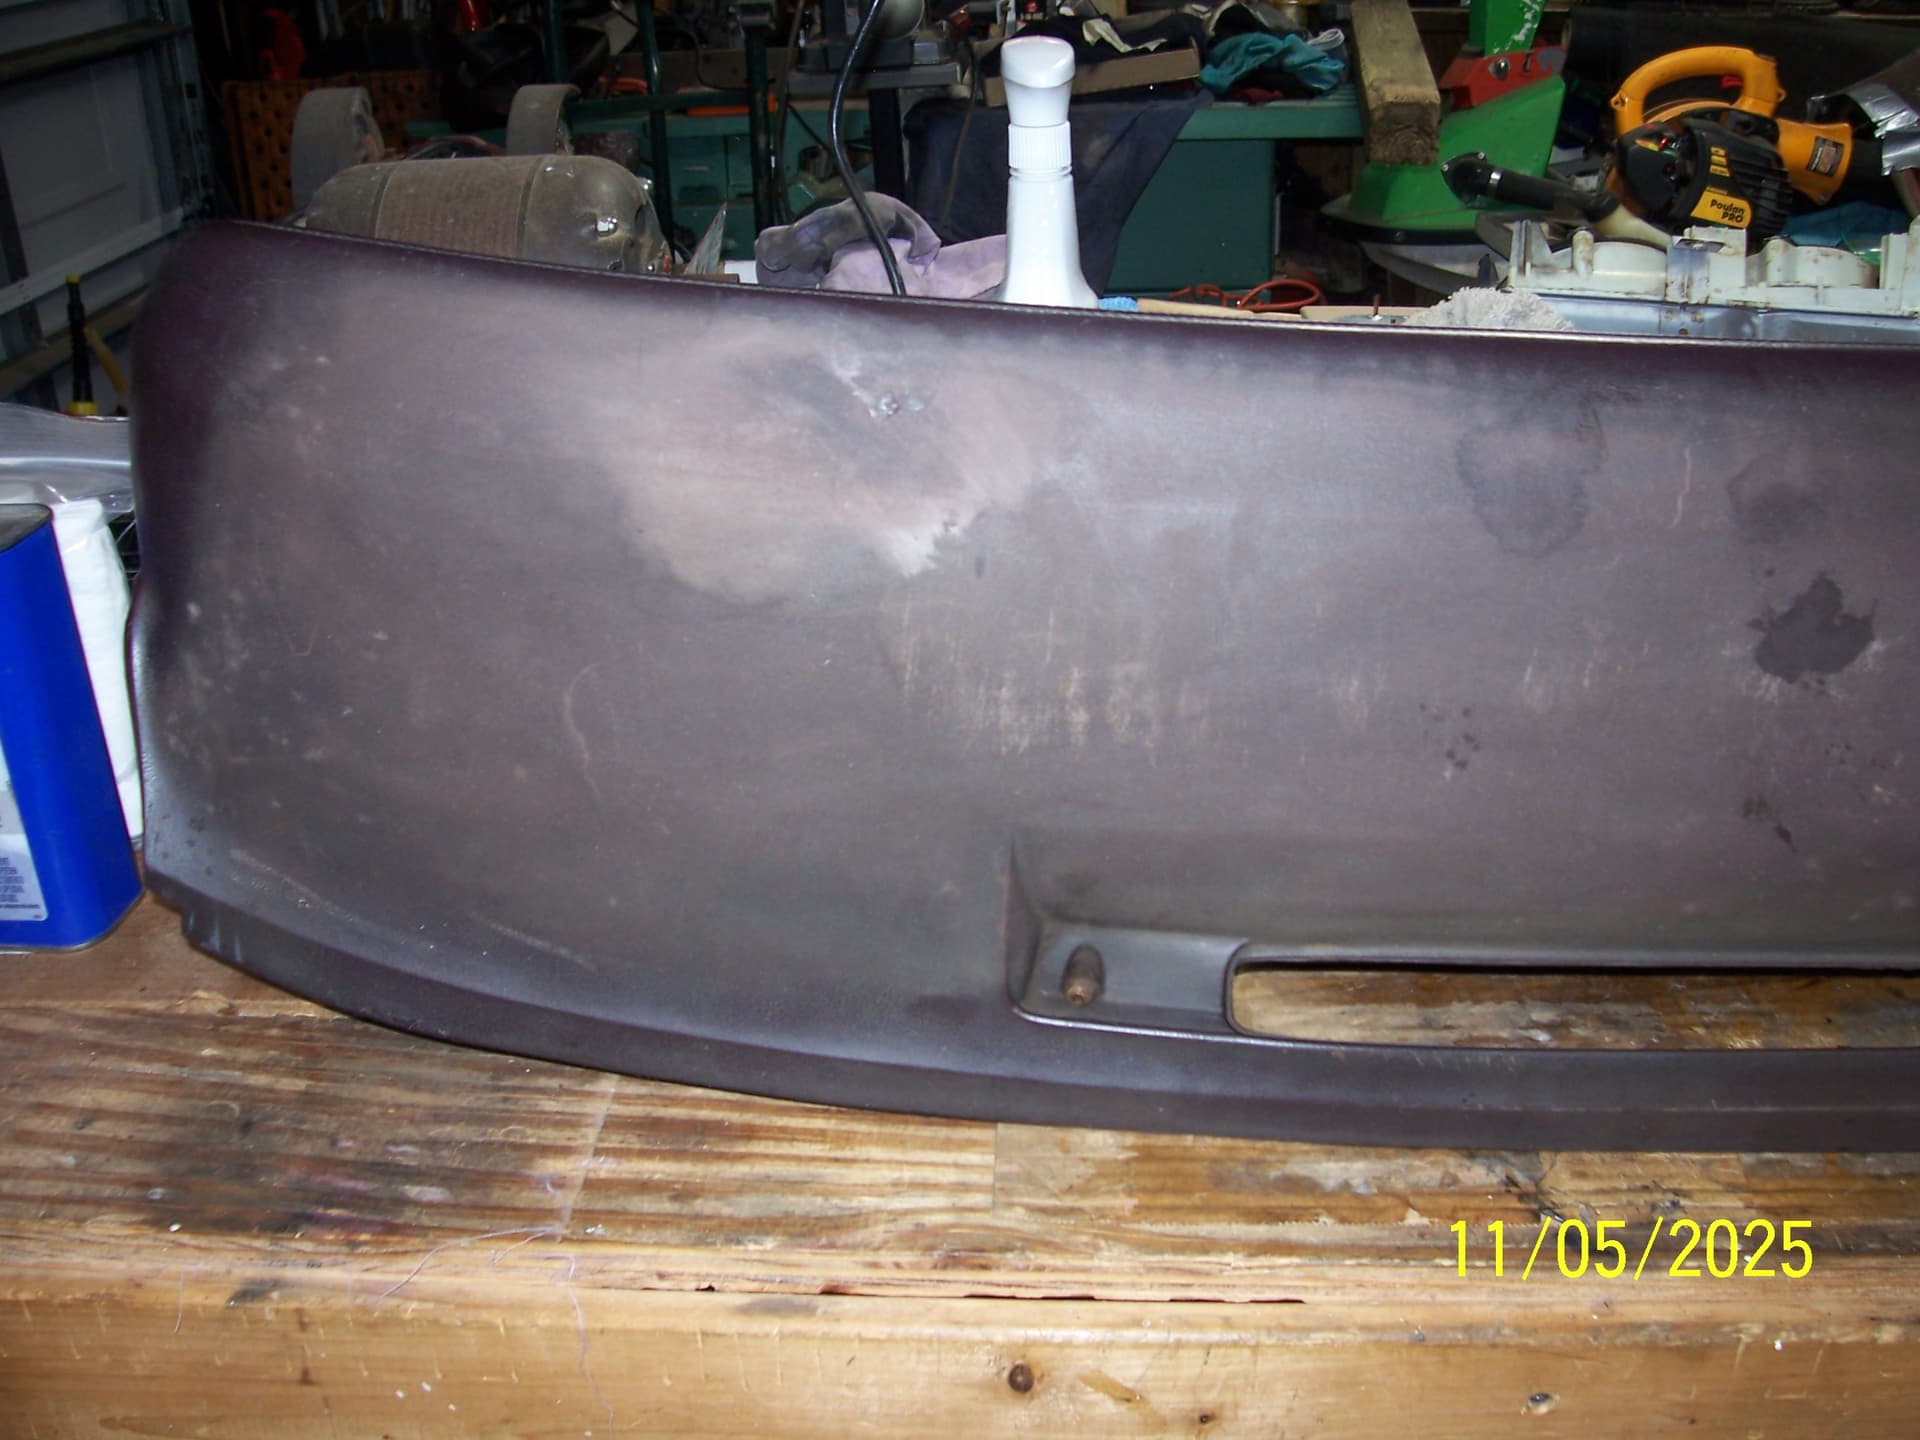
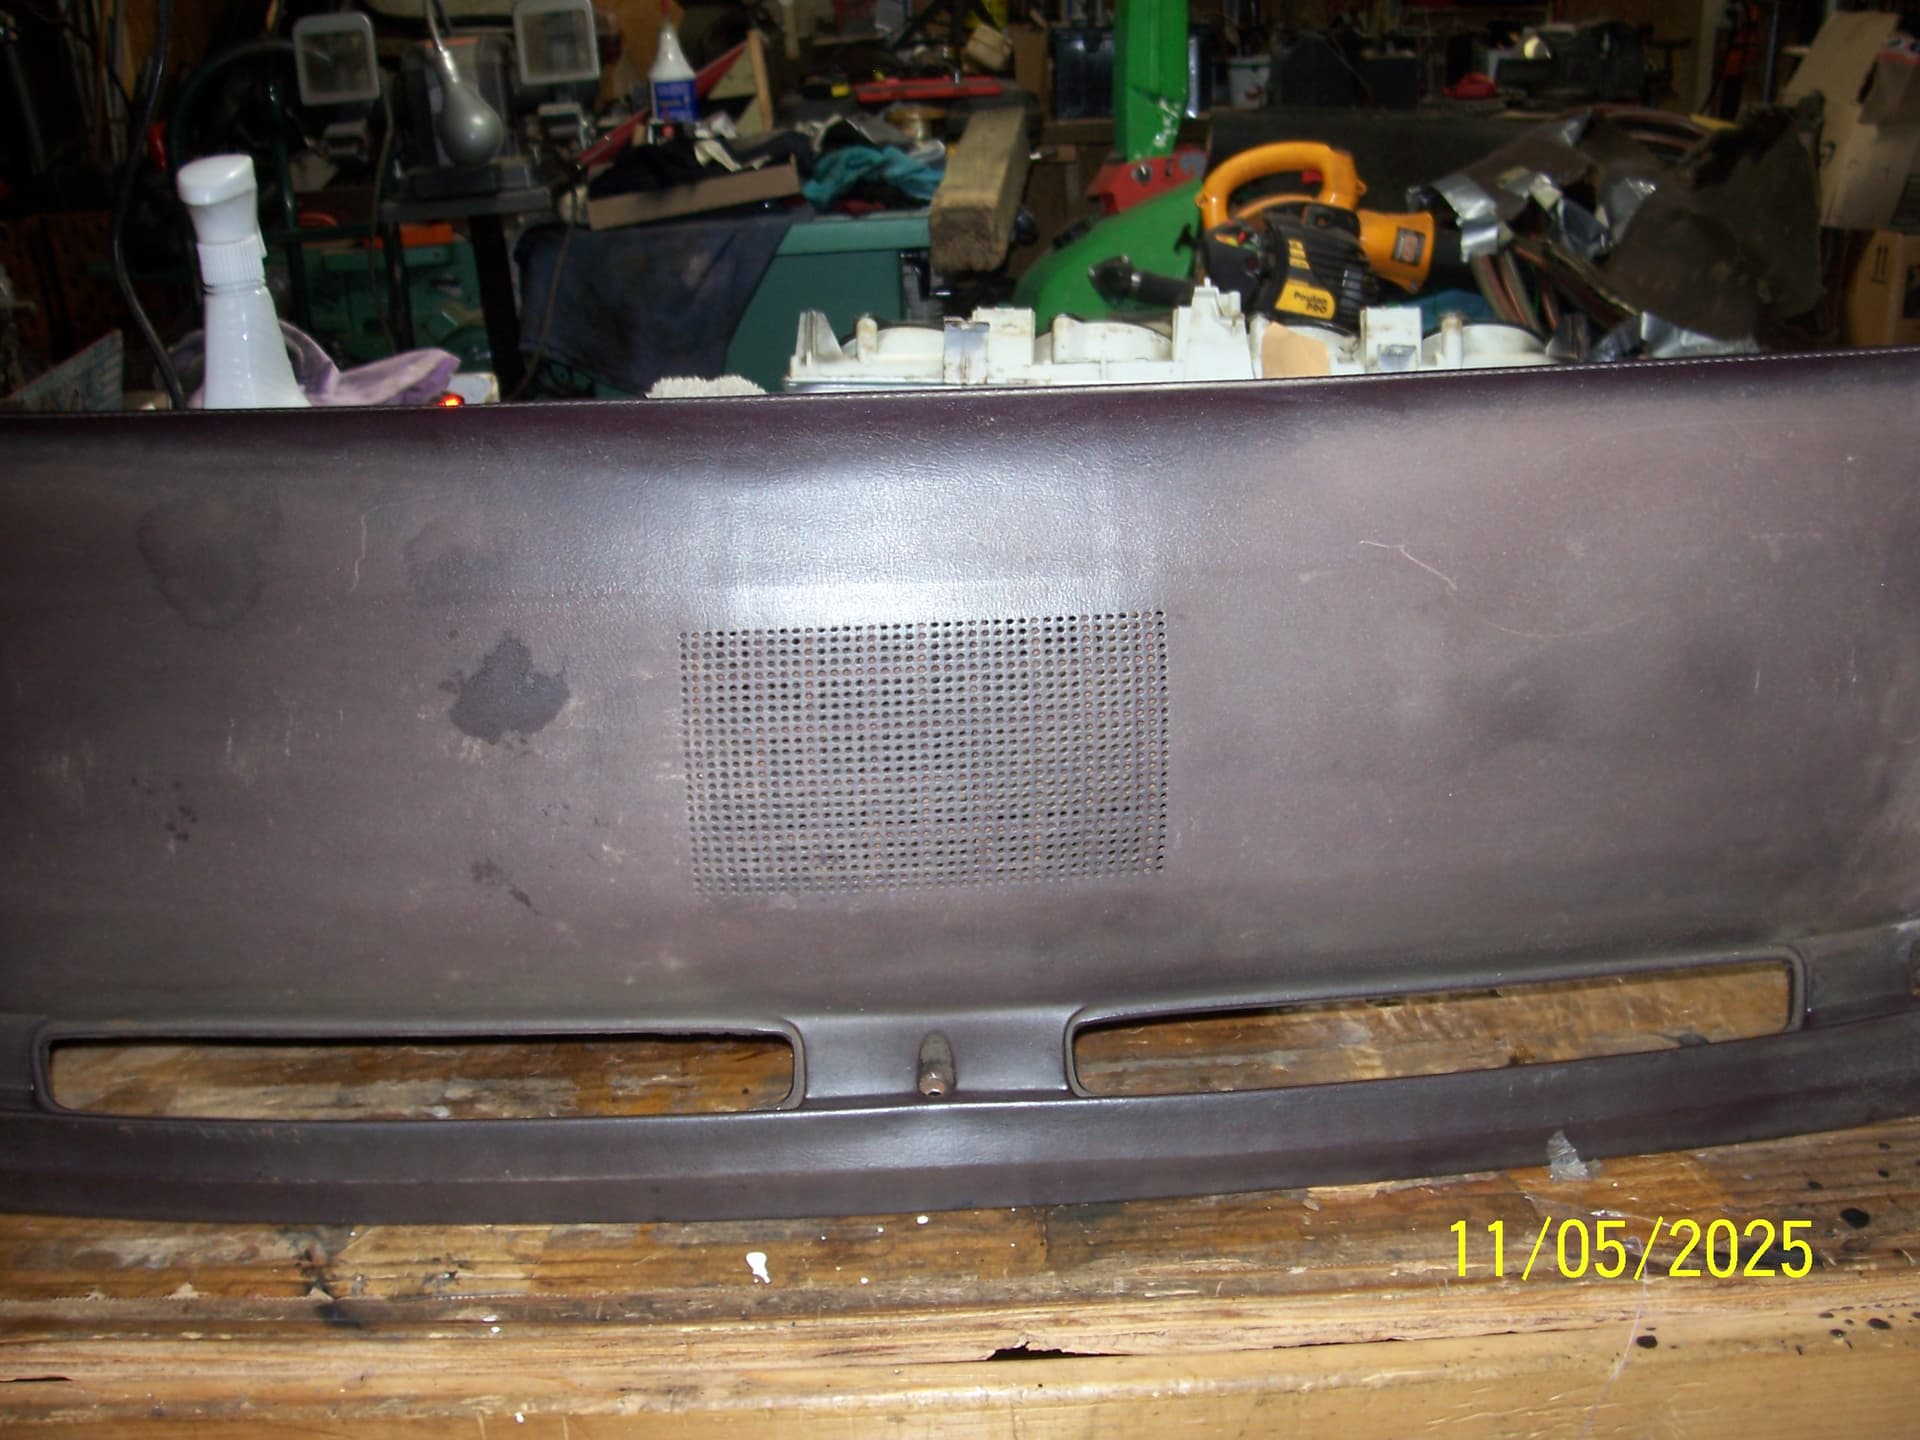
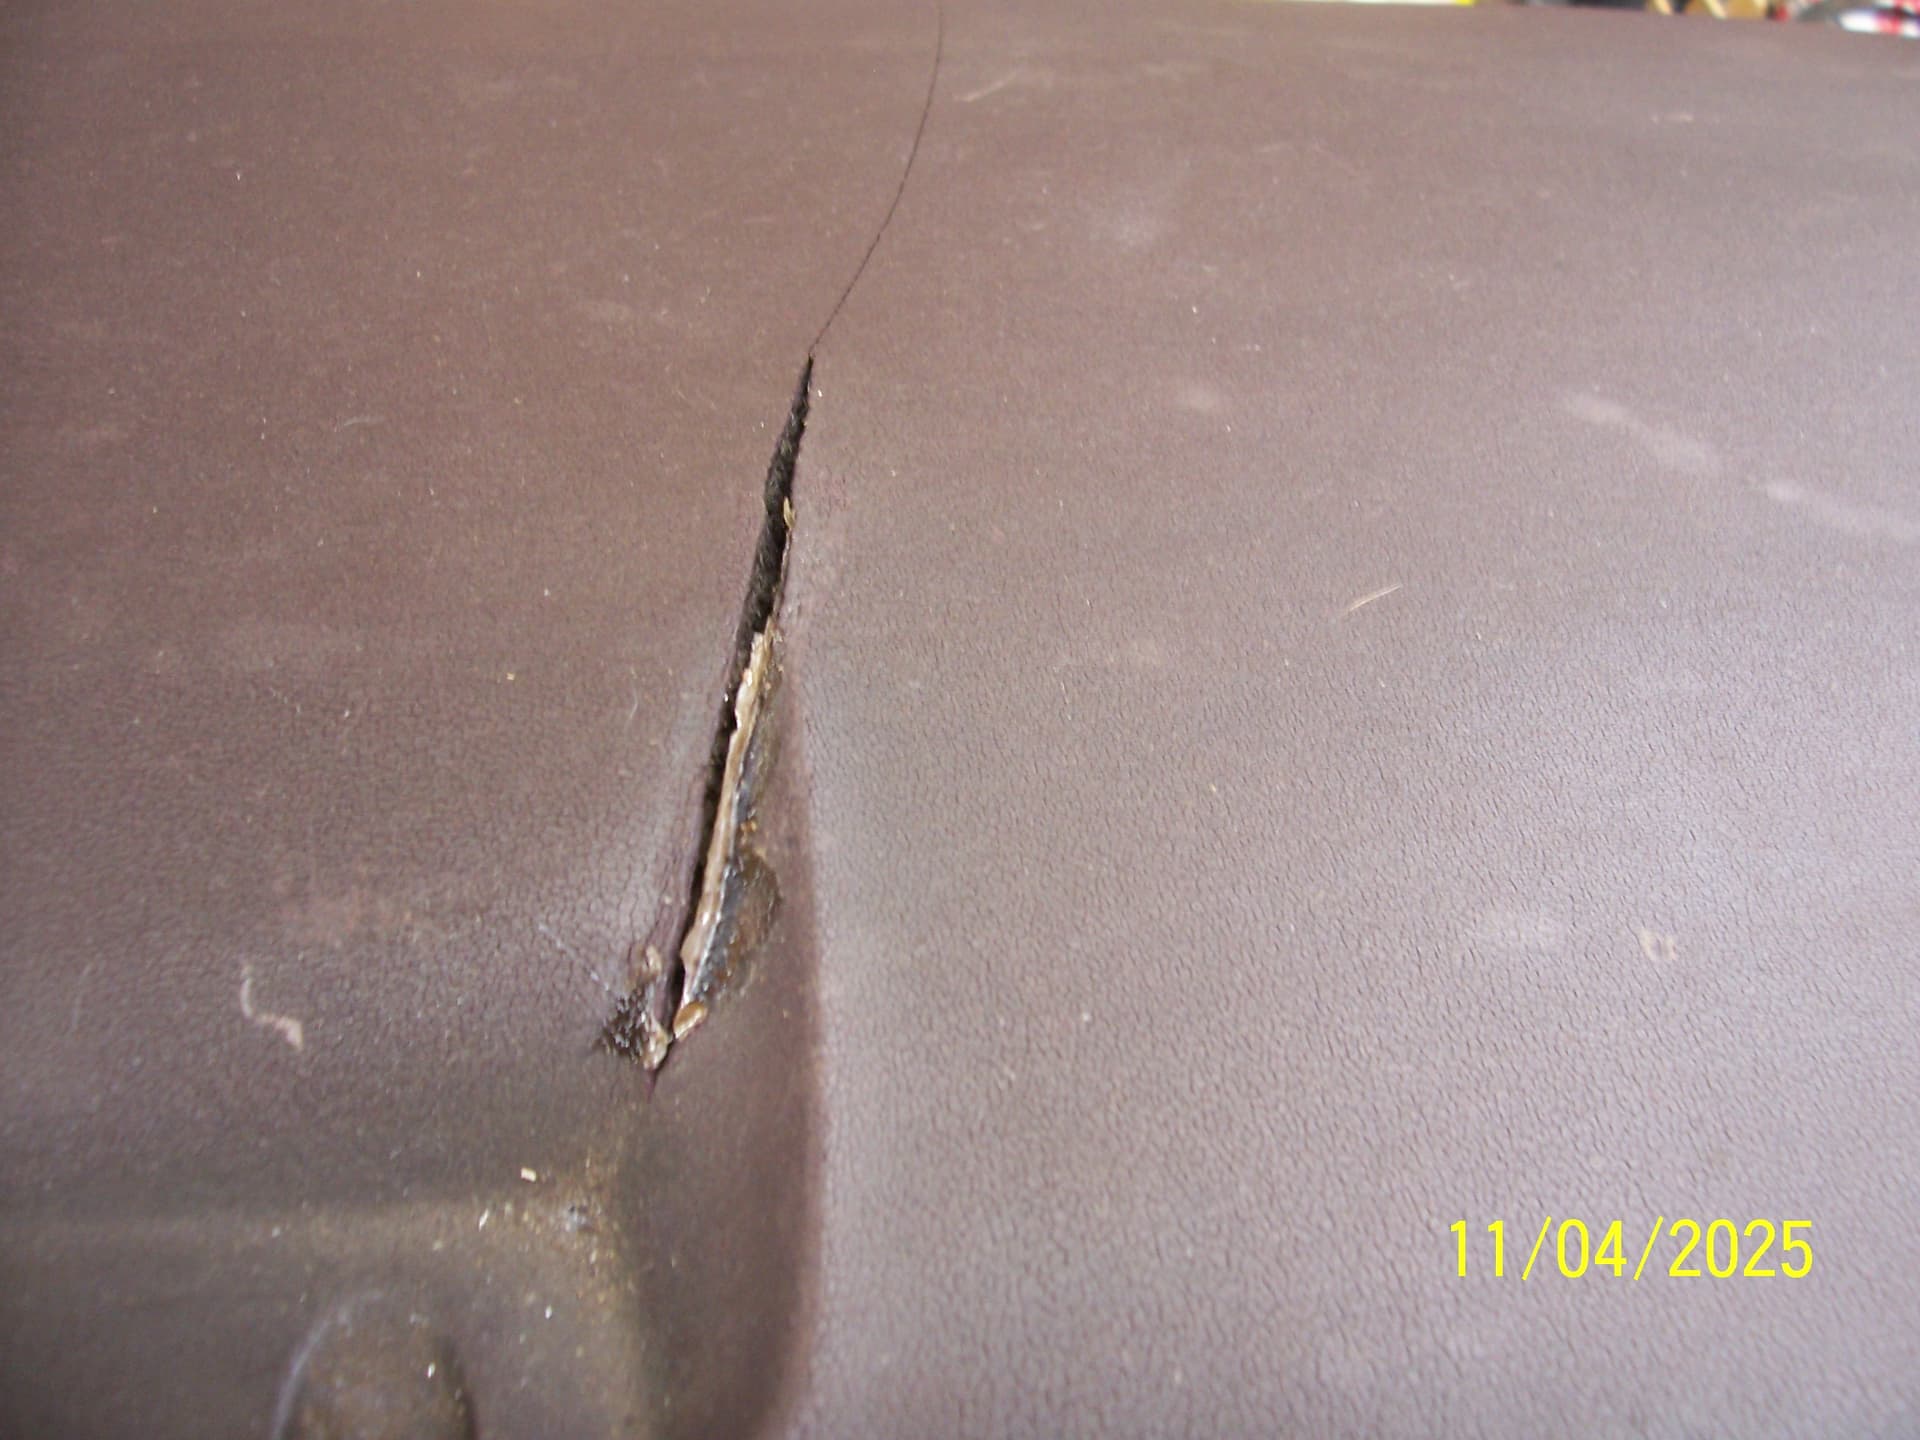
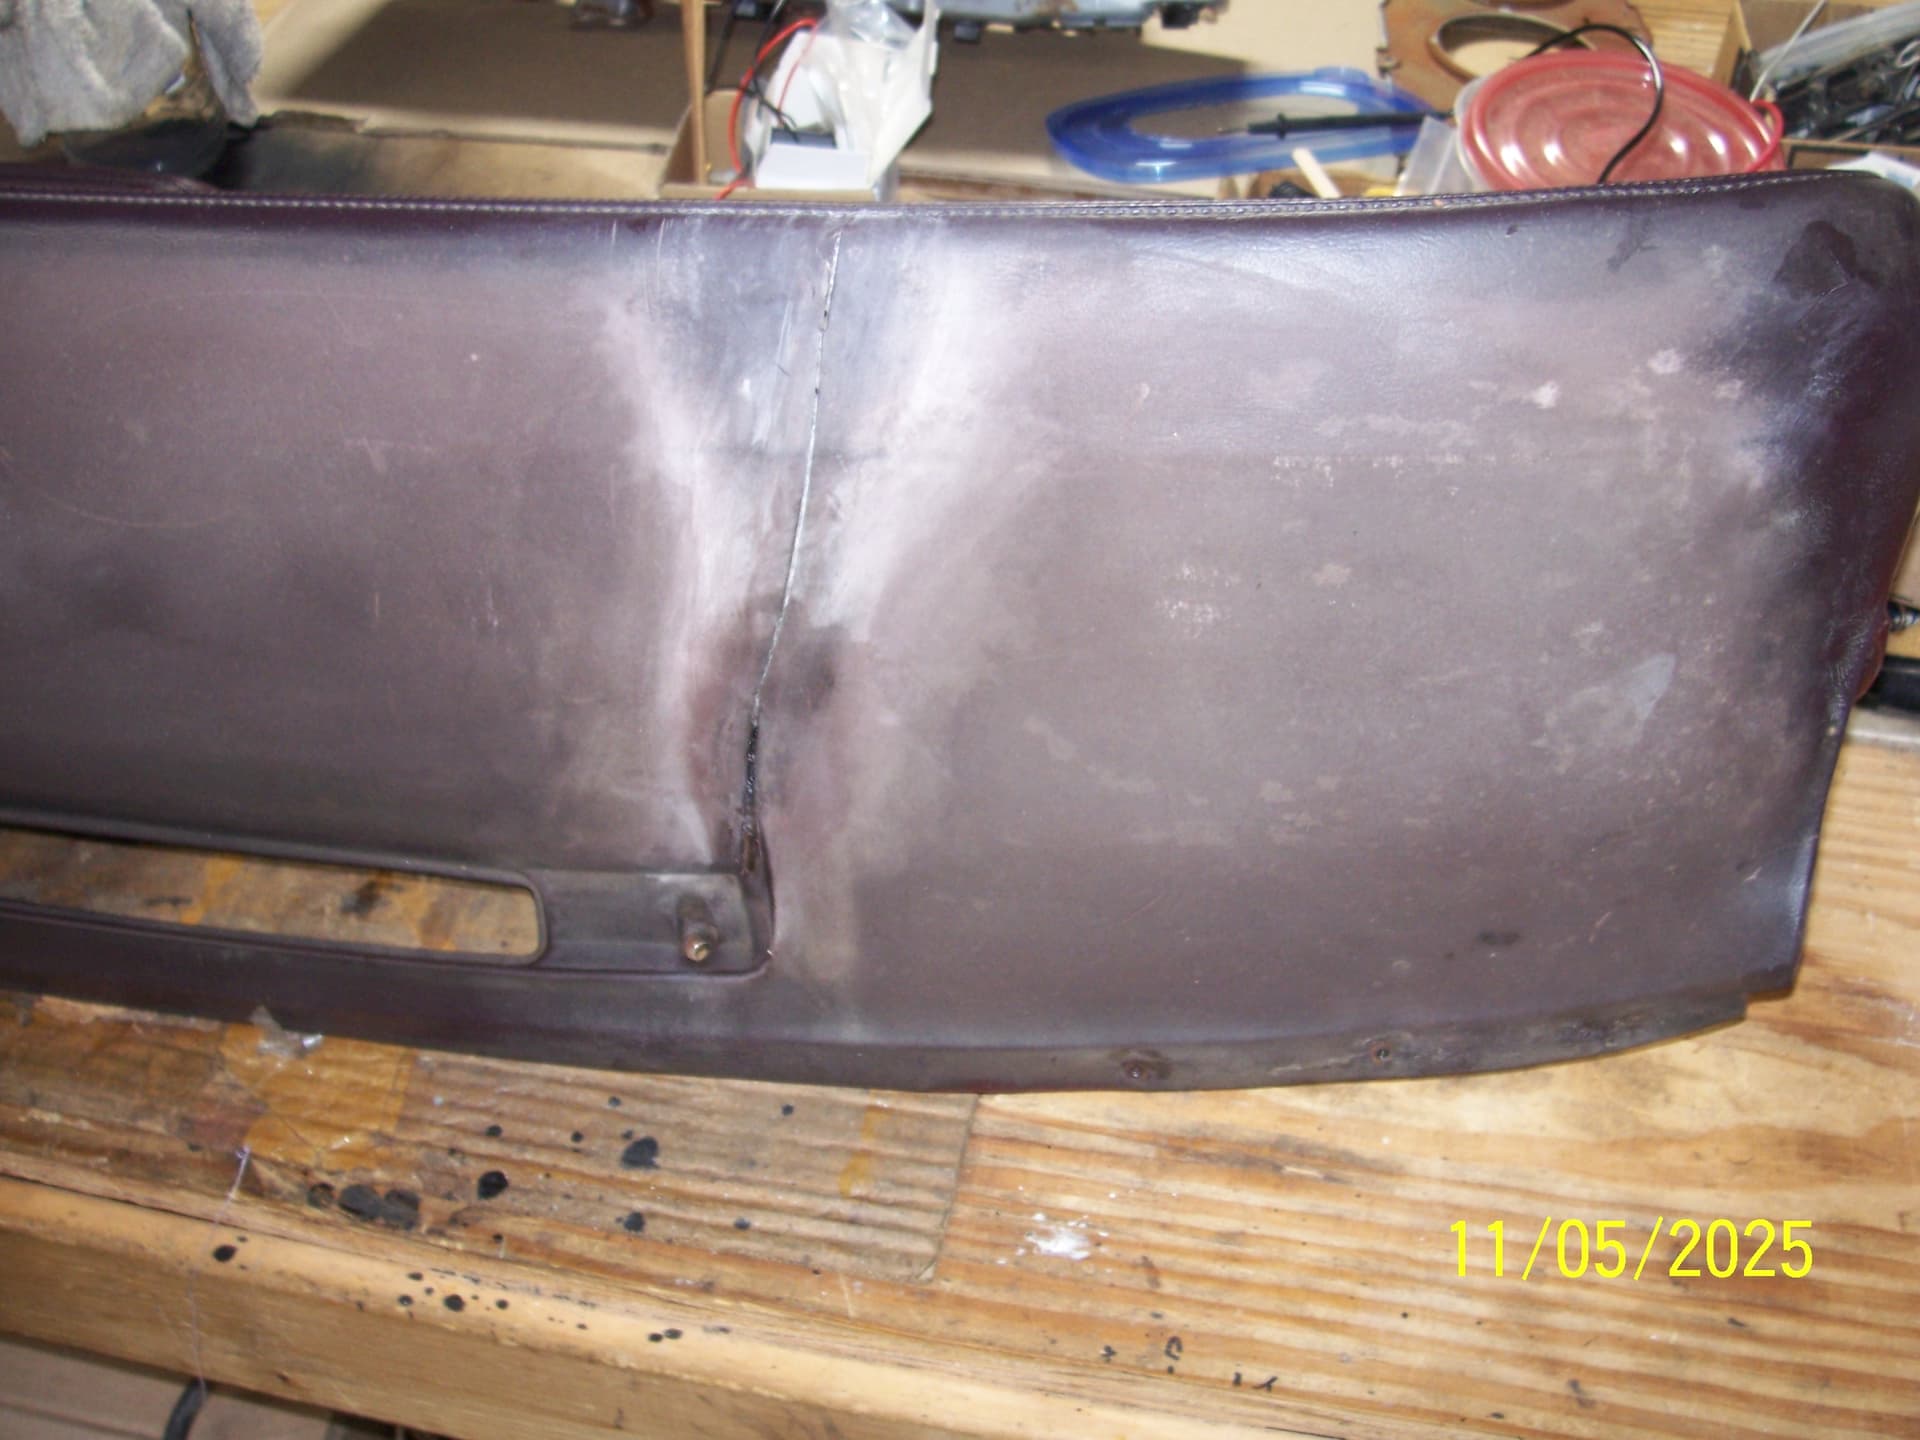
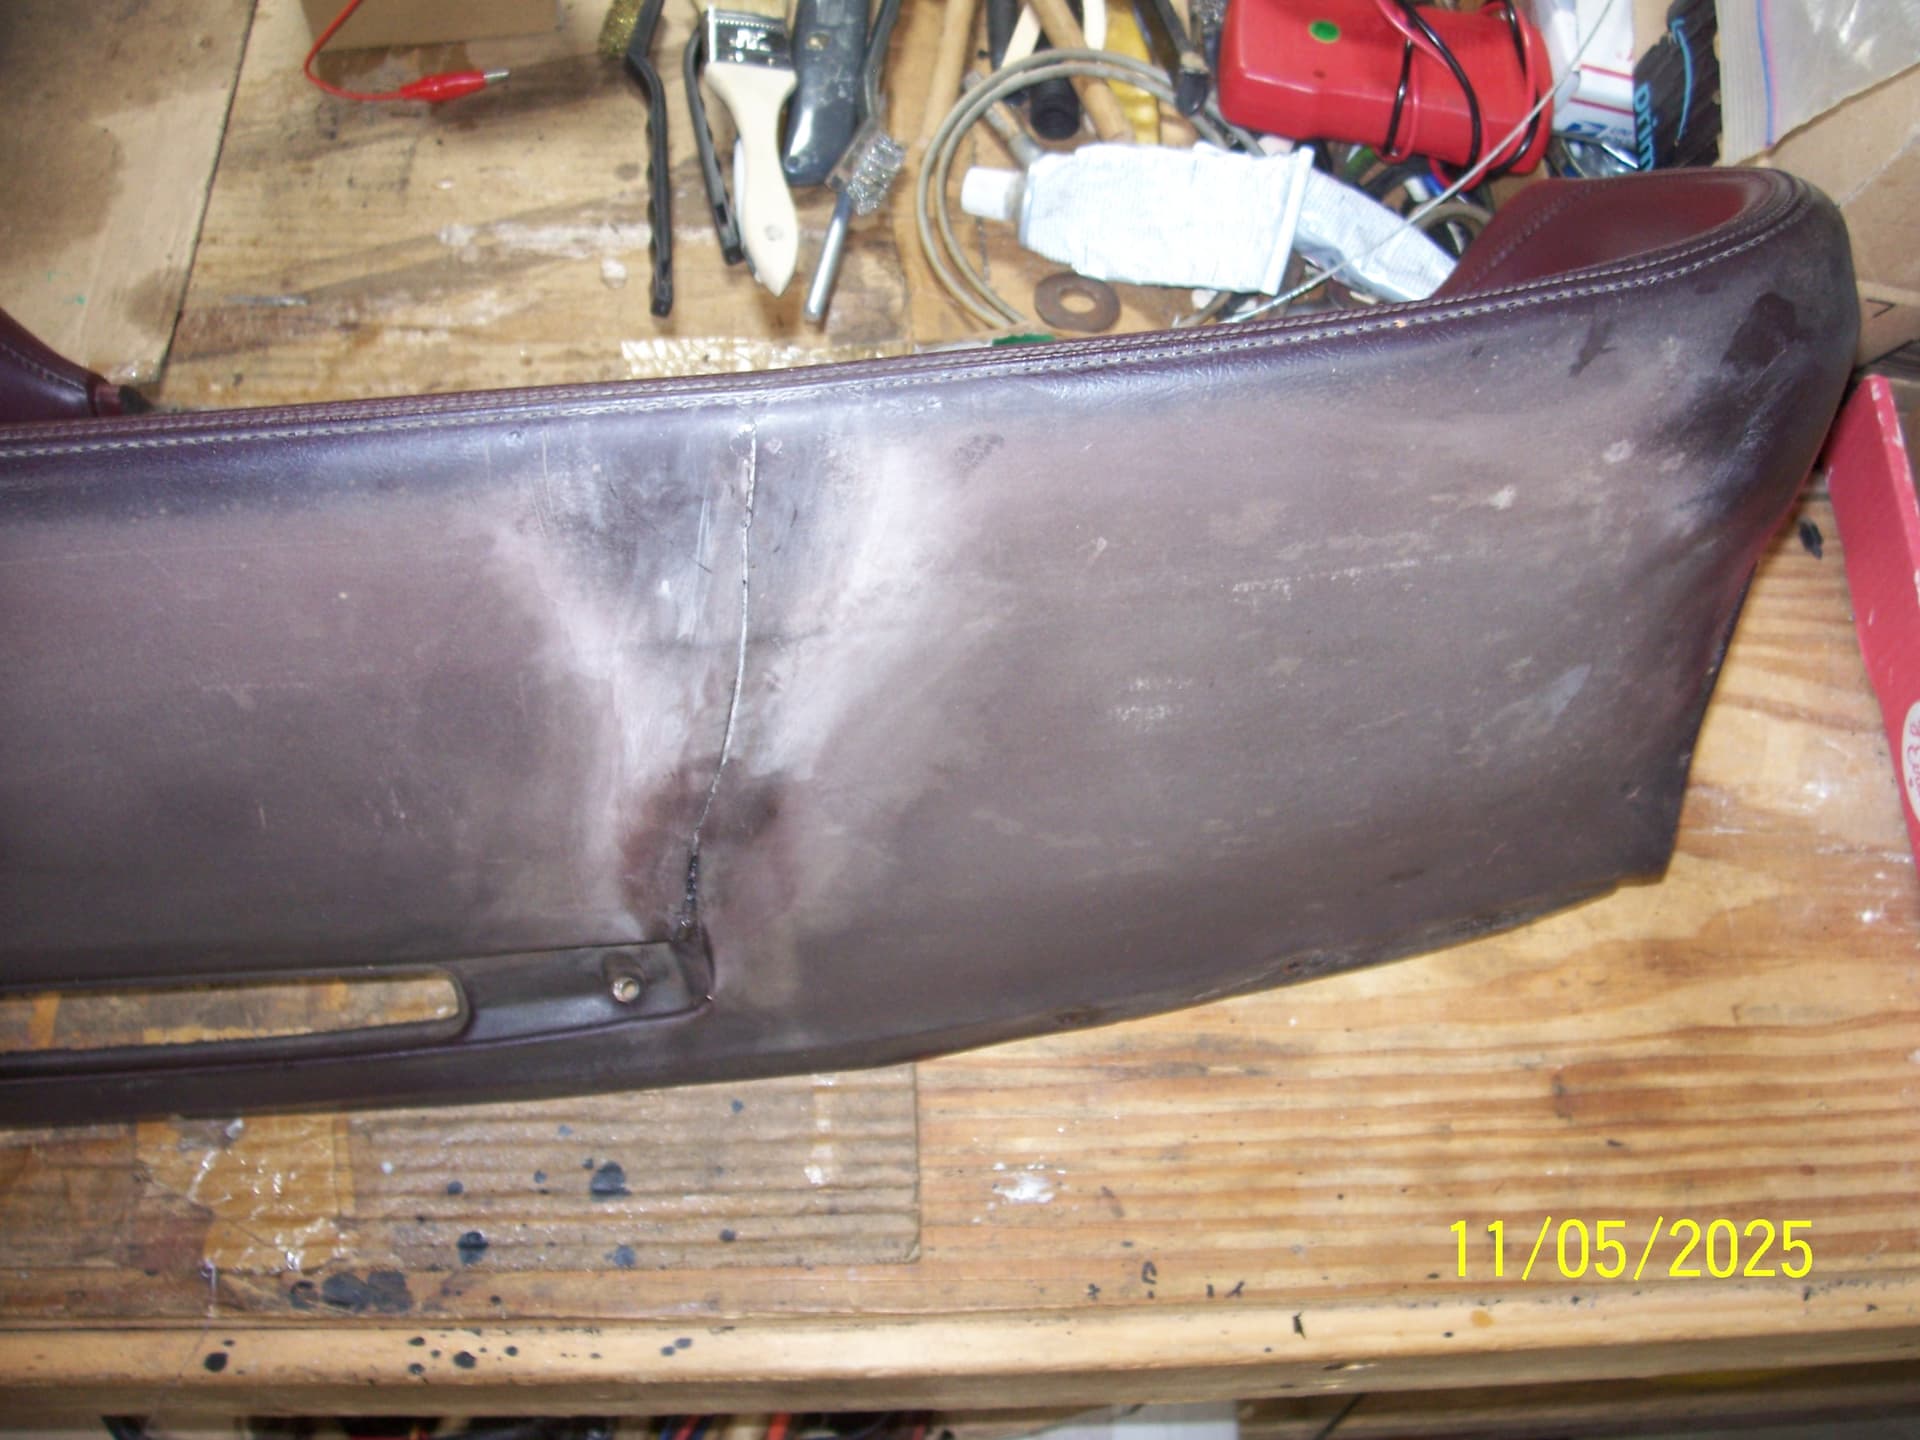
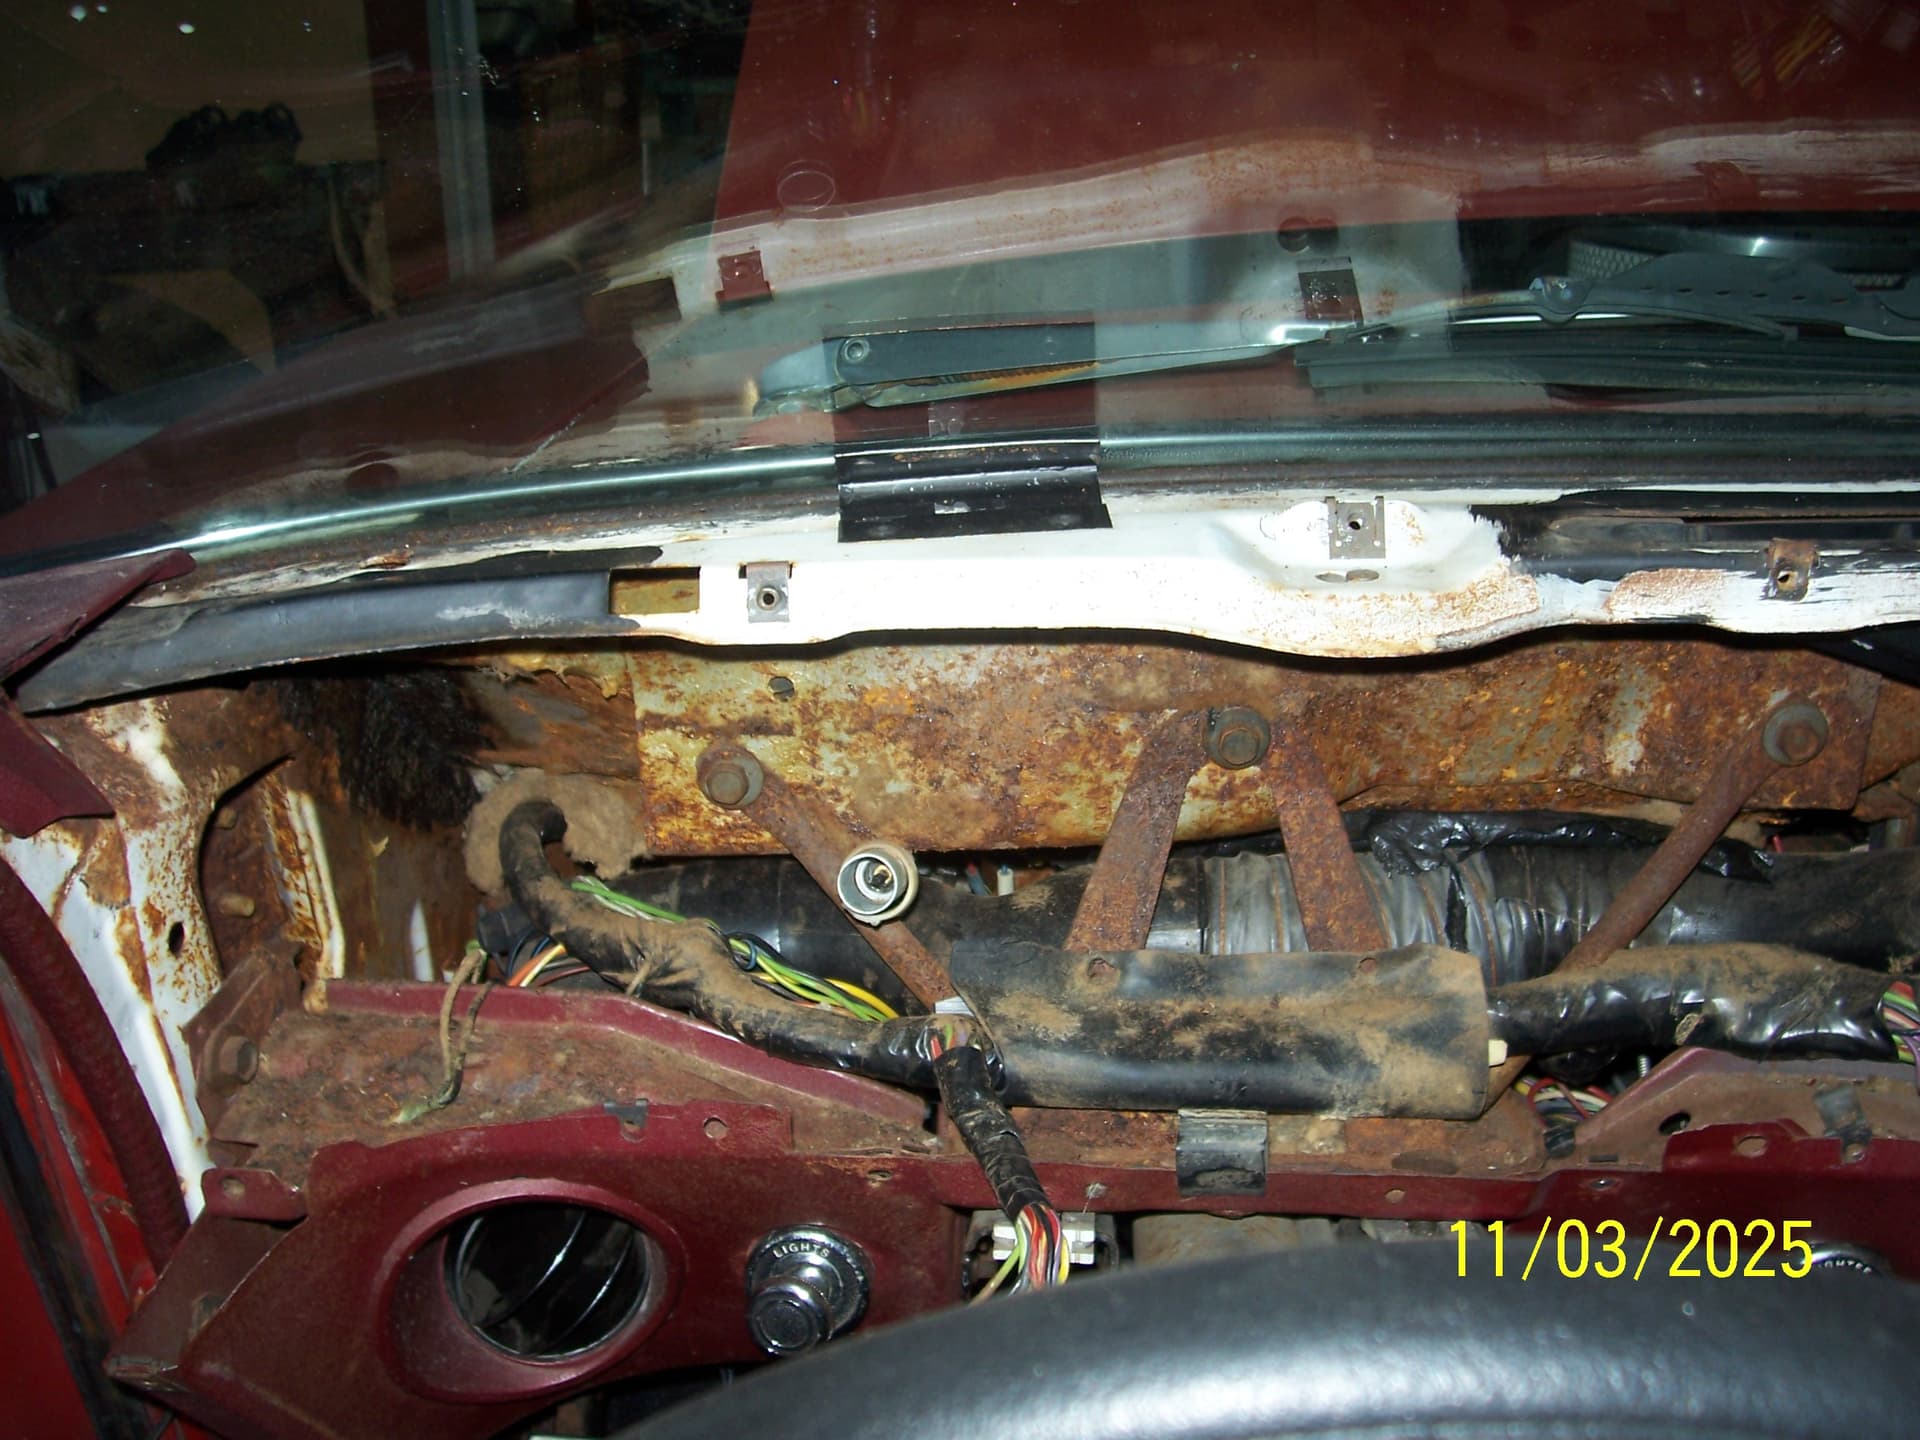
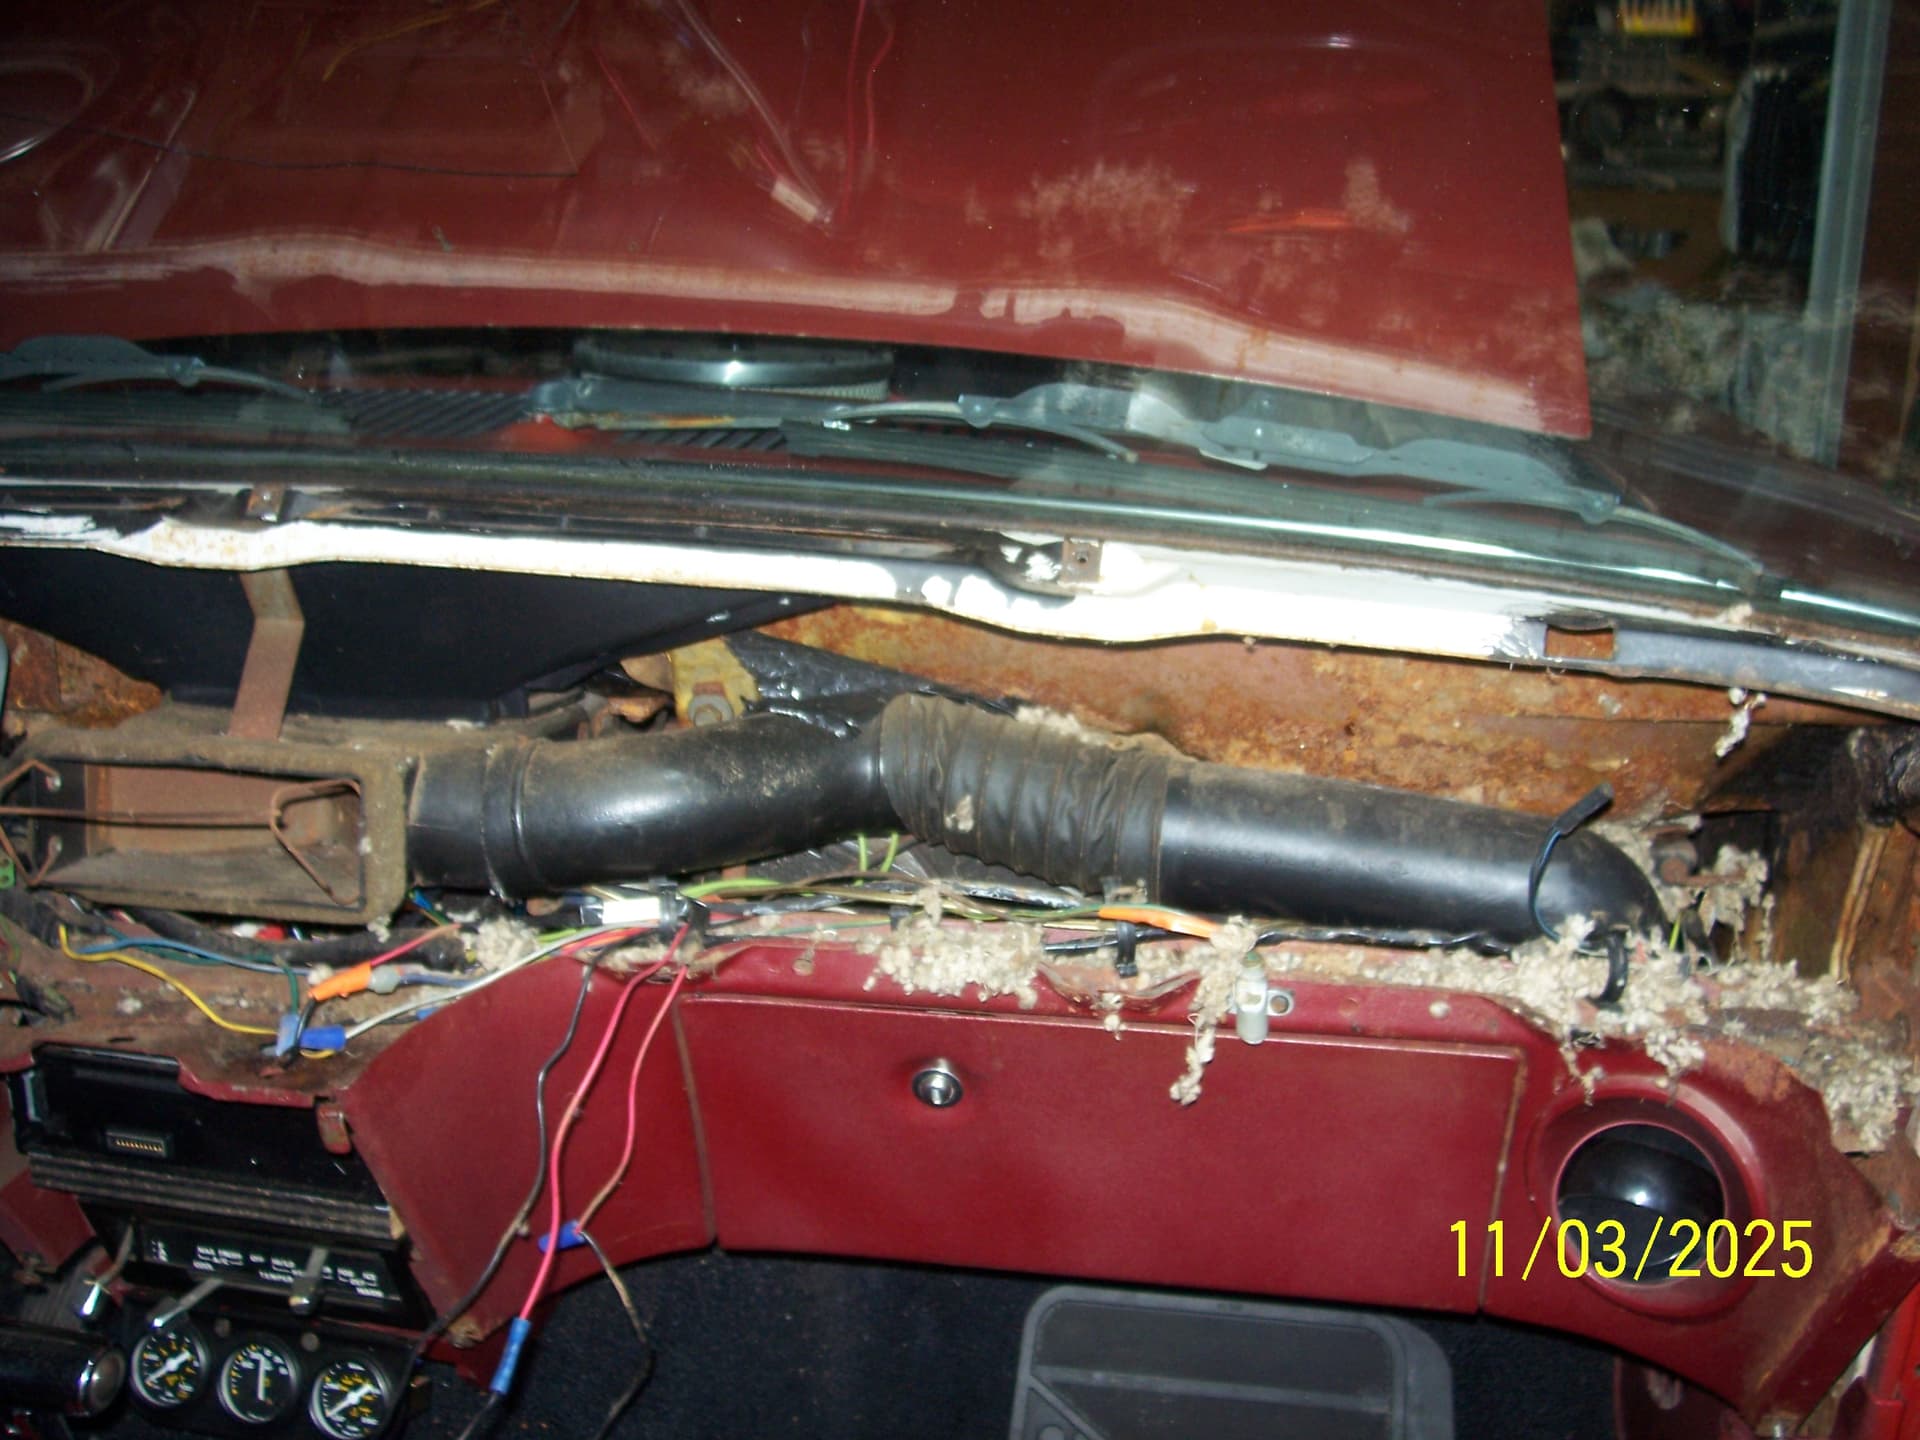
First word of advice to anyone else who may be as ignorant as me: I had my wife help me remove the dash from the car with one of us on either side (great idea) - there was a considerable crack in the dash by the driver’s defrost vent, about 4” long. We set it up inside on one of the work benches (4’x8’) and went on to other things. Later that evening I decided to move the dash to the opposite side of the bench where the lighting was better, and rather than call wifey out again, just picked it up by one end to swing it around (bad idea - can you see what’s coming?). Now the weight of the dash all hanging on one side, the crack completed its travel all the way down to the “stitching” - so I effectively made a “B” grade dash into a “C” grade. From here I report.
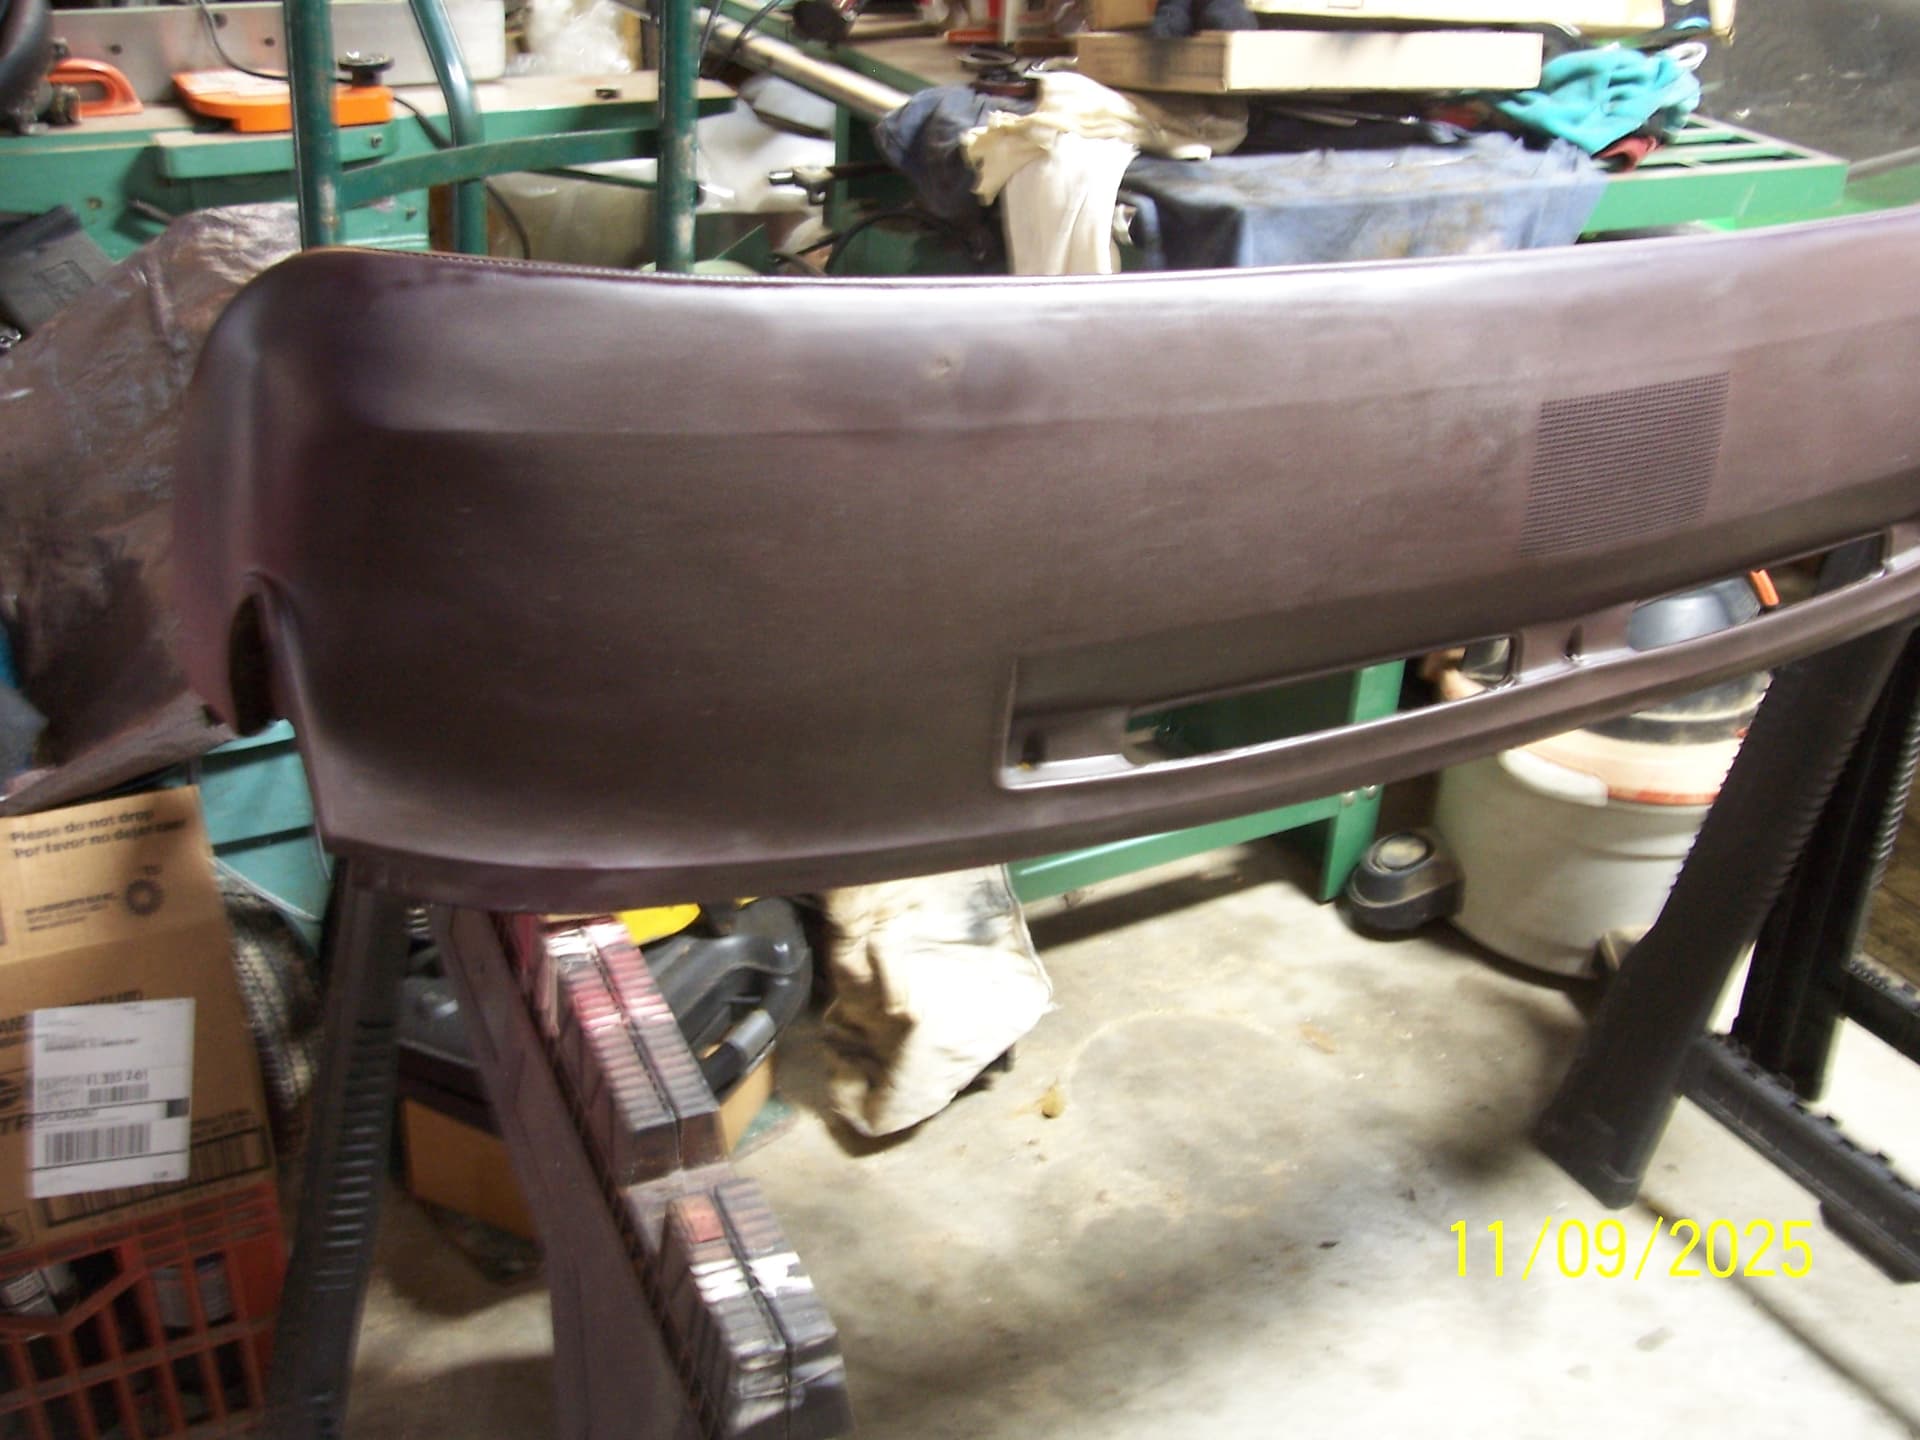
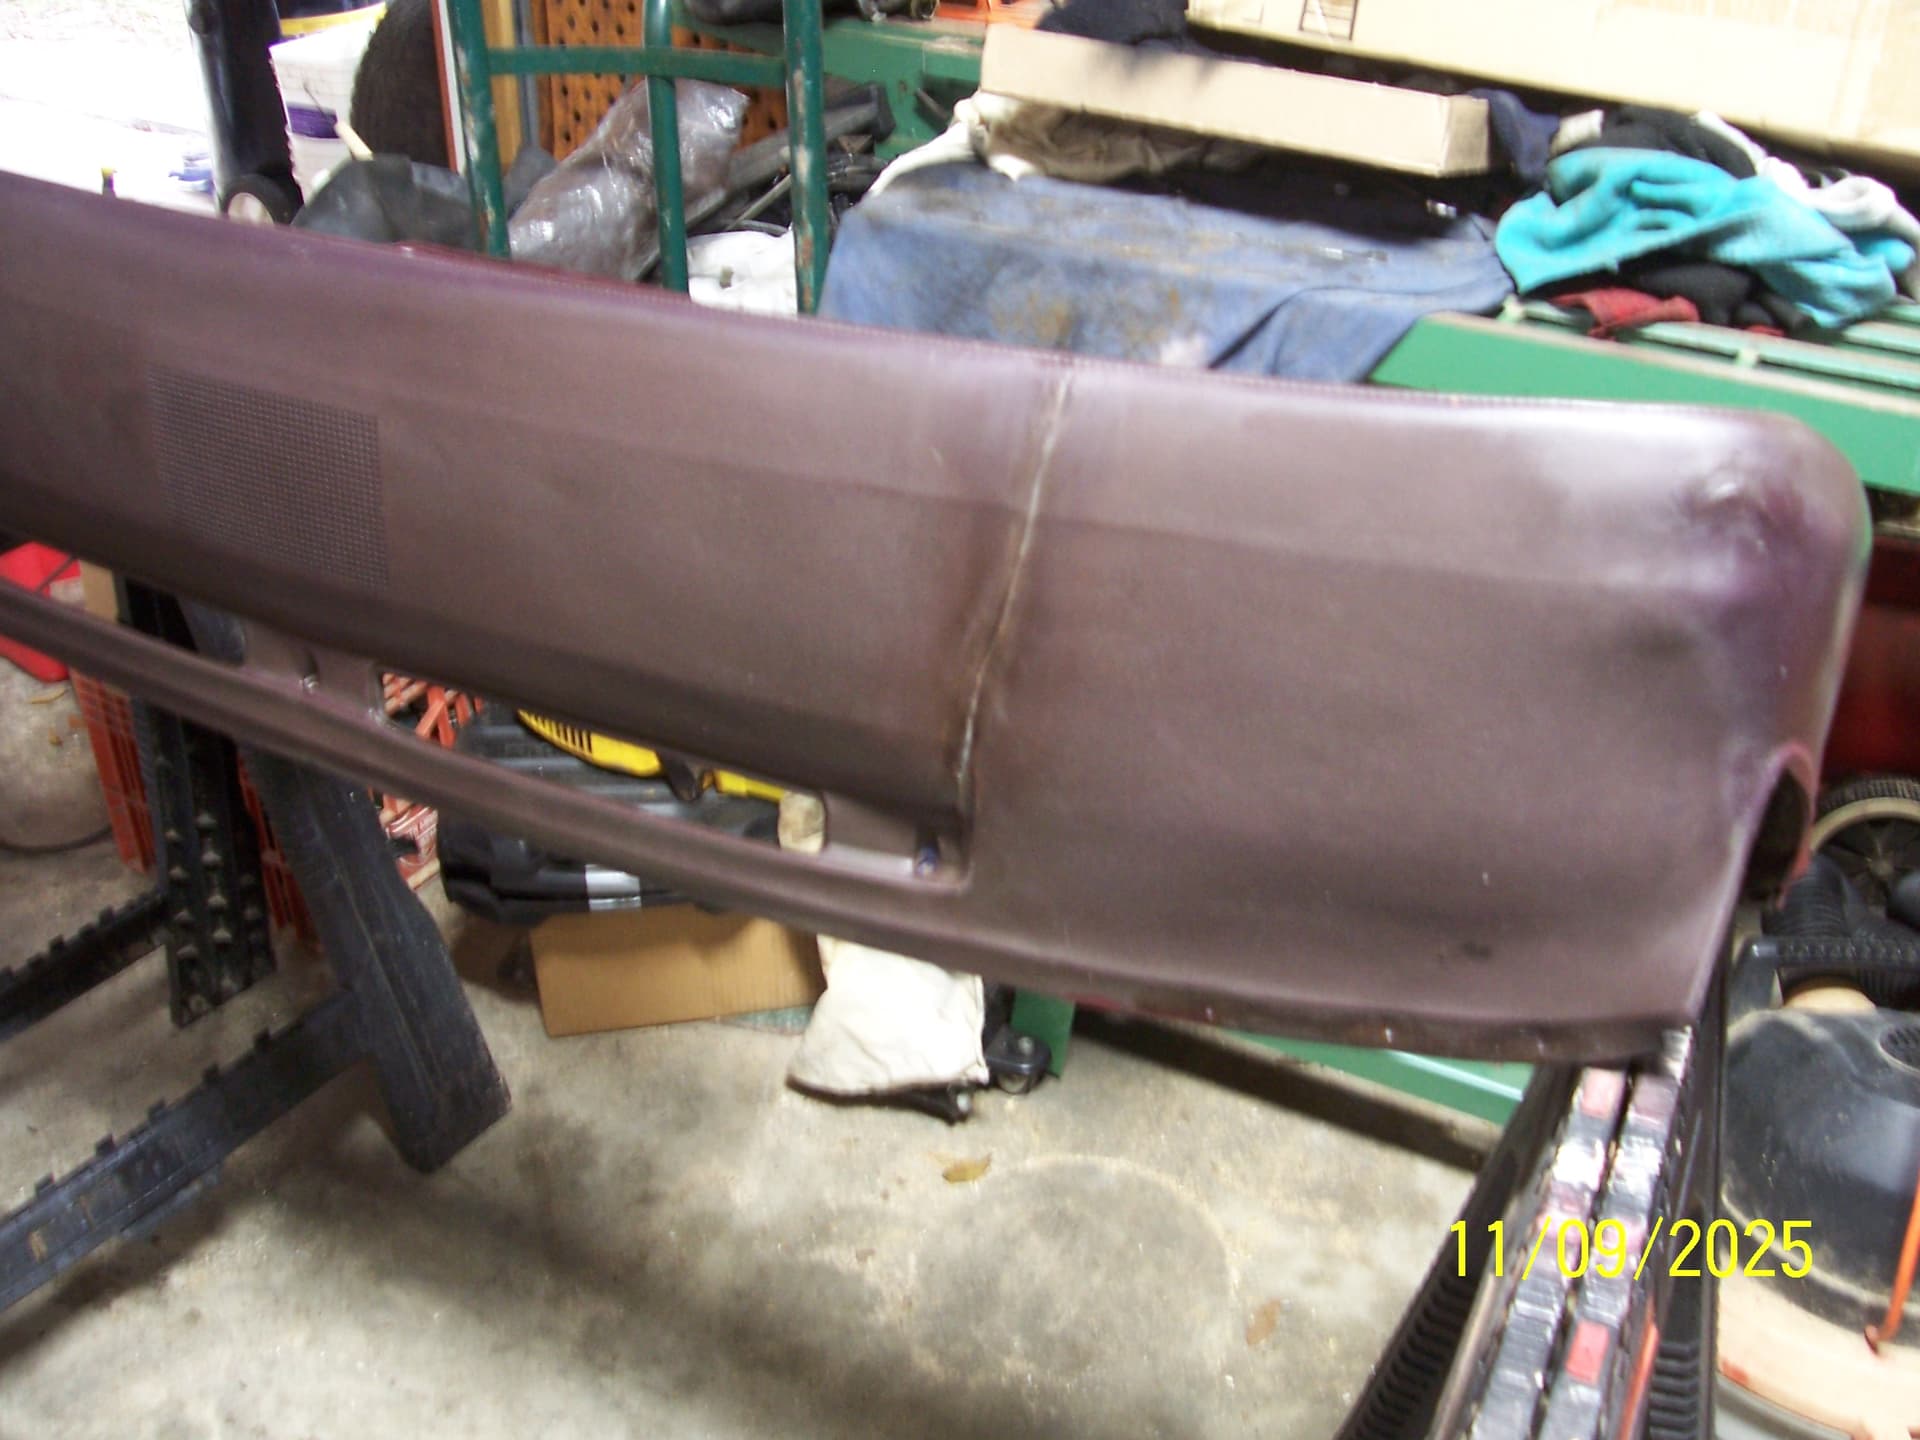
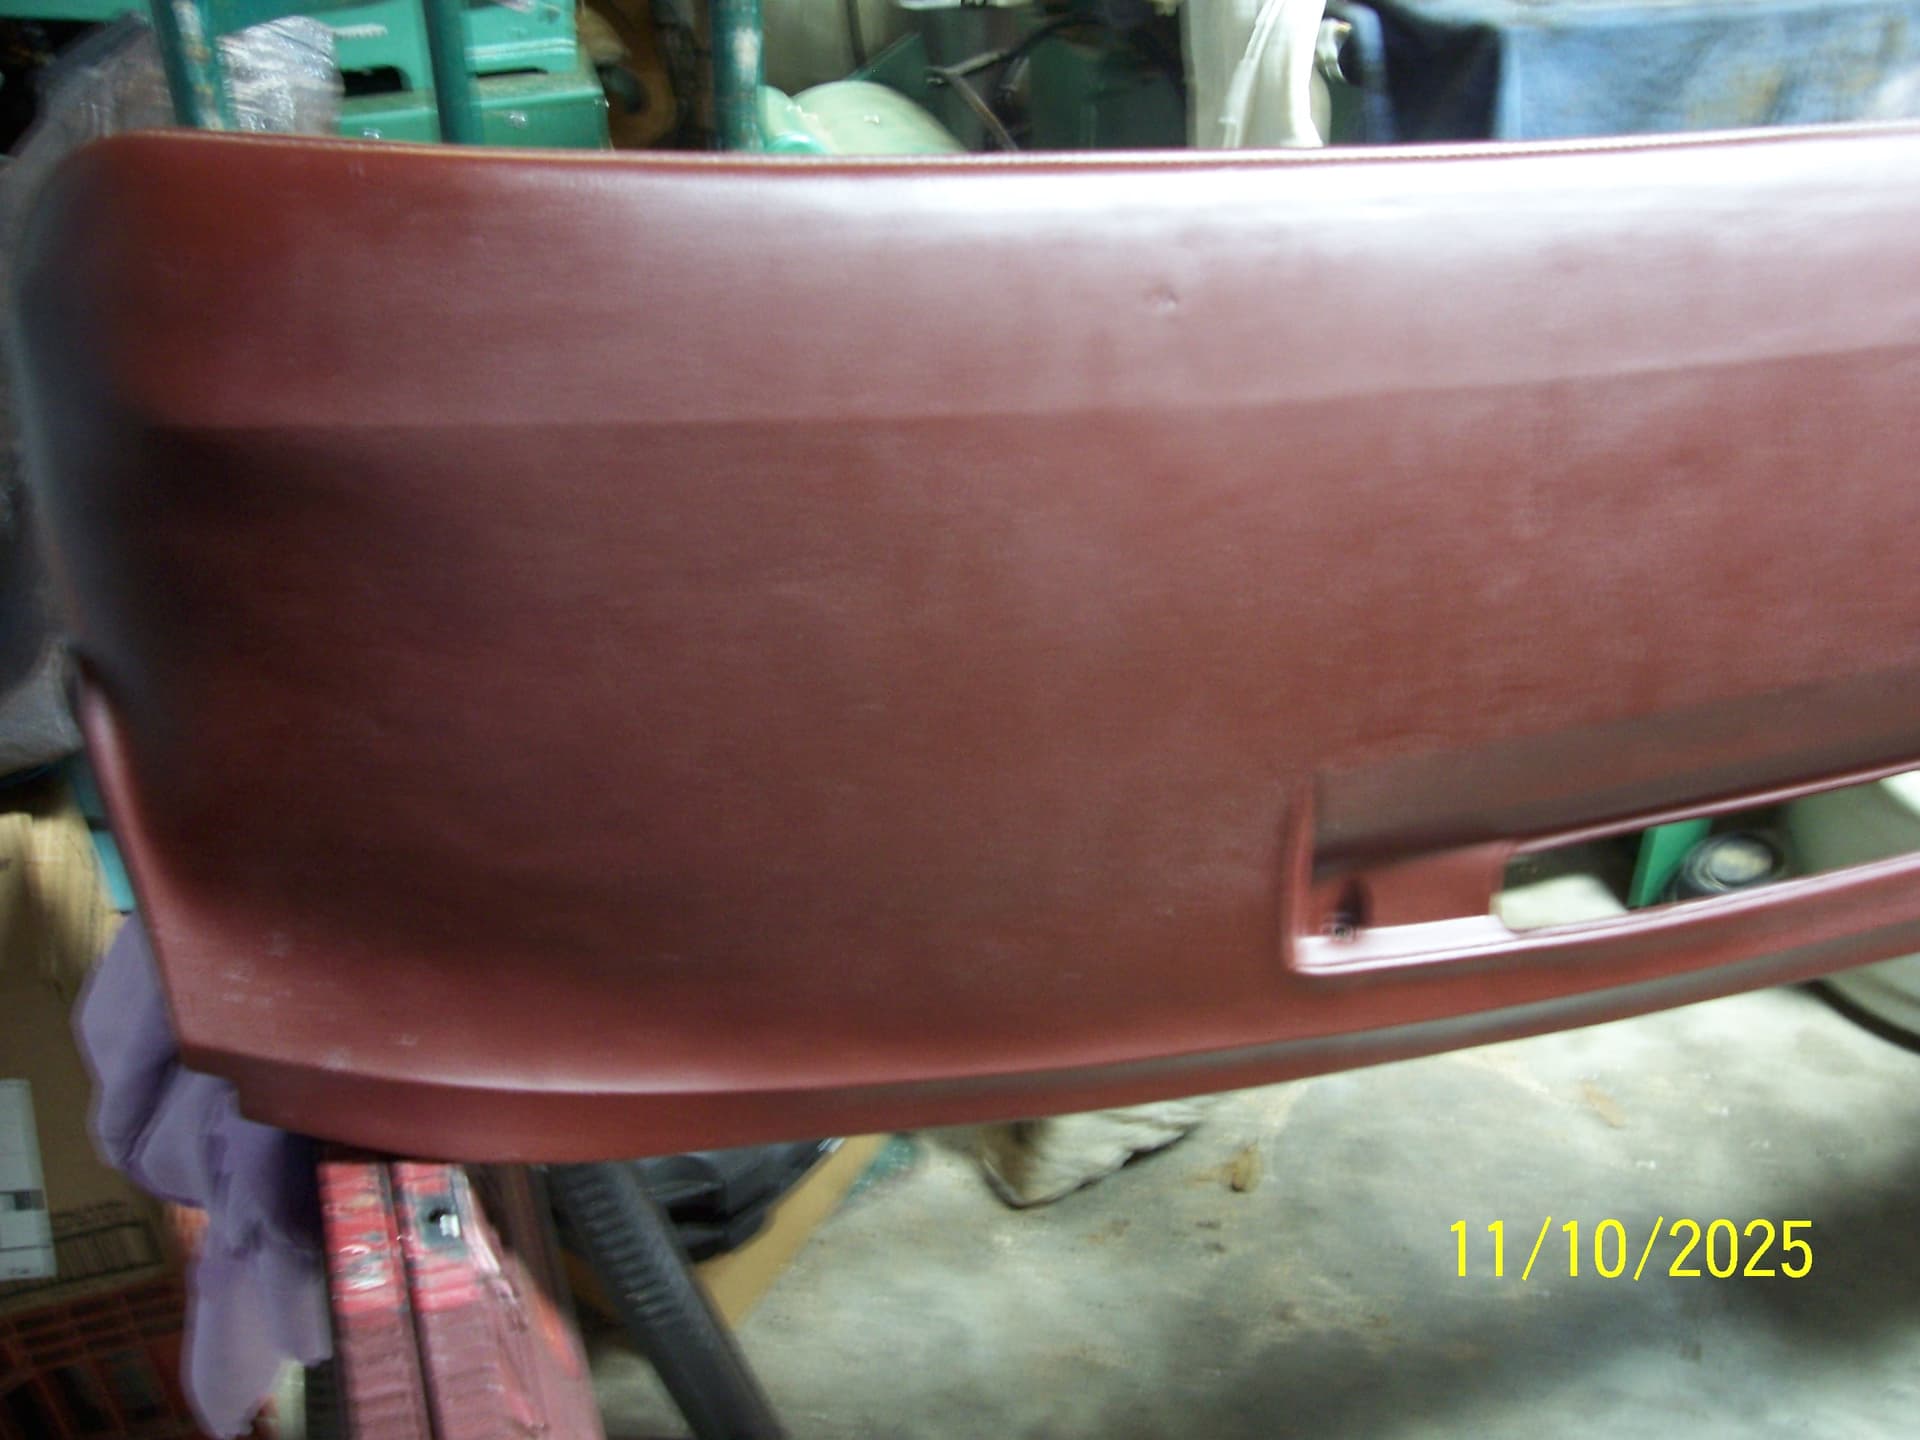
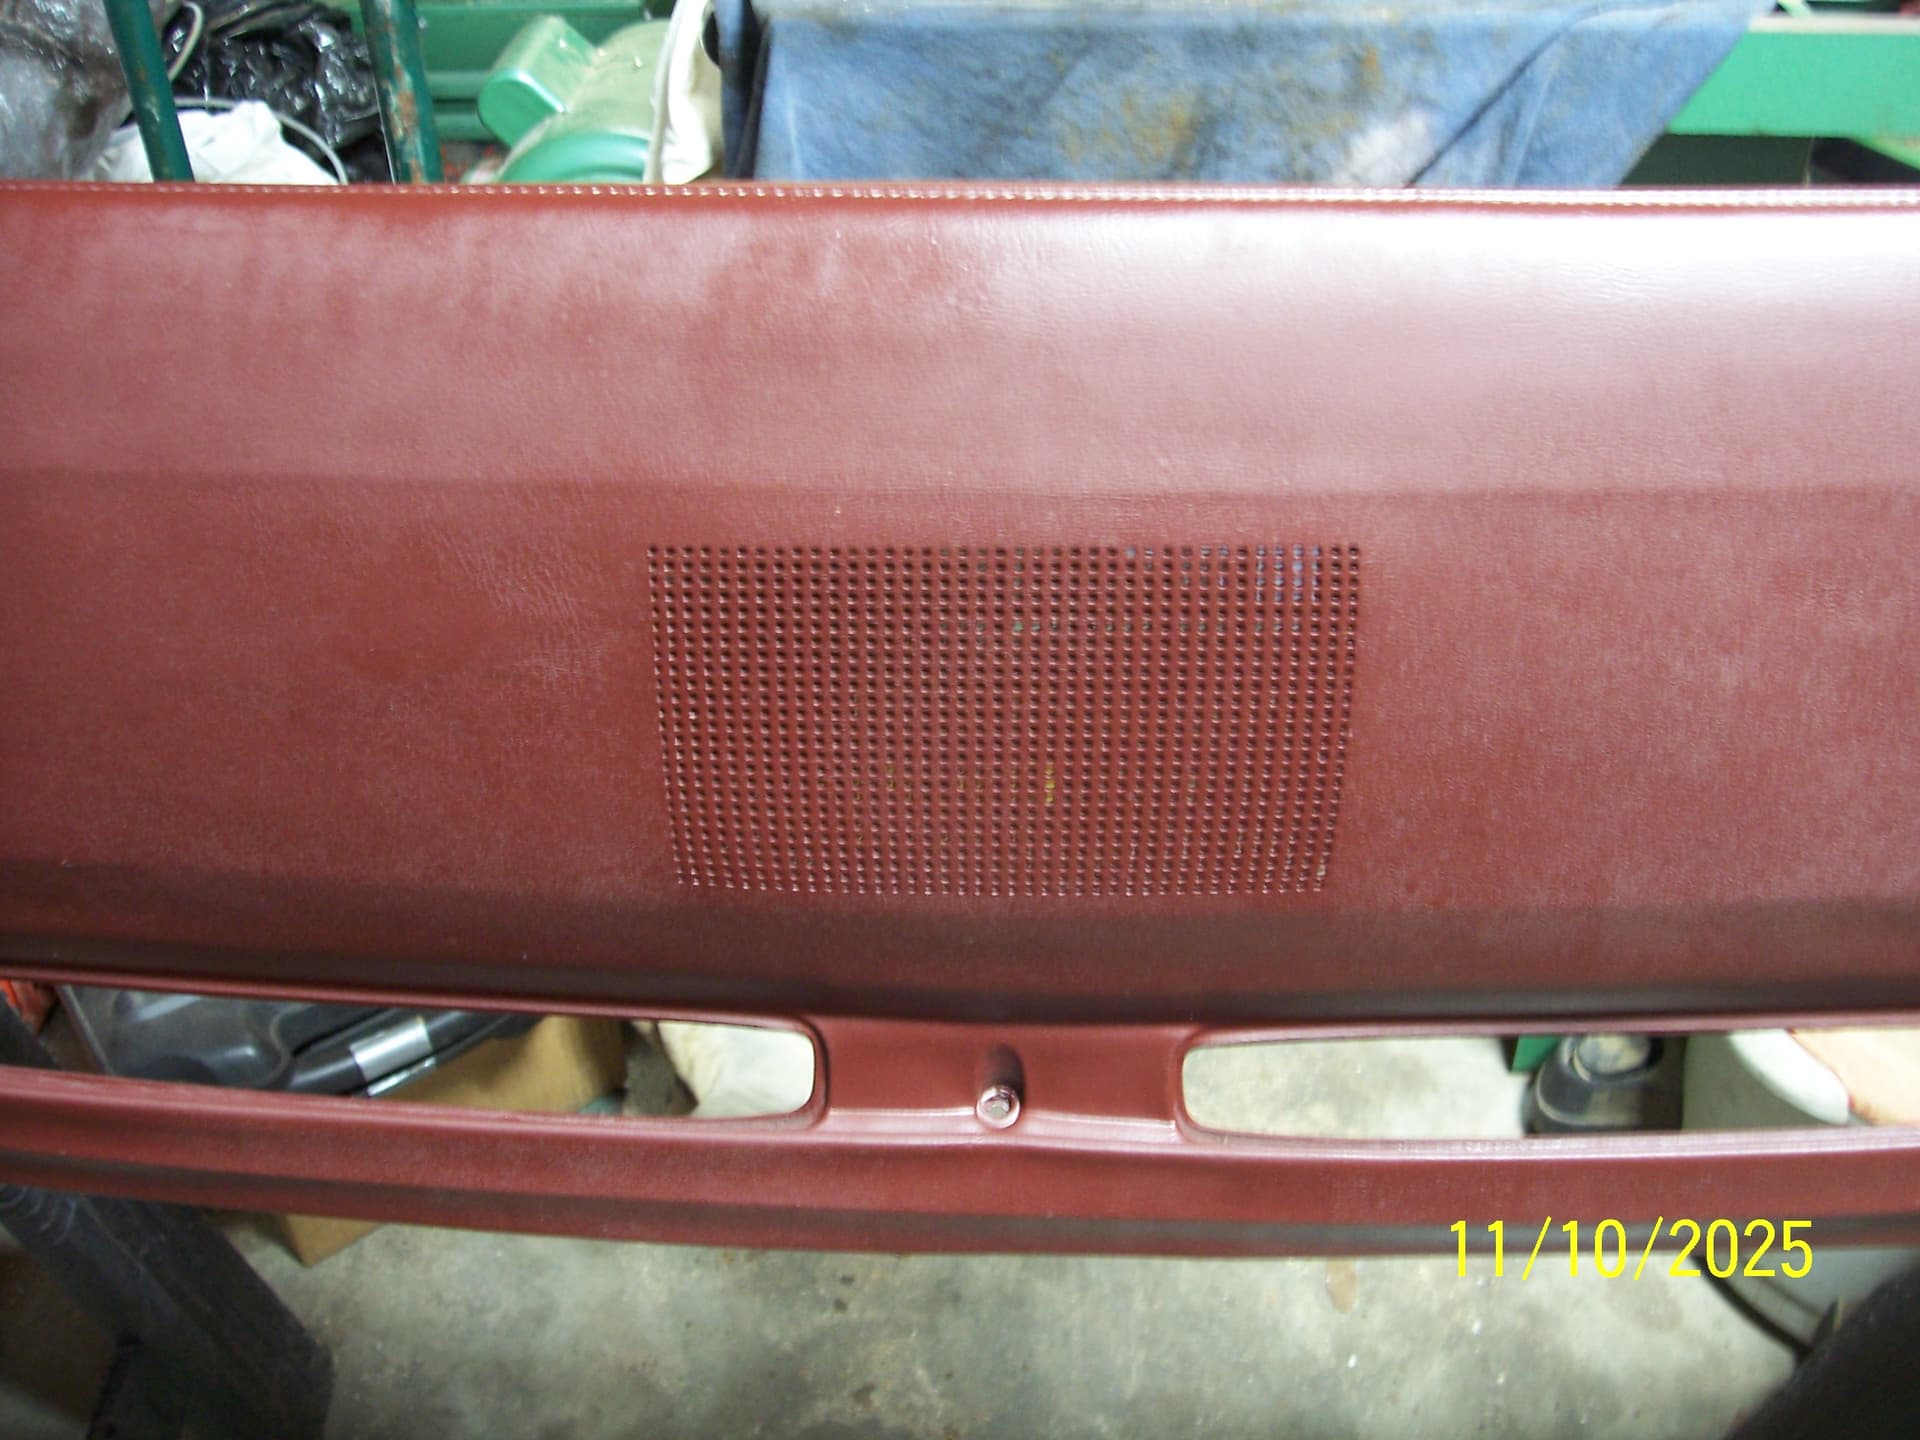
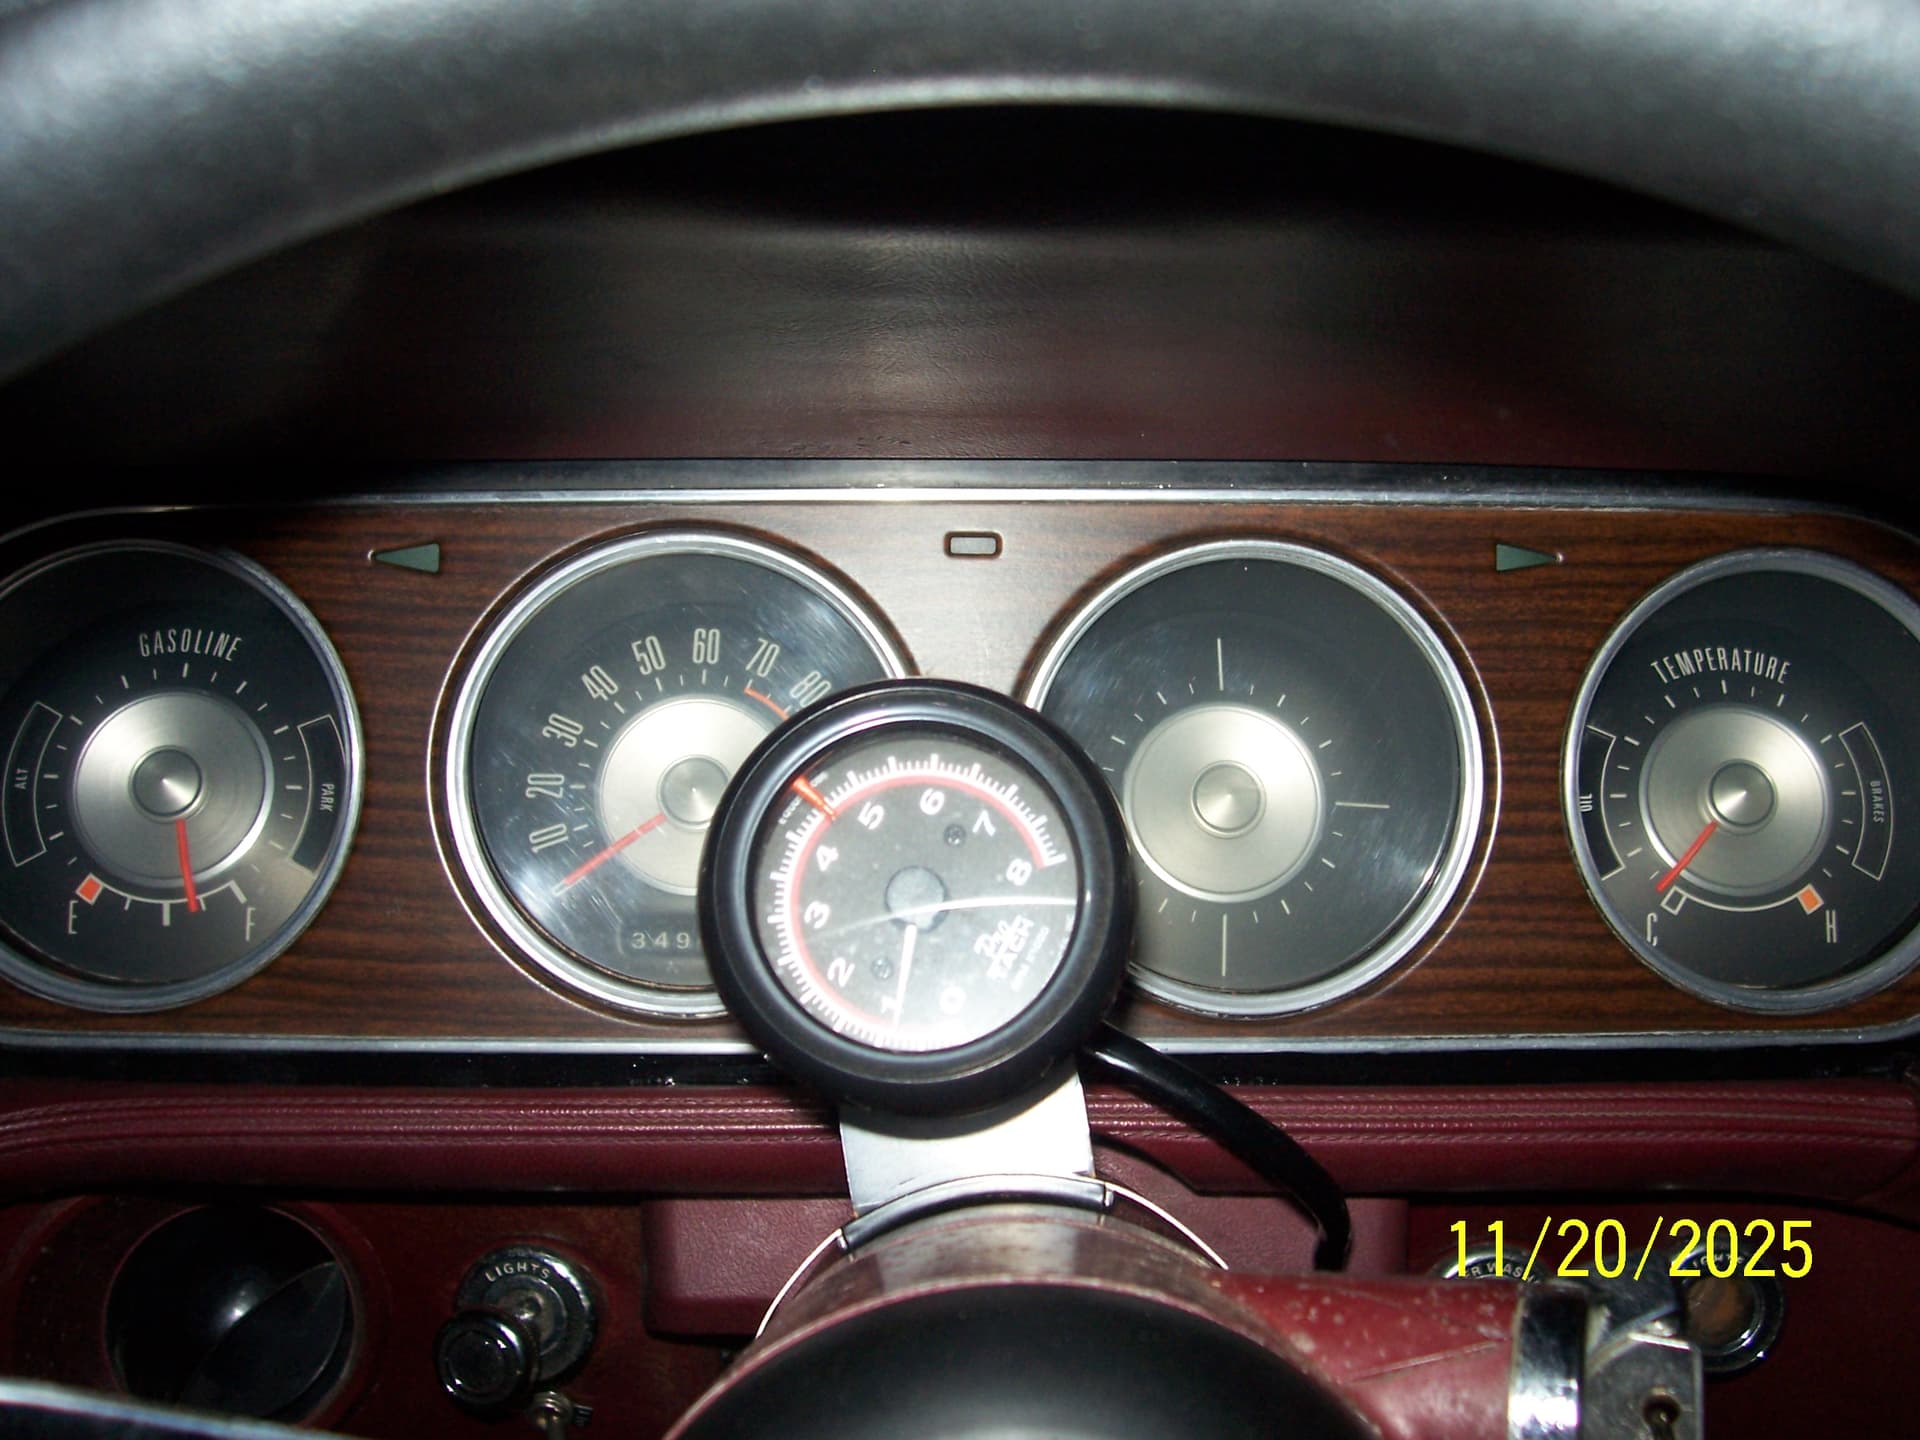
Finally finished. Chipped away at it whenever I could snag some free time. Although not “concours”, it pleases me well - new bulbs and diffusers in the cluster (LED where beneficial), left me with a well lit and clean gauge cluster (used some NOVUS fine scratch compound on the lenses), chased down every wire and positioned them where they serve (only found one mouse gnawed wired, amazingly). My console lights were all mixed up and PO had a 10 ohm resistor on the belt light, and two rheostats on the door ajar and lights on lamps (dimmers?). One of those bulbs was bad anyway. Had no glove box light, no courtesy lights - now everything is functional (except “low fuel” and I’m not sure that ever applied.) I’ll clarify some of the “detail” features (cheesy though they may be) later when I get time to take some pics; meanwhile here’s photo depiction of the process.
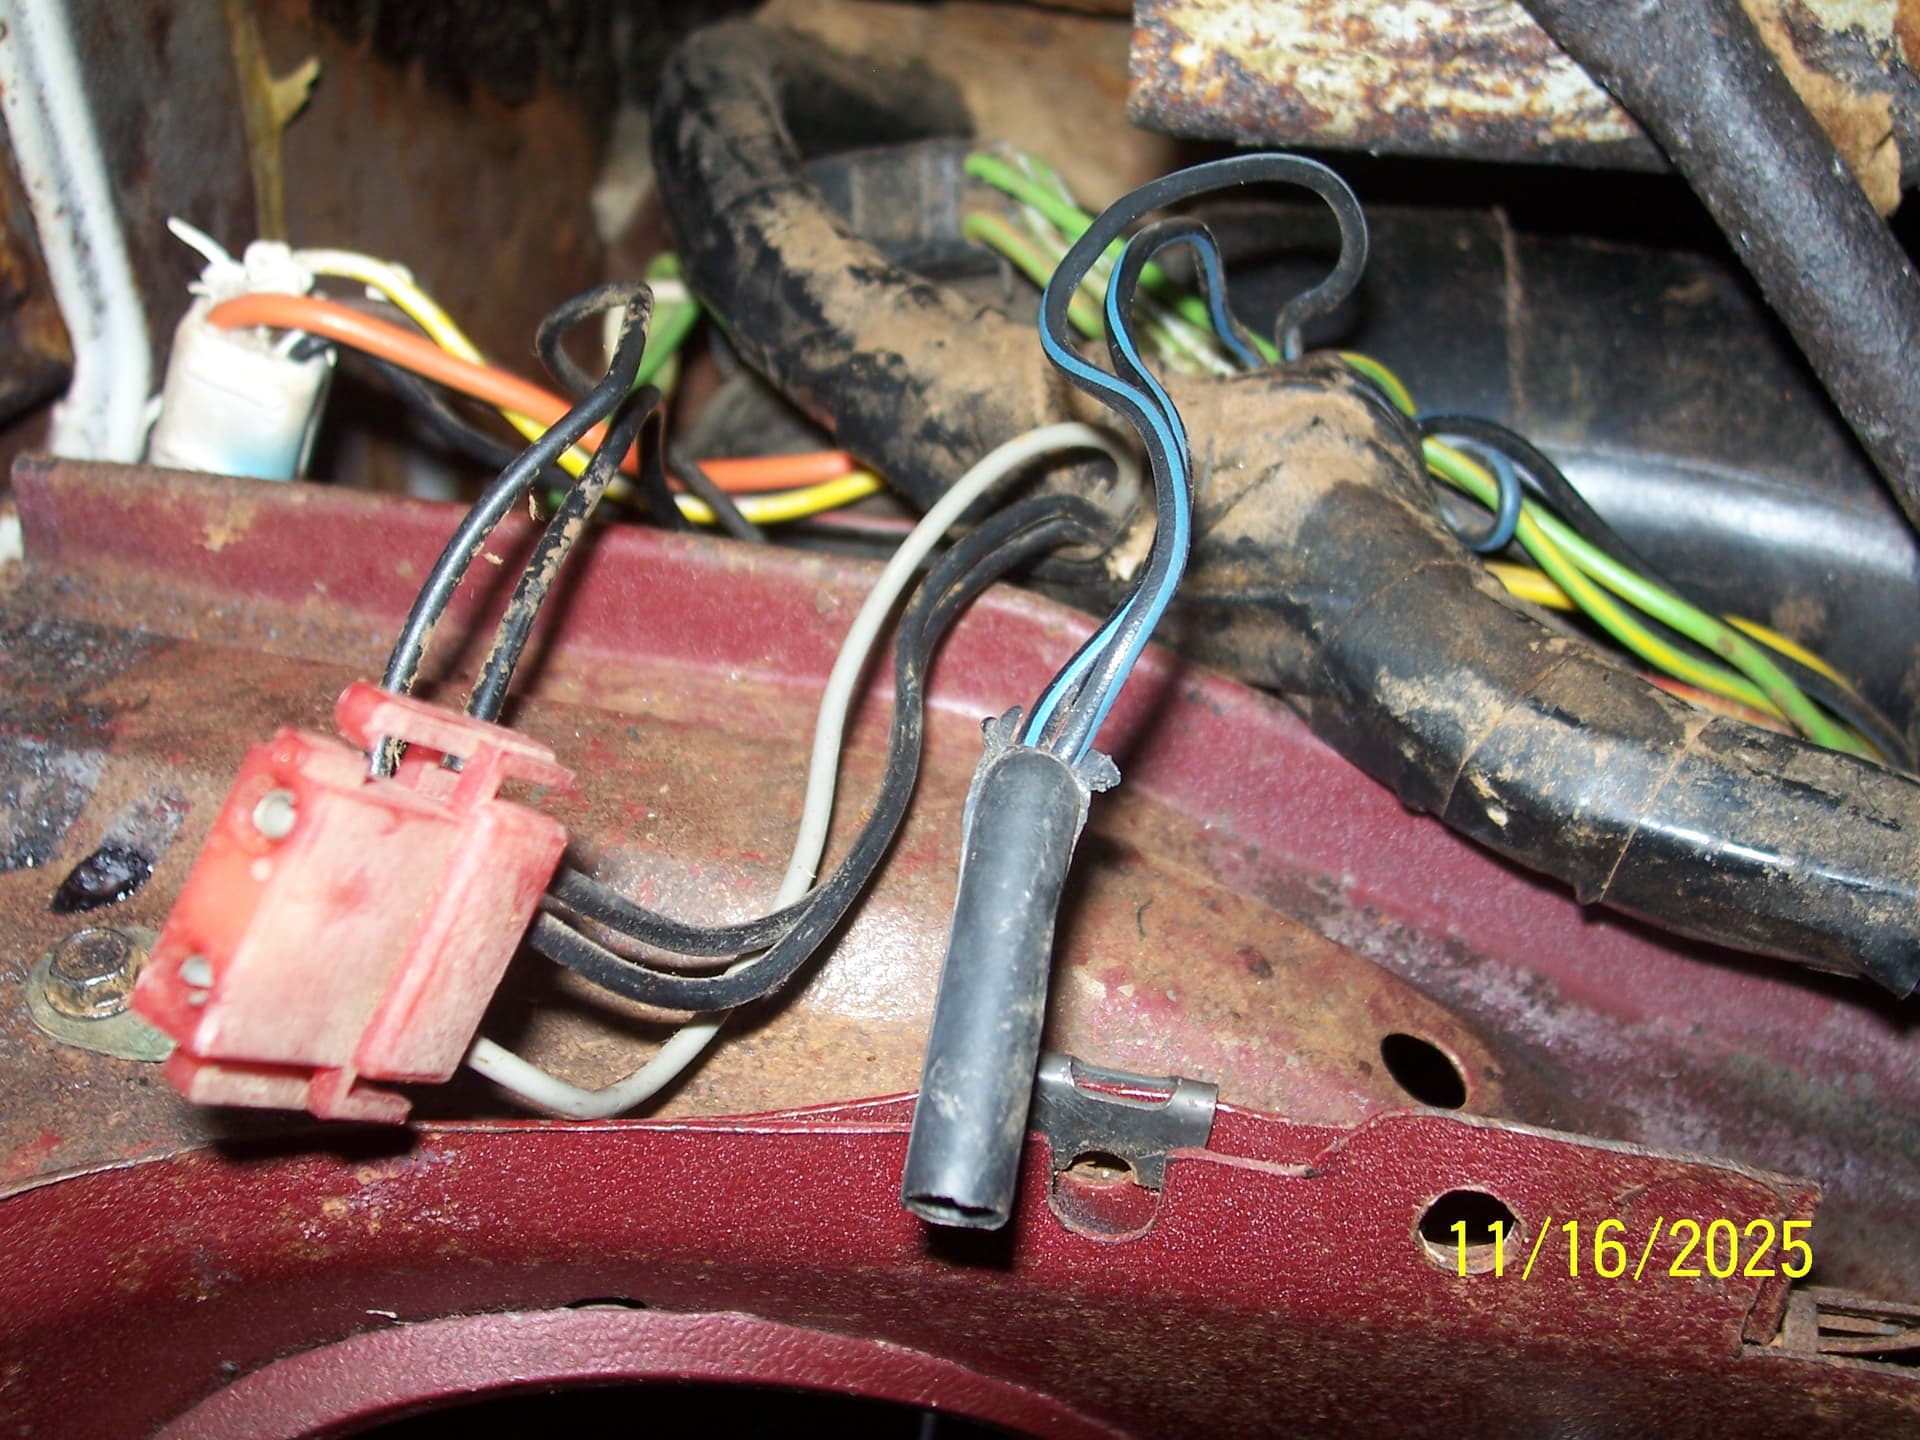
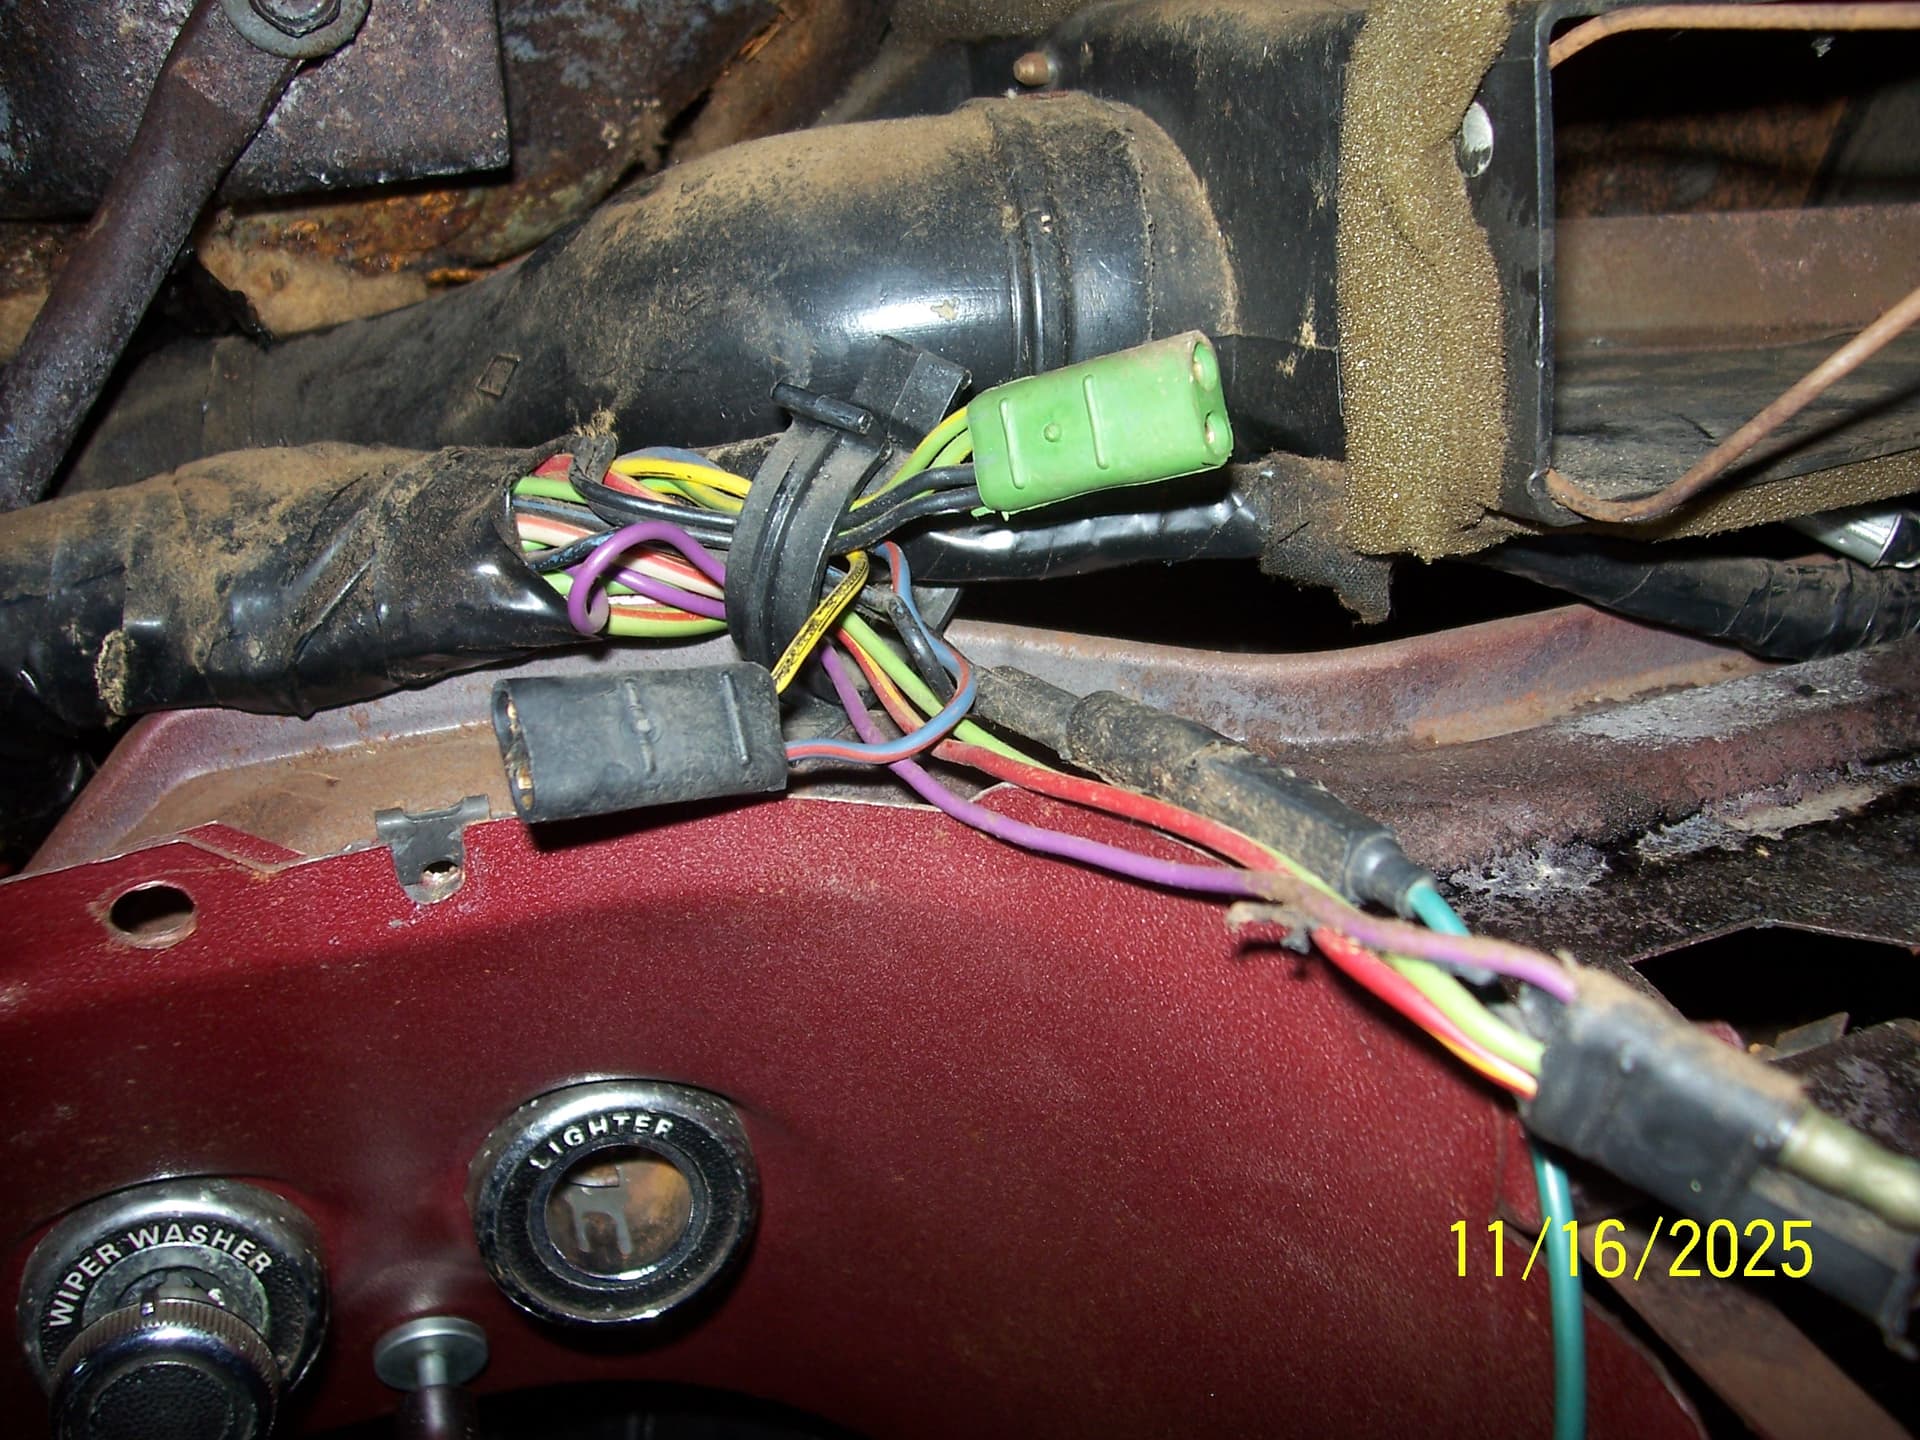
The green one is the curious feller - I’m wondering if it might not be to the “low fuel” circuit when equipped.
The last one I must not have taken a picture of; it’s an “L” shaped, bluish green clip-on type connector with a violet + 2 red/yellow leads. It’s low and to the drivers side of the center console. I’m thinking maybe a radio lead?
Yes, I do have the Marti - Where it says “Your vehicle was equipped with…” there is no “Visual Check Panel” listed. I do have the light array in the center (BELTS, fuel, DOOR, LIGHTS) but the fuel one doesn’t have a light wire for it (I also don’t have two posts on my sending unit). I was just wondering if that’s what that green plug may have been for IF I had the right “package”.
The green one is clock/lamp power to the clock harness. Black one next to it is radio/lamp power to the radio. Pretty sure the two on left of steering column are for the distributor modulator “dist-o-vac” system for emissions control.
Hey Craig, maybe you can tell me another thing or two - the lead for the “door ajar” light; The plug connector has two wires, one of mine was nipped off and taped over, the other went to the light, but there was a 10 ohm resistor added inline. I presumed that was PO’s attempt at dimming the light and I’ve removed it - BUT, question #1 why two wires and where would the second one connect, #2 what makes the “BELT” light shut off (mine stays on continually). Thanks to anyone who can clarify.
The optional Visual Check Panel would have given you the door ajar and low fuel warning lights. Otherwise, only the XR7 had those. Since you don’t have this option and no low fuel warning light, plus there are other additions like the 10 ohm resistor and the rheostats, I am wondering if a PO added the door ajar wiring?
Anyway, for the Visual Check Panel option, the two wires that went to the door ajar warning lamp socket (blue) were power (blue/red tracer) and ground through the two door switches (black/violet tracer). The two that went to the low fuel warning lamp socket (green) were the low fuel relay (yellow/black tracer) and ground (black).
If you had one, the low fuel relay would be mounted on the lower dash bracket under the emergency flasher. It had a 5 prong connector.
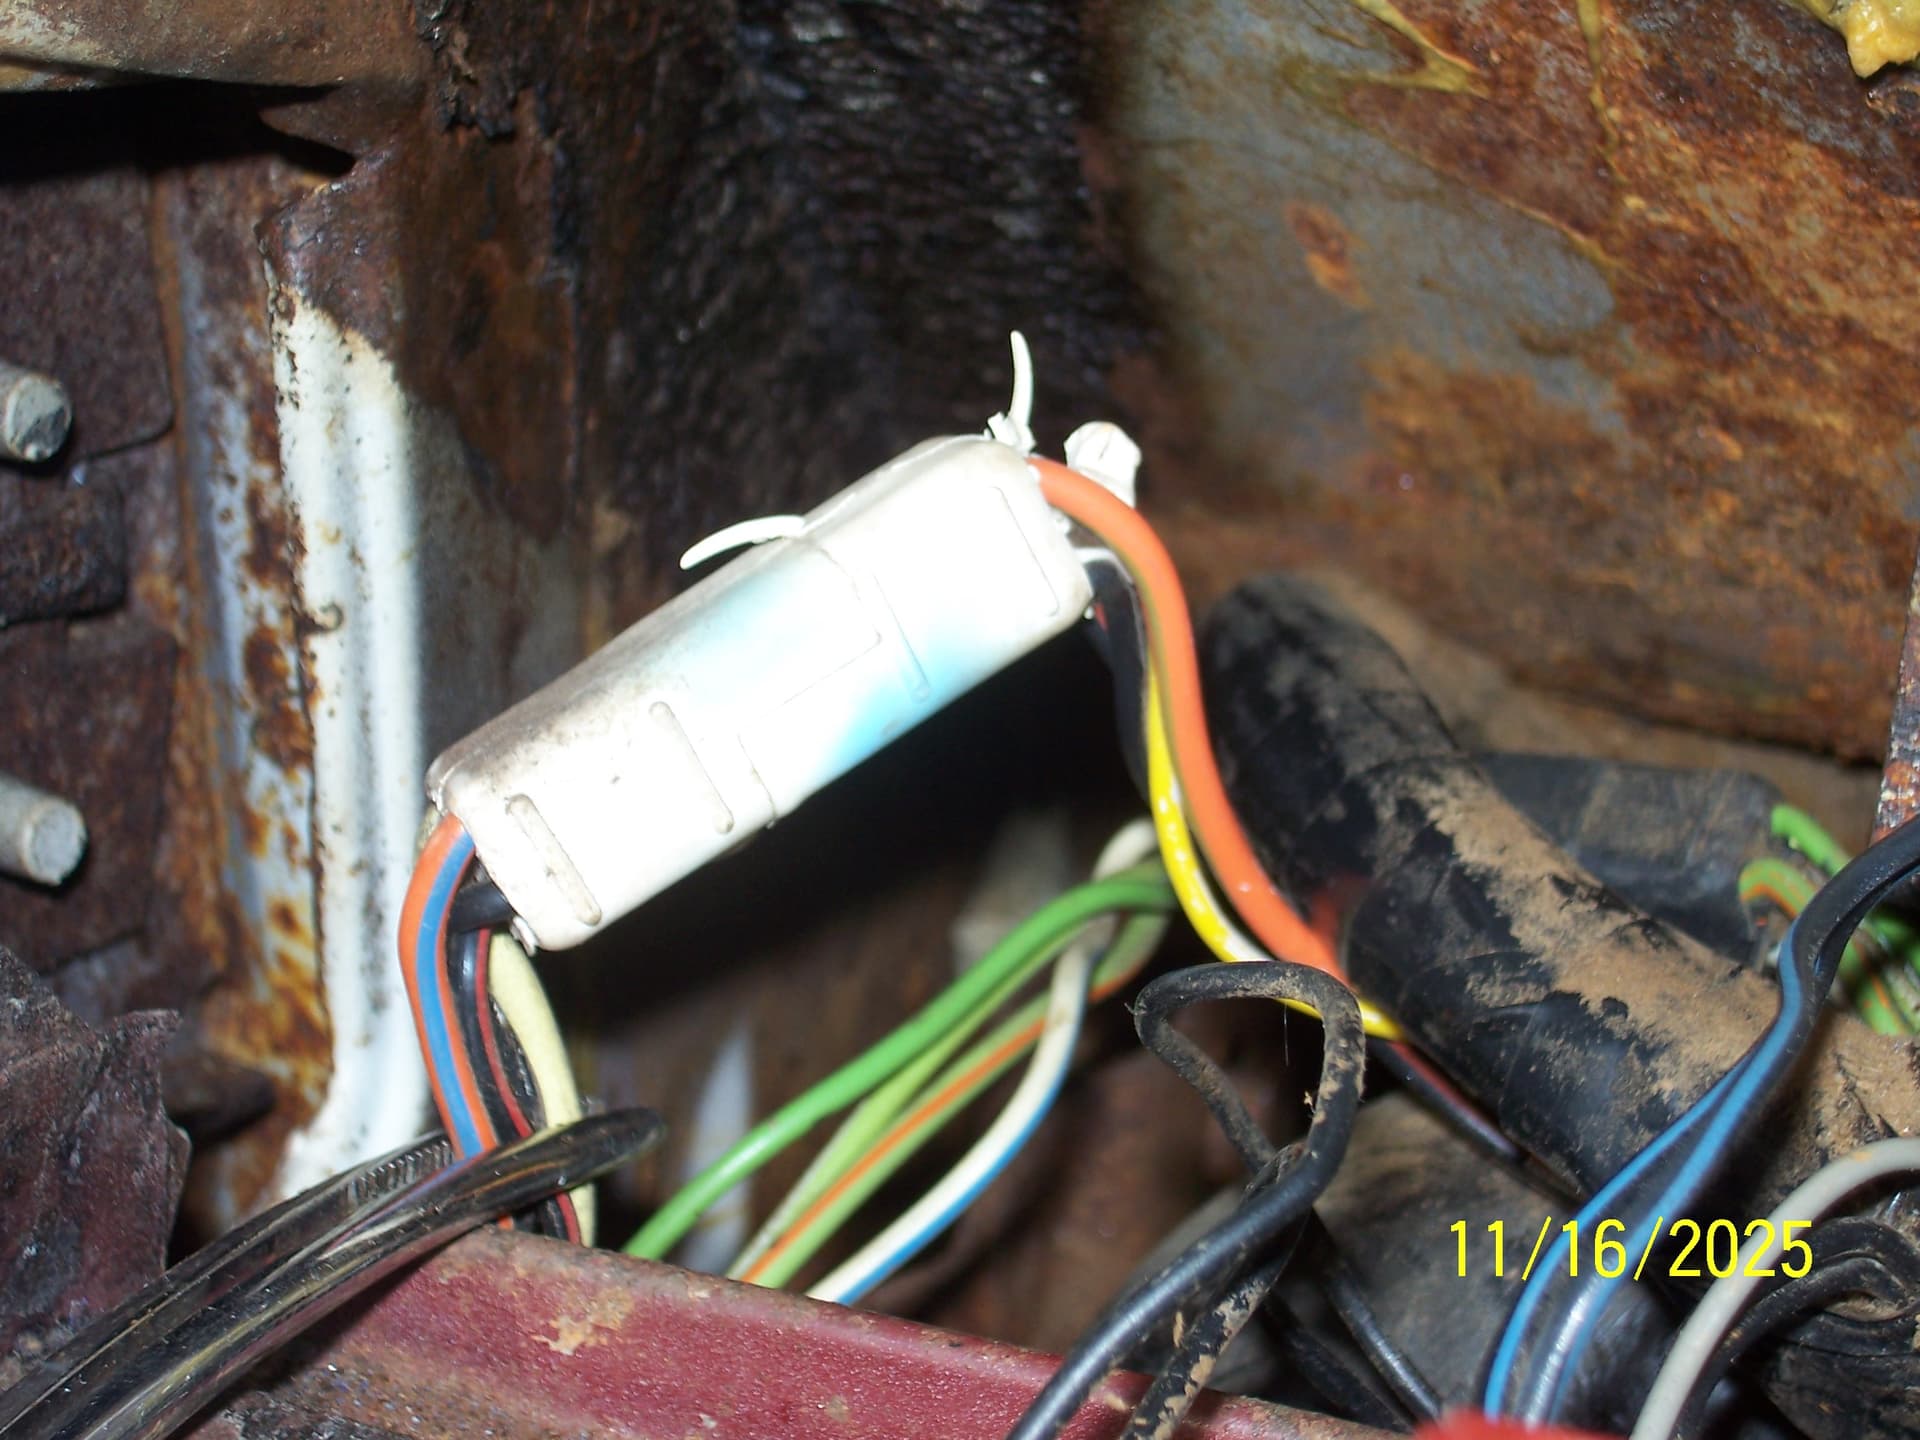
The seat belt light goes to a thermal switch also on the lower dash bracket under the emergency flasher. It opens when it heats up to turn off the light. It is a silver metal rectangular can with a two prong connector on the back and yours is most likely bad. It plugs to the L-shaped connector you asked about with a violet + 2 red/yellow leads. The seat belt warning light on standard Cougars came with deluxe seat belts.
Wow, so awesome; thanks for all of that. I’ll let you know if I get anything resolved through it - I definitely have “DOOR AJAR”, and it all looks like factory plugging - the only light that doesn’t do anything is the “LOW FUEL” (not even a light there) but I’ll search it out and see what other “cans” I may have. I’d love to find a way to shut off the “BELT” light. Thanks again!