Hello All.
A while back I had a thread going in regard to the 4300 as to cfm and such. I had found a larger 4300 and planned to try a restoration. Since then winter has gone by and I have been doing some nickel plating and experimenting with zinc plating. It works. I have some more chemicals coming for yellow dicromate that I will be trying.
So, does anyone have a color picture of a restored or new 4300 they can share for reference? I would like to get as close as possible. There are pictures out there but I have no idea if they are right. If I don’t get the finishes correct it will at least look clean.
Thanks in advance,
Gary
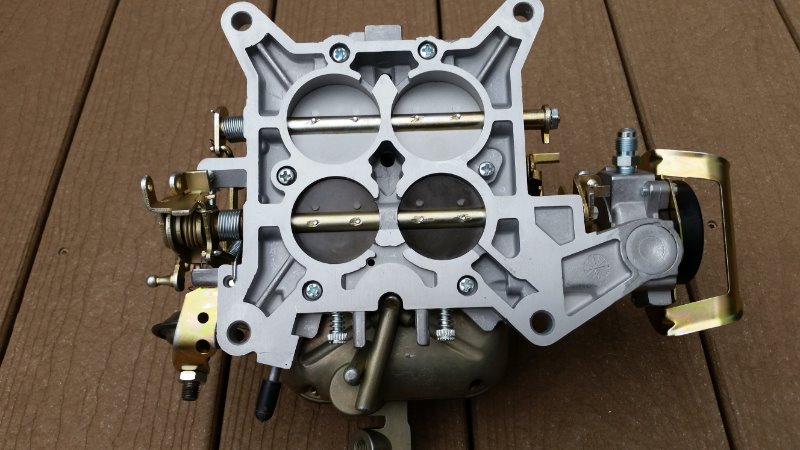
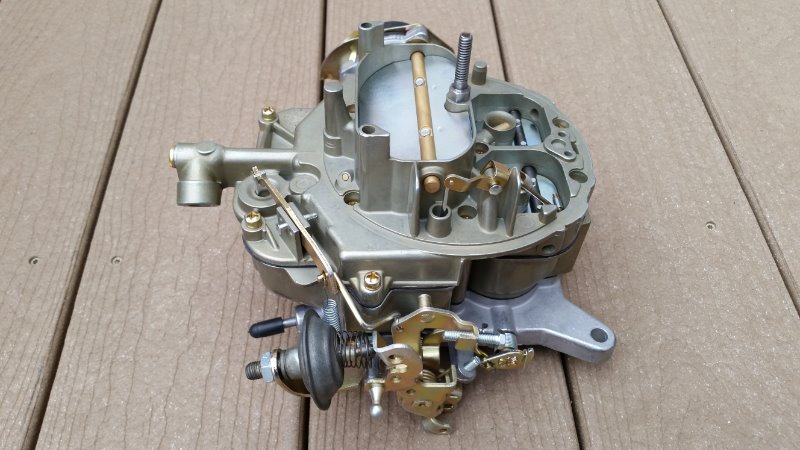
Here are pics of mine just back from restoration. It’s a 600 cfm D0OF-AC rev B dated Sept 1969
Great restoration of your carb its tough though as not many original conditional 4300’s are around to use as a guide. Be very careful with using dichromates appropriate breathing gear should be used there are 3 known restorers who who all died of brain cancer one just this year.
This was the original carb with its tag still attached at 63k miles. It had a carb kit in 1998, but was otherwise original. I failed to get pics BEFORE I sent it to be restored, though. So I hope he got everything right!
Gary, I remember my 1970 4300 looking (when new) closer to the 4300 example linked here - a bit more greenish.
http://mustangtek.com/carburetors/FordCarburetors.htm
Good catch on the screws! I did find some pics of my carb before restoration, and the top screws were like the ones on the NOS carb on ebay: The tag screw looks to be black phosphate, and probably the same for the ones near the choke and air horn, but the drivers side screws are yellow zinc.
Edit - does anybody know if the factory used e-clips, or Y clips on all the rod linkages?
Good Morning,
First I thank everyone for the responses. Second, I do wish to state that this stuff is pretty easy once you figure it out, especially the power source. BUT, these are chemicals and one must be safe with them. The nickel and zinc is relatively harmless but the yellow dicromate and others are to be used with a high degree of caution. Anodizing is really bad and I will not even think of going there.
Anyway, so my first experiments have been here at work where I / we can do this properly. I say we as I started this experiment using the nickel to add .0008" to a bearing diameter on a shaft for one of our machine parts. I would not be concerned with doing the nickel or zinc at home in my pole barn. Which is where I intend to do the carb parts.
So in the pictures I see some polished nickel (appearing) parts and some that were probably zinc plated and then dicromated. I will have to see if I can find which is correct. I’m not too worried about that. The part of this that I find interesting is the greenish appearing tint on the carb body that R.B. showed an example of. I have seen that before on other parts.
I will post up a few pic’s as I get my little “chemistry set” (my guys named my set up) moved to the pole barn and move forward.
Thanks Again,
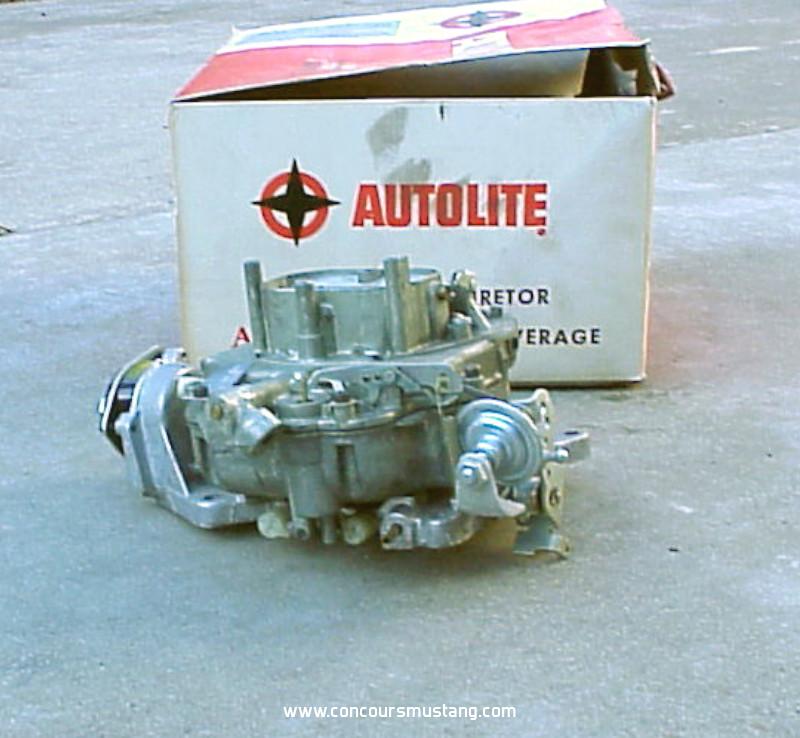
Calicat, from what I’ve seen, all the screws on the top were black. I think on yours, as gas residues and dirt accumulated on the top as previous owners wiped that off ,also removed the finish on top of some screws. Also I believe the carb on feebay is NOT NOS. My research has shown that the Autolite 4300’s were problematic. So they would be swapped off the car and a new one installed which I believe to be the case on the feeebay carb. That carb was swapped out and put back in the original box and put back on the shelf. Look at the 2nd pic. Blow it up and look at the oily dirt residue on the base plate near the choke. Also look at the air horn gasket.Used. Look at pics 8/9. Looks like gasket material embedded in the base plate. All that points to a take off/swap to try to remedy a problem. I offered Andrew $475 shipped and he politely declined. lol. I’m not in a hurry. Something else will pop up. The last complete Autolite 4300 D0OF-AB sold on feebay for $350 plus $40 shipping on Feb.18,2021
If you think about it, the gas and carb cleaners are gonna wash the oil off the oil phosphate leaving the screws vulnerable to rust. So they could even be replacement screws. In any case, they look better yellow zinc anyway, which matches the other yellow zinc parts. As to the 4300 being problematic - definitely can attest to that!
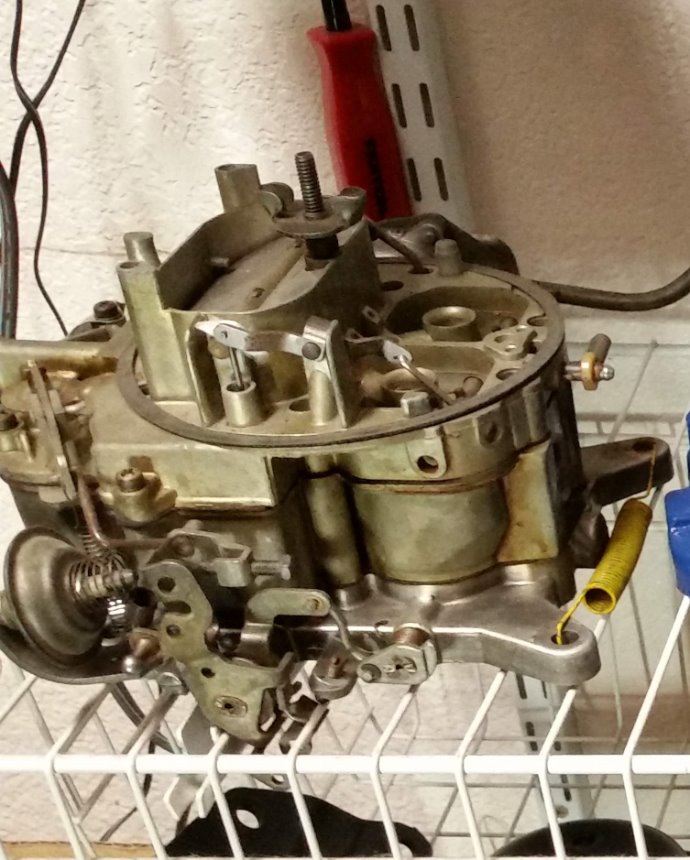
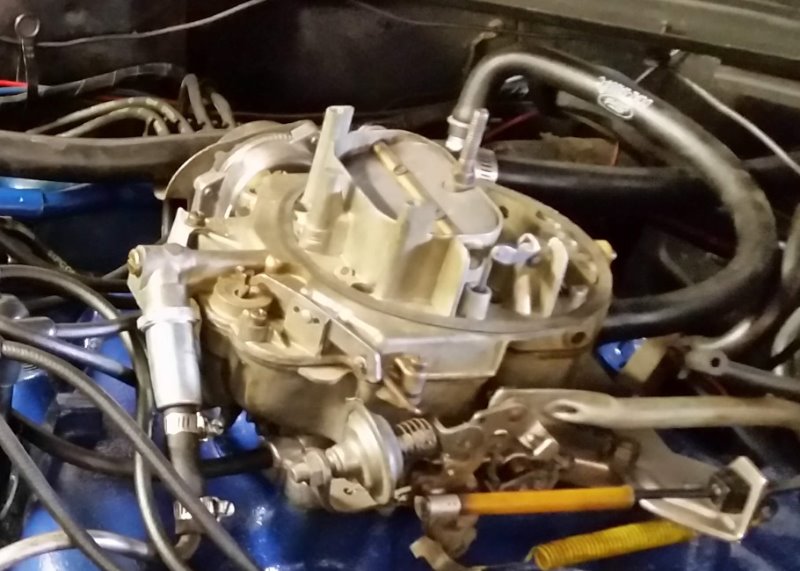
A few pictures of some new 68 versions of the 4300 boxed in 1969. There are two different carbs shown in the pictures - reason for the multiple pictures
Like always lighting and camera settings can affect what you see on your computer monitor
Hope they help
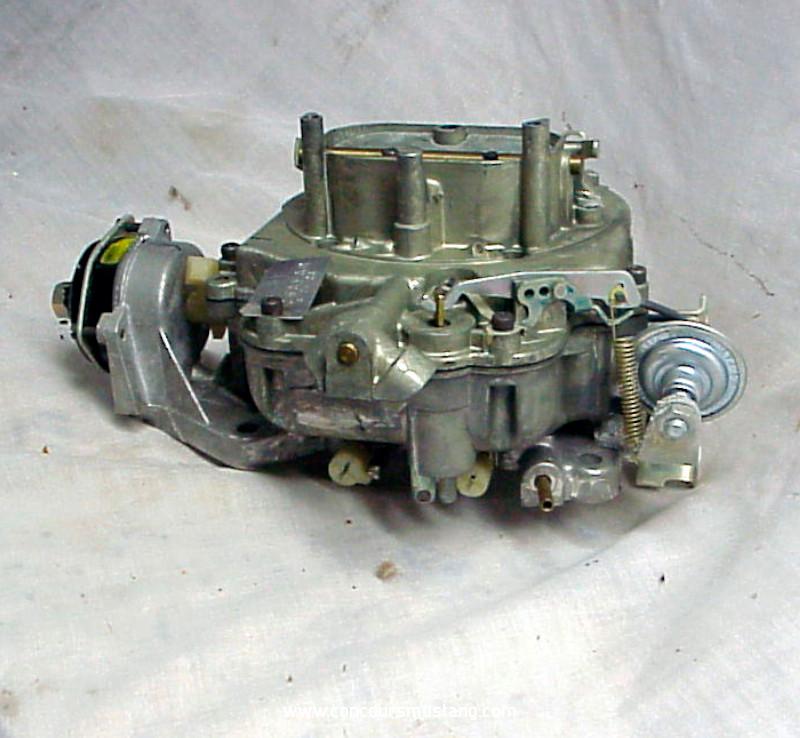
Very nice parts Jeff many assembly/quailty control marks also has the mixture screw limiter caps.
Good to see the choke plate rod really is yellow rather than green or black! I have noticed the factory yellow zinc chromate is often less yellow than what we get today. Same thing on alternator fans. Sure enough, those look like black phosphate top screws. I think I am seeing Y clips rather than e clips on the linkage rod ends. And my accelerator pump spring is installed in the wrong bracket hole too. These are helpful pix - thanks!
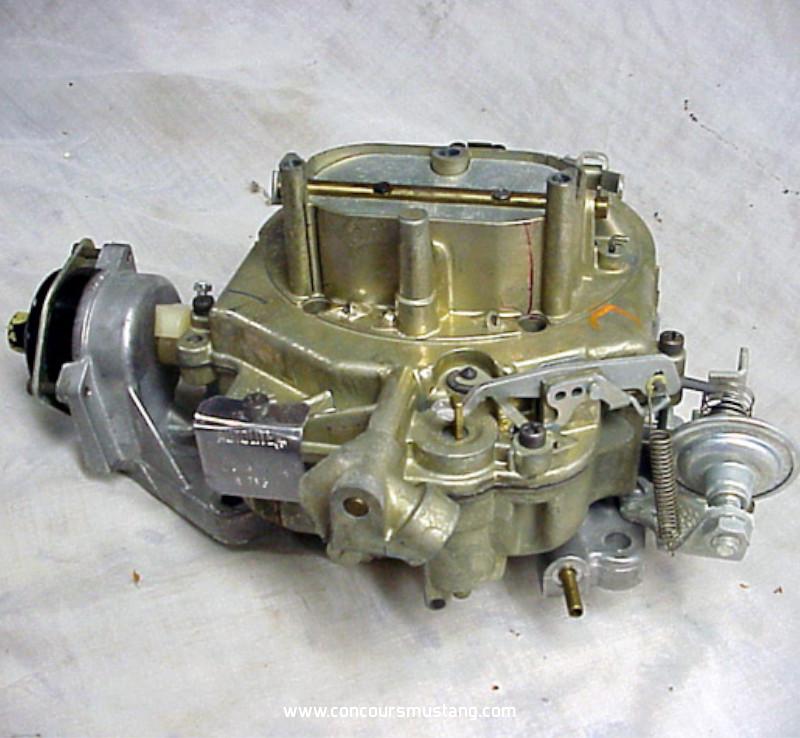
Thanks for the pic’s Jeff. Half of the bodies look greenish and half look to be yellow cromate. There is a green cromate on the website I have been using. I don’t have a decision yet.
Gary
Yes, the accelerator pump area on the first one sure appears to have green chromate residue too. Good luck Gary, and be careful! Looking forward to pics of what you end up with.
In person the main body and cover look to be a gold with a slight green tint similar to the protective coating/coloring used on other similar metal items such as 67 Thermactor diverter valve bodies not the stamped steel covers and on PVS - ported vacuum switches Coloring can of course vary between batches. Color is not that far off the coloring on other period NOS carbs such as Autolite 2v’s and singles for 6 cylinders
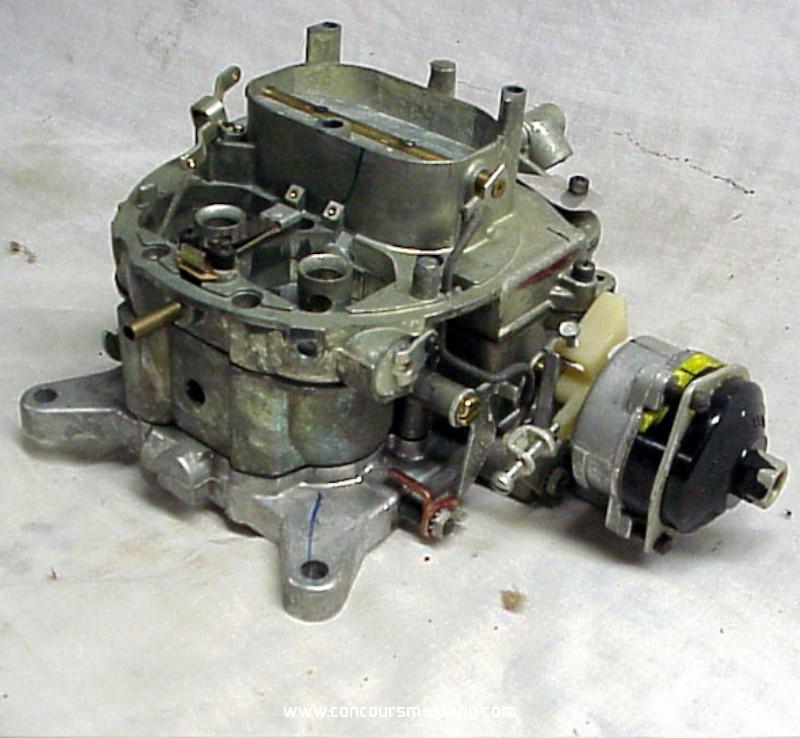
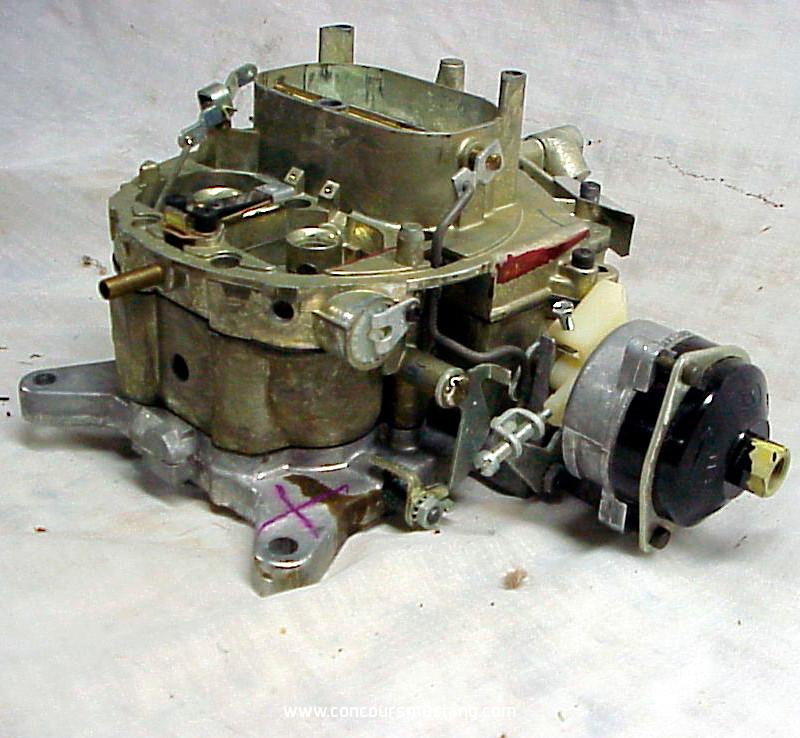
Ok So I found a D0OF 4300 AB with the help of Royce. Dumb question. What’s the difference between a dashpot and the carb solenoid? The carb I’ve bought has a round bracket that holds a solenoid vs the flat bracket that holds the dashpot.
The dashpot is a mechanical device which is there to dampen and slow down the throttle plates as they close to idle position.
The solenoid is an electrical coil that holds the throttle plates open to idle position while the engine is on. When you turn off the ignition, it releases allowing throttle plates to fully close. They were used to prevent engine run-on or dieseling on certain engines/models. Not all cars had them.
So was the solenoid used on A/C cars? Trying to figure out what’s correct.
Others on here probably know better than me, but on the 351’s I think the solenoids were used on all manual trans and on auto only with A/C. It plugged into that white connector on the drivers side of the firewall.