Mike
Will you be taking it to All Ford Day at Willowbank in July?
Mike
Will you be taking it to All Ford Day at Willowbank in July?
Leon,
I will be taking the Shelby. Still have to fit the Cougar windshield and get it registered.
Maybe I shouldn’t have said that on the Cougar forum!!!
Sorry Leon, thought you meant the Shannons Two Days of Thunder in a couple of weeks. All Ford Day in July may be a good day for the Cougar to get a run!
Guys,
Here are my restored headrests - before and after shots. I tried all the forums looking for techniques to repair/restore 68 headrests, but got zero response, so had to experiment with these. As you can see, the headrests were badly cracked at the ends that got the sun. Large cracks right through the plastic and basically shattered into little pieces.
I tried a few methods but what I ended up doing was opening up the cracks, cleaning the inside surfaces, and glued strips of heavy fabric behind the cracks to hold them tigether from the inside. I used ‘shoe goo’ shoe adhesive, then bound them up tightly to restore the shape. That actually worked well in closing all the gaps and reshaping.
Next it was the exterior repair and resurfacing. To do this I needed an adhesive filler that was flexible, sandable, paintable. That cut out silicone and many other options. I eventually found a polyurethane adhesive filler that met all the requirements. Many coats and much sanding later, the surfaces were perfectly sealed and completely blended into the original surface. It is now difficult to tell which ends were restored. I call that a success!


That looks great… now we know where to send all the cracked headrests to get repaired ![]()
Great job and great info ![]()
WOW those look really good. You did a wonderful job.
Steven
Give me your Adress, i have to send 3 sets for restoration to you ![]()
Do you think that will work on armrests as well?
Leon, absolutely! The polyurethane is very tough - it is used to fill gaps in concrete, pools etc, so weather and UV resistant.
Do you get it at Bunnings? Any particular brand?
That is pretty cool! You should write up a nice “how to” article, with more step-by-step pics. Maybe submit it to the CCOA, or add it to the Project of the Month section here.
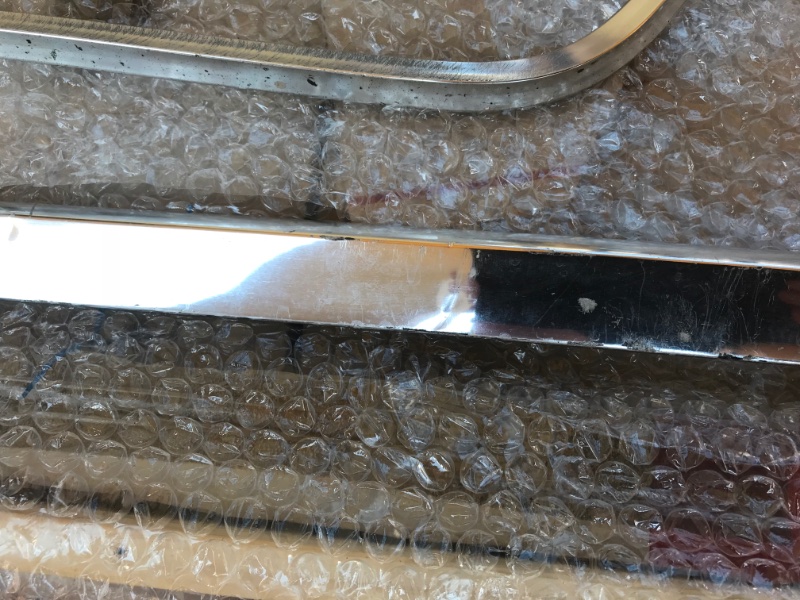
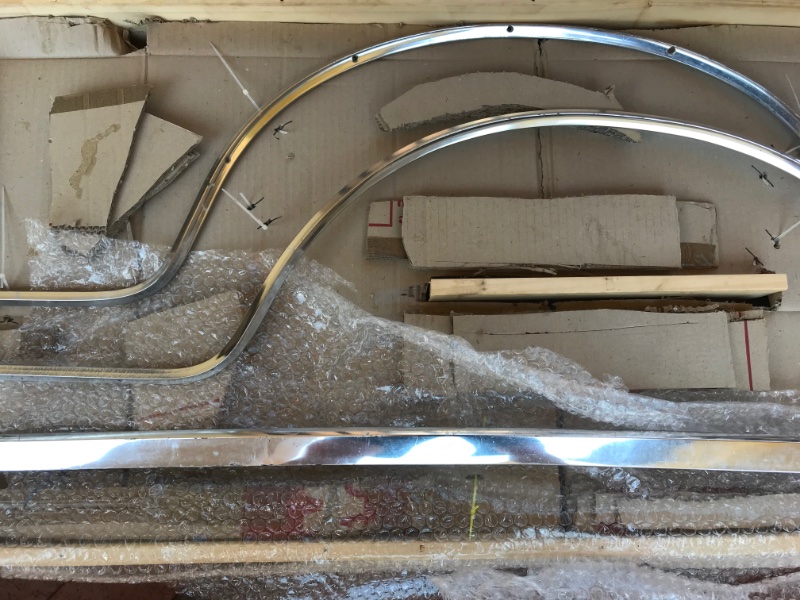
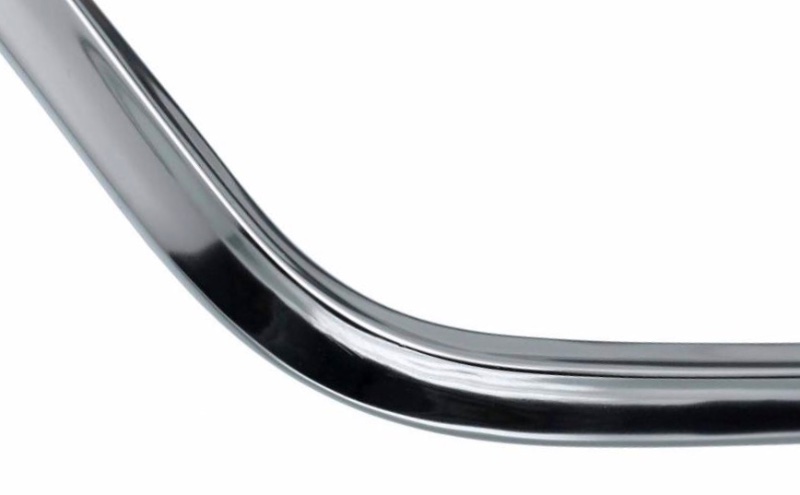
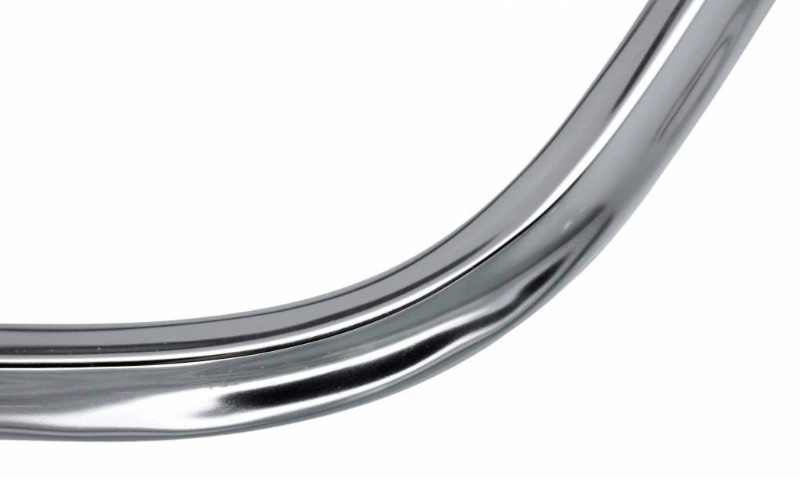
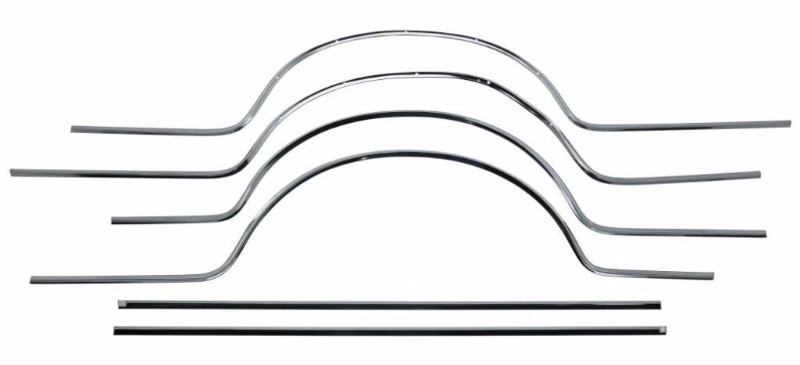
I am living in Florida for a couple of years on assignment, so a good opportunity to get some of the big jobs done. The Cougar is in storage in Brisbane, but I bought a few items over to the USA to get restored. Here are the rare and very expensive GT-E trim pieces, plus the hood, grille and trunk anodised aluminium trim pieces. Most of the trim was very nice, but the side trim over the rear wheel arches did have some gravel rash from 50 years of use. All packed up in late 2018 to send to Don Rush over at West Coast Cougar. And the finished restored product received back from Don, looking just like they did in 1968. The Cougar’s side trim now feature in the WCCC online catalog!
And here are the restored ‘after’ shots, now featured as the display on WCCC online catalog. There was one extra hole that had to be filled and shows as a blemish in the side trim. But if that is the only flaw after 50 years, I am pretty happy !
Hi
I’m in the process of restoring my headrest as I’m looking for recommendations on the brand of filler you used to prepare the surface for sanding?
Thank you very much
Tim C
Tim,
Whatever you use it needs to be sandable and paintable which rules out any silicon product. What I used was a black polyurethane filler/adhesive. It is the same stuff as used for expansion joints between concrete etc. I am fairly certain the product i used was Sikaflex black polyurethane adhesive/filler. sandable/paintable and just about indestructible
First stabilize the cracks to stop them flexing. I glued canvas underneath the vinyl to keep the larger cracks from opening again.
Then laid the polyurethane Laid on in thIn coats and then smoothed over with wet fingers. I just kept laying on coats until in it looked right, then a light sand and then paint with vinyl paint. I did lose some of the texture, but maybe you could make a silicon mould of a section of your armrest and in your final coat of polyurethane, wet the surface and press the mould into the surface to leave the correct impression.