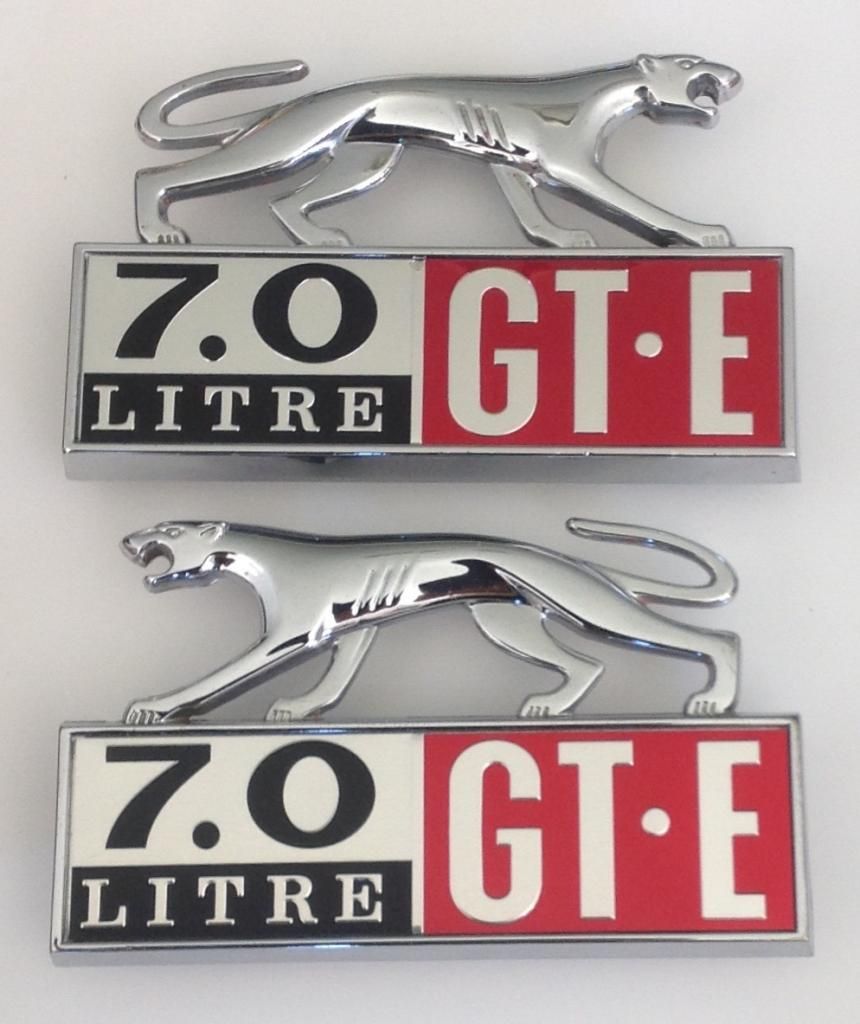
Both emblems now restored. They both came up like brand new. I am consistently amazed at the condition of the components on this car after 46 years in the Californian climate, and at the quality of OEM products versus modern replacements.
Very nice. They look like pieces of brand new jewelry.
Steven
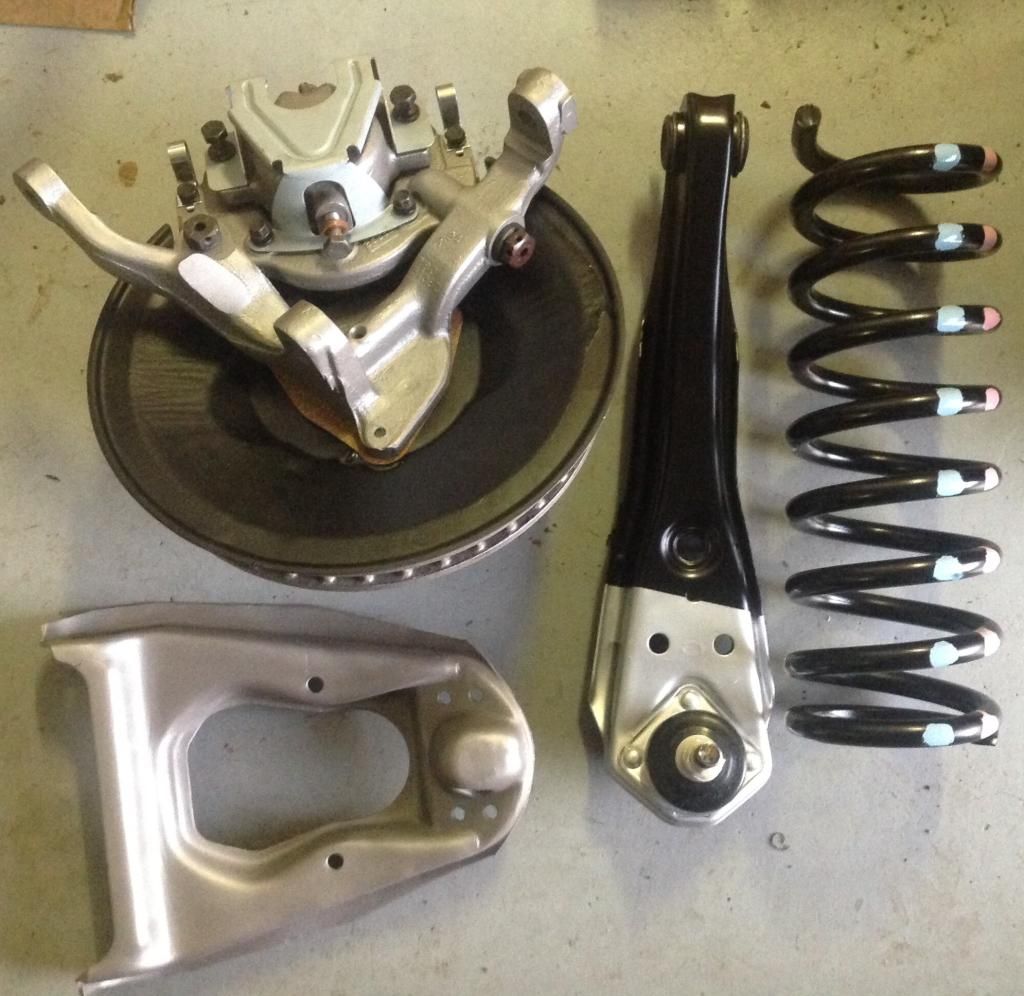
Left front suspension components now restored, ready for final assembly and lock-wiring, Just need a four-rivet balljoint for the original UCA. All components have been degreased, wire brushed, sand-blasted, painted and baked. Caliper rebuilt, news seals, clips, new pads, new wheel bearings, the Lower Control Arm ball joint was in good condition, so I flushed it out with new grease and replaced the dust seal (yes it is possible, I have done it twice now) and replaced the bearing.
The parts started out with 46 years old caked on dirt and grease, but underneath that they were basically like new, no rust.
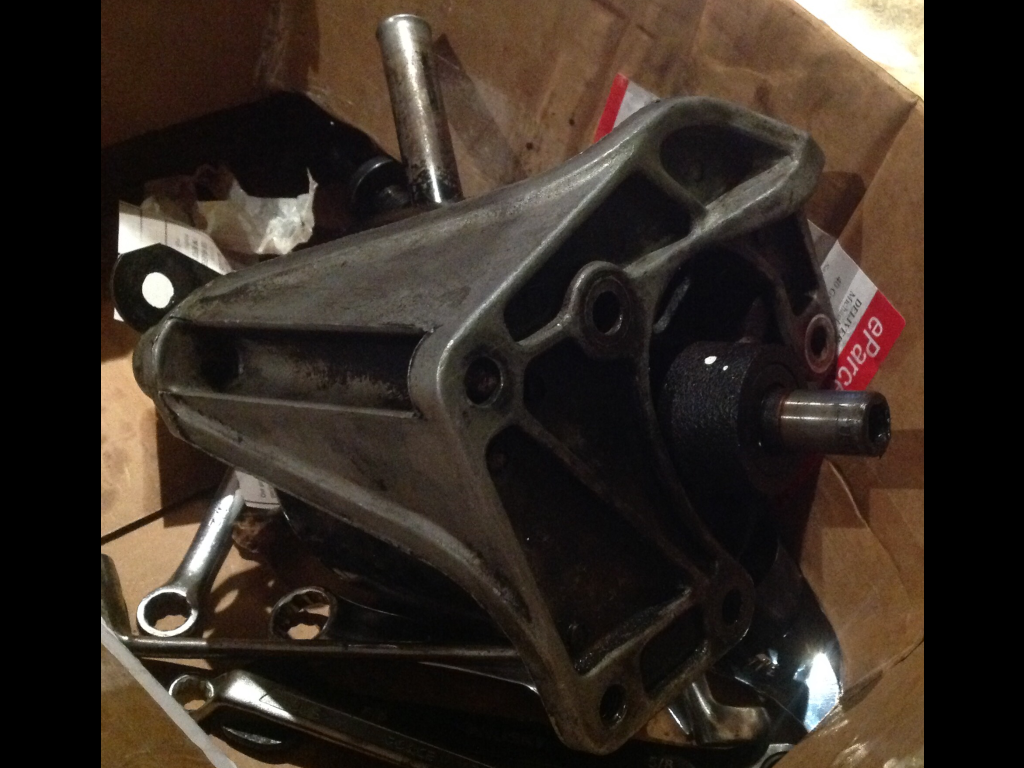
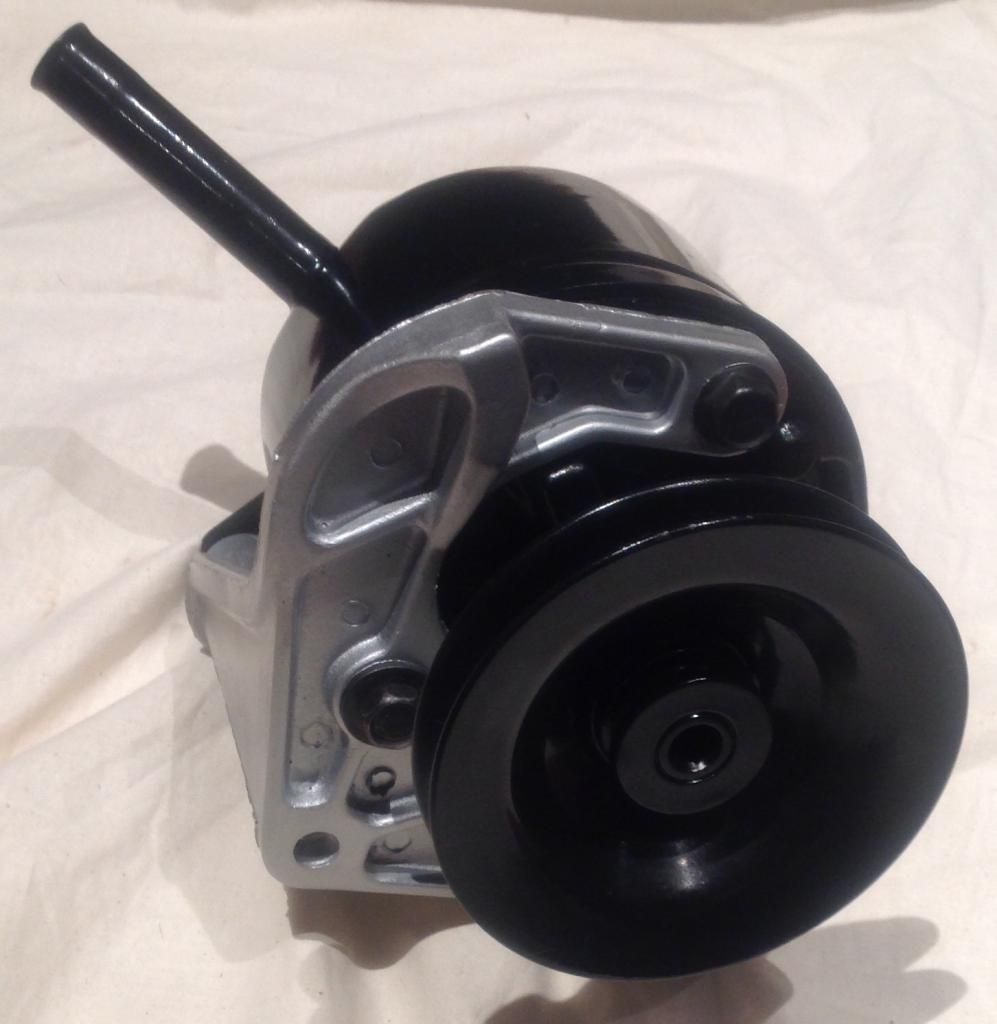
Power steering pump had a minor leak and was dirty and scratched after 47 years, so now rebuilt. Seal kit installed, a couple of small dents tapped out, painted, baked in the oven and reassembled. The p/s pump pulley puller/installer made removal and re-installation a breeze.
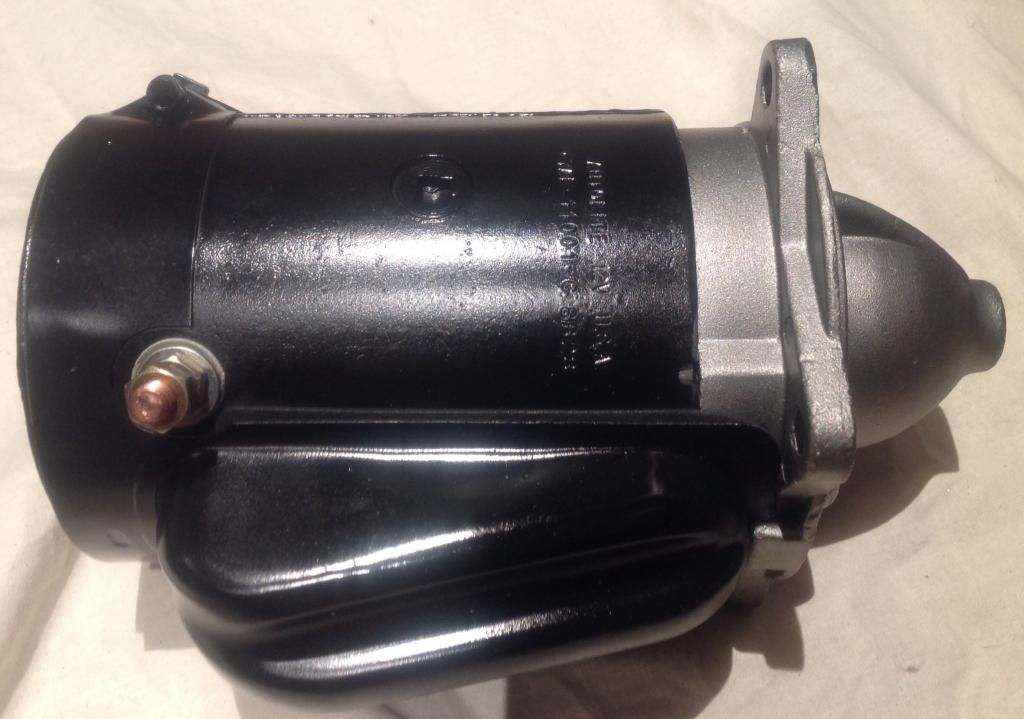
Your work is really nice. Did the starter come on the car or did you buy it?
No, the starter had been replaced with an incorrect type in the 1970s. I found a correct date coded item, already rebuilt.
This needs to be in the restoration blog:
I am working on the shock towers right now. Hammer and dolly to realign the metal around the torched holes and the cracks. I have welded the cracks from both sides, cut metal from an old frame rail to fit exactly into the holes and welded them in from both sides. I used old frame rail steel, which is slightly thicker gauge than the towers. I left the patches slightly proud on the engine bay side and I am then using a flap wheel to grind them back flush.
The amount of time and effort I have put into repairing these cracks and holes is probably many times what a body shop would do, but after using the flap wheel they are basically invisible all-metal repairs. And who cares how long it takes!
So far, I am very happy with the results, and if it means keeping those 27 Feb 68 dated shock towers, it is worth it. Will post some photos later.
Mike
When done right using a flapper wheel will make the repair invisible. Invisible repair and keeping the date coded shock towers seems like a win/win. I look forward to seeing you progress photos.
Steven
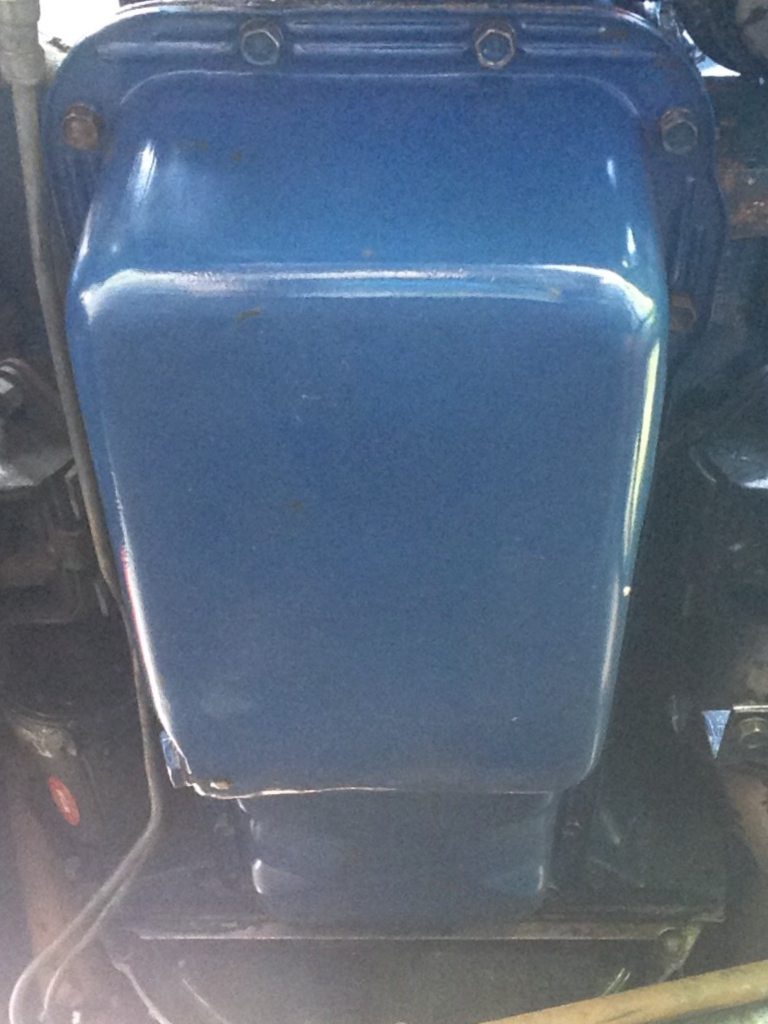
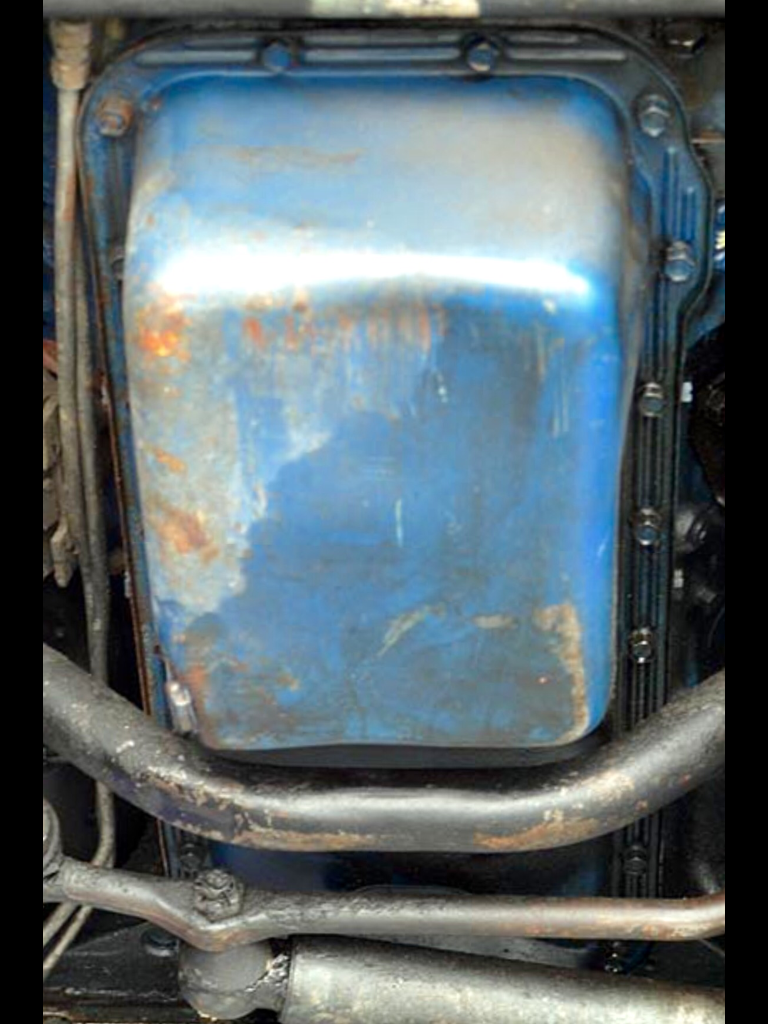
Another quick job over the weekend. The oil pan had 22 years of bumps,dings and scratches before the car went into the barn back in about 1990. Some gentle persuasion with a a round dowel, hammer and dolly straightened it all out and restored the original contours. Now looks like new again.
Before
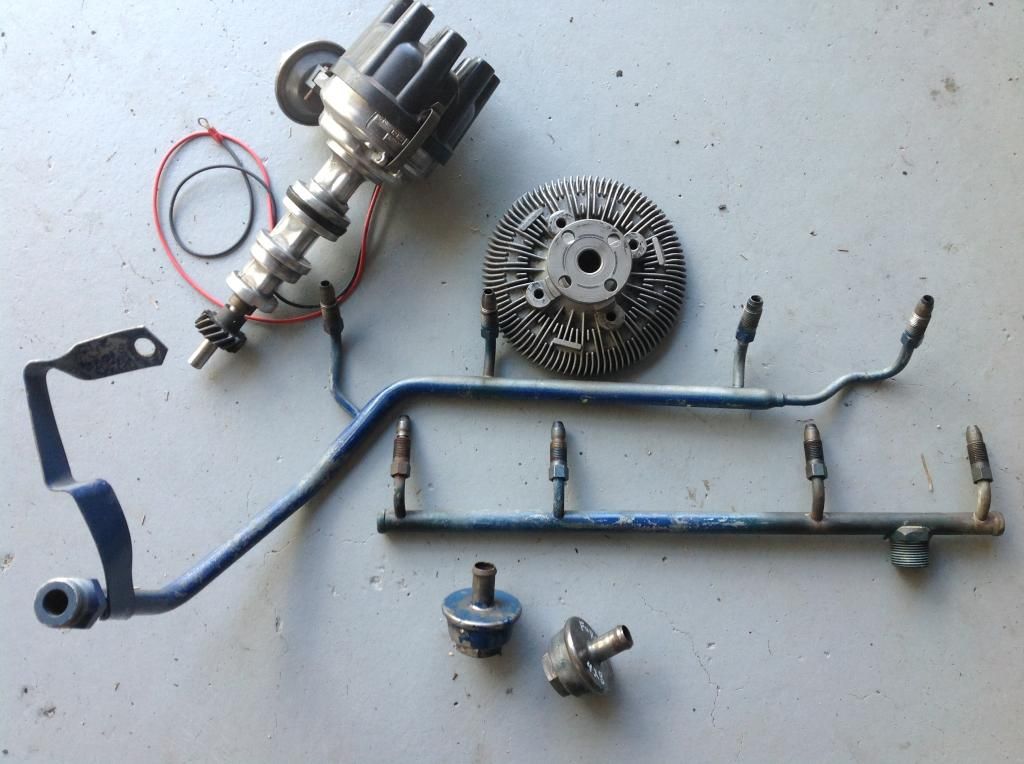
Look what just arrived in the mail!
C7OF-12127-F distributor (with Petronix and original point plates)
C80E-B Fan clutch
Smog tubes (remember that the smog tubes that were on the car were T-Bird or Galaxie type)
5/8 Check valves (the car had 3/4 check valves)
Just like having Christmas again!
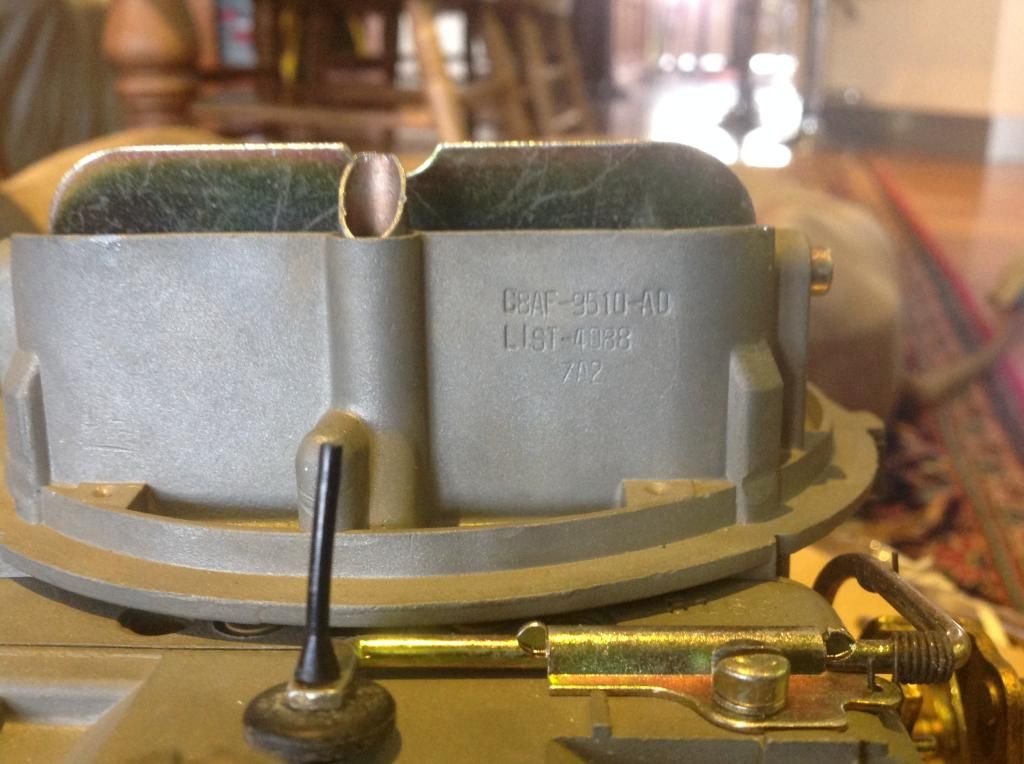
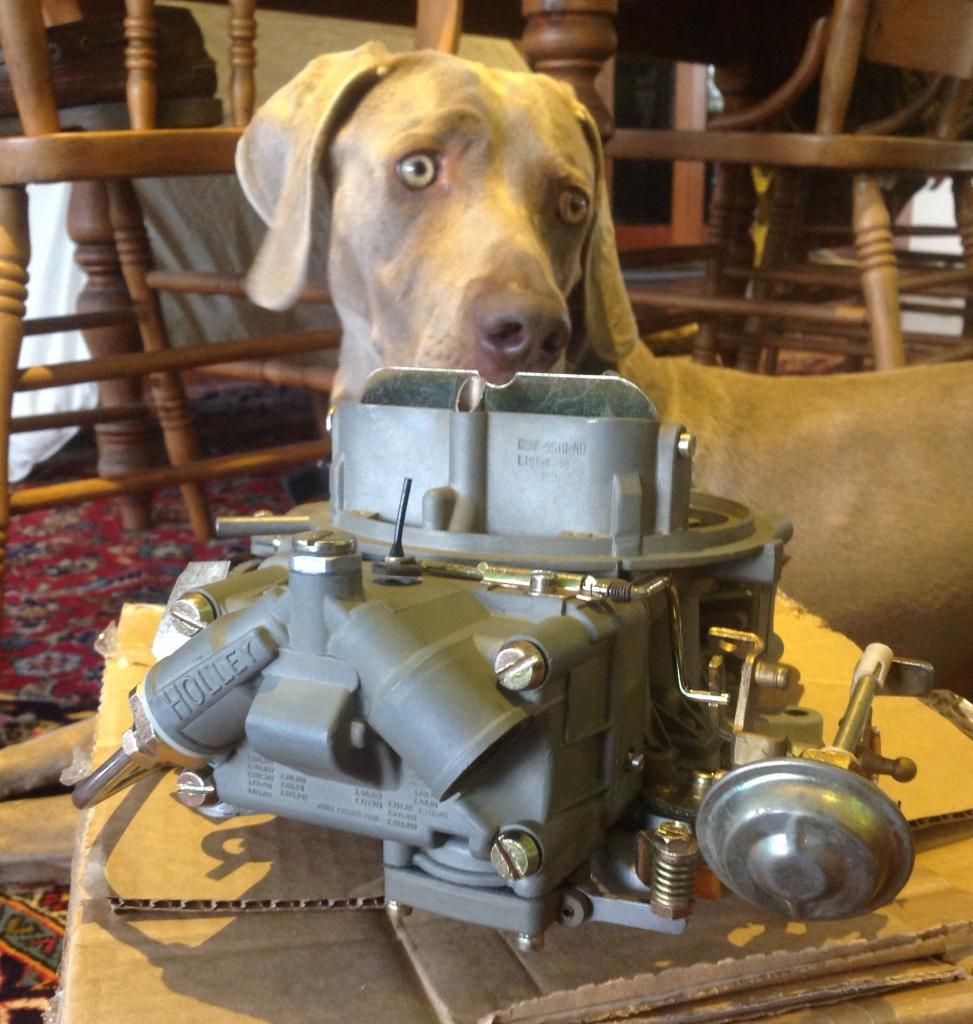
Last piece (maybe) of the puzzle arrived today - a fully restored C8AF-9510-AD, Holley List #4088 carburetor, date coded 7A2, the matching date code for my car’s original carb tag. Thanks to a fellow forum member!
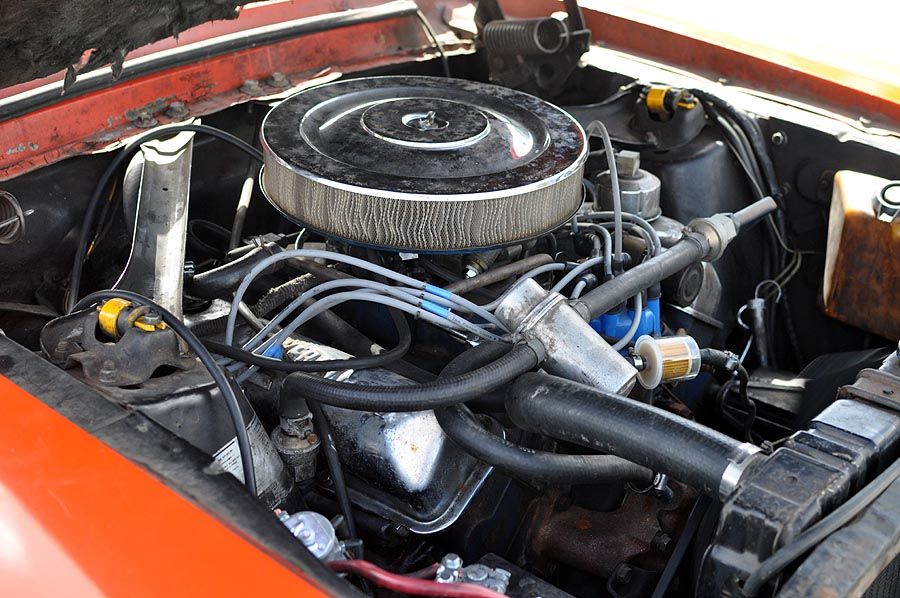
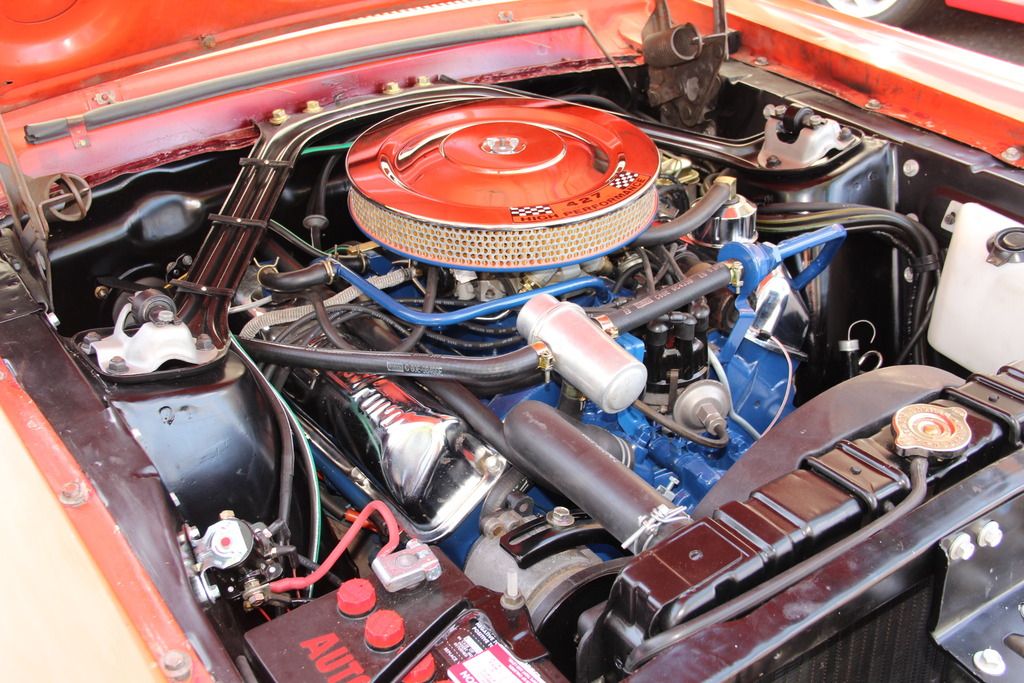
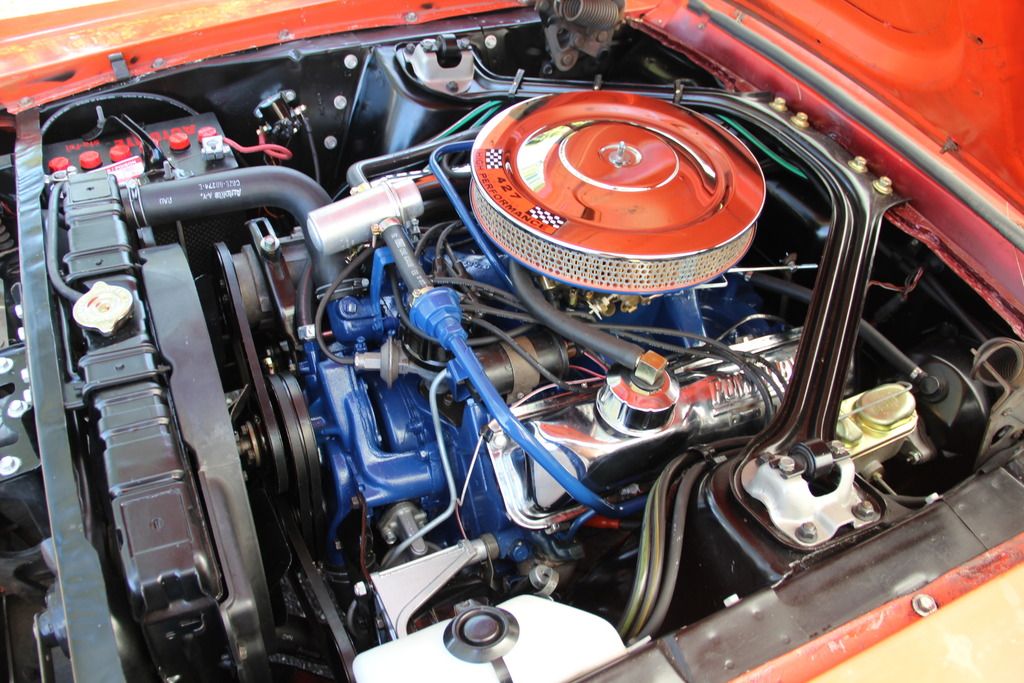
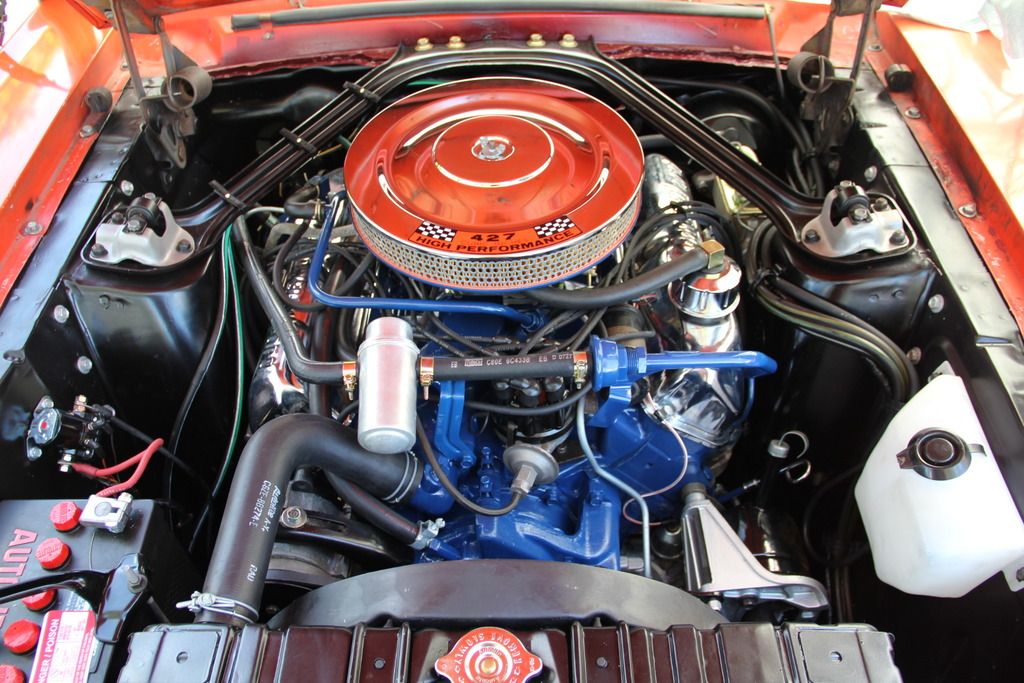
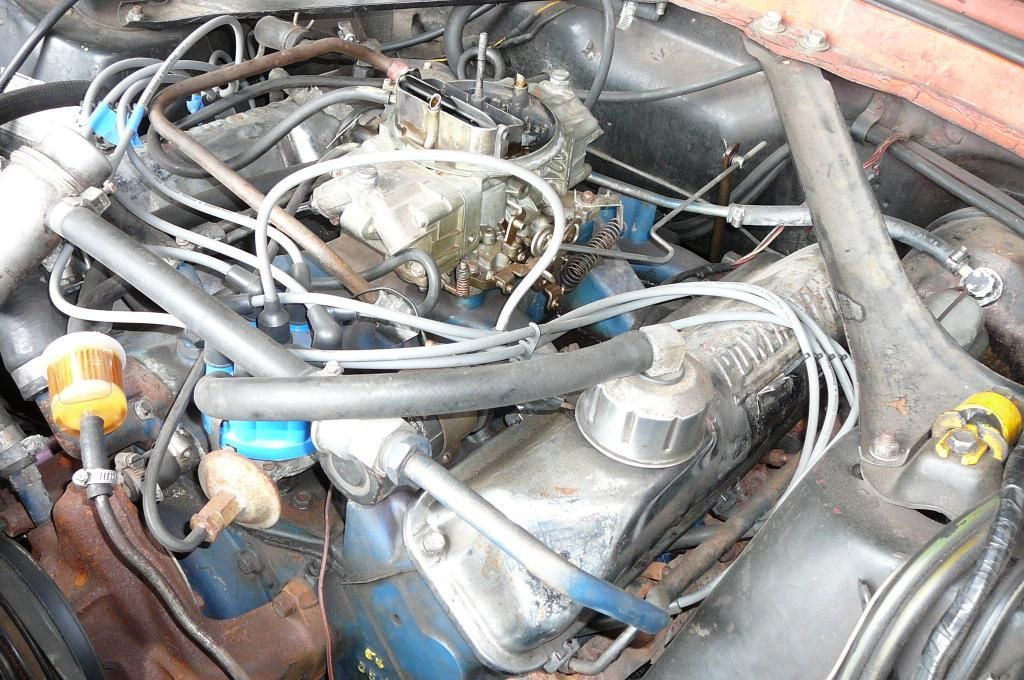
Here are some before and after shots of the engine bay. I started out restoring the brakes and suspension dust boots. While I had all that stuff off the car, I thought I would repair the shock towers. And while the towers were stripped, I rebuilt all the suspension components and engine accessories- power steering pump, alternator, smog pump. And, while I was at it, I rebuilt the power steering control valve and ram. Seeing as the engine was stripped, I thought I would paint the engine bay, restore the radiator, and paint the engine…
All back together now and running, handling and stopping beautifully. I still need to paint the exterior and restore the interior, but she is looking pretty nice I think, after sitting untouched for 25 years. Some before and after photos:
BEFORE SHOTS
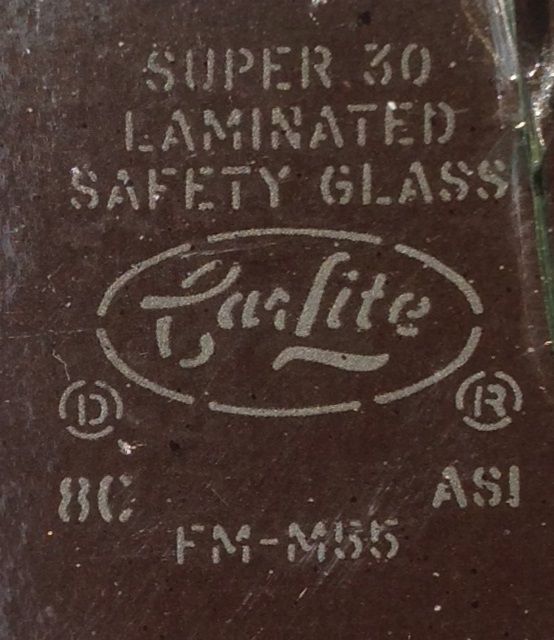
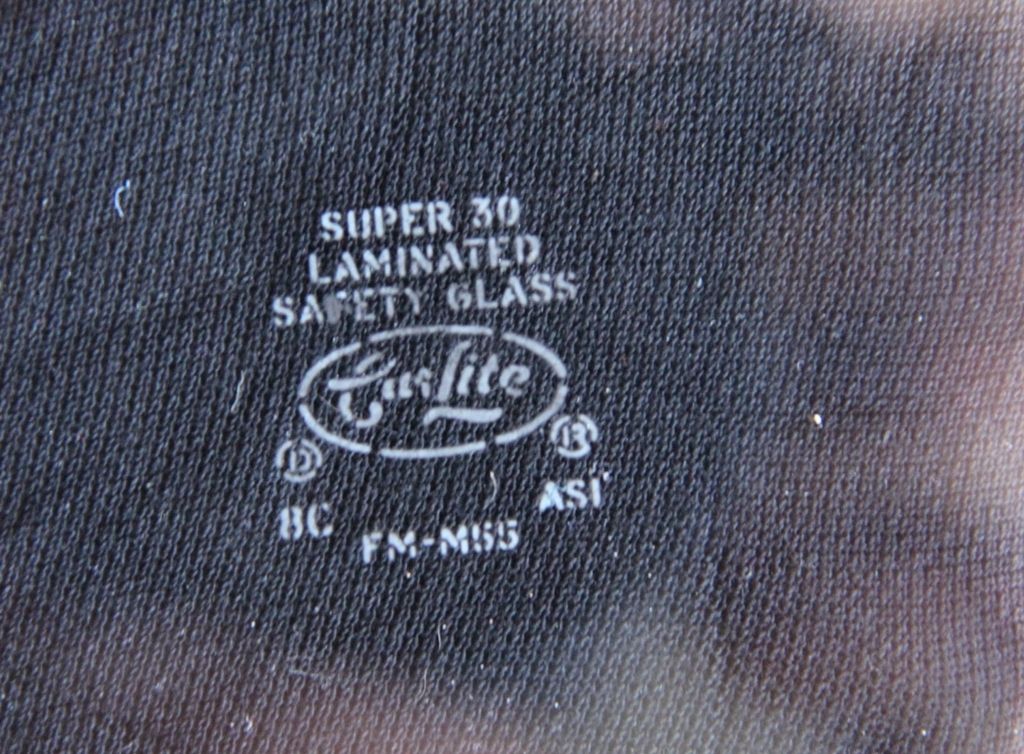
Unfortunately the original windshield was cracked so had to be replaced. The new windshield had an etched logo, which I removed with some 320,800, 1500 grite wet and dry paper and then autosol metal polish - no trace remaining. I took a photo of the original Carlie logo, edited it in photoshop and had a silk screen etching template made up. I then used etching cream to reproduce the Carlite logo, identical to the original, in the windshield.
ORIGINAL LOGO ON THE CRACKED WINDSHIELD
NEW WINDSHIELD ETCHED LOGO
Nice work.
Almost forgot- I know the export brace is not correct, but it makes sense while the car is being driven. And I am missing one of the valve cover plug wire keepers. Anything else you can see out of place?
Mike
Looks great, and I like the look of the “incorrect” export brace. ![]()
Nicely done on the window etching.
That is looking really good. That car was much better in person, than the eBay ad presented.
Things to fix: need Mercury Man head cap to cover the washer bottle; get your door mirror rotated with the wide part on the bottom ![]()
Scott,
Thanks to your inspection, I was able to track down correct date coded C70F-12127-F Distributor, C8AE-8501-A Water Pump, C80E-B Fan Clutch and many other parts before the car shipped out.
I didn’t know about the Mercury head water reservoir cap - need one of those.
The mirrors will all be replaced as I restore the exterior. While the body and underside survived in remarkable condition, the chrome items all suffered pitting from 25 years in the barn. I guess from dust settling on the chrome and absorbing moisture.
Mike
Awesome - love the way you replicated the CarLite stamp ![]()
- Phillip
