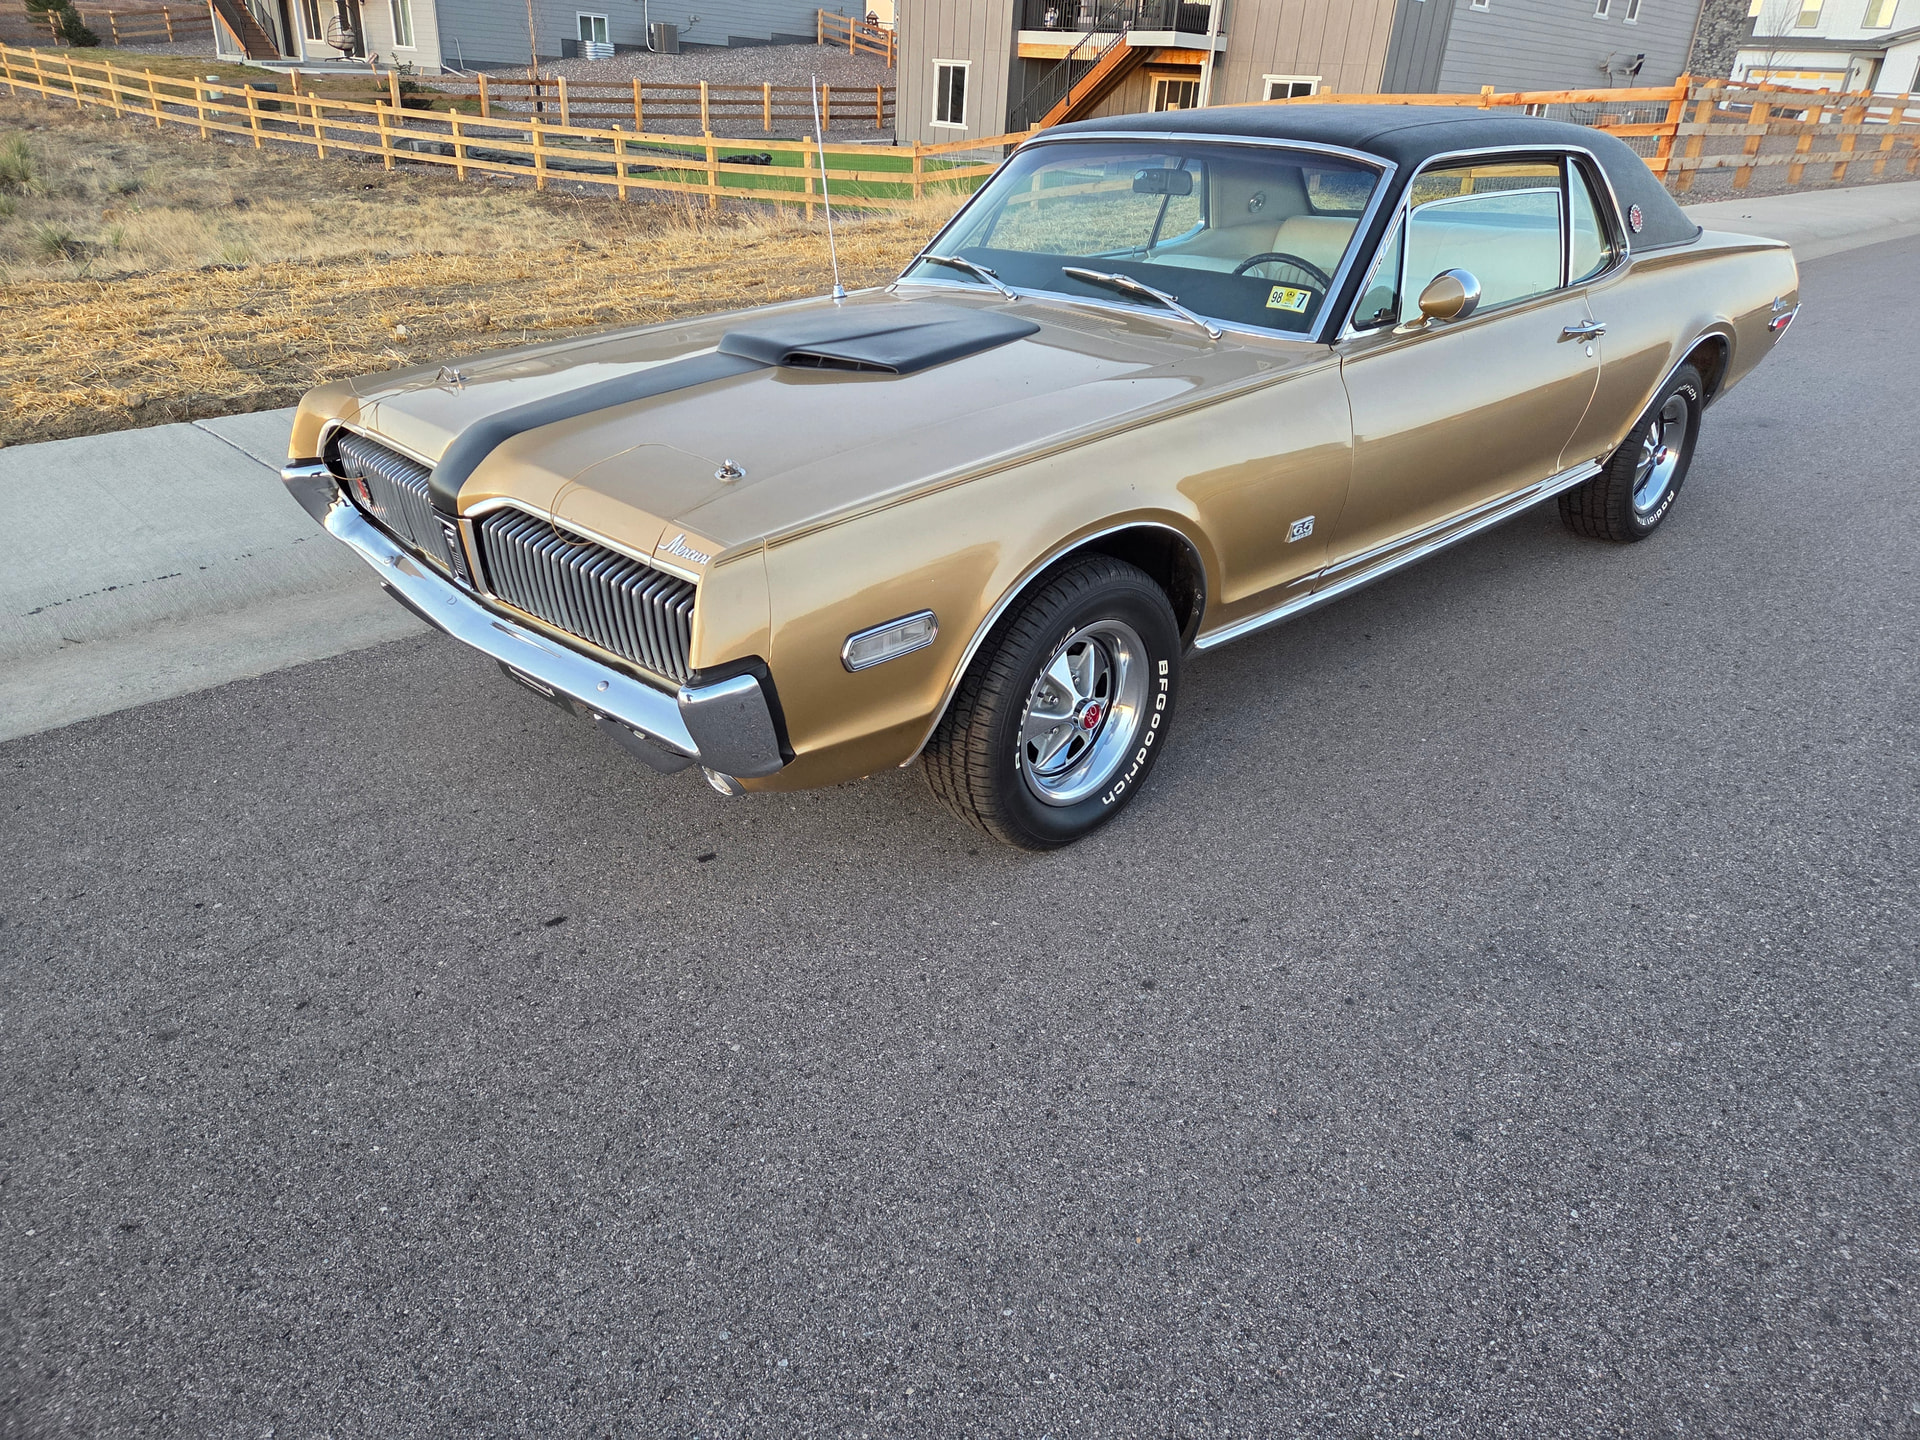
Jumped back into the Cougar world in a big way with the purchase of this XR7-G 390 spd with 54k miles. I was originally looking for a clean XR-7 until this became available. This will be my 3rd 68 Cougar, with my first one back in the early 90s.
I plan to go through it over the next few months in preparation for the summer shows and “cars n coffee” events. Plans are to keep it stock with any needed maintenance items. I had thought about the Sniper 2 setup due to our varying altitude, but will give the carb a chance after tweaking it.
I’d like to find a good PDR shop in the area to address the minor dents, and might try the “dry ice” for cleaning up the undercarriage.
2 Likes
I got to drive that car while it was in our care. Very nice driving car, what I imagined one would have driven like in 1968. Tight steering, smooth transmission linkage, and big block power.
3 Likes
And the doors open / close in a solid manner as well 
1 Like
So glad your new G arrived safe and sound Jeff!
2 Likes
Once you get the carb adjusted it is going to be much happier. Keep in mind that old cars require a warm up period. In particular you have to let the choke get hot enough to come off. You really can’t just back out of the garage and go.
2 Likes
Well, you can - you just have to restart it a few times. And on the third try, you flood it. And then you better have a good battery so you can crank long enough with the throttle wide open to clear things out. Funny to look back now and realize this was normal!
5 Likes
Finally had a chance to work on the new purchase over the weekend:
- Changed out the oil…went ahead with the Valvoline VR1 10W-30 as Walmart had it in stock
- Changed out the Top Loader gear oil with PennGrade gear oil
- Replaced the power steering ram boot and rubber components to frame bracket
- Replaced all of the exterior bulbs (except headlights) with LEDs from WCCC to reduce the electrical load and brighter
- Replaced most of the interior bulbs with WCCC LEDs except for the dash and 4 overhead console light bar. I was able to get one side of the light bar out, but was difficult when trying to pull the entire bar. I was a bit cautious with small plastic pry bars as the overhead console is in nice shape. Need a better method in pulling it out.
- Pulled carb and jetted the primary down a few sizes as it runs rich and replaced bowl gaskets / accelerator pump as it was weeping. Replaced “pump to carb” fuel line / filter, and removed the extra fuel filter I assume was installed when it was brought out of hibernation back in 2023.
- Tried setting timing, but air pump for Thermactor blocks view of timing pointer.. Looks like I need to temporarily remove it.
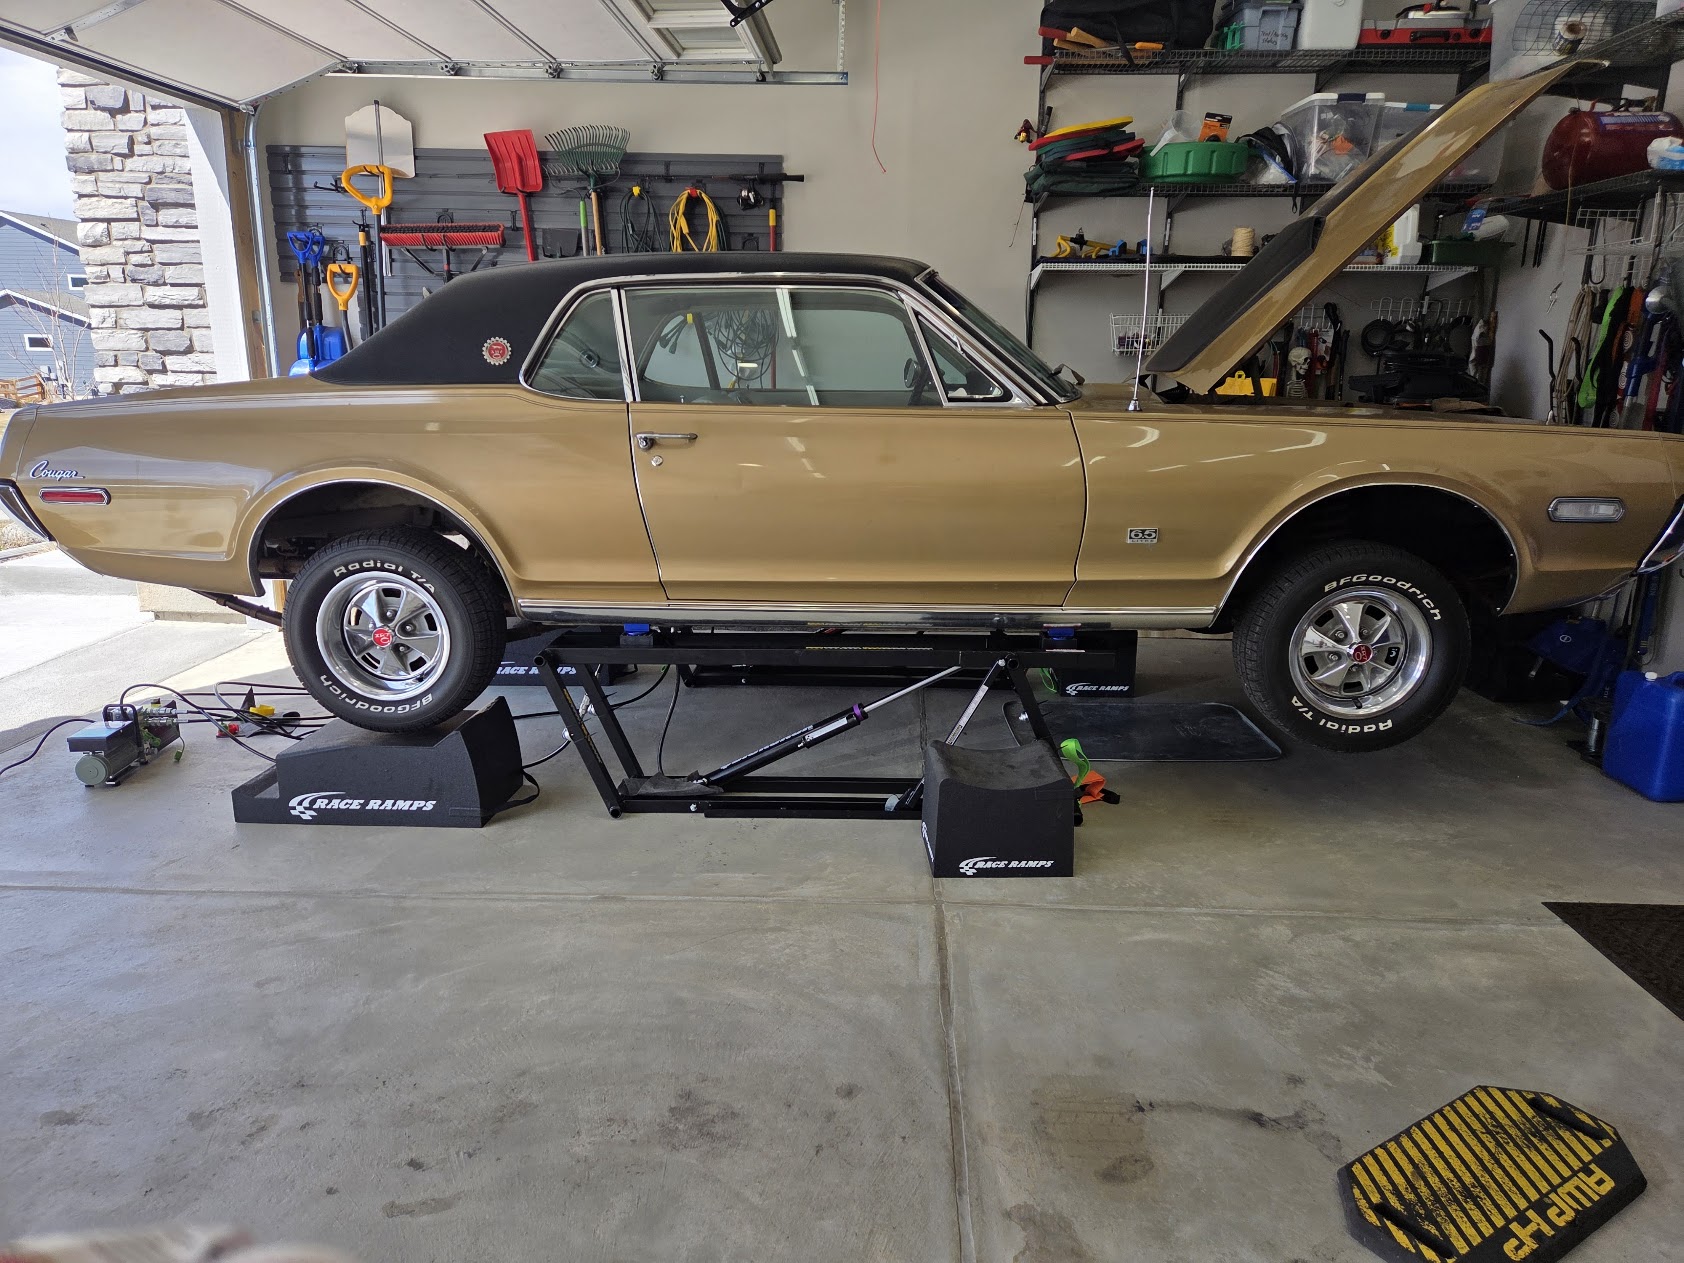
I found lifting the car made working under the hood easier for me due to my height. Had to raise it anyways to replace gear oil.
3 Likes
For the overhead console light bar try prying gently on both ends at the same time with equal movement.
Randy Goodling
CCOA #95
Also make sure you remove the fasteners that hold it in place. Just in case you forgot about those.
That’s the method I was trying with 2 small plastic trim pry bars. Will try again.
I’m not removing the overhead console, just the light bar within it. I didn’t notice any fasteners.
The light bar is held in place by a spring type clip on each end. No other fasteners are used for the light bar. These spring clips are attached to the light bar by a rivot like fastener. I have seen the clip get broken off the light bar so you are right to proceed carefully. You might also try gently prying just the one end down. Once the spring clip is clear of the console housing the other end should come out very easily.
Randy Goodling
CCOA #95
1 Like
I’m able to get the light bar free on one side and see the clip is free, but the other side doesn’t want to release after pulling on it. I assume there’s enough slack on the wiring connected to the 4 bulbs for the bar to pull out for access to the bulbs?
Perhaps the vinyl of the overhead console has bonded itself to the clip. I do not think that you will find a lot of wiring slack but you should have enough to change the bulbs.
Randy Goodling
CCOA #95
1 Like
I tried again today, but found the light bar still wouldn’t remove with minor tugging. I decided to remove the overhead console and found one of the lights had a bracket preventing me from pulling the light bar out from the front. I went ahead and replaced the 4 bulbs with LEDs from WCCC.
I also went ahead and replaced the headlights with the Octane LED set to reduce load on the switches/wiring, and brighten the road. I had to clip portions of the rear standoffs to allow the lights to seat better in buckets. I had a long curved hooked tool that simplified reattaching the spring back onto the headlight retainer. I kept the FOMoCo branded headlights for storage.
Interesting. In your photo I can see that both of the original mounting clips for the light bar are missing. I have never seen a bracket like the one used on your light bar so my guess is that this was someone’s “repair” so that they could continue to use the light bar.
Randy Goodling
CCOA #95
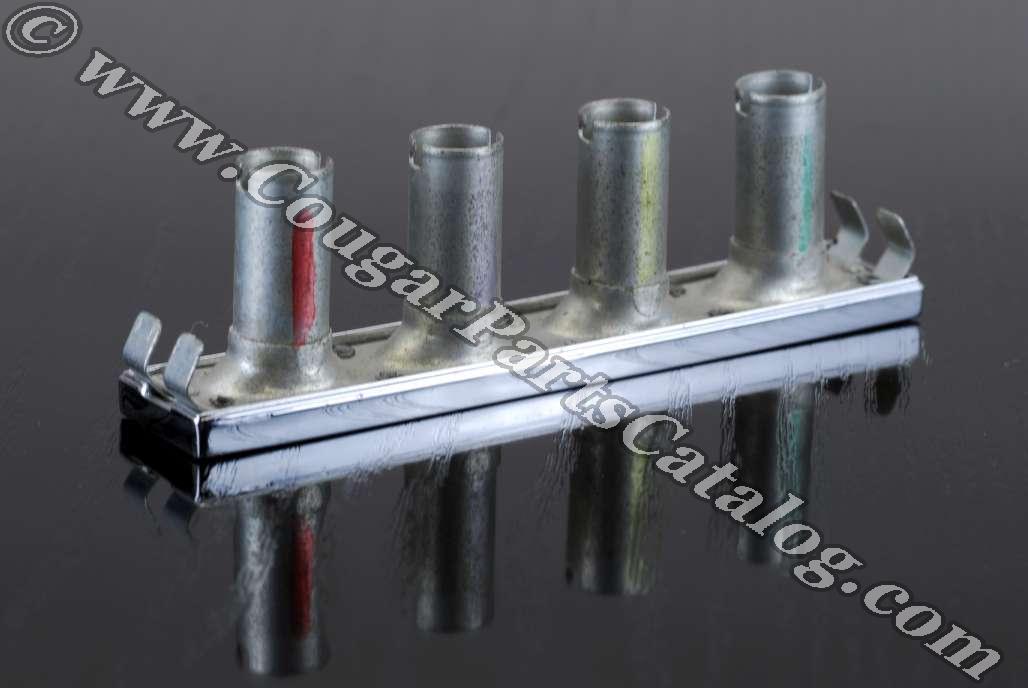
I believe the clips are there…they look like the ones on this pic. I assume they weren’t holding well, thus tge creative fix…it holds well.
I relooked at your photo and yes I would agree that the original clips are still there. My mistake. Perhaps they have lost their spring from old age.
Randy Goodling
CCOA #95
1 Like
Im fortunate the overhead console still looks good and edges dont curl up.
The use of the additional retainer is something I have seen on late ‘68 build cars. There were also cars where I have found short sections of rubber hose inserted behind the clip to produce additional force to keep the light bar from falling out.
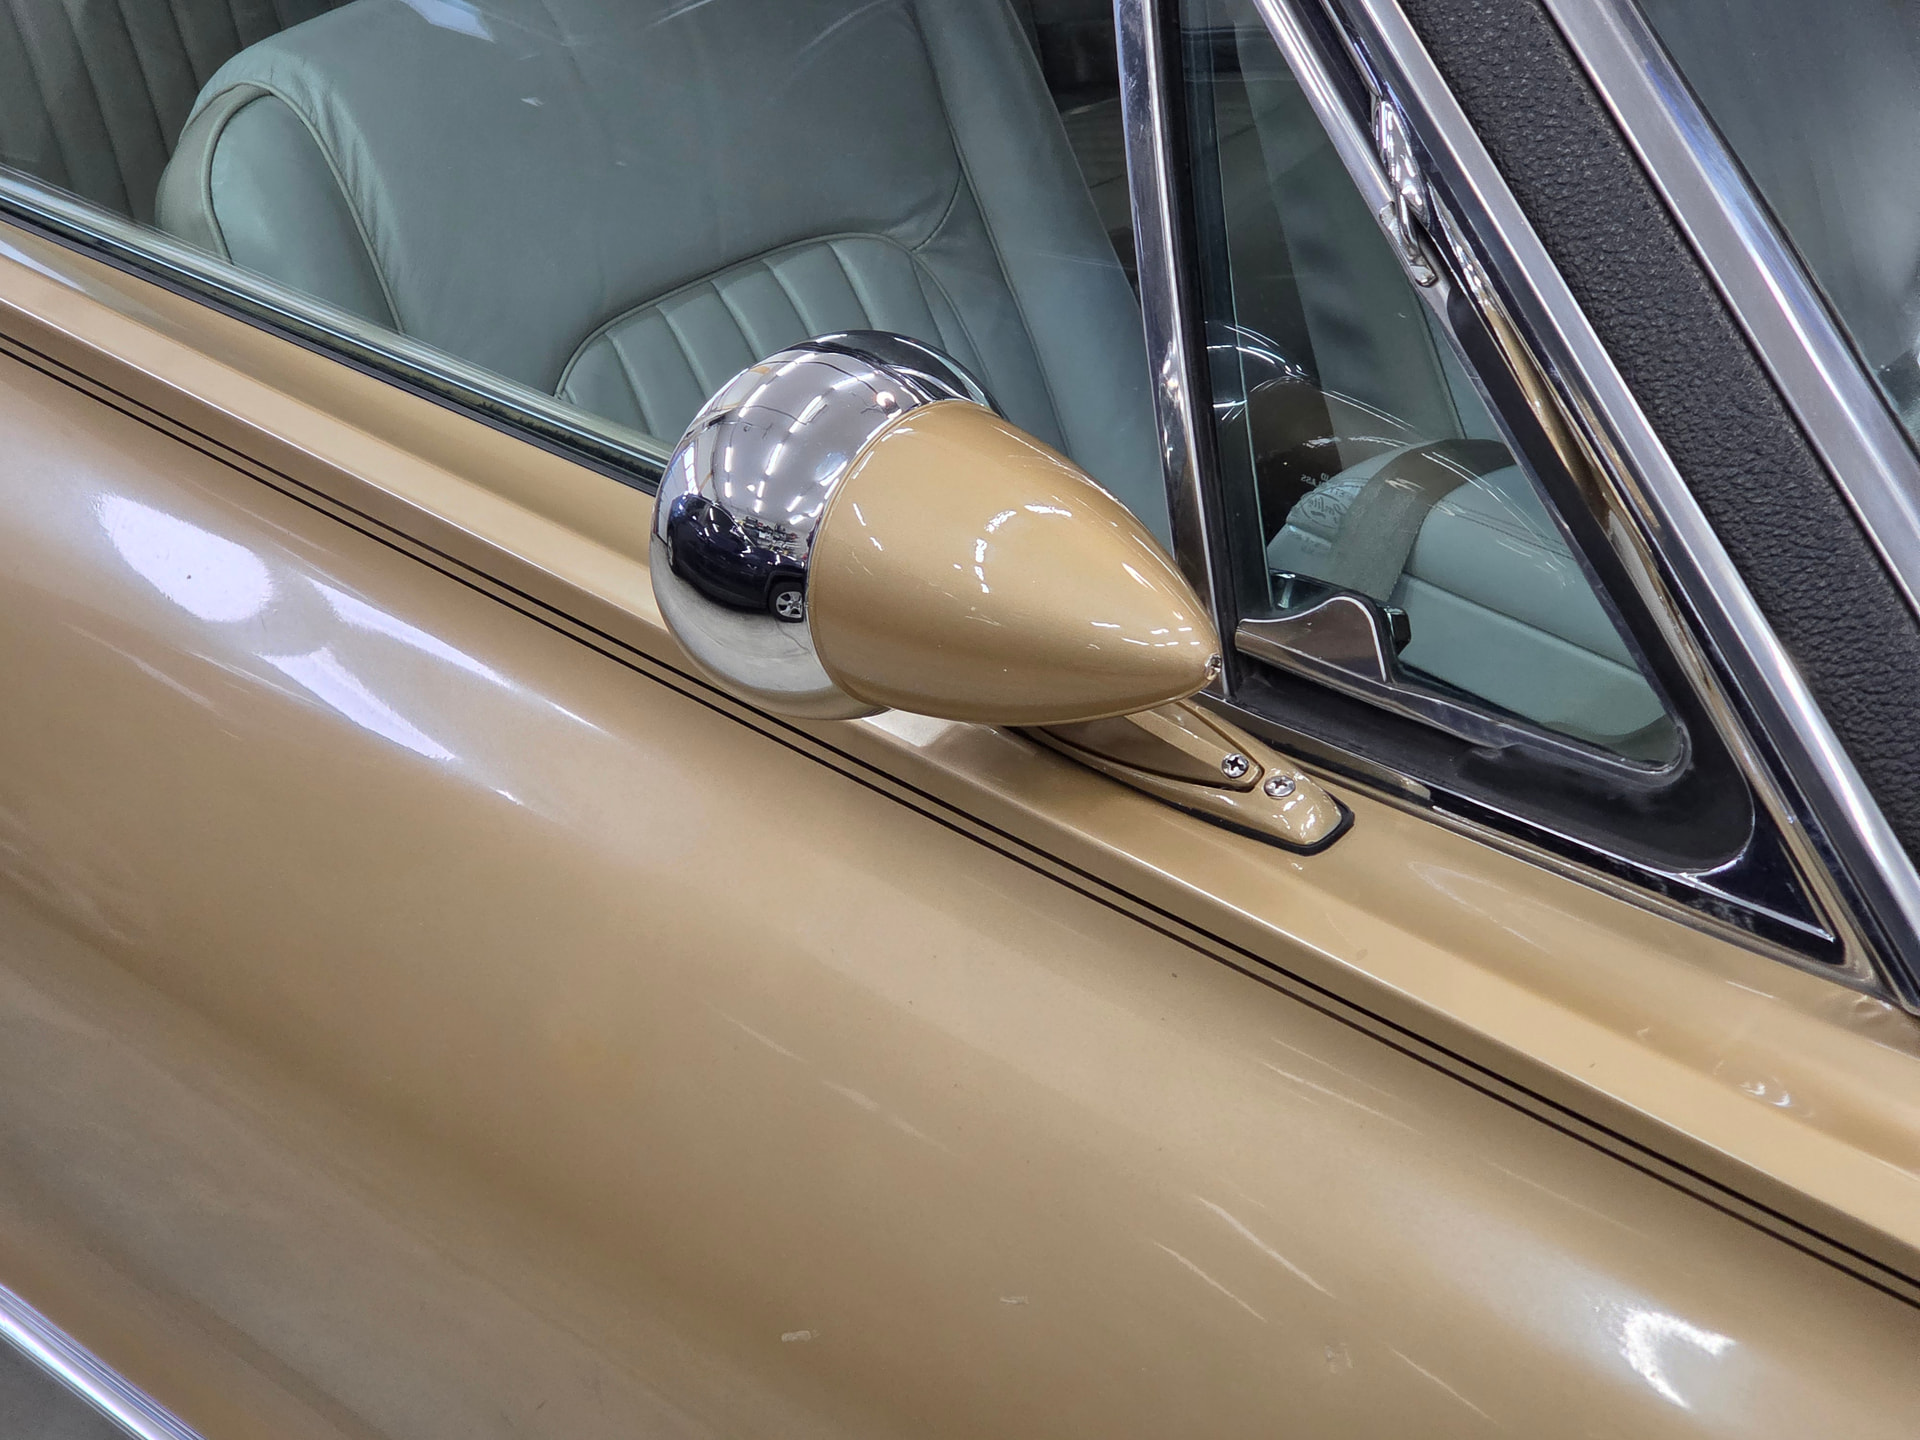
Went ahead and painted and installed the passenger side mirror after procuring a base from the gentleman (Stanton) that cast them in WI and mirror from Fusick Automotive earlier this year. It looks more balanced with mirrors on both sides. Although the mirror does help in visibility, I’m going to look for a 4” convex mirror to expand the view.
The premixed paint from Automotive Touchup was a good match to the existing color, and used the Eastwood 2K clear.
3 Likes