One thing you might want to look into, the wiring/switch for the top pump is pretty beefy, at least 12 gauge/20A I would say, maybe a little bigger? What is the current rating of the switch you plan to use for the top? And is it a center off, momentary each way sort of affair as the originals are? Understand that you COULD get away with a regular flip toggle, but that does leave the possibility of not releasing the power as quickly or surely as the type of switch I mention. Just a thought.
And regarding using an Atari box, what the heck? As old as those are (I used to use them before my first 486 to do assembler and stuff like that), how do you get a browser current enough to display ANY current web page? Hats off to you Jody (and do explain, Mr. Wizard!).
Bob, the switches are momentary on-off-on and say they are good for 20 amps. I’ll probably use a relay for the top motor just to be on the safe side. I have an original top switch but I couldn’t decide where to mount it. This solves that problem.
As for the Atari, it’s not as amazing as it appears. I hardwired its keyboard to a programmable controller that converts each key press to a ps/2 code which the Dell pc hidden under my desk recognizes as a standard pc keyboard. With the flip of a switch, however, I can fire up pac man, joust, etc. for some old school fun. To compliment the setup, I’ve got a cd/dvd drive mounted in a matching Atari 1050 floppy disk drive housing.
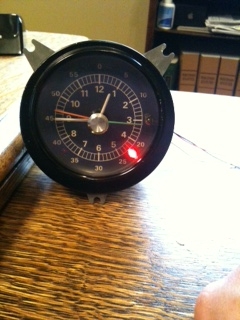
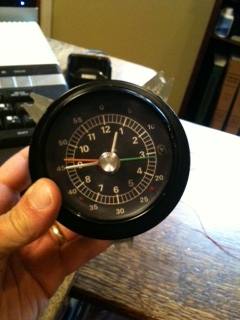
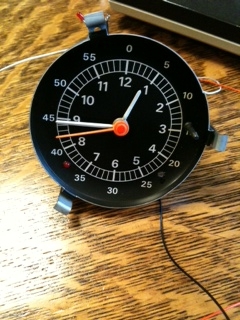
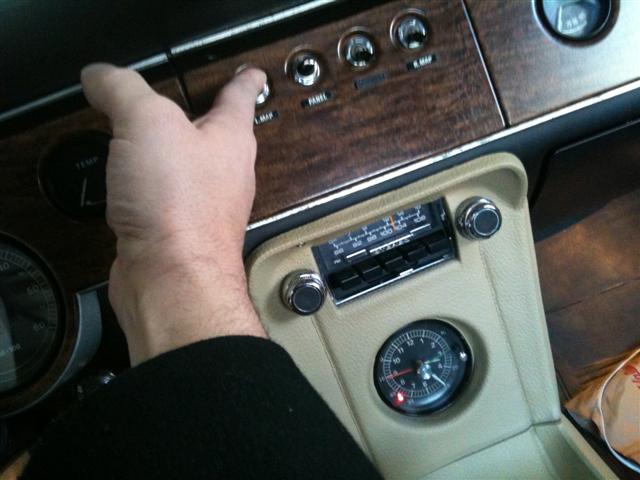
The seat heaters are now fully functional. The most difficult part was figuring out where to install the indicator LED’s. What do you guys think of my solution? The heaters have two settings each, hi and lo. On the Jag, each seat had a separate switch with two LED’s to show hi or low status. I didn’t want to clutter up the clockface with four LED’s so instead I ran both the hi and low signal to the same LED for each seat. However, I put an extra resistor on the low signal lines so each seat’s LED starts out bright on the first click of the switch (high setting), dim on the second click (low setting) and off with the third click. Clicking up activates the driver seat, down activates the passenger seat.
Nifty solution…hats off to those of you that know how to do that schtuff…electrical items better come with “Do it like this” instructions, and GREAT pictures! LOL
Or you could move the light bar from the overhead console into the lower console. That’s what we did with CatVert and it preserved all the functionality of the overhead console. We even replaced the stock rearview mirror with one from a late-model Lincoln and wired the map lights from the mirror into the dash toggle switches so that everything operated in the stock manner.
Bill I think it was touches like this that made Catvert one cool car. It’s the small things that make the difference. I think Copycatvert is going to be one of those cars. The small details set them apart from the rest.
Steven
Thanks! I agree that these touches make the car but they also make the project. I don’t think I’ve ever enjoyed a project as much as CatVert because of the chance to do all those creative things and I’d bet folks like Jody, Mark, and all the others here who have done customs would agree.
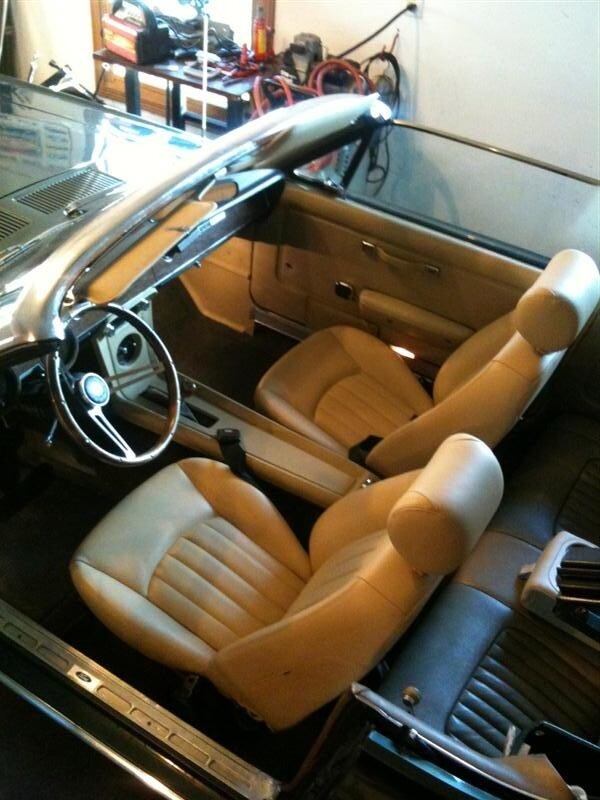
Latest progress report. The front seats are finished except that I need to figure out some type of latch system to allow the seatbacks to push forward so the kids can climb into the back seat. These Jag seats are a zillion times more comfortable than the old Cougar buckets. The rear Jag seatbacks didn’t actually require that much modification. There’s a bit of work to be done to make the center armrest fit over the transmission hump. There is also an issue with the headrests interfering with the top. I may have to make the seatbacks fold forward to deal with that.