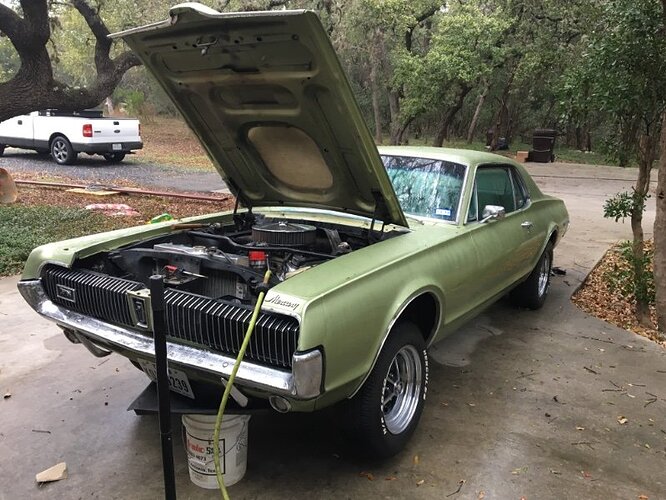
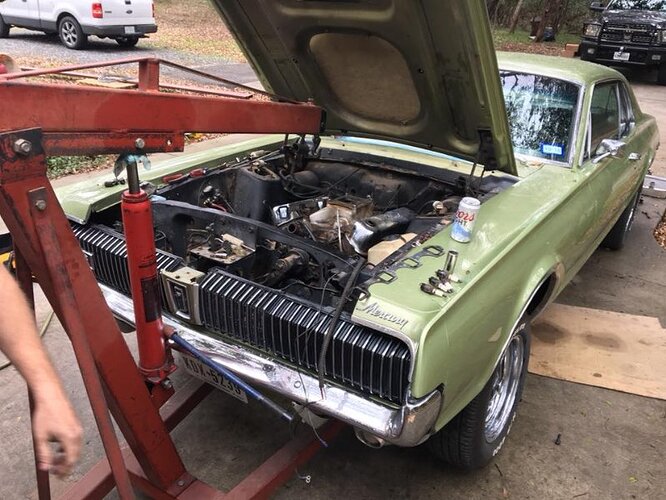
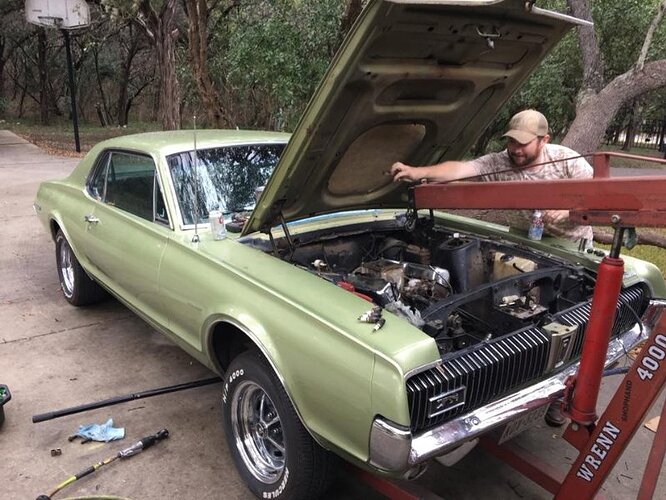
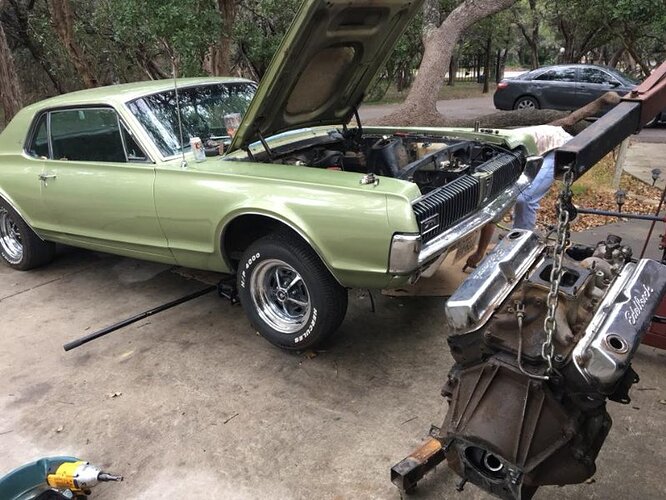
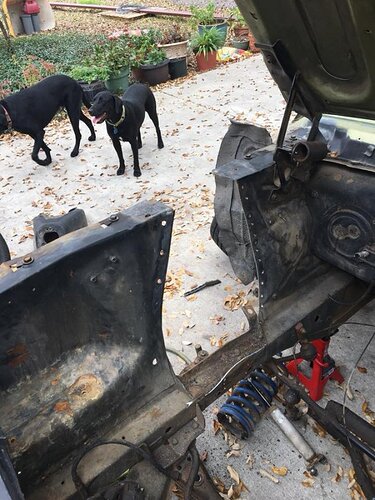
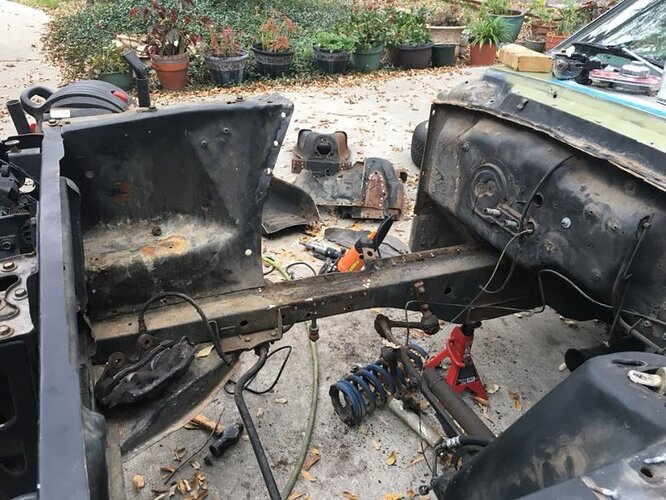
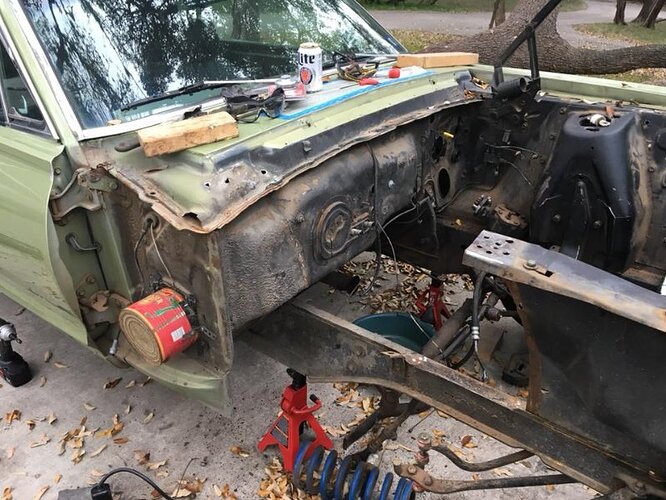
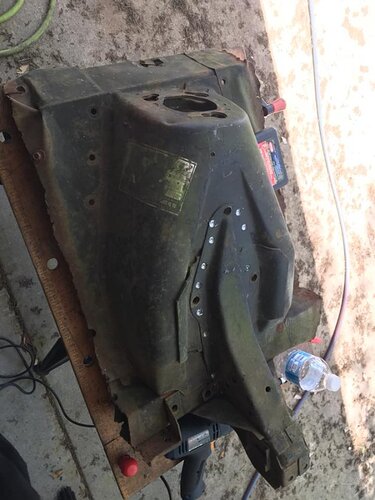
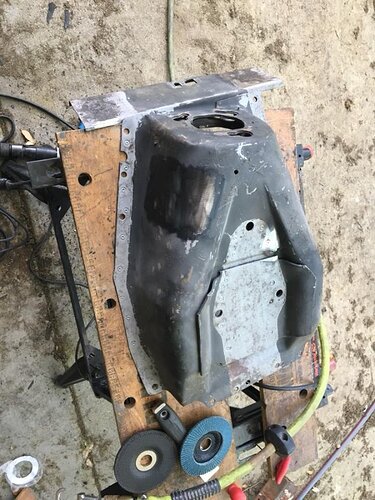
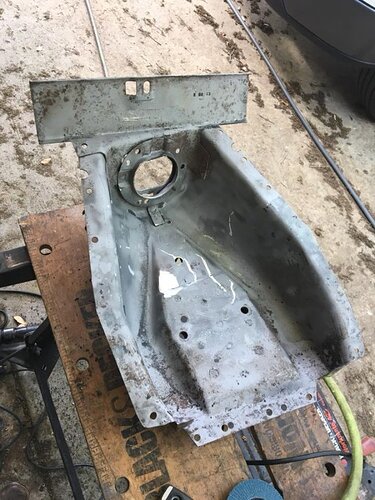
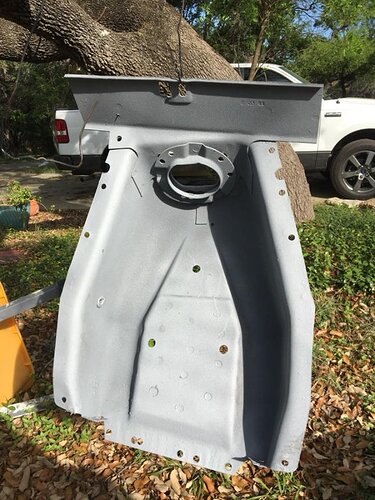
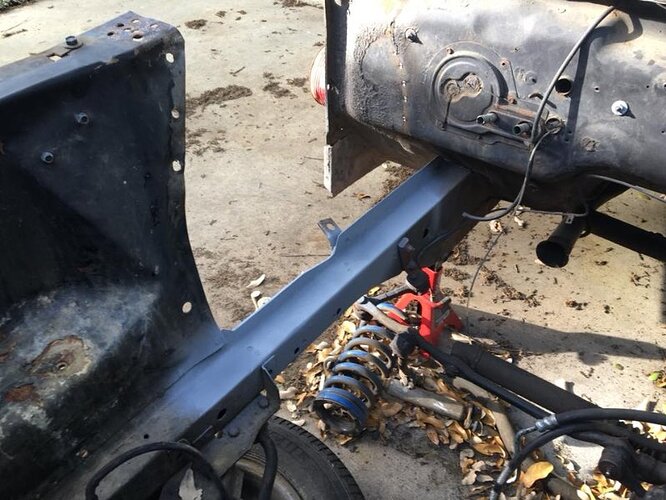
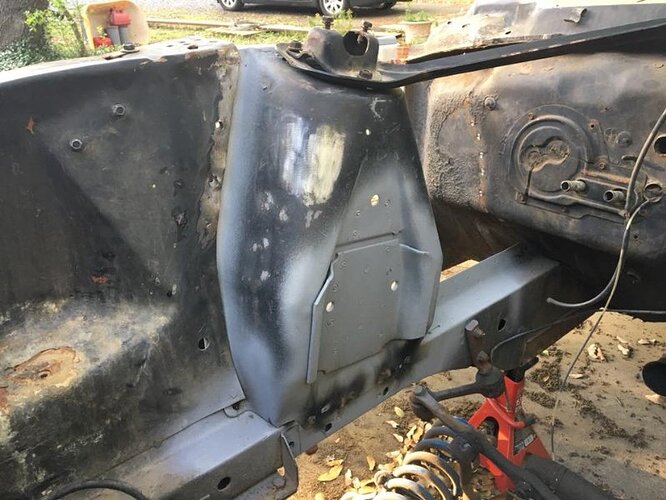
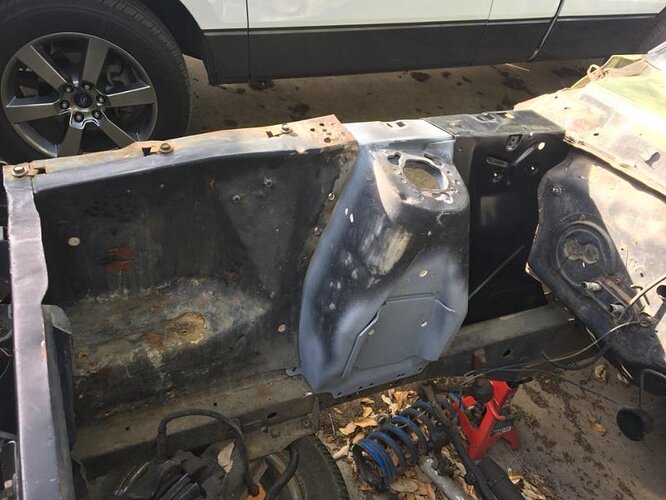
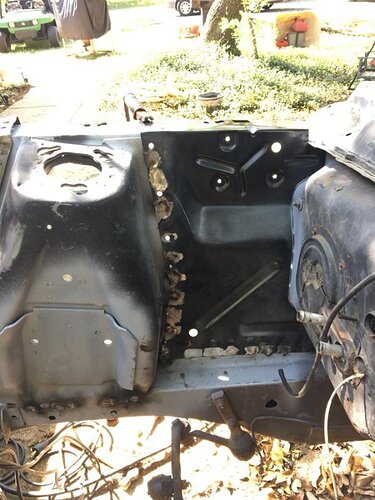
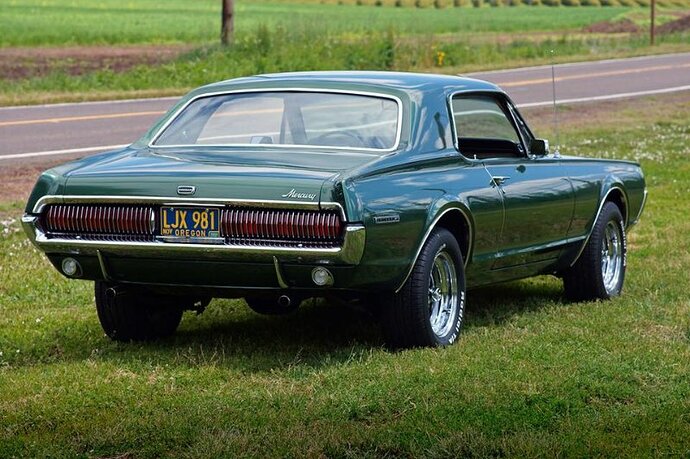
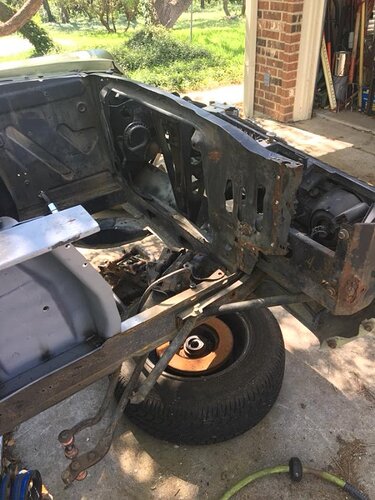
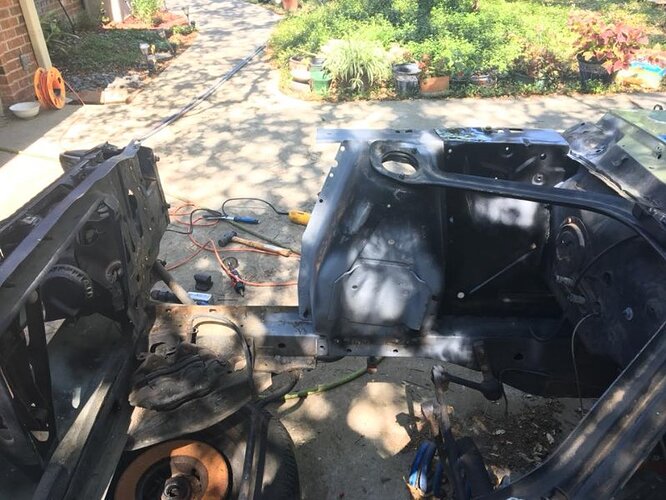
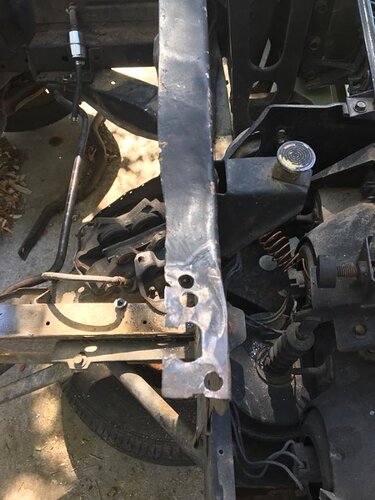
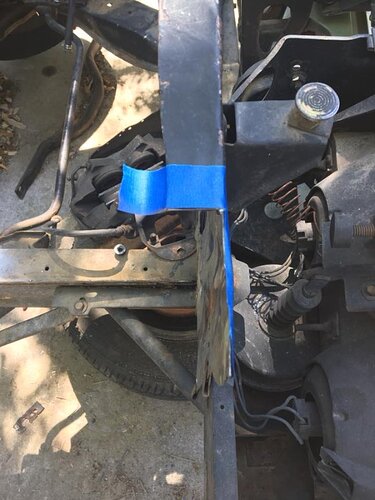
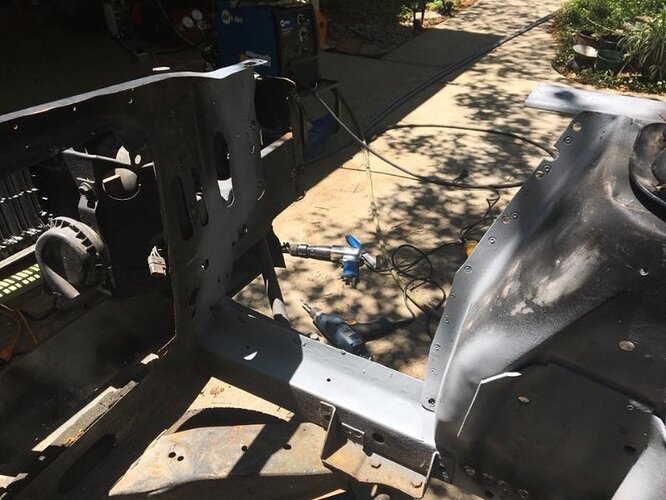
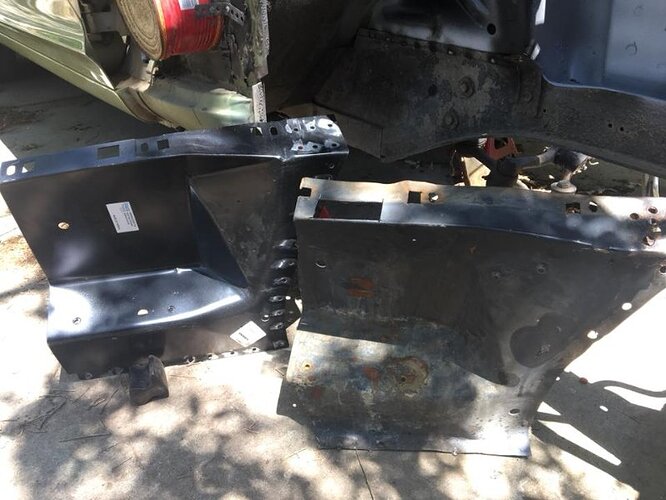
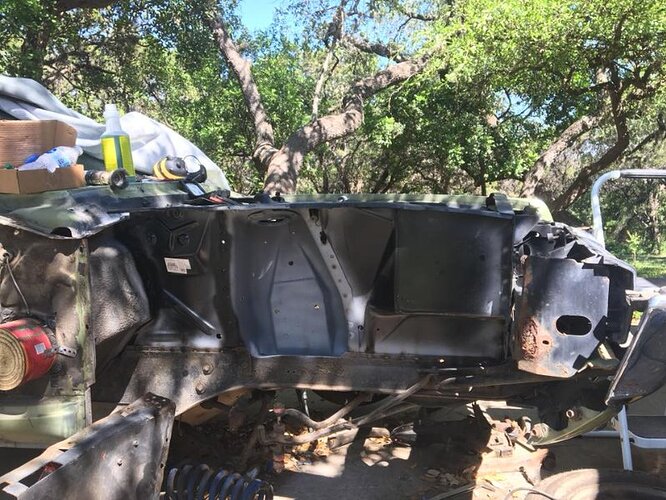
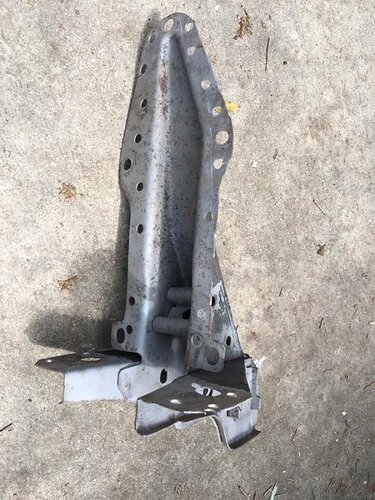
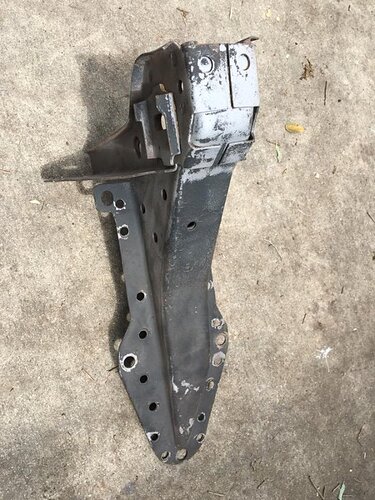
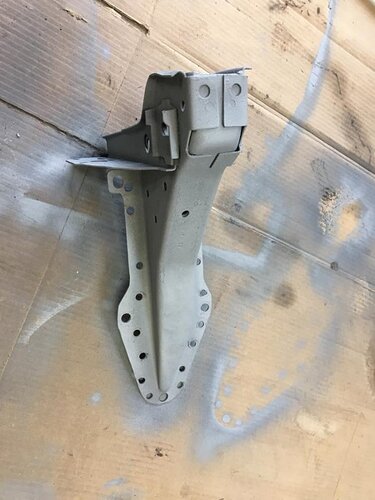
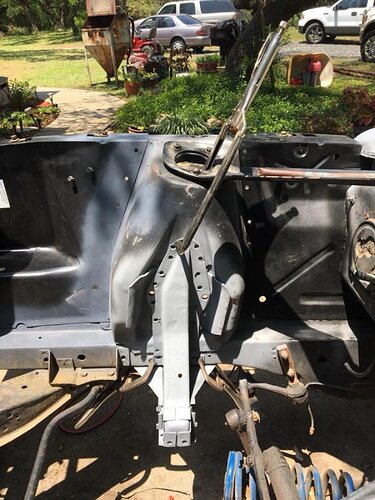
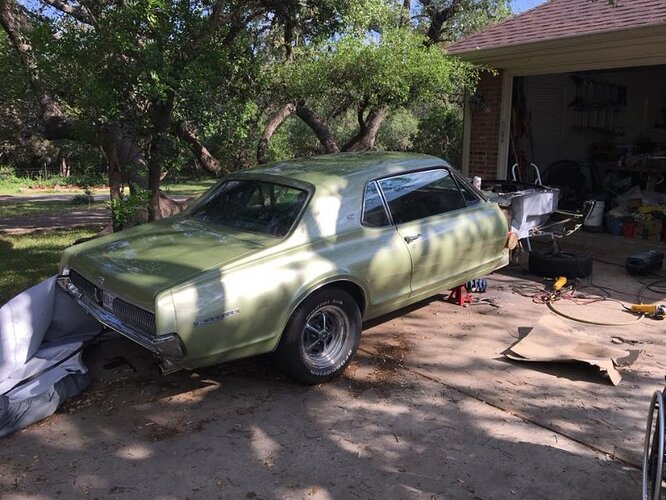
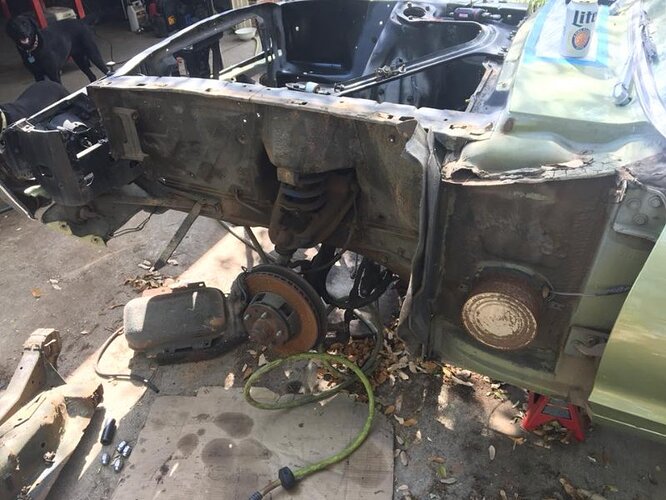
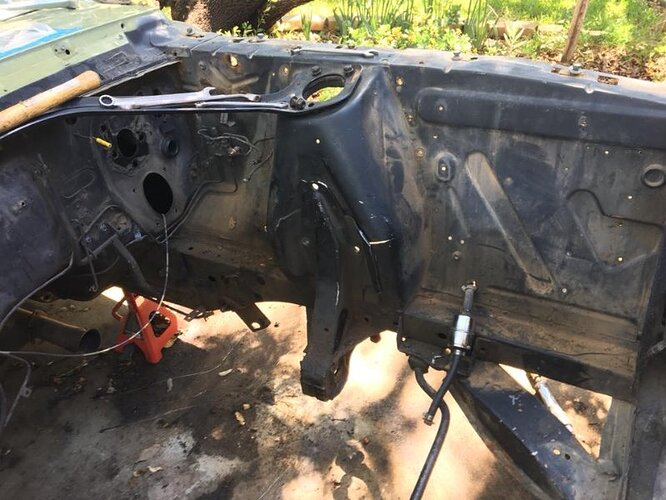
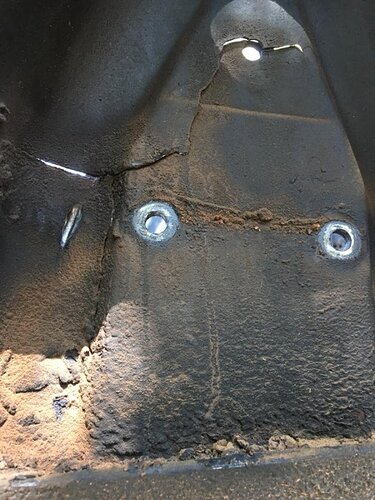
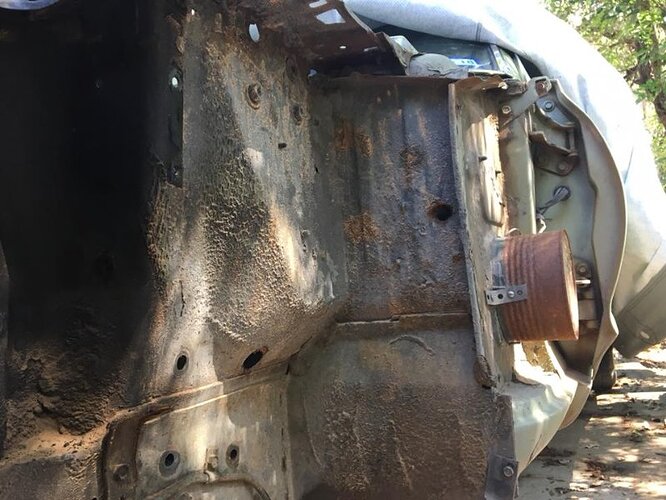
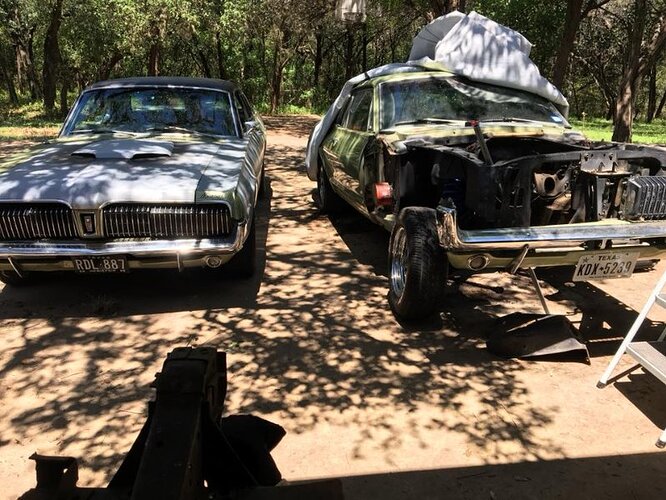
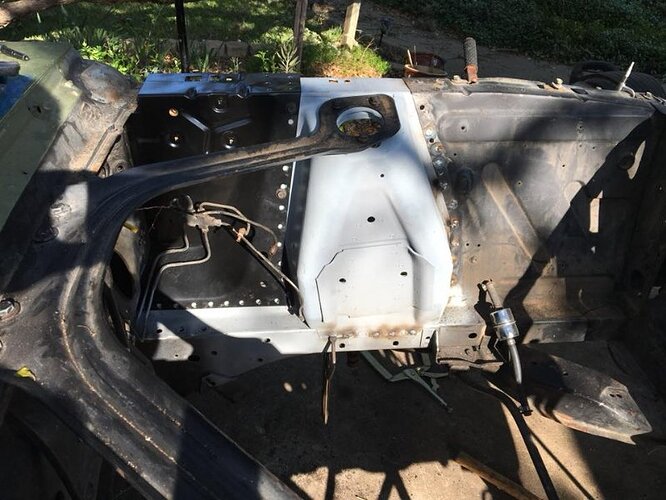
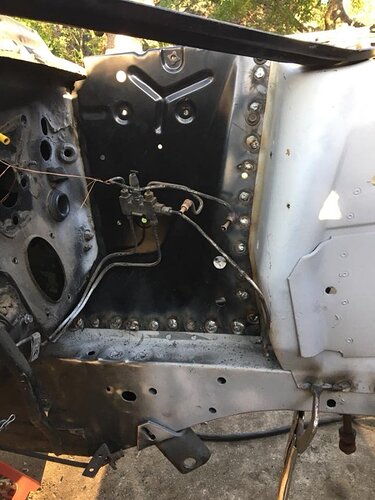
I figured it was about time to post up my project 1967 XR7 that I picked up out of New Mexico last October. It was originally a sea foam green 289 auto with tilt away steering. When I bought it, someone transplanted a 302 backed by a T5 transmission which I don’t mind at all. It’s rust free minus the front floor pans from what I can tell so far until I start stripping paint away. As of today I’ve pulled the motor, transmission and interior all out of the car. The shock towers and inner fender aprons were needing complete replacement. I will be replacing floor pans and front inner sub frame rails as well and I pretty much have a full new interior waiting to go back in. My goal eventually is to paint this car the Inverness Green. For now I will just freshen up the 302 and put it back in but eventually I have a 351w roller block that I want to build a 408 stroker to really have some fun.
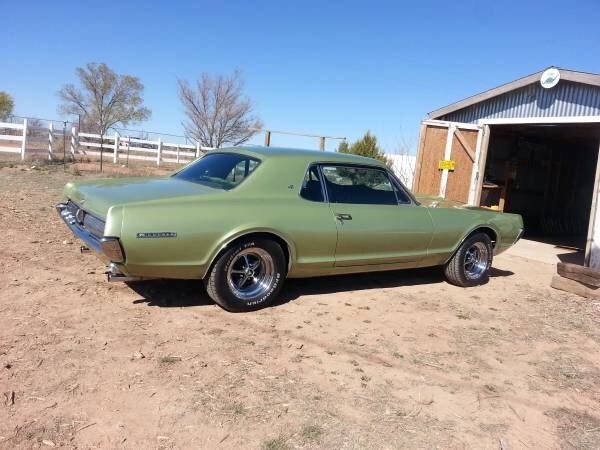
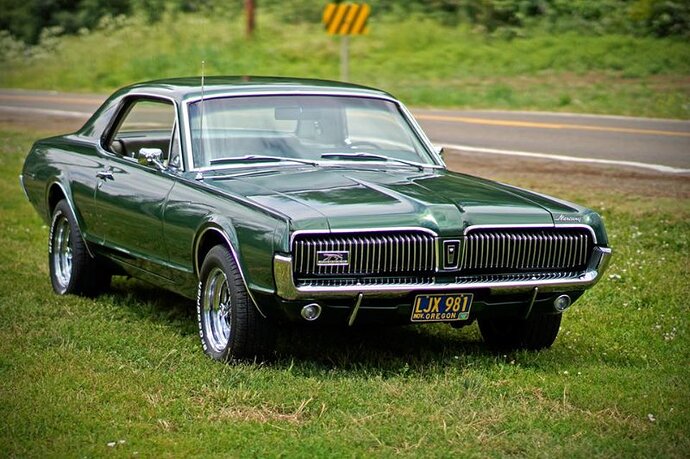
Ultimately, this is what I envision for the final product. I can’t wait to be able to cruise around in her!
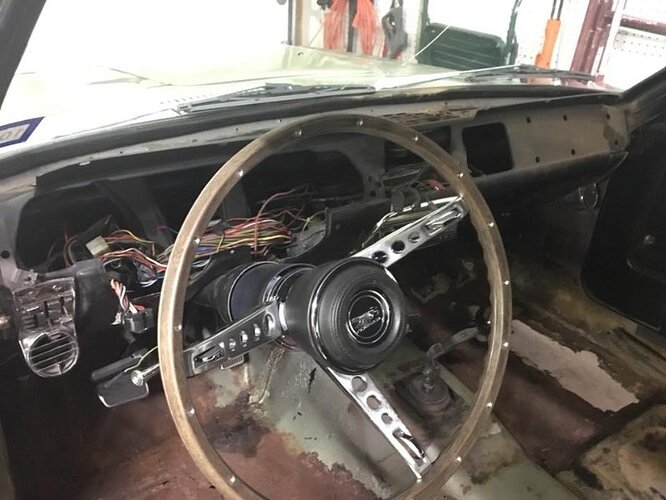
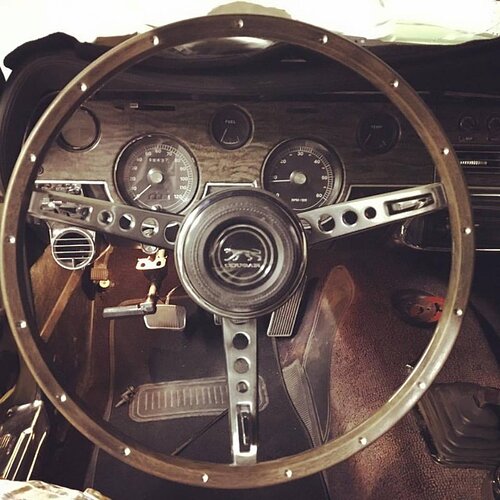
Here’s a few shots after most of the interior is pulled out. I had already installed a new steering wheel in the car, trashing the grant steering wheel that was in there. You can also see the lovely hole in the passenger side floor pan that i will need to patch.
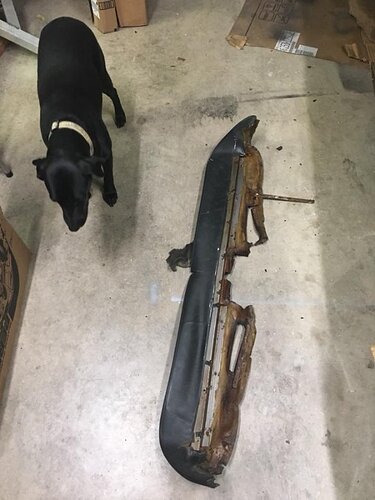
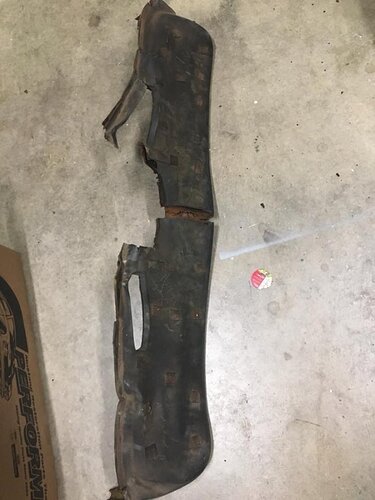
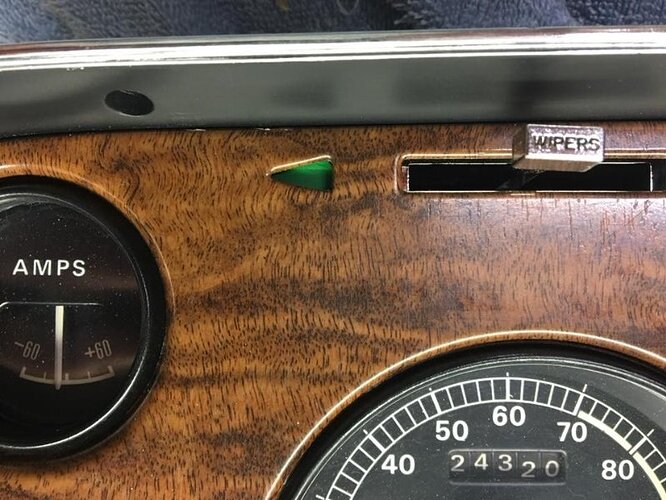
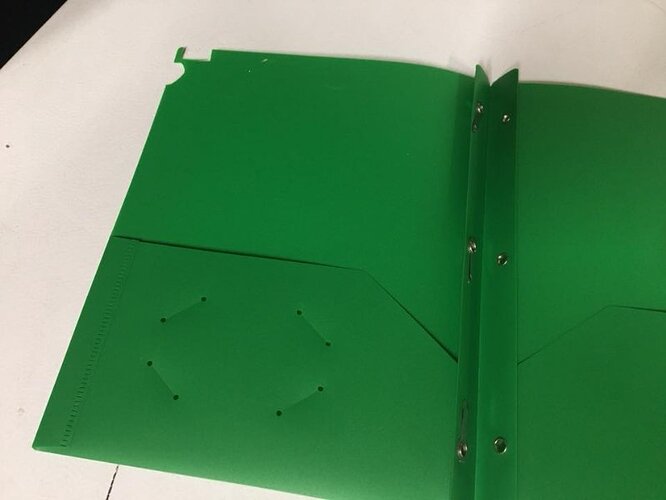
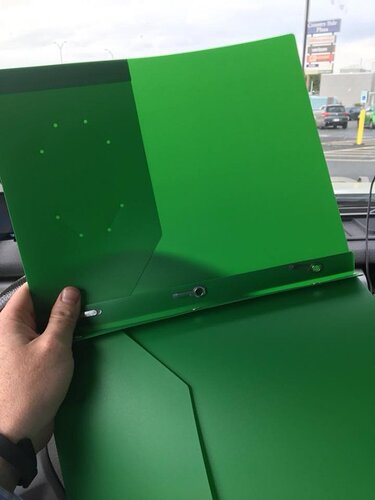
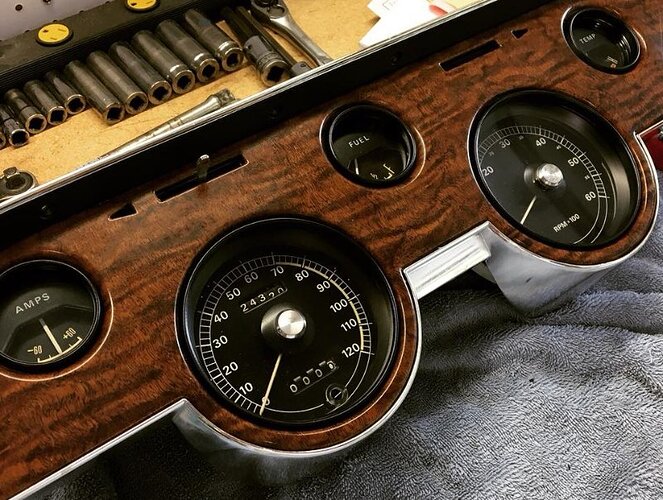
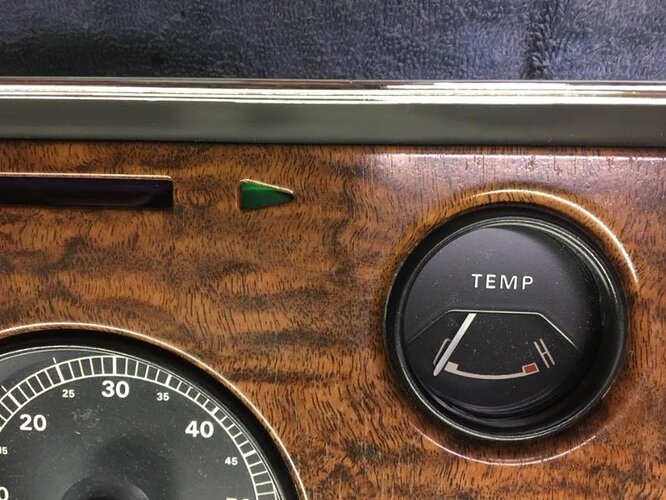
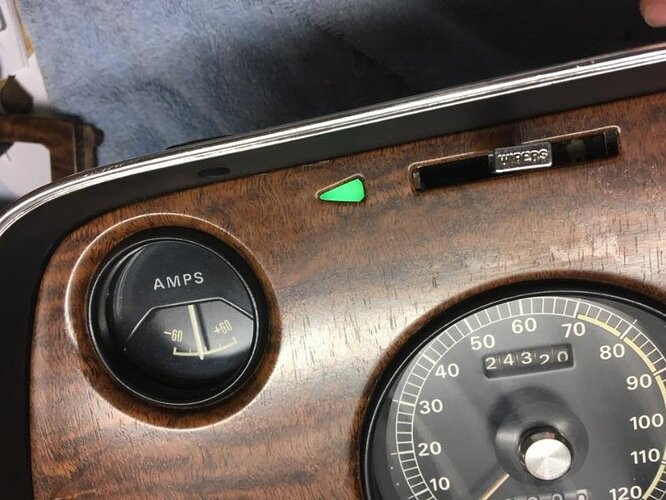
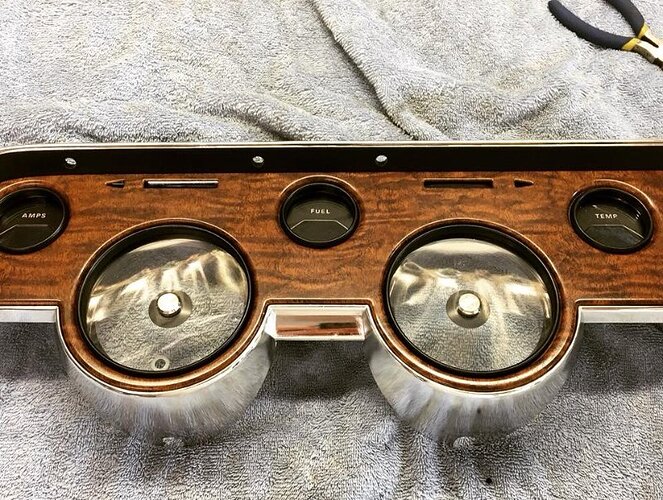
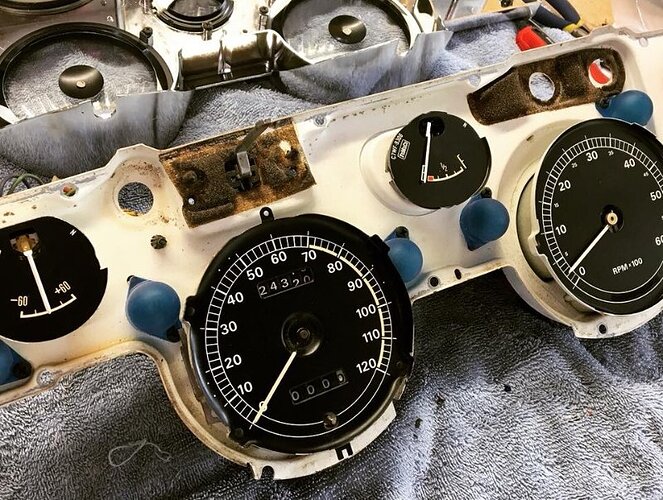
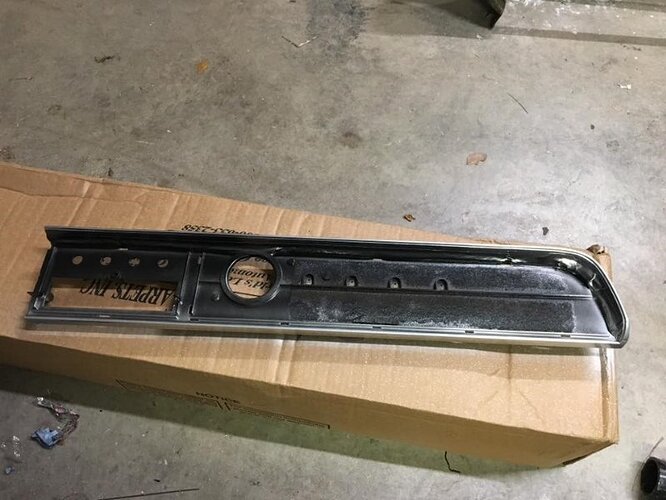
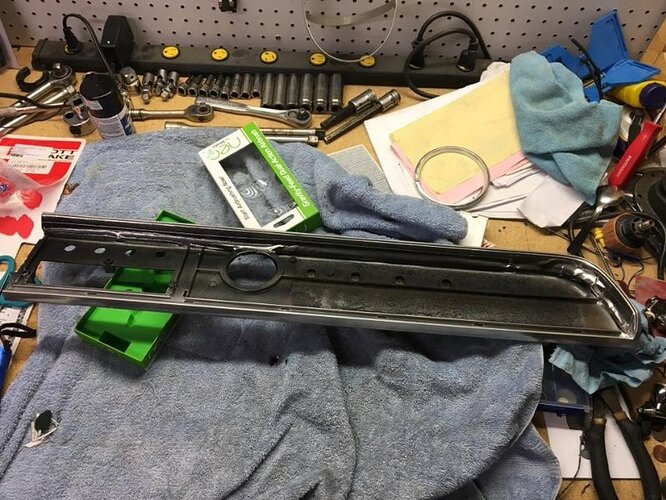
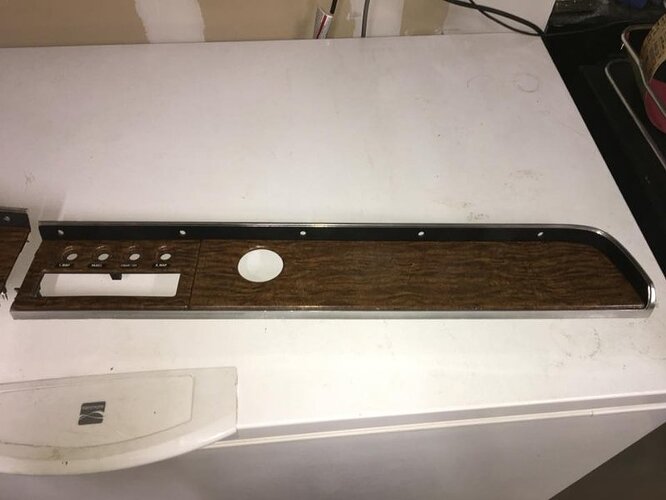
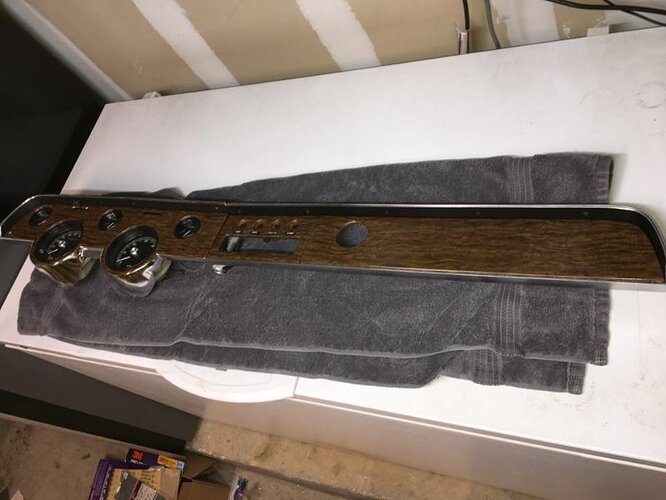
I have been compiling some really nice dash pieces, here i show a before picture of the old tired out dash and all newer pieces that i combined into one nice dash. I did replace the blue dash light filters while i had it all apart. Instead of buying new turn signal indicators, I decide to just make some out of a semi transparent office folder. Once I install LEDs in the dash these should light up nicely. Please excuse the pictures uploading out of order.
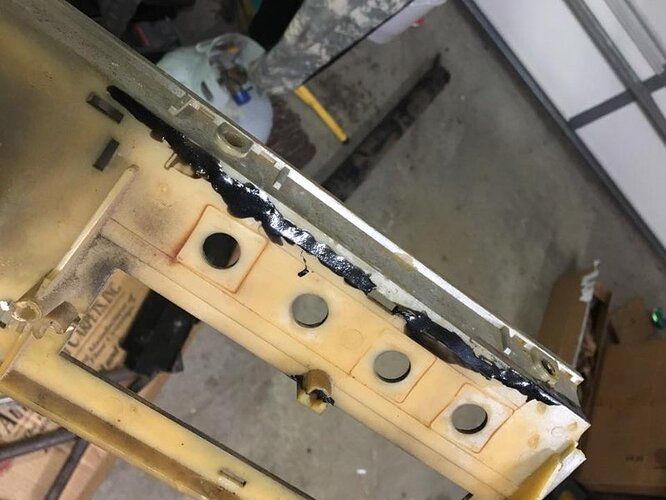
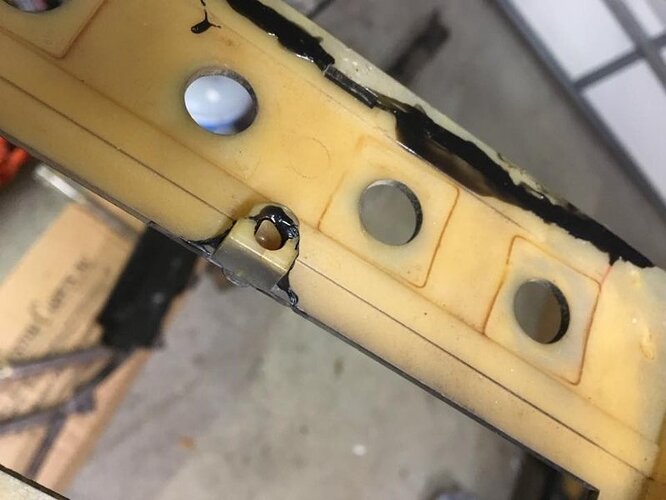
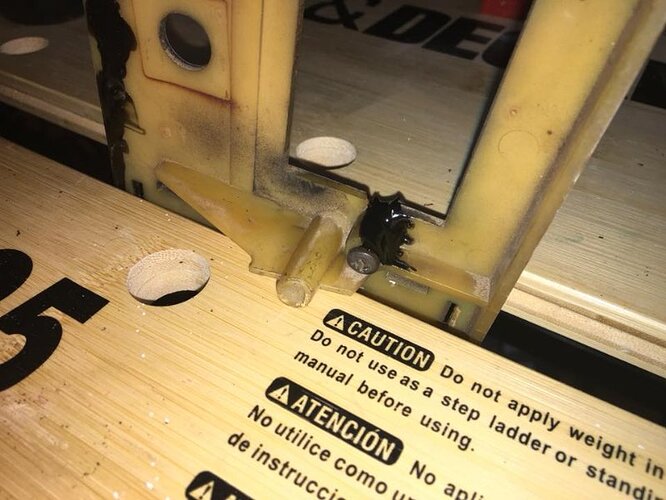
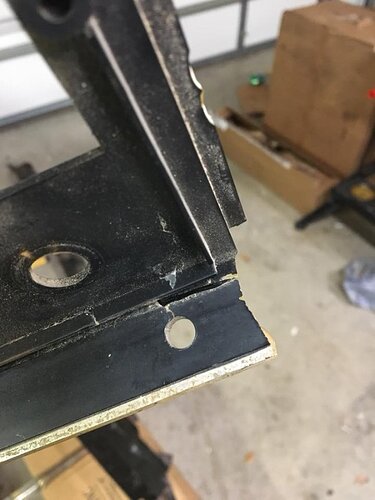
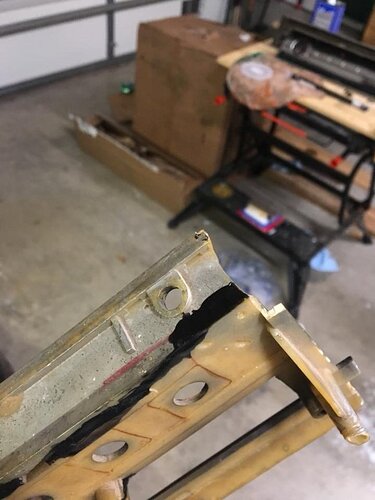
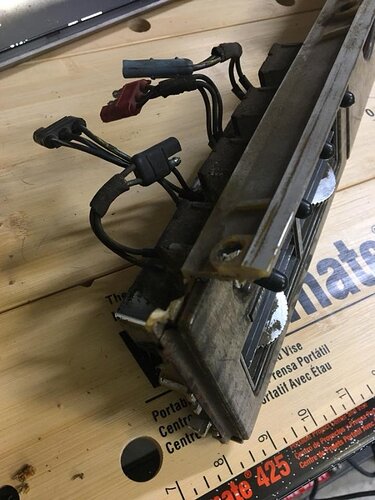
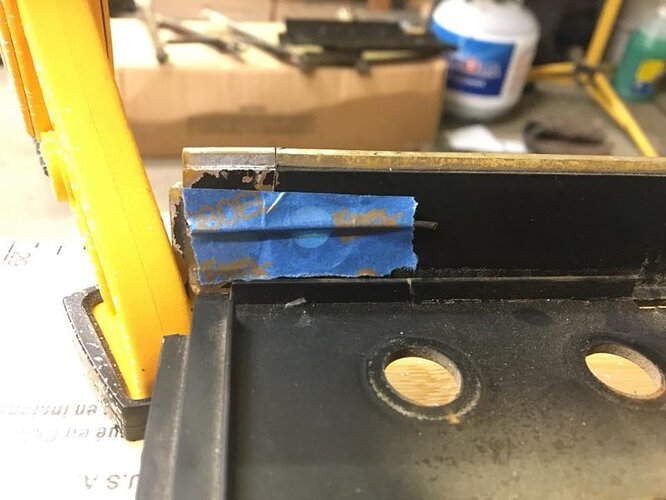
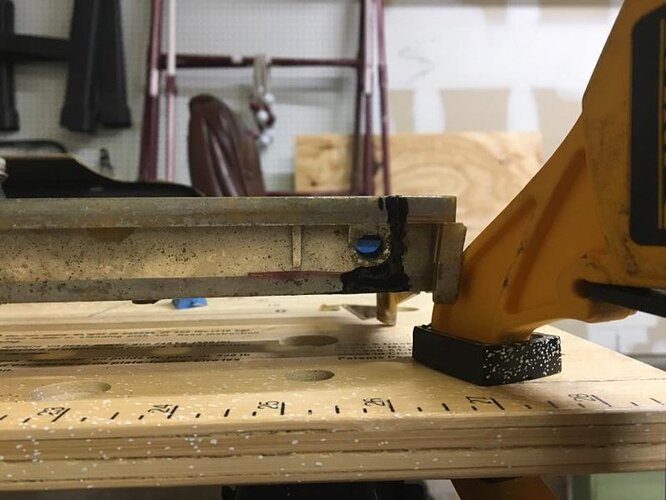
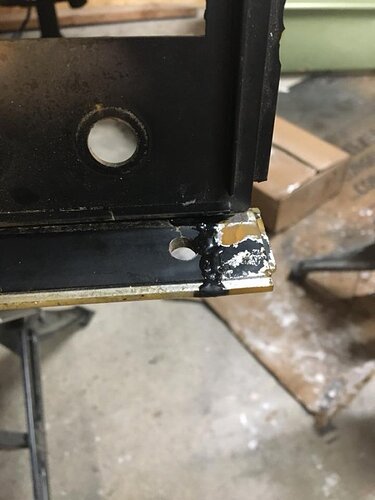
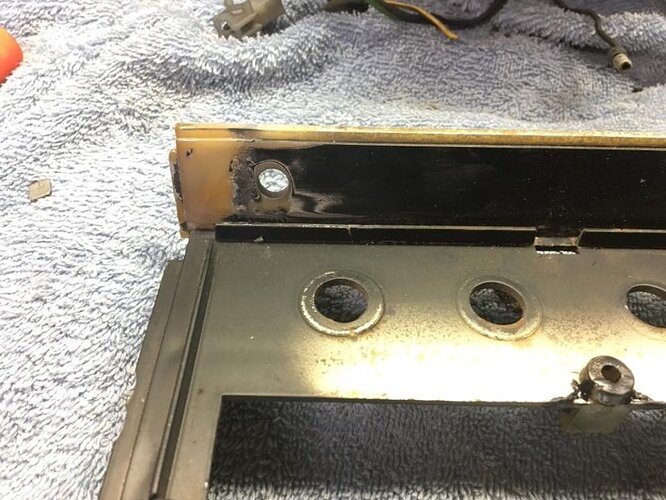
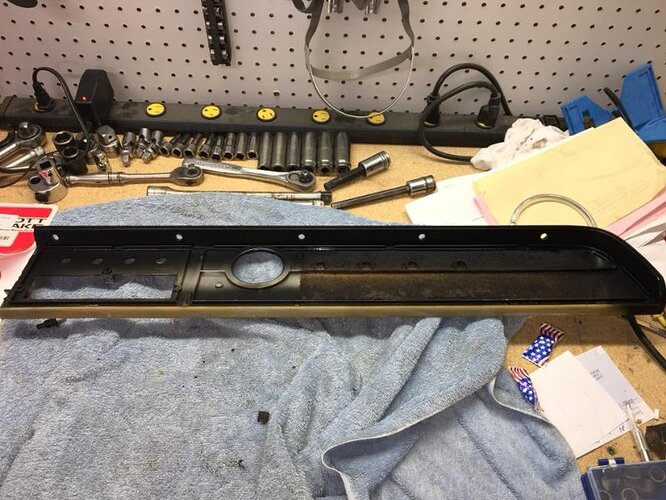
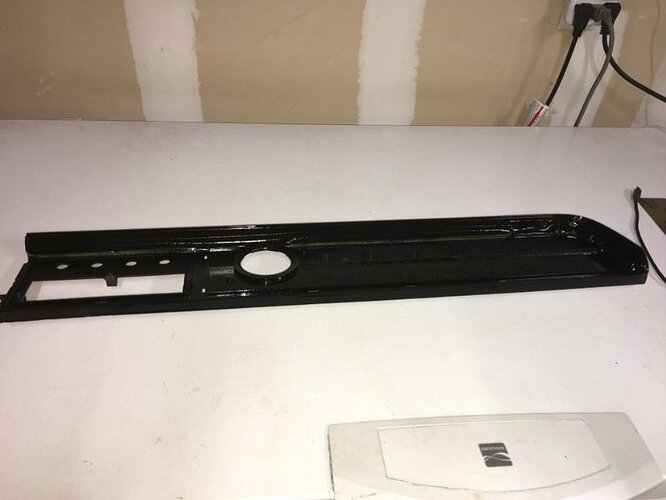
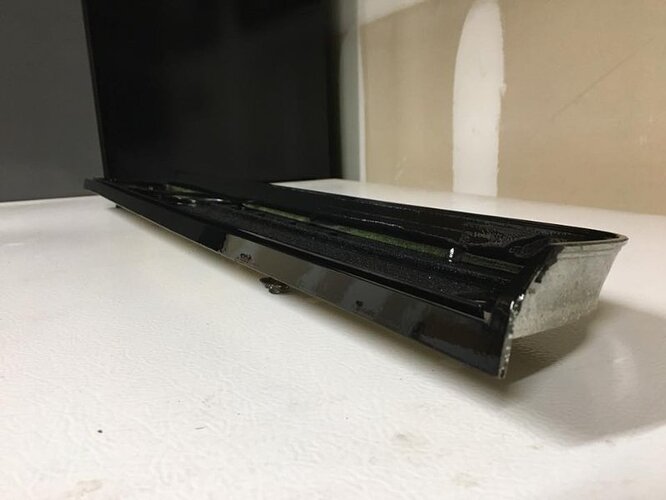
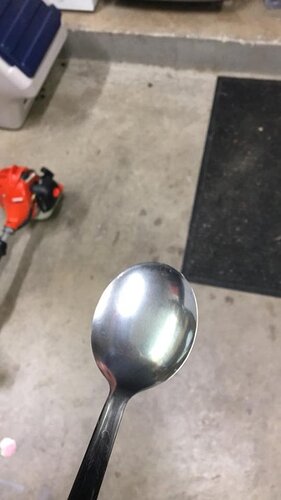
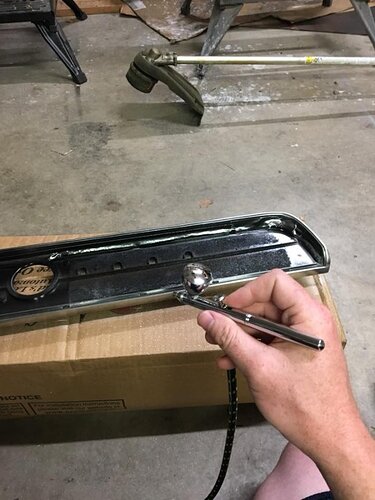
Here are some pictures from performing plastic repair on the passenger side dash bezel. I made an ABS plastic slurry by mixing abs plastic pieces with acetone. This truly makes a strong bond for repairing these dash bezels. I had a few cracks that needed to be repaired, piecing back screw holes, making half of a screw hole, and replacing a broken corner of the dash from a donor dash. After all the plastic was repaired, I painted it SEM black, then taped off the semi gloss black areas to paint on a mirror chrome product called Spaz Stix which first needs a gloss black base layer then the chrome is sprayed over that. I doesn’t turn out to be a true chrome finish but for the purpose of this car, I don’t need to spend big money to re-chrome everything just yet. The dash overall is looking awesome and can’t wait to have it all back in the car.
The dash looks really nice! I’ll have to remember the abs/acetone trick. From the pictures the chrome-look paint looks really nice. I’d be curious to see it in person.
Thanks! The drivers side was not painted with the chrome, that piece was previously chrome plated and I bought it that way. The passenger side is very close but still a little duller in finish but it’s close enough for my taste.
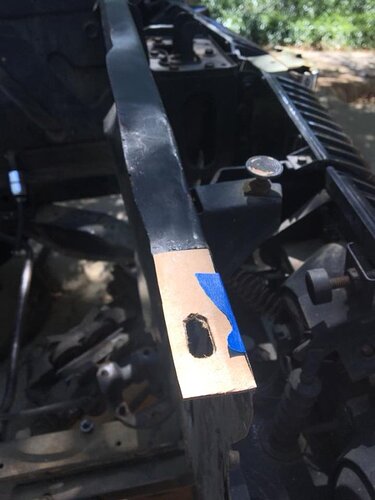
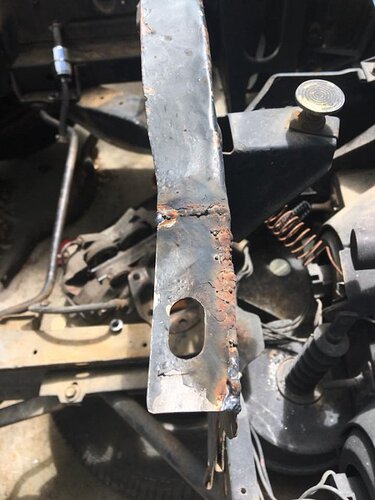
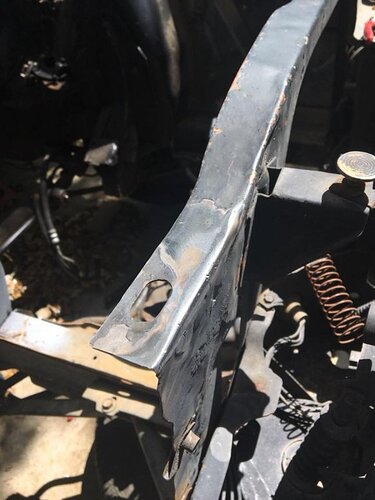
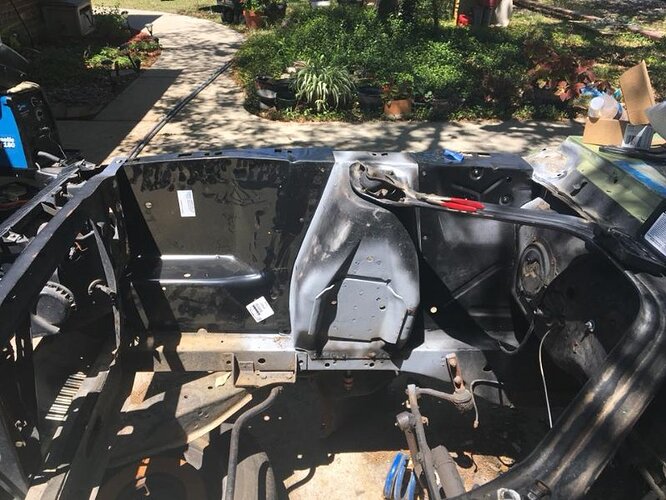
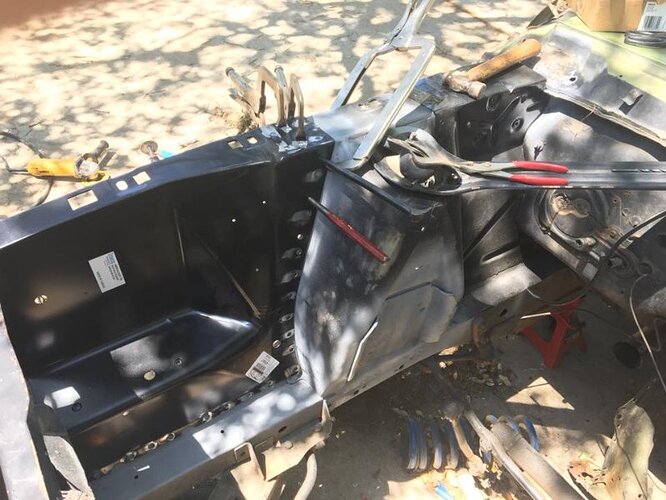
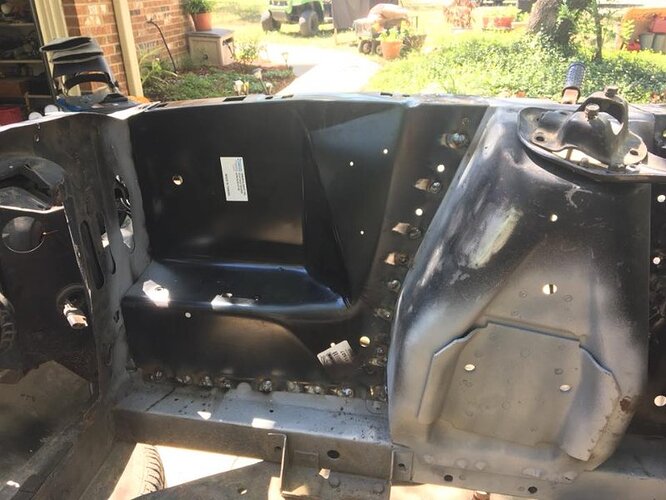
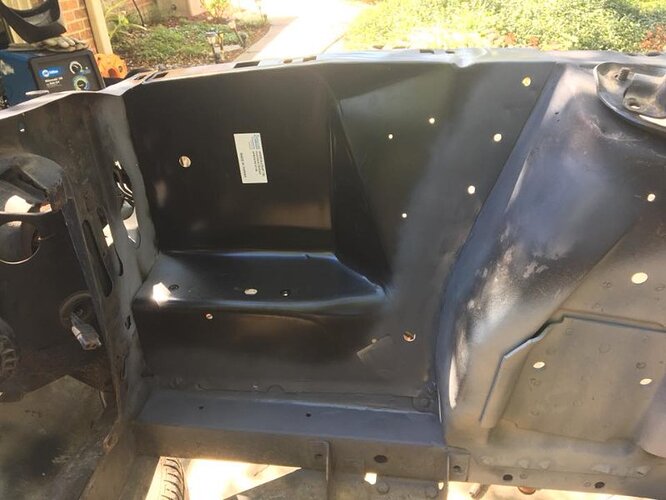
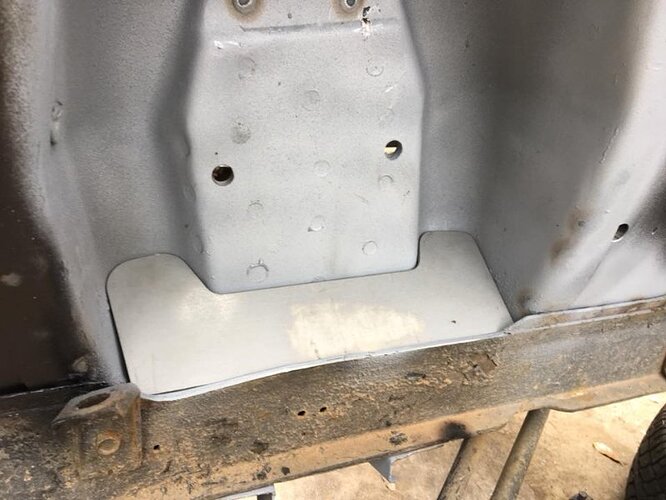
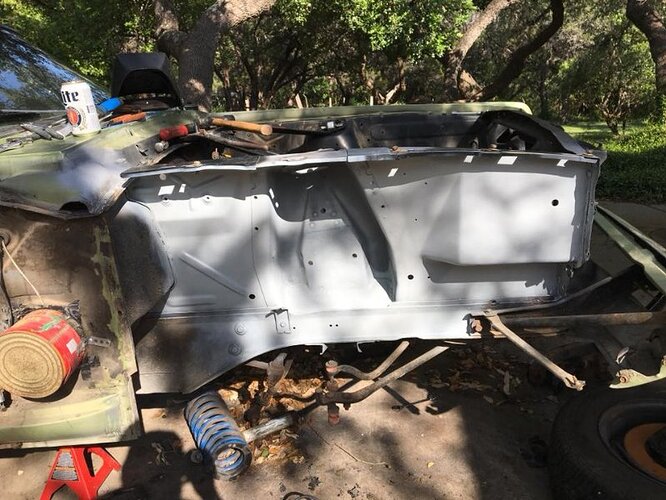
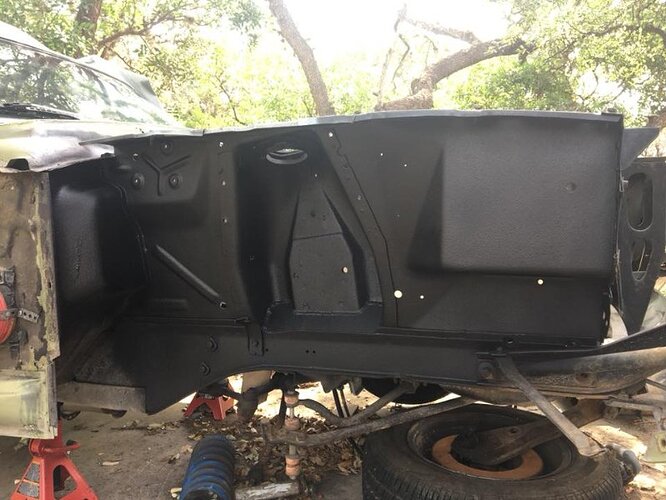
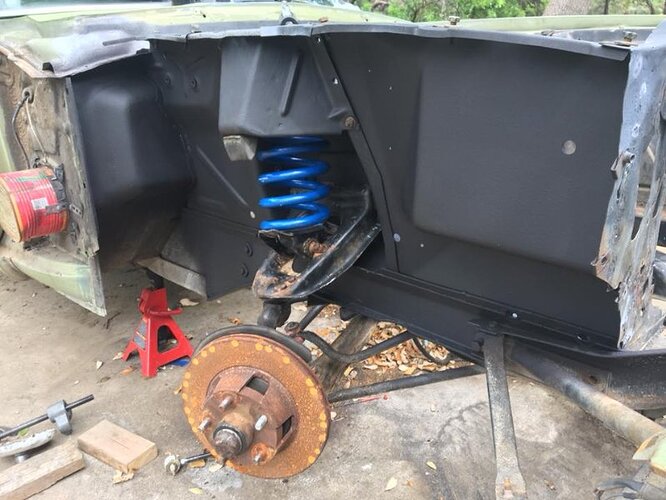
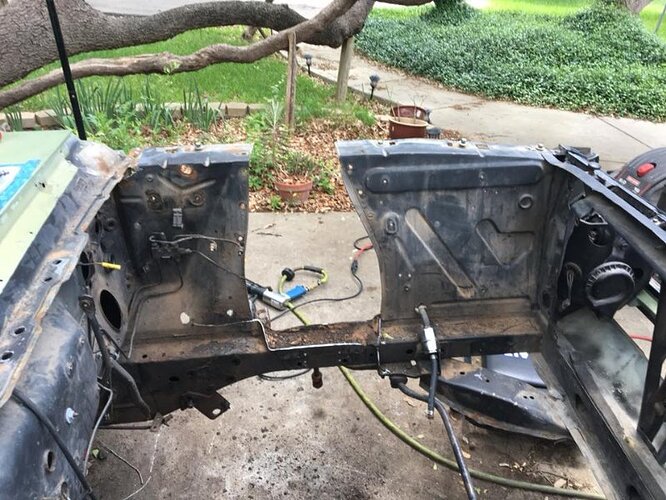
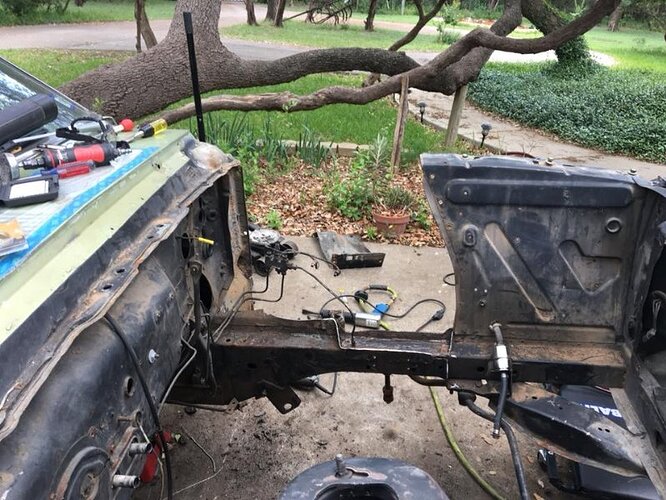
Made some good progress today on the passenger side fender aprons. I cut out the front passenger side apron, then decided i needed to give the radiator core support some attention while I had the extra room. I replaced the top corner of it, previous owners had done some serious beating and grinding on it so it was way out of shape. Then straightened out a few more areas of the core then was able to fit and weld the new battery fender apron section back in. Nice to see that side one piece again. Just need to put the motor support back in on the tower and I have the passenger rear fender extension waiting for me back at my office.
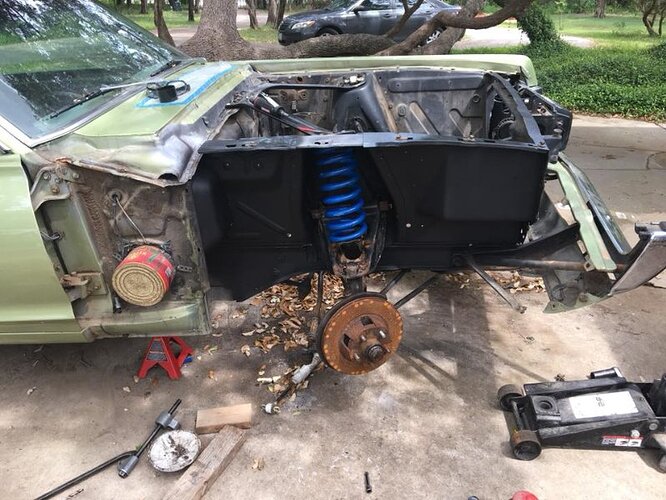
You are coming along nicely. That is a rather unusual can being used as (I assume) a speaker enclosure on the right side kick panel.
Randy Goodling
CCOA #95
Lol that can is famous now, WCCC put it on their webpage with the kick panel speaker pods they sell as a “budget friendly” alternative option. I do plan to get rid of it once I make it that far.
I pretty much got the passenger side all buttoned back up over the weekend except to rear fender extension. I’ll refinish the suspension components at a later time when I replace all the ball joints and bushings. Now to the drivers side disassembly!
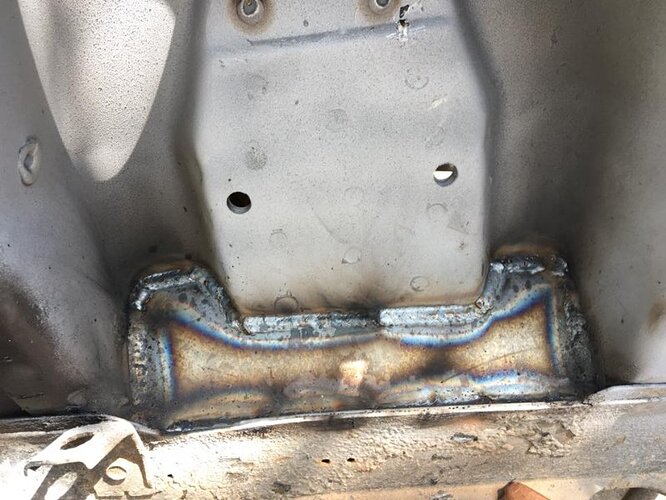
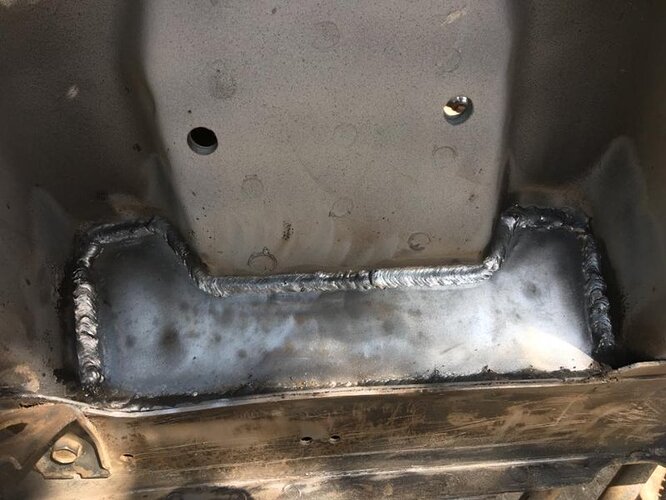
Nice looking welds! What are you using?
Thanks! They weren’t my best but “weld thru” primer isn’t always welding friendly. I’m just using a little millermatic 180 MIG with .030" wire and CO2 Argon mix gas.
Those coffee can speaker enclosures are unique!
Does the car sit outside all the time?
While I’m doing all the metal work yes the car does sit outside full time. I have a weatherproof car cover that keeps it dry but once it’s all welded up I’ll move it inside so I can start the body work for paint.
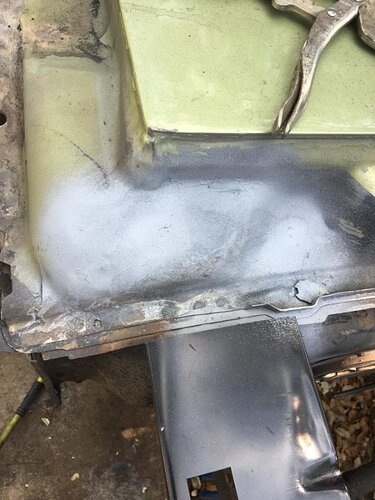
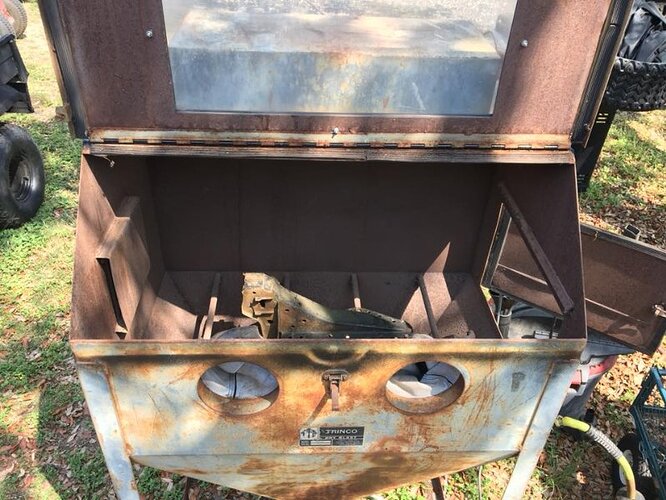
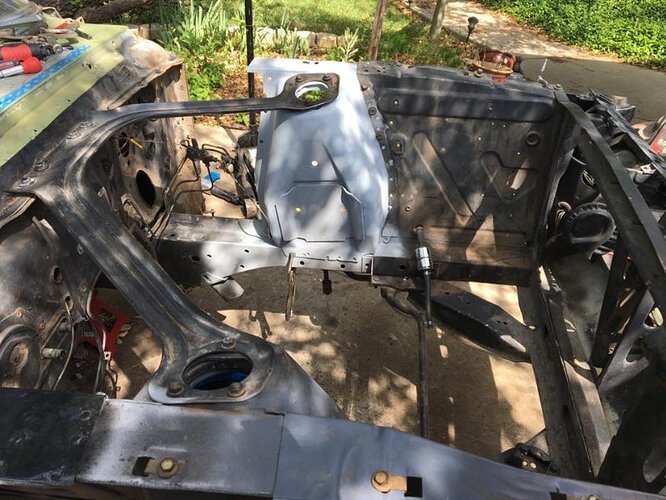
Made some really good progress the last two weekends. I got all the steering components pulled out to give me the needed room to replace the drivers side metal. Also got all the suspension out on the drivers side then got the new shock tower separated, media blasted and primed. Today I got the old tower and rear fender apron cut out and the new pieces fit and welded in. Just need to get the engine mount welded back on, fit and weld the shock tower braces and then finish off the engine bay metal work with the rear fender extensions. Then on to engine bay paint!
