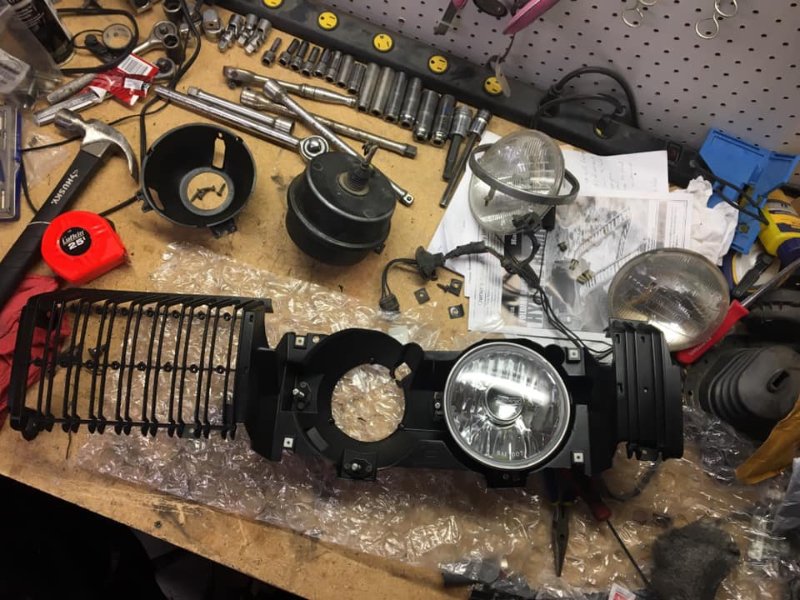
There are some small cracks here and there but nothing serious. Is there anything that can really be done about it anyways? Maybe drill a hole at the end of the crack to prevent it from advancing is all I could think to do.
A few years ago I bought some special rod for “welding” pot metal. It’s done with a torch because of the low melting point. Unfortunately I can’t report whether it actually worked for me since I haven’t tried it yet. My present course of action is to just use the grilles that I have that aren’t cracked.
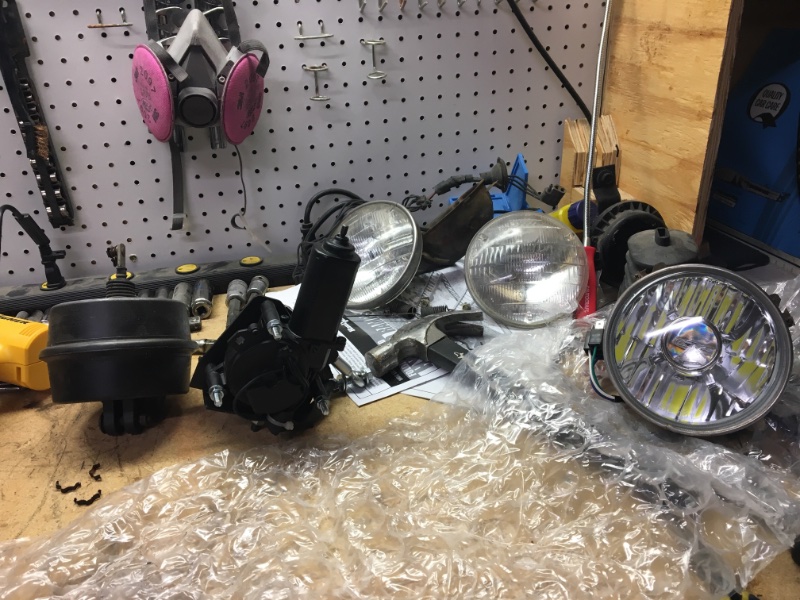
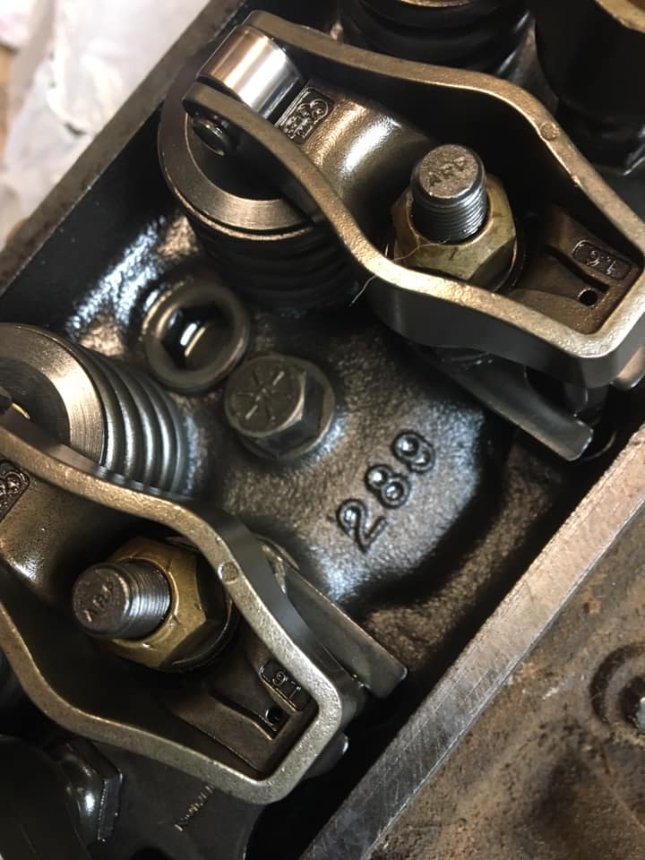
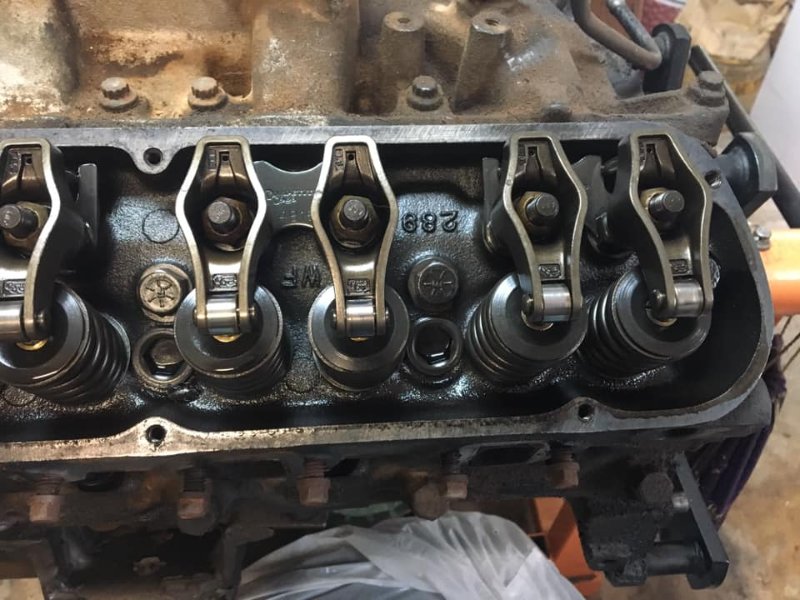
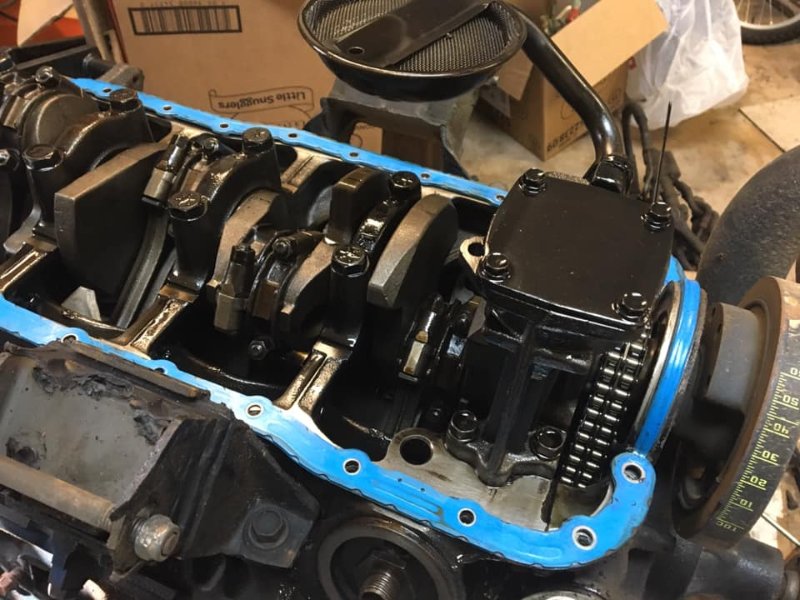
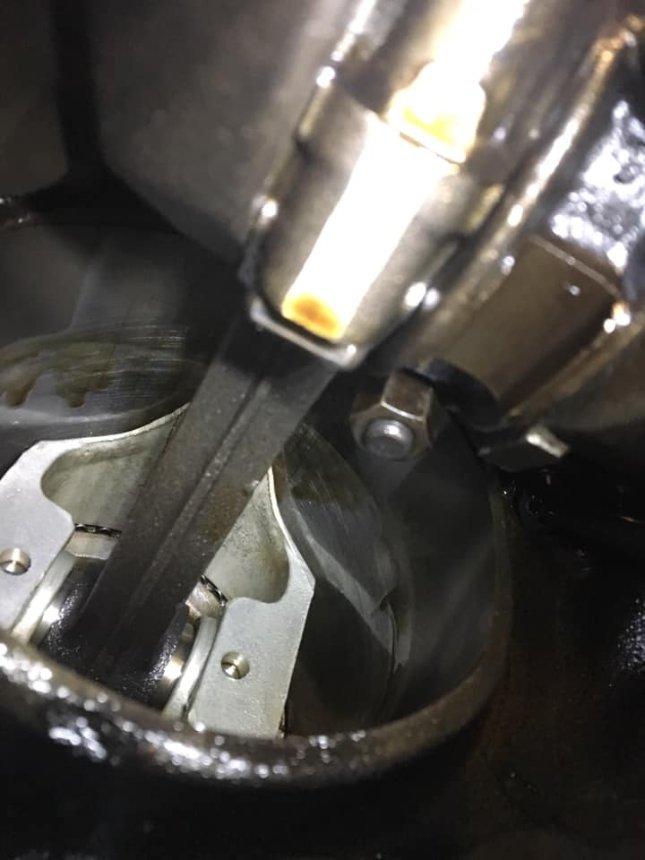
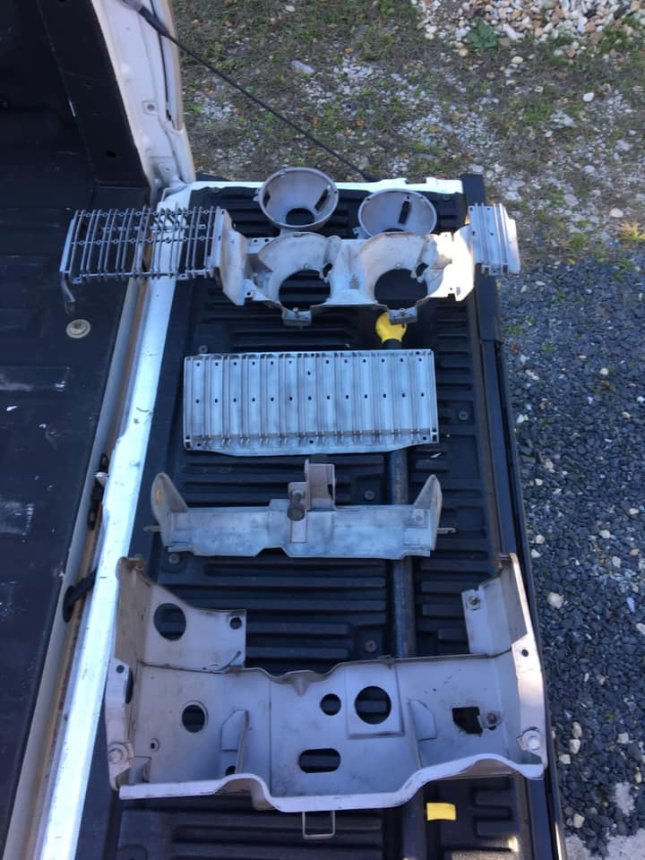
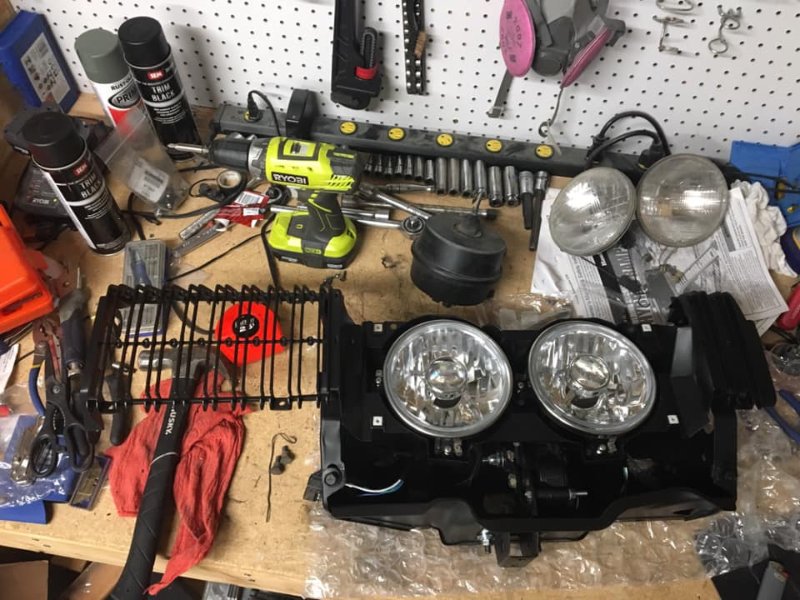
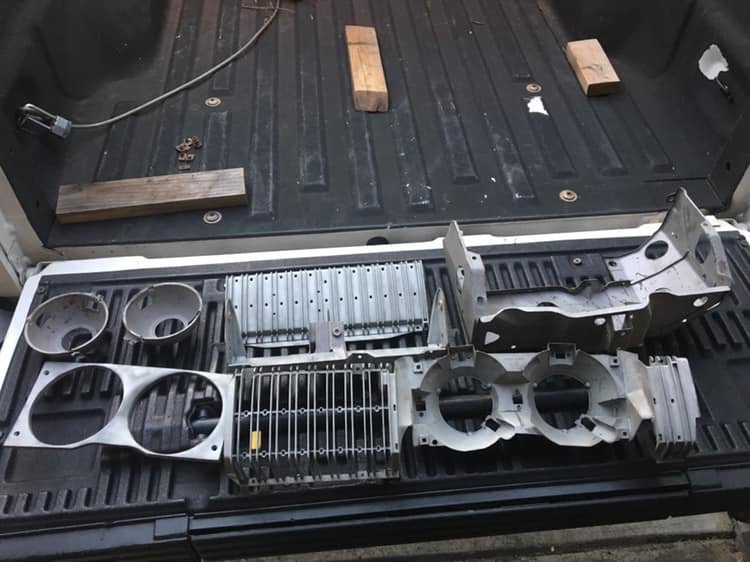
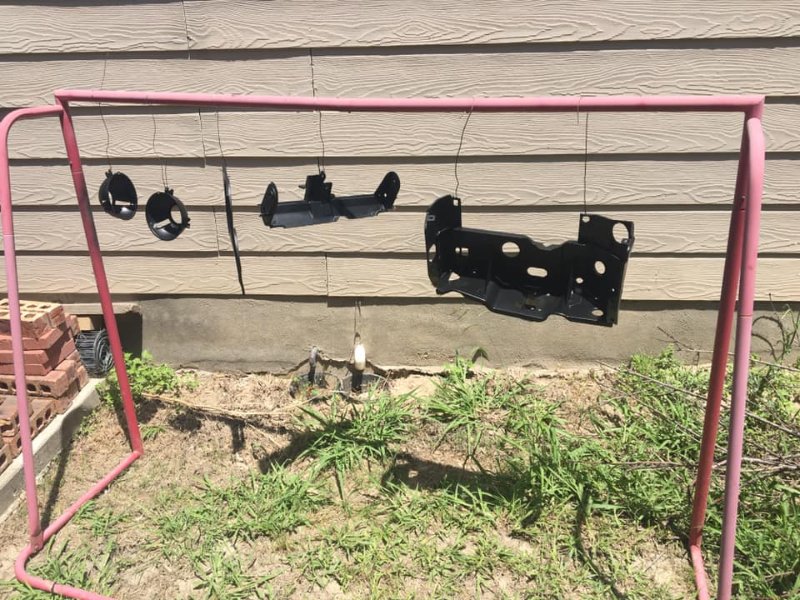
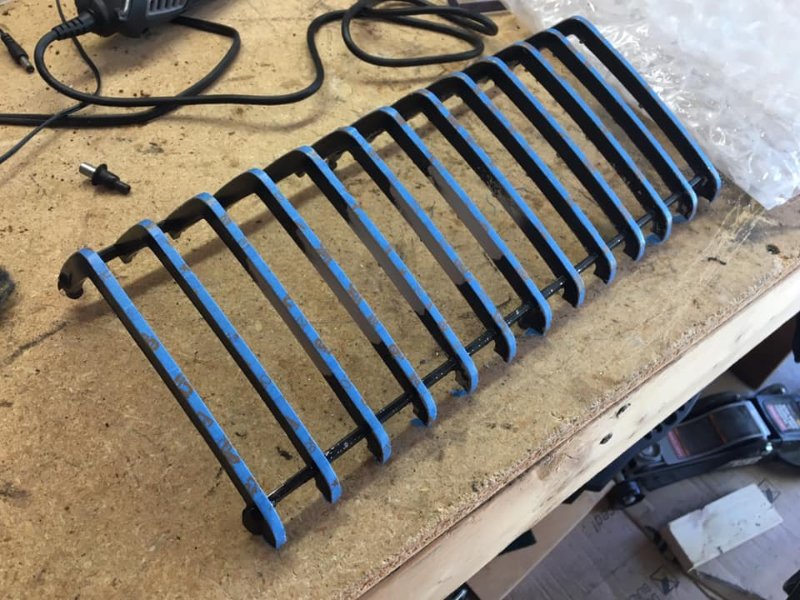
Finally pulled a few things off the motor today just to see what it is and it’s shape. What I thought was a 302 (advertised by previous owner) is actually a 289 possibly the car’s original motor. It’s in really nice, clean shape so I’ll get some new valve cover gaskets for it, clean it up l, paint it and go back in with it. Also got some sand blasting done on the driver side grill pieces.

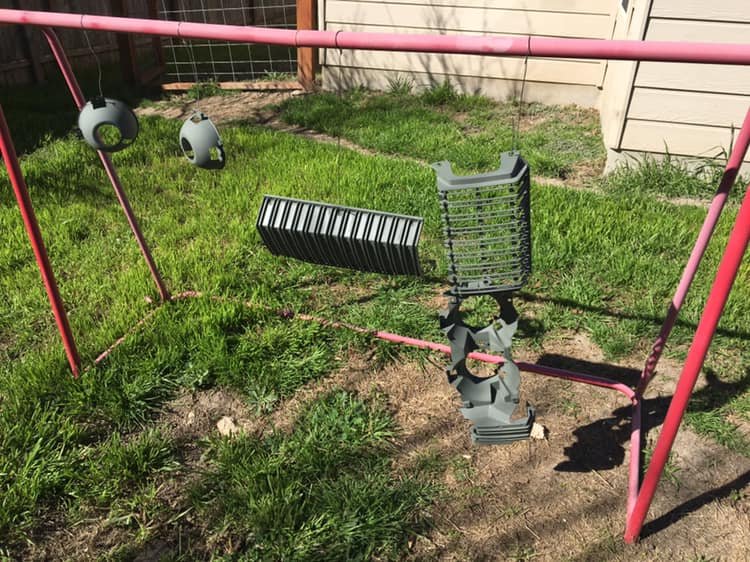
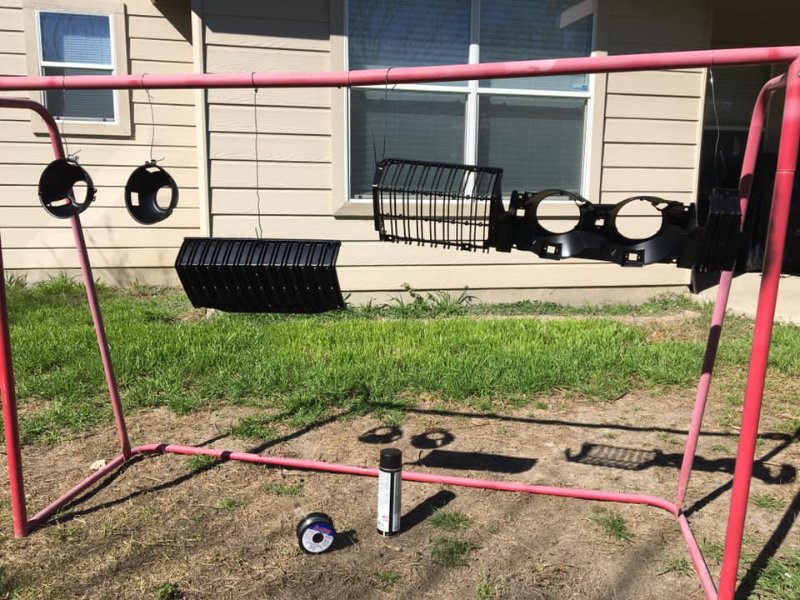
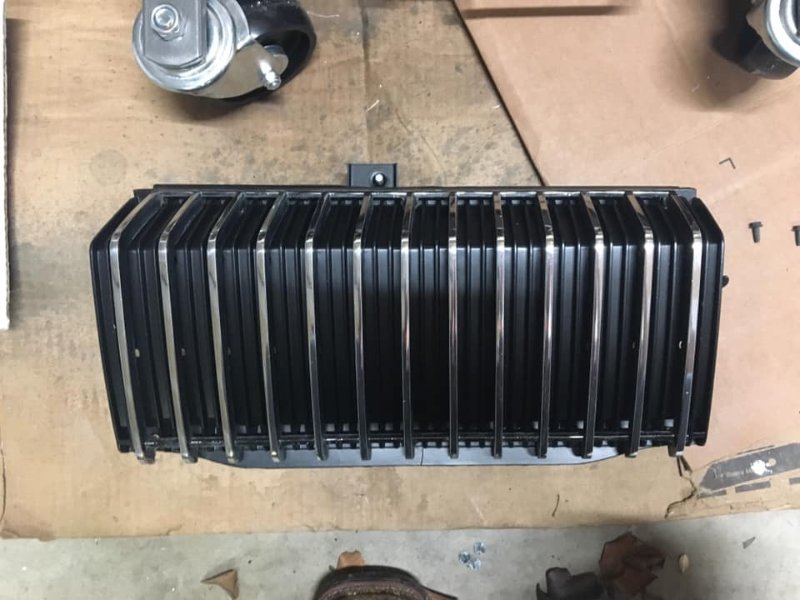
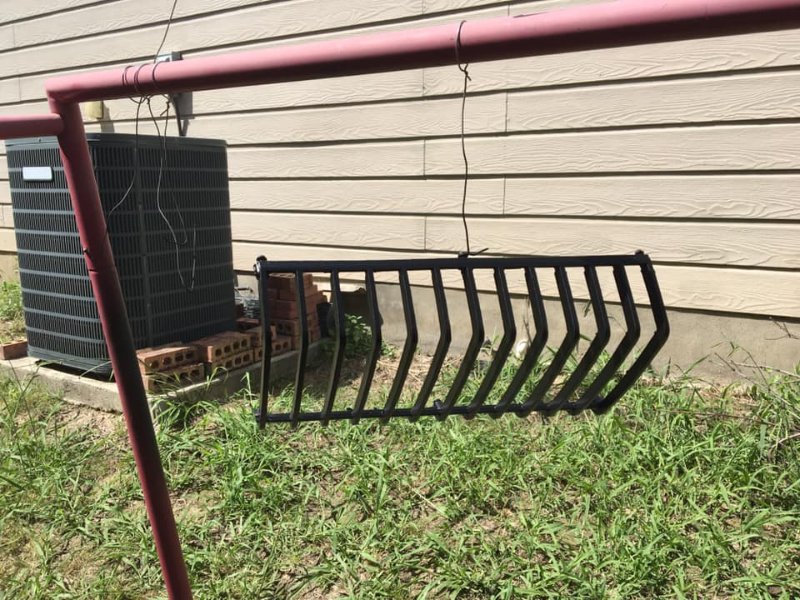
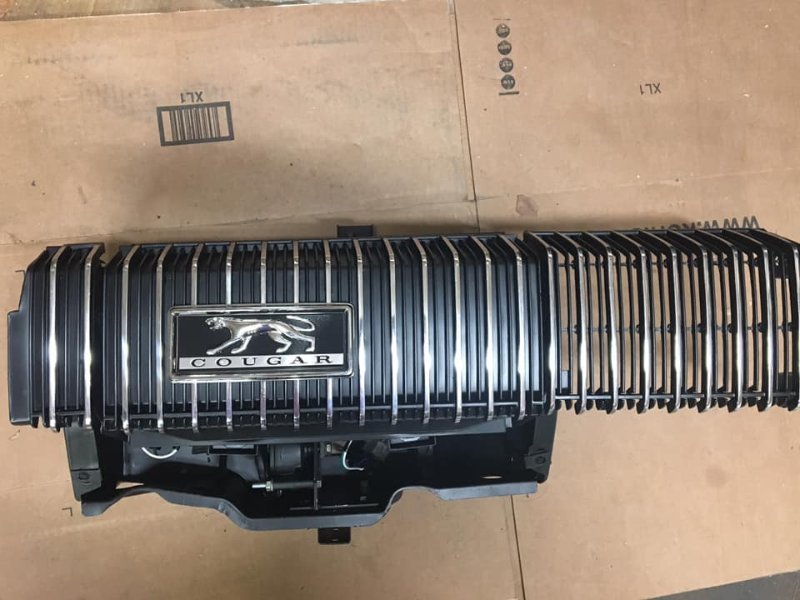
Here’s a few of those grill pieces primed with self etching primer and the SEM Trim Black.
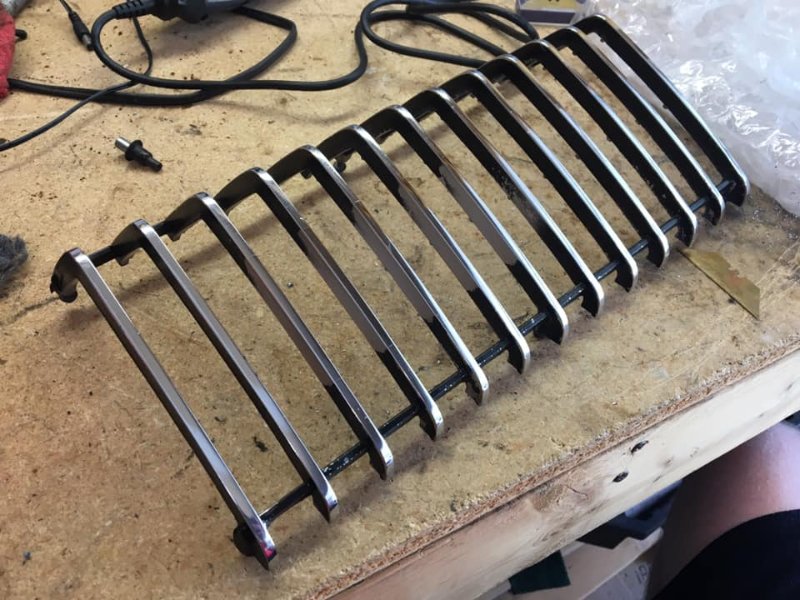
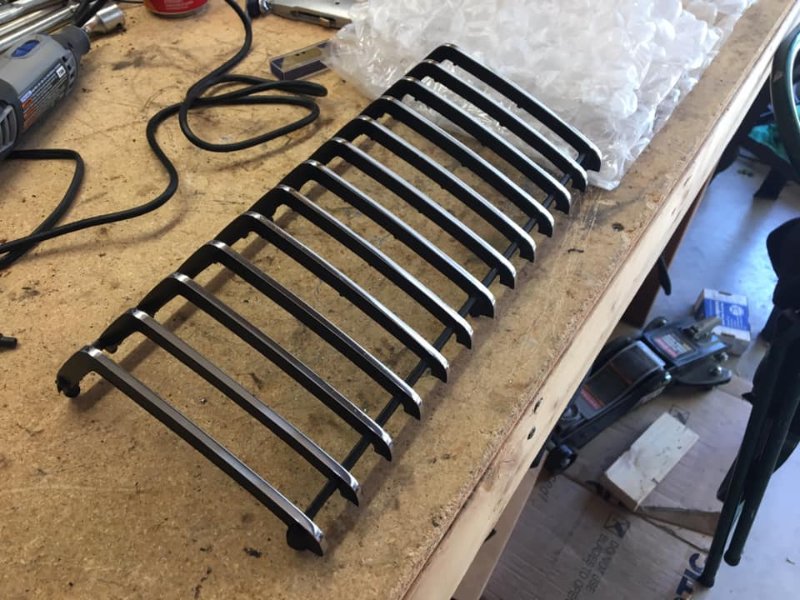
Debating right now if I want to try and sand smooth some of the pitting on my chrome pieces and then take them to be re-chromed. Any one have an idea how much it generally costs to have those six grill pieces re-chromed?
I got a set done for $400 but that was awhile ago. Paul’s Chrome wanted $1200 at the time.
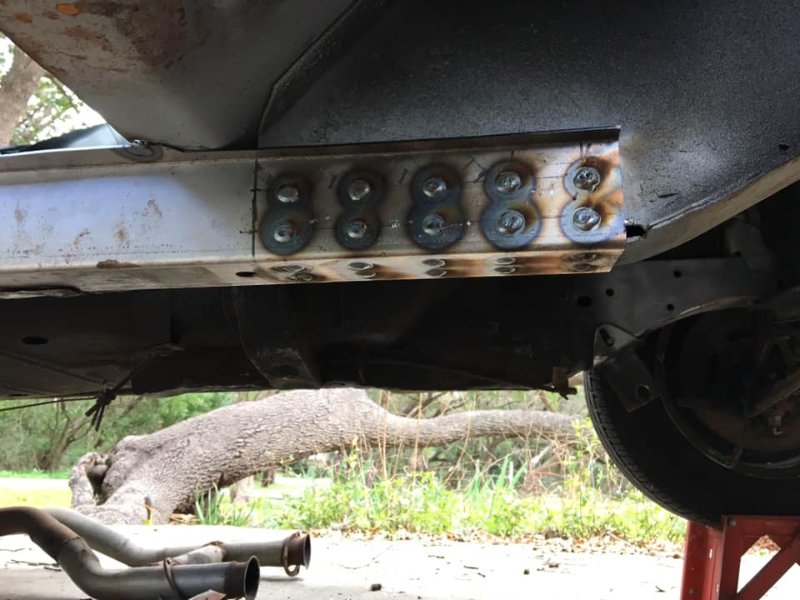
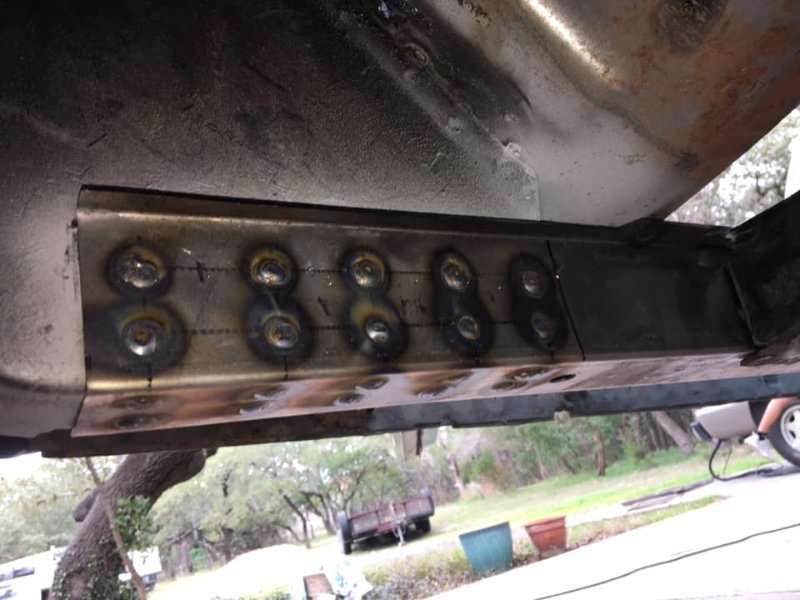
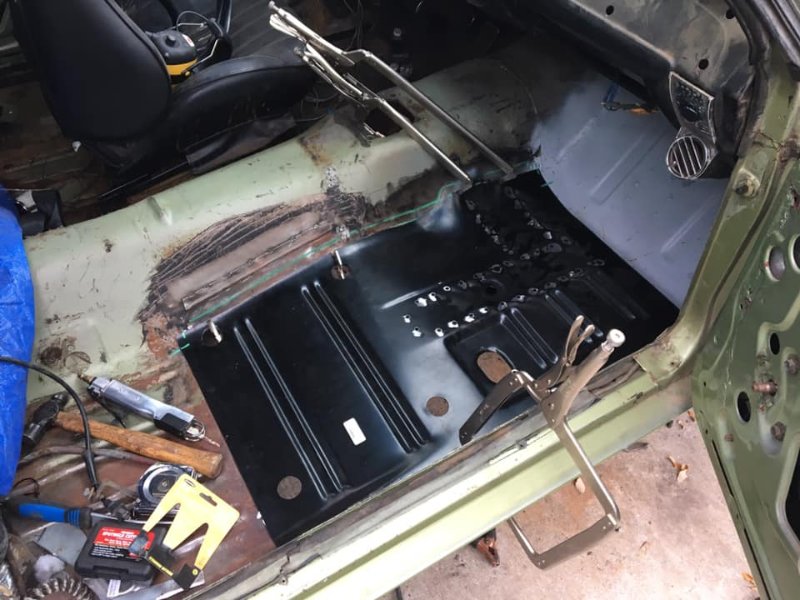
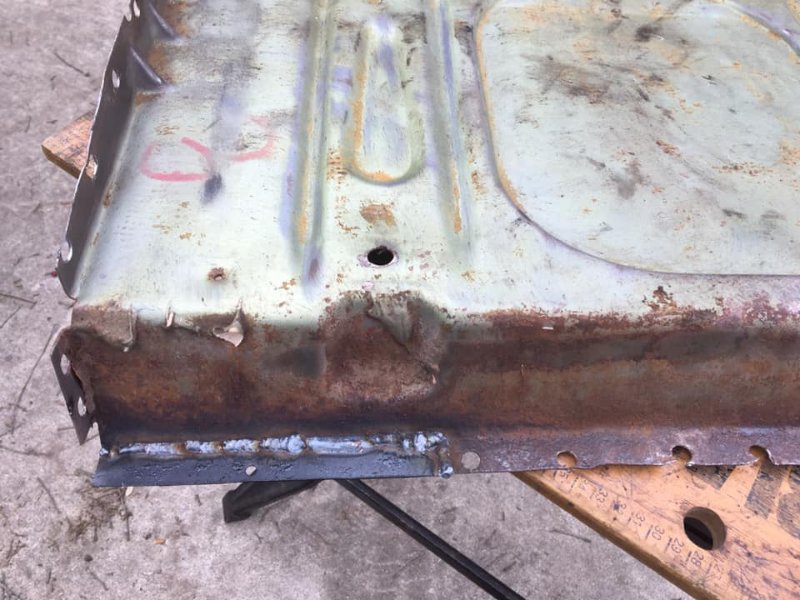
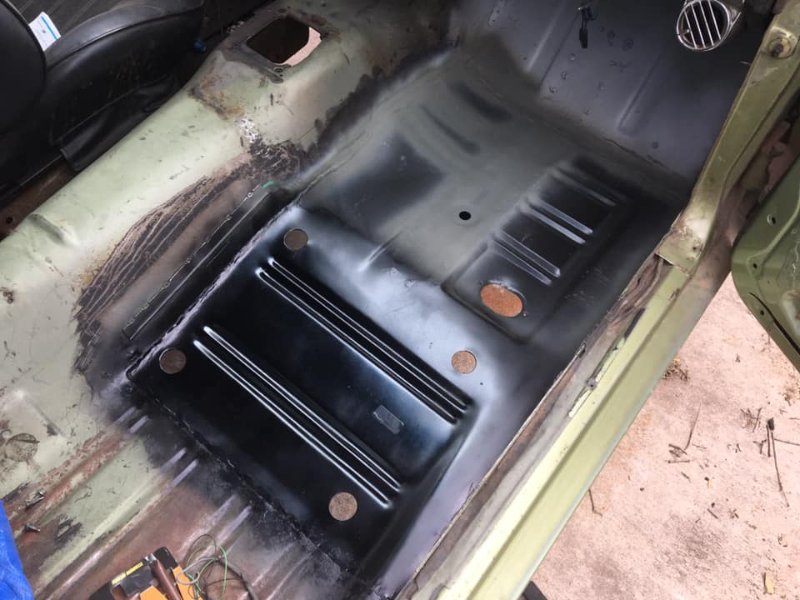
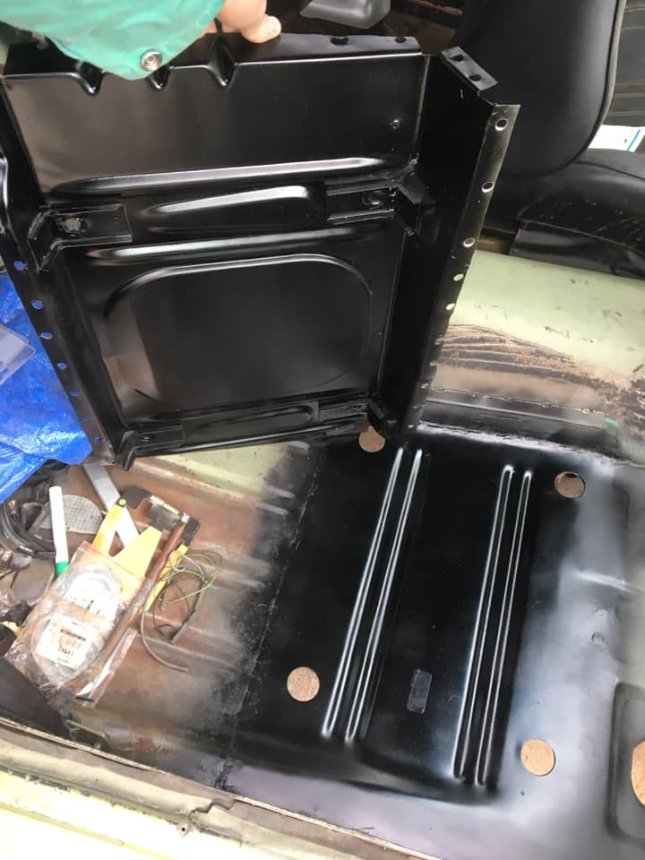
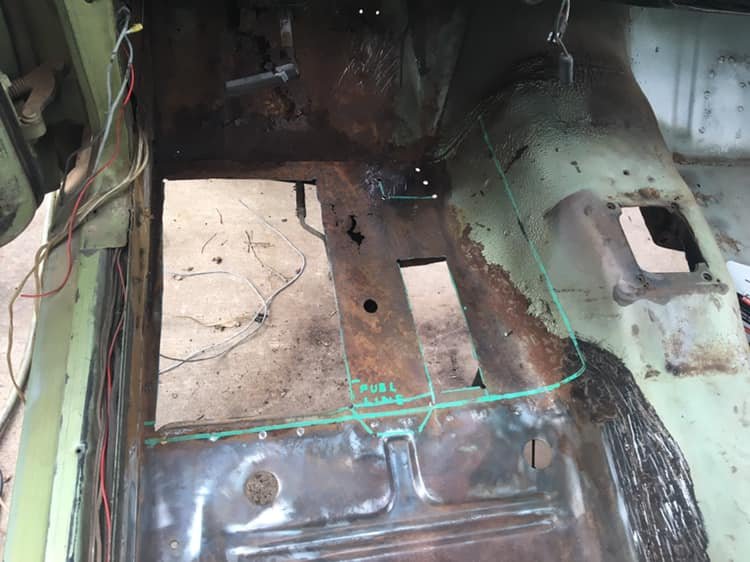
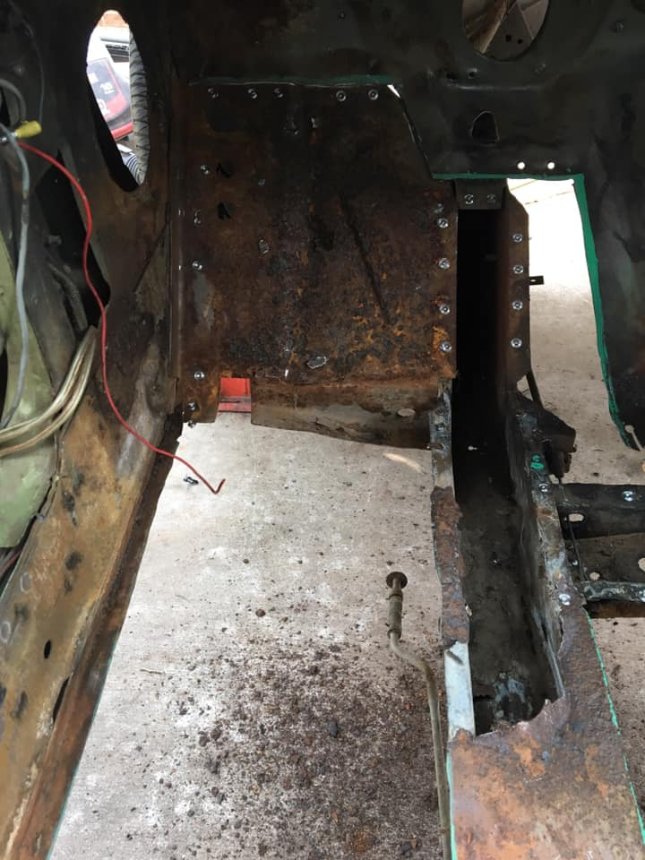
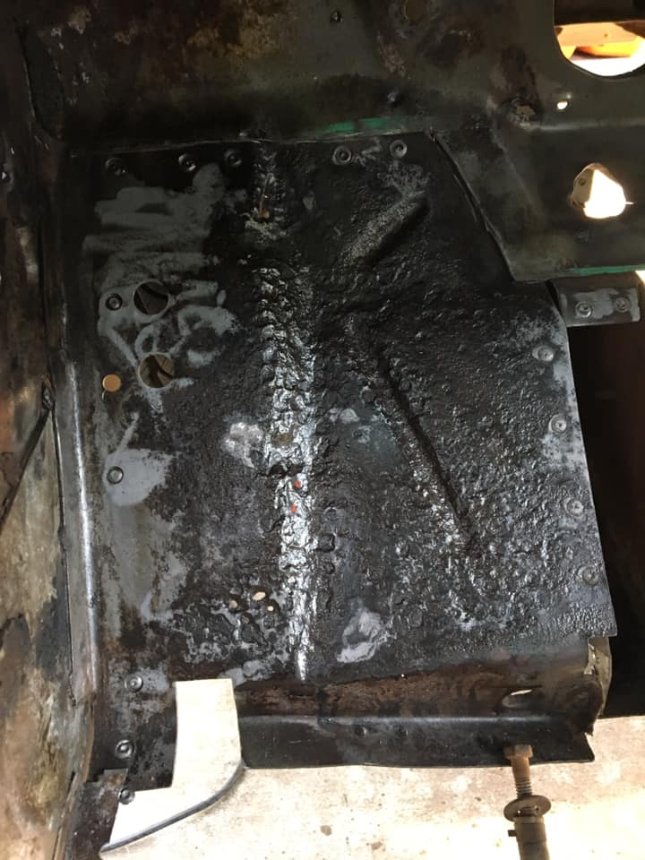
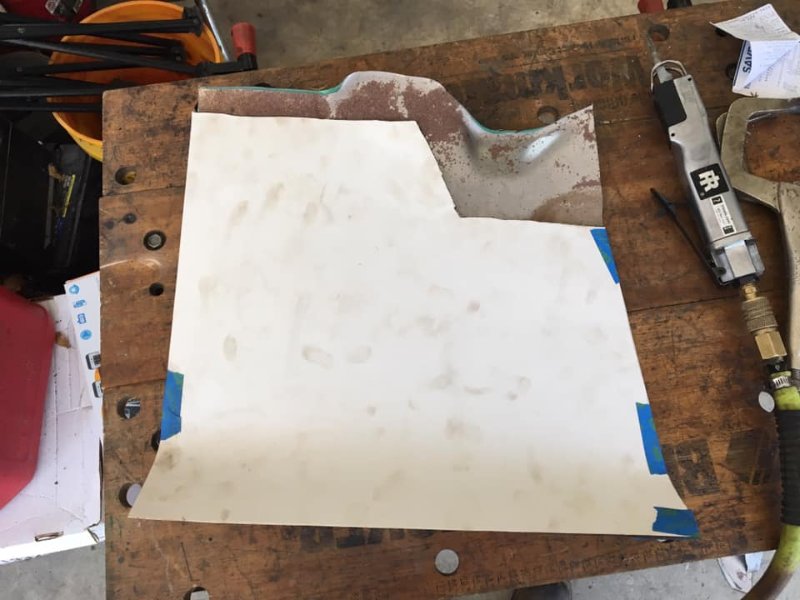
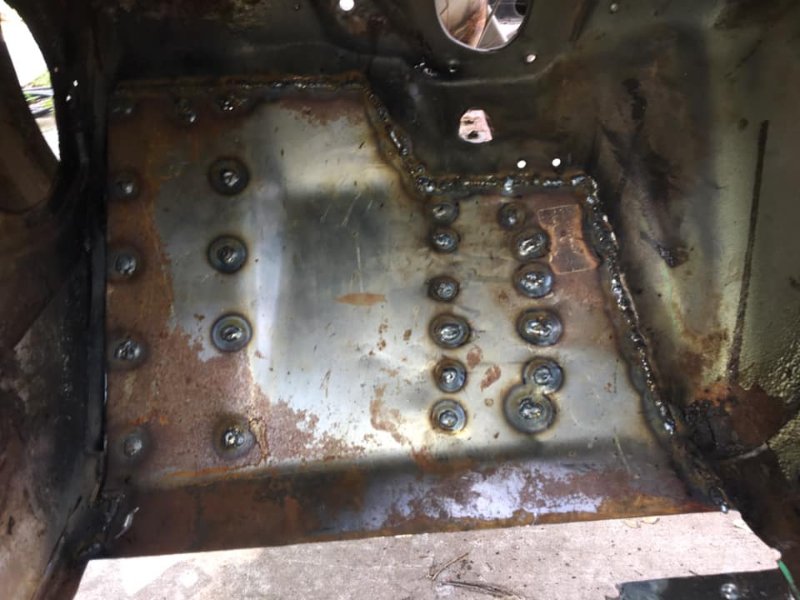
Sub frame floor support is now welded. Trimmed down the original floor some more and the new floor pan for its final fit. Floor pan is tacked in and ready for welding. Lots of welding in front of me but it’s all coming together nicely.
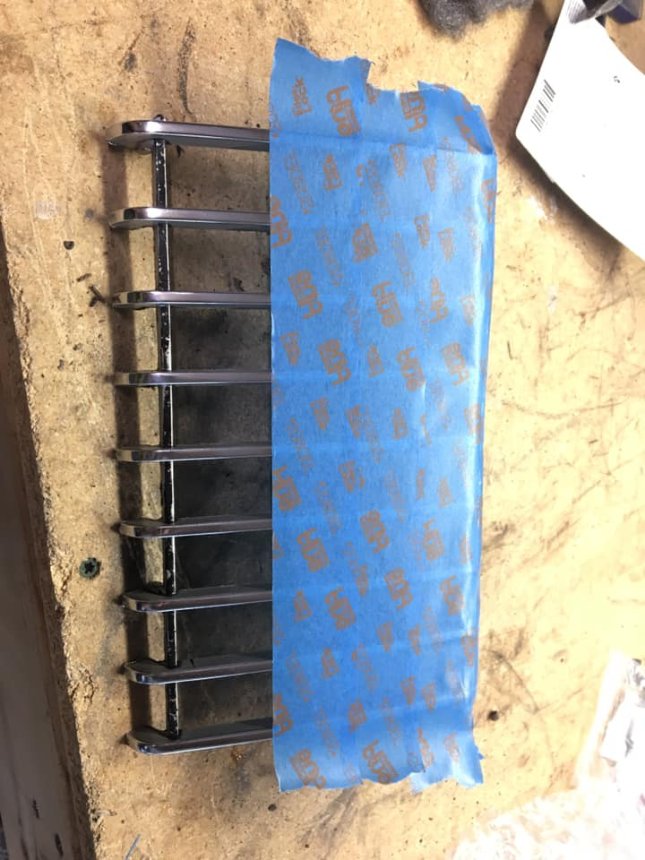
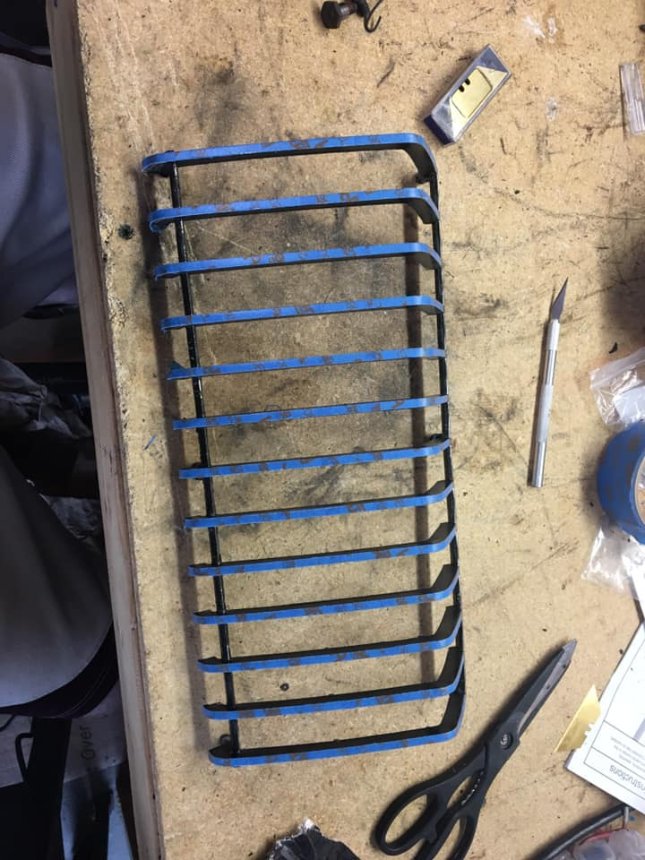
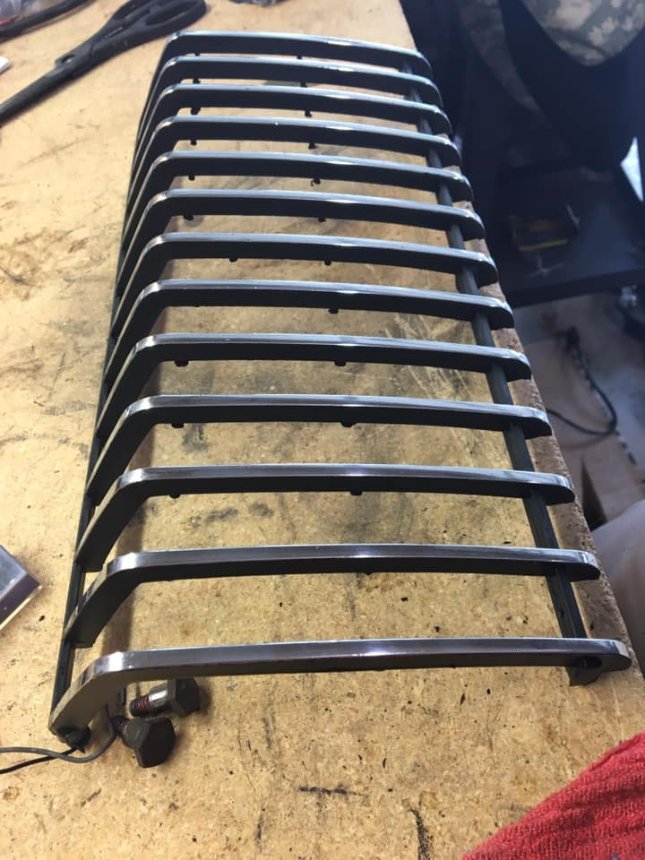
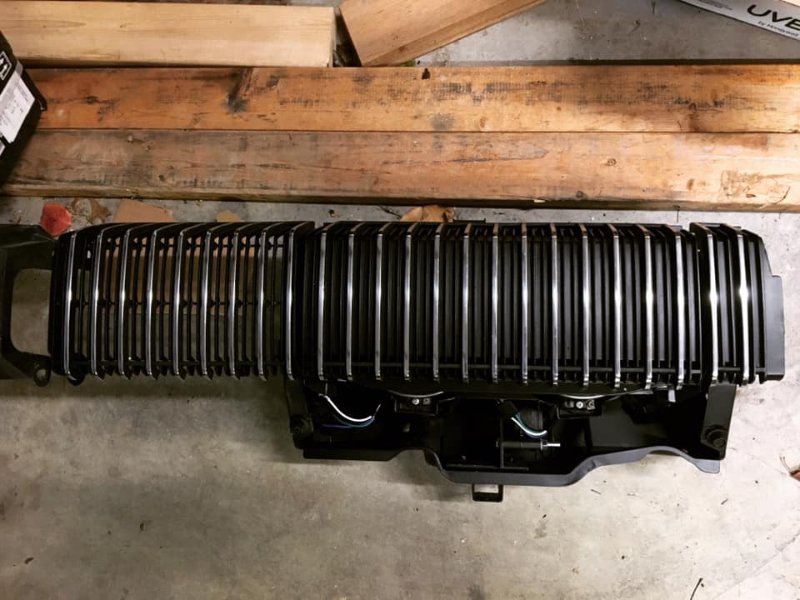
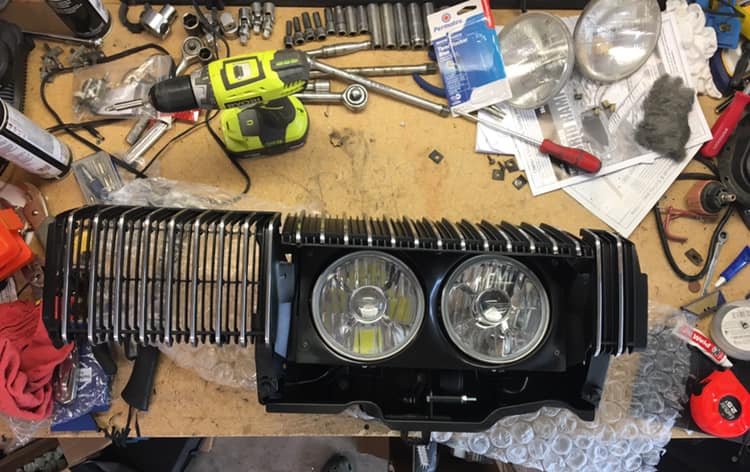
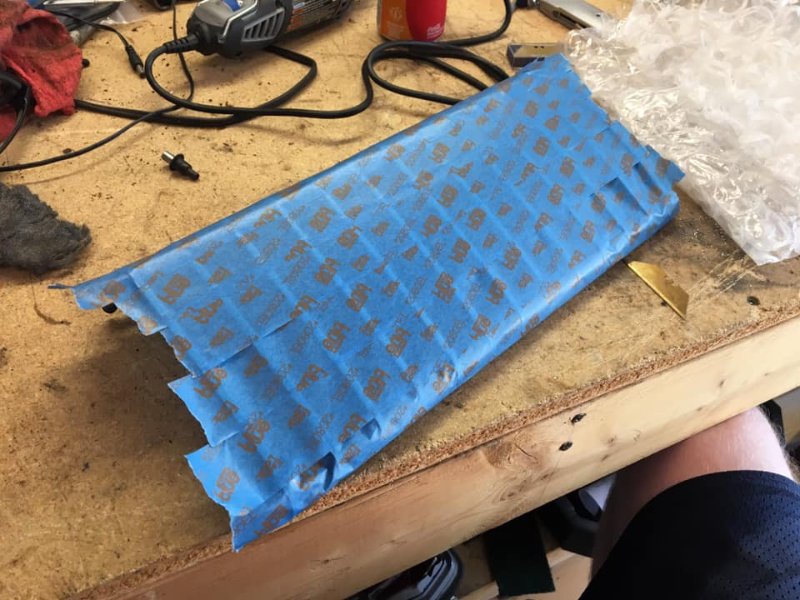
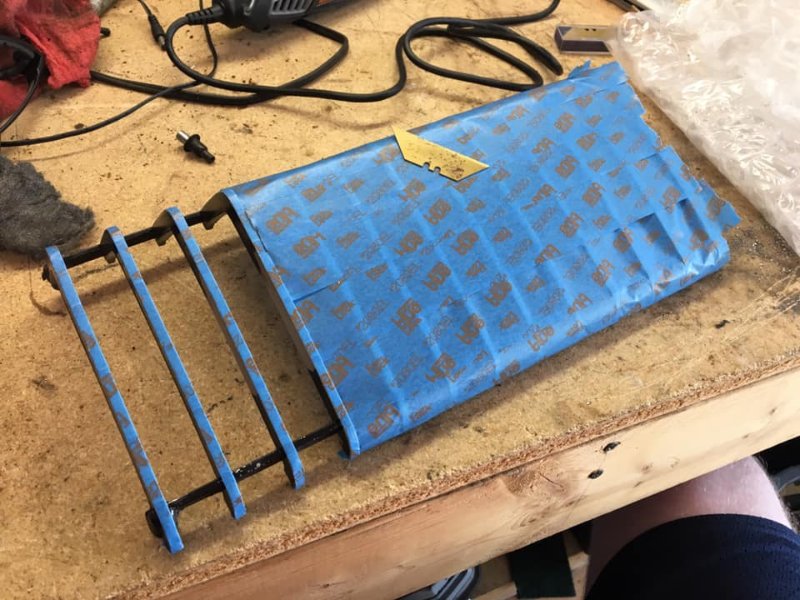
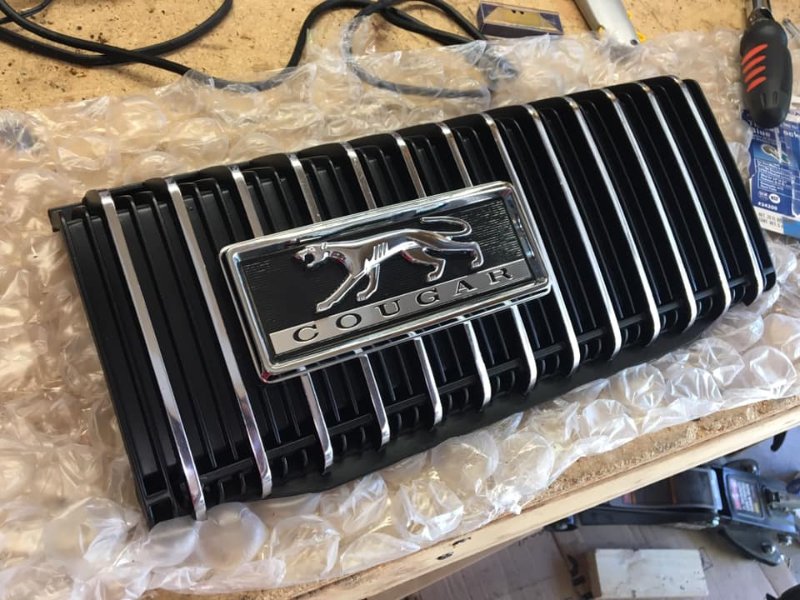
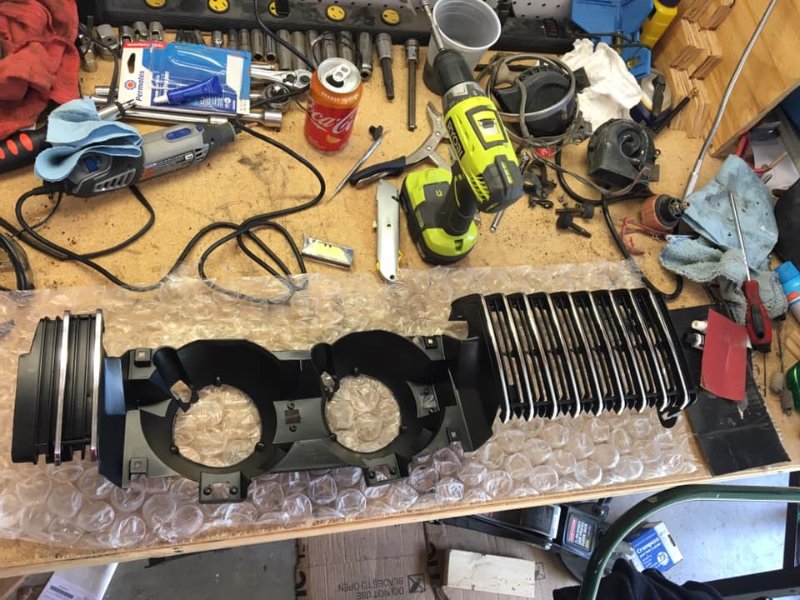
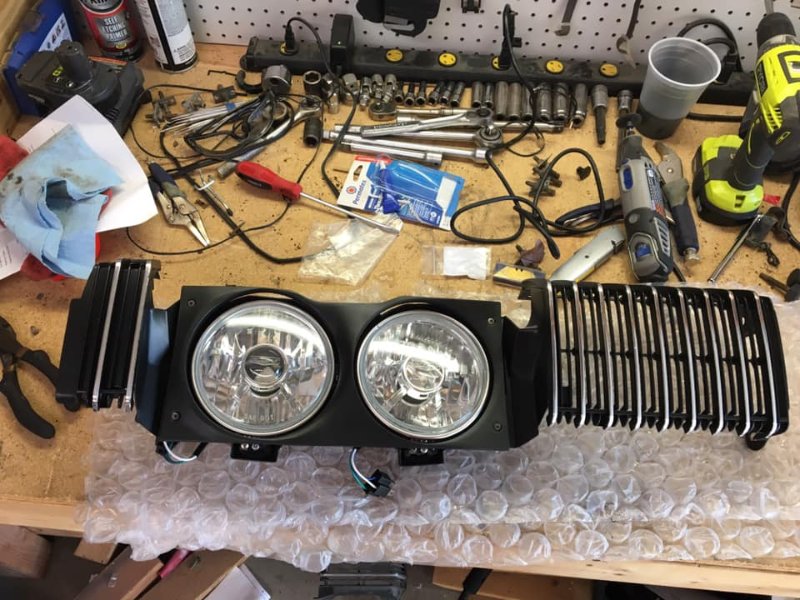
Driver side grill restoration is complete! Passenger side is next. I’ve learned that in order to keep me motivated on this project, it’s beneficial to work on the small things on the side while I’m not tackling the heavy metal and body replacement/repair. I love seeing the small things coming together knowing eventually all of these pieces will eventually come together.

1 Like
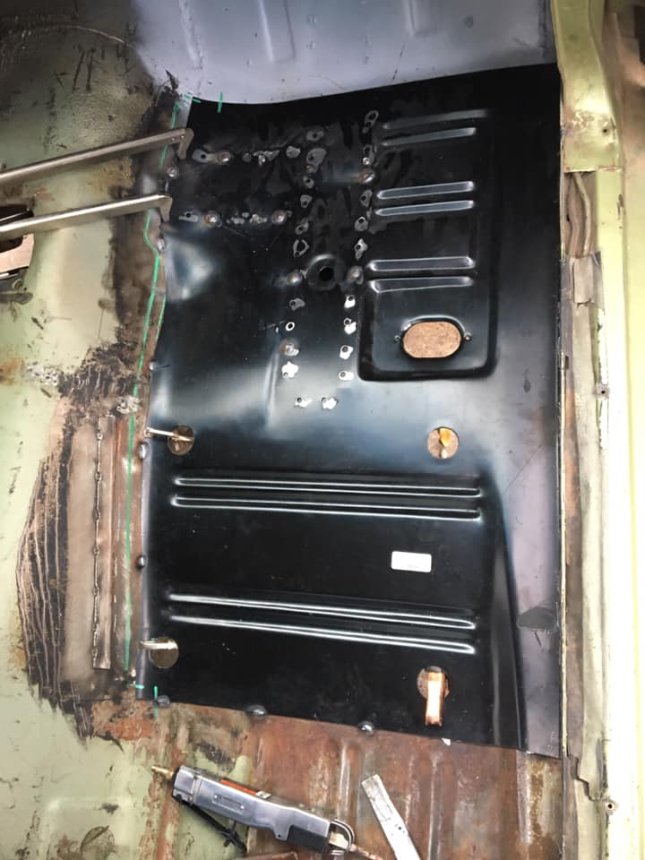
Lots of welding this weekend until I ran out of shield gas. Got the passenger floor pan about 90% welded.

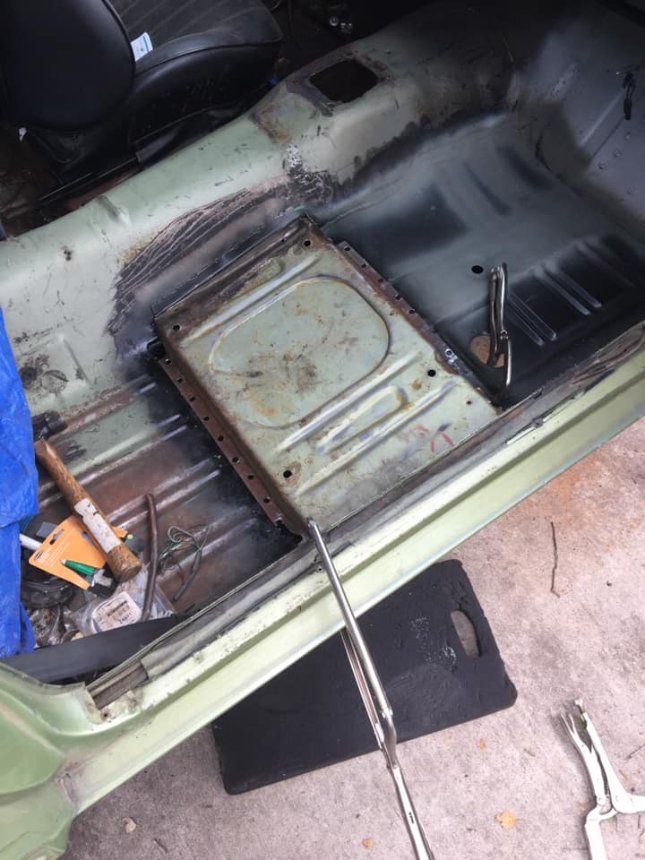
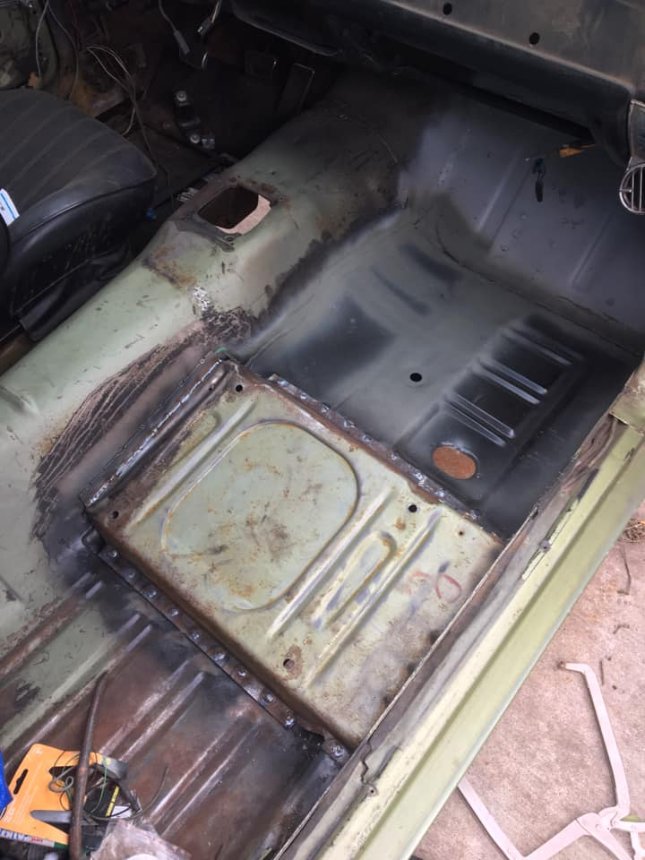
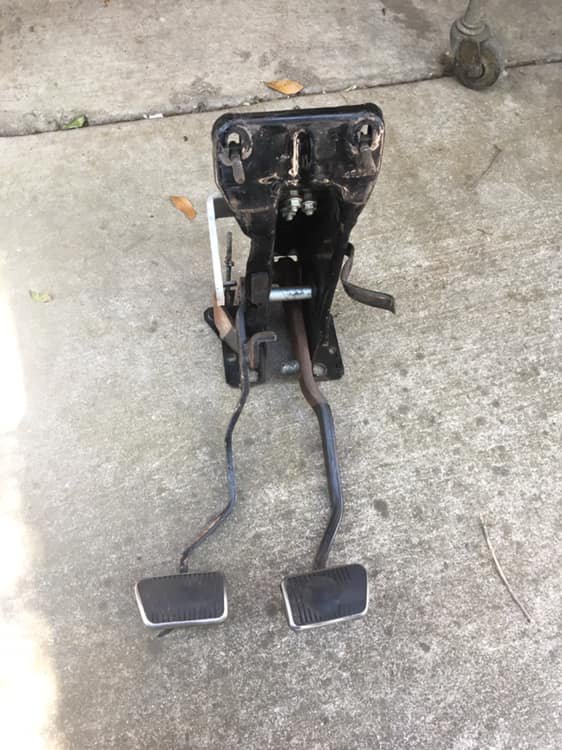
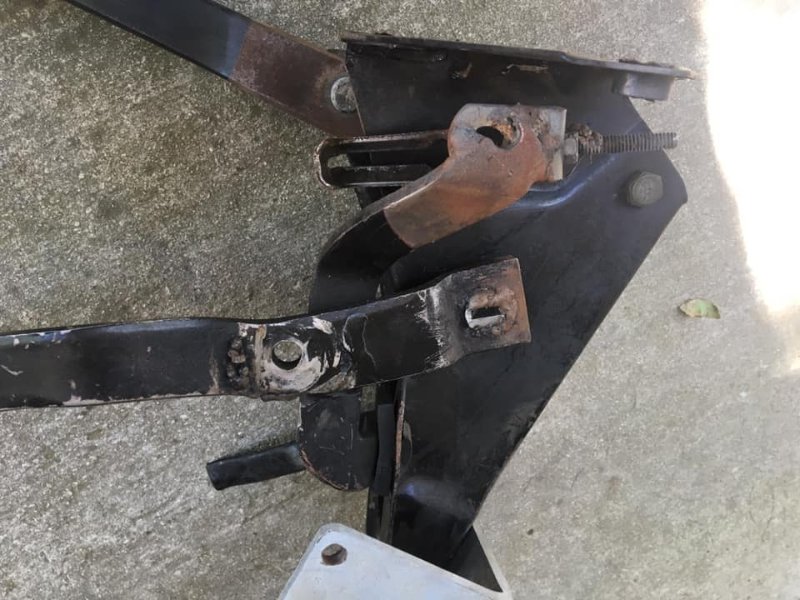
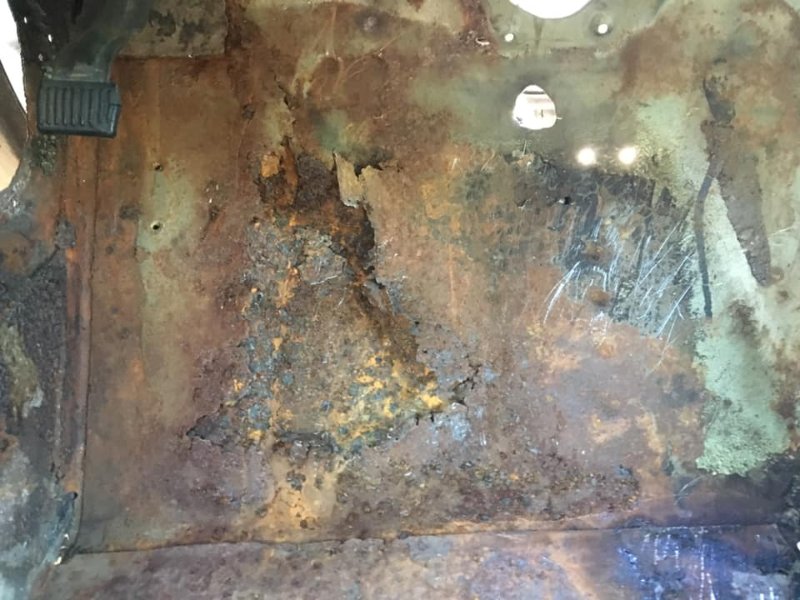
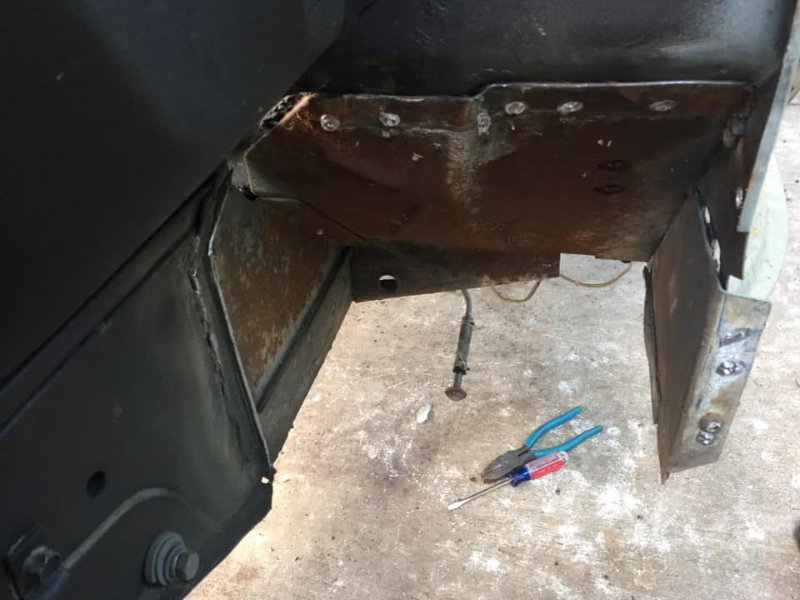
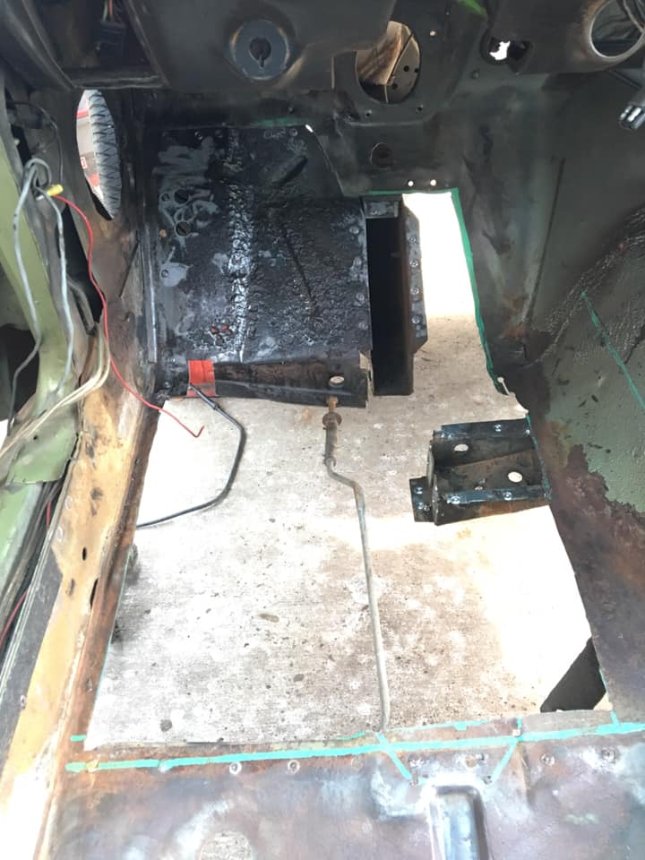
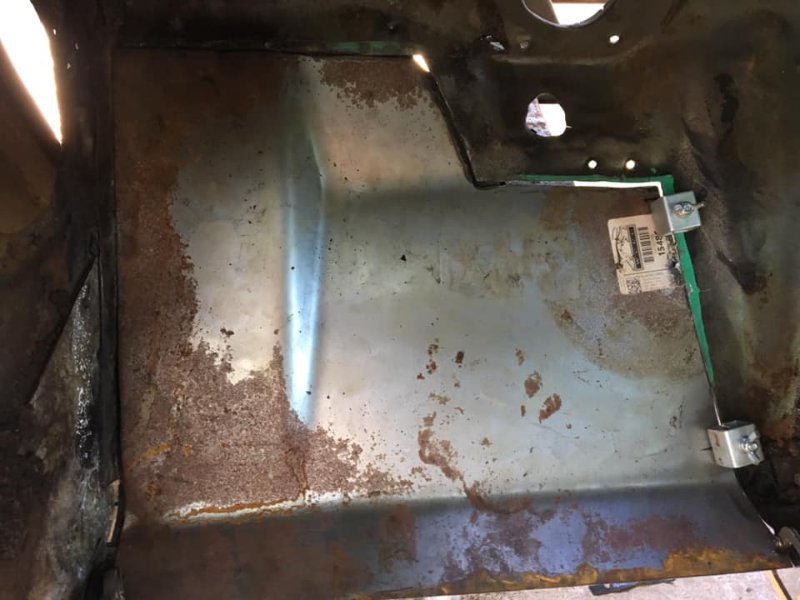
Started getting metal out on the drivers side floors. Seat riser is out and started my measurements for all the rusty pans that need to come out. Once i got the clutch/brake pedal assembly out, I got another pleasant surprise on some creativity previous owners did to convert the car from automatic to manual. Now I know what happened to my missing parking brake cable connector.
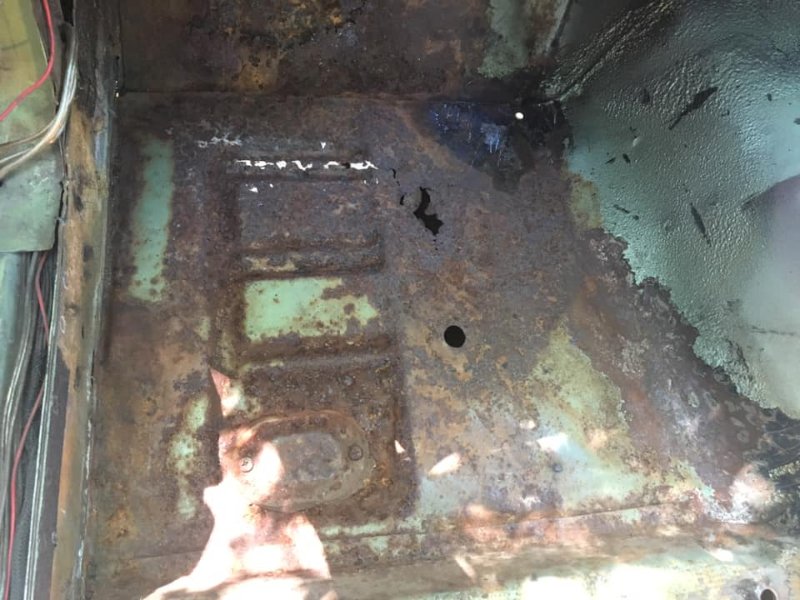
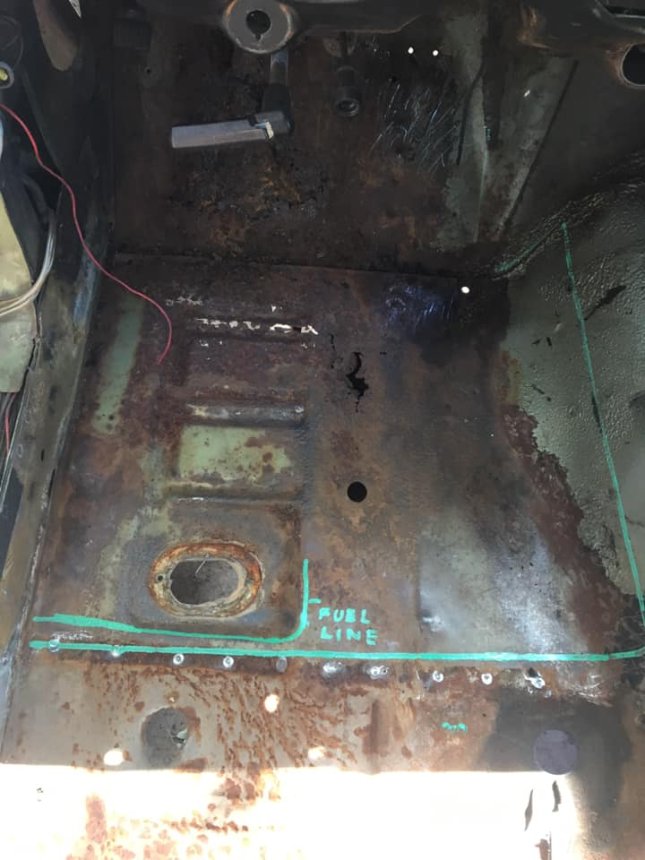
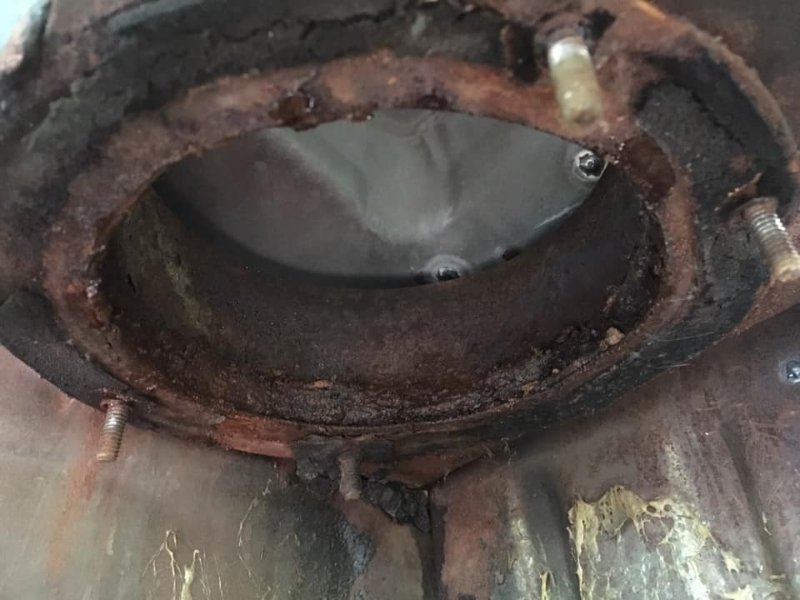
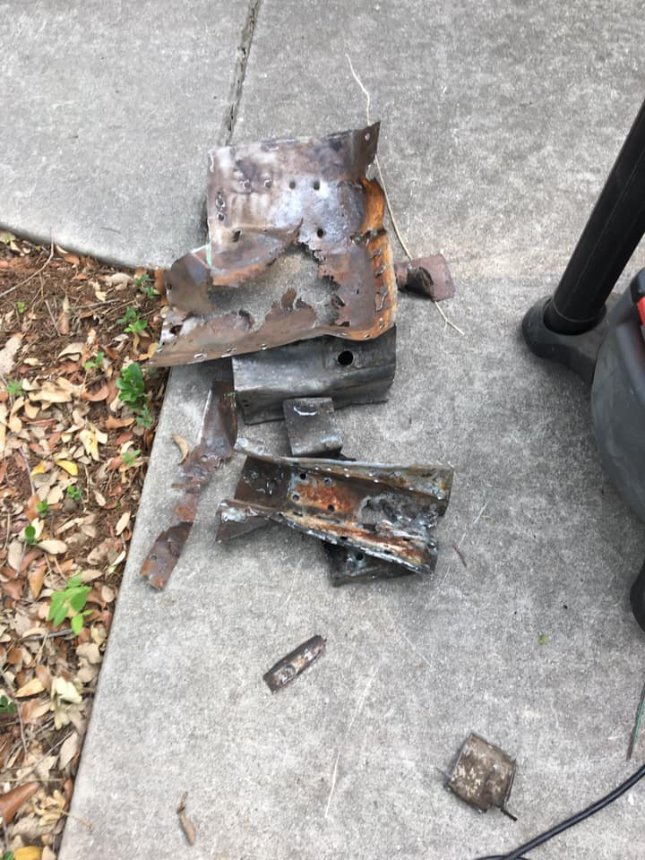
Not much progress this weekend, got pieces of the floor pan and the lower half of the torque box cut out on the driver side. Worst fear came to realization today that the driver side cowl vent is the culprit letting water in, what a pain that is going to be to replace. I will wait to do that when i can get the car back in the garage.
Nice work! She is coming along nicely. Keep up the good work and keep the pics coming.
Just about have everything cut out on the drivers side floor that needs to be replaced. Going to attempt to weld shut a few places on the upper half of the torque back that rusted through. I really don’t want to replace it if I can patch it up, I’d have to brace up a lot of the front clip to keep the car square if i cut that piece out.
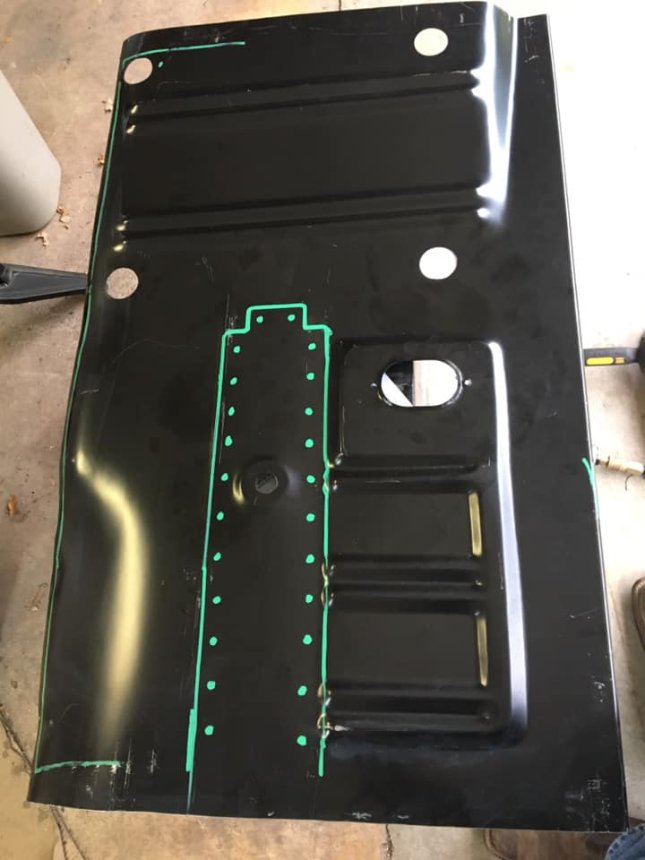
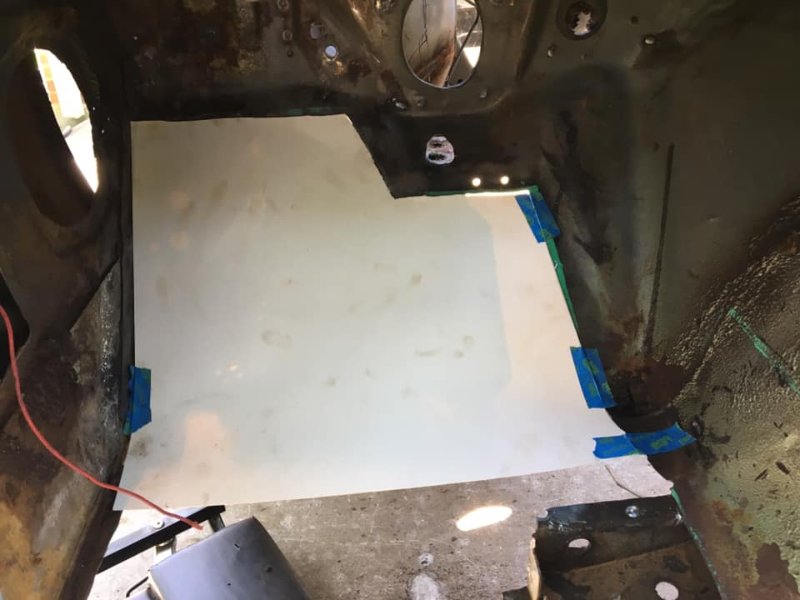
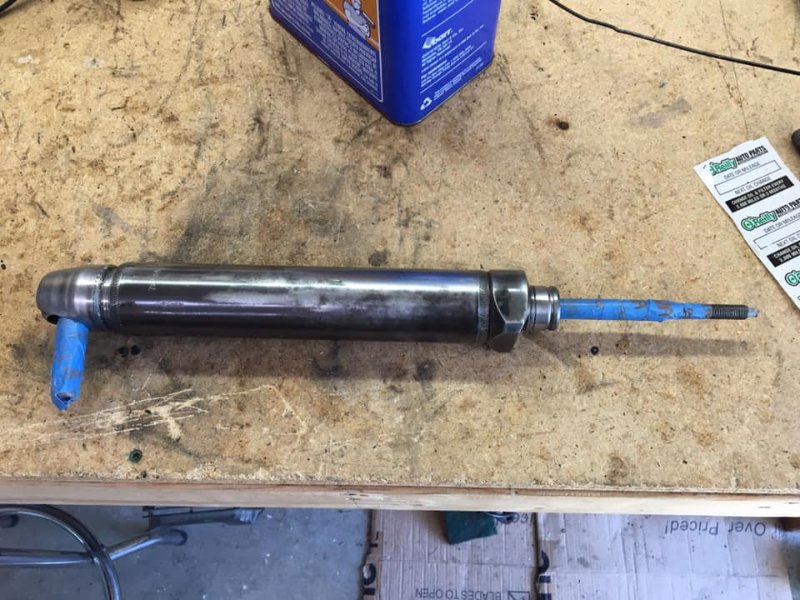
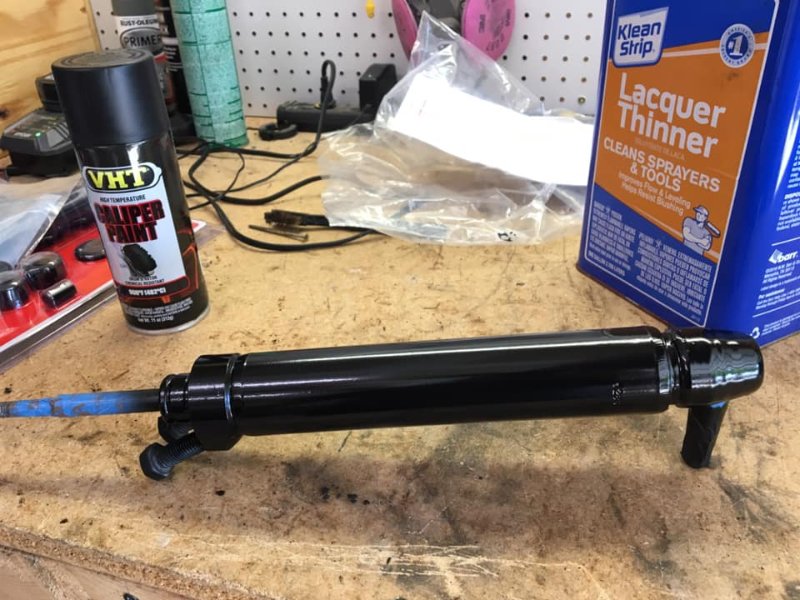
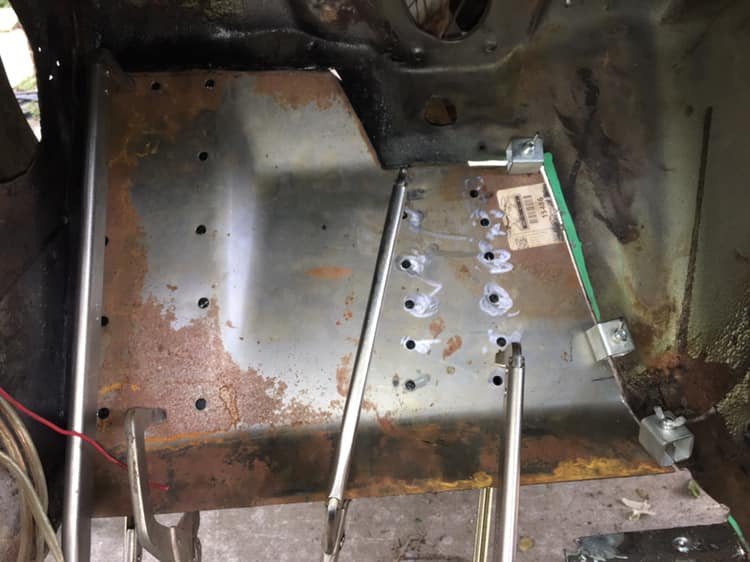
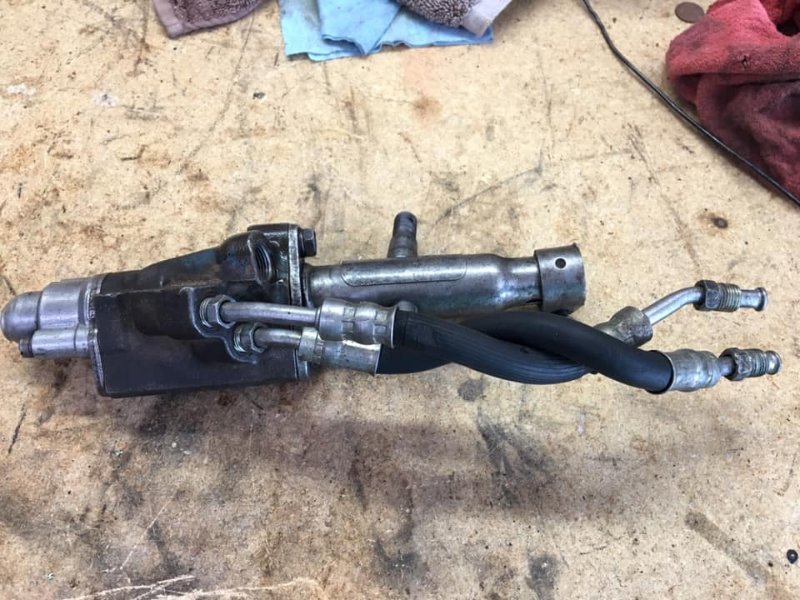
Driver side toe pan is cut to size, spot weld holes drilled and painted on the bottom side ready to weld in. Was too damn hot to want to weld anything in this weekend. Power steering ram cylinder is completely rebuilt with new seals, boots, bushings and fresh paint.
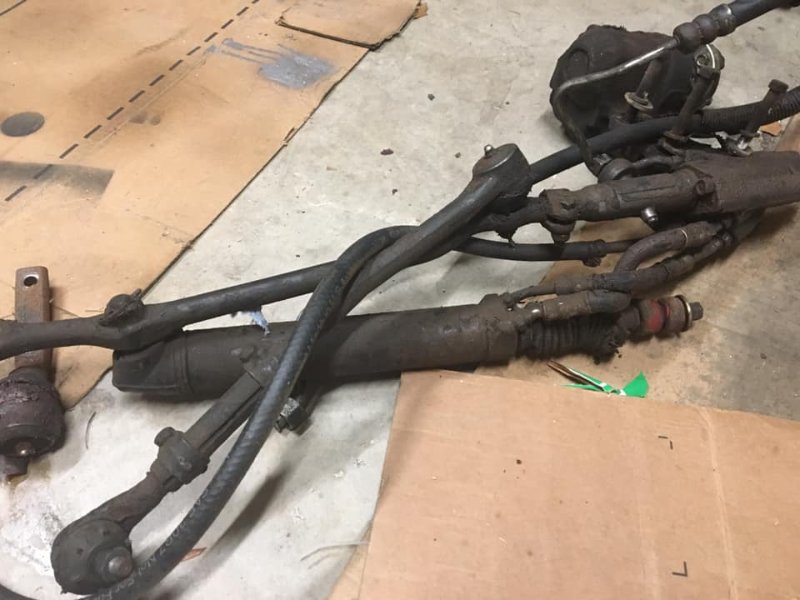
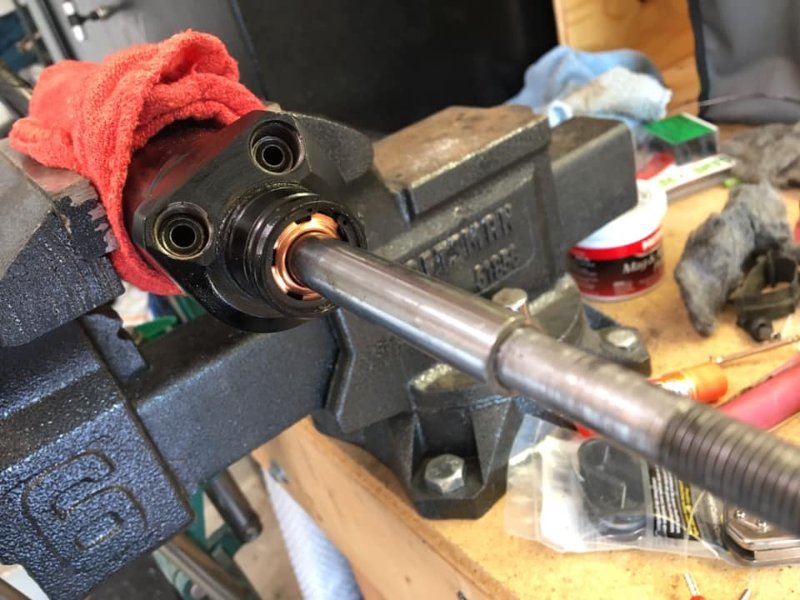
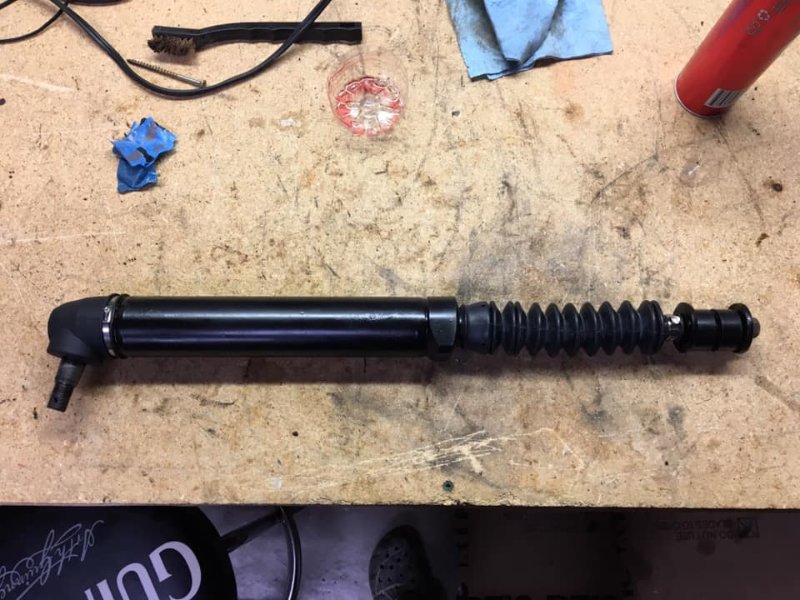
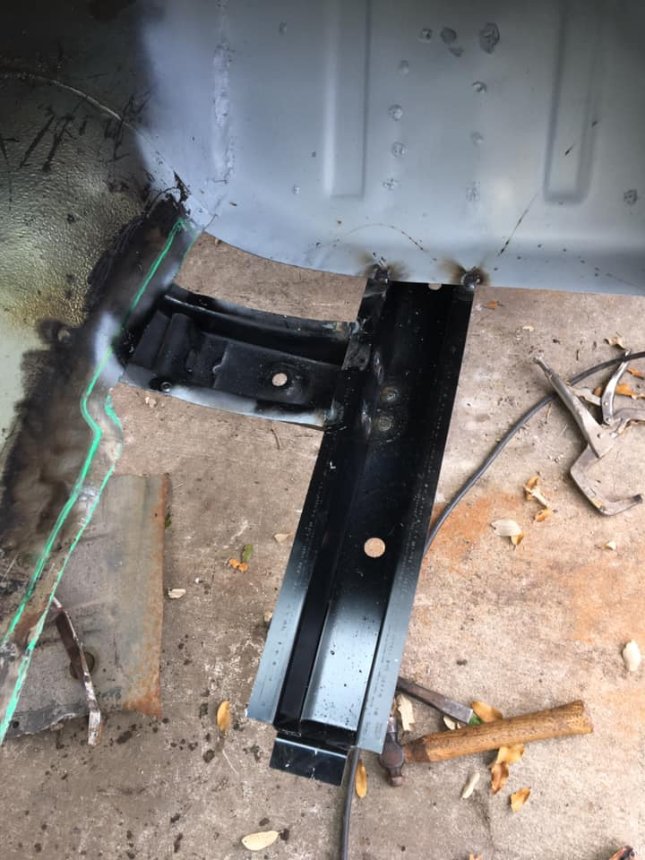
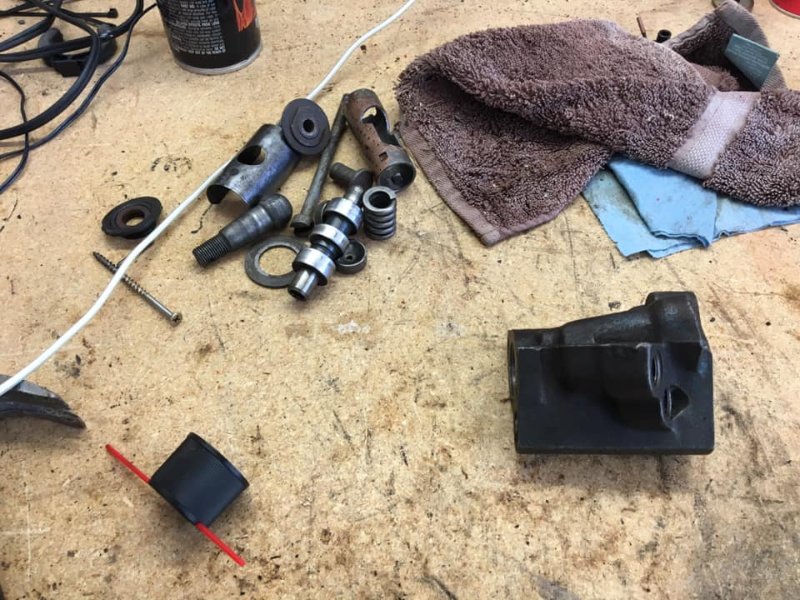
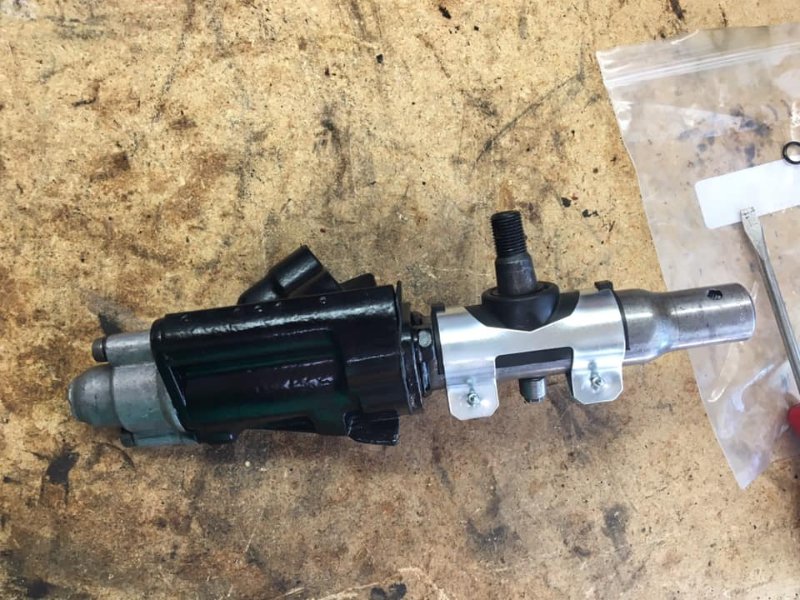
Driver side toe pan is done and welded in. I also managed some time in to clean and de-grease the rest of the power steering components and rebuilt the control valve with all new seals and a fresh coat of paint. Floor support is next on the driver side.
Hello, I have to do my steering components also was there Any problems doing them, or was it pretty straight forward, thanks.
I think they were pretty straight forward, just be organized about taking everything apart so you know the order it goes back together. Here are a couple of videos that were very helpful along the way.
Steering Control Valve:

Steering Cylinder:

