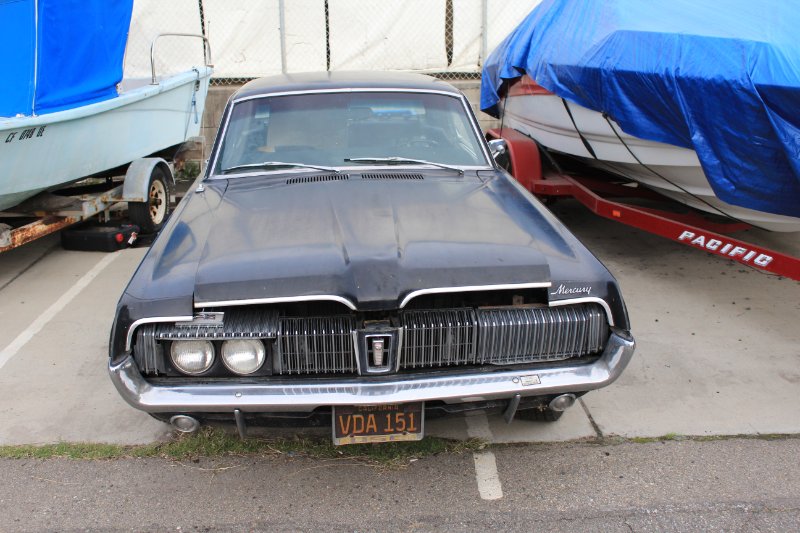
Before the Summer of last year, a year that need be erased and done over as COVID had put the year on hiatus, I was in search of a reasonable project car and happened to come across a very decent double black 1967 A code with the C-4 automatic. The car was up in the Los Angeles area having been listed at around 8 thousand on Autotrader Classics. There in the ad were links to a full video inspection along with a few hundred pictures taken by an automotive appraiser who was hired by a former party that had been interested in the car at the time. The Cougar had a Marti report and the title was clean. After a week or more of self debate as to whether this is a foolish idea or not the decision was made to contact the seller. A little bit later having bought a 1967 Cougar, my 1st one, it was the 100+ mile trip back south towards San Diego’s North County all the while having vivid premonitions of the rented U-Haul trailer fishtailing. Thankfully she and I made it back safely. After the registration, insurance and all the other legal stuff required in the ownership of a car had been taken care of there had begun a long learning process that is still going and will continue to be.
Looks like a great car.
^^^ Yes - congrats!
Looks very original, which is a good starting point.
Would love to see the Marti.
- Phillip
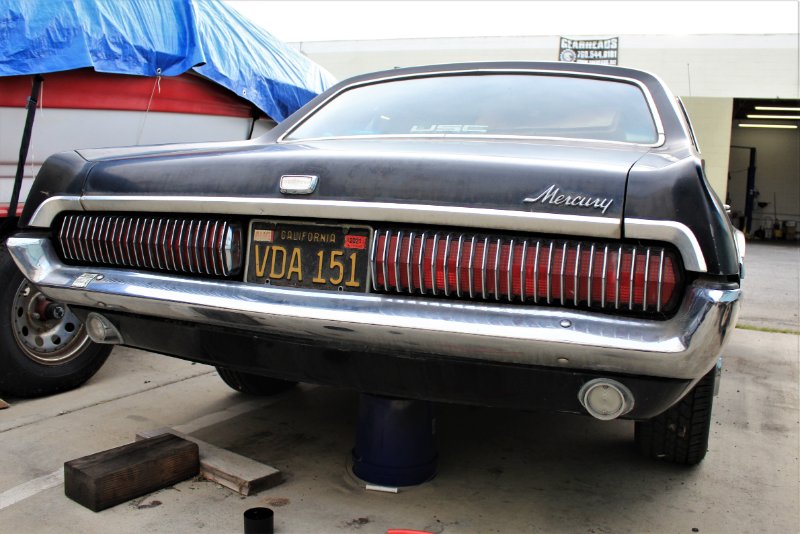
Thank you. She is pretty original as there are a few things that are not numbers matching. The block is out of a 65 for instance. Here is a link to the image’s by Iconic with the Marti report. I’ll be buying a deluxe report in the not too distant future. This site has a great amount of photo documentation of the car itself https://www.flickr.com/photos/184434142@N04/page1/
That looks like a great solid car to work with! Even the interior isn’t in too bad of shape! Best of luck on your project and have fun doing it!
Thanks for sharing with us - grabbed the pictures to add to the collection. Looks like it will be a good start for what ever direction you choose. Always interesting to see Dearborn cars with Thermactor systems before they went nation wide.
Also interesting to see the old fill in paint inspector inspected the individual painted parts also. Don’t see that often at Dearborn
Again thanks and good luck
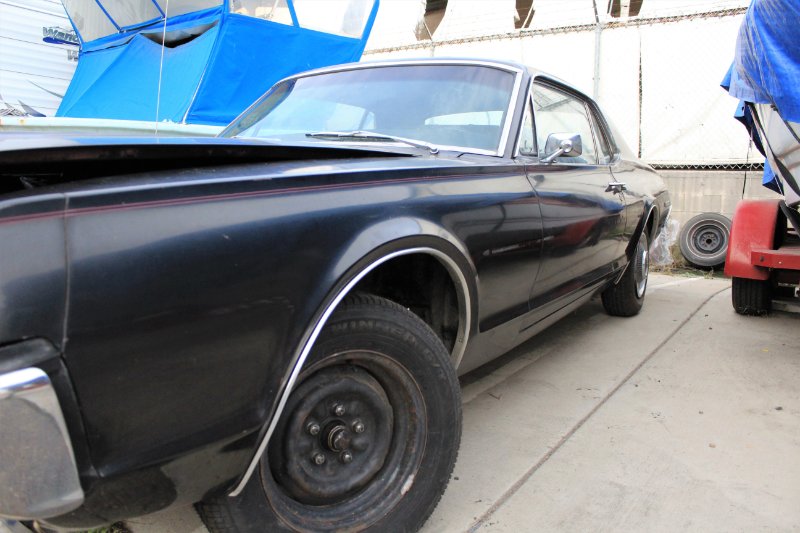
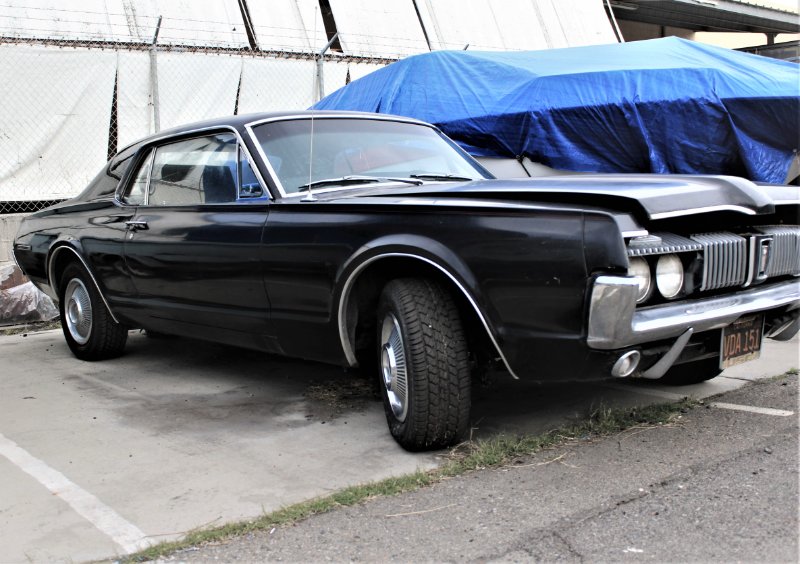
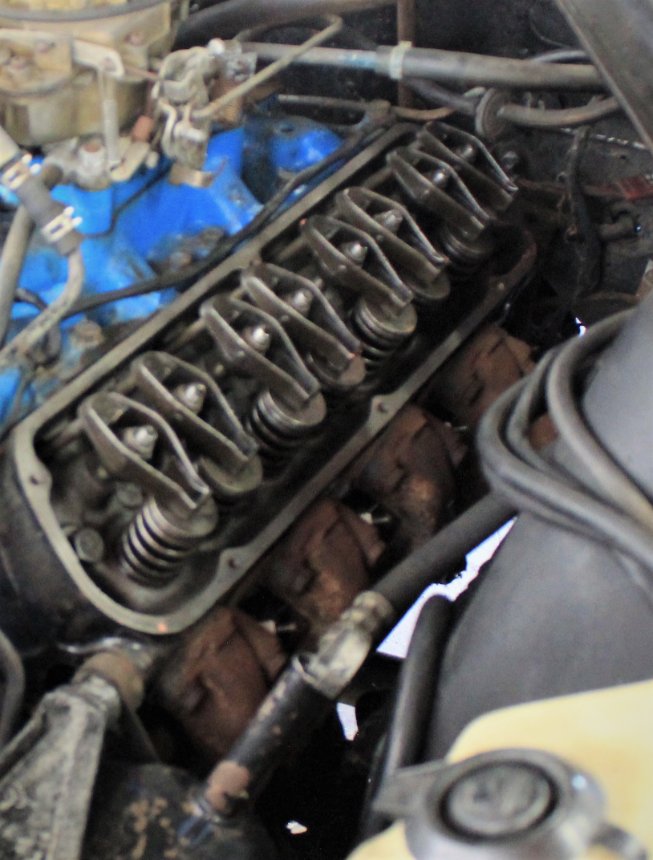
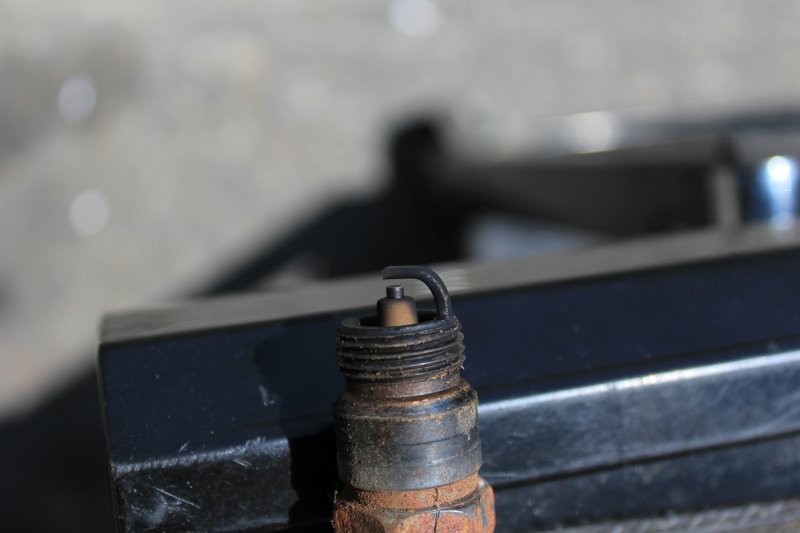
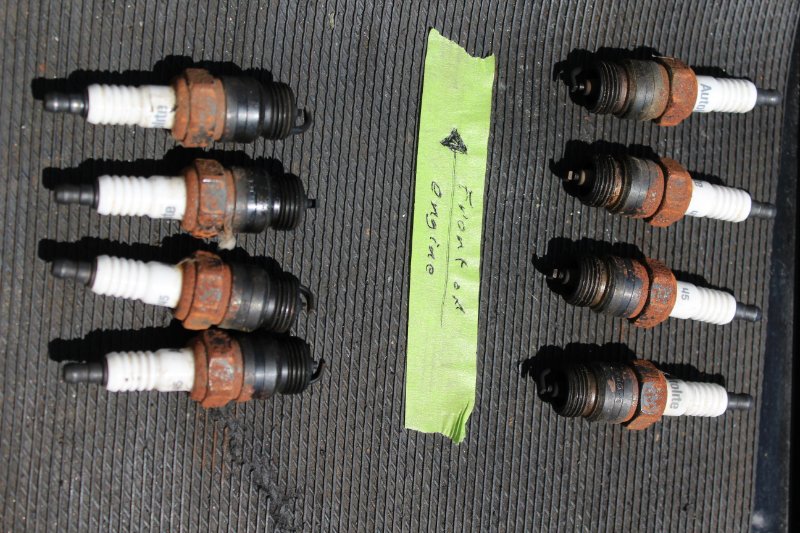
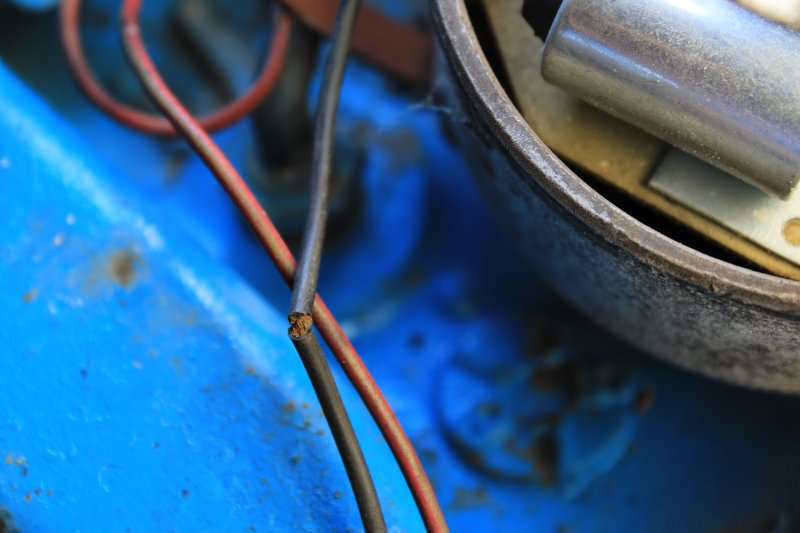
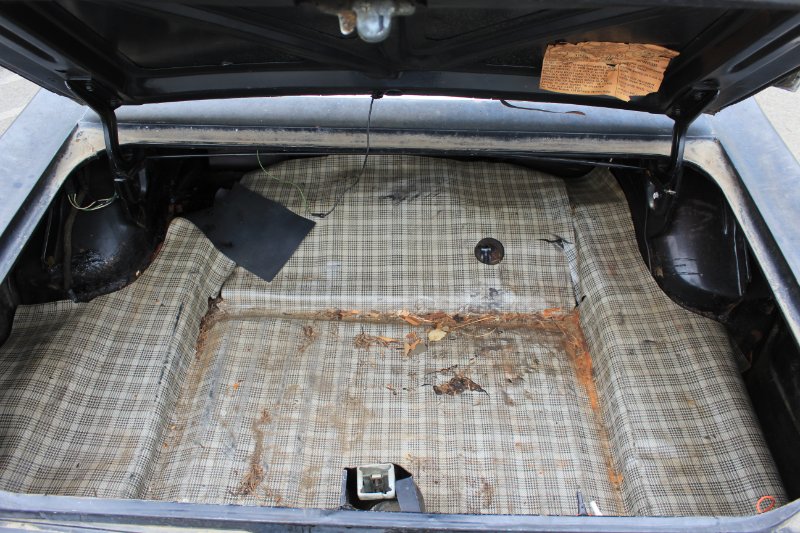
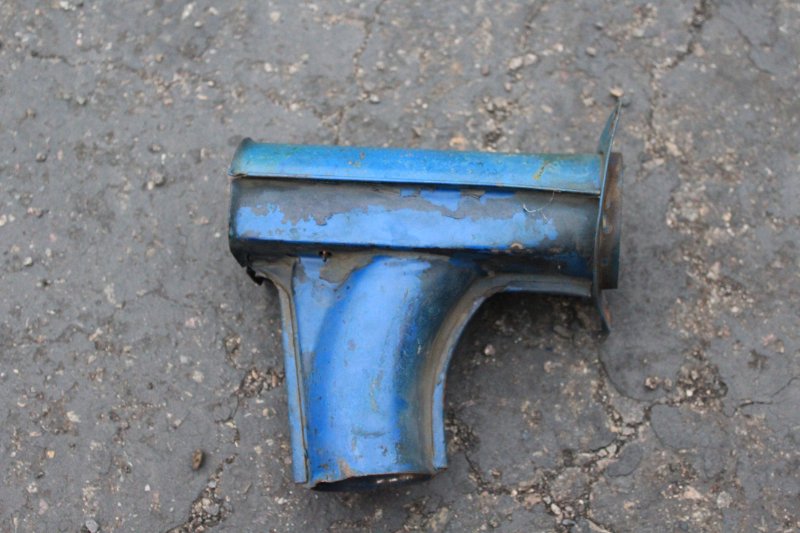
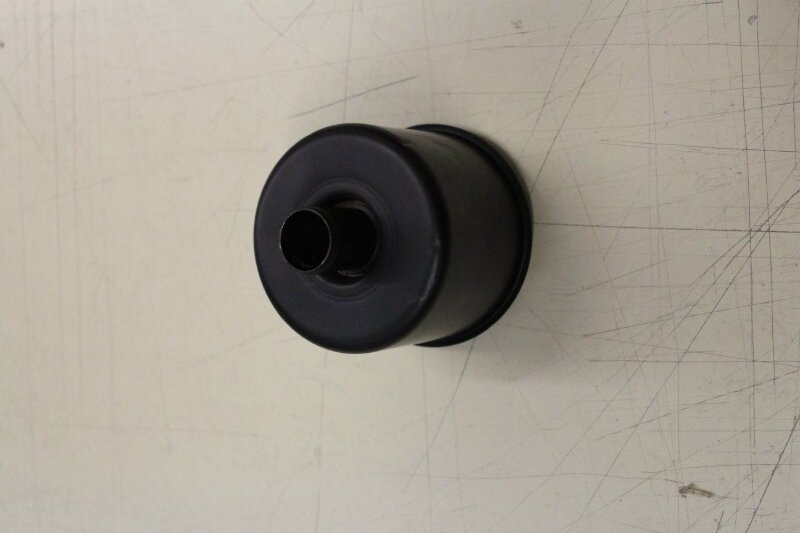
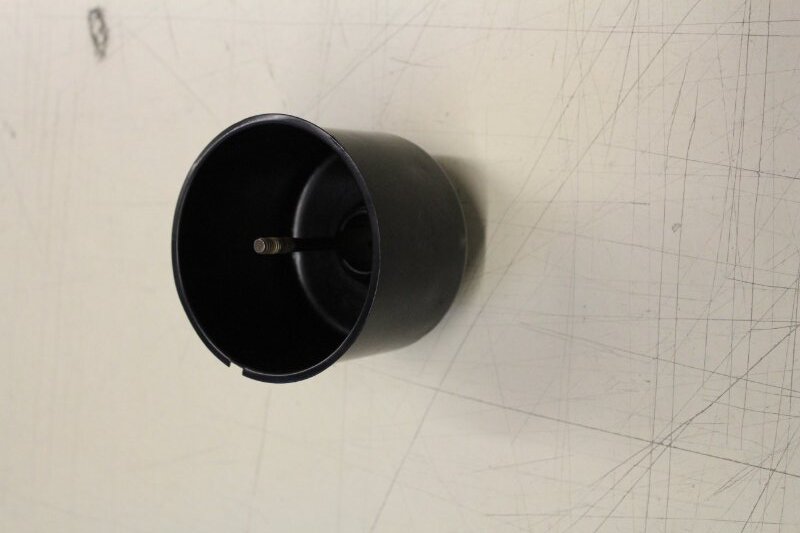
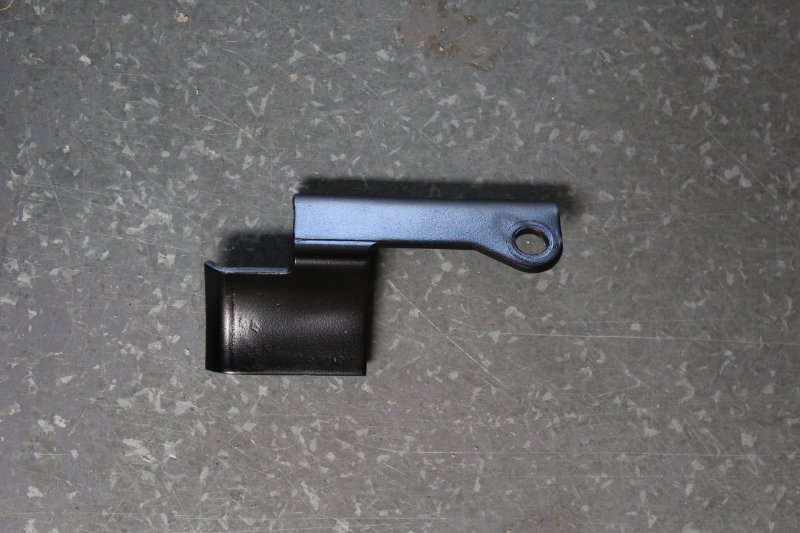
She is pretty straight with the exception of a few dings here and there. Rust is very minimal as well. The most prominent thing the car had were spider webs, lots and lots of spider webs. Sometimes their tenants would come out and say ‘hi’ or they’d move to another state. On the 1st day of working on the Cougar the primary objective was to get an assessment of where things were at. As she had been sitting so long the entire fuel fuel system was to be replaced, therefore a new tank and 5/16" inch line was placed on order along with a new fuel pump, hoses, strainer and filter. Both the tank along with the lines have been replaced with stainless steel since. The contents in the trunk were taken out, neatly arranged, photographed before being put back. There were a few pieces of NOS weather-stripping, some wiper refills and other miscellaneous rubber components of which I wasn’t too sure if I should keep or discard at the time. As for the engine, it is very tempting to want to see if it will start. A very, very stupid idea. Who knows what demons could be lurking under those valve covers? Instead, there is the next best thing… pull the spark plugs and arrange them in order. This will tell you a lot about how the engine previously ran and she ran…Well, you’ll see. Next the valve covers were removed to see if any of the valves were sticking. As the covers were removed there was a pleasant surprise. The valve train assembly and cylinder head were very well kept. Turning the engine by hand all the push rods, rockers, springs and lifters worked just as they should. We’re off to a fine start.

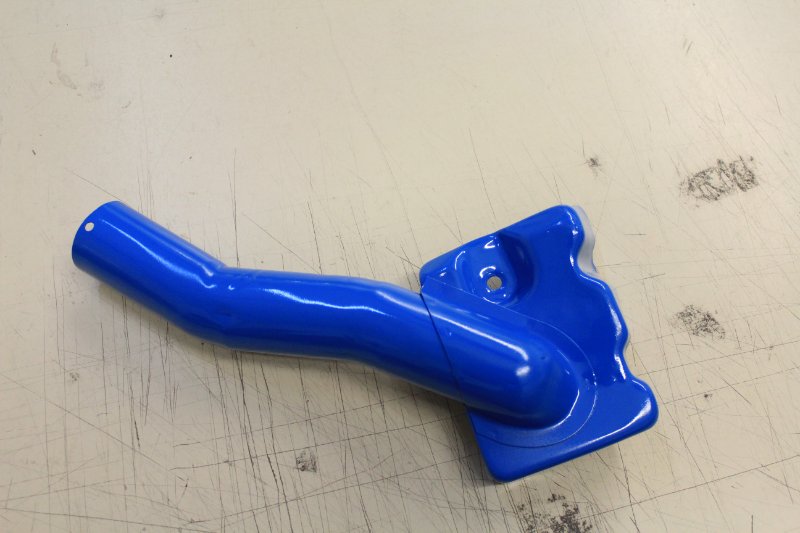
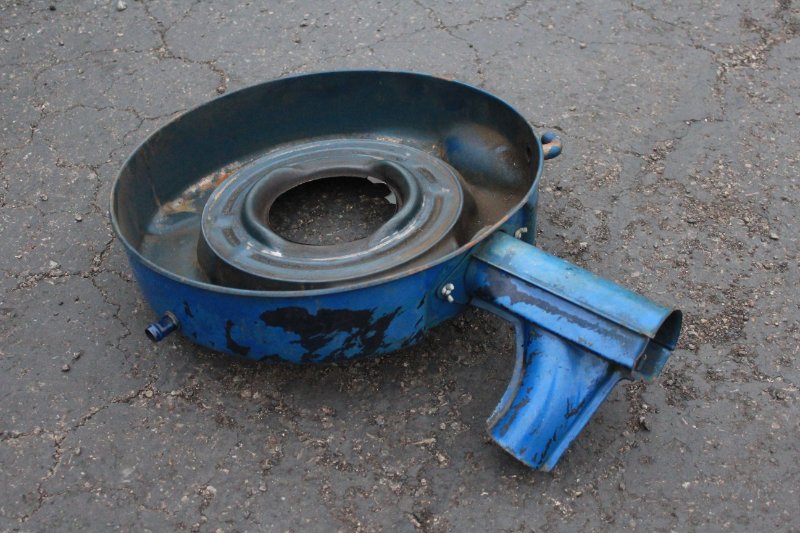
This was about 7 months ago that I began working on her. Yet the total amount of time due to other obligations has been actually less than 7 weeks. Someone did once advise to throw away the Thermactor system. ‘You don’t need that, get rid of it’. It has been restored and put back onto the car. That will be posted in a chronological order in addition to the rest of what I have been able to document thus far. The pictures submitted at the beginning of the thread are too the most recent having been taken that day. This is my 1st refurbishment and, therefore 1st restoration. With that in mind some errors and misjudgments have been made along the way. Thankfully, this is only minor in significance this far.
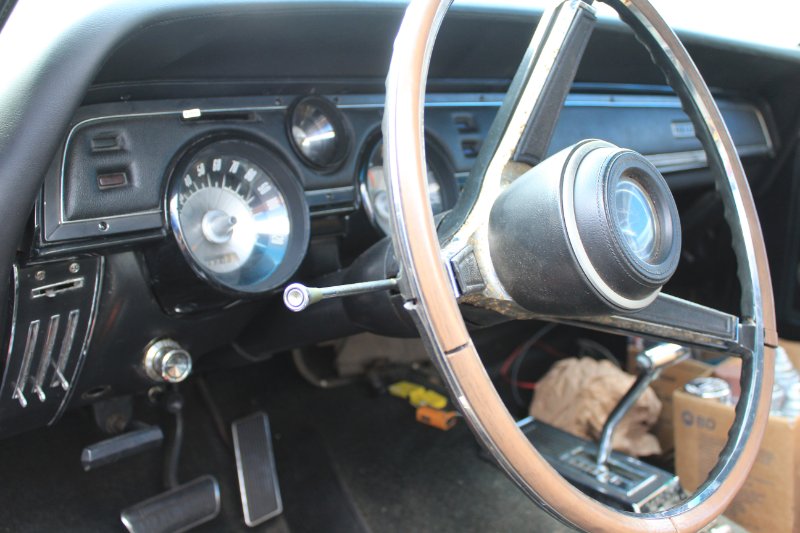
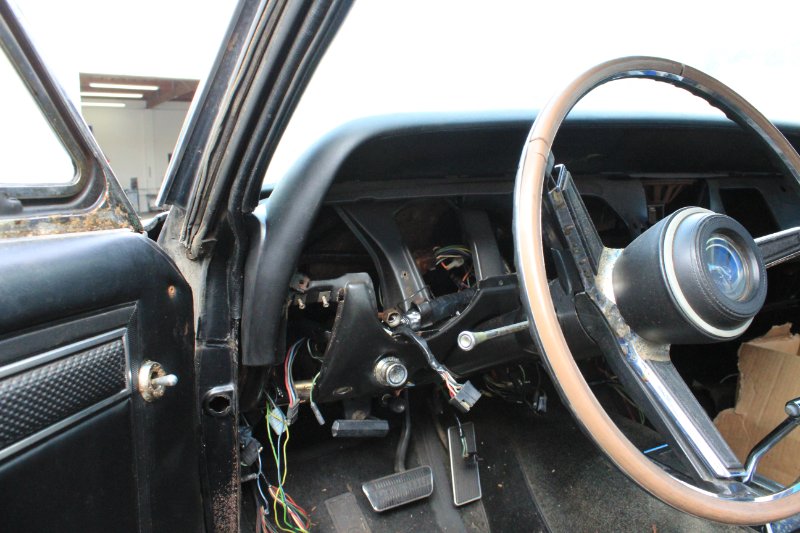
Prior to the new gas tank and related items arriving I purchased and installed a battery to test the lights, horn, indicators, etcetera. The starter turned the engine, the horn worked, there was nada from the signal lights although the headlights and reverse lamps did work along with the high beams. Is something burning?
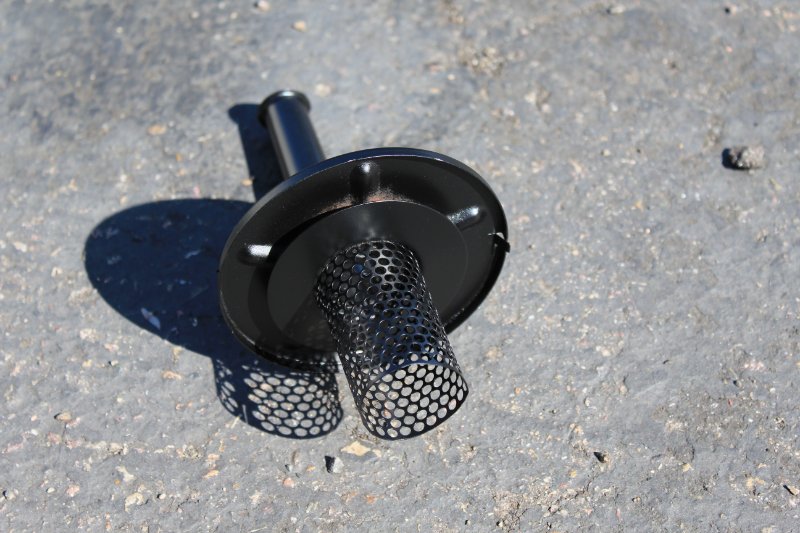
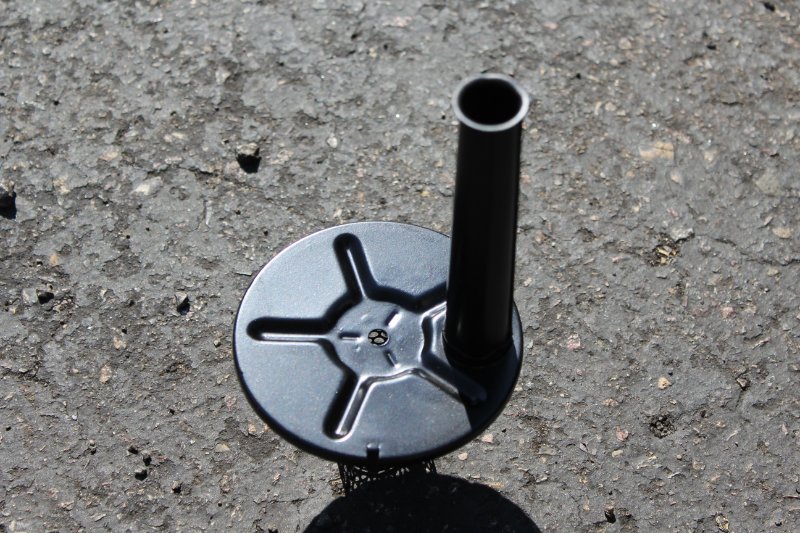
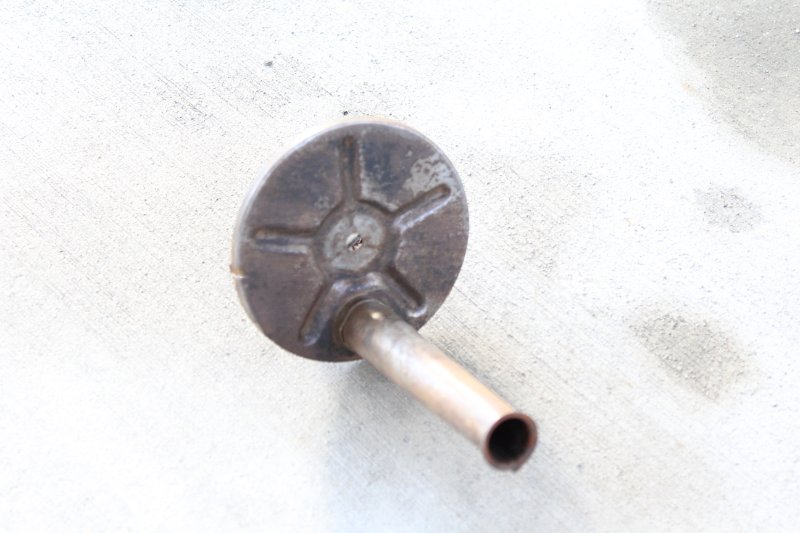
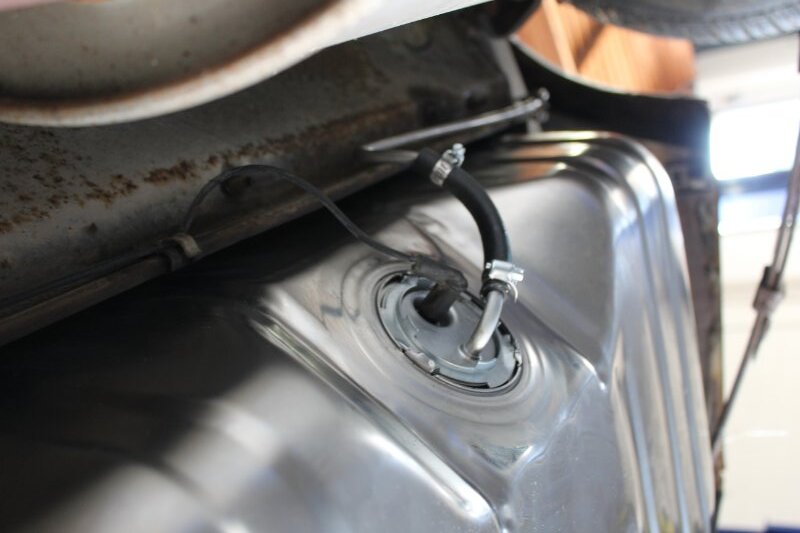
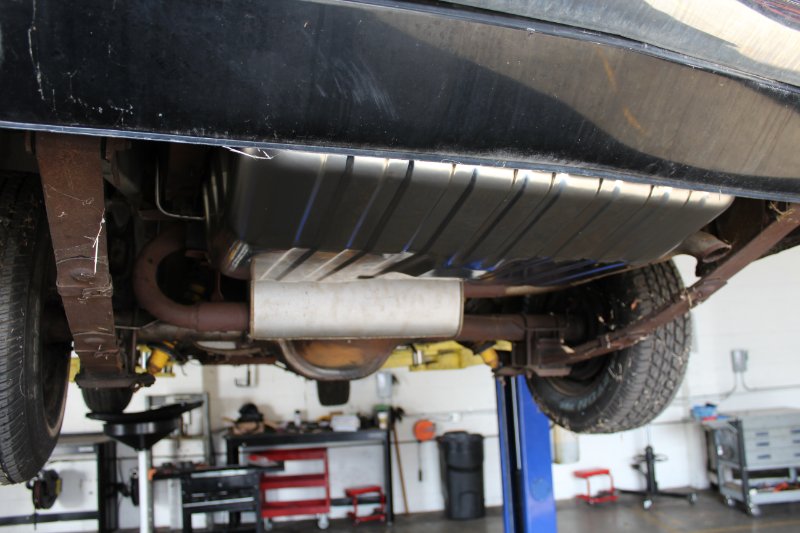
A faint smell was coming from beneath the dash. After the battery had been disconnected it was decided to pull the harness 14401 out and run a continuity test on each of the wires to see what issues are lurking there. That will be later. In the meantime as the new fuel tank had arrived earlier in the week. The old tank looked a little rough on the outside with some surface rust as is typical. Inside the tank was shocking. Having been expecting sediment and other contaminants having collected on the bottom after having drained the 5 gallons of fuel into an appropriate container along with removing the sending unit I looked into the tank, it was absolutely clean. The sending unit is another story as it is clogged, gummed up and rusty. Since it was nearing the conclusion of the day I decided to put the new tank in along with the new lines next week. In the meantime I’ll take a few parts off the car and restore them over the week.

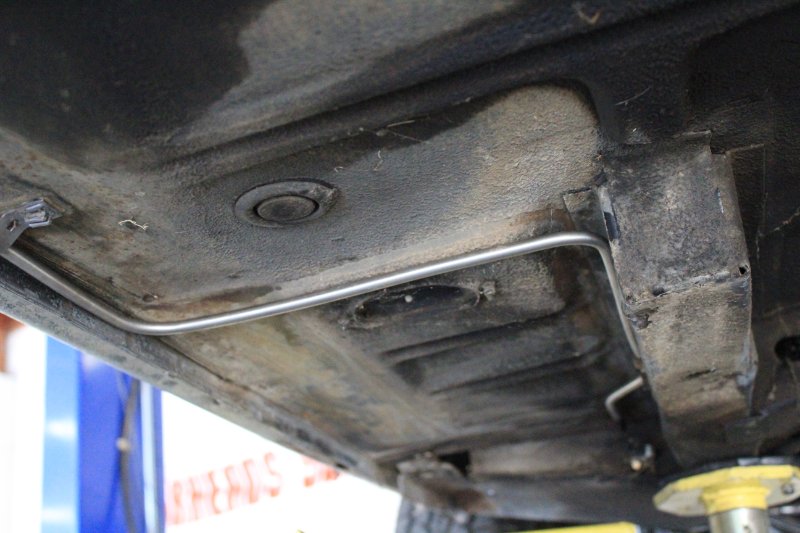
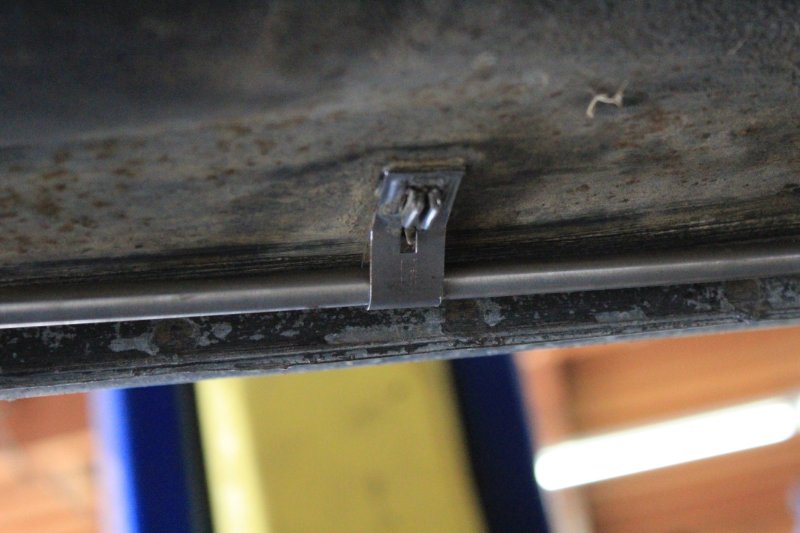
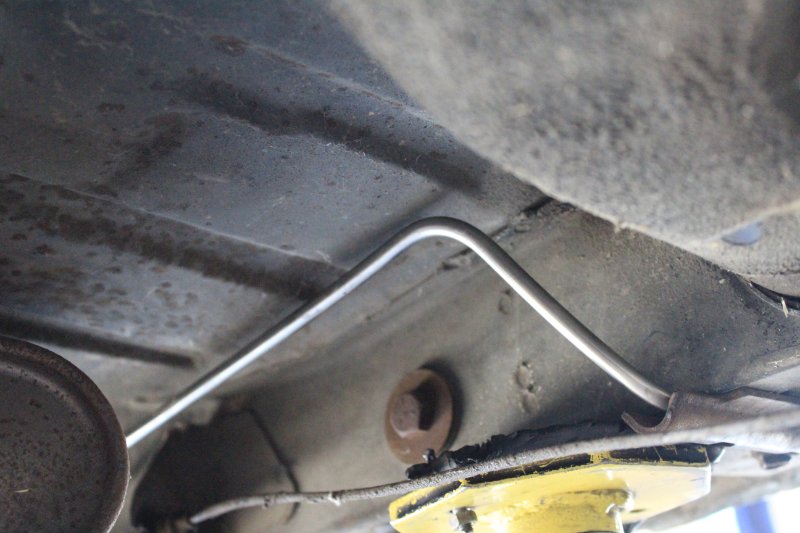
The new tank is installed with the 5/16" stainless lines of a 20’ roll from Summit racing. As placing the flanges into these turned out to be impossible when it came time to install the fuel pump all other bent lines, primarily for the brakes, were ordered prefabricated from WCCC. The sending unit had been cleaned up, bench tested and was ready to go. Before the forward section of fuel line had been placed going from the torque box to the fender apron the frame rail had been cleaned up and refinished. It was painted a satin black. Not the correct color as it should be a really dark charcoal primer. A good way I learned to clean these areas if they are not too bad is a terrycloth towel and hand cleaner such as Gojo or Fast Orange.
your motor appears to be in good shape. Dont be afraid to fire her up! I did something very similar with mine after previous owner let it sit for 20years. New fluids, plugs, carb rebuild, new fuel system , spun the motor by hand and hit the key! Purred back to life no problem!
Best of luck getting her back on the road, your well on your way to making that happen
The motor is very sound. As this is my first go at reviving a car that has been sitting for quite a while I believe it most prudent to be cautious. Thus far she has new plugs, carburetor had been rebuilt and the oil system primed. First time trying to start her up the carburetor caught fire.
Oops.
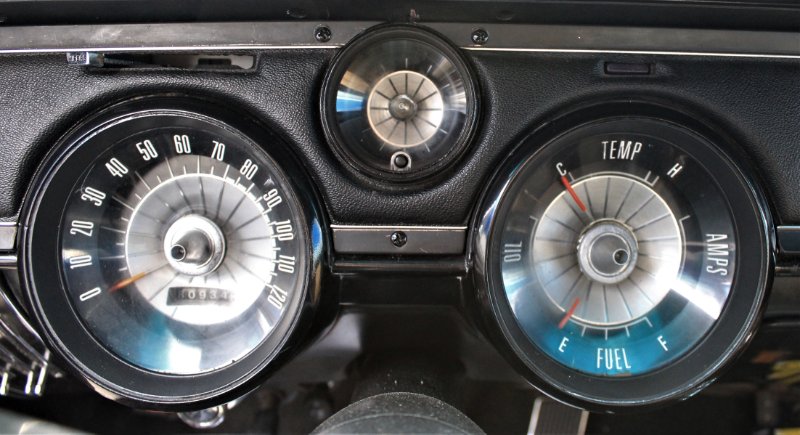
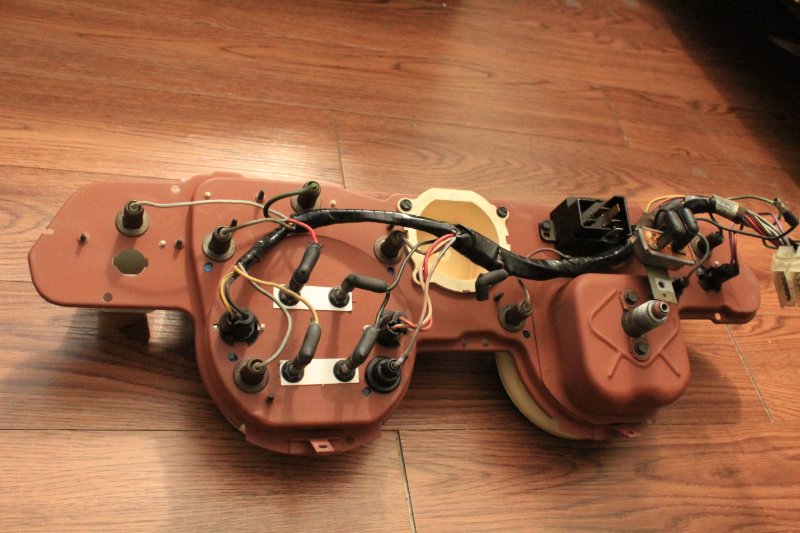
There was no damage done as it had been the ring gasket that goes between the carb and air cleaner housing. While this was burning I had been wishing I brought marshmallows. Eventually got the car running, not yet tuned. That was 3 months ago now and in early December I did make sure to add a fuel stabilizer. In the interim the focus turned to the rear suspension and working forward. The gauge cluster and some under hood components had been removed to be refurbished and a replacement harness from WCCC was being prepped for installation under the dash.

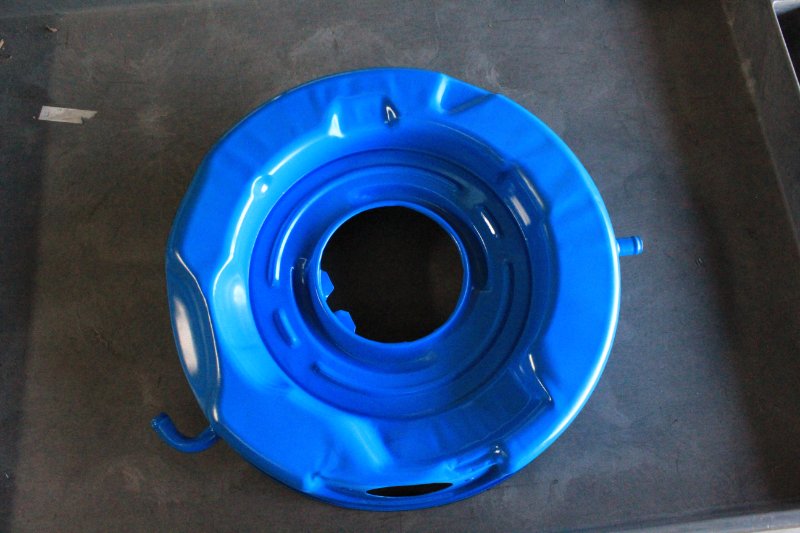
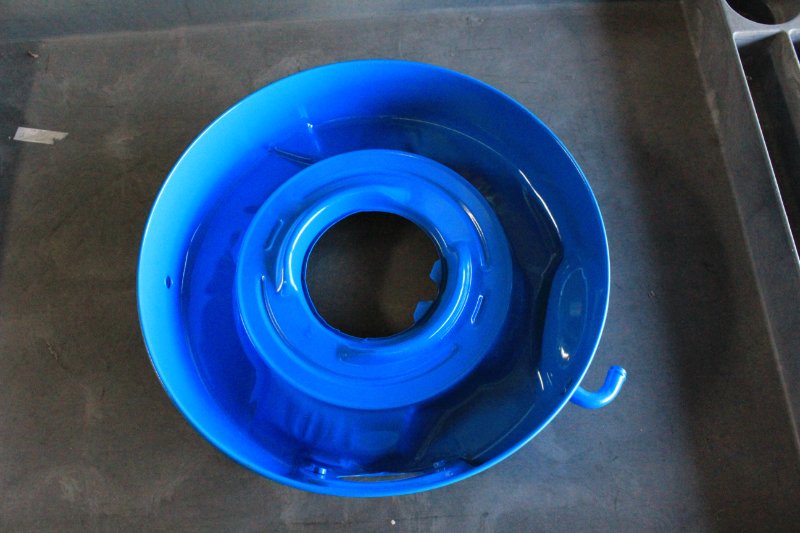
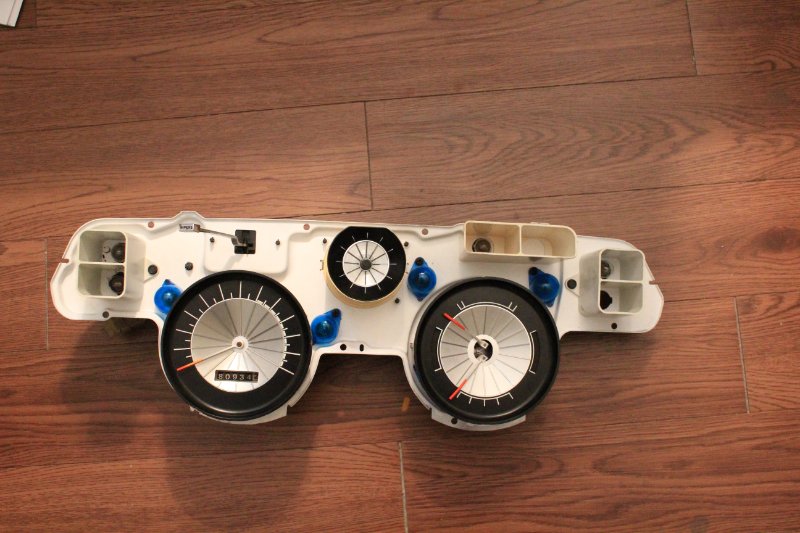
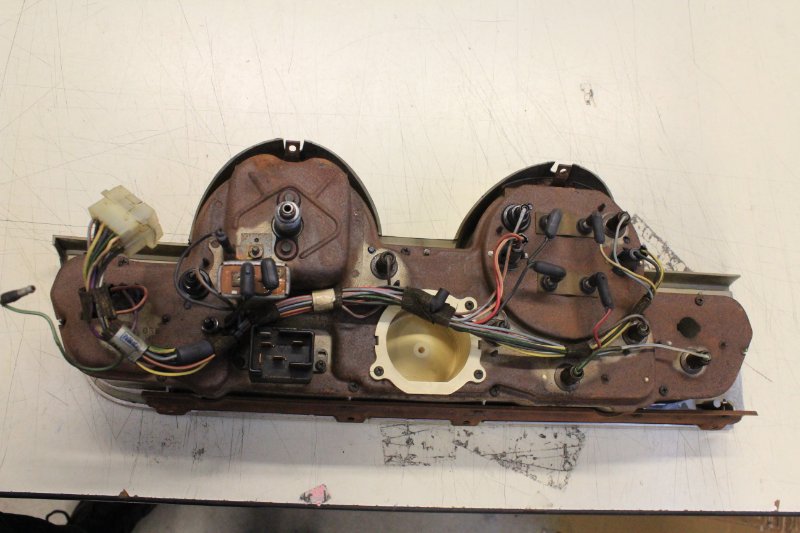
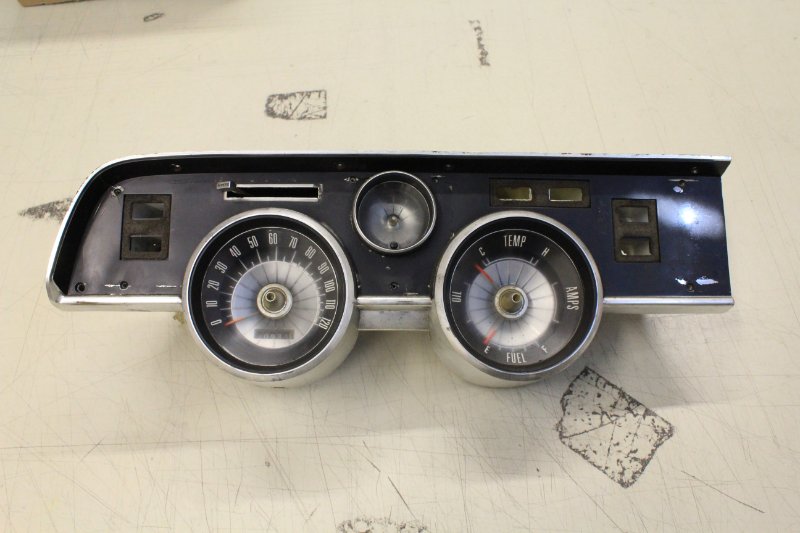
The dash pad had been just put in after having arrived mid week. After taking the instrument cluster apart, the backing had a significant amount of surface rust. This presented 2 options currently available and have been the only 2 thus far. It may be a good idea to invest in a media blasting cabinet in the future. As for the options they are the usual sanding, to which in this case with the sharp edges means a high potential of iron oxide poisoning, or to do this chemically. The latter seemed more practical. Then there was the issue of hazardous waste disposal with all the ‘rust removers’ available on the market. Did not want to deal with that. Instead of harmful compounds straight cleaning vinegar was used. Vinegar is affordable, readily available, environmentally friendly and does wonders in the removal of rust and paint. Just agitate the surface with a wire brush every few hours and you’ll have a clean part in a days’ time. Far as the chrome around the bezels go it was beyond my time and budget. As an alternative these were painted gloss black instead.
I’m really enjoying this thread. Keep up the good work.
Thank you, Steve. It has been quite the learning experience thus far.
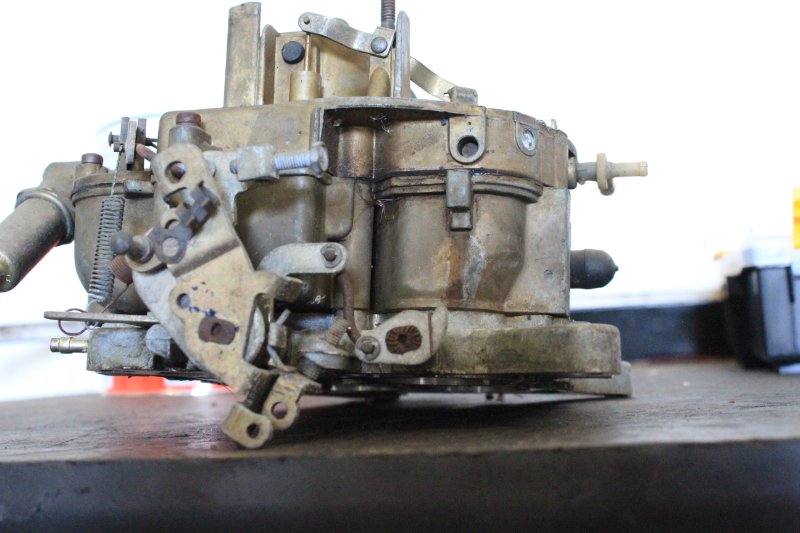
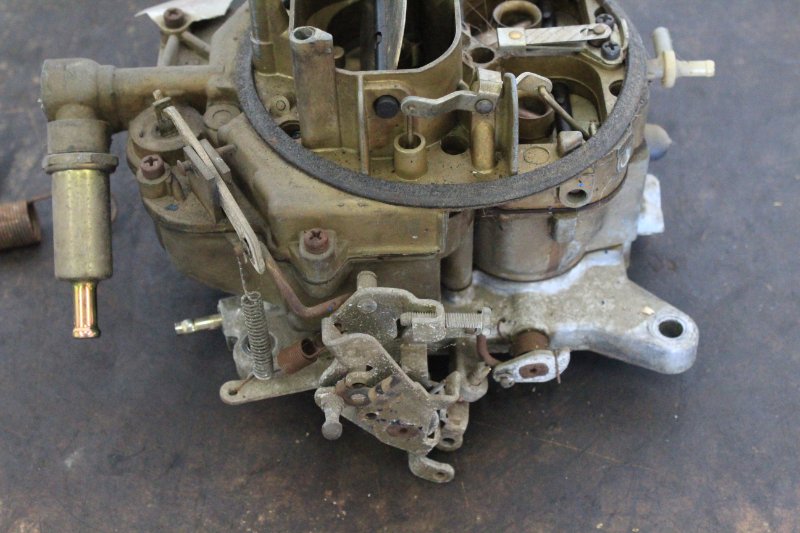
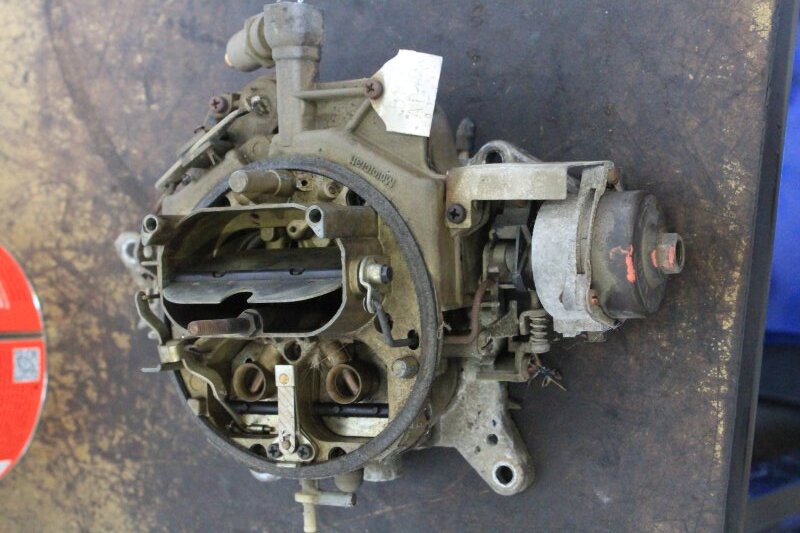
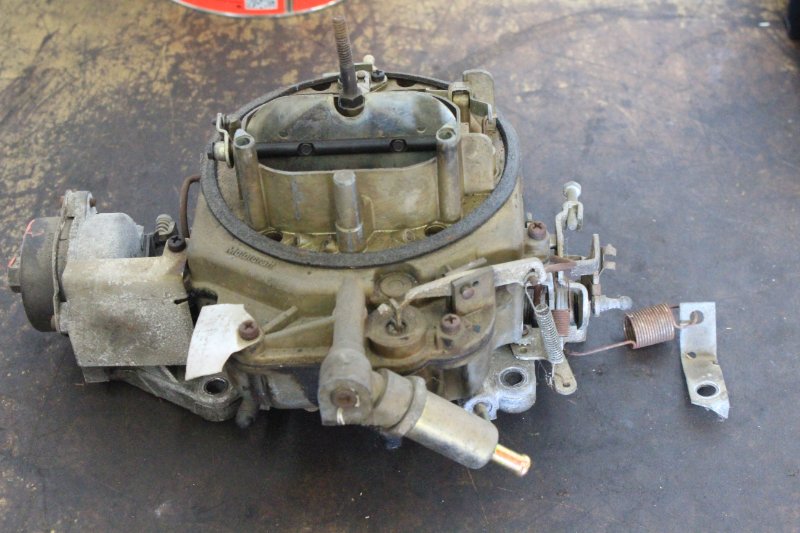
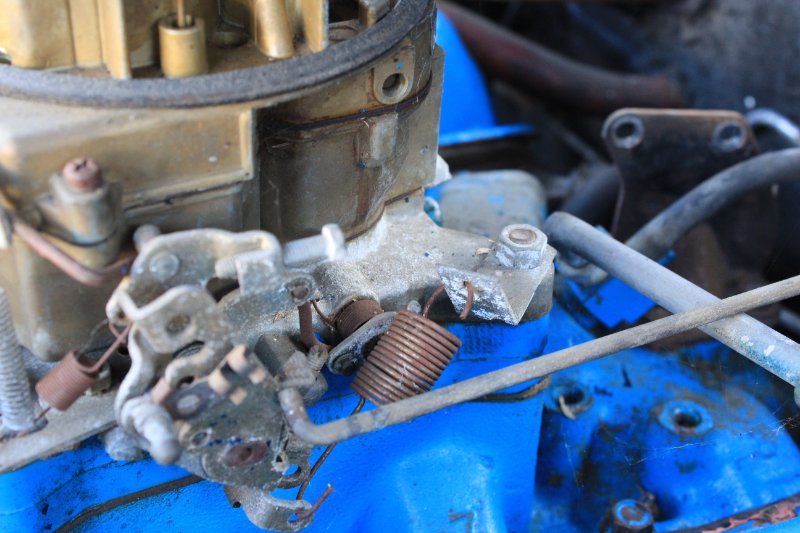
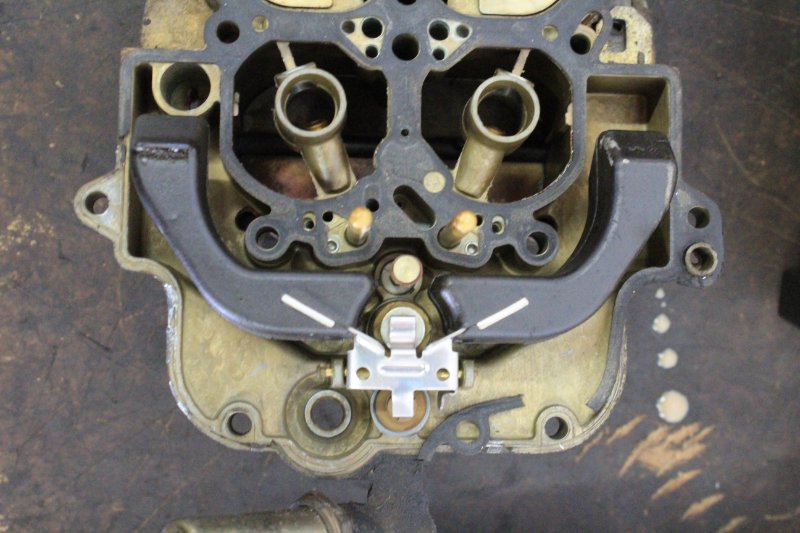
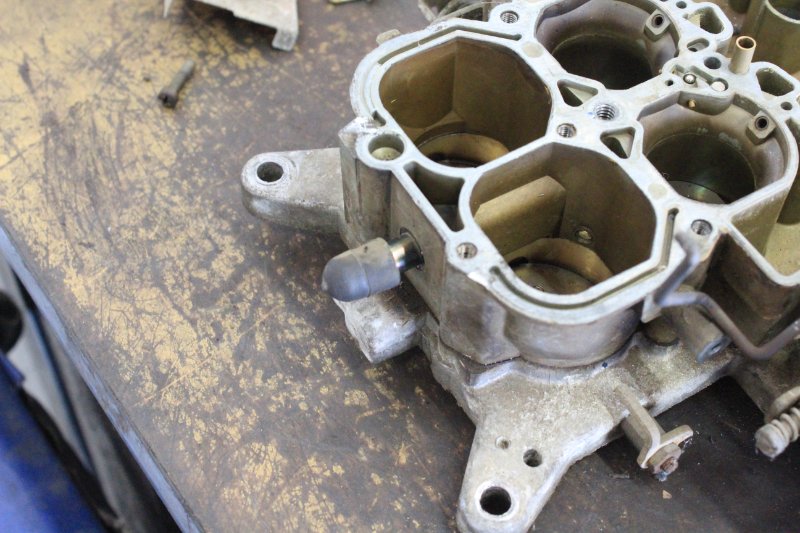
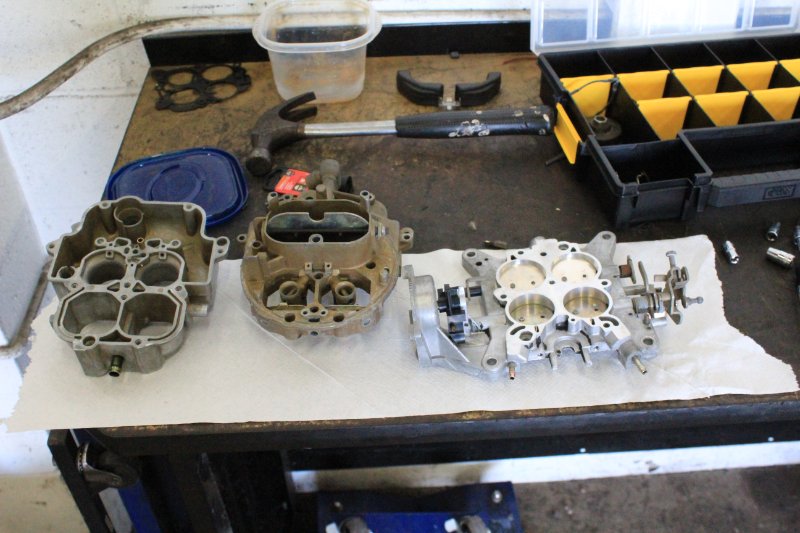
Having had run the majority of the new fuel system there had been some things still on the docket… and still are. For one, I may need to acquire some smaller jets as the last she ran there had been evidence of being too rich. Those adjustments will come, eventually. For this it is the installation of the fuel pump, bending the line going from the pump to the carburetor and my 1st time rebuilding a 4 barrel Motorcraft 4300 -or any 4 barrel for that matter- all of this taking about 3 to 4 weeks due to some hinderances of which had been encountered. The primary object of this delay had really to do with the stainless line as it was impossible to put a flare on it. After having tried a few flaring tools to no avail I decided to take the line over to ‘Hot-Rods and Custom Stuff’ over in Escondido. The hydraulic flaring machine had absolutely zero influence on this line with the exception of some clamp impressions. It was off to find an alternative means of which to plumb the system, the simpler the better. Inevitably, I installed a 5/16" brass fitting into the outlet side of the pump with the nipple of that and the line being connected with a 4" long piece of rubber fuel hose held securely with a few clamps. Didn’t do much photography there. I did do some in order to document the carburetor in order to help with reassembly.


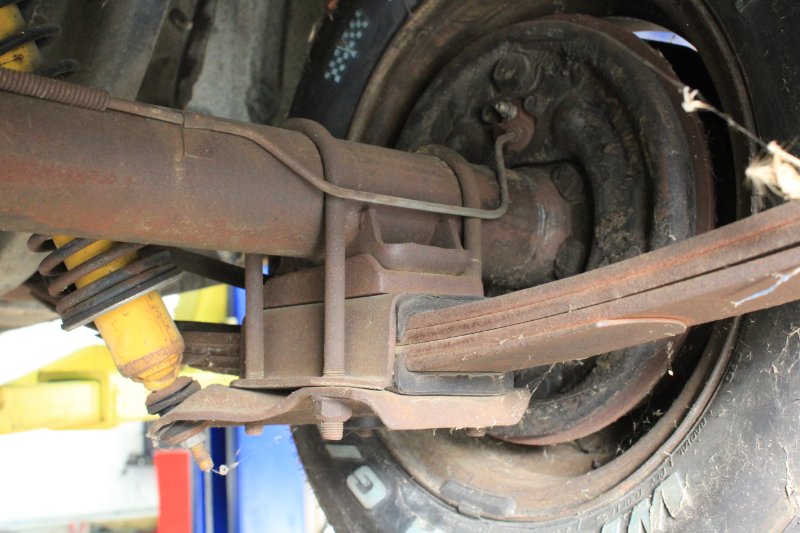
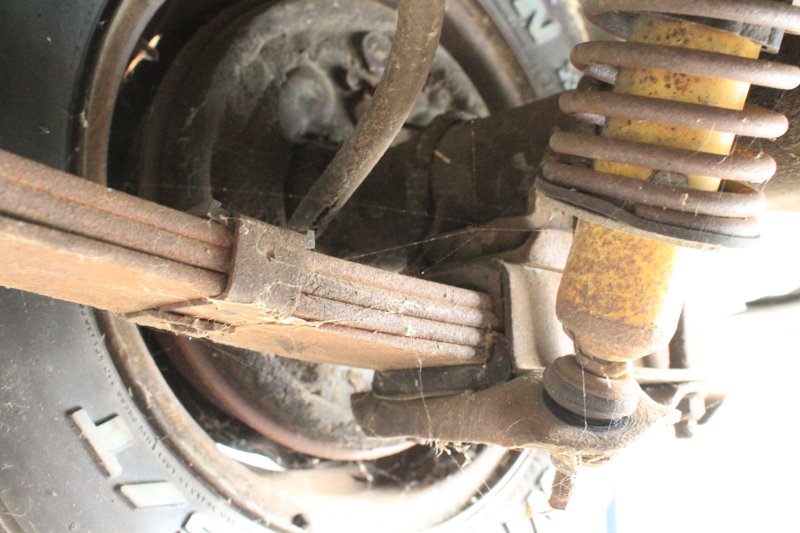
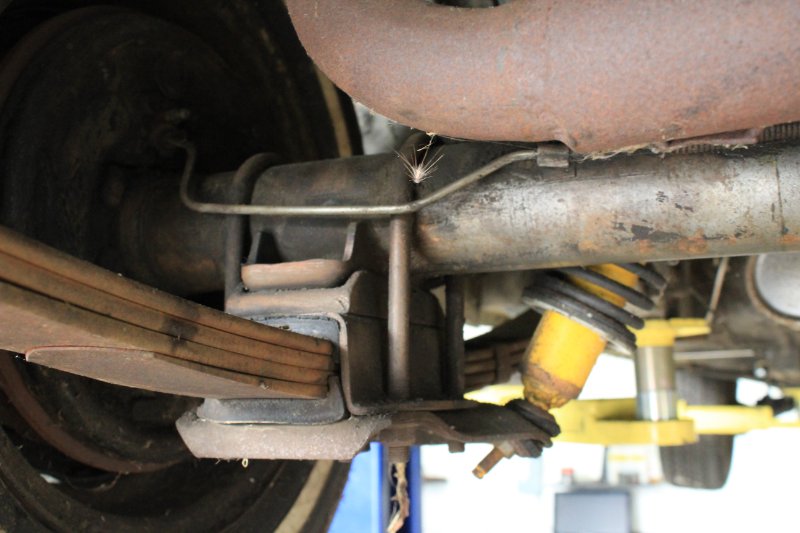
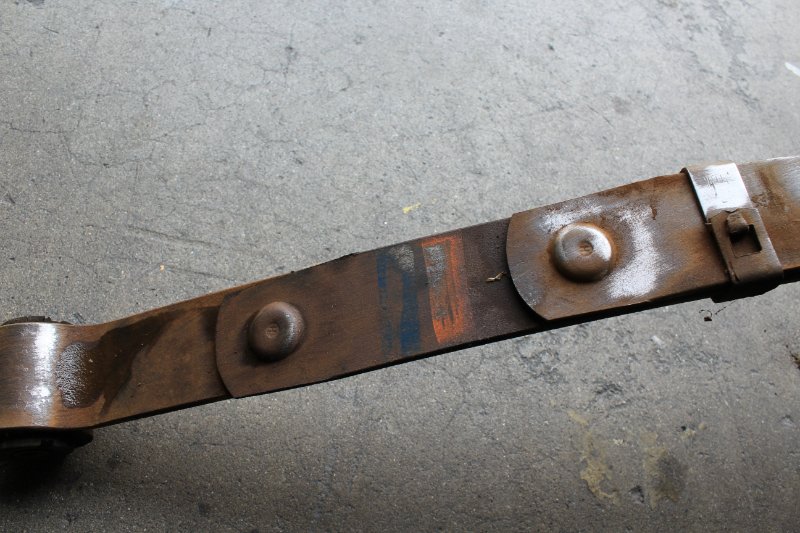
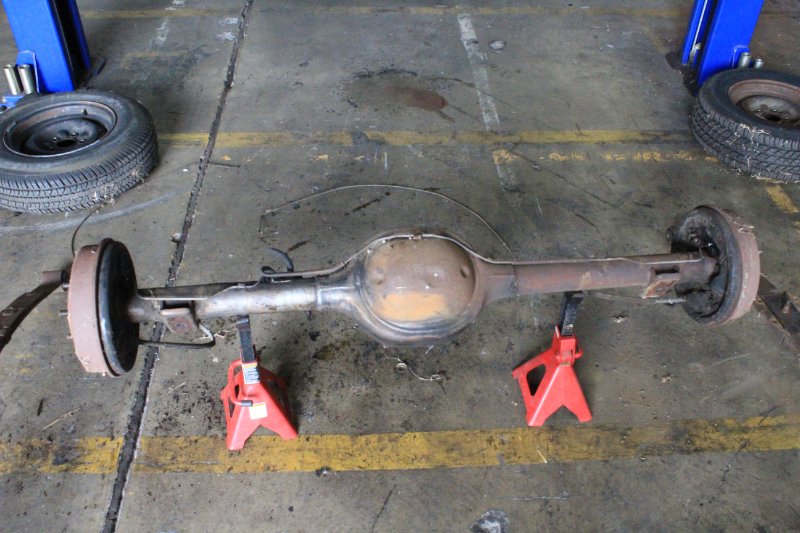
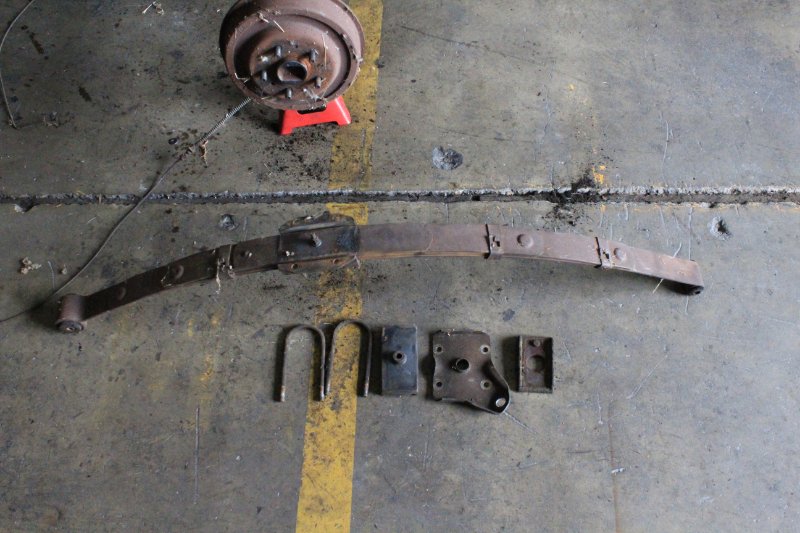
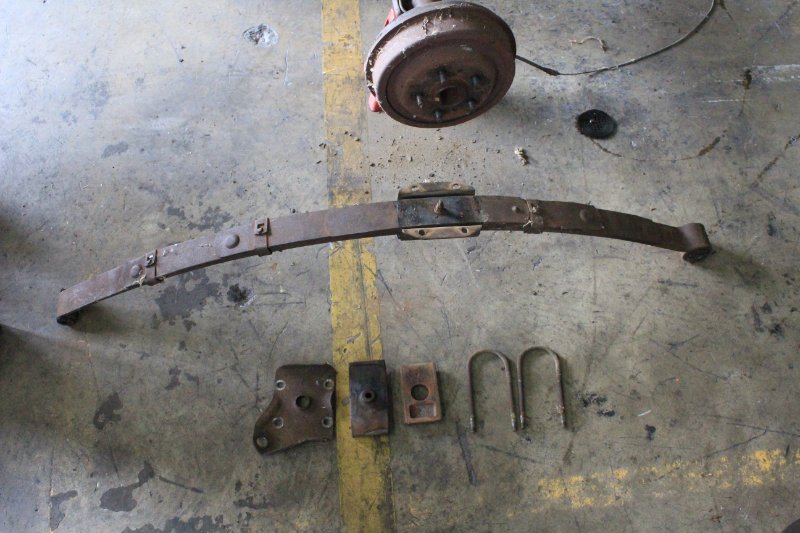
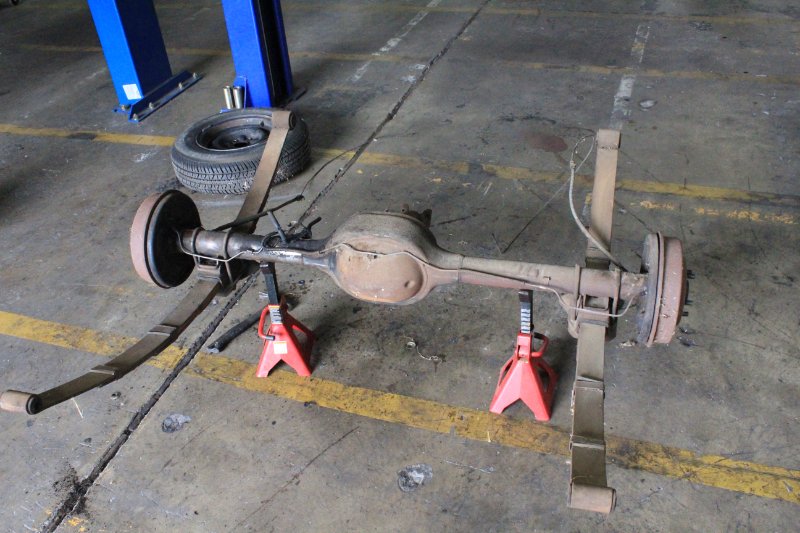
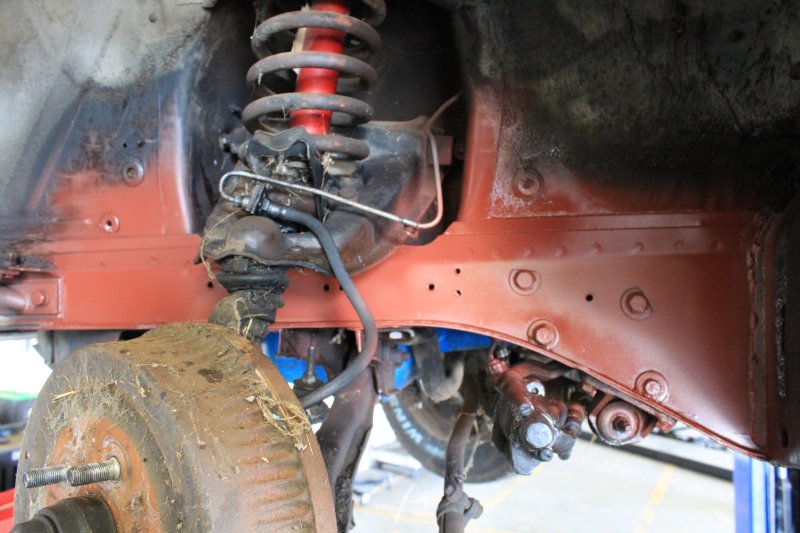
This next set is going to be that of the rear suspension assembly. A few shots before disassembly. In the very bottom photograph the rear axle has already begun with being cleaned. Some Simple Green and a Scotch-Brite pad do a pretty decent job.