Having the manual as a visual reference is a great help. Also too is doing one side at a time. One means to remember is to think of if you’re going to run a staggard tire fitment the larger tire goes on the rear, as does the larger brake shoe. At least that’s the way I remember it.
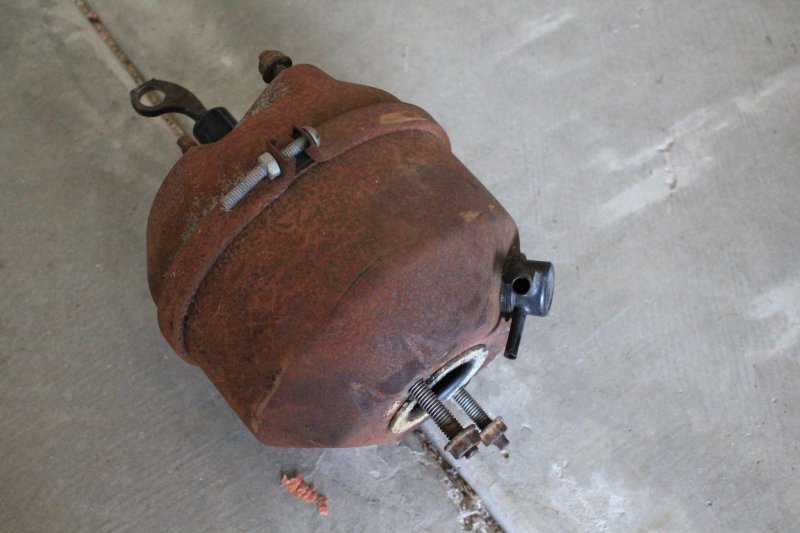
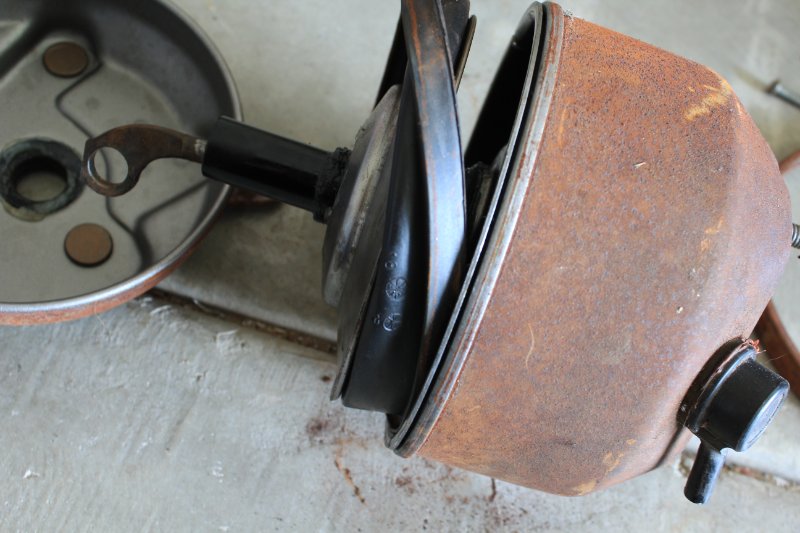
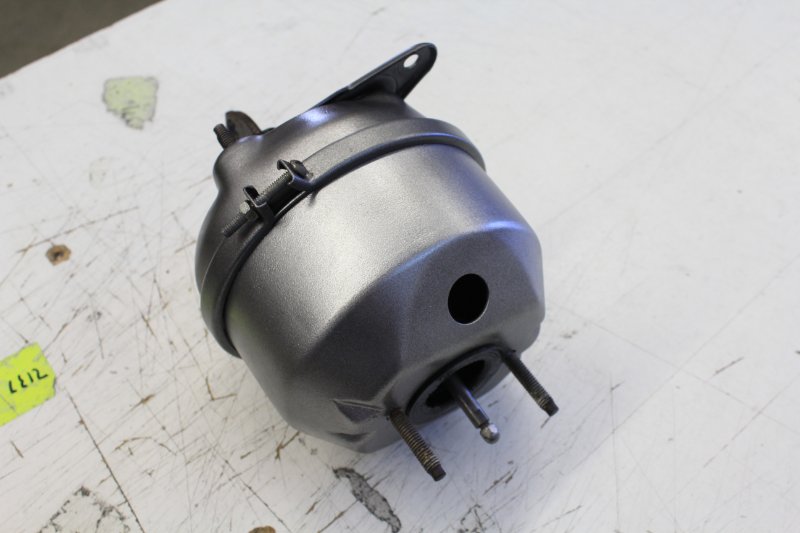
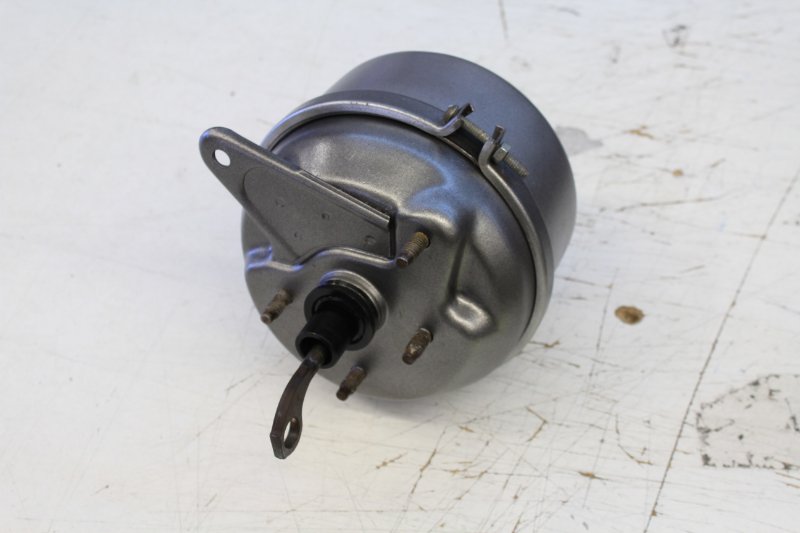
Aside from a few minor pieces the Midland power booster was dismantled, cleaned, refinished and assembled. All the rubber internal components were too in very nice shape and needed just some minor cleaning. One issue that I do have to contend with is the proportioning valve for the brakes. I bought a rebuild kit from WCCC, but in order to rebuild it I need to get the centralizing cylinder out and it is way to the back of the valve body. One method that is being considered is to use a spare wheel cylinder, a short section of brake line, a wood block and a C clamp to apply hydraulic pressure and gradually force the cylinder out through the front of the valve body. Any other suggestions would be appreciated. Getting the brakes done and a new set of tires are the final steps before she is actually drivable. Still there is a long way to go.

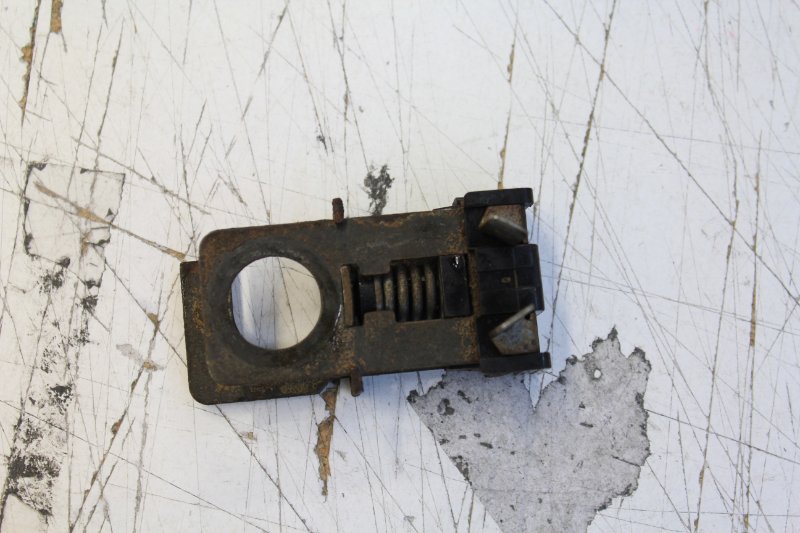
The BLS was dismantled and the rust was removed chemically with a phosphoric acid based gel before being cleaned and reassembled. Out of curiosity I found it takes 25 pounds of pressure to activate the switch without any mechanical advantage.
Restored brake light switch. The phosphoric acid removes the oxygen from the iron resulting in the greyish-black finish that is iron phosphate. This renders the metal inert and acts as a protective coating.

Managed to free the centralizing valve from the brake distribution block. Tools used: Bic pen, fine tip dry erase marker, Vasoline and a hammer.
a few notes:
The rear brake backing plates can be welded where the shoes grooved them.
A dent puller can be used to pull axles. Just unscrew the tip, put puller rod thru hole in axle & install a large washer, screw tip back on & use slide part to pull out axle.
I second the 68 front end conversion. No one makes the bushings that I know of.
The new drums on the front most likely will have turning rings in them. One side will try to “unscrew” the shoes, causing a clicking noise when braking. This will go away after awhile. If you want, take it too machine shop & have them turn if slowly to remove grooves (kinda like a record on a player)
Nice write up- Keep up the great work!!
Hey Pirate where are you “docked” these days?
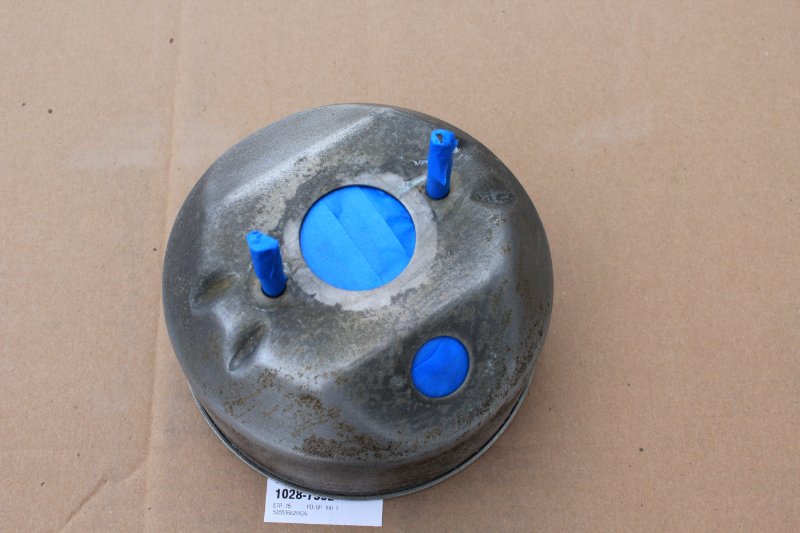
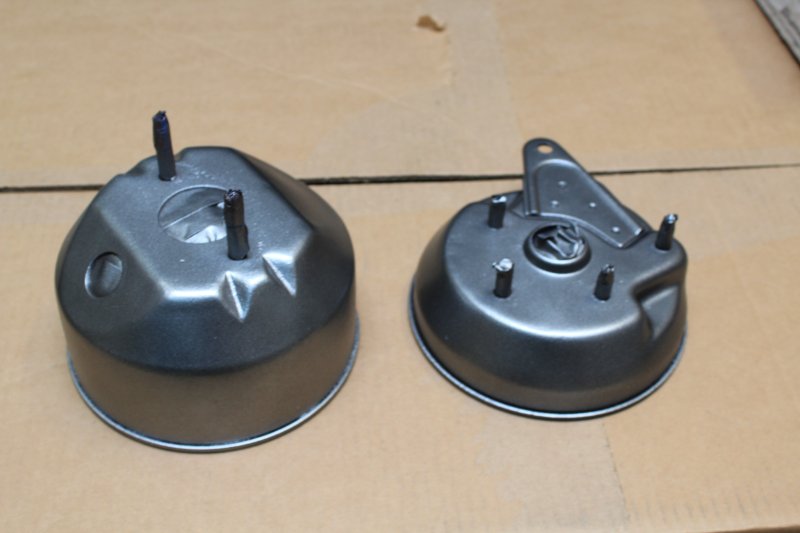
Thank you as this is actually my 1st refurbishment/restoration. Albeit, a sympathetic one. So much of the car is original that it is important to try and preserve it as much as feasible. The passenger side backing plate wasn’t too bad only needing a good sanding and refinish before having the new components installed. The driver side was a different story. For that a replacement plate was ordered from WCCC. Being a salvage yard component, the new/old plate was cleaned up and refinished. As for the original baking plate, that has been cleaned up and stored away. The front brakes were completely taken off the car and restored off site. There are some before-after picks of one that was posted earlier in the thread.
For the extraction of the axle I was thinking of getting a dedicated axle puller that adapts to a slide hammer in order keep the kinetic force centralized in order to not risk any damage to the bearings. The slight offset by use of that access hole in the axle will not be of too much concern I take it. Thank for the heads up about the brakes and the ‘clicking’ noise. It will be helpful in diagnosing any errors I may have made for which I made plenty of. Fortunately, they are mostly logistical and not mechanical.
Found the bushings to the 67’ strut rods as NAPA auto parts does carry them were I live. As of now the 68’ set up is installed. But, the original lower control arms and strut rods are restored, ready for reinstallation if need be.
Were am I docked? As of current it is doing the wood trim and panel restoration of a 1905 steel hulled steam yacht named ‘Medea’ at the San Diego Maritime Museum. Medea is the only surviving steamer to have served in both WWI and WWII.
I thought I had ordered brake lines for 4 wheel drums with power assist, instead I have the set for manual brakes. The fittings work. Hopefully I can manipulate the lines to the appropriate geometry. One thing I do not want to do is accidently crimp the lines and I have been pretty fortunate with straightening them out. I also do not want to have to cut the lines as I do not know how many tons of pressure it takes to put a double flare onto stainless.
Some update photographs. Have gotten the brakes pretty much done with the exception of bleeding them. For that the plan is to do a gravity bleed. A little hiccup on which I ran into was a size discrepancy between the proportioning valve and the rear line as the fitting was 1/16 too small. A remedy for this was an adapter provided by Inline Tube part no. AD10 if anyone else encounters the same issue. All brake lines with the exception of the lines from the master cylinder to the proportioning valve are stainless, the other are galvanized steel.


