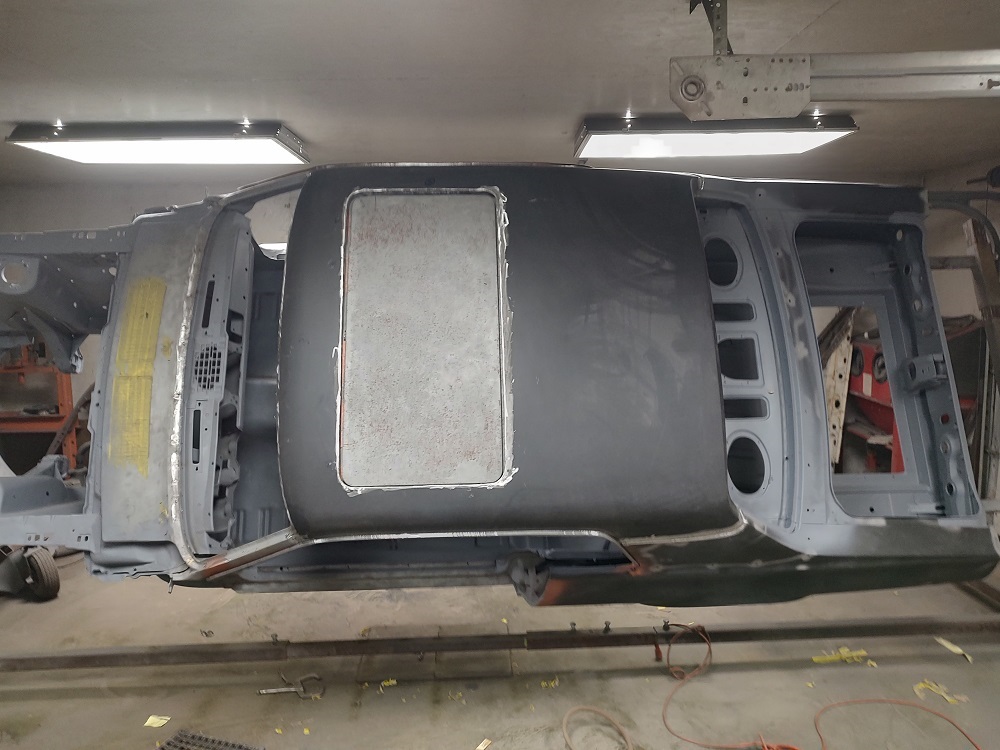
UPDATE 7/8/2024: I made a jig that would help me form the sunroof opening in my new roof skin. The idea is, is that I formed some flat stock steel to the roof opening and welded some bracing to it so that it remains conformed to the roof curvature. When the new skin is installed, the jig is clamped in place and the sunroof opening is cut and flared down using the jig as a form. Not sure if it is going to work, but I have high hopes…
UPDATE: 9/25/2025
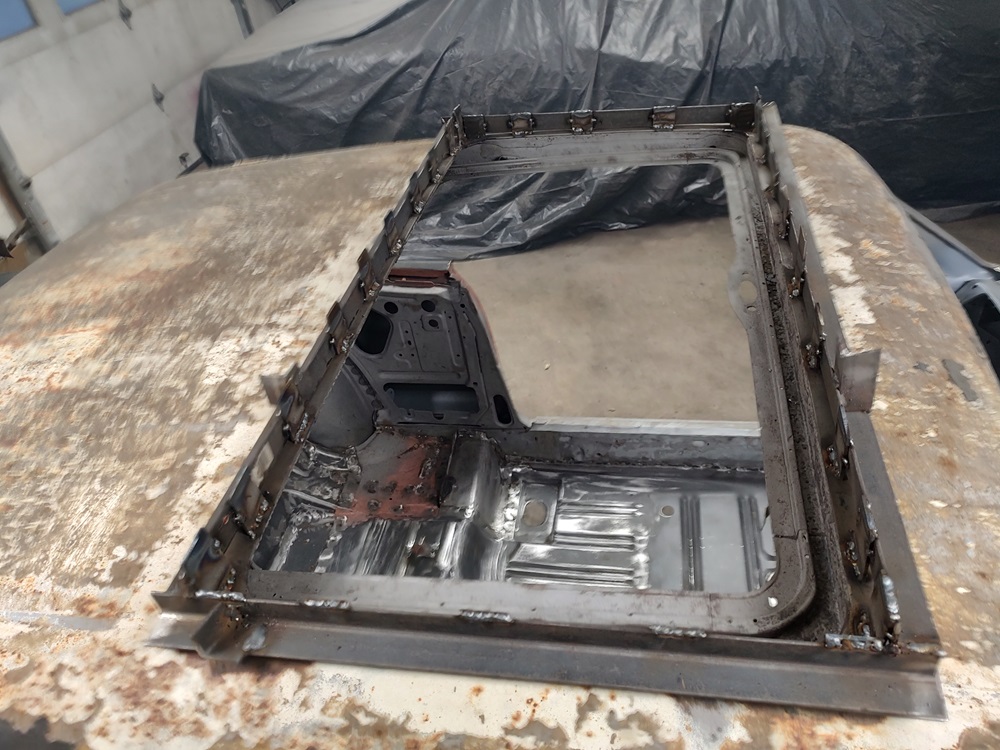
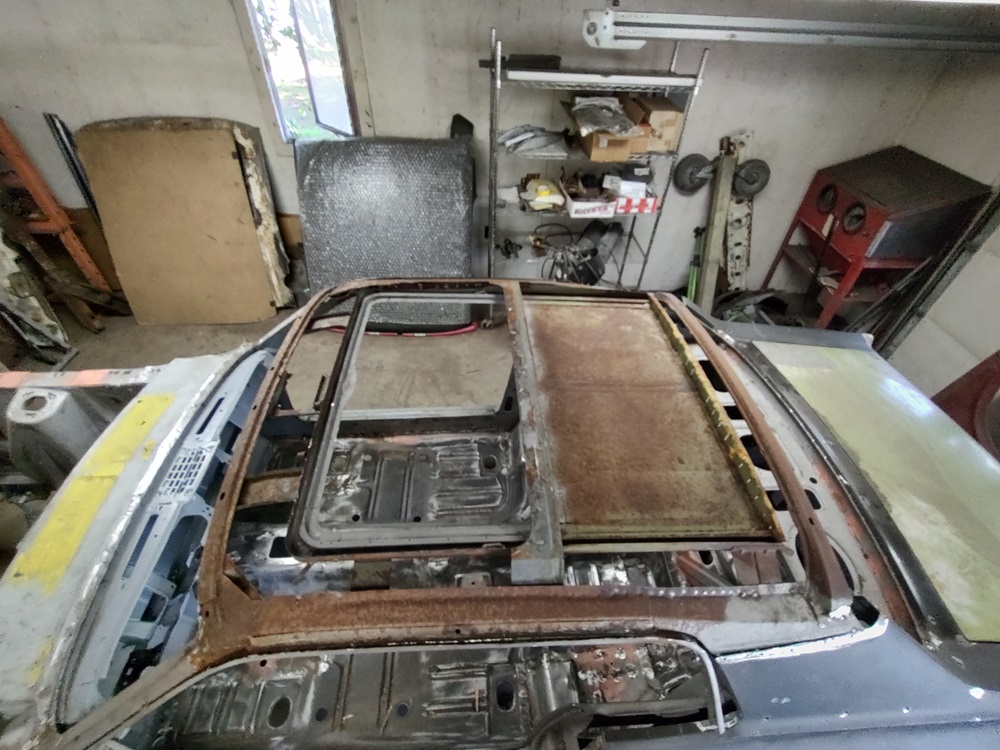
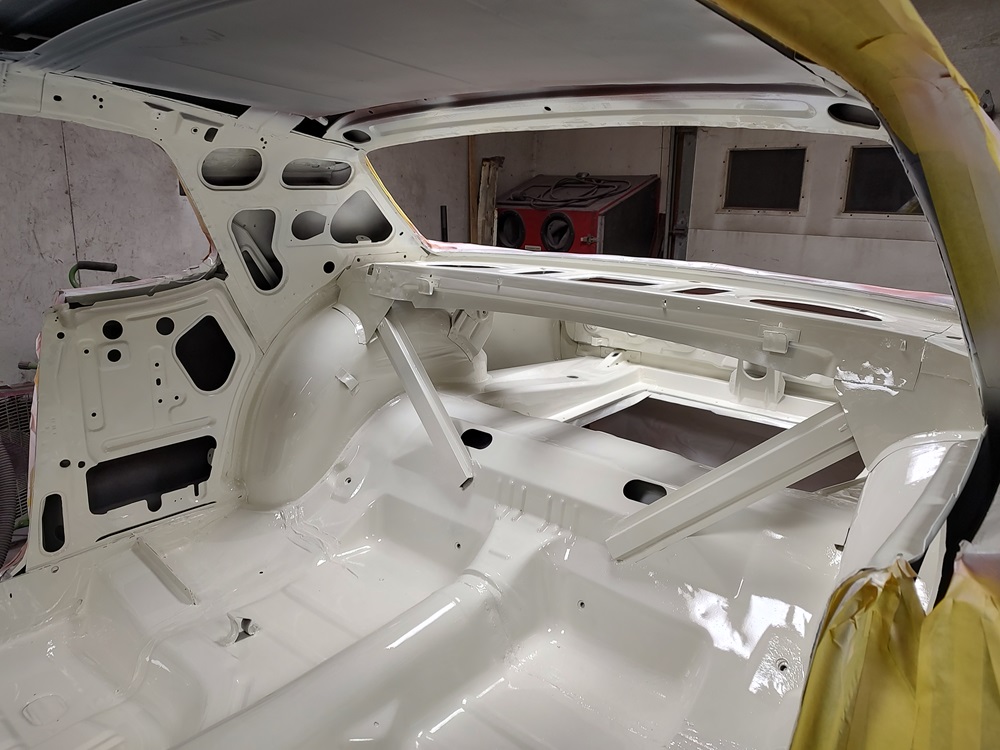
The guy who does my sandblasting did some work for me last week. He cleaned up the inner sunroof structure and freshened up all of my welds.
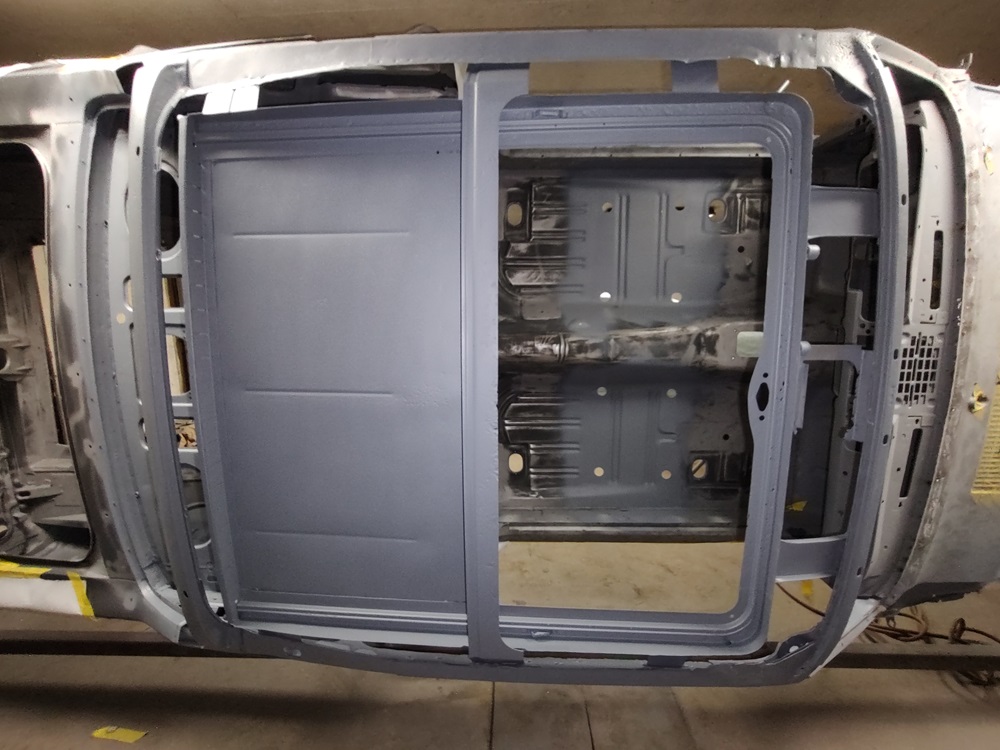
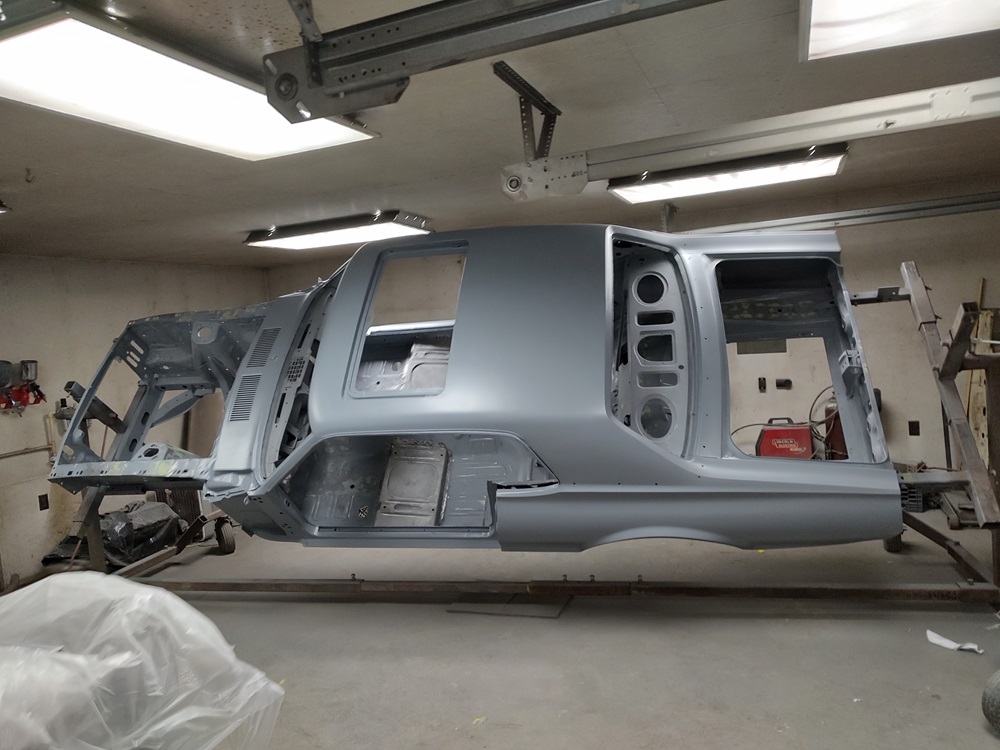
I was then able to put the entire shell in epoxy primer. DP50LF is still my favorite, though it is getting very expensive.
I have a few repairs to make on the sunroof structure before I tackle installing the roof skin and shaping the sunroof opening…
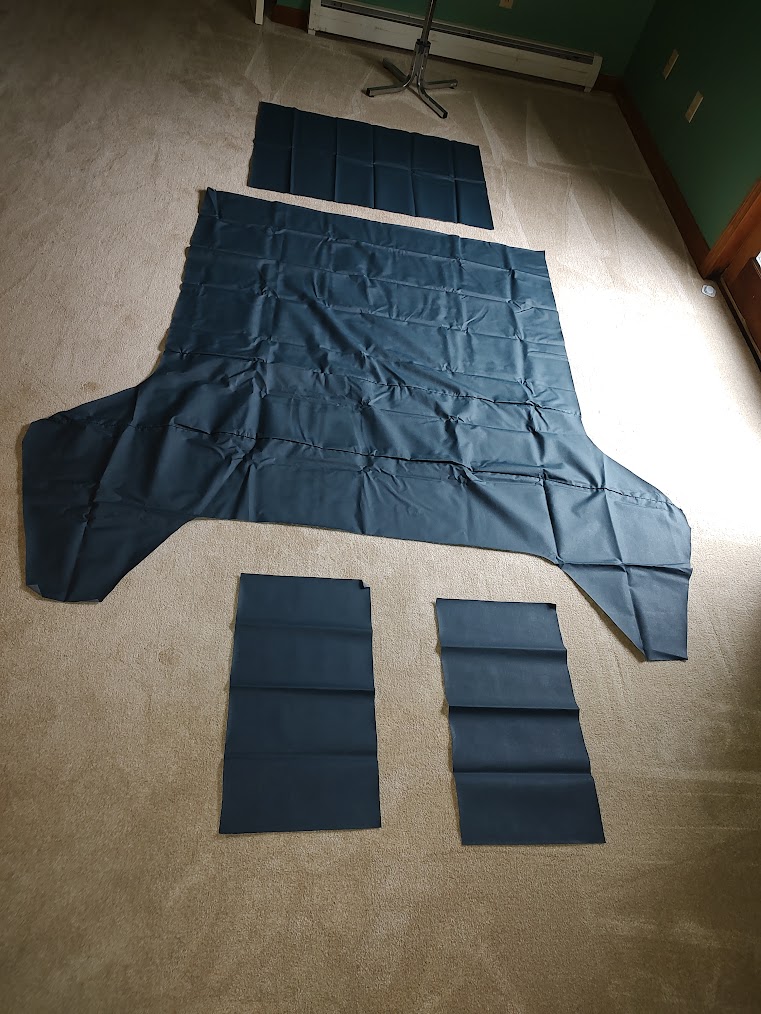
ANOTHER UPDATE: I was lucky enough to score the correct dark blue moon crater Scott Drake sunroof headliner off ebay for only $100! They aren’t being made anymore as the material is becoming scarce. I was afraid I would have to have one made from material bought from SMS Fabrics, but I found this one while searching for other blue interior parts.
All I need now is to find the blue leather seat covers…
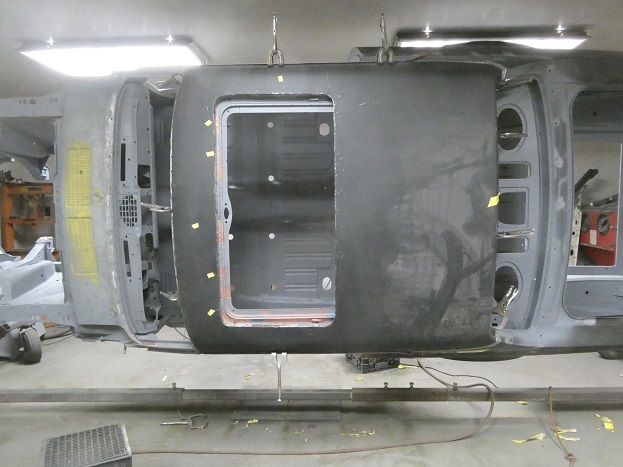
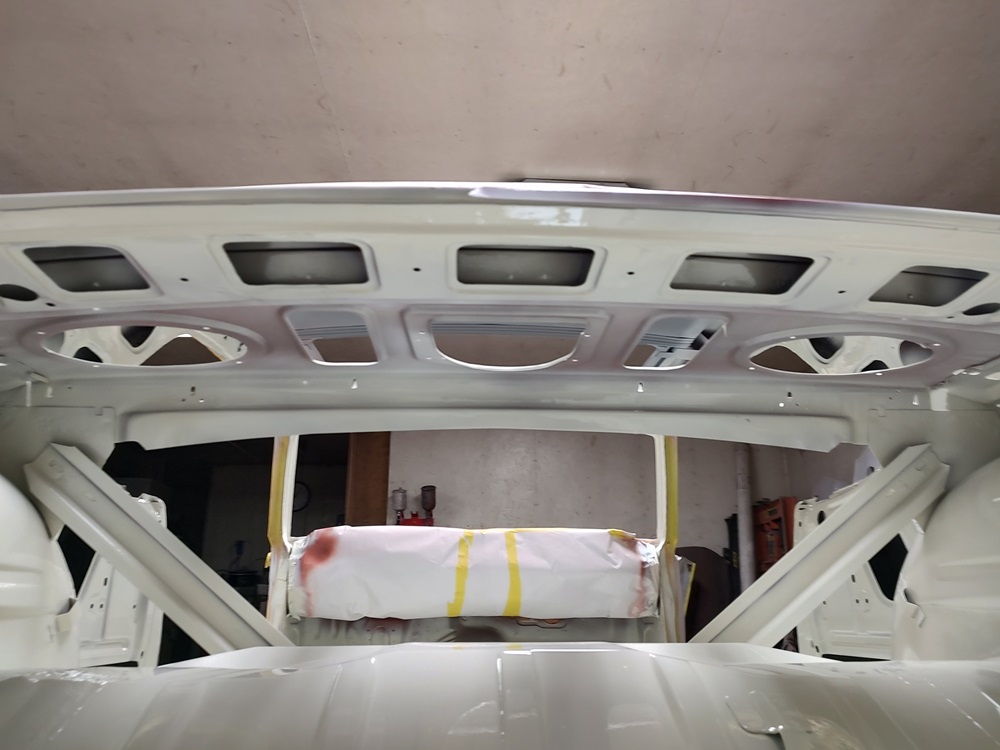
UPDATE 11/06/2024: well, I did it. I was able to reskin my roof and properly form the sunroof opening. Between making a customer fixture and some old school hammering and dollying, I was able to form an opening that was pretty much like the original.
I document the fixture making process and repair on my website here:
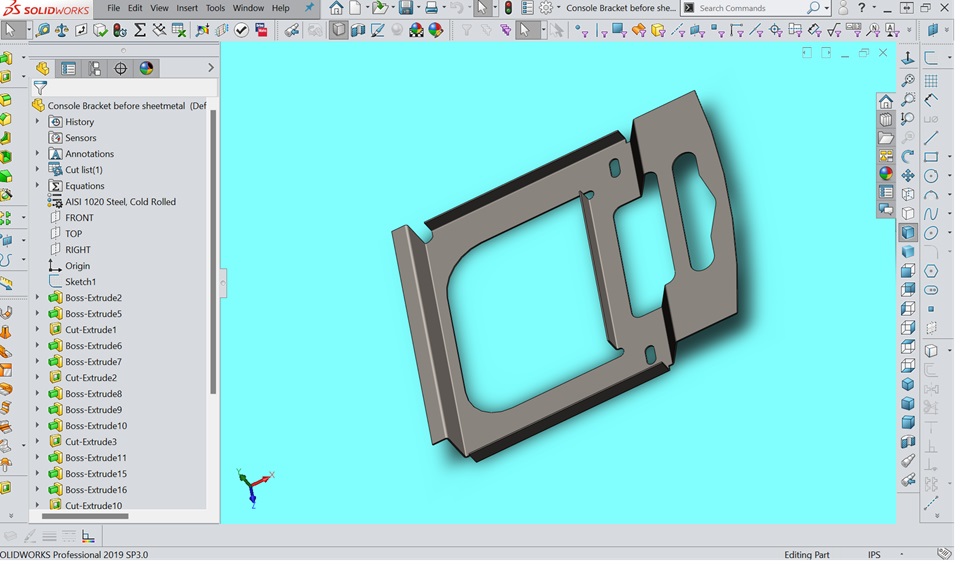
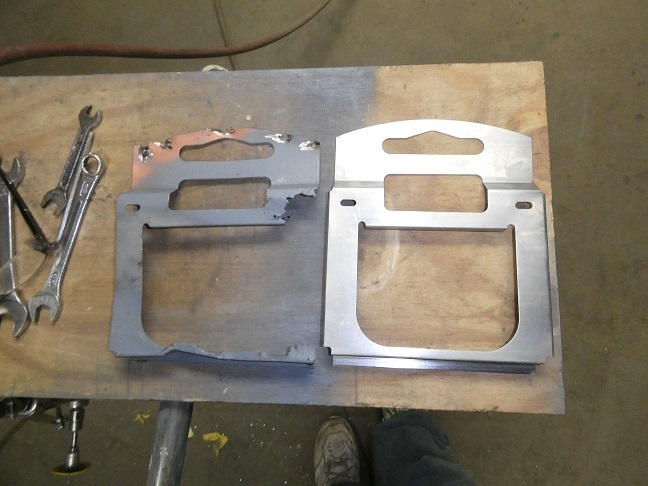
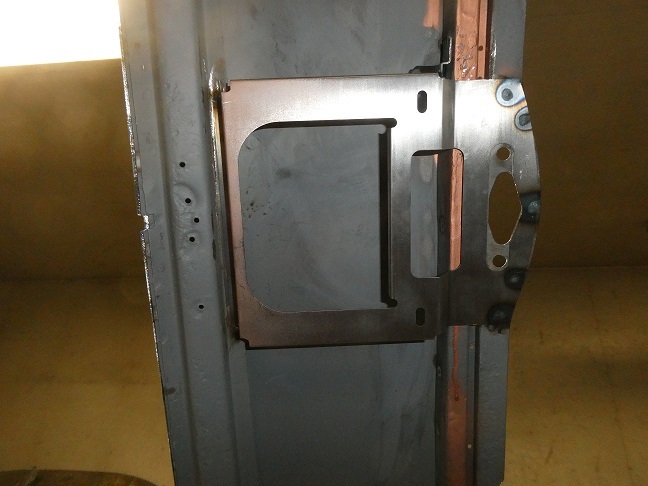
Another thing I had to tackle was the overhead console bracket made by ASC. The original bracket was in terrible shape. Luckily it was made out of folded sheet metal. I was able to replicate it by copying the design into SolidWorks and sent the part file off to a fab shop to laser cut and bend up a new one. It came out amazingly well. I have spare or I can send the part file to anyone who could use one.
Absolutely amazing. To be able to replicate a 50 year old ( originally ) hand drawn on paper, transferred to a hand-formed model and finally die stamped in a press, to a state-of-the-art computer ‘corrected’ image and laser cut and formed is fabulous ! Kudos to you.
UPDATE 1/7/2025: How I spent my Christmas Vacation
I had 2 weeks off during the holidays and was able to make a whole bunch of progress on my car. All of the bodywork is now done on the shell (minus the overall blocking once the sheetmetal is hung).
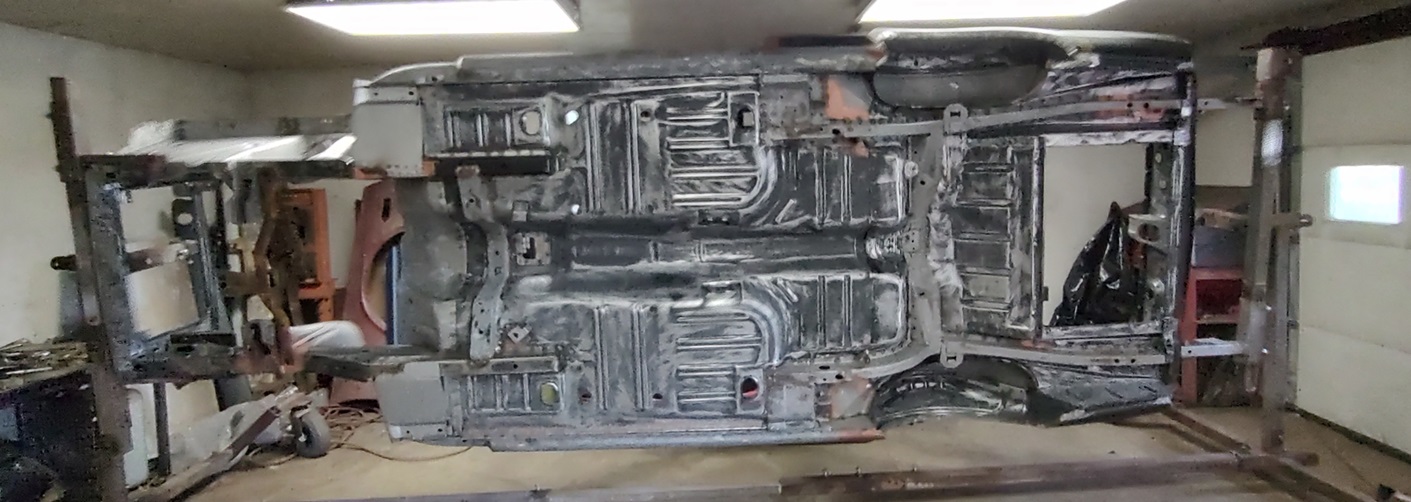
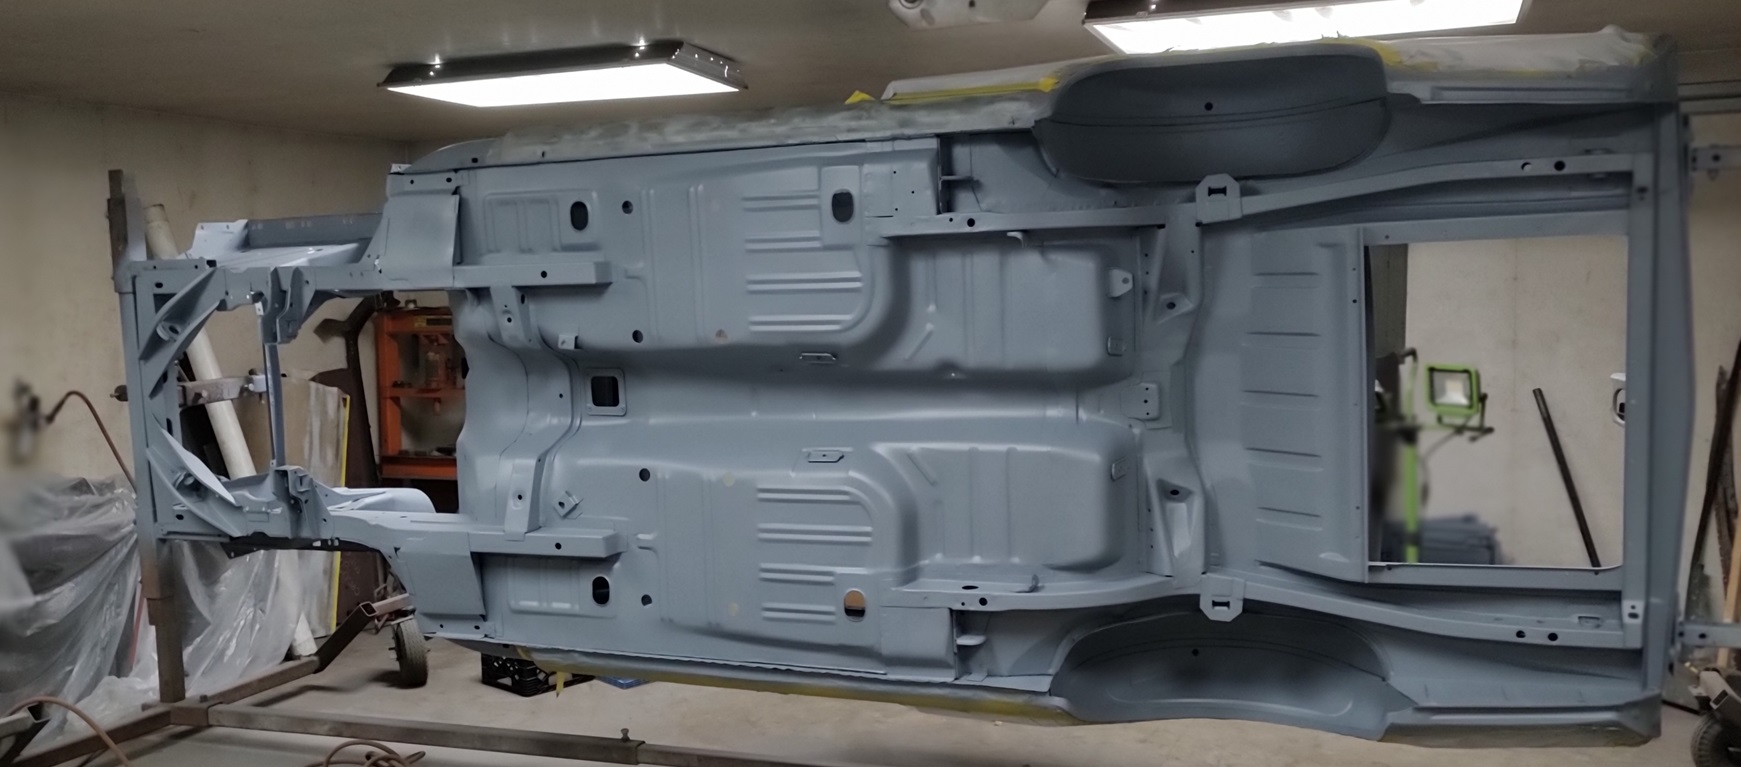
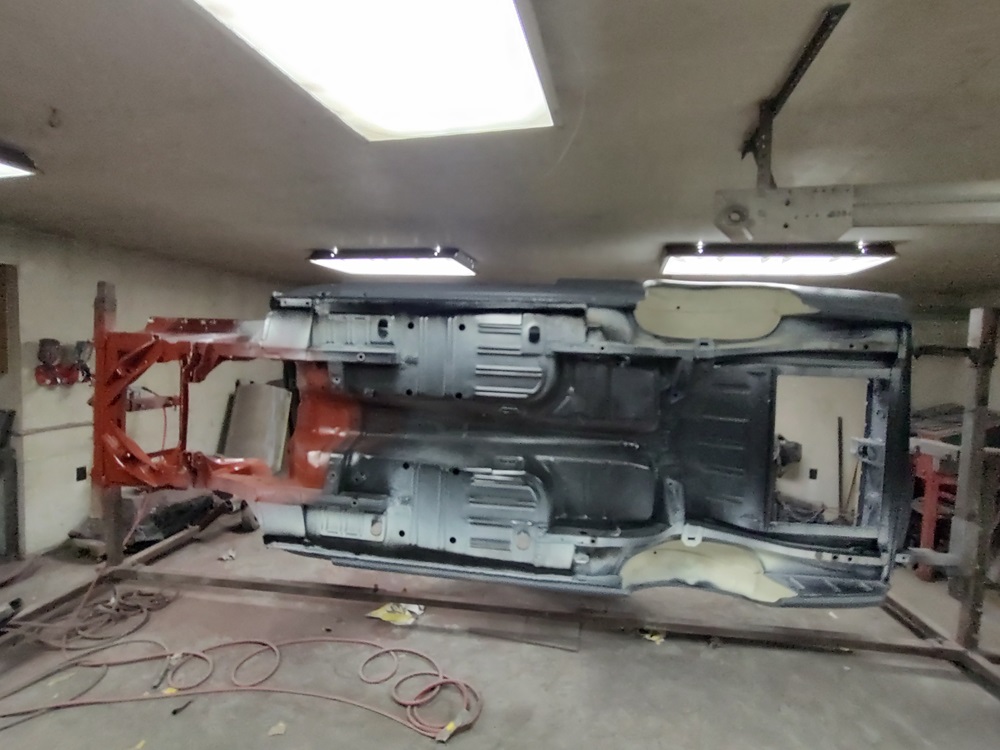
The undercarriage is completely done. It took several days to replicate what the factory did in a few hours.
The underside was sealed with black epoxy primer DP90LF
Then the underside was painted to match the original factory primer color. Since the underside was originally a slop mix of primer and paint, I ended up custom mixing paint to match the original color. Kind of a black tinted brown with metallic in it. It looks black in the pictures…
then I primed the front with red oxide primer from SPI.
then I seam sealed the undercarriage and undercoated the wheel wells. For seam sealer I used BlackJack Polyurethane Super Flash cement as it closely resembles the sealer that Ford used. for undercoating, I used a special undercoating created by RestoRick, which replicates the factory texture.
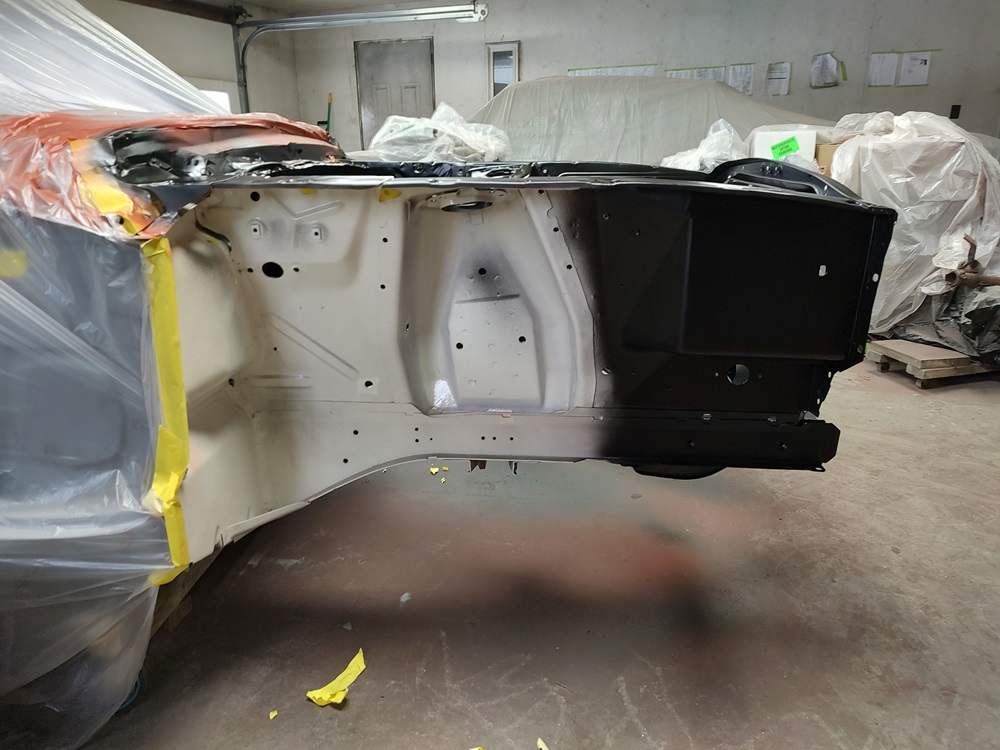
I then oversprayed everything with PolarWhite bc/cc. I also hit the inside of the fender aprons the best I could to replicate the way the factory did it on this car.
on top of that I replicated the factory pinchweld black overspray (sem trim black)
to reproduce the baremetal locations where the car was originally built on a dolly, I used Seymour’s Stainless Steel paint, which I masked over before painting the underside. The trick is, is to replicate the inboard areas where the factory overspray did not reach beyond the dolly. this I just did with creative masking. What do I mean by this ? Look at the areas where you see the silver paint where the dolly mounting holes are. You should see inboard areas showing just black with no white overspray.
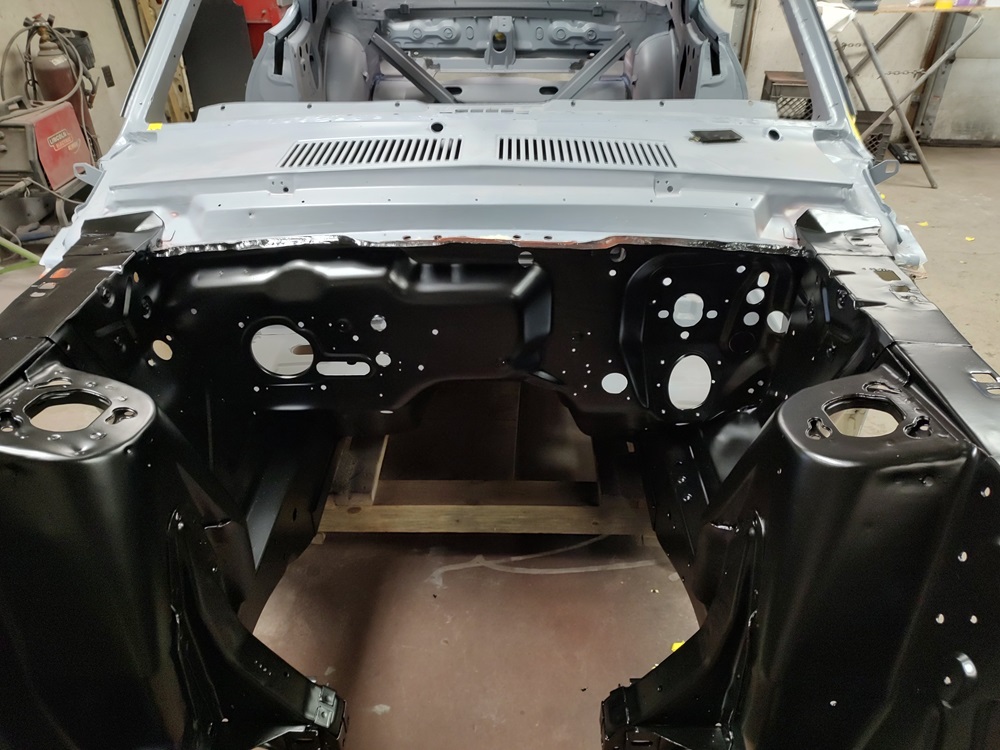
8) With the shell removed from the rotisserie I blacked out the engine compartment and the front portion of the fender aprons. Again I attempted to replicate the original factory look. Not shown in the pictures is the final image of the underside of the front end and transmission tunnel, which were left in red oxide primer as there was evidence that is how the factory left it.
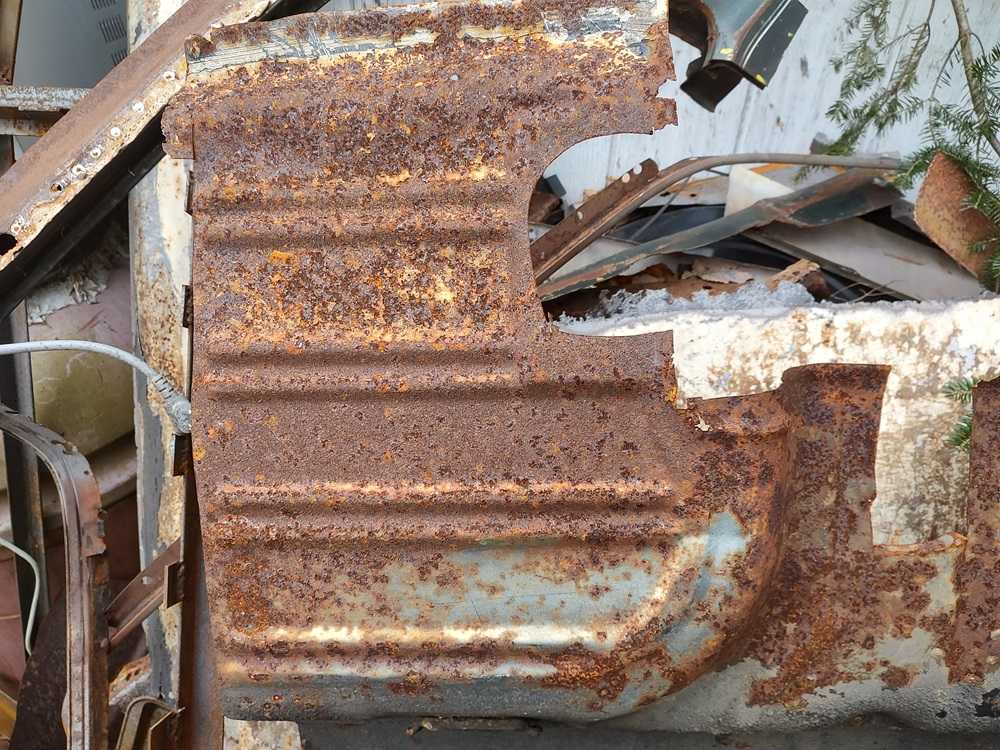
For reference, this is a piece of the original floor. you can see the factory white overspray is on top of the black seam sealer along the rockers. The white overspray reached way over to the transmission tunnel and the inside of the tunnel is undercoated. under it all is an almost black primer.
UPDATE 1/13/2025:
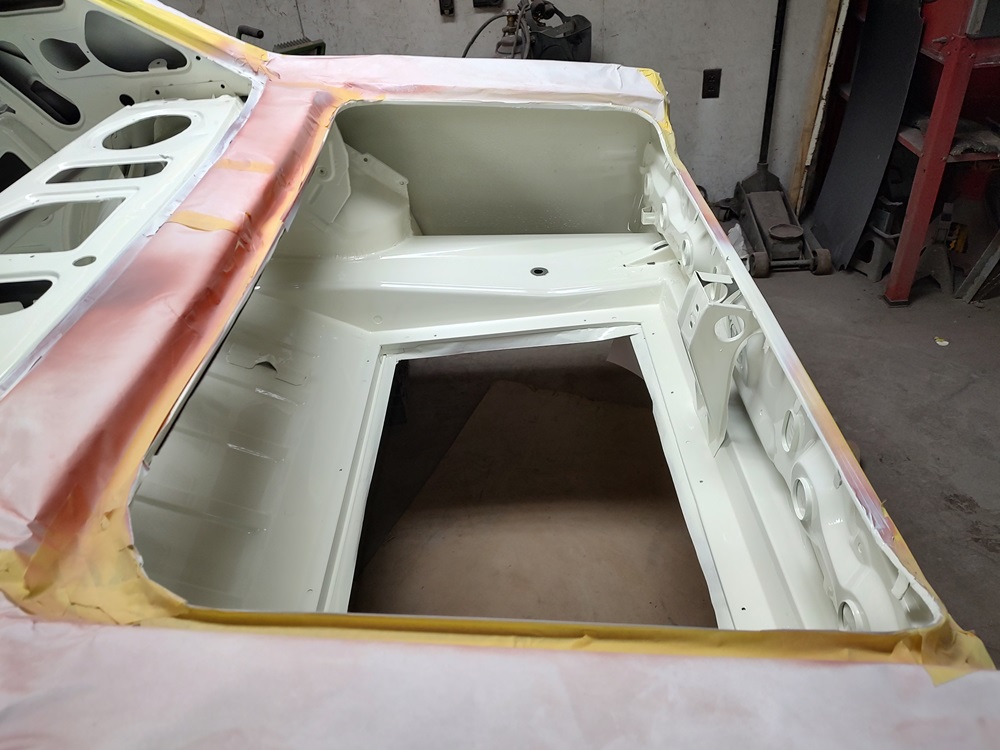
The inside of the car is now painted. I first sealed it with SPI red oxide epoxy primer, then painted it with Polar White in bc/cc. It took 4 coats of basecoat to cover this much area. 2 quarts of basecoat (1 gal reduced).
The reason I picked red oxide primer was to replicate the original factory look in the areas I could not paint with white. E.g. the underside of the package tray, which turnout out very factory looking.