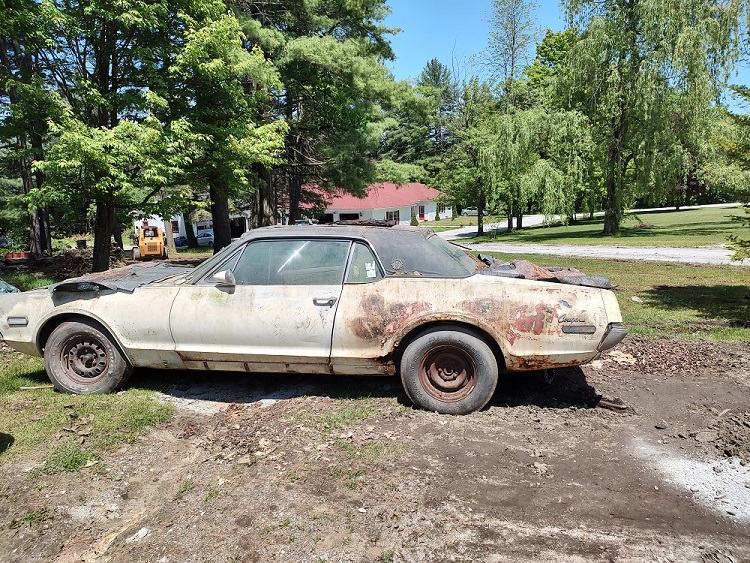
Hi Peeps, it’s been ages since I posted on this forum. I bought a major project 1968 Hertz XR7G back in 2008 and have finally begun to work on it. I have completed restorations on 4 other cars since then, but waited on the Cougar until I could get the sheet metal for it. That and life is busy…
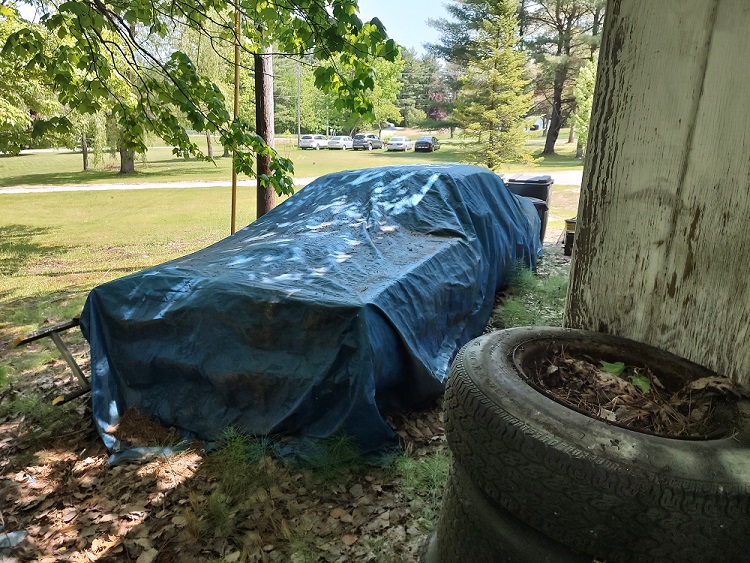
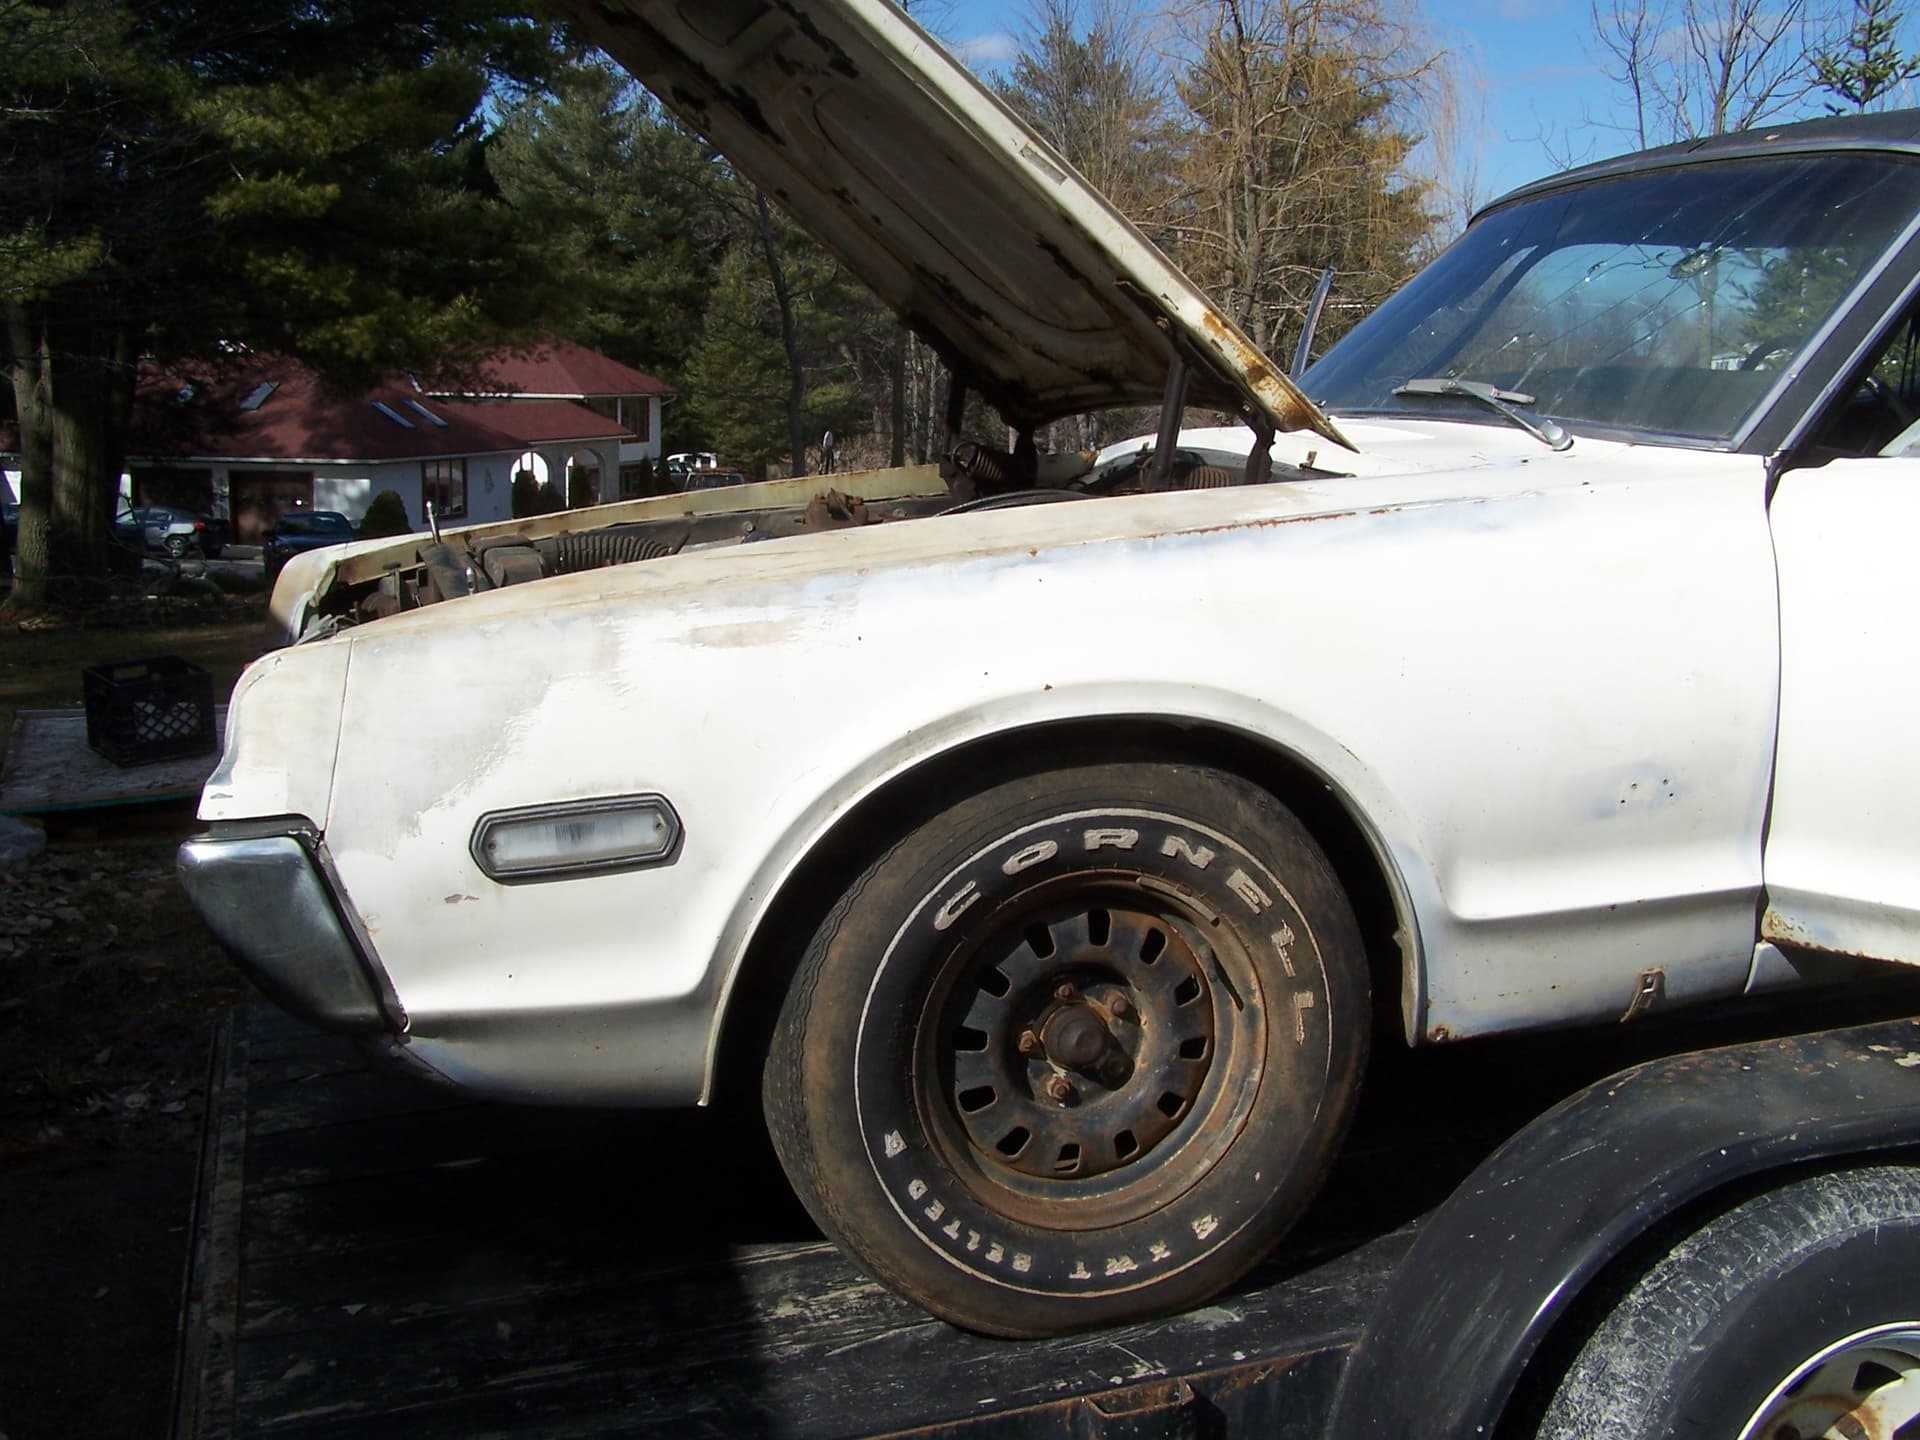
The car in question was built on Feb 29, 1968 (hence the term “Leap Day”), it was delivered to Merlin Motor Company of Camden, NJ where Hertz picked it up for rental use somewhere in Camden, NJ. It eventually went back to the dealer and was resold as a used car. At some point in the mid-70’s it was abandoned in Camden, NJ where it was impounded. It sat in an impound yard then a junkyard until 1982. I bought it from the person who pulled it out a junkyard in 2008. except for the last 3 years the car has been kept indoors since 1982 (as far as I know). The car is now in Vermont.
So now, I have begun dismantling it. It will go on my rotisserie and get sandblasted later in the year. I will spend the winter getting the body work done. By now, this kind of metal work is old hat to me.
I will be posting updates of my progress here and at my website:
I do not have this car registered to you, it was sold on eBay in 2009 and after that I lost track of it. Send me a PM and we can fix that.
By the way, Hertz paid for 200 XR7-G’s to be built. One prototype 1967 XR-7 that was used for photos and advertising and approval. 12 factory show units were built after that, all having the 390-2V X code engine and identical options.
Then 187 production rental units were built - again with identical options - and all were built in non - metallic colors because Hertz foresaw replacing body panels and paint matching was tougher with metallic colors.
Your car looks very original under the hood. Good luck!
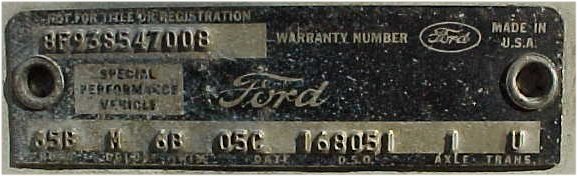
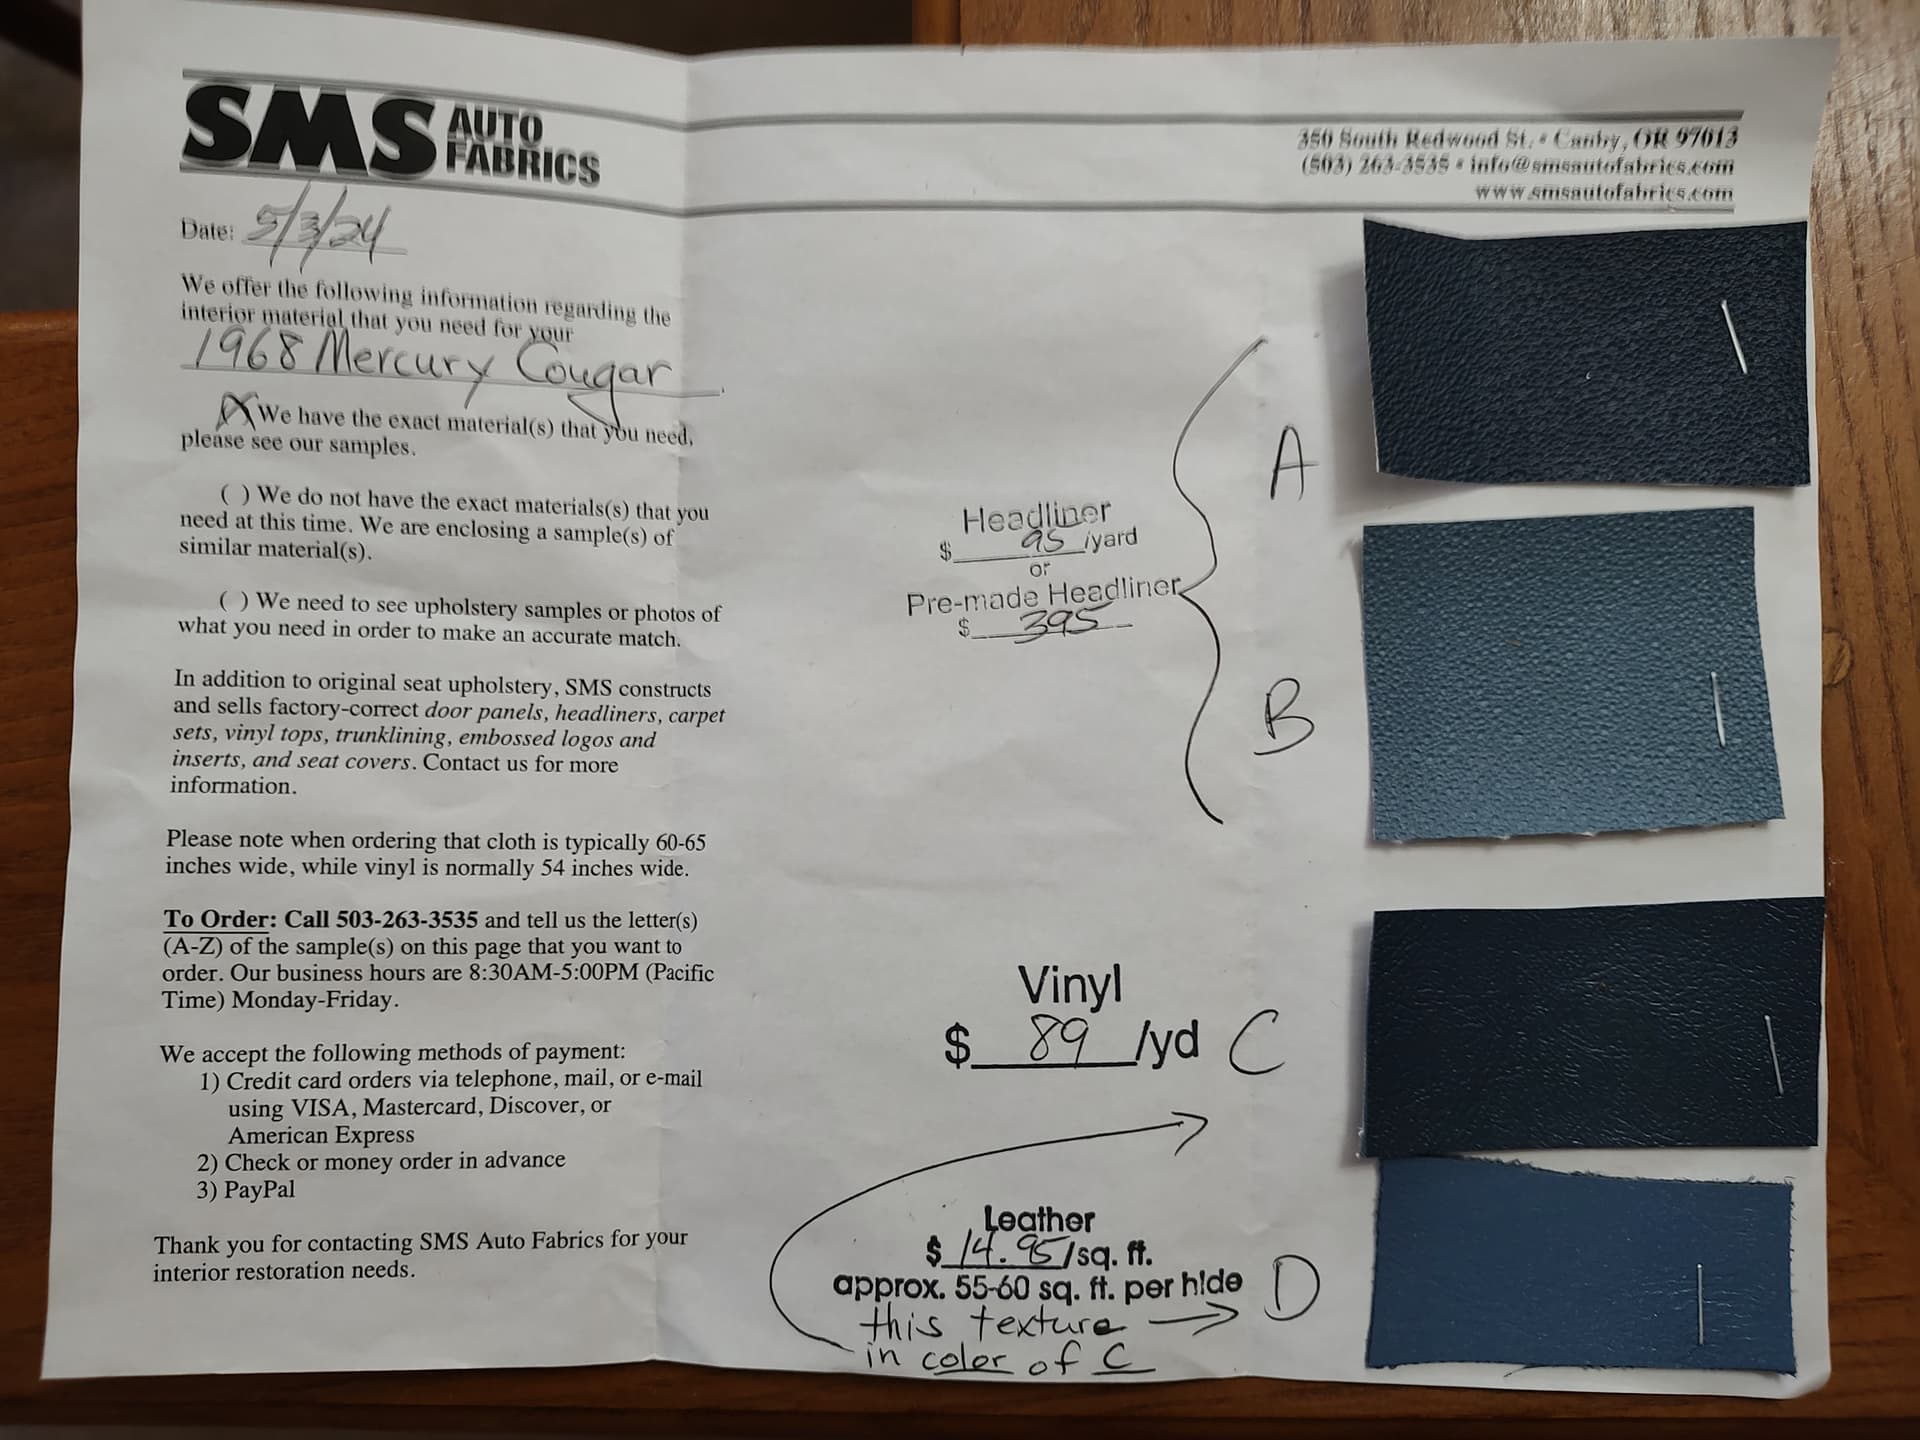
Thanks for posting the aluminum Hertz ID “label” From my look into the subject it appears that not all Hertz zones/locations used the same method of labeling cars in inventory. So some were done with an aluminum strip, some with the typical plastic ones and with others another method. Also location on the car depends on the location also
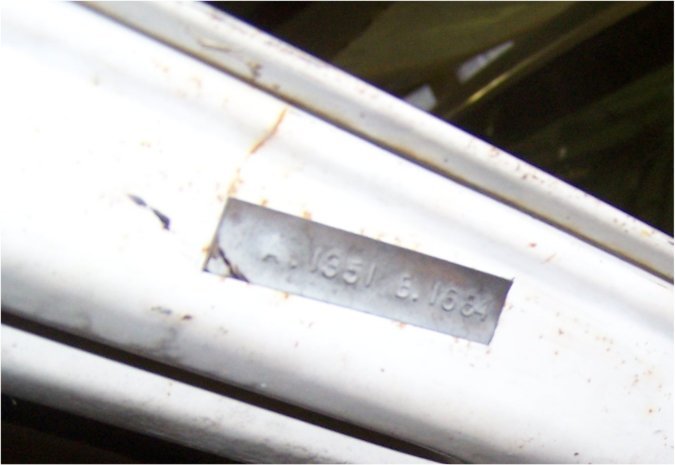
Where is the label on this car? Can’t tell from the picture.
That is a very cool feature that I did not know existed until this post - thanks for that. You can see where the 6.5 Litre badges went. Interesting tire also!
This is the only example of the aluminum tag known to the registry. There is a trunk service booklet known from an LAX based example that is also one of one.
I have posted a few updates of this project under my “Picture d’jour” posts and decided to start consolidating them and keep my future updates here in the Project Forum.
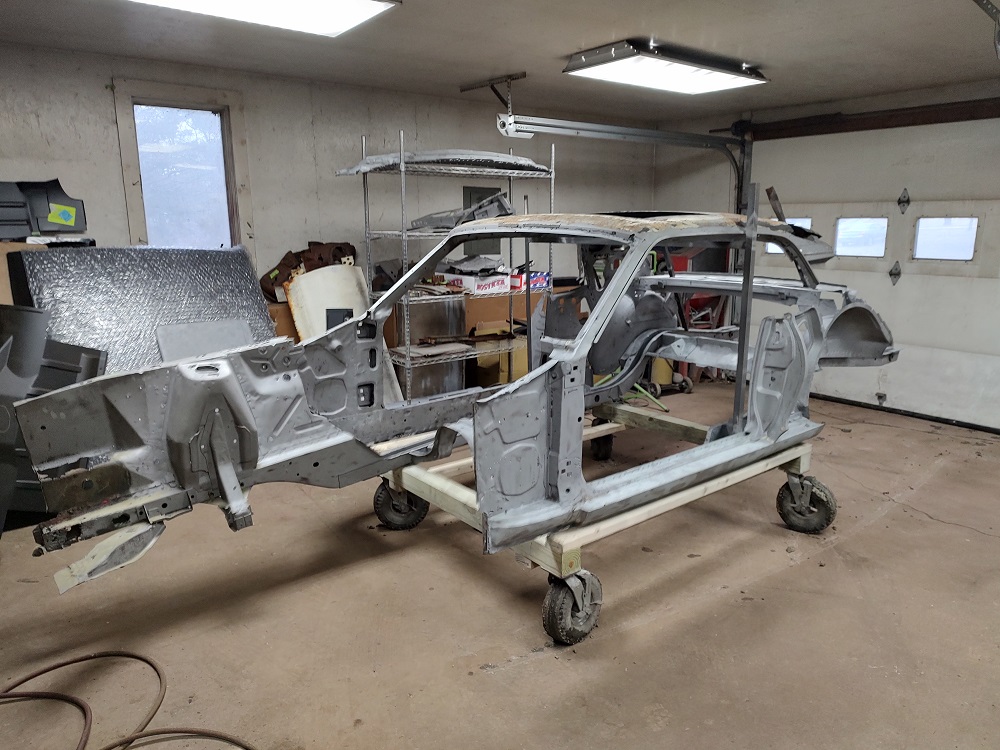
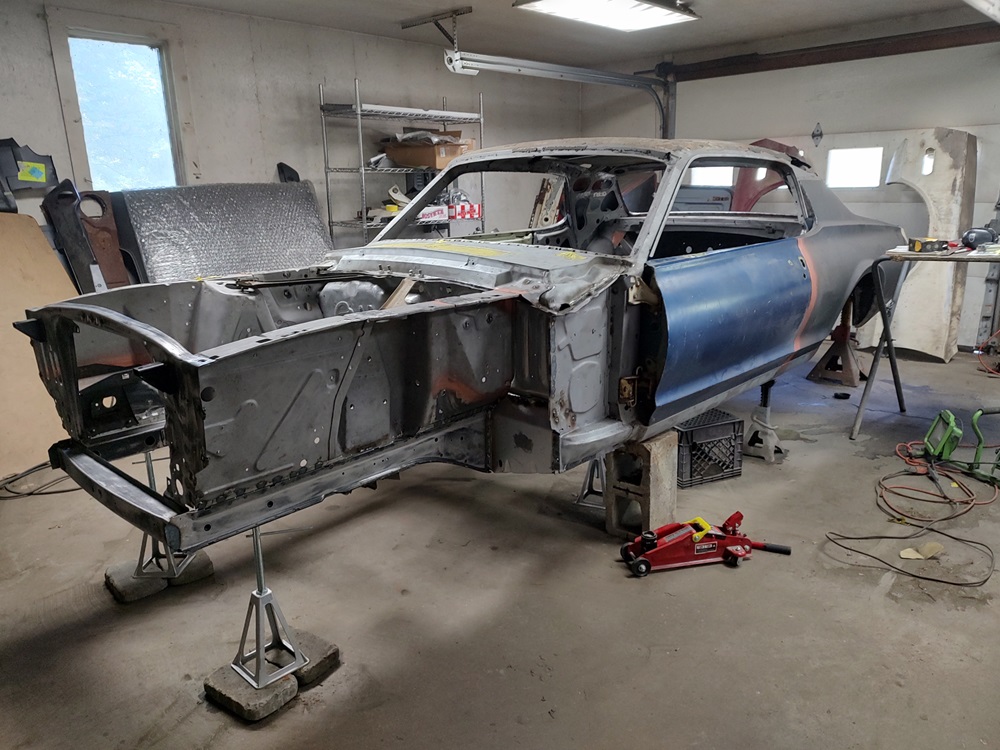
I fully dismantled the car, cutaway as much unusable metal I could get away with and had it sandblasted.
I do not advice a novice to do this.
One thing to note, I did not remove any metal until I had the new metal in-hand to replace it with. That includes new repo metal and pieces cut from other cars.
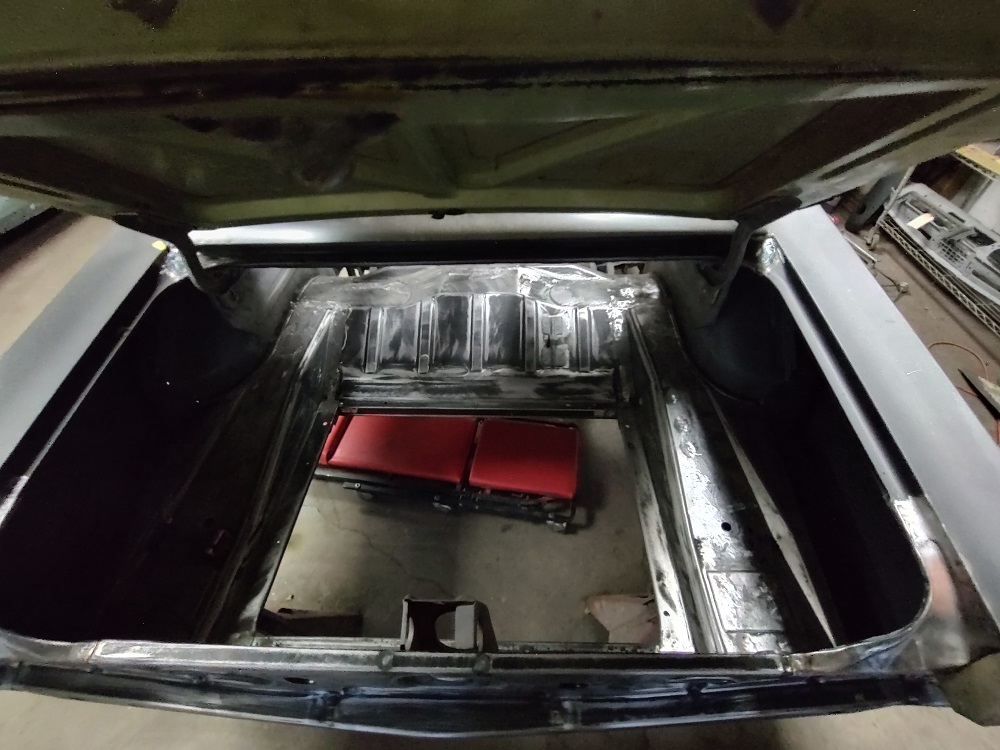
I purchased the trunk pan pieces and drop offs as separate parts instead of buying the pre-welded assembly. There are a number of issues with the drop offs, which were easier to correct with the parts not welded together.
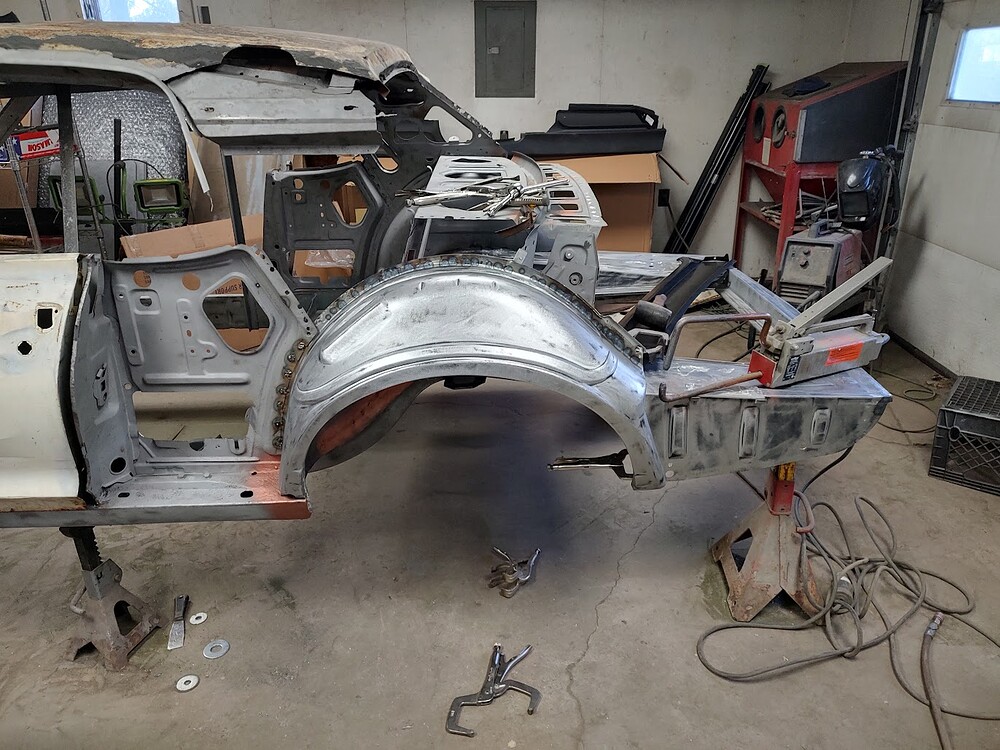
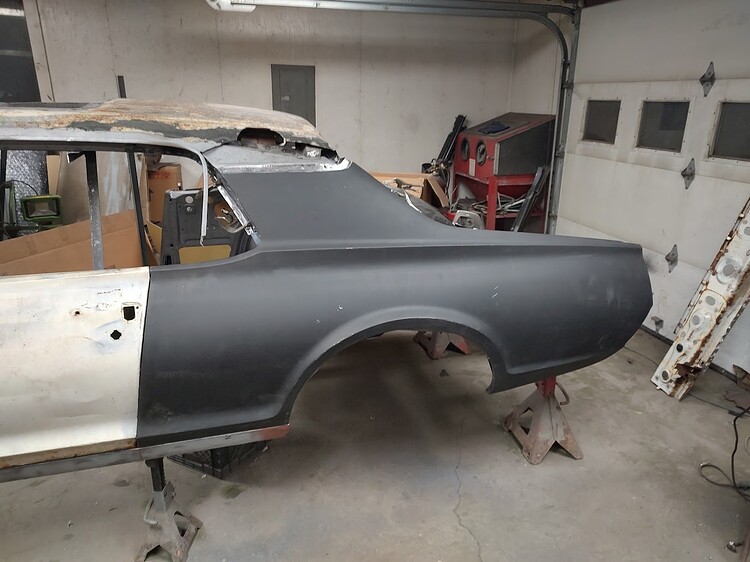
The inner roof pillars were rusted pretty bad where they were welded to the package tray, so I was pretty lucky to be able to get some used ones cut off a doner car by WCCC. The repo wheel house goes on first followed by the inner roof pillar. Braces welded to the car held everything in place during the surgery. The repo quarter was used to set the outer wheelhouse location before everything was welded together.
These pictures were taken the weekend of 3/14/2024
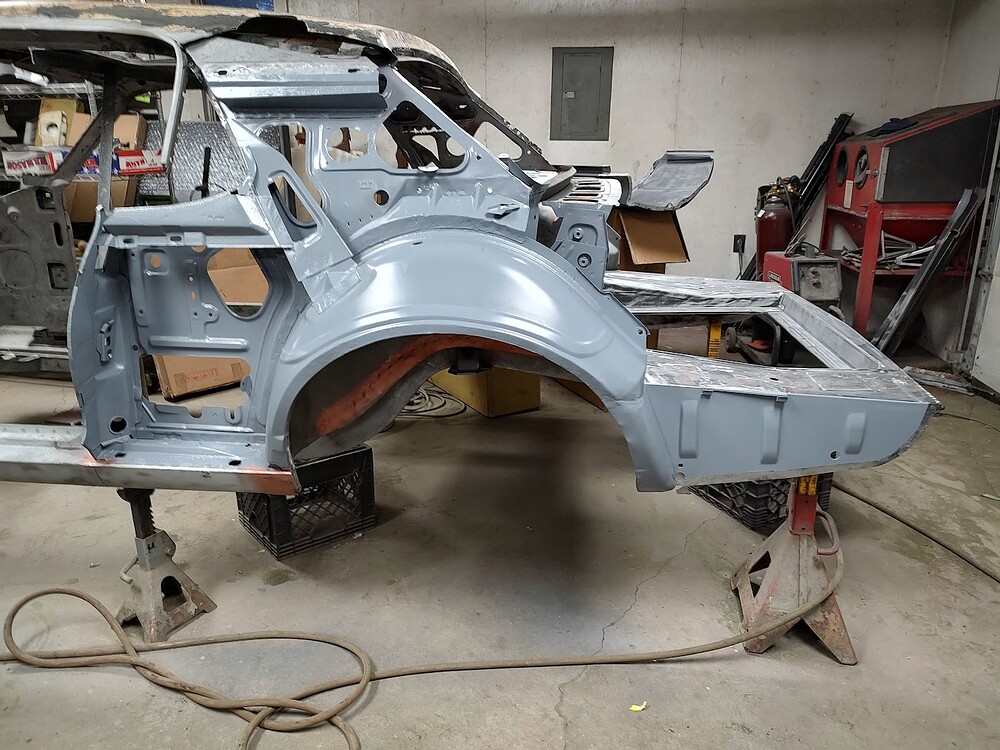
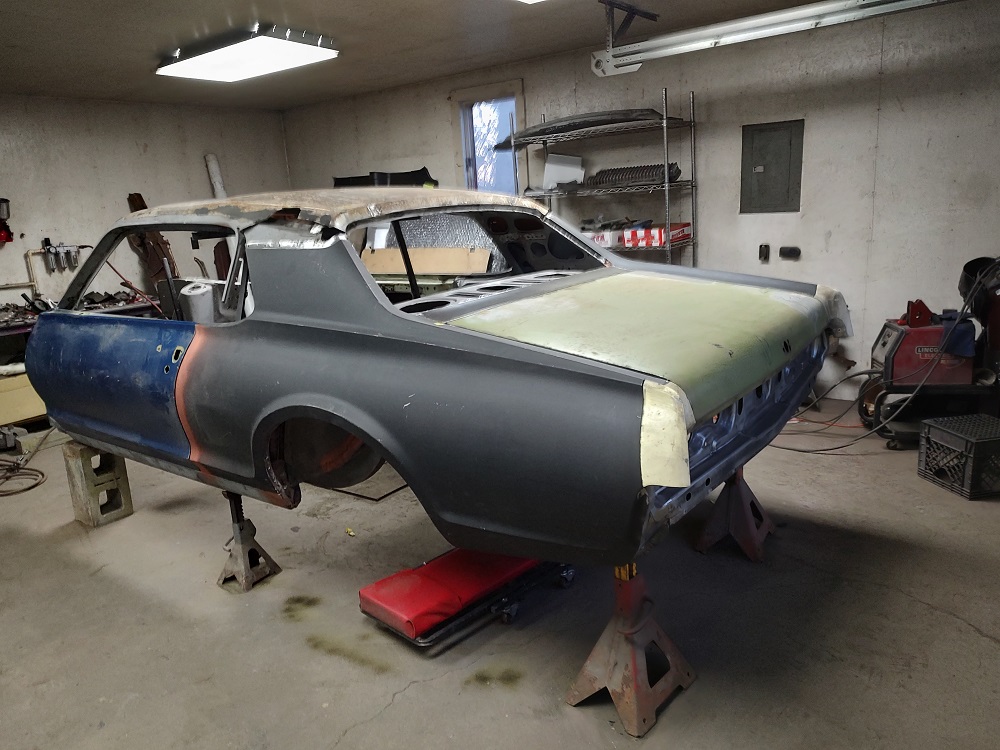
Here all of the rear sheet metal work was completed. (4/22/2024)
I did have to trim back the LH quarter panel to get a good door gap, but otherwise I was happy with how well the repo metal fit together with original sheet metal.
Restoration Tip:
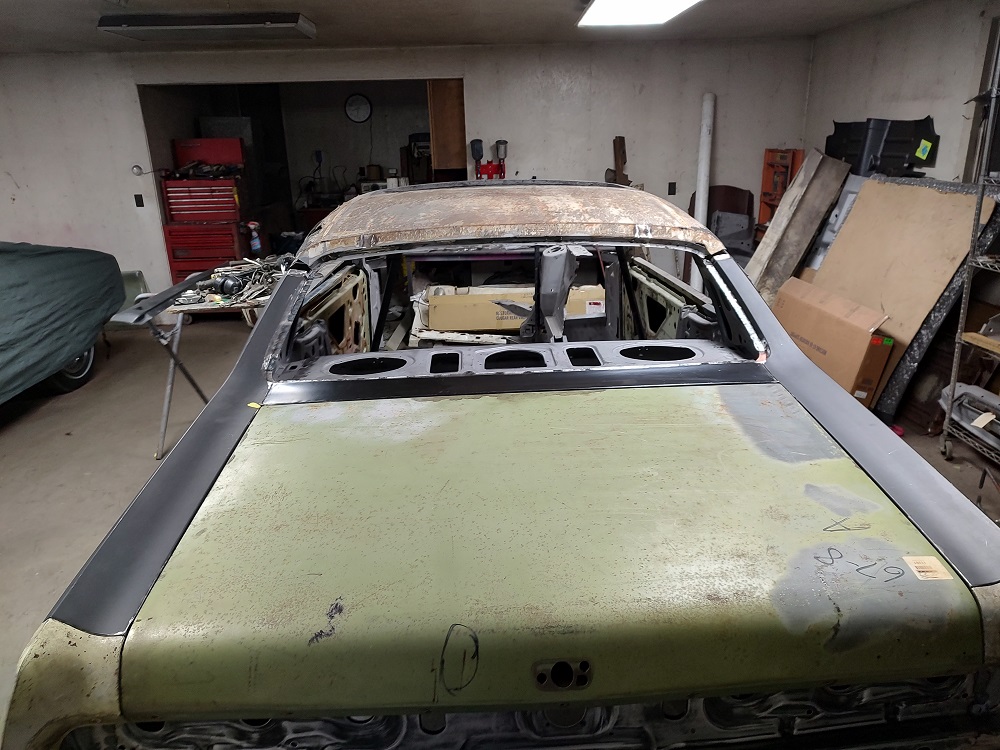
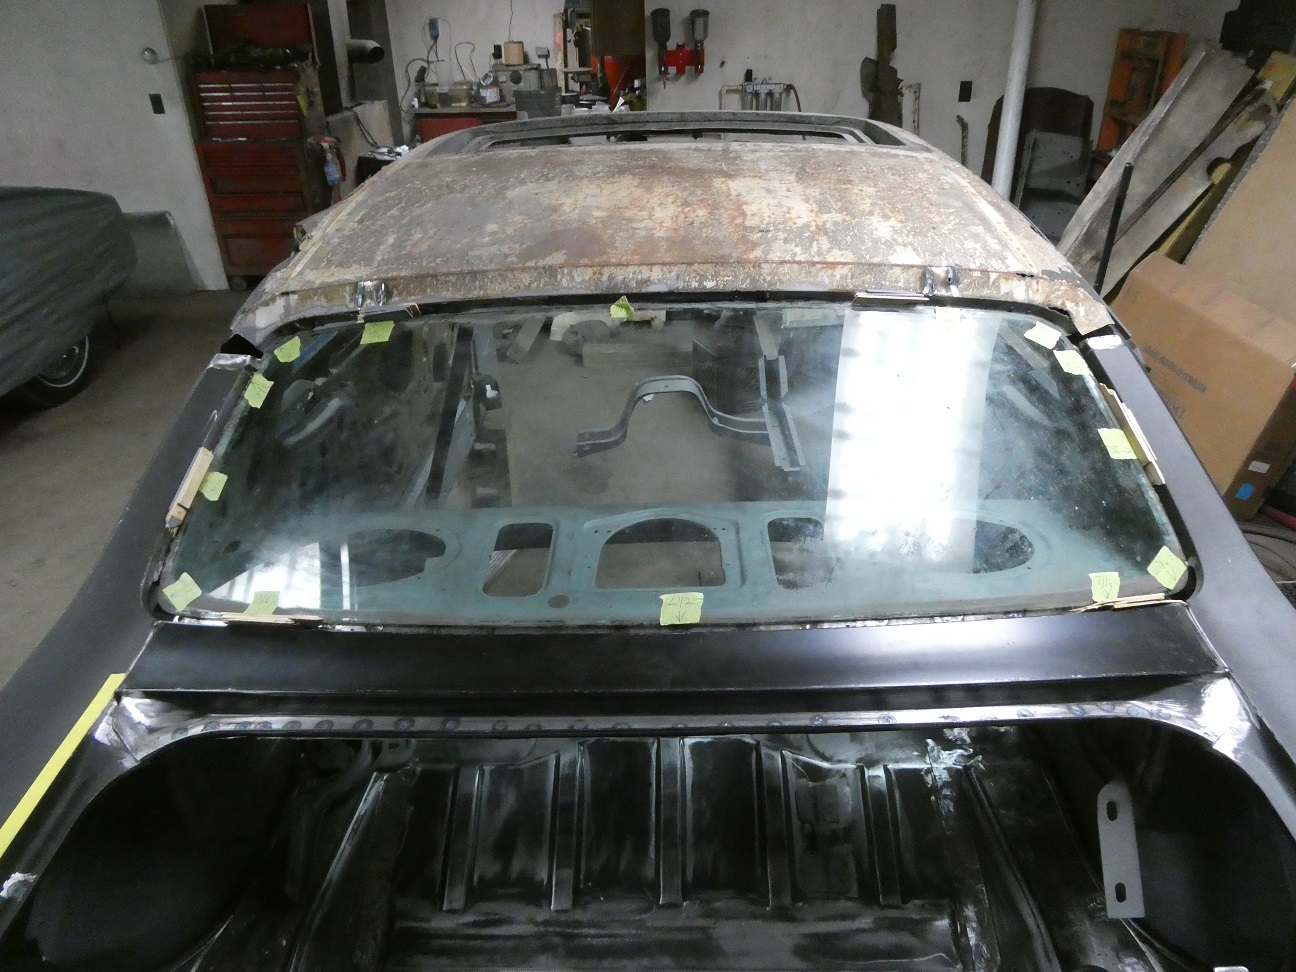
Before welding the rear sheet metal in, I needed to ensure the rear window opening was set right.
Before I cut the original metal out, I centered the glass in the opening and measured the gaps all around it. The measurements were written down on tape attached to the glass at the measurement locations. As it turned out the gaps were almost all 7/16", which is also the width of 3 paint paddles.
When it was time to weld the new metal in, I set the glass in place using stacks of paint paddles and adjusted the metal so that the gaps were back to original. Then it was weld time.
Oh yes, I still need to replace the roof skin. This I will be doing with a repo roof skin. The sunroof opening will be quite the blast I am sure…
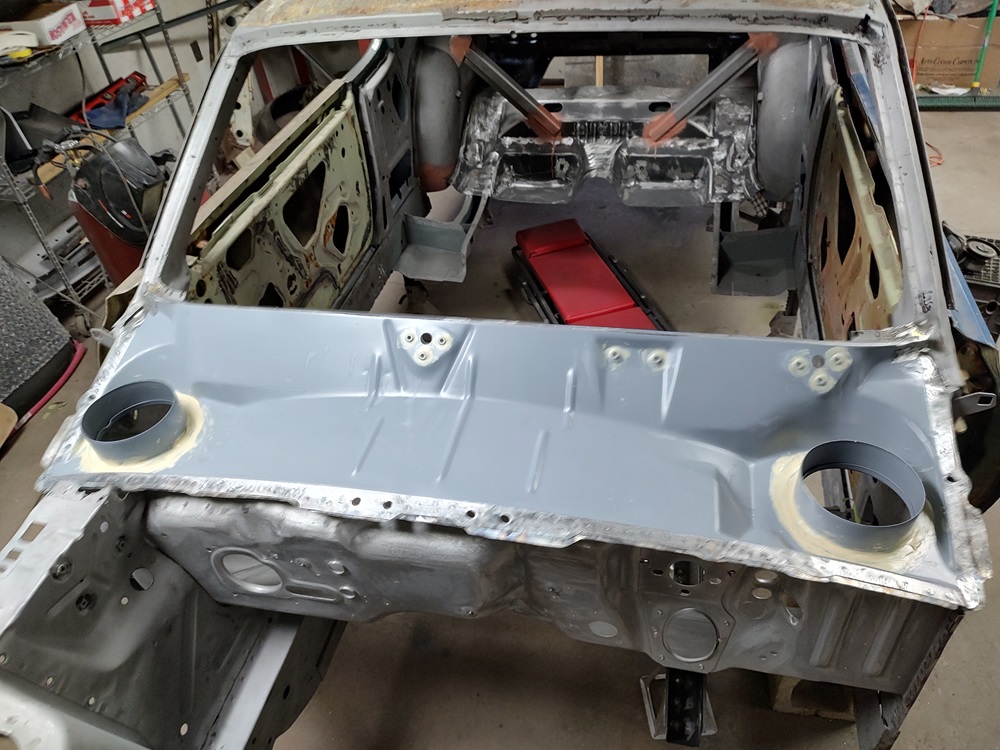
I replaced the lower cowl panel and firewall with Dynacorn versions supplied by WCCC. I would say the repos are really nice for 68. Before welding the upper cowl panel, I primed it (and the underside of the upper cowl) with DP40LF epoxy primer and sealed it with 3M 08505 Fast & Firm Seam Sealer.
Before welding in the firewall, I transferred all of the holes from the original firewall over and added the 3 studs (like the ones for the windshield clips) to it as the repo firewalls were made for Mustangs. So all of the holes for vacuum lines and the specific holes 390 w/AC were missing.
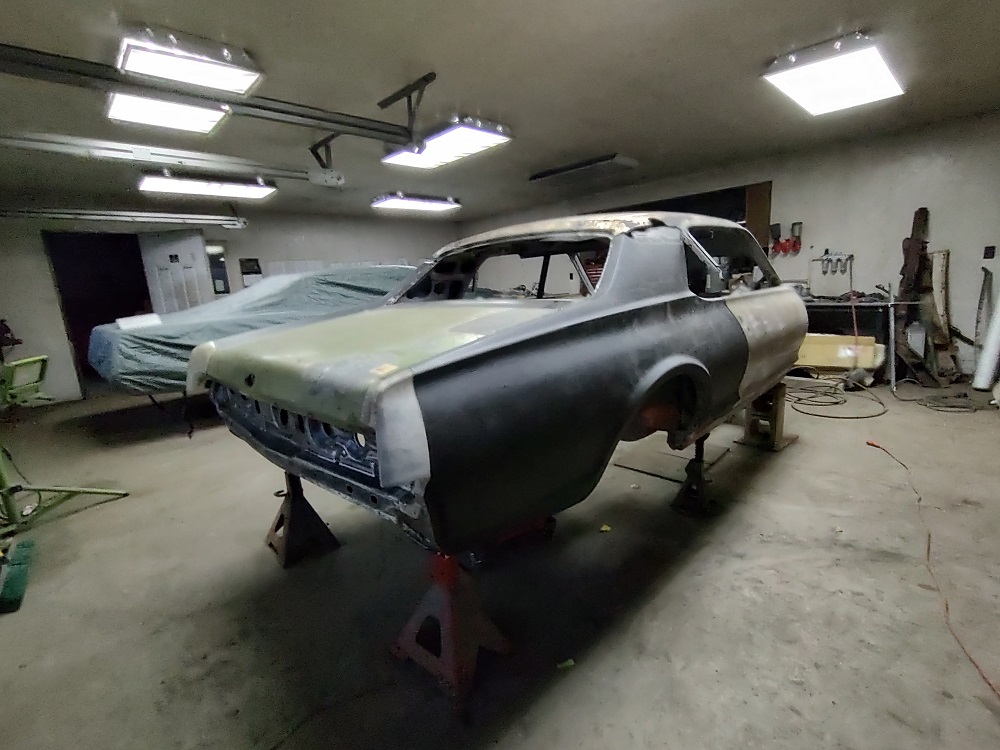
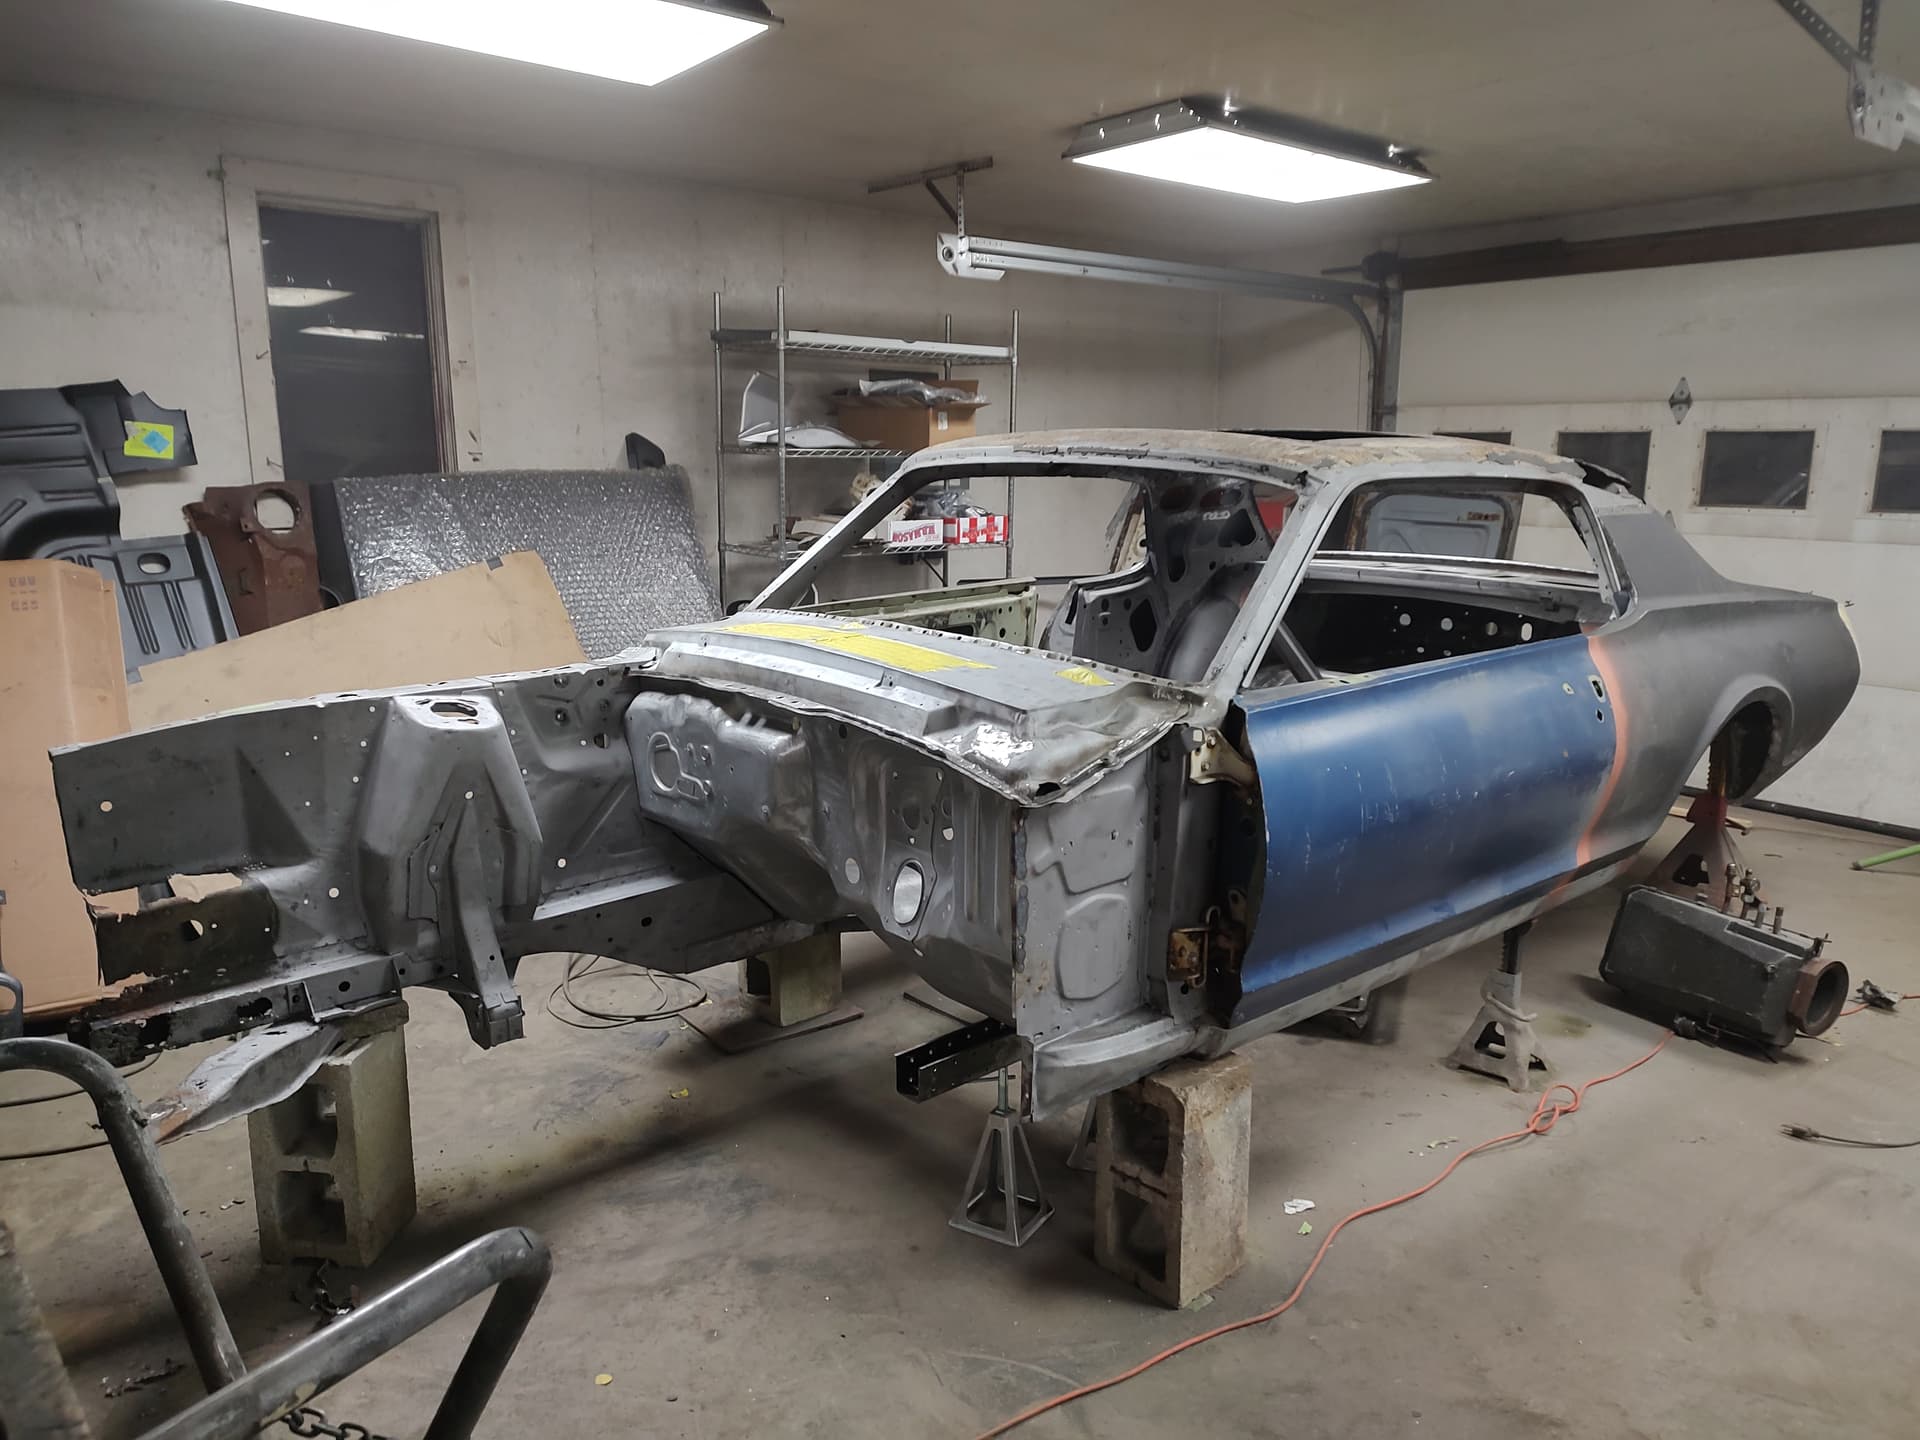
All of the front is now welded back together. I had to replace the frame rails and the radiator support. The fender aprons needed a bunch of work. I opted to replace only the damage sections of the fender aprons instead of shot-gunning everything. I’m pretty skilled at grafting and butt-welding these days, so it is just as easy for me to do that.
To put it together correctly, I used a laser level and the leveling jacks you see in the pictures, along with the 100 measurements I took before cutting it a part. I also hung the fenders and made sure that the door gaps were correct. Once everything was aligned correctly, I started welding it together.