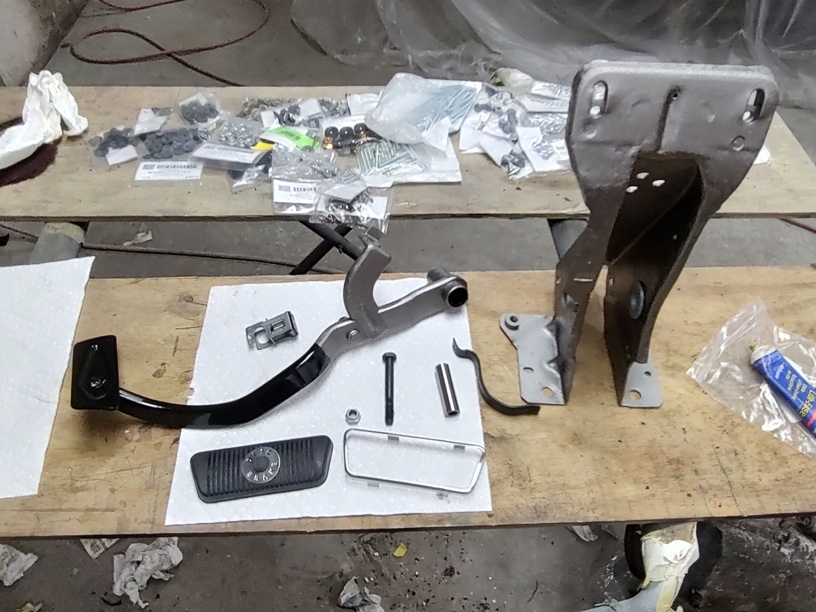
Not very exciting. I soaked the parts in evaporust, painted them and assembled it with new bushing and a new pivot sleeve. The pedal pad and SS frame are from WCCC. The brake switch is original. It cleaned up really well and tested good with a DVM. Glad I don’t need to find a replacement.
The green dot is a factory inspection mark or perhaps it was a quick way to identify what type of pedal support it was. eg. green for disc brake auto trans. just a guess.
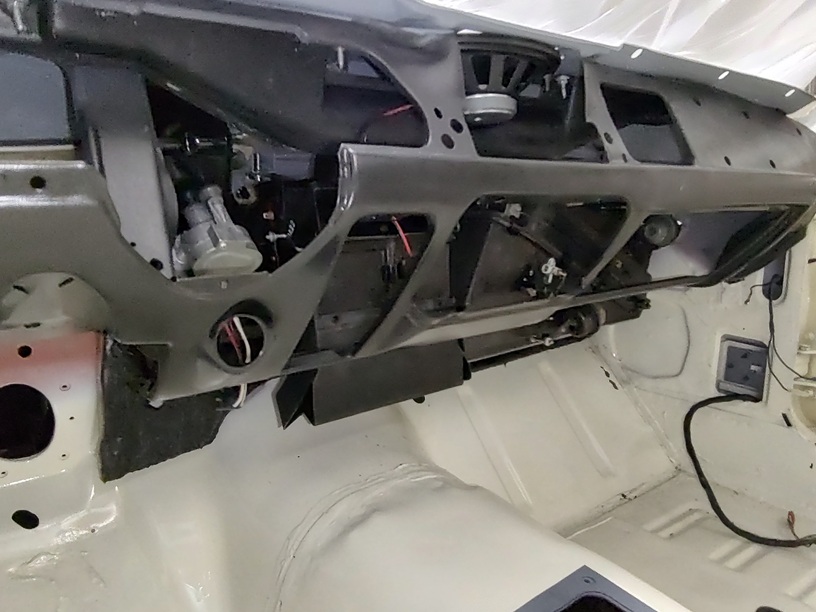
OK, last one for today. Putting the AC system in the dash by myself was a pain. The first thing I learned is that the blower needs to be in place prior to the AC heater box. That and it’s a bear to get the studs on the back of the AC heater box to line up with the holes in the firewall.
One thing to note. the AMK kit didn’t come with the correct nuts for mounting the AC Heater Box and blower. At least they didn’t match what originally came with mine. They are the same ones as the ones used to hold the rear quarter extensions on: B-12833 1/4-20 PERI KEPS NUT .88 D ZDC w MASTIC
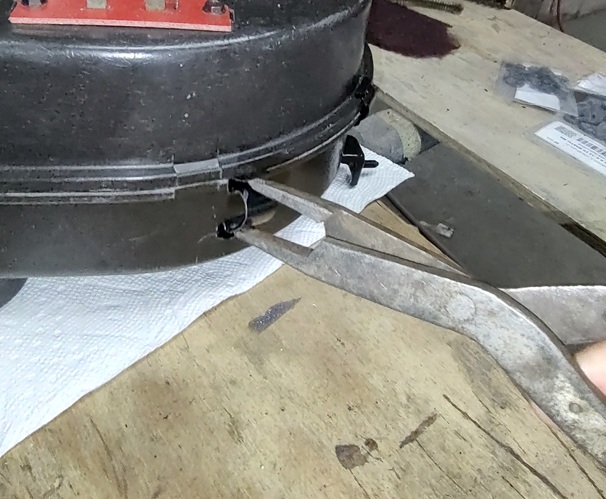
I thought you guys might appreciate this. I have an old pair of snap ring pliers that has the tips broken off. Though it is useless for snap rings, it is THE perfect tool for removing and installing heater box clips.
Absolutely incredible work and attention to detail. Good on Royce for mentioning the blackout on the pinching welds, its so often missed (however I have seen a few original paint cars that did not recieve the treatment.)
I’m always curious as this car was so original, did you happen to notice any specific Chalk or grease pencil markings, and if so where? Paint daubs or dashes show up when it was stripped away to metal etc.
I ABSOLUTELY love and fasinated with the “assembly archeology” in tearing down a car and finding this “grafitti” that was put on these cars when they were being assembled and rolling down the line.
I’m not sure what you do for a living, but if this isn’t it, it’s you “may” want to consider doing this full time, as it certainly on its way to being a 100 point concours restoration in my opinion. Keep the pics coming!!!
By trade I am a mechanical/fluidics/systems engineer for a major medical laboratory device company, but grew up in the collision repair world. I just like older cars and like to bring them back to factory original. I have a collection of 10 cars at this point. no preference to any specific manufacturer. I just like different. I have a website that I document my restorations on: RelicRecyclery Index of Projects
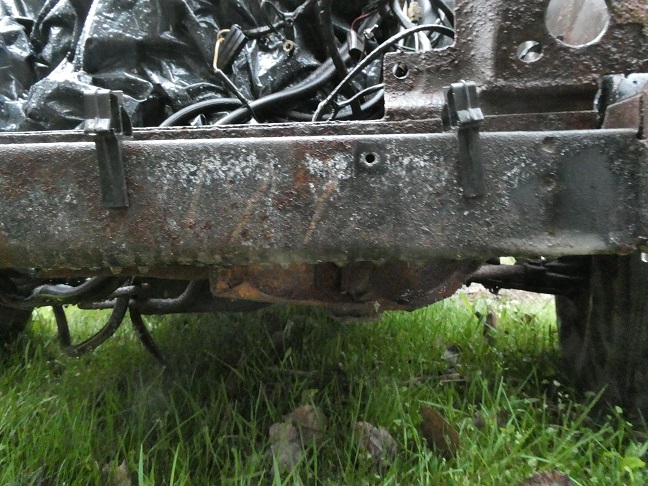
I haven’t evaluated the suspension for inspection marks or paint daubs yet. Not much was found on the body just the rotation number (199)
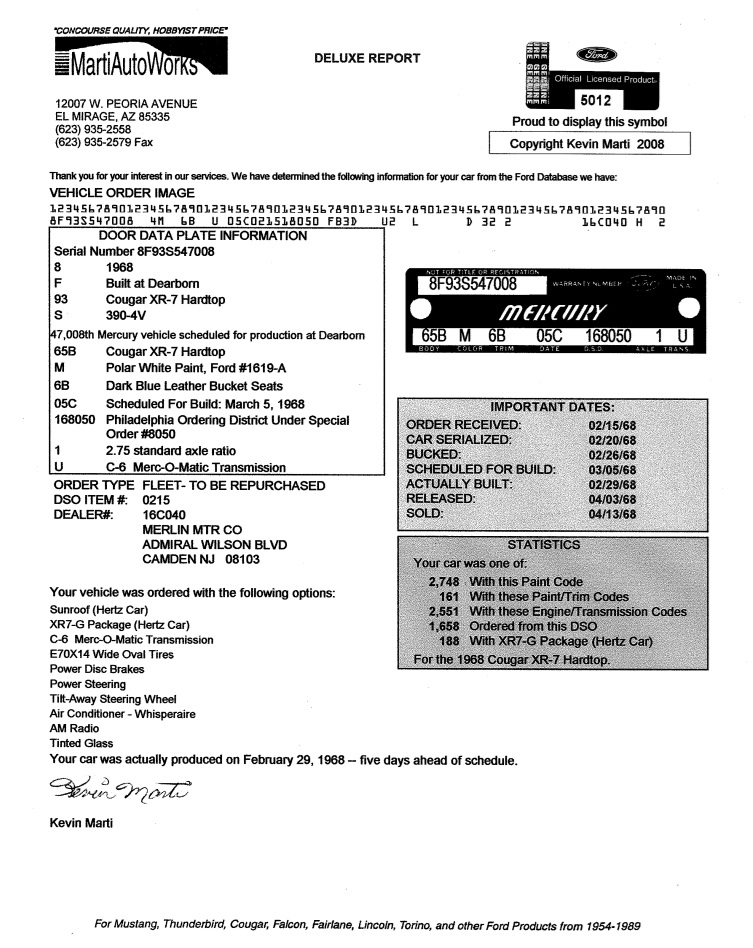
The most unusual thing I have found on this car is this label on the hood. It reads “A. 1951 B. 1684” and it was made with one of those old hand-held embossing label makers. Not sure if Hertz put that there or not. I think it means “Aisle 1951 Bay 1684”, but I can’t be sure. would love to see one on another car.
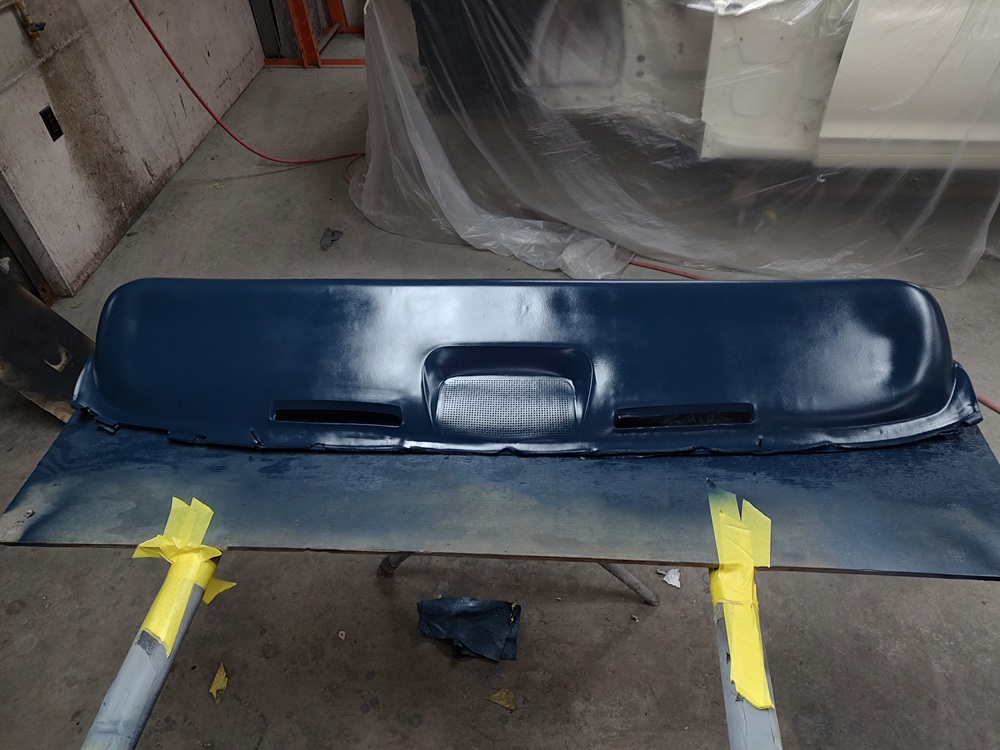
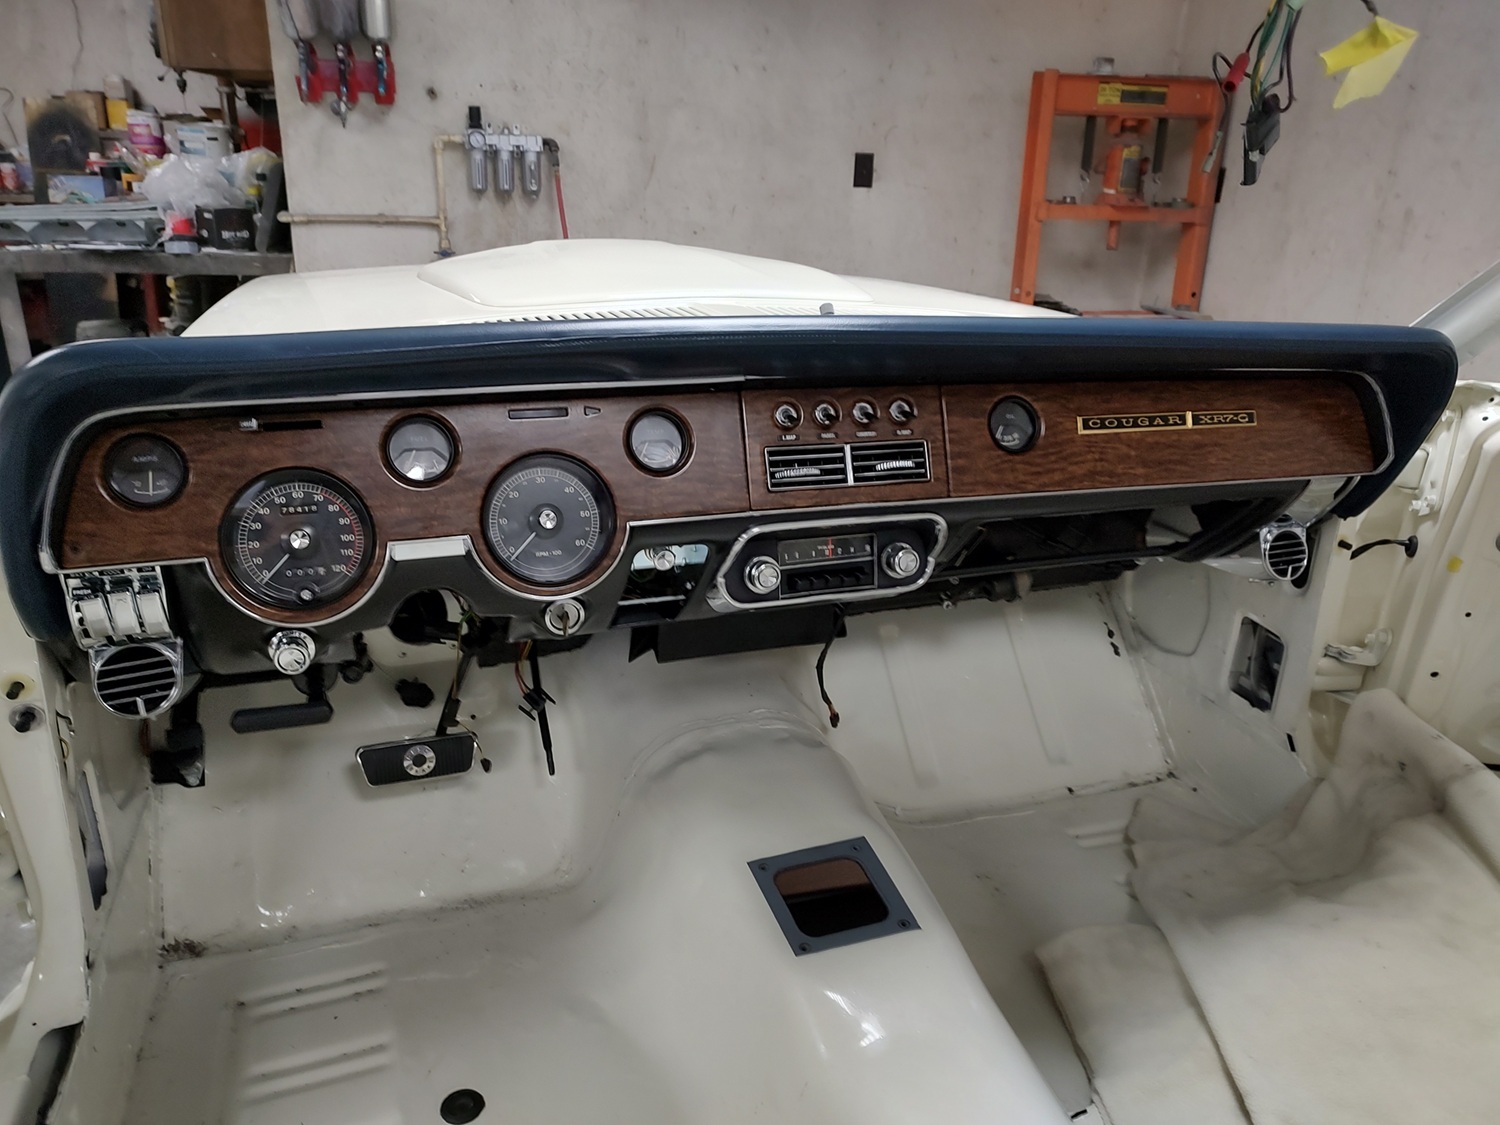
UPDATE 1/6/2026: I’m still plugging away at it. The dash is almost completely done now. Just the ashtray and glove box left to go.
The dash pad was in great shape except for being a bit faded in spots. Nothing some SEMS Shadow Blue couldn’t cure. The blue turned out to be very close to the original shade of blue. I prep’d the pad with SEMS Soap 39362 & Vinyl Prep 38343. Their system seems to work out well.
None of the hardware for installing the dash pad in the AMK kit was correct for my car. The factory used the same nuts as the defroster ducts on my car. You can still get those from AMK, so that is what I did.
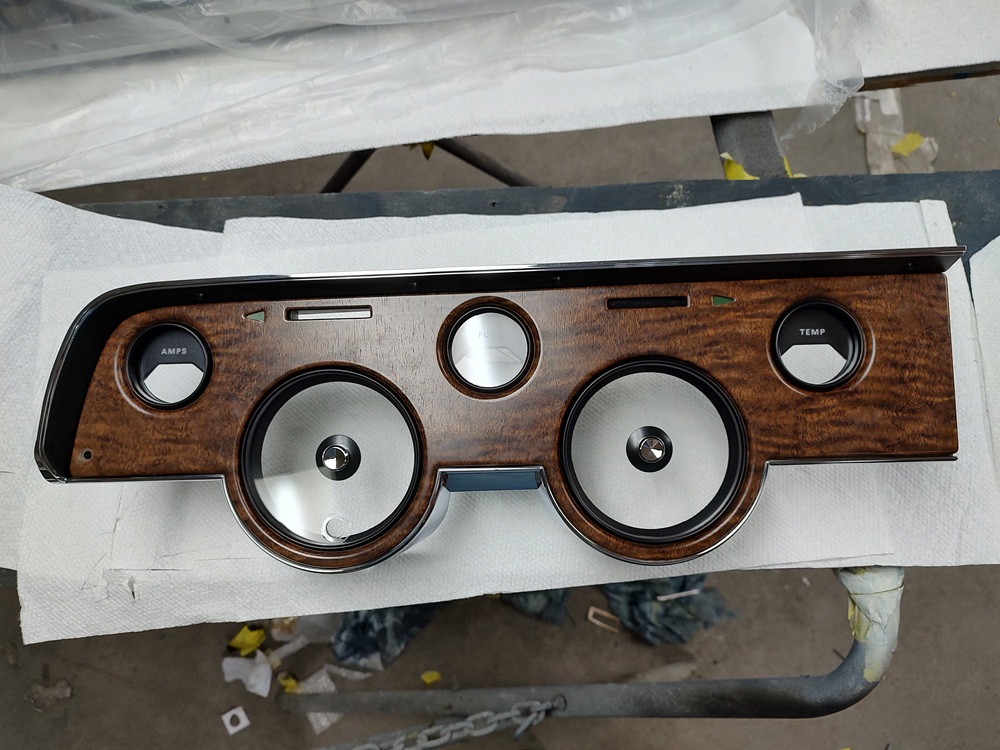
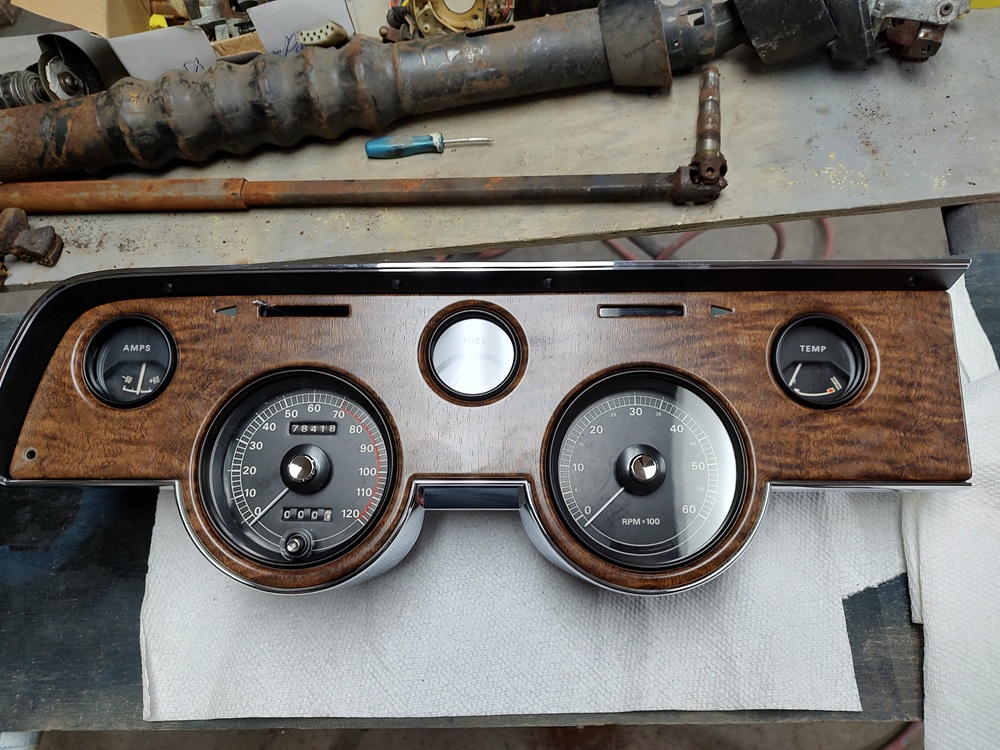
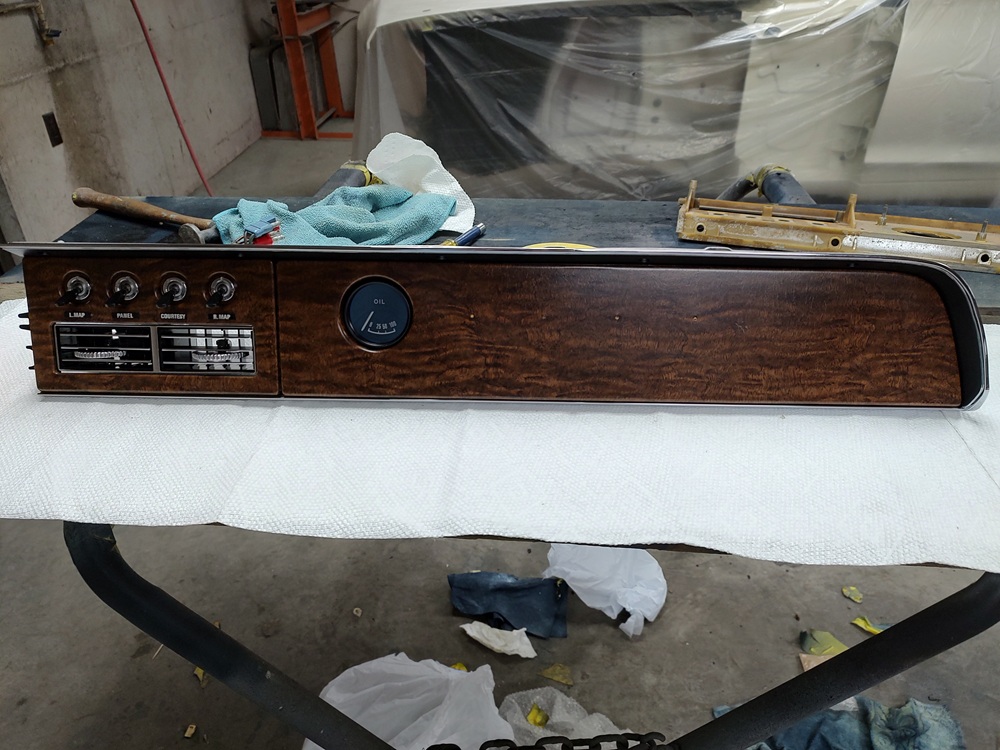
This is what it looks like today. The dash bezels, AC vents and gauge lenses are the repos from Bill B. The emblems are NOS ones that I purchased back in 2008 when I originally purchased the car.
The radio bezel and ashtray asby are also repo. Though the ashtray asby is really close to the original, I found that I could not install the removable portion as it was welded together incorrectly. The removable ashtray interferes with the mounting screws for the fixed portion.
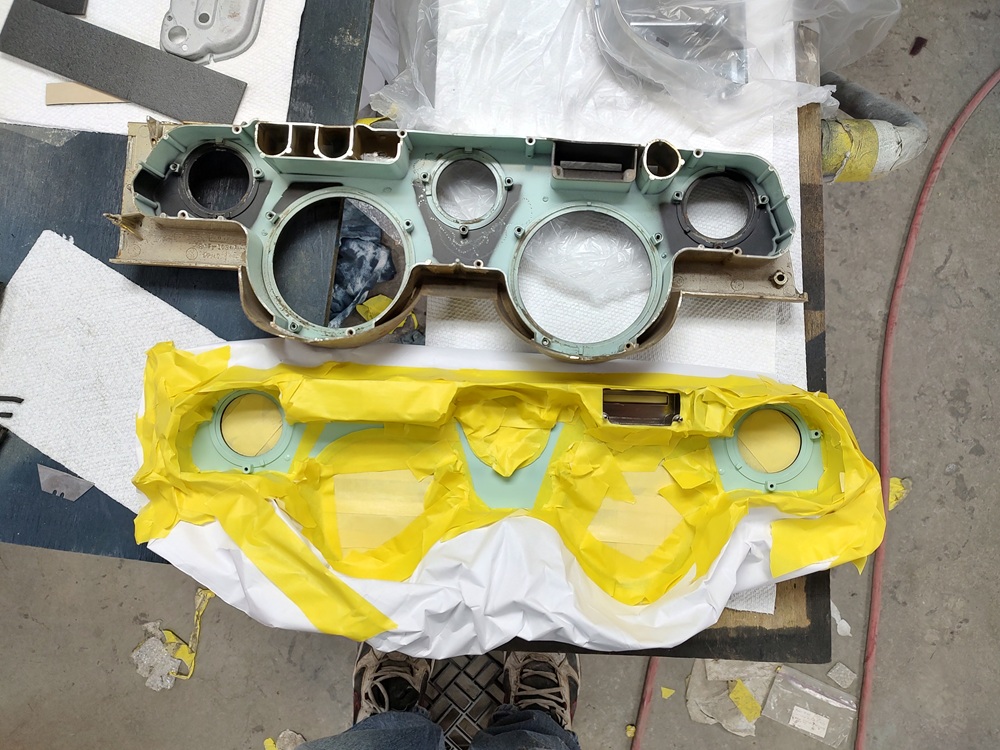
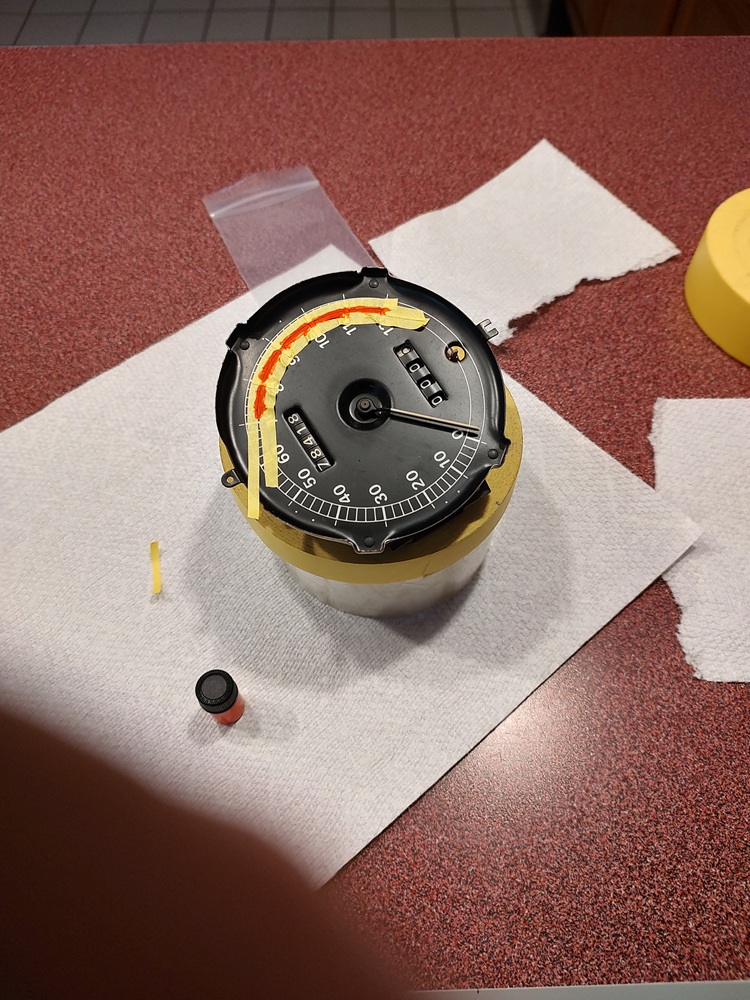
The orange paint on the speedo was pretty faded. So I decided to touched them up using the needle paint from WCCC. The paint is thin, but with 3 light coats is came out great.
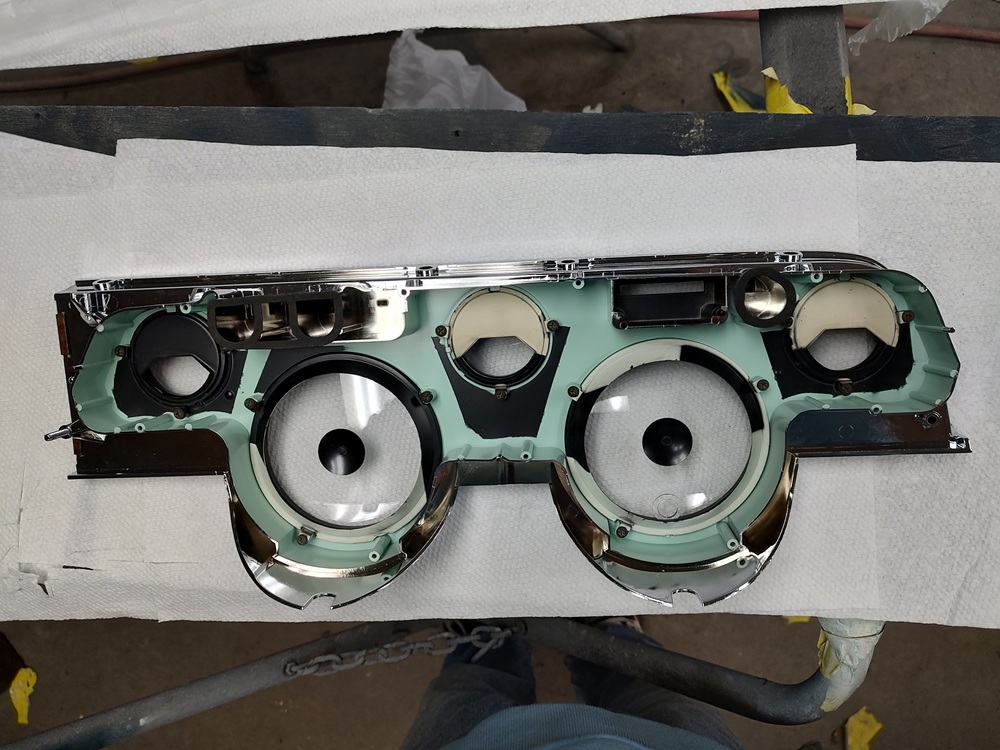
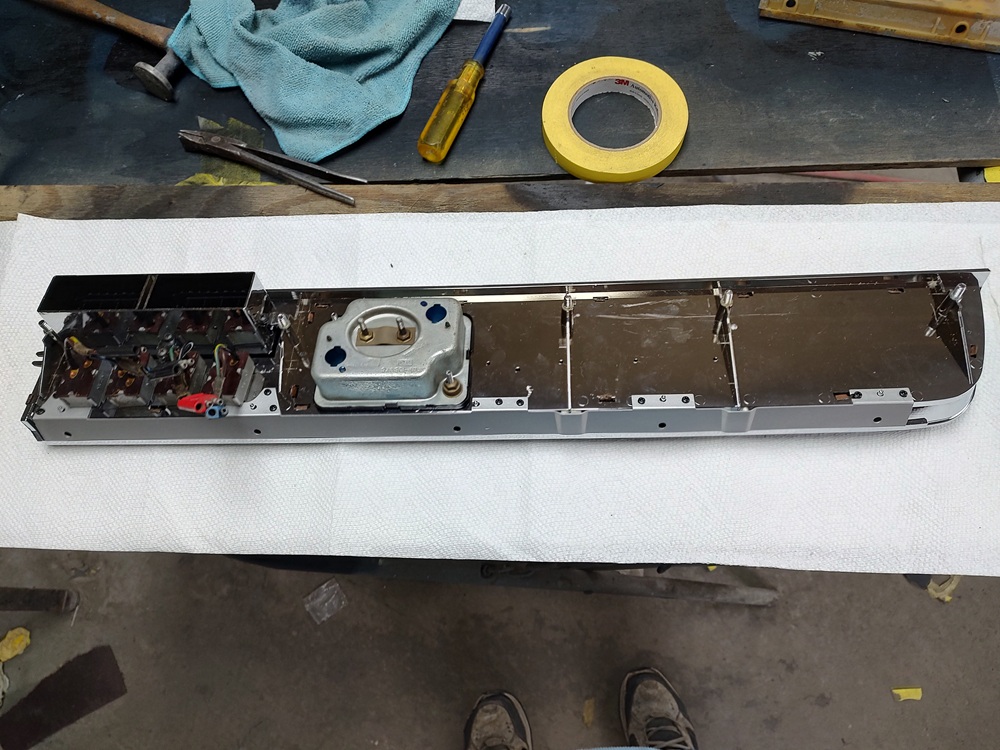
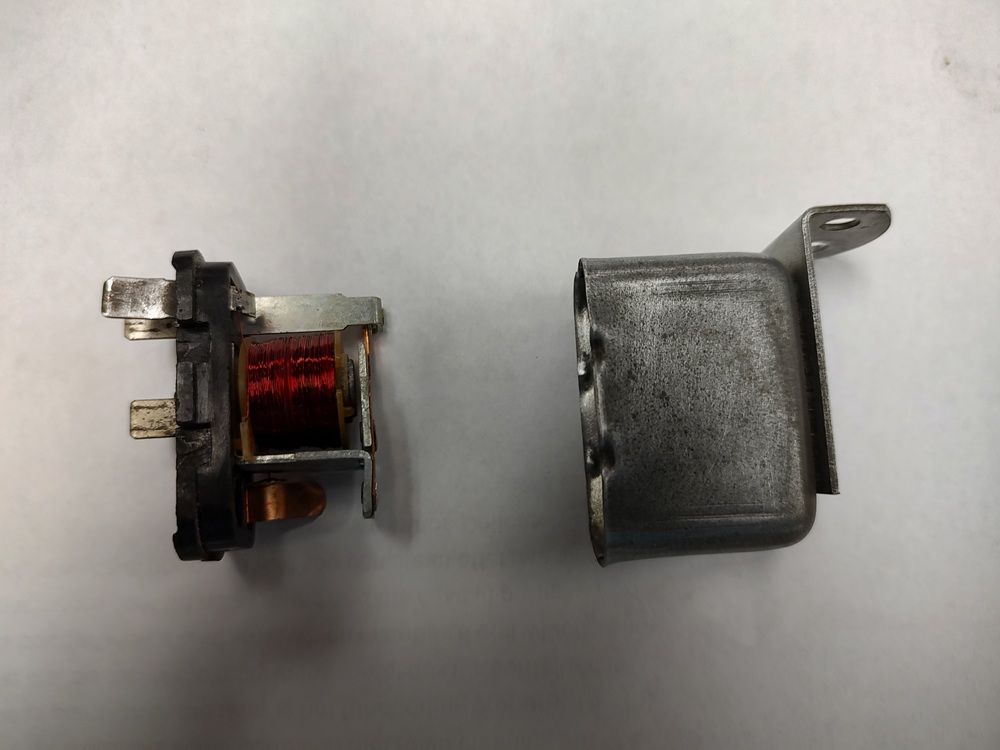
The right side was pretty simple to redo. Oil pressure gauge received a new lens. I dismantled, cleaned and lubed the 4 toggle switches. They are a bit tricky to put back together, but they work really smooth now.
My trick for putting them together was to use my SnapOn toolbox drawer slide tool. I put it in between the fixed contacts and the sliding contacts during assembly. With the pieces squeezed together I pulled the tool out and then bent the ears over on the switch housing. makes sense ?
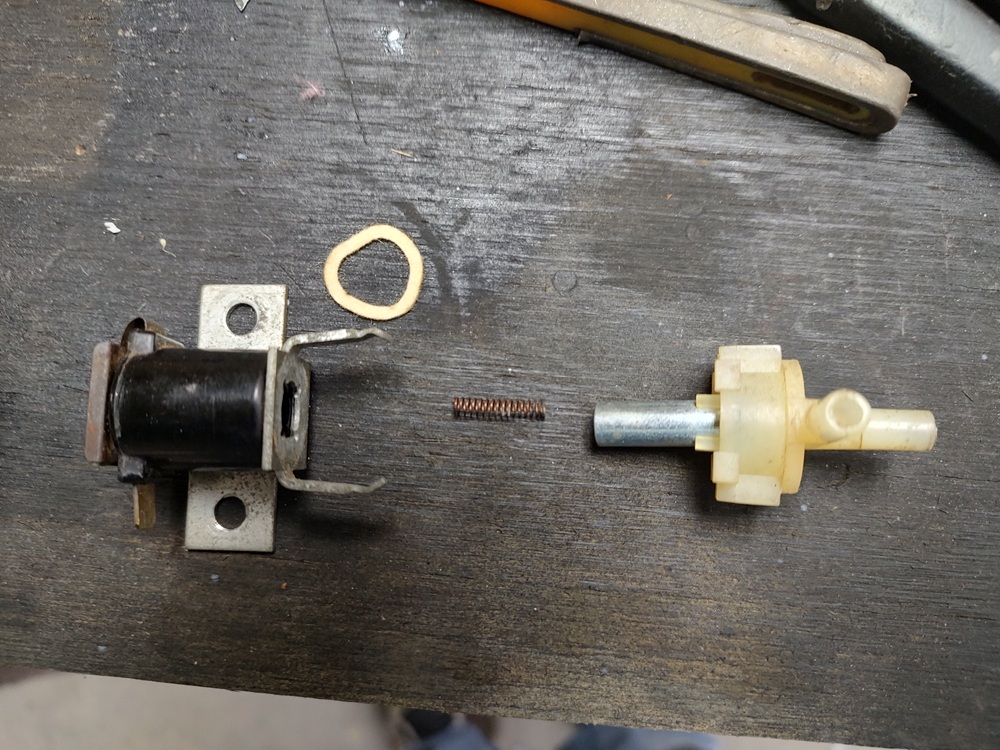
The components for the tilt away control were dismantled cleaned, lubed and reassembled. I never took a picture of the assembly reassembled before installing it. So maybe I will get another chance if the darn thing doesn’t work…..
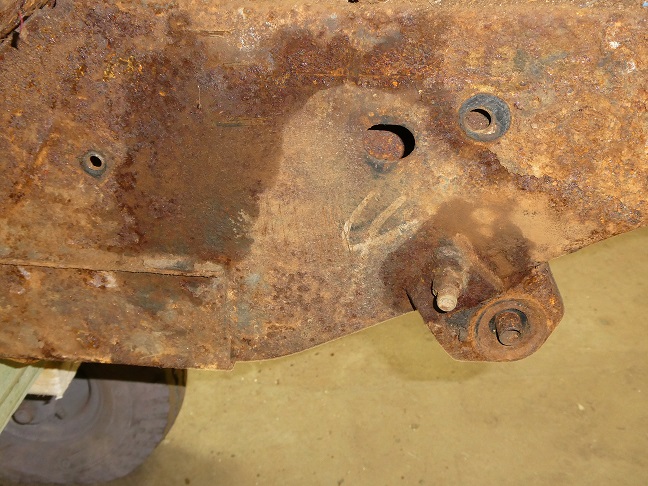
Assuming that the second rotation number on the front cross member matches the buildsheet if you’ve found it. Dearborn didn’t apply it to as many sub assembles as San Jose did but instead attached a copy o the buildsheet to the subassembly before placing them on the belt that took the subassembles to the line
The mark on the frame is just a quick X which sometimes ended up like you found it or only one pass of the crayon.
Each Hertz region was allowed to come up with their own methods of labeling their cars and the coding. We’ve worked out some of the coding for some of the regions. Also some used the plastic strips were are all familiar with as well as the metal ones. I do have the machine that does the metal ones as well as some of the metal tape. Recently did a couple for 66 Hertz Shelbys that came from regions that used them.
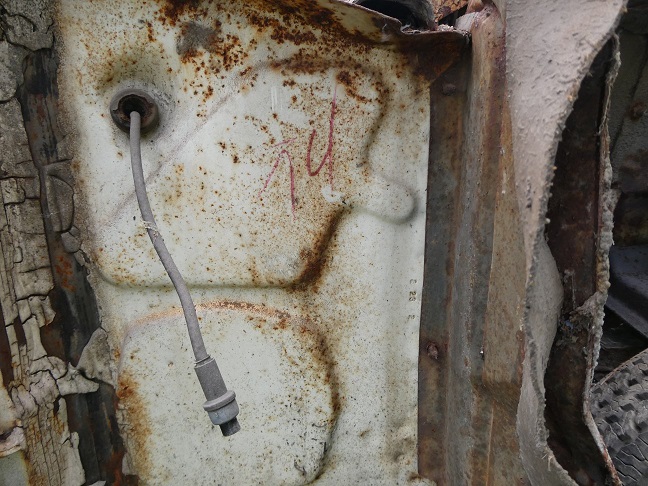
As far as the A pillar/cowl side marking could be the identifier of a number of possible workers who completed specific processes to the car originally to hold them accountable. At a different plant and applied at a different location we found a similar marking that identified the worker who installed the headliner in a particular car. Learned that from the worker himself who identified his number on an example we found.
Lots of work it appears and thanks for sharing your project and progress with us
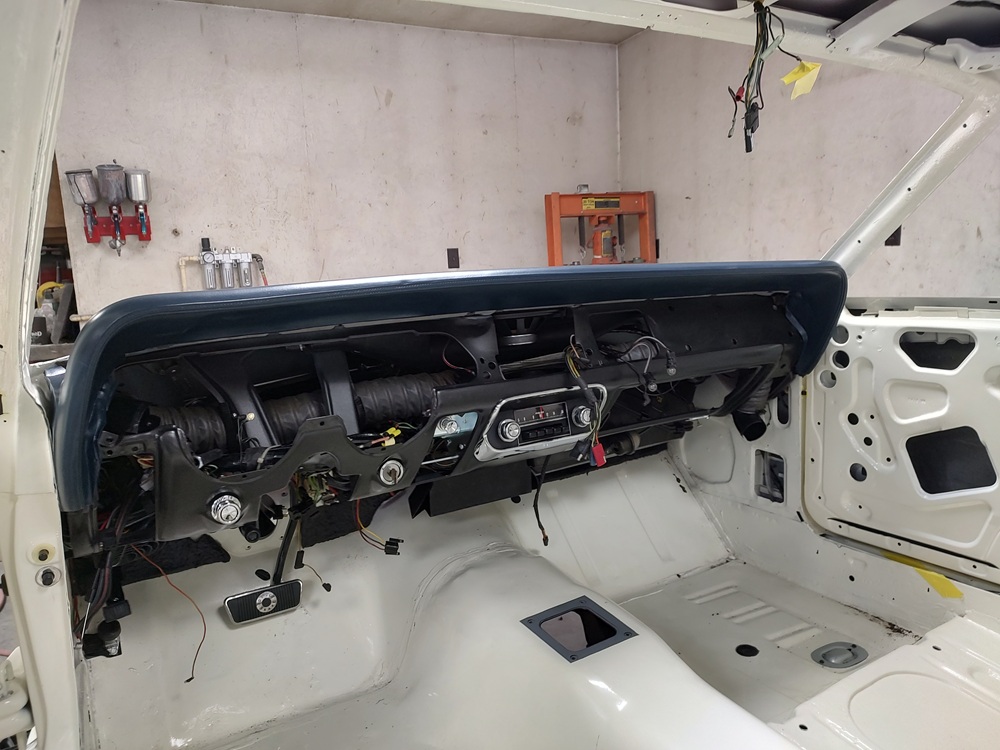
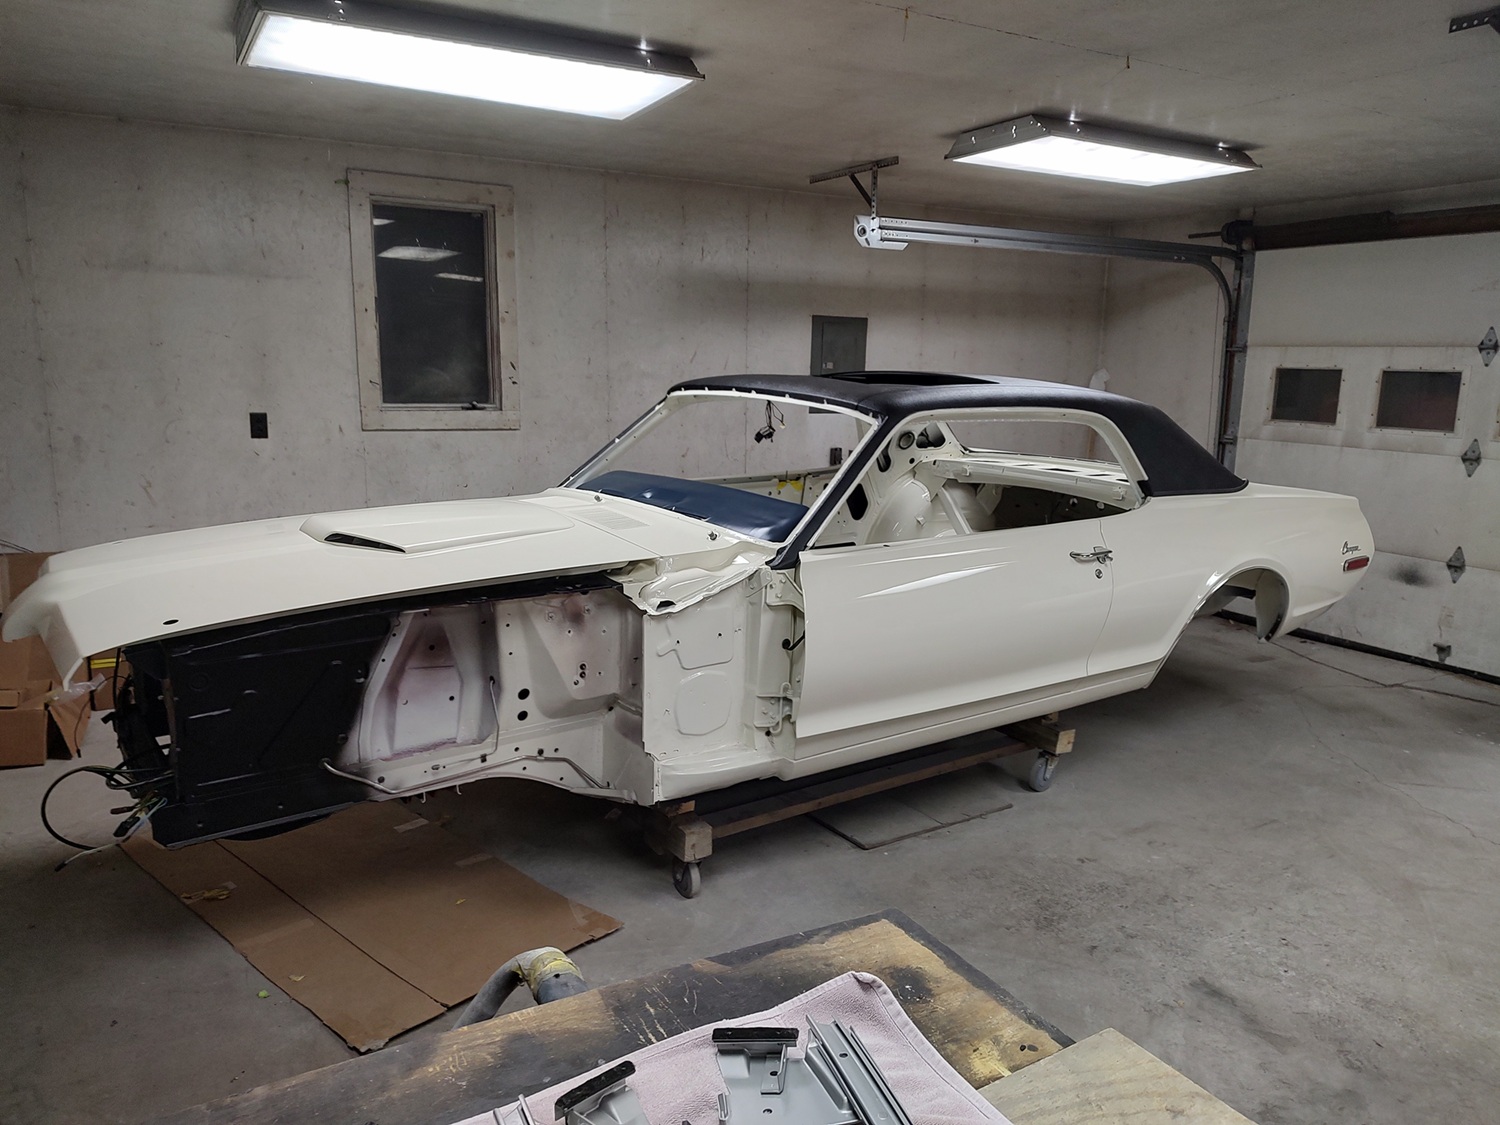
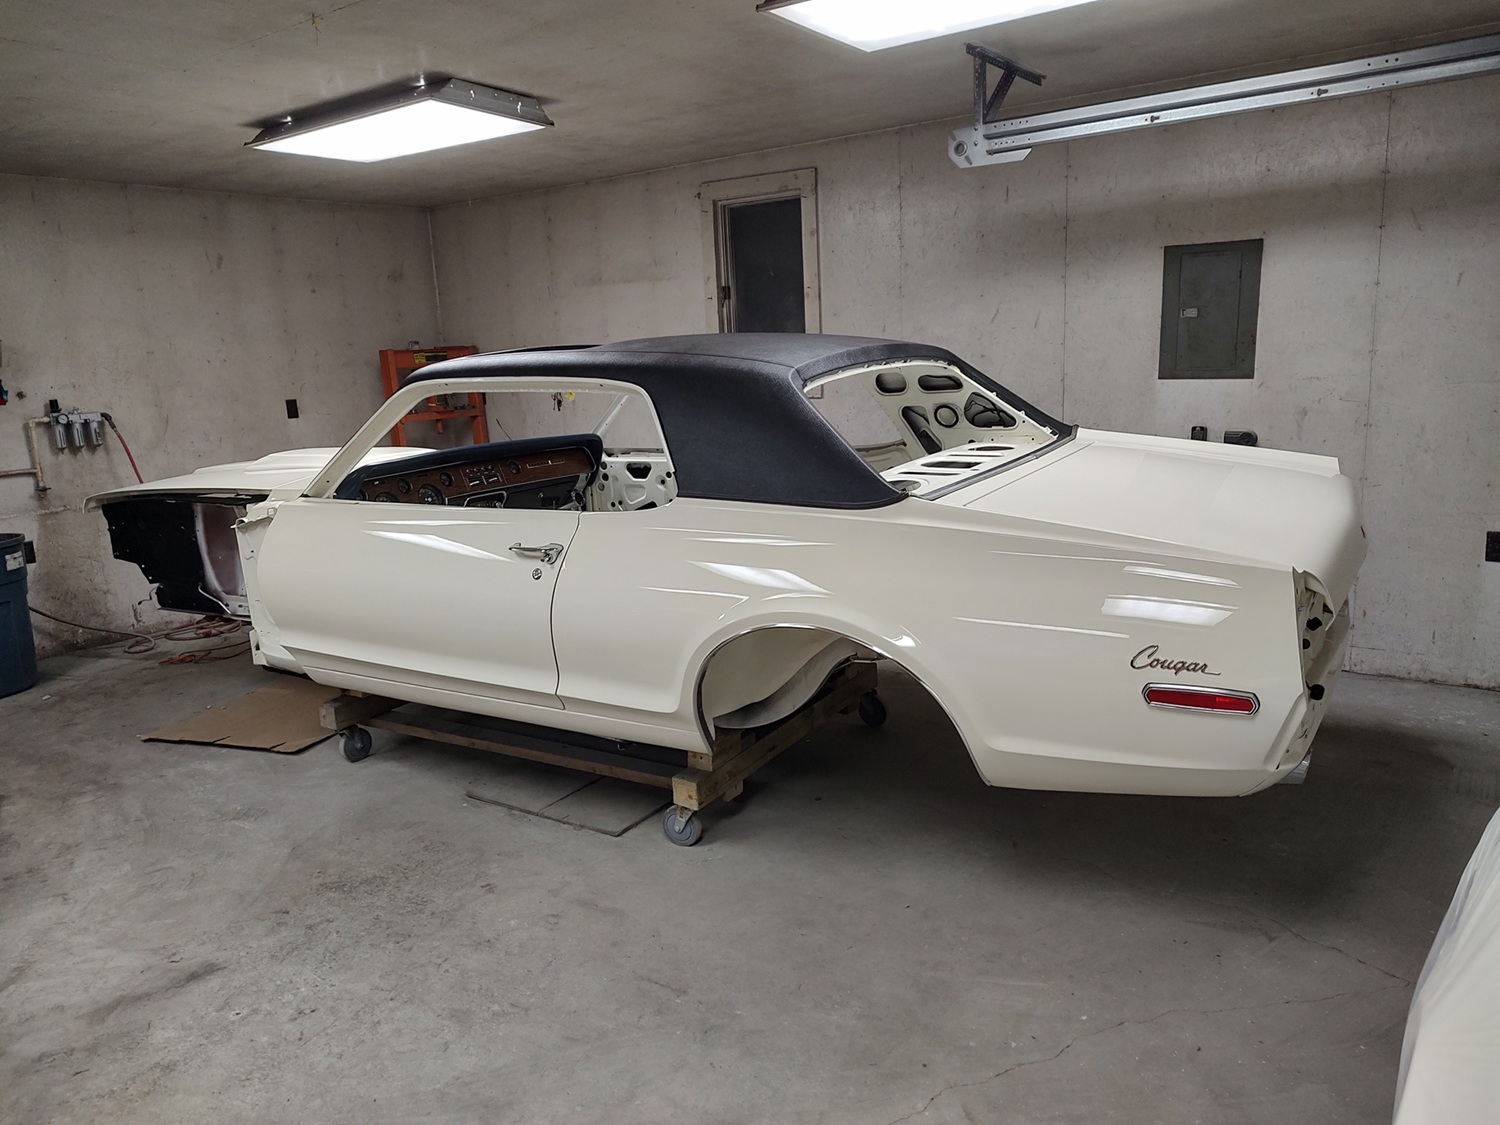
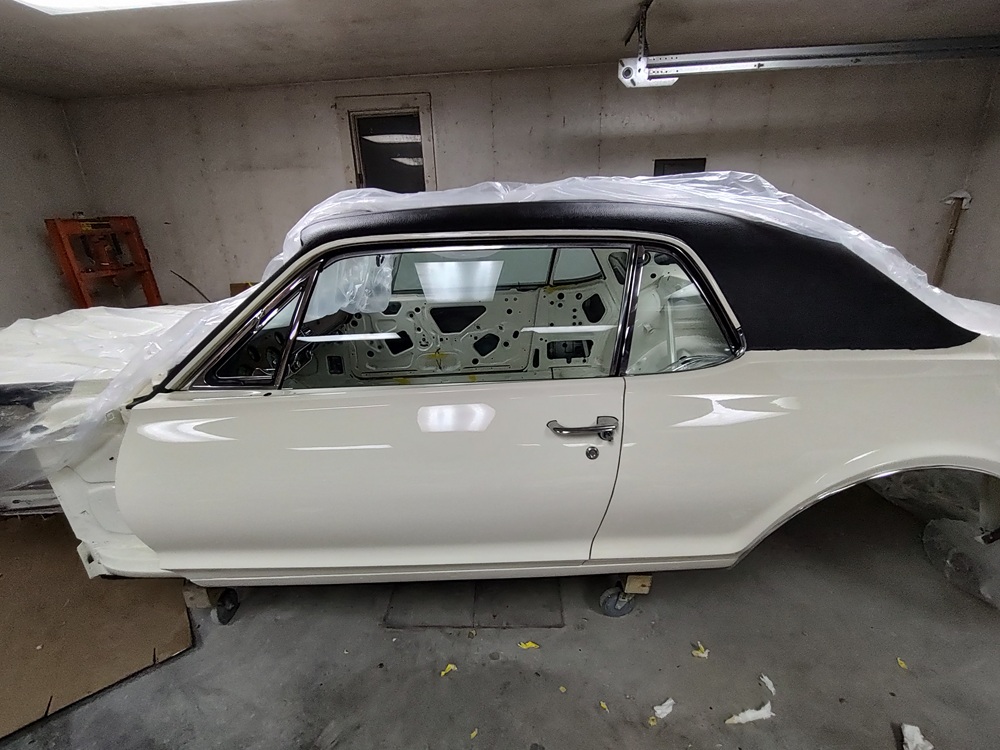
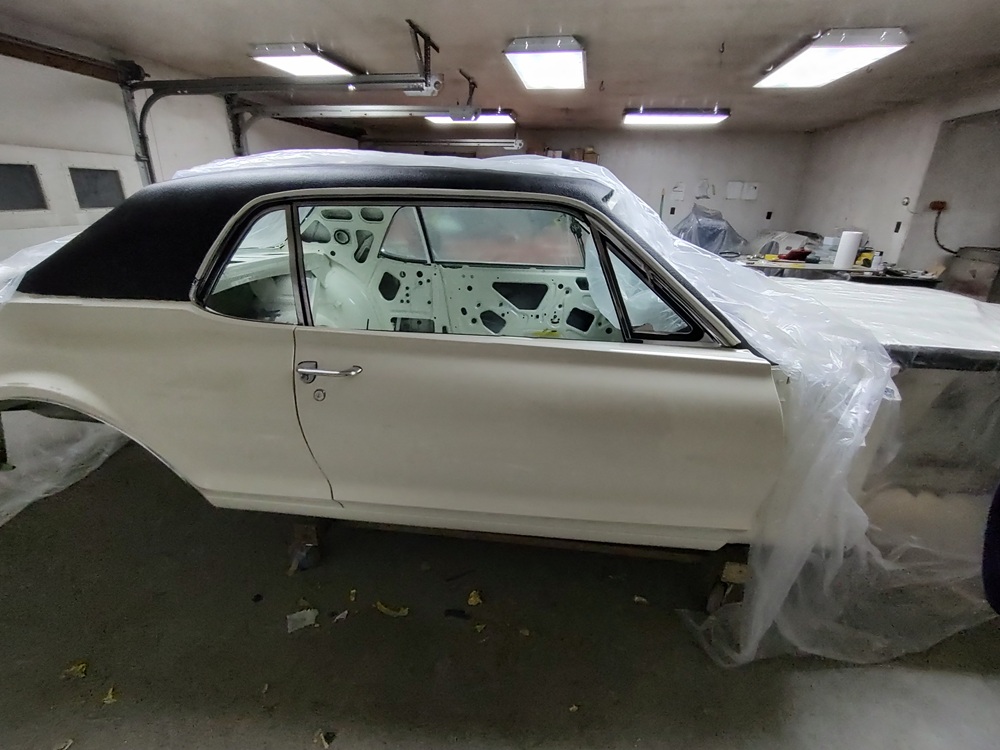
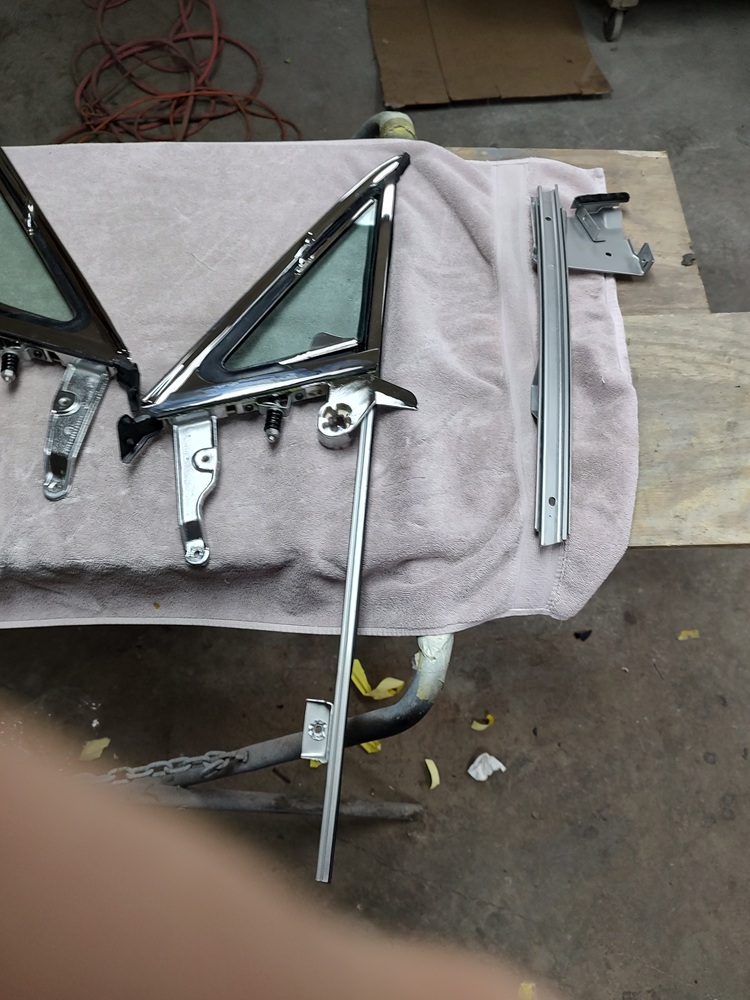
No real update today. I am working on preparing everything to install the side glass. Probably have it installed in the next couple weeks. In the meantime here it sits as of today.
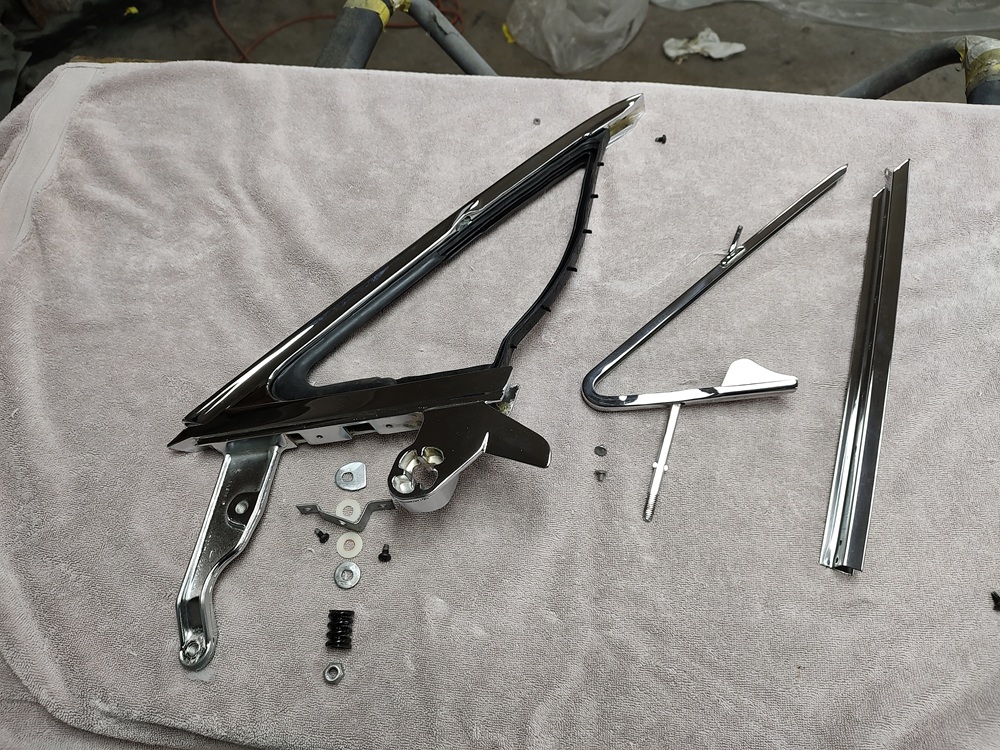
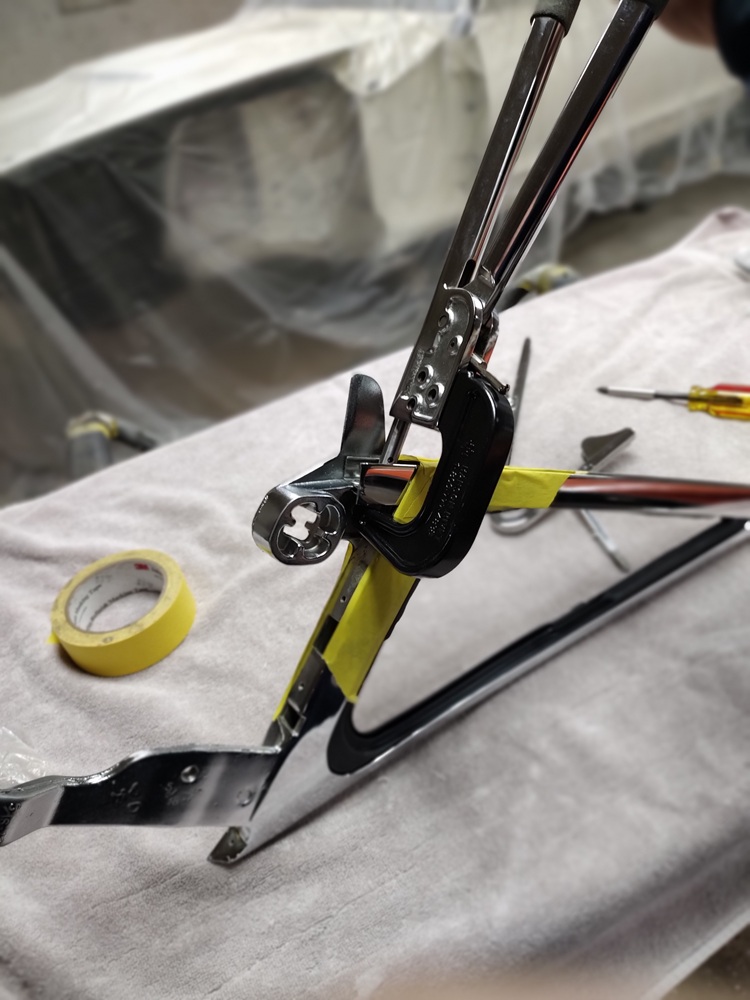
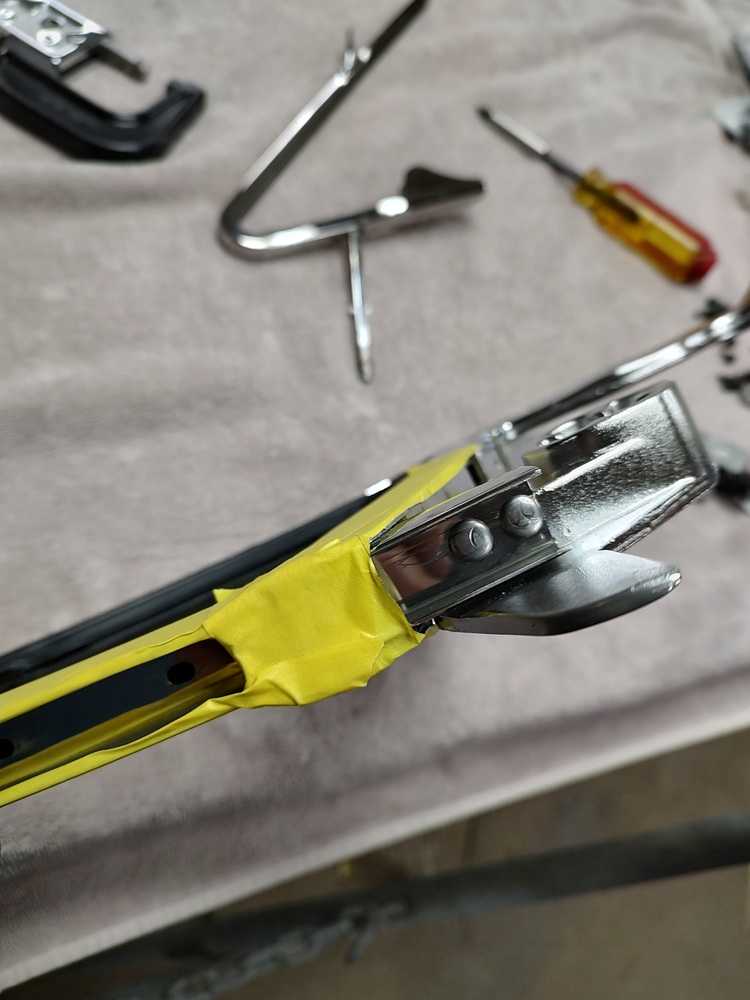
I did the parts exchange thing with WCCC for the vent windows. I sent them cores, they sent me rechromed original parts. I have a clincher for the rivets so I was able to attach the vertical stainless to the frames like the factory did.
To install the door glass, I followed Royce’s method of loosely installing the vent window and the slipping the door glass in from behind. With everything fitted, the vent window hardware is then installed.