It looks great! Bear in mind the car assembles with the firewall area first. It is a complex area so take your time.
1 Like
Fantabulous! That front valance looks sooo nice.
- Phillip
1 Like
Thanks. It’s an nos standard valance that I transferred the fog light pockets into.
1 Like
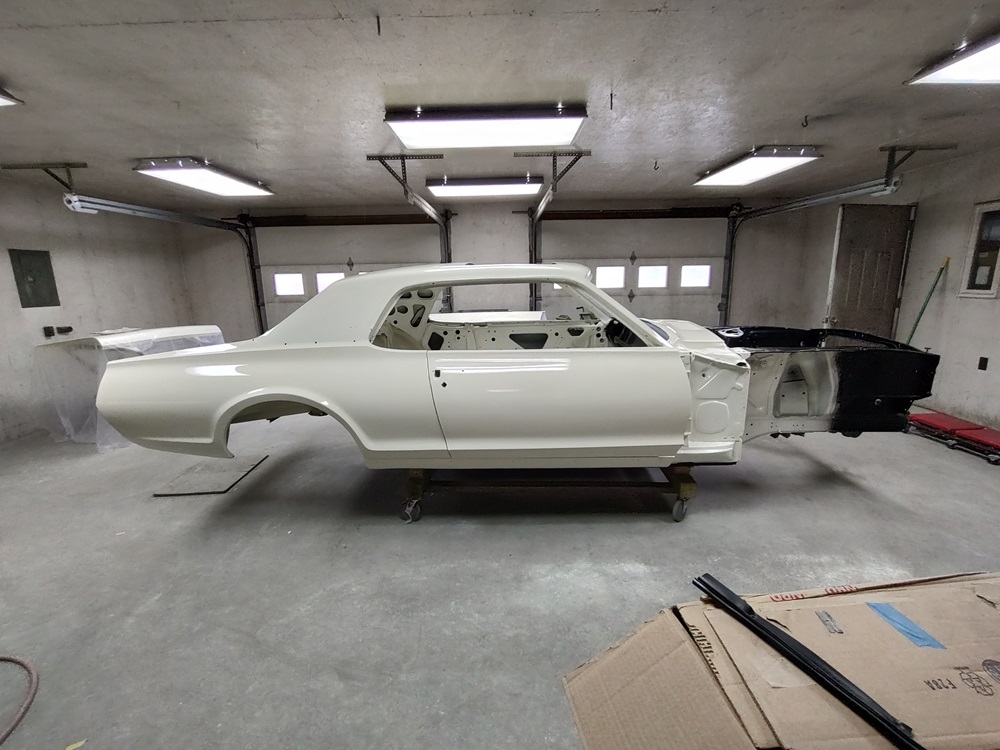
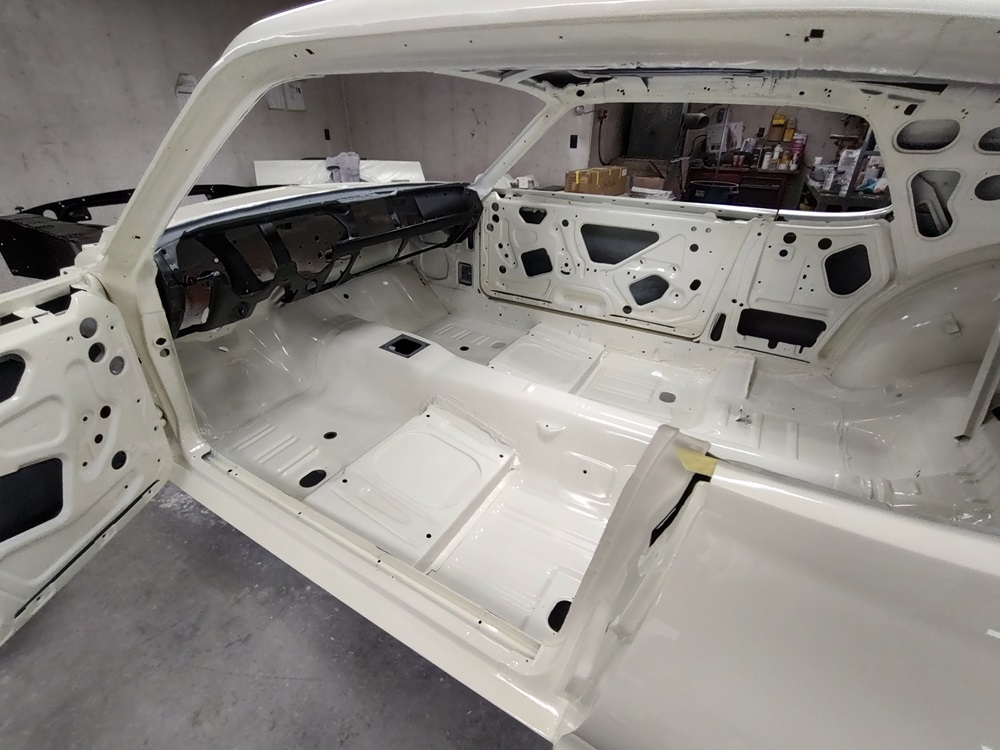
UPDATE 9/16/2025: Cut & Buff is now completed. The rockers have been blacked out as well as the dash vent openings. Tried to mimic the original factory dash vent blackout, so it isn’t very symmetrical. The first part to be installed was the fuel tank followed by the trunk lid.
At this point nothing else has been restored. I will be restoring bits and installing them as I go.
The next thing for me to install will actually be the vinyl top.
3 Likes
Looks pretty good. The vinyl top and headliner will be a lot of work with that sun roof.
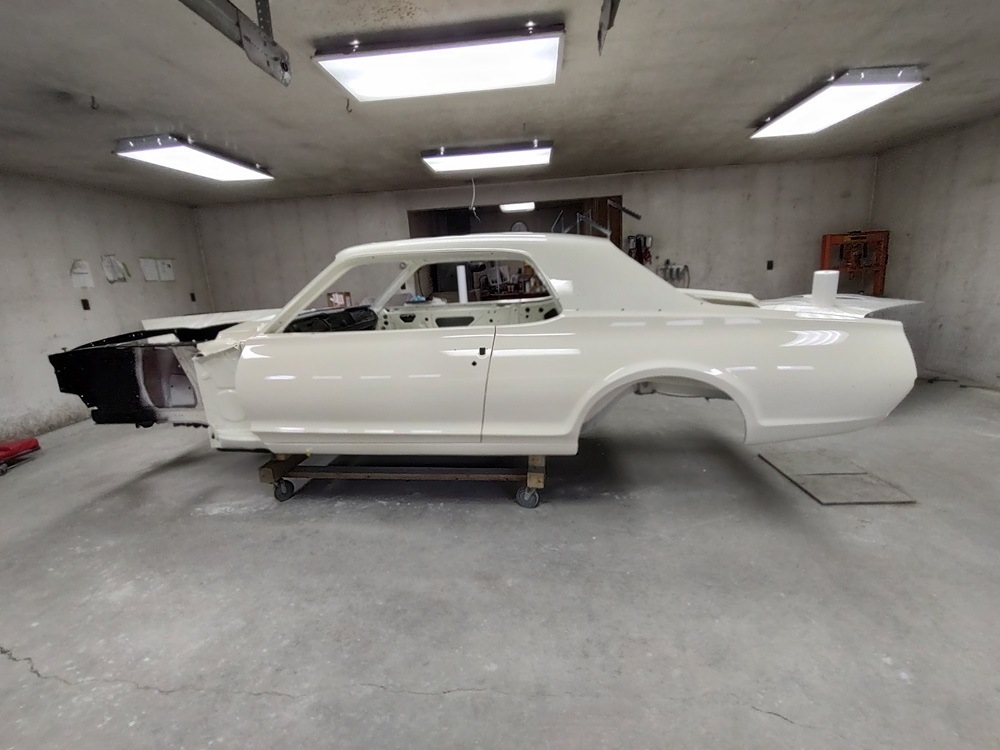
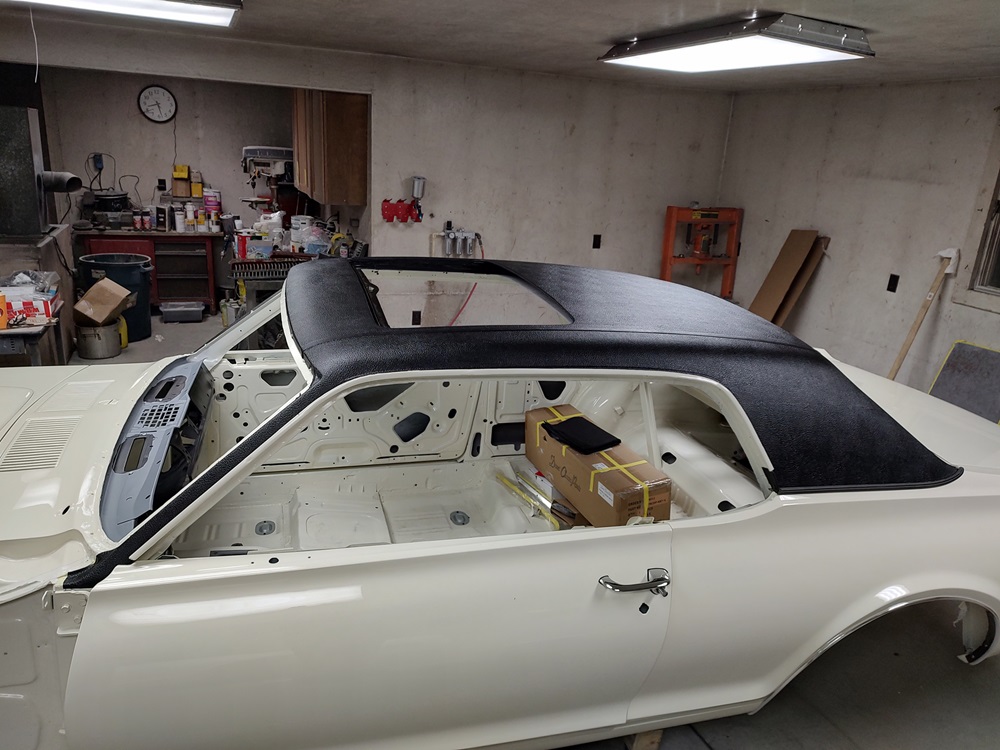
UPDATE 10/14/2025: The vinyl top is now installed! Once the car was prep’d it took me about 5 hours to fully install it. It really wasn’t as difficult as I was expecting it to be. In the following series post I will add some pictures and add some notes that I learned along the way….
3 Likes
Wow, that’s some really nice work! Looks like a factory install.
1 Like
i helped do this on a ‘69 sunroof car and we discovered the hole for the roof was not centered… Really made us nuts trying to figure out what was going on.
1 Like
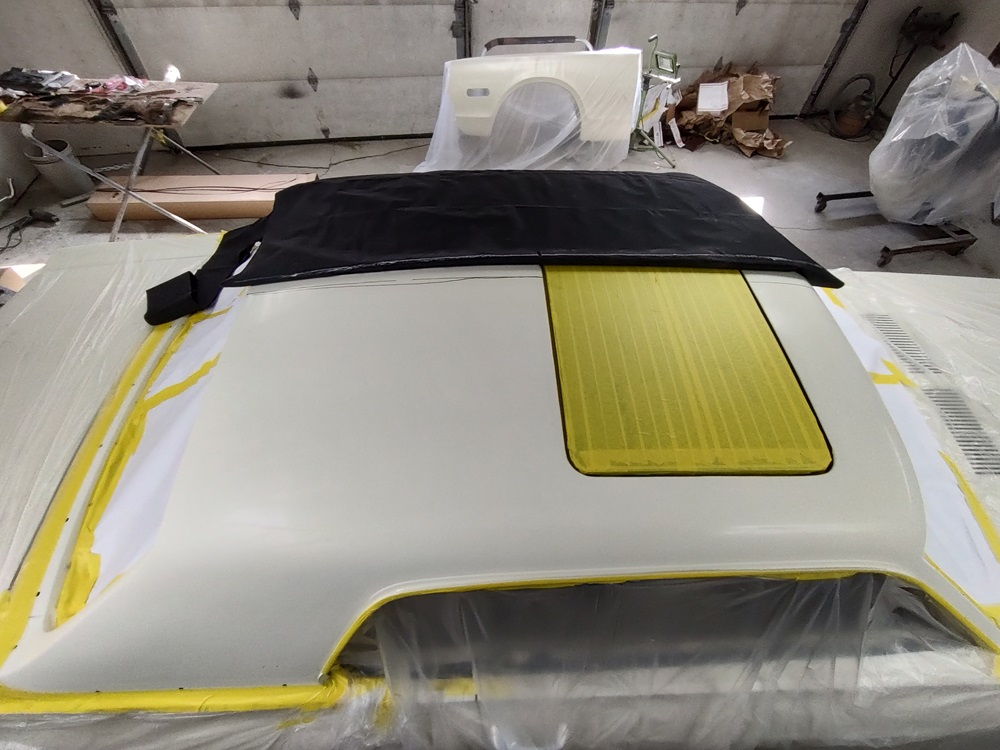
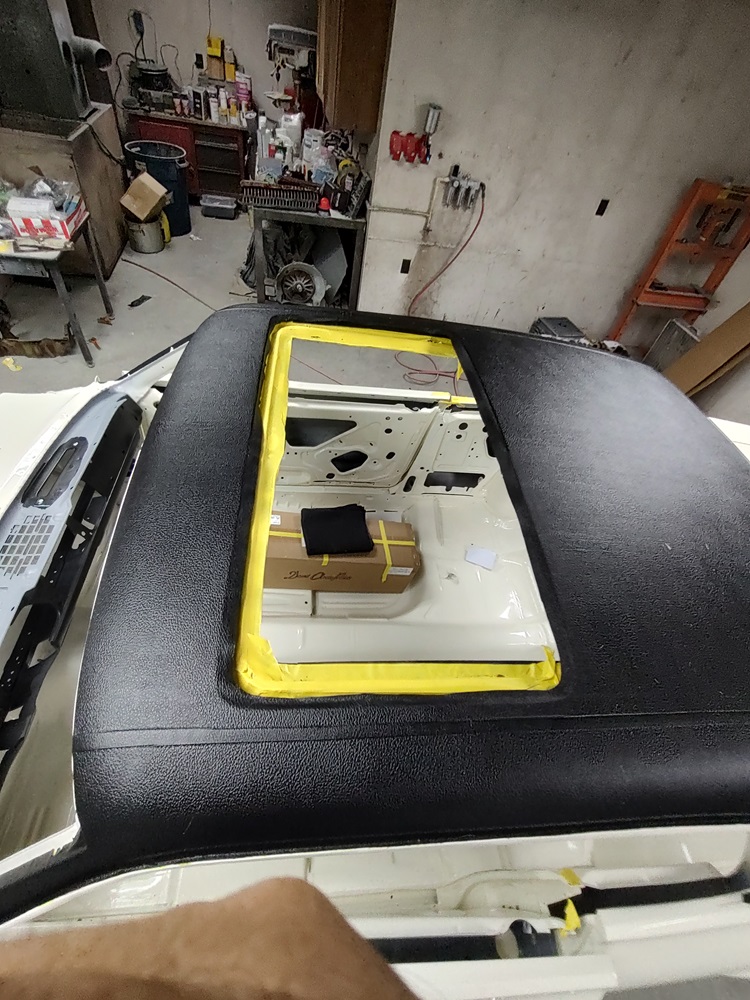
The top is from our friends at WCCC as one would expect. As with any vinyl top install the first thing that I did was mark the centerline of the roof and then I marked the centerline of the vinyl.
IMPORTANT: the centerline of the vinyl is found by folding the vinyl top in half and aligning the longitudinal seams so that the seams are centered around the sunroof opening, If you just fold the top in half and align to the outer edges, it won’t line up correctly.
Getting the alignment of the vinyl from front to back is quite important. If the top is too far rearward the strip along the bottom of the rear window will be too loose and you will have to cut a piece out of it. Too far forward and you risk the back piece not being able to stretch all the way across the panel. I made a cross mark on the top at the rear of the sunroof opening as reference for my front to back alignment. If you look close at the first picture you can see the black line across the white centerline on the top.
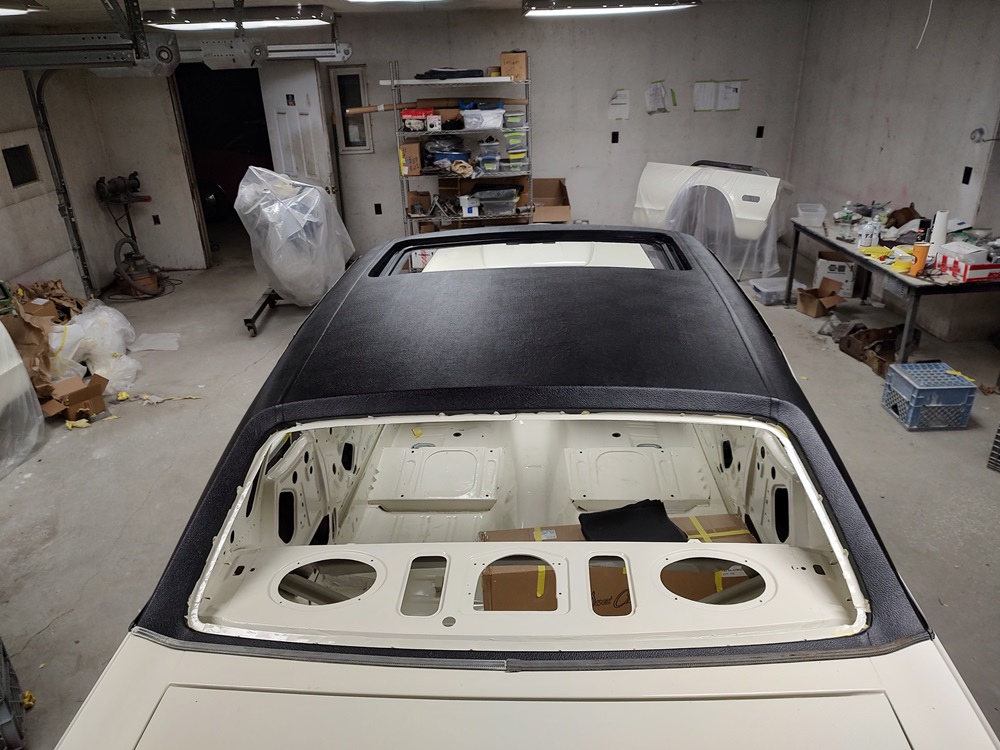
What makes this car tricky is the sunroof. The vinyl will not lay flat and will be somewhat deformed if the sunroof panel isn’t present. The panel itself is to be covered in vinyl at a later time. So I masked the panel and then put it in its opening. Since none of the mechanism is in place yet, I had to shim it in place with pieces of wood.
Using a paint gun with a 2.2mm tip I sprayed a thin line of adhesive (Weldwood Landau top & trim adhesive) down two center line. I aligned the 2 together and pull the glued strip tight by making good contact at the rear and pulling the top tight while stating through the windshield opening.
After checking top fitment (left & right seam alignment), I glued from the center to the right side seam.
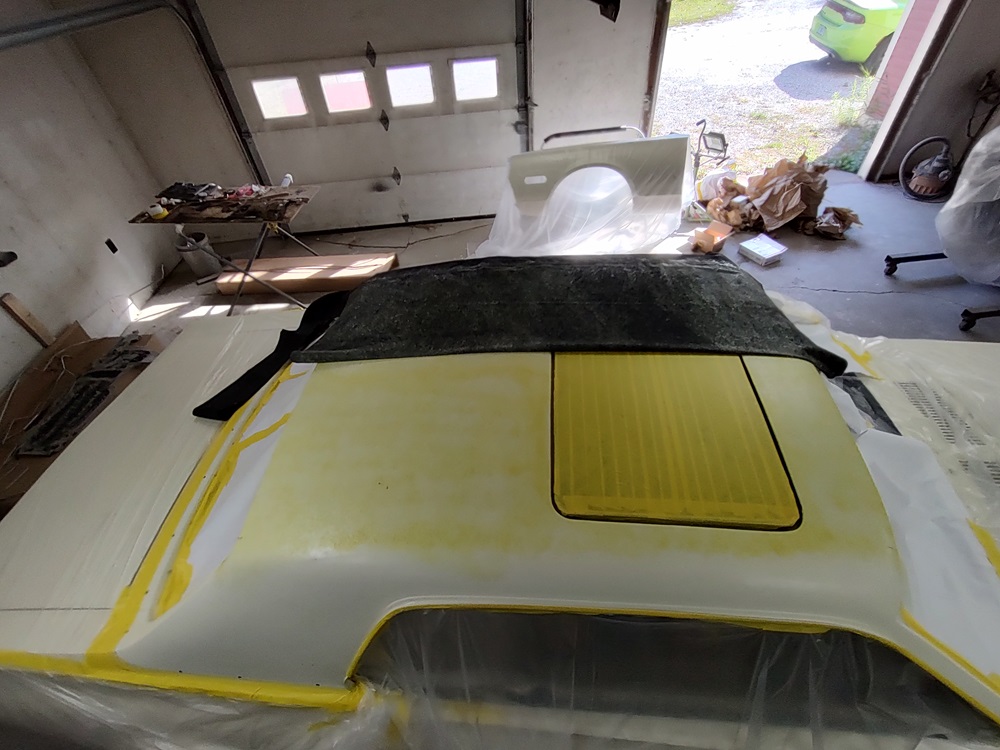
And then moved on down the right side. hard to describe, but basically I pulled the top tight diagonally across the roof pillar first and then moved inboard and outboard making the vinyl tight as I went.
2 Likes
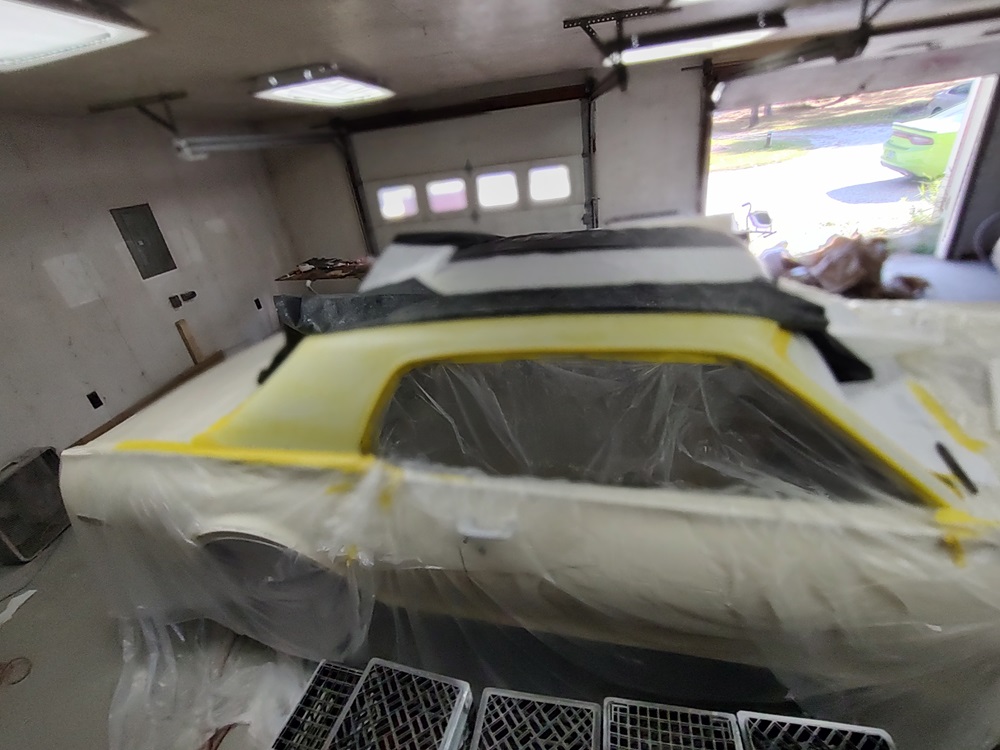
At this point I made sure that the vinyl would lay properly tight along the lower part of the rear window opening. Guess I got lucky as it had the perfect amount of tension on it.


2 Likes
After a glued down the driver’s side and windshield pillars, I let the glue dry overnight.
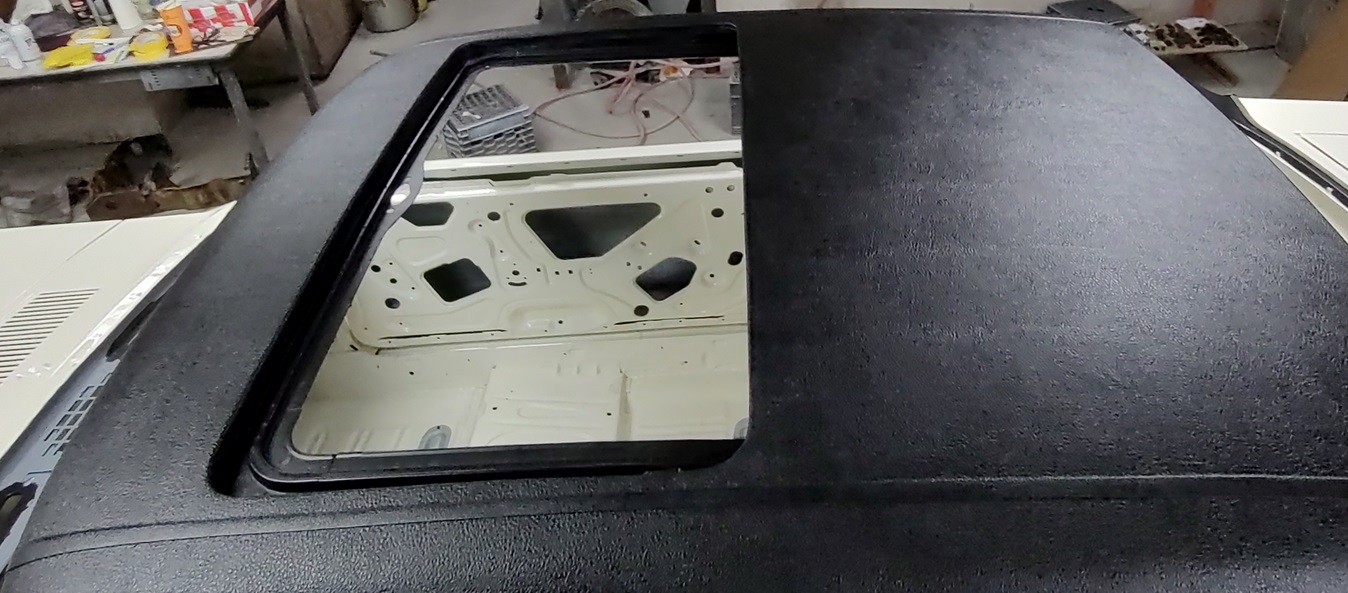
The next day it was time for the sunroof opening. I mapped out the opening with masking tape to give me about a 3/4” flap to glue down along the sides. In the rear I made the flap about an inch. The front was kind of a bow, with about a 1” wide in the middle with 3/4” on the ends.
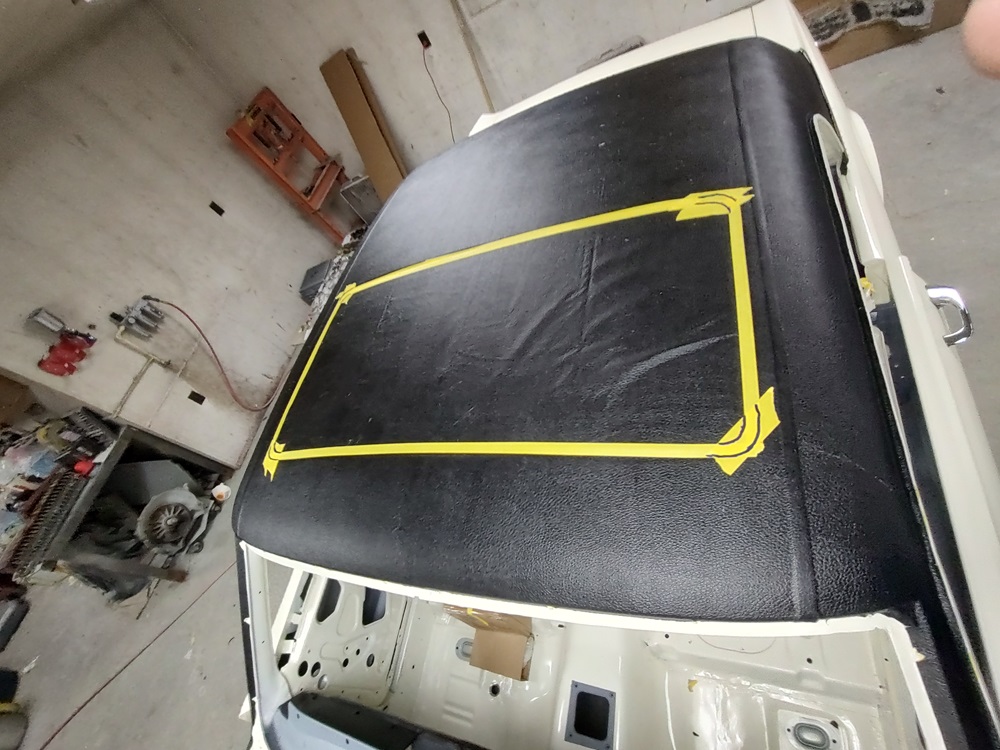
With an exacto knife I cut along the masking tape and removed the unwanted vinyl section.

With my shim boards removed, it was quite easy to remove the sunroof panel.
Glueing the flaps down was uneventful. I masked the area where I didn’t want any glue, and brushed glue along the opening and the underside of the vinyl. I removed the tape after the glue setup and folded the flaps down. To get the corners to fit I used a heat gun to stretch the material so that I could avoid cutting slits in the fabric to make it fit.
And there you have it. easy breezy
3 Likes
Better than a factory install for certain!
1 Like
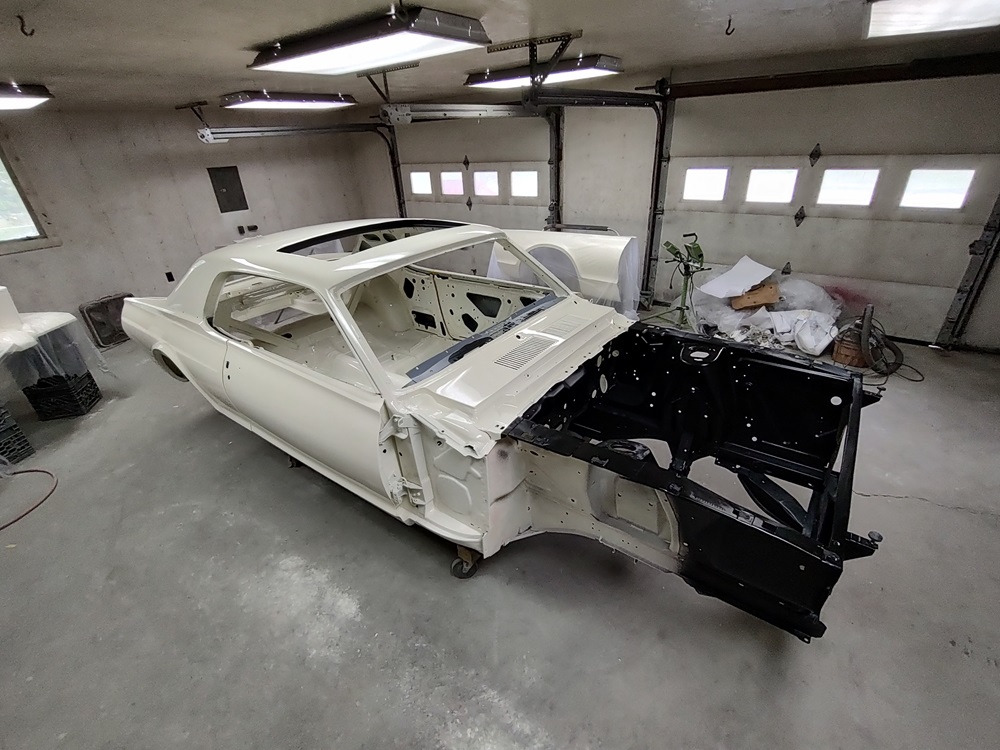
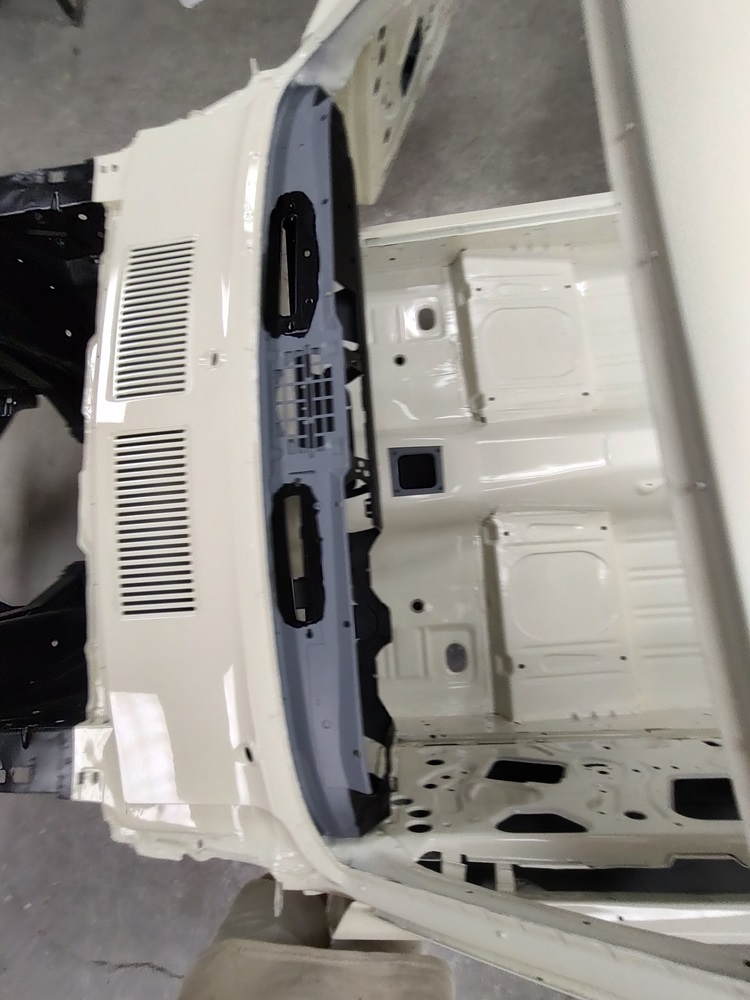
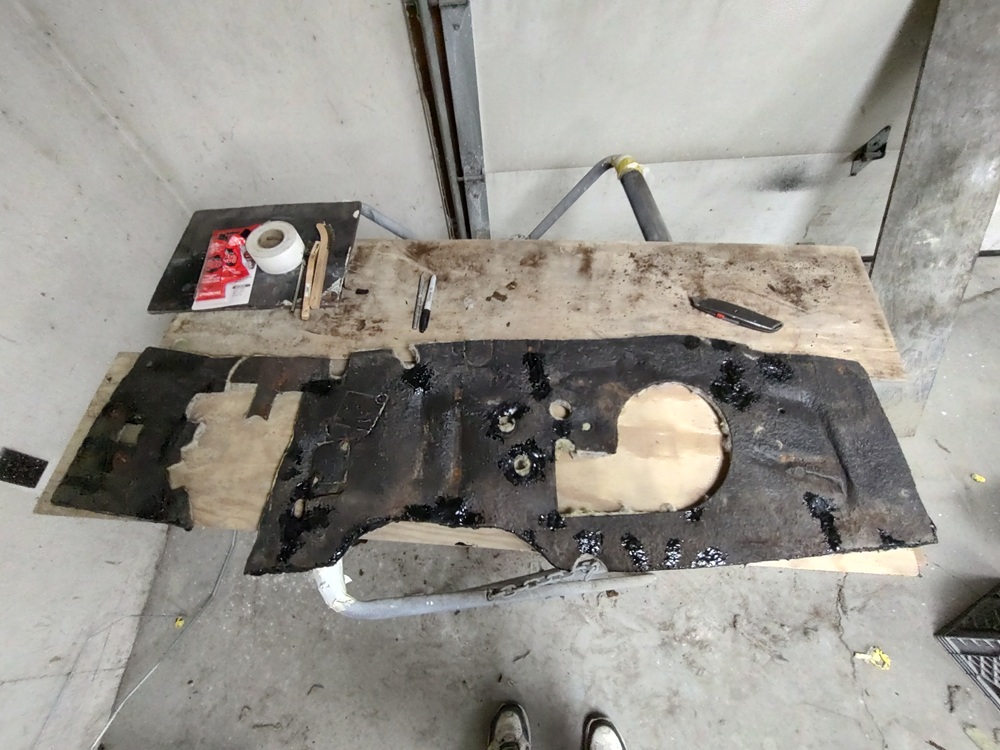
UPDATE 11/19/2025: I’ve been working on all things Dash / Firewall these days. I am basically restoring things in the order of assembly and am installing things in batches.
I started with the firewall insulation. The repos aren’t anything like the originals as far as appearance. My original one had lots of damage and smelled like mouse urine. So, learning from the folks at Concours Mustang I removed my old padding and gently scraped the back relatively bare so that I could patch it up with fiberglass mesh (the kind for drywall) and black Shoe Goo.
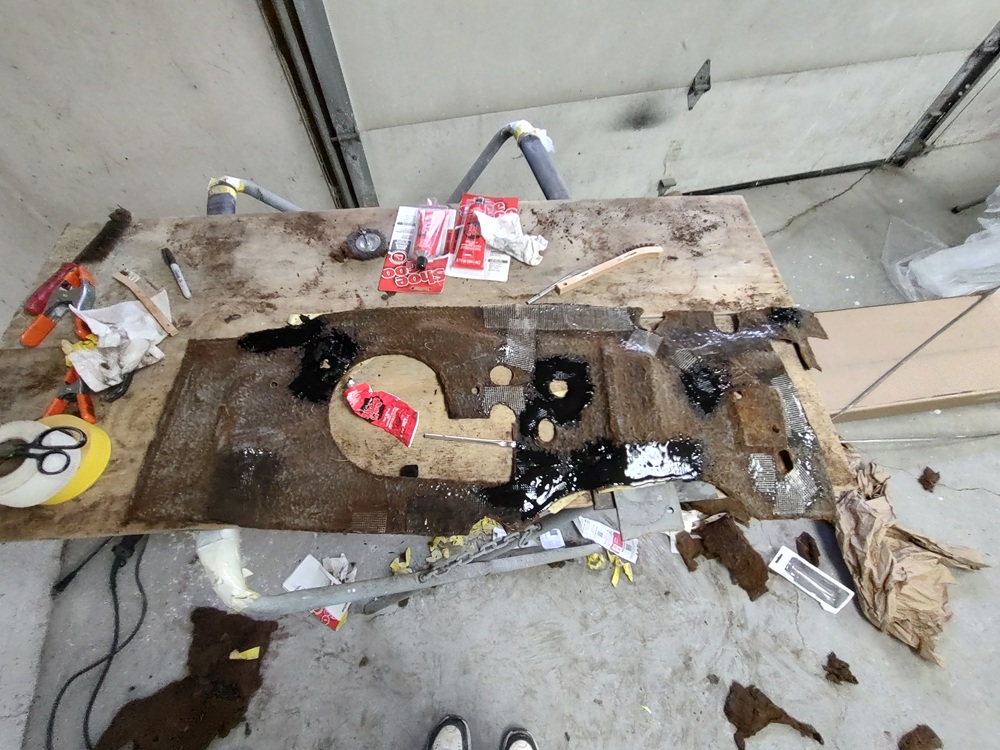
I bought one of the cheap firewall insulation sets, removed the jute from it and glued it to my original. Bye-bye mouse urine smell.
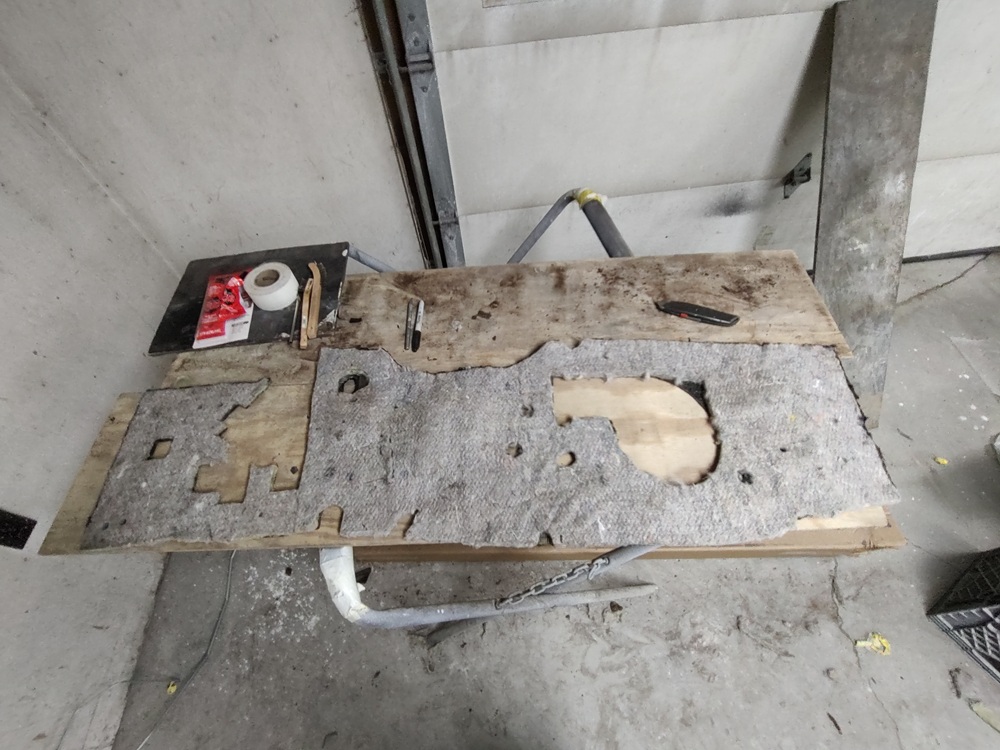
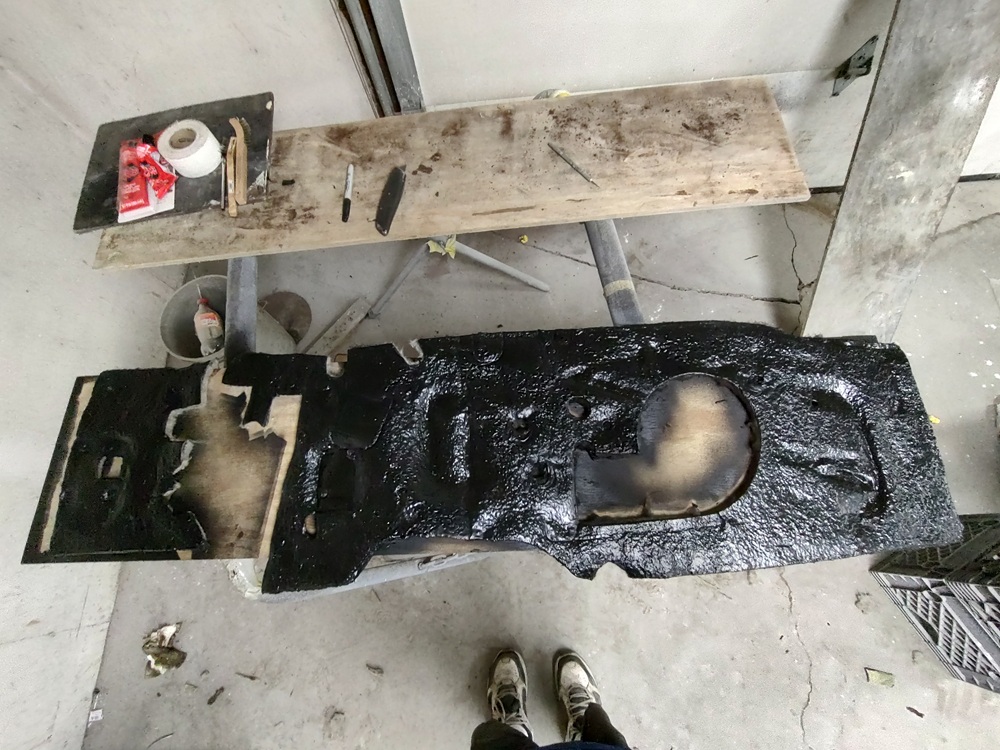
I used more Shoe Goo in the front to fill in the cracks.
Then finally I used spray Plasti-Dip to get the original appearance back.
3 Likes
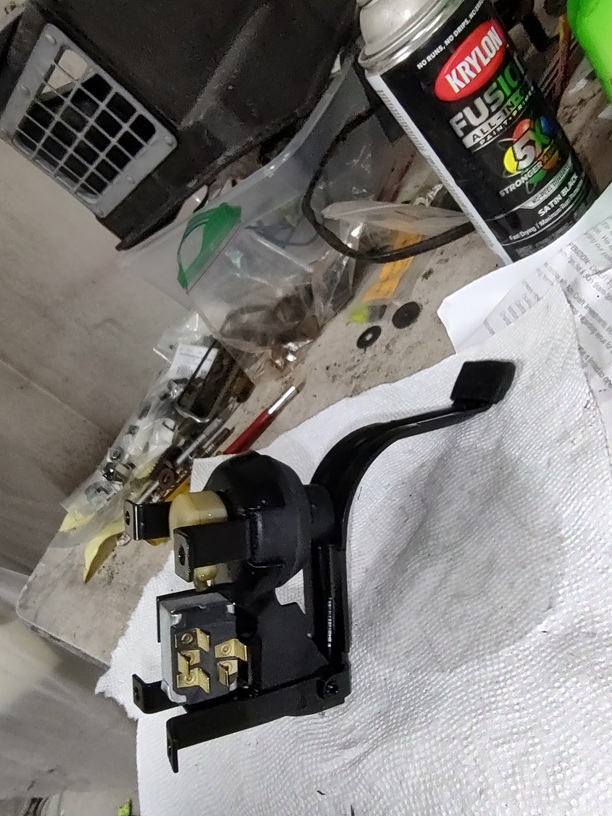
Next up was the fresh air vent and the washer pump. Not much worth talking about in regards to the vent.
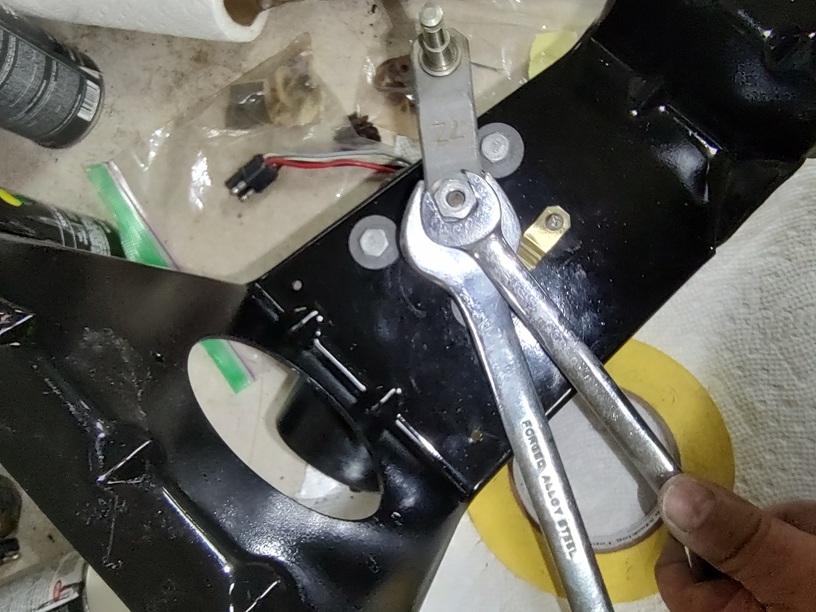
The pump is tricky to take apart to replace the seal and pump. I think the best tool to use would be a deep well socket with one side cut open to accommodate the nipples. I didn’t have one of those, so I made do with some big wrenches and a bit of luck. The pump itself was in great shape, but the o-ring was hard as a rock. A #94 o-ring from Lowes was a perfect replacement.

The switch was masked off, so that I could sandblast it and paint the assembly semi-gloss black (the can in the picture is not the one I used) before re-assembly.
1 Like
Very clever! Gonna try that on my firewall pad!
1 Like
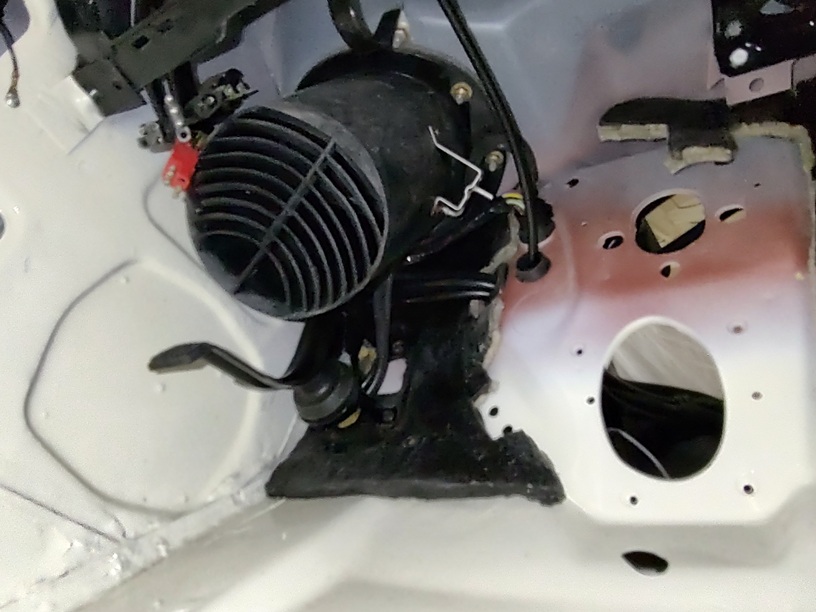
Finally I had enough parts to put something on the car. The headlight harness, headlight vacuum lines (from Critter Creek), windshield washer lines and speedo cable were all installed.

The headlight harness and vacuum lines are tucked away behind the fresh air vent, so they should be installed first. Then it is OK to install the fresh air vent.
While I was at it, I installed a new voltage regulator. I actually had this one date stamped from Dead Nuts on (not visible). I guess I am the only one who got to see it……

1 Like
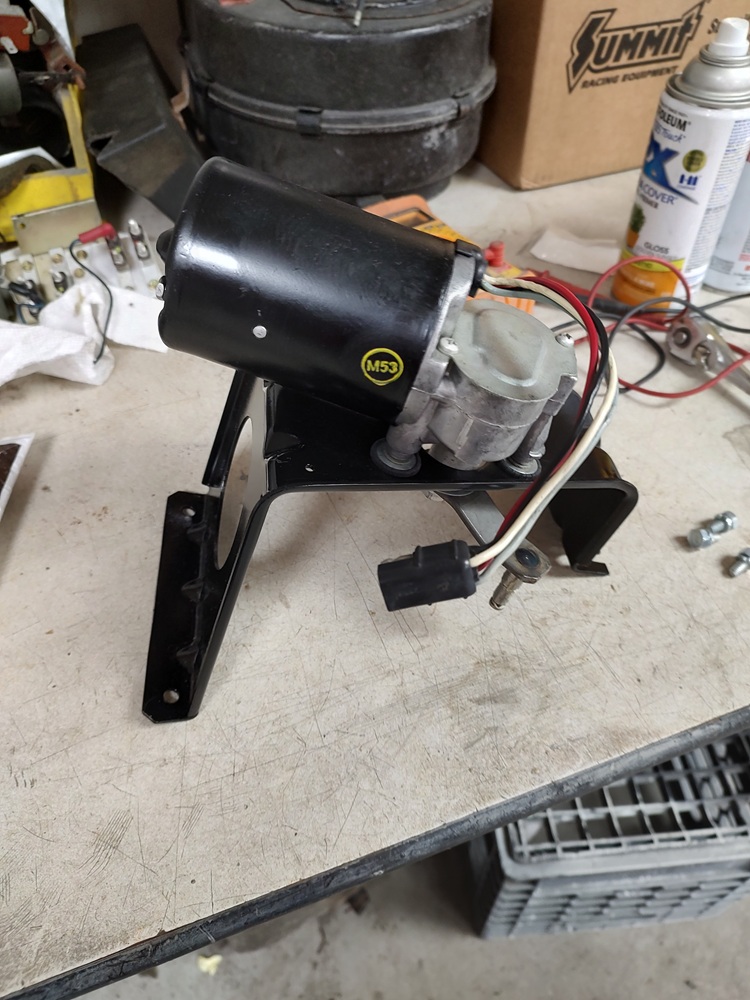
Next up was the wiper motor. The original one was pretty rusty. I bought a nice used one, but as no surprise the gear had some broken teeth. This comes from not putting a wrench on the pivot arm when taking it apart. That is probably why it ended up on ebay. I pulled the gear from my original one to fix it.

This is the proper way to do it.
I put in fresh grease before closing it up.

Here’s one of the details that many people don’t bother with. I had rubber stamps made to reproduce the part number, date code and inspection stamp from my original.

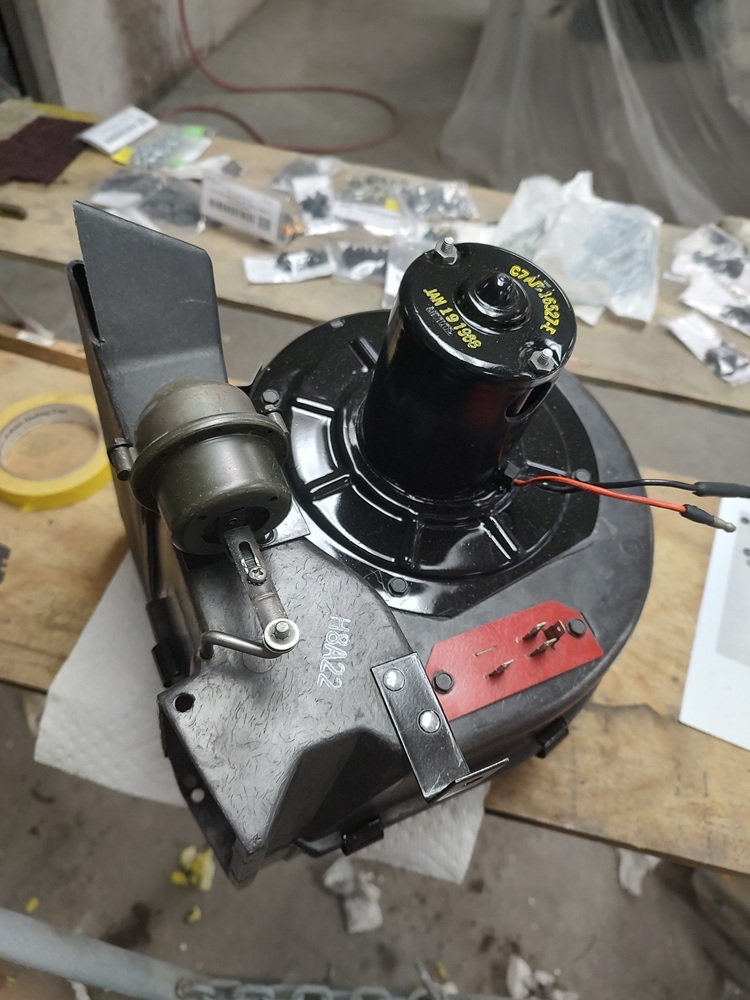
The AC blower was quite simple to redo. The fan was soaked in evaporust and was painted with seymour SS paint. The motor body itself was stripped to bare metal and was repainted with semigloss black paint.

The housing was just cleaned up and wiped down with black shoe polish. And again I had rubber stamps make to replicate the part numbers and date codes.
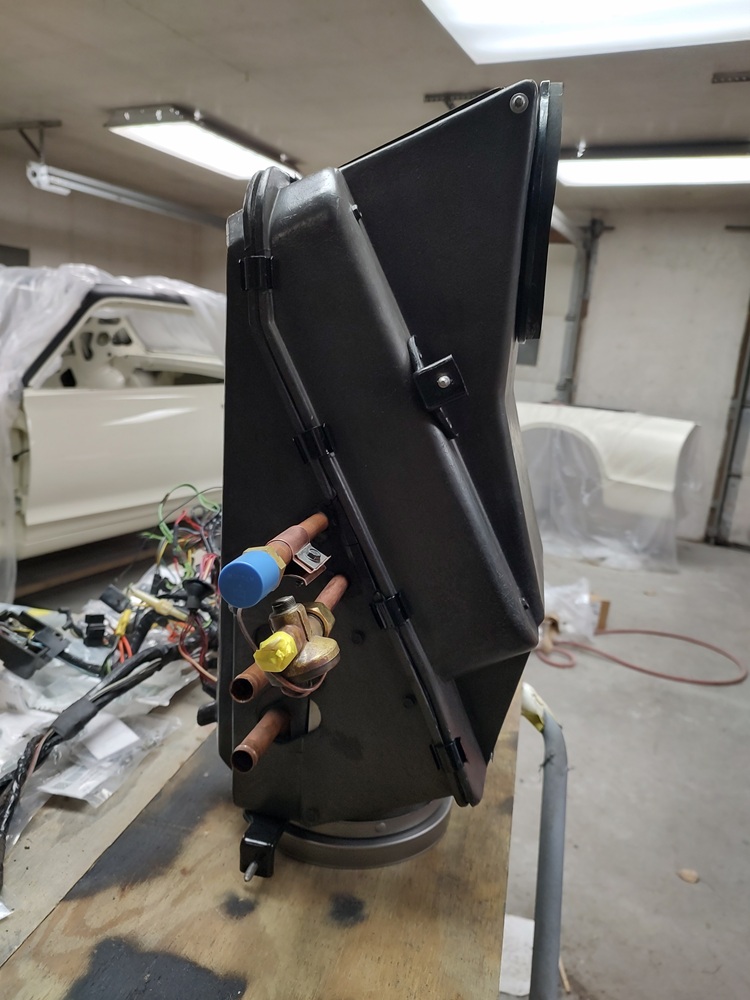
The AC heater box was a disaster. The fiberglass was quite disintegrated, so I bought a nice used case.
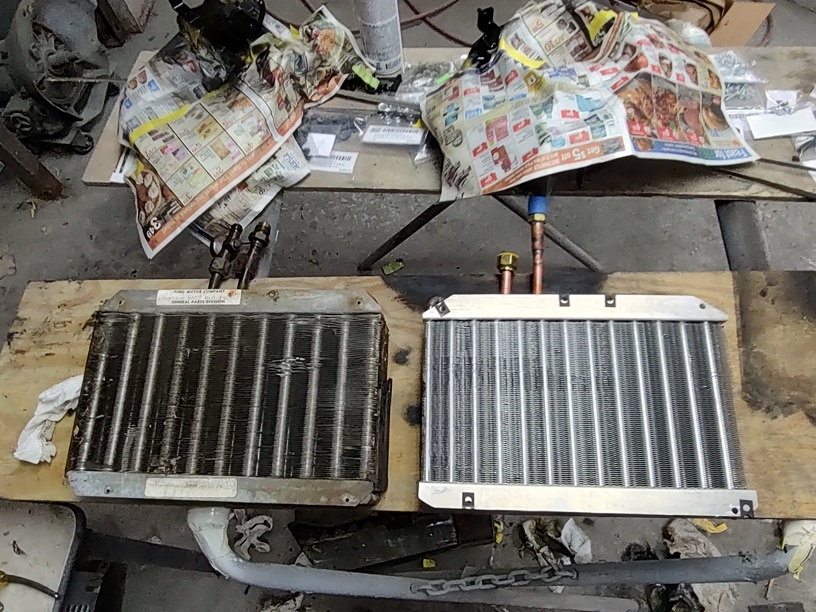
I also bought a new heater core and foam set from WCCC. I did leak check it before using it…
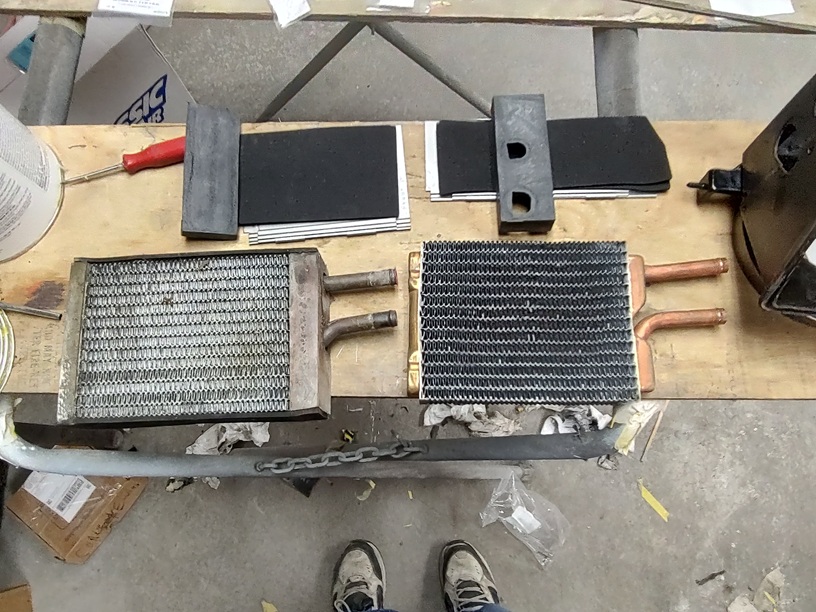
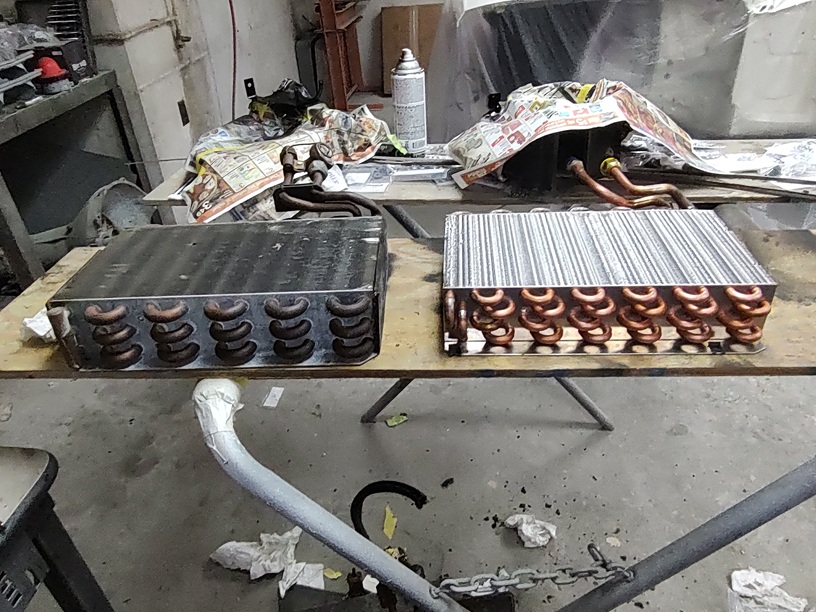
The evaporator core was also replaced using a new one from Classic Auto Air. It is supposed to be more efficient than the originals with extra rows and loops. One thing I didn’t like is that the repo used nut clips to hold the core to the housing instead of being directly screwed to it. Not really a big deal as the clips are on the inside, but the clips were for larger screws than the originals. Luckily I have a supply of the correct sized clips on hand so that I could use my original screws to put it back together..
1 Like
Of course all of the internal pieces were soaked in evaporust and were painted, followed by installation of new foam on the flaps.
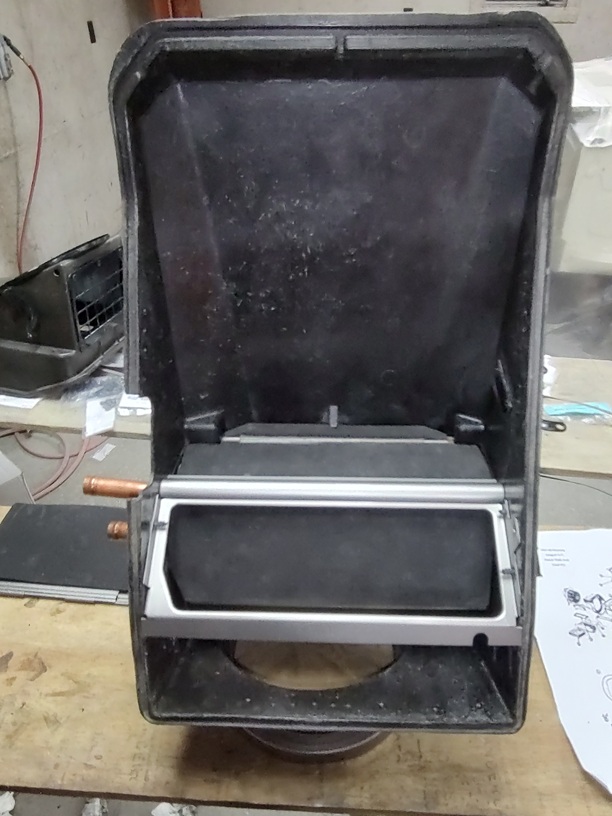
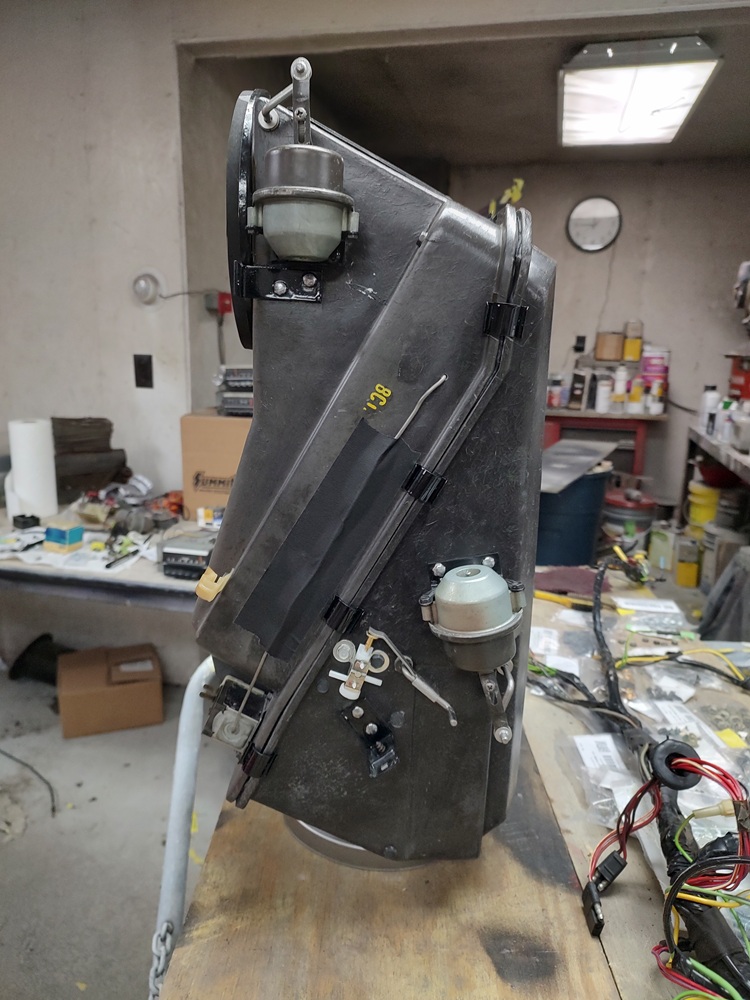
As with the blower the case the AC heater box was detailed with black shoe polish to give it a fresh factory look.
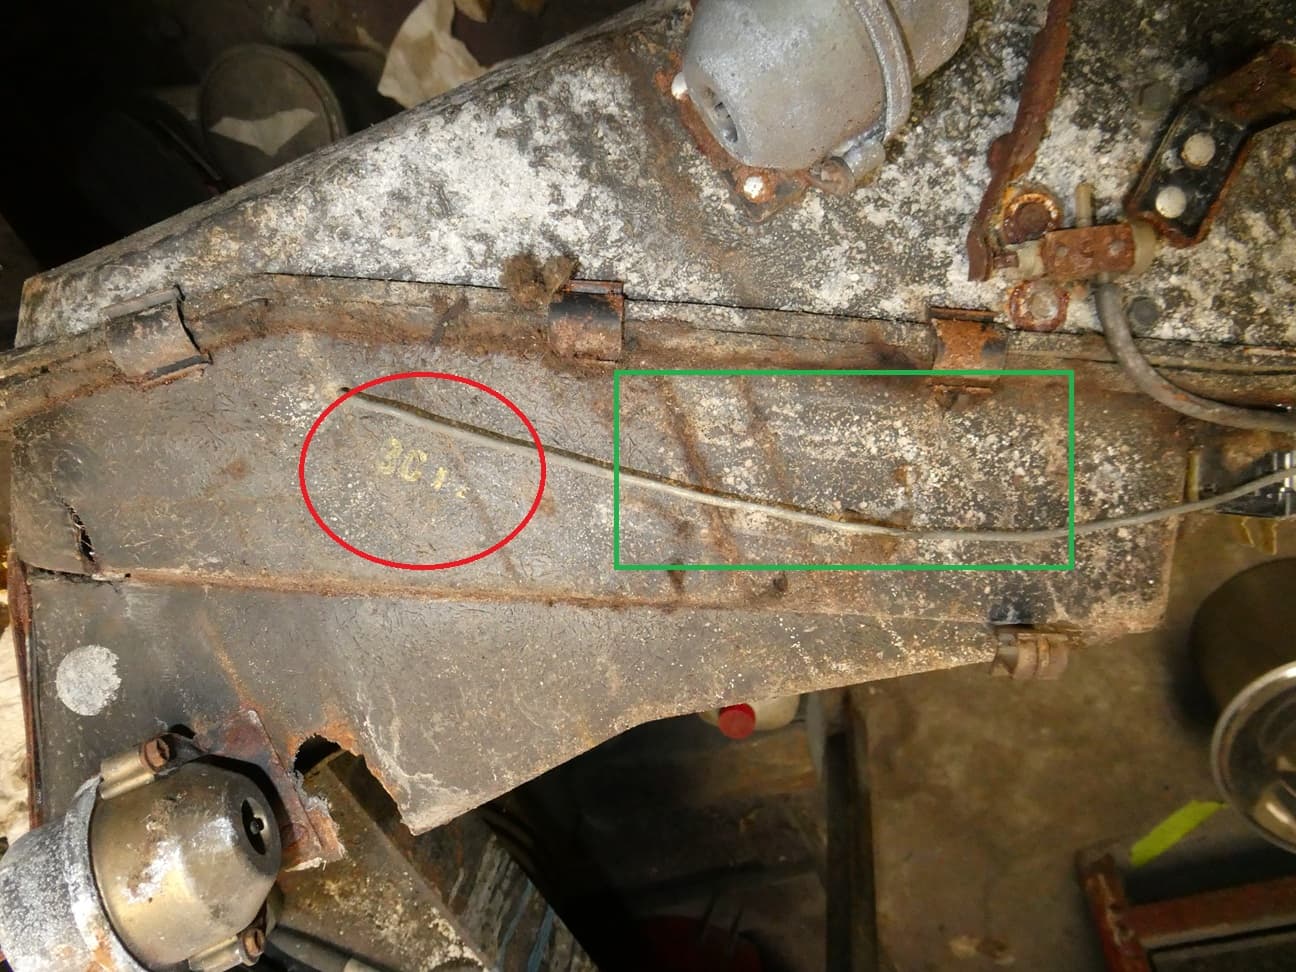
One thing to note in this picture is the stamping “8Cl.” This is how it appeared on the original. It is supposed to read “8CYL” but the factory messed it up. I opted to reproduce what the factory did.
Also, not always apparent is the black tape along the thermostat wire. It usually falls off over time. My original still had glue residue on the case showing that the tape was originally there.
1 Like