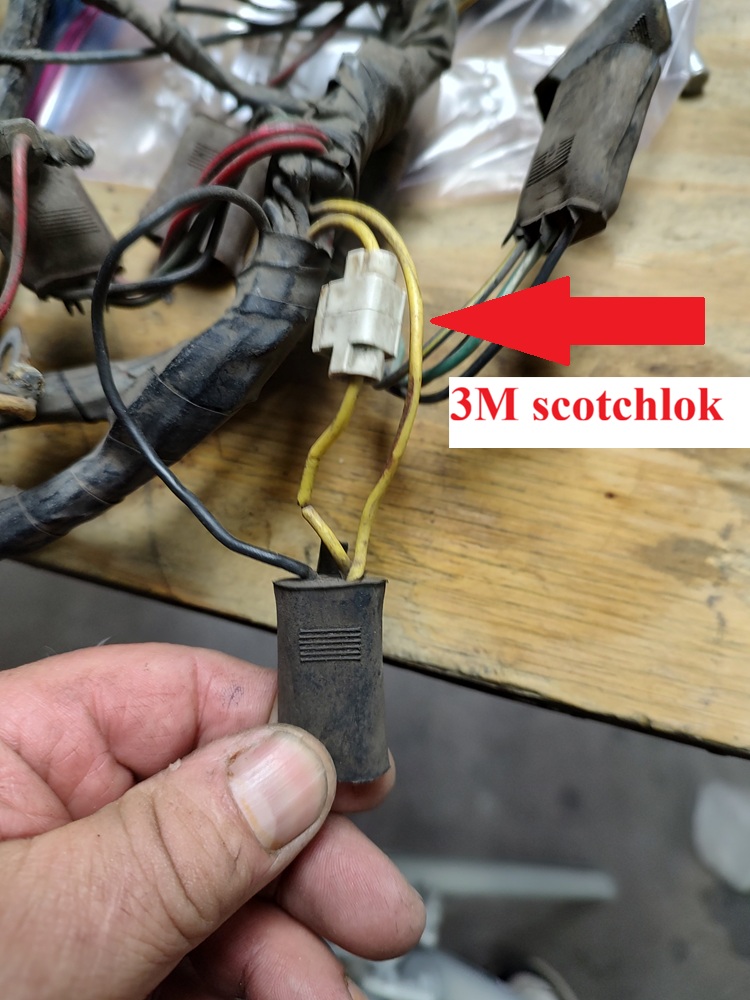
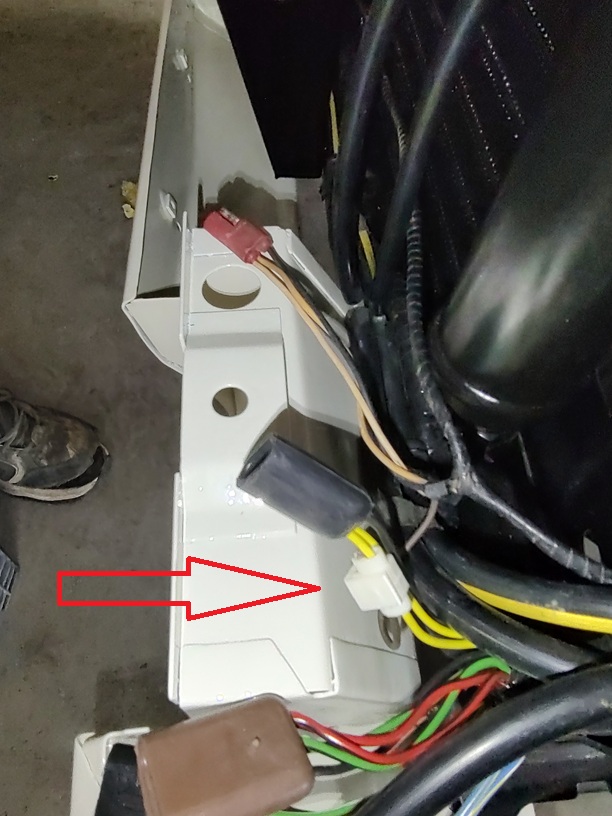
A O Smith also used the Scotchloks to add in the wire for the 3-rd horn.
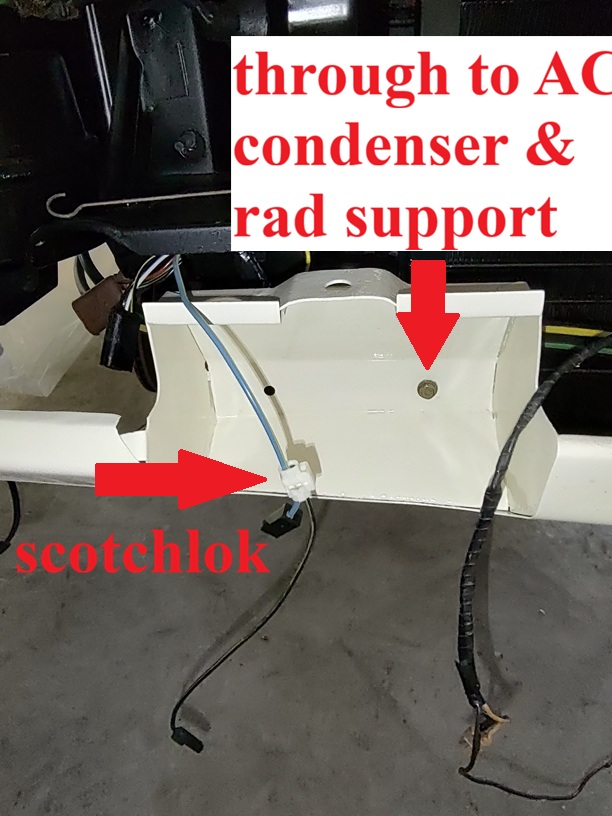
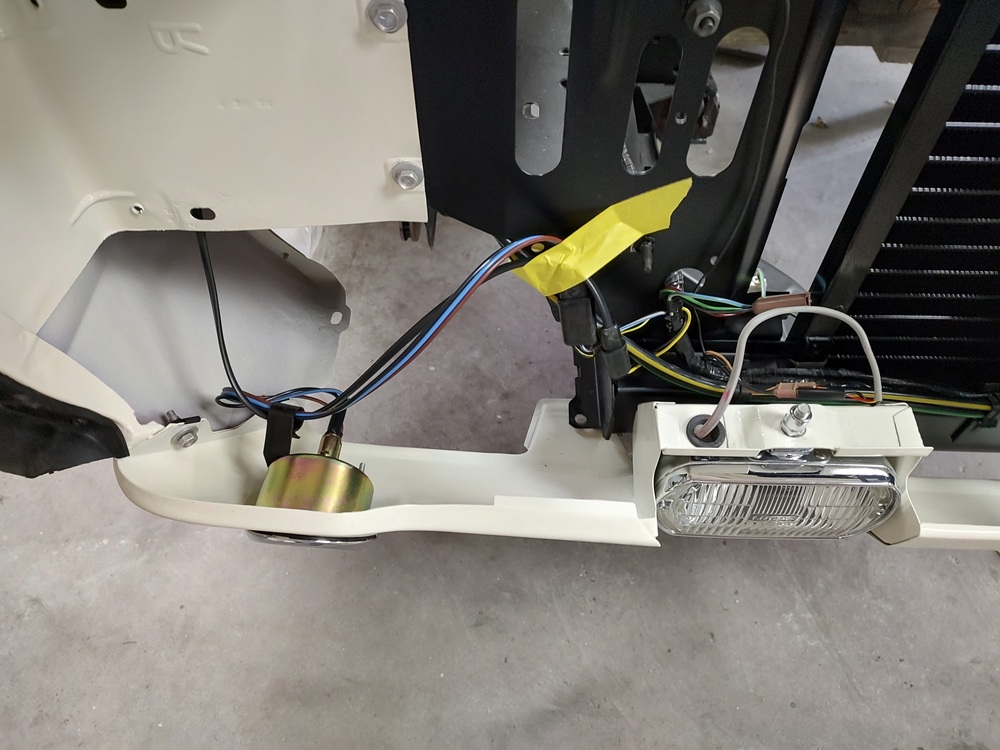
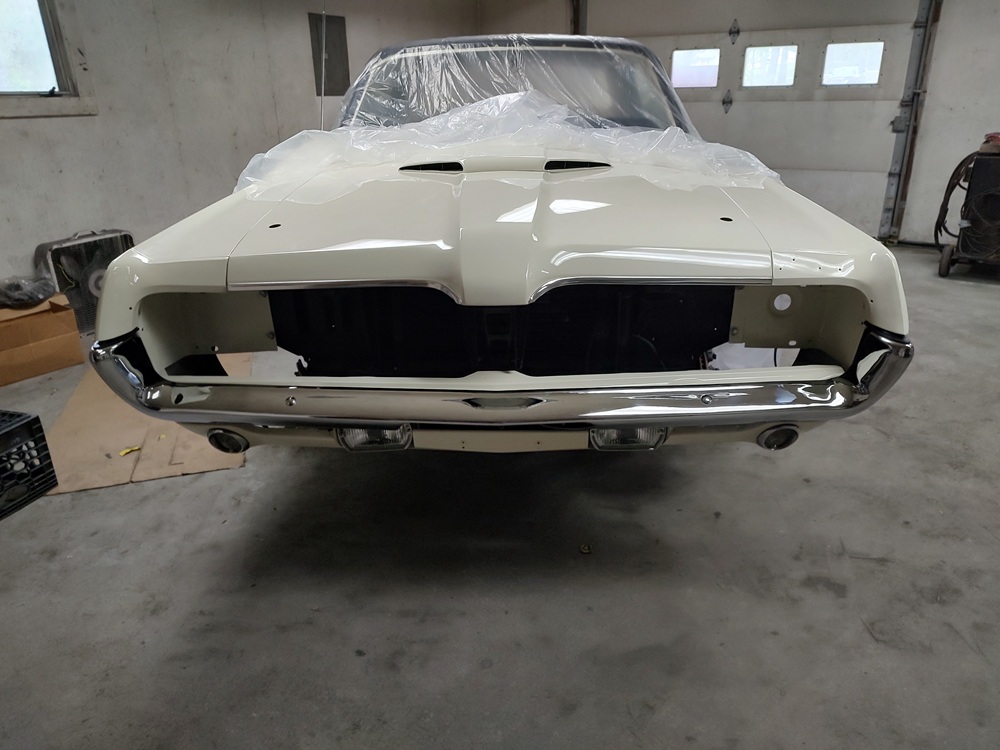
Also shown in this picture is the lower valance mounting bolt which screws into the lower radiator support. It goes through the fog light bucket and into the radiator support in the same hole that the AC condenser uses.
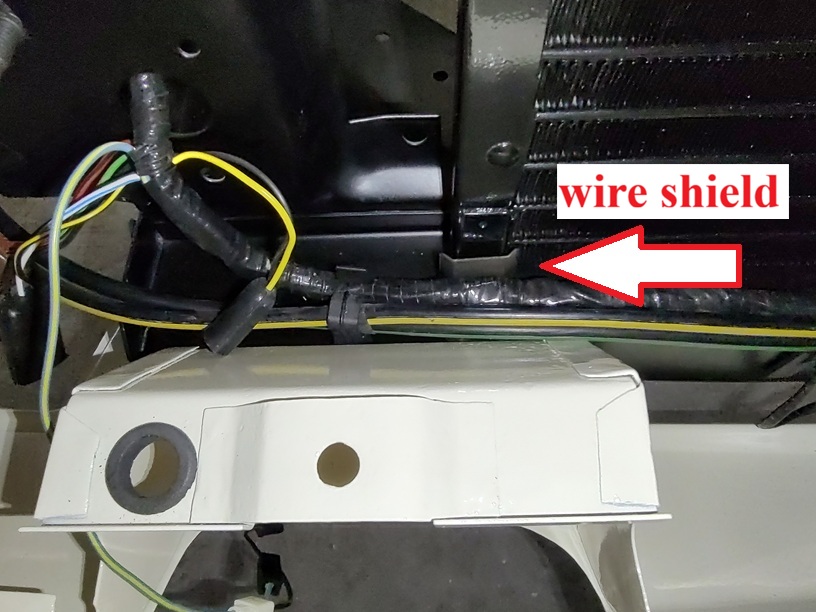
On all the AC cars, Ford put these plastic wire shields to protect the wire harness from being cut by the sharp edges of the AC condenser bracket. They were sandwiched between the fog light buckets and the AC condenser like this:
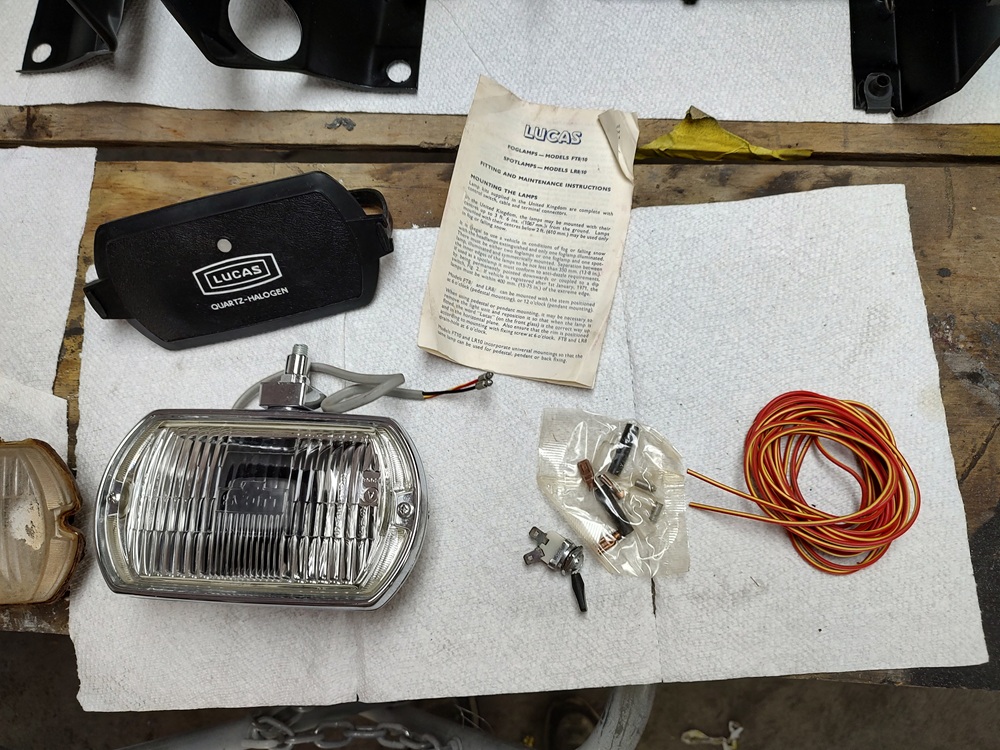
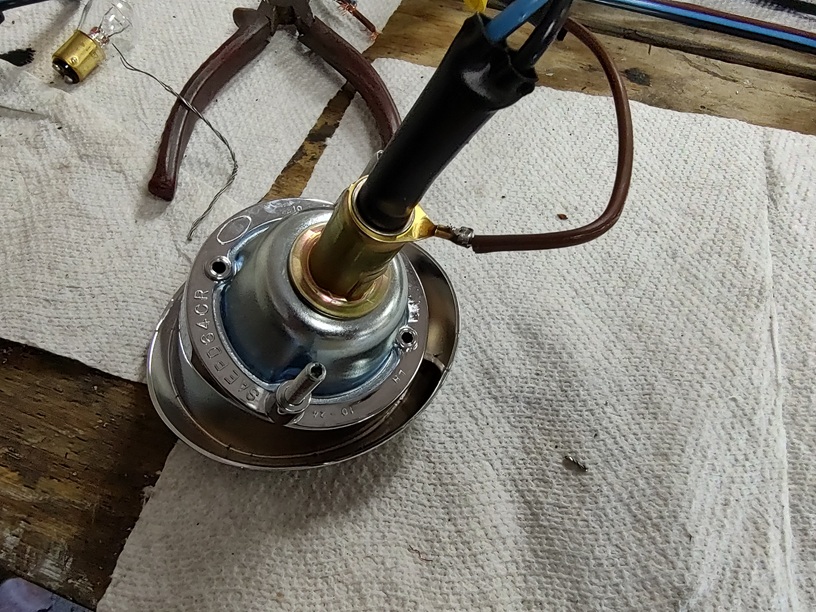
Another ebay steal was a NOS pair of Lucas fog lights. There are lots of variations of writing in the glass. The pair I got are almost completely identical to the originals. A thing to note is fog lights in a G are installed upside down from normal (like the Shelbys) so you have to take them apart and rotated the glass to get them to appear right on a G.
I purchased a set of the Scott Drake Mustang parking lights to replace the corroded originals, but of course wiring is different than Cougar. To correct that, I bought some pigtails from WCCC and soldered them in place inside the socket so the splice couldn’t be seen.
Apparently getting parking light retainers with the correct finish is something you have to pay attention to. I ordered a pair and got one that was in gray paint and the other was in the correct yellow chromate. Grrr.
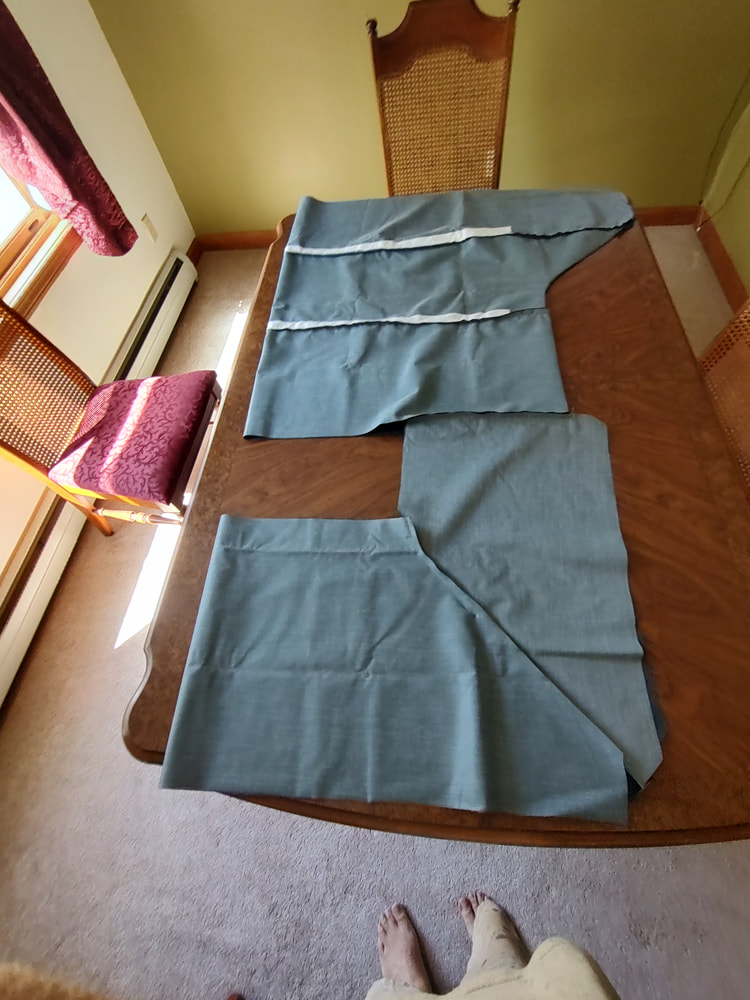
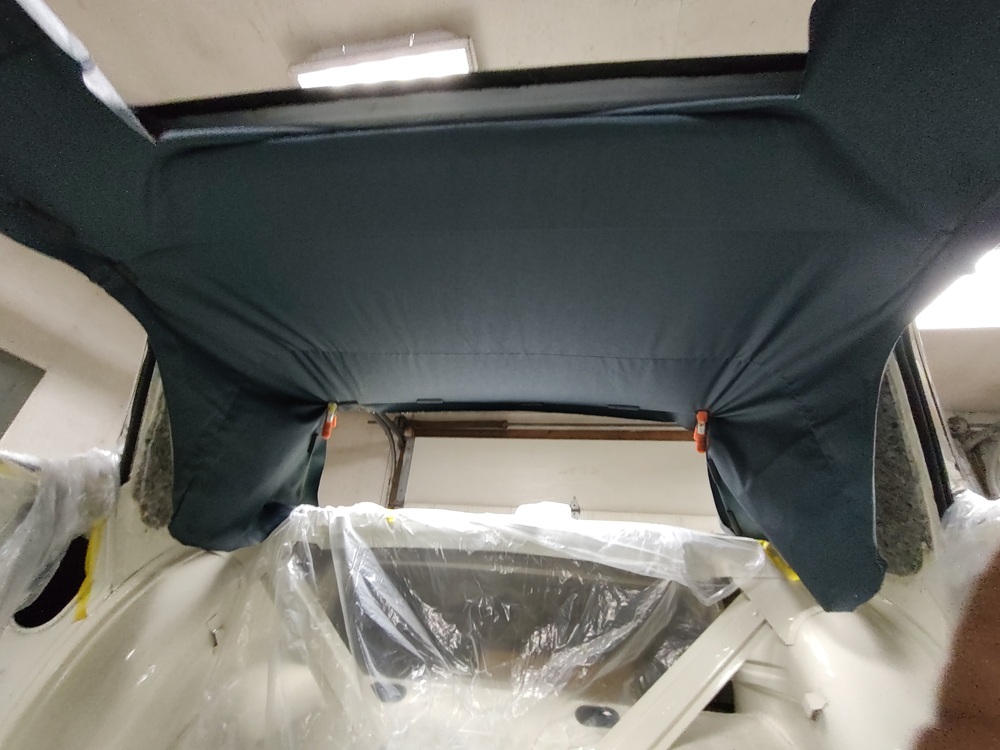
No one makes the correct headliner for the sunroof cars. Especially in the dark blue like my car. The repo Cougar headliners (made by Scott Drake?) are made with one large piece of fabric at the front. However, it needs to be made with 3 pieces sewn together along the front corners so there is no wrinkles like ASC made them. I ended up locating a dark blue Mustang headliner as a source of extra material and paid an upholsterer to duplicate the original using a repo cougar sunroof headliner. Here it is folded in half.
If you have ever installed a headliner you know that the fabric loops for the listing rods are never correct. What I did for this car was to first mark a centerline on the headliner, then marked the center of the listing rods. I then cut a notch into the fabric loops at the center line so that I could center the listing rods in the loops and then clamped the rods in place. The fabric was pulled tight so that I could cut the loop fabric open (about 1/2”) inboard of the listing rod ends. You need to do this so that that lateral wrinkles can be pulled out of the headliner during installation without the loop binding up on the ends.
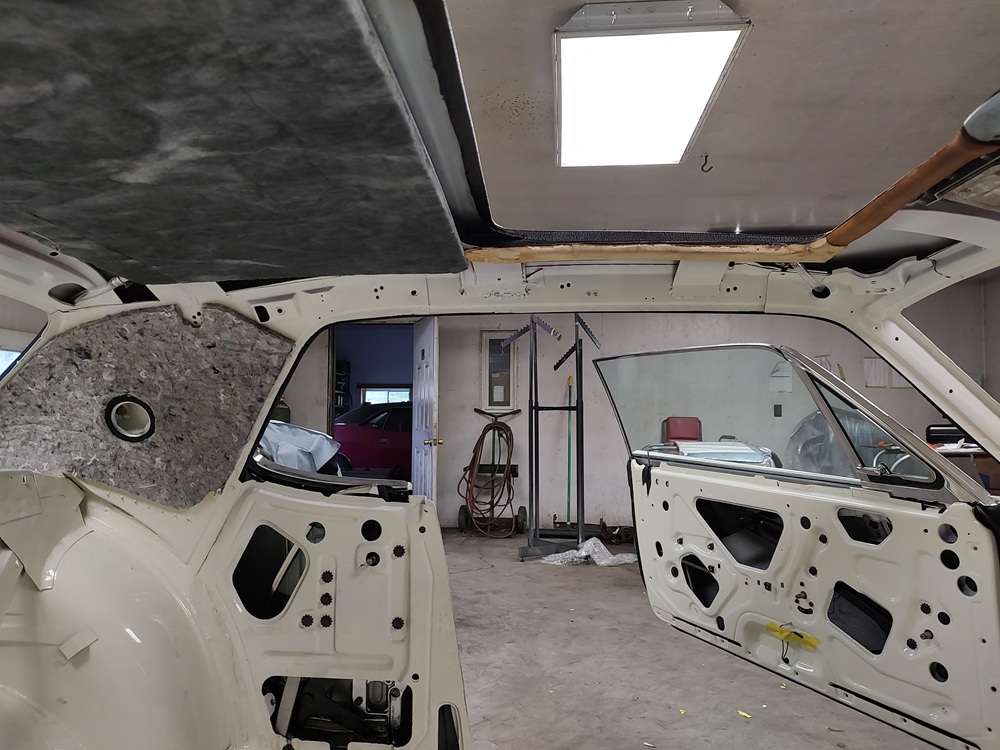
The inside of the car was prep’d before installation. All roof and sill panel insulation was glued in and screws for the sun visors and seatbelts where installed. Note: The sunroof drain tubing was replaced at an earlier date.
These wire hooks are used to position the rear listing rod correctly relative to the rear window opening and keep the rear listing rod from flopping forward when you pull the headliner tight form the front. One of the originals was no usable, so I made a bunch of them from piano wire and picked the one that best matched the original for length.
There are plenty of videos out there that show you how to install headliners. this is not one of those….
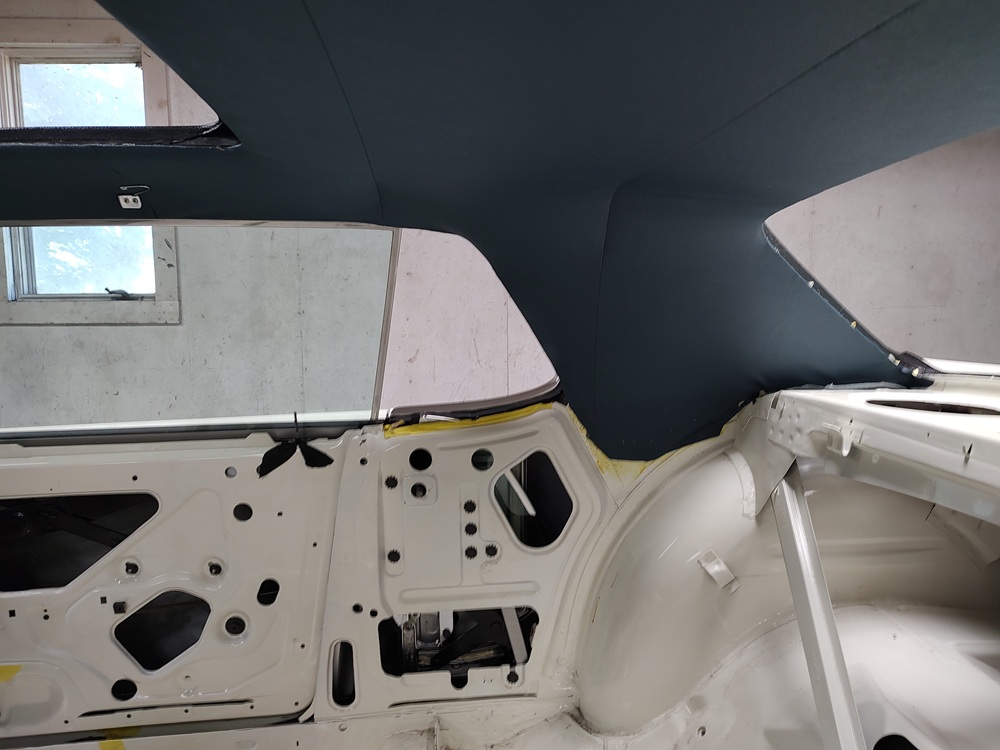
Basically I started down the middle like a normal headliner install, but instead of pulling it tight all the way to the windshield, I pulled it tight to the rear of the sunroof opening.
With the front to back tight and wrinkle free in the middle, I pulled the fabric tight along the listing rods to get the wrinkles out of them. Glue and the steel teeth on the inner panels helped hold the fabric in place. For the roof rails I used pieces of welting to hold things in place as I fought with the wrinkles.
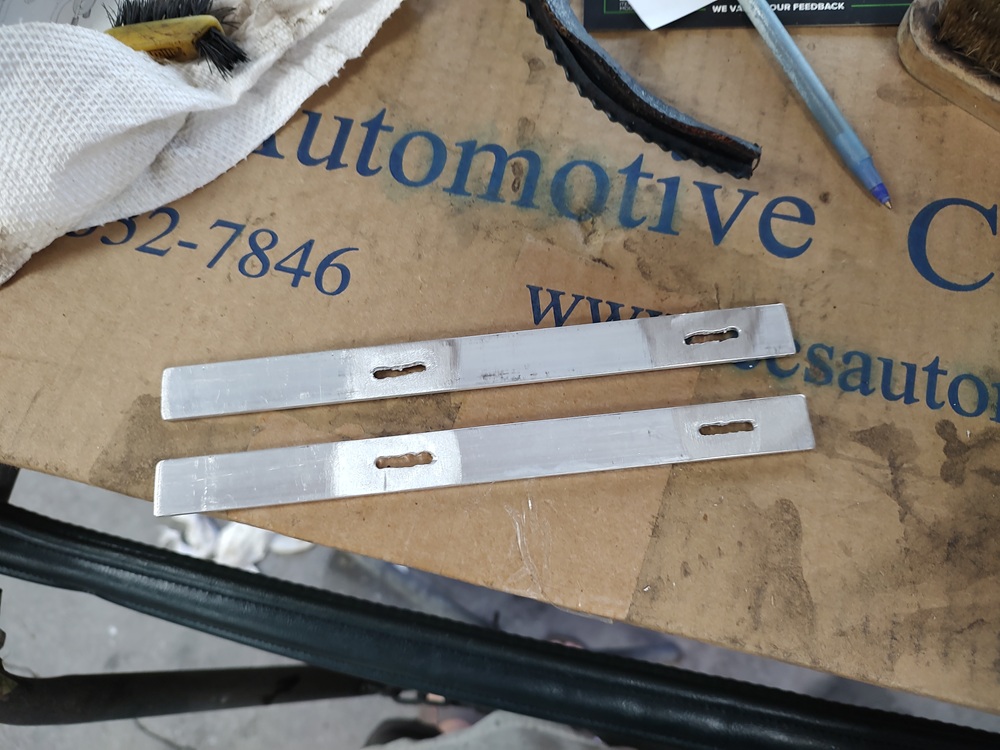
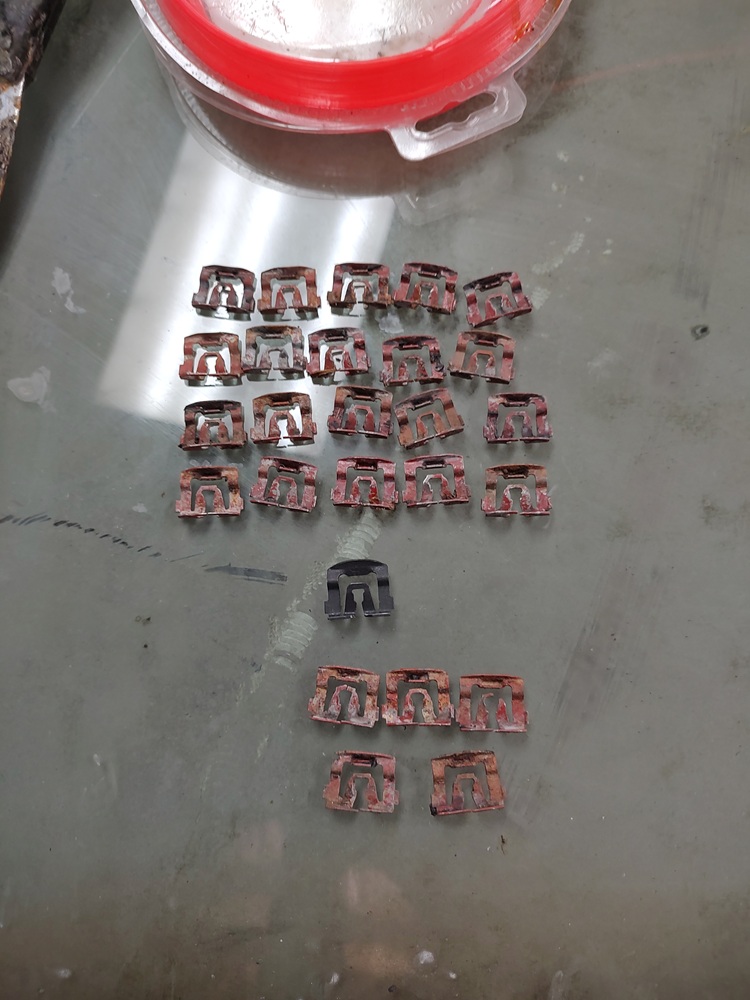
probably the most important thing I did was to follow what Royce did and made these aluminum retainers to replace the flimsy factory cardboard ones. They hold the bottom of the sail panel portion of the headliner down to the package tray, where hooks/teeth in the sheet metal go through the slots and get bend down. They not only hold the fabric tight, but they help tuck the fabric underneath the sail panel insulation which helps make for a wrinkle free headliner.
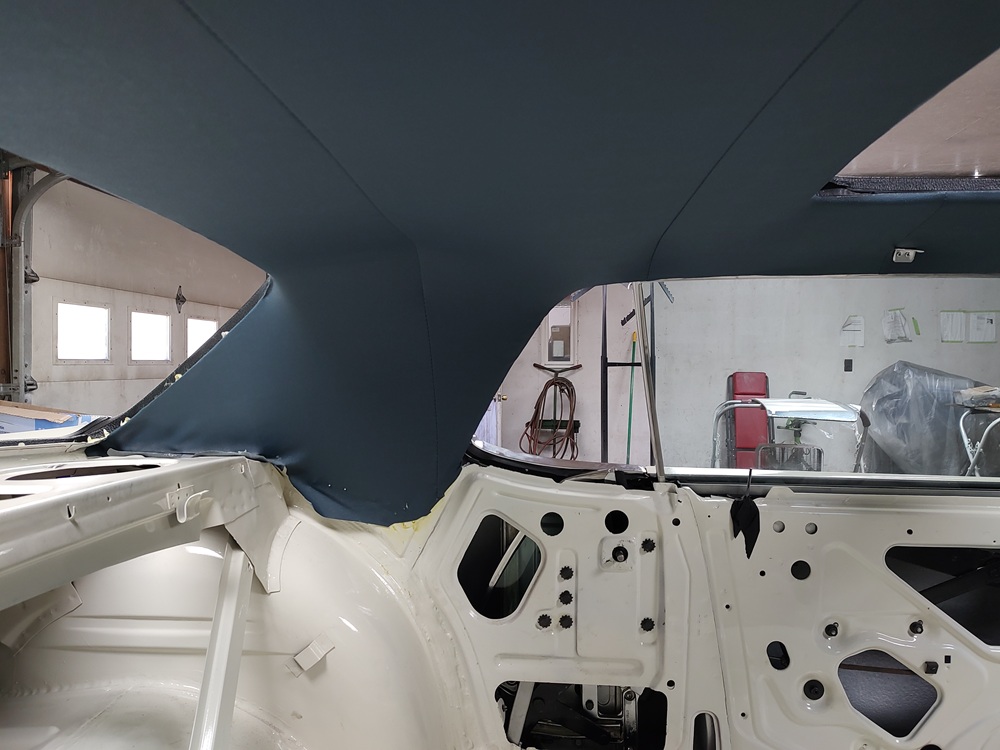
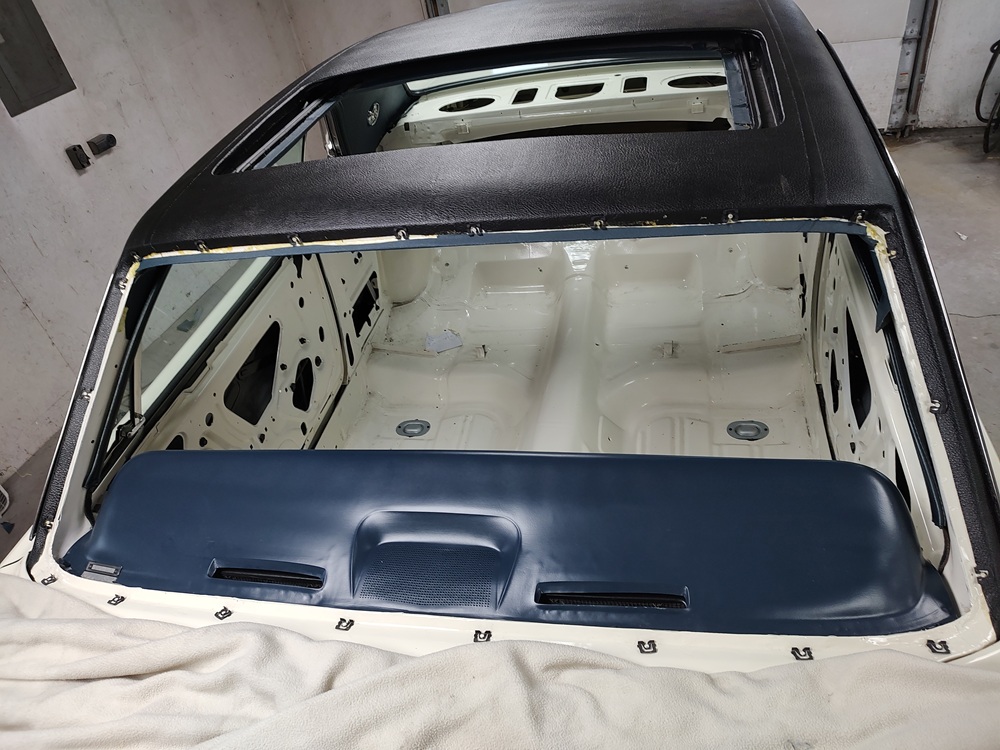
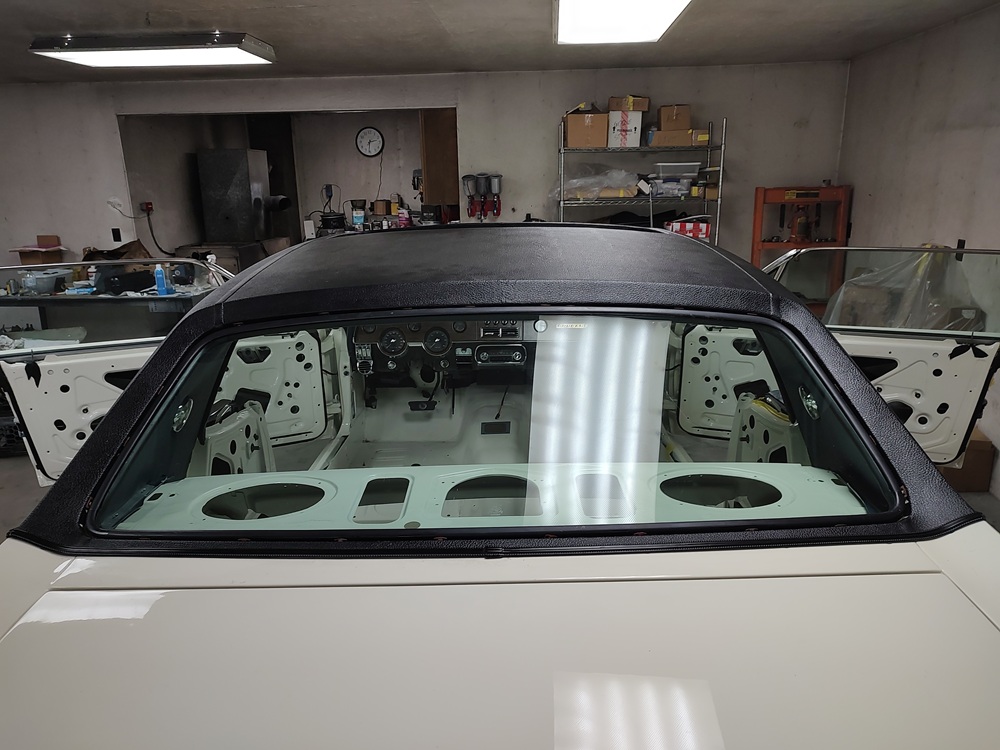
Here it is all installed. You might spot some wrinkles near the edges, but they disappeared with the installation of the glass, opera lights and roof rail trim. I am very happy that it turned out this well. It took me about 5 hours spread out of 3 days to do the entire job.
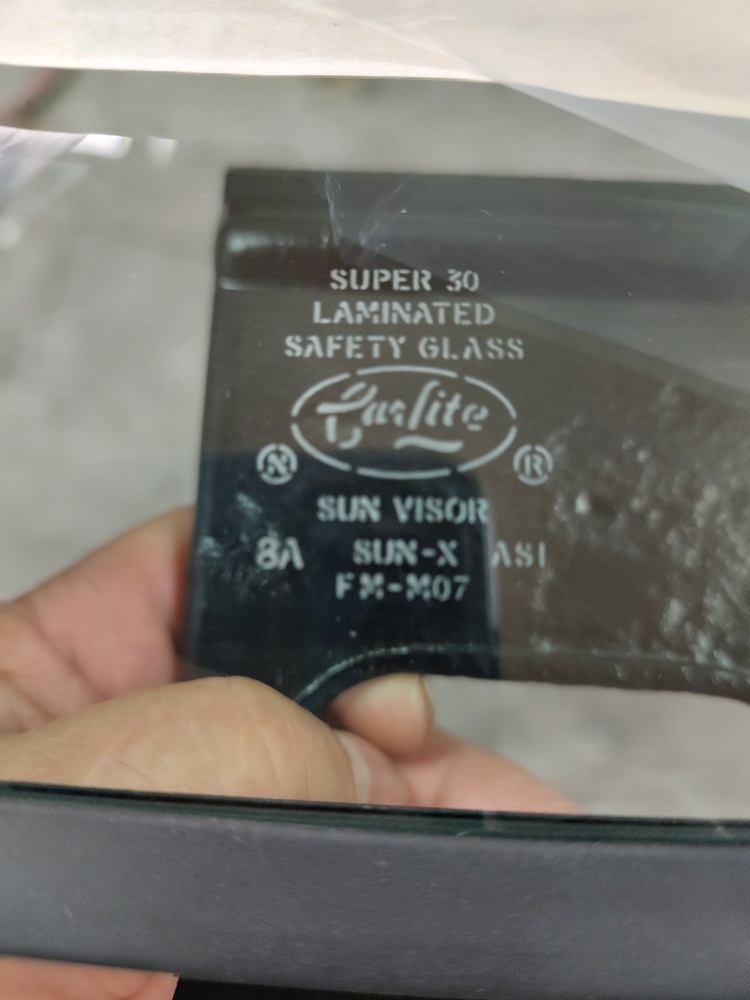
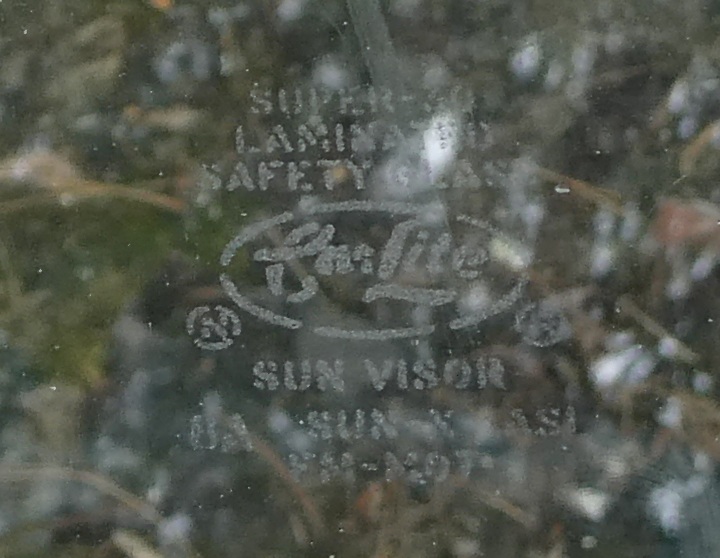
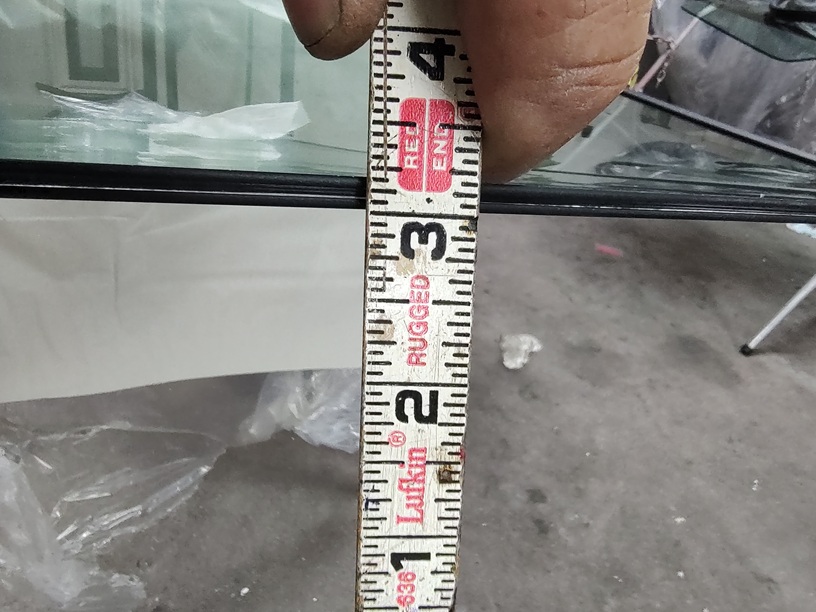
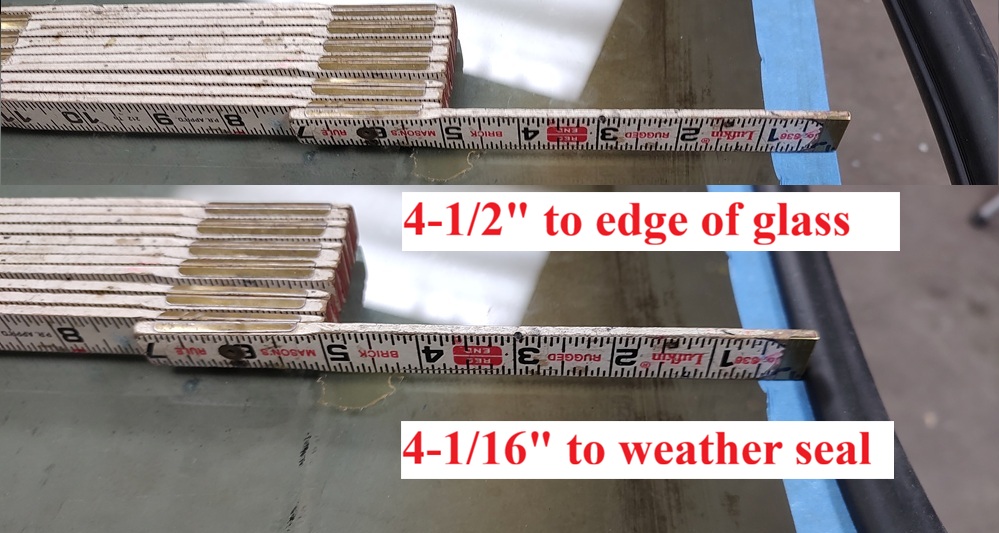
Where the rearview mirror button is glued to the windshield is a shown in the service manual as 4-1/16” (centered) from the edge of the weather seal (not the edge of the glass). When I measured my original glass I found that it was 4-1/16” from the edge of the glass to the top of the button not the center. Without the weather seal it measured 4-1/2” from the edge of the glass to the top of the button. So that is where I put it on the new glass.
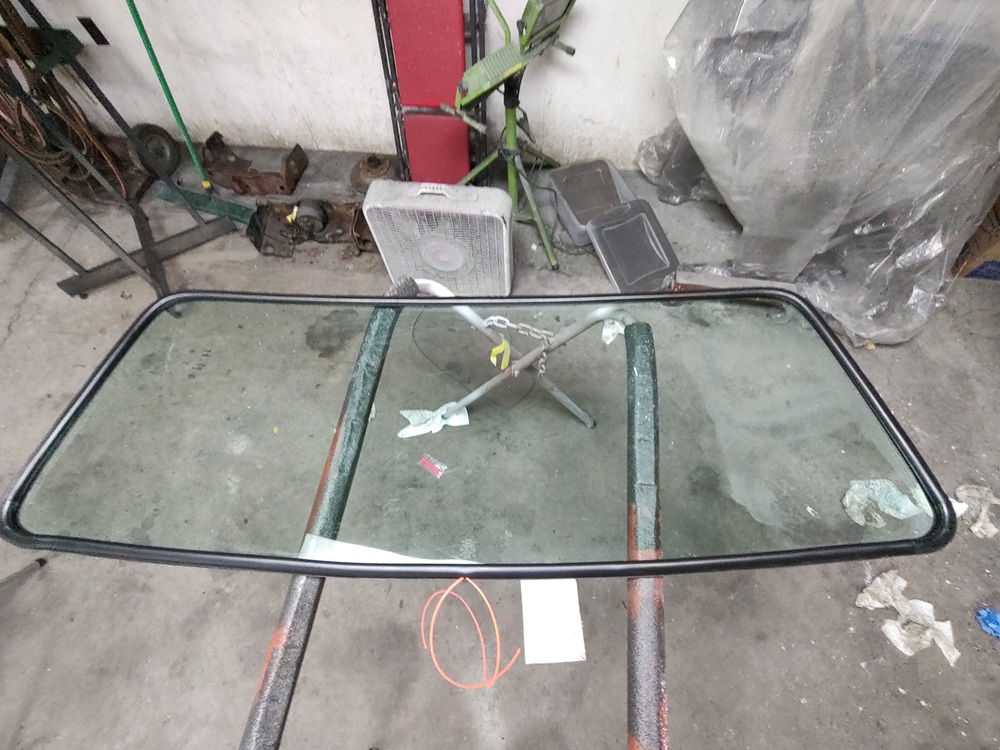
For the rear window I was able to use the original though it has a few scratches in it. I like to use the same trick as Don Rush does when installing old glass by using weedwhacker string.
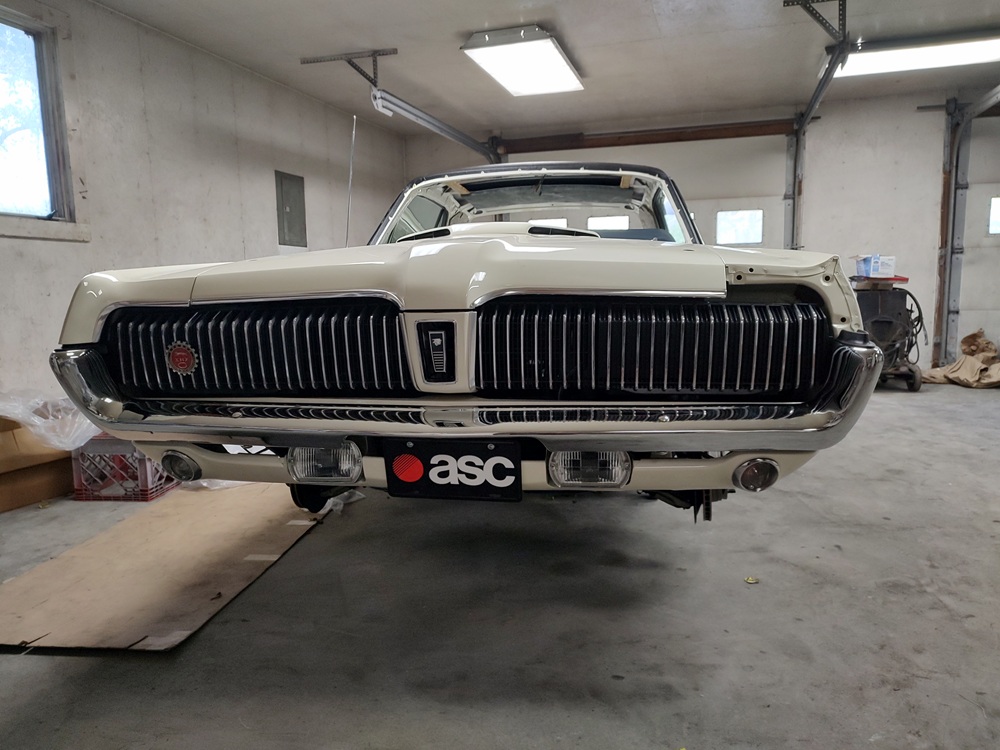
Rather than wait 6+months for my original bumper to be rechromed, I bought a rechromed one from WCCC. Even with shipping it was half the cost and it looked great.