Royce thanks for the heads up. I’ll be getting mine off jackstands as soon as I replace the rear springs. I’ll post here with results.
The jack stands are on the frame front and rear. Thanks for the advice and instruction. I appreciate the help.
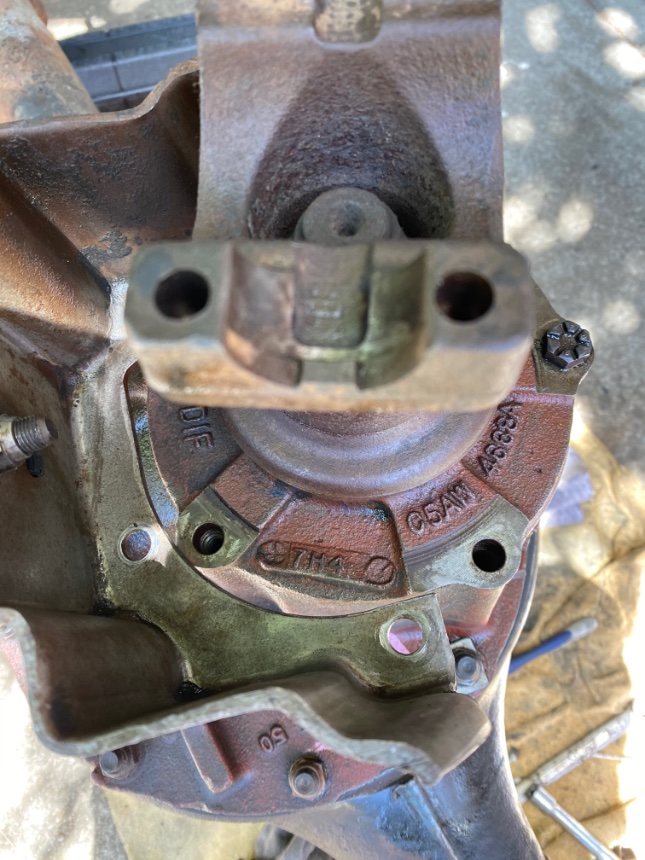
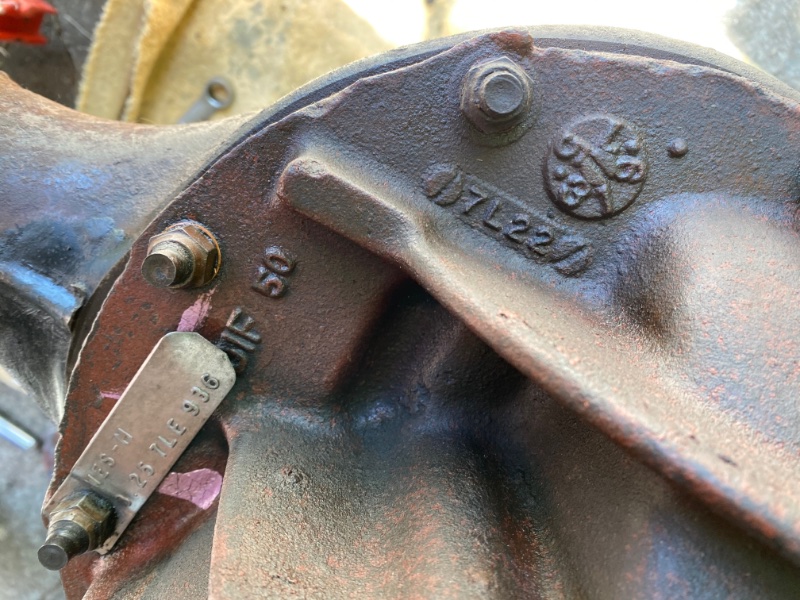
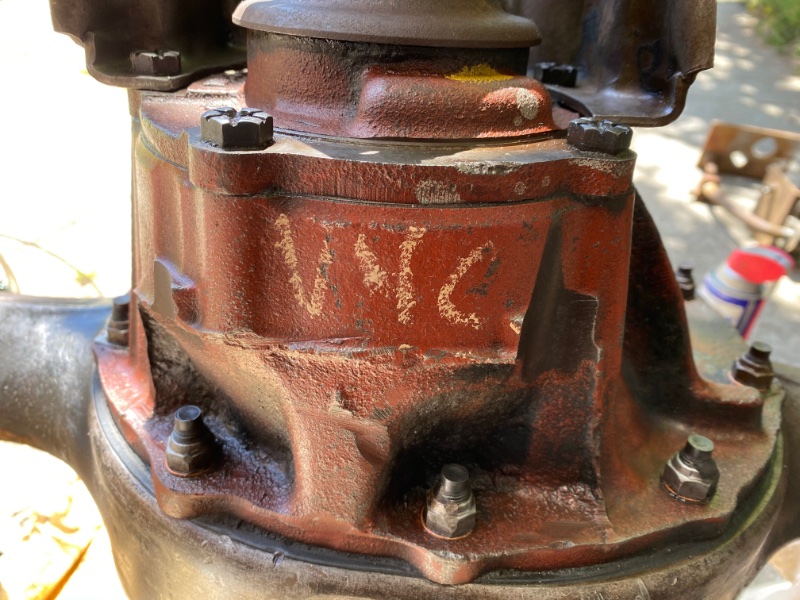
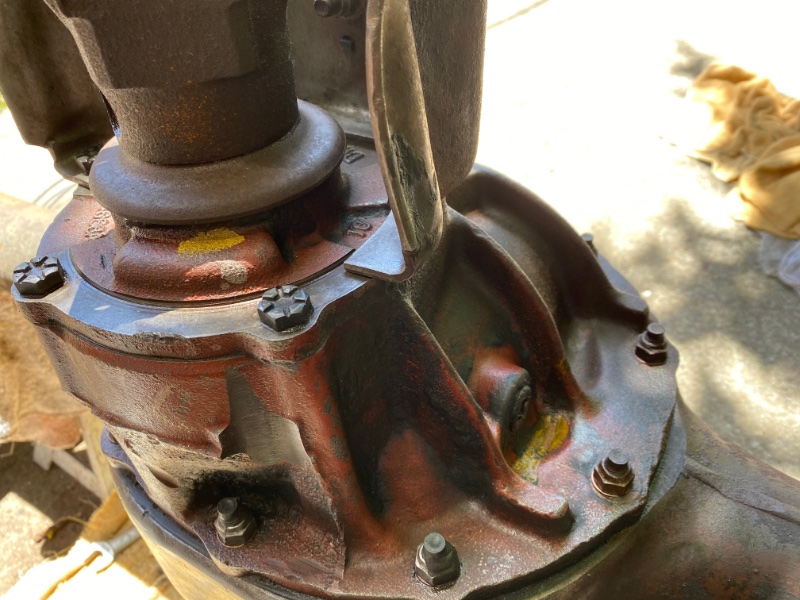
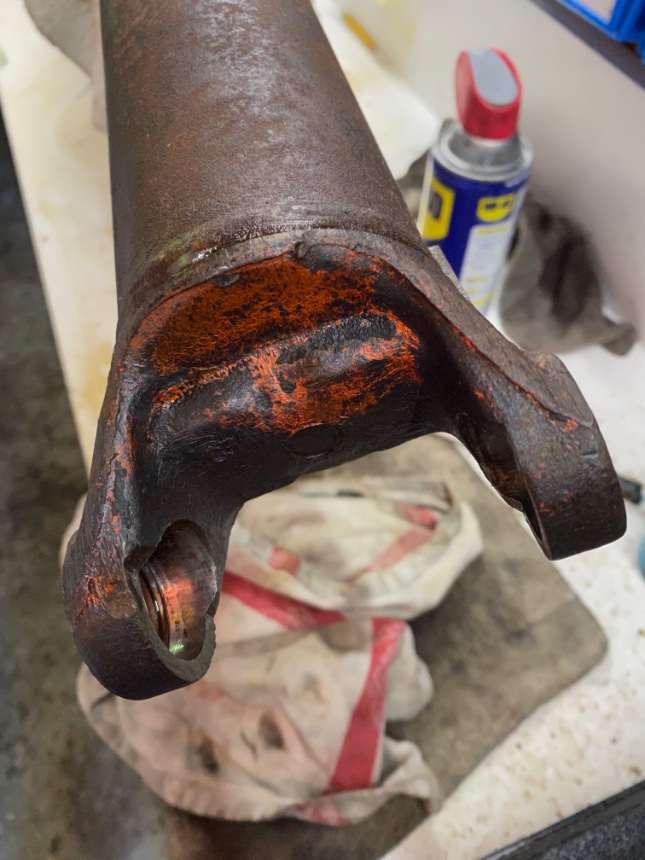
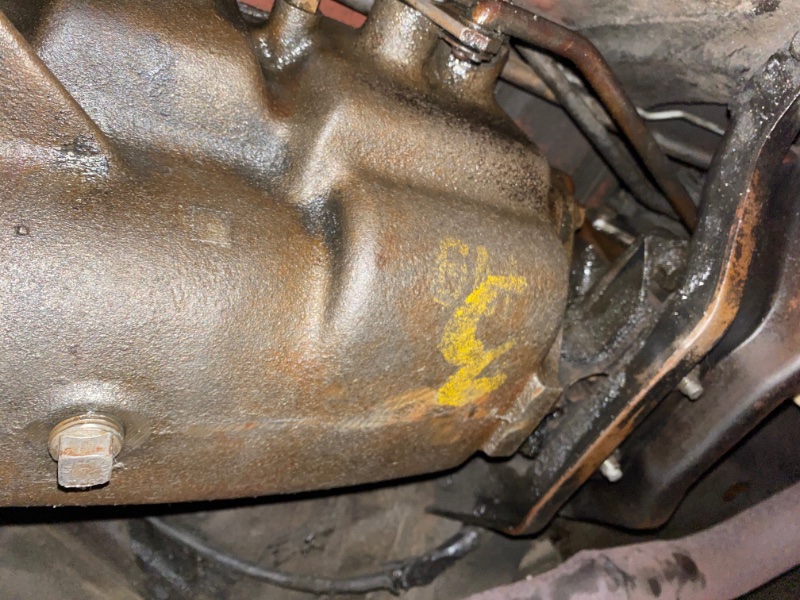
So I decided to pull the drive shaft and replace the front and rear universal joints. Probably was needed anyway. I rolled the axle out and have been cleaning it up. I’m doing a mechanical refurbishing and clean-up, not really a restoration. Found some interesting details on the differential when I cleaned it up. The pinion bracket(?) has a casting date of 7H4 (pre-strike) and the differential carrier has a casting date of 7L22 (post-strike). Also some interesting paint marks.
I’m going to pump it dry through the fill-hole and refill it before I reinstall it with the new leaf springs. I can get Motorcraft 80W90, which is a conventional GL5 spec, but I was wondering if that’s still the best thing to use. It’s a non-locking differential, so I don’t need friction modifier.
I ordered my Marti report for my 67 XR7 GT In November as well and got in Mid March as well. Nice looking car.
Thanks. You have it’s older brother.
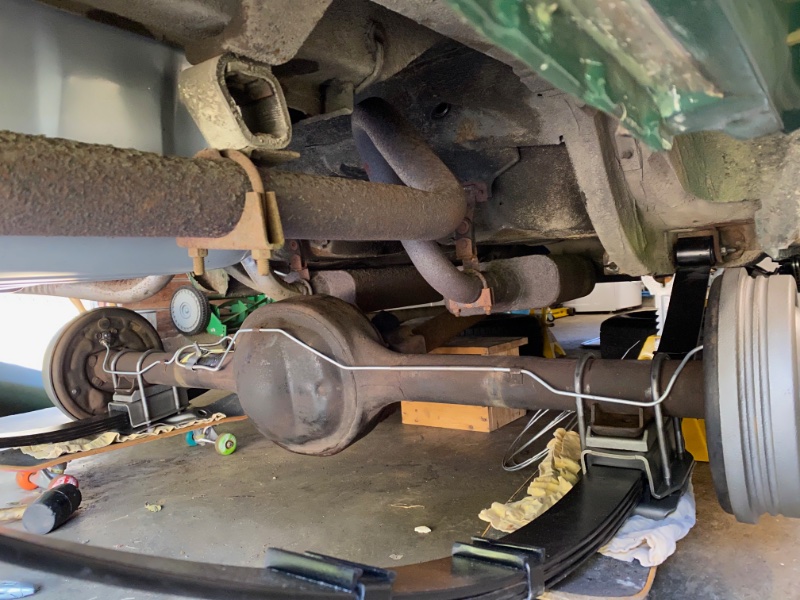
The GT is resting on it’s own four wheels for the first time in a while. The new leaf springs went in yesterday.
After cleaning a lot of crud and dirt off the axle and differential, I assembled the new leaf springs onto the axle. The leaf springs were installed with Mustang hardware previously, so every piece of the mounting hardware was missing. I pieced it all together over the last few months.
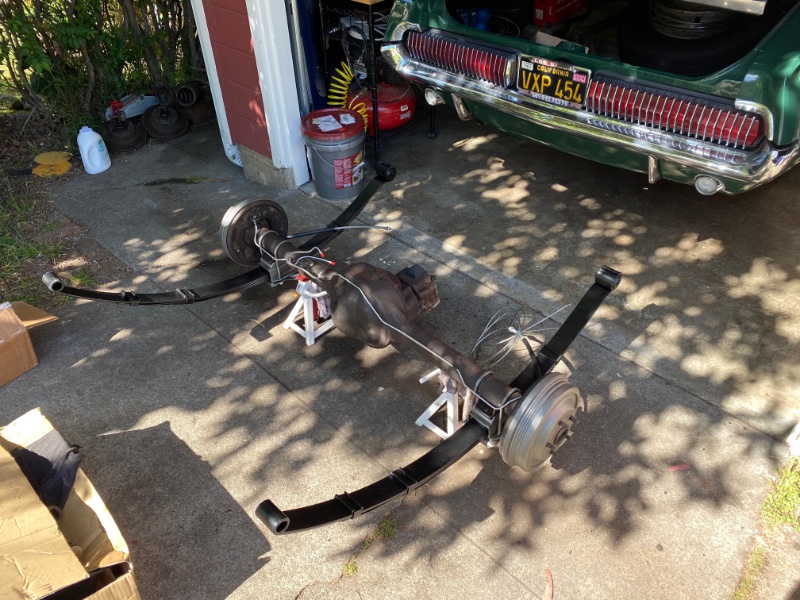
I rolled the whole assembly under the car (neglected kids skateboards are the perfect height) and loosely attached the front eye bolts.
Next I used my floor jack to raise the whole assembly until the rear eyes were almost in contact with the frame. Then I slipped a strip of plastic milk jug between the spring and the frame.

As I raised the floor jack, the spring compressed and slid backwards along the frame until I was able to attach the shackles.

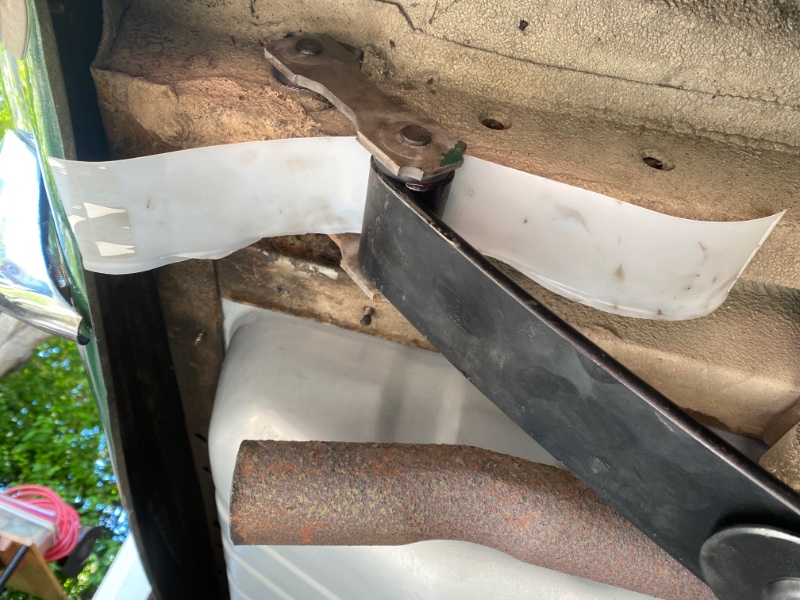
Once everything was loosely attached, I torqued all the bolts to spec and lowered it to the floor. Once the weight was fully on the axle, the spring settled into position and the shackle aligned itself properly.

Up next is cleaning up the driveshaft and installing new universal joints.
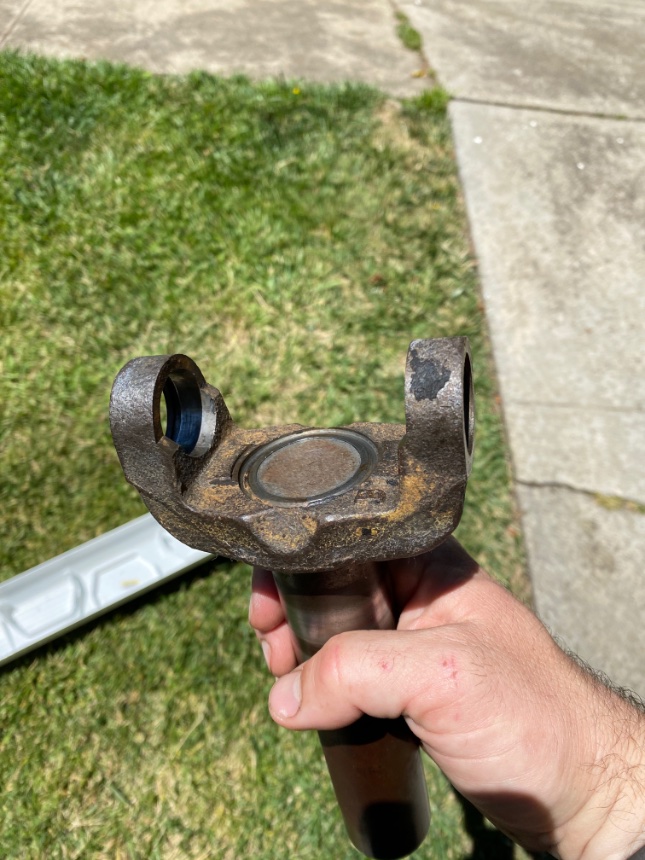
I removed the old u-joints and started cleaning up the slip yoke and the driveshaft. The slip yoke at first appeared to be a pale yellow all over…
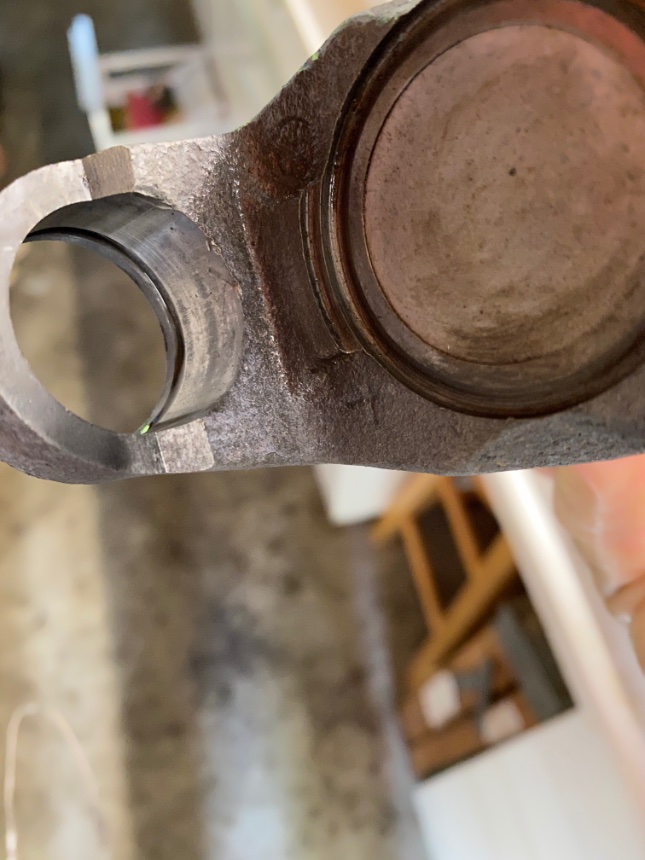
But then after I soaked it in evapo rust I could see some faint pink coming up
Now I’m not sure what color to paint it before I reassemble it to the driveshaft. DeadNutsOn seems to suggest it should be blue, which I didn’t find any evidence of.
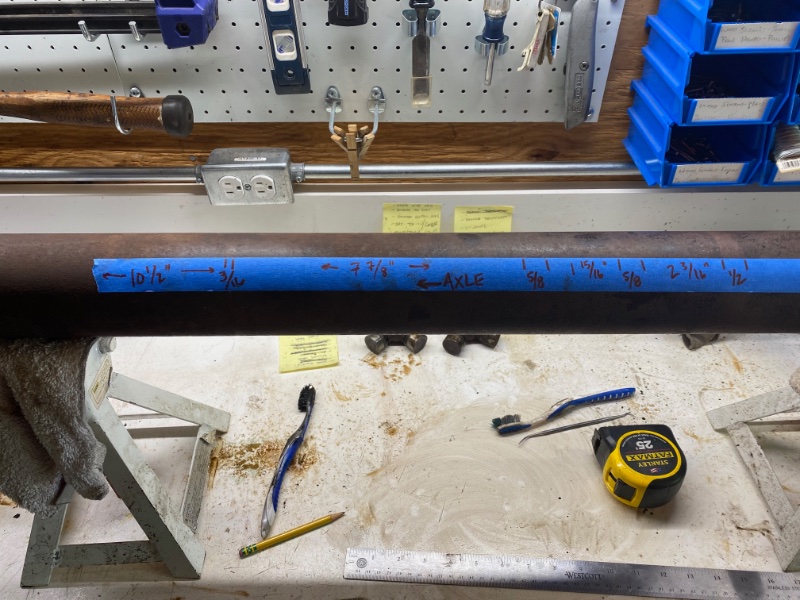
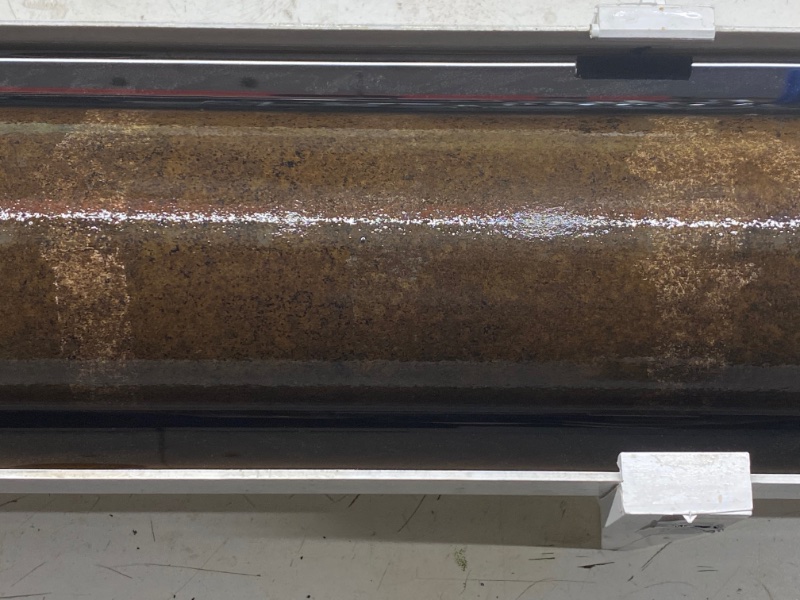
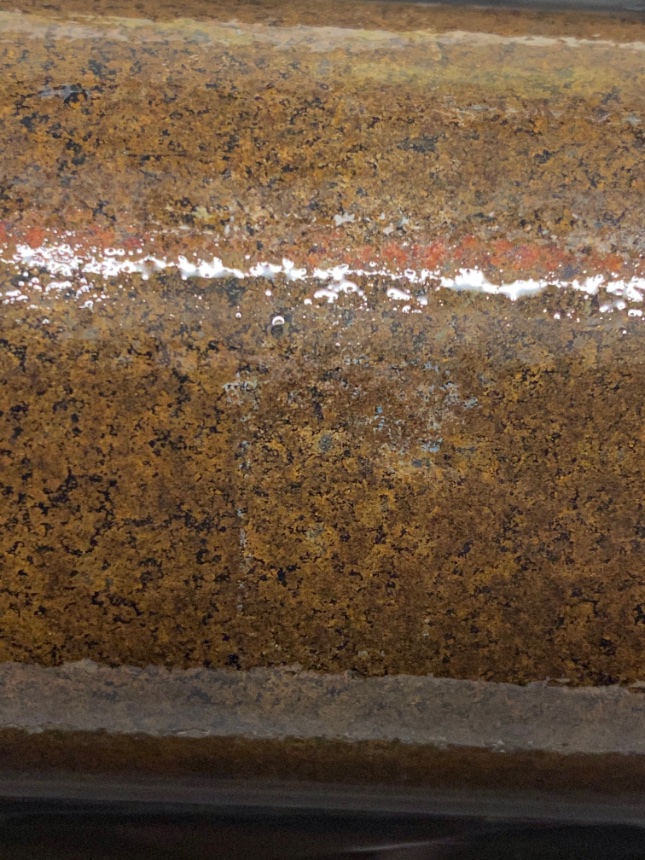
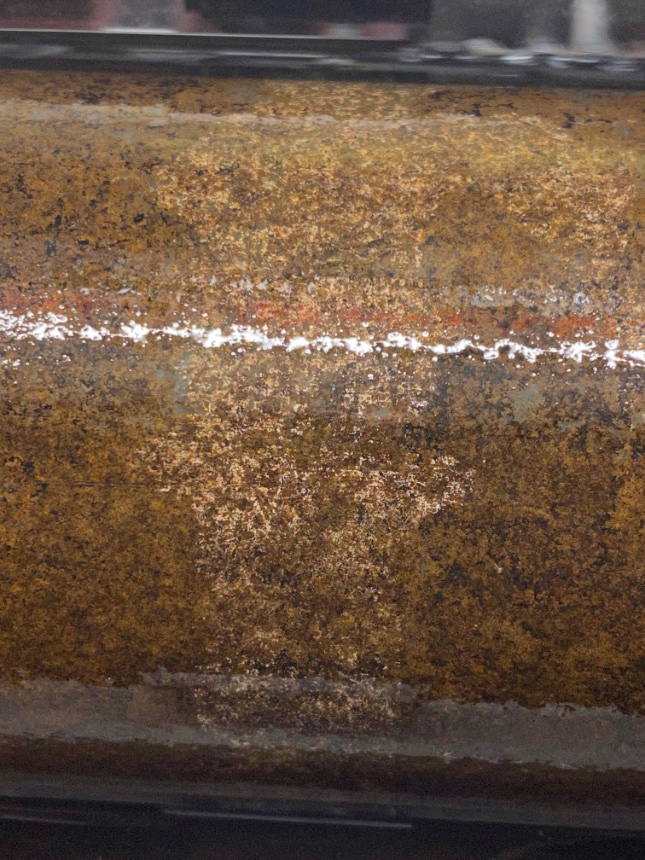
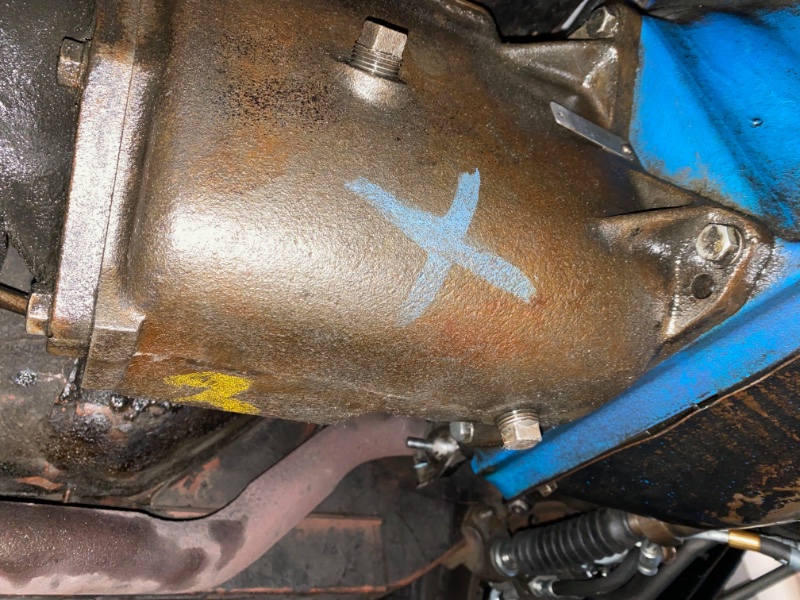
After some cleaning I can see that my driveshaft is orange on both ends and still has some paint stripes on there. It’s very hard to tell the color right now. There’s a thin one close to the differential end which might be orange. Then there are three larger stripes that are very hard to tell (maybe pink-unknown-white). Also a yellow "X’ between the thin stripe and the three wider stripes. The driveshaft will be going in a rain gutter full of evapo rust tomorrow morning. Maybe the stripes will start to show.
This is all kind of silly since the car is nowhere near a show car but I like this kind of stuff and it costs pretty much nothing but time.
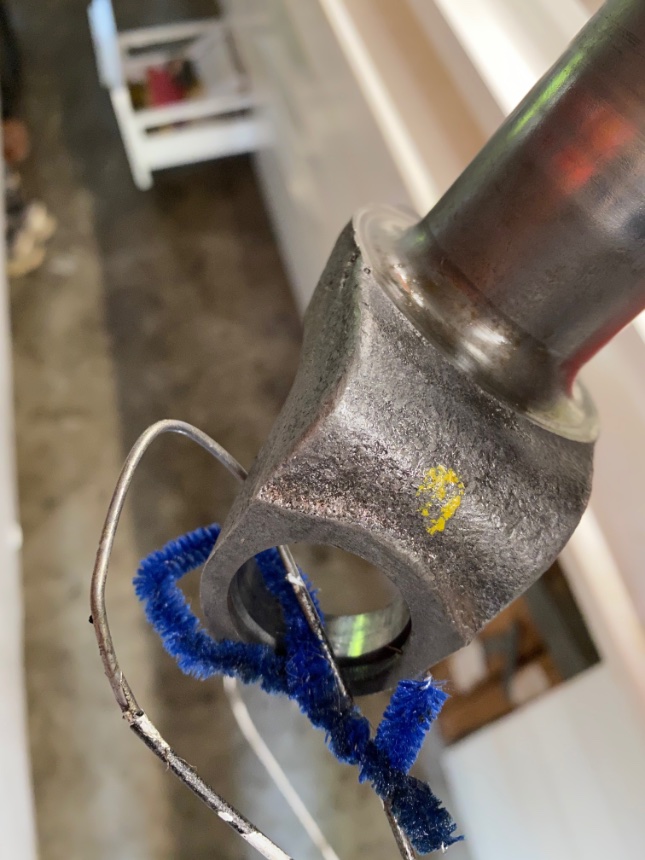
Stripes are super faint but I think may be pink, light blue, and white. Can anybody confirm what they should be?

Now I see new uses for old skateboards! ![]()
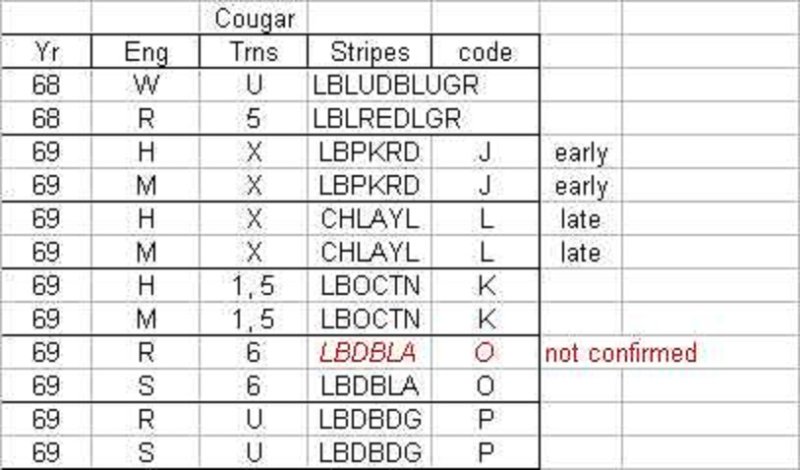
The engine column with R should be R or S code. So Light Blue, Light Red, Light Green. There would be a light yellow stripe at one end. The last letter of the part number would be scrawled in light yellow near the middle of the shaft.
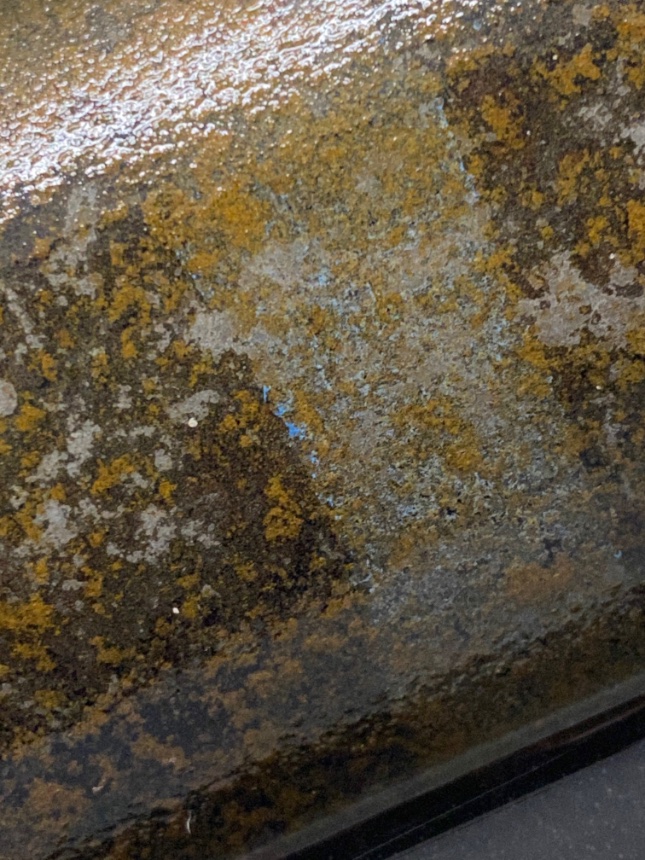
Royce, thank you for replying and posting the chart. Here is a closeup of the middle stripe showing the blue. Did the stripes go on in random order and only the colors matter? I definitely have a pink or light red stripe, but it’s the closest stripe to the differential end, not in the middle. The stripe I thought was white could be light green. I only thought it was white because I never saw any color like I did on the other two.
According to the chart the middle stripe should be light red but this is definitely blue.
Mine only had shiny places where the stripes prevented surface rust so I put them on in the order it said. Maybe someone else has a big block 4 speed who could answer that question. Should be in order but maybe someone screwed up. They were just hand painted with a 1/2" brush as the drive shaft spun on a balancing lathe so very sloppy and crude.
Looking at the chart it also occurs to me that I could have a 1969 driveshaft in there. LIGHT BLUE - DARK BLUE - LAVENDER from front to back.
Good idea - I would paint it like a '68.
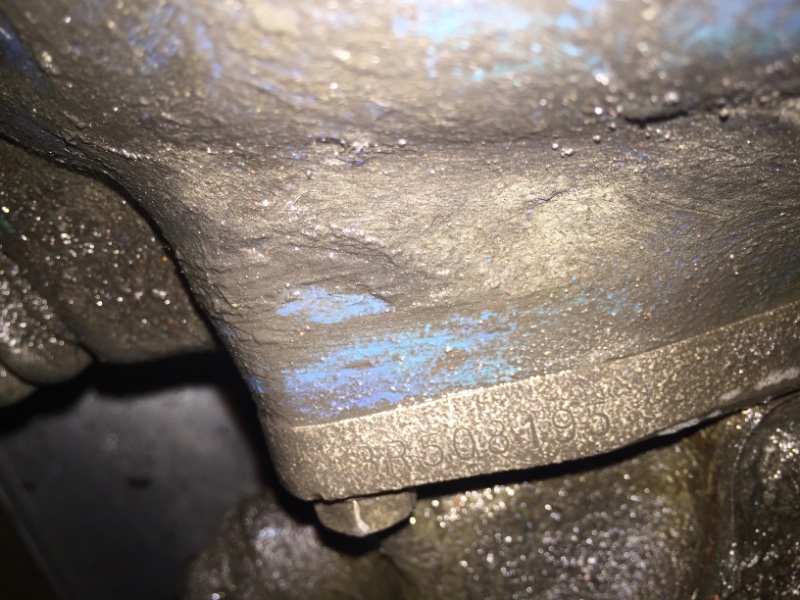
Some assembly/inspection marks on the transmission when I cleaned it up.
Edit: also found the partial VIN on the transmission case. Top left corner where it attaches to the bell housing.
Steve it’s very cool your car has that level of originality to it, and your saving it. I wish I would have been more wise when I was redoing items on my car and would have paid attention if those marks existed. If only yours was a 67 I could perhaps be safe duplicating your marks ![]()
Dave there are some things that are original and some things that have been messed with by previous owners and some things that I messed up when I was a teenager (cracked and replaced my original block!! the horror!). Your '67 is kind of what I aspire to when my refurbishment is through. A car that is great to look at and drives all the time.
Things are coming together. I may be back on the road this summer after all.
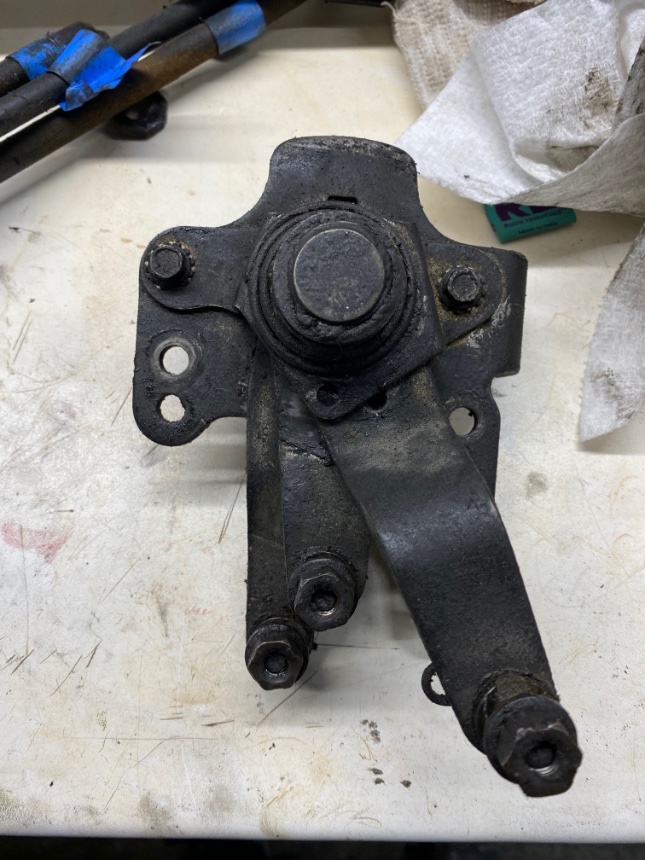
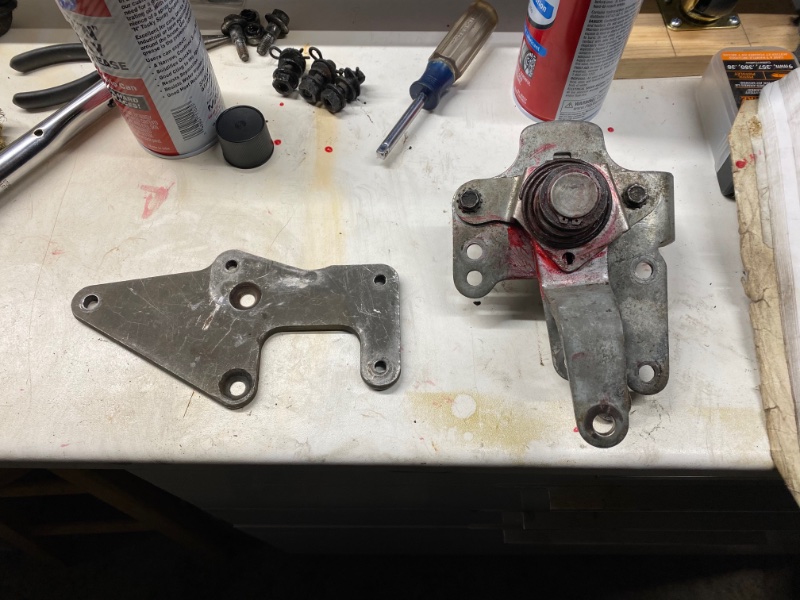
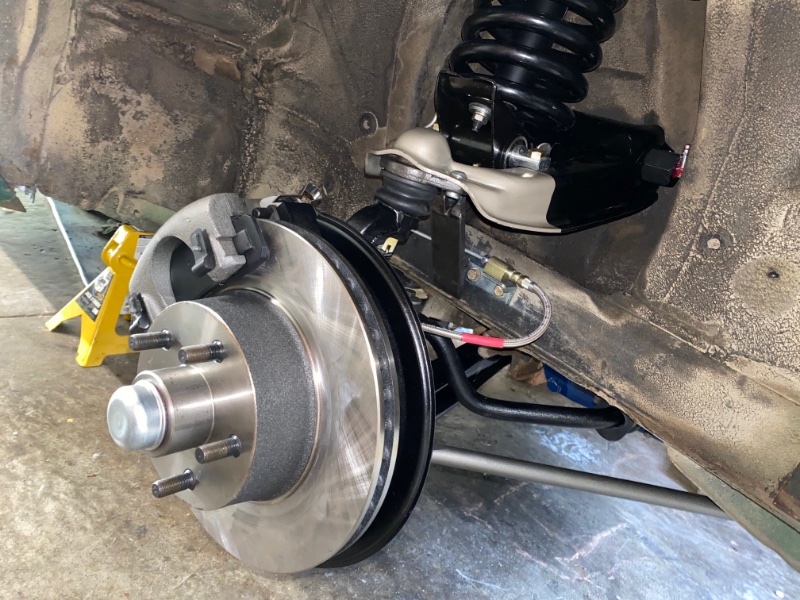
The front suspension is all in. I still have to get the ride height set and get it aligned, but everything is on there.
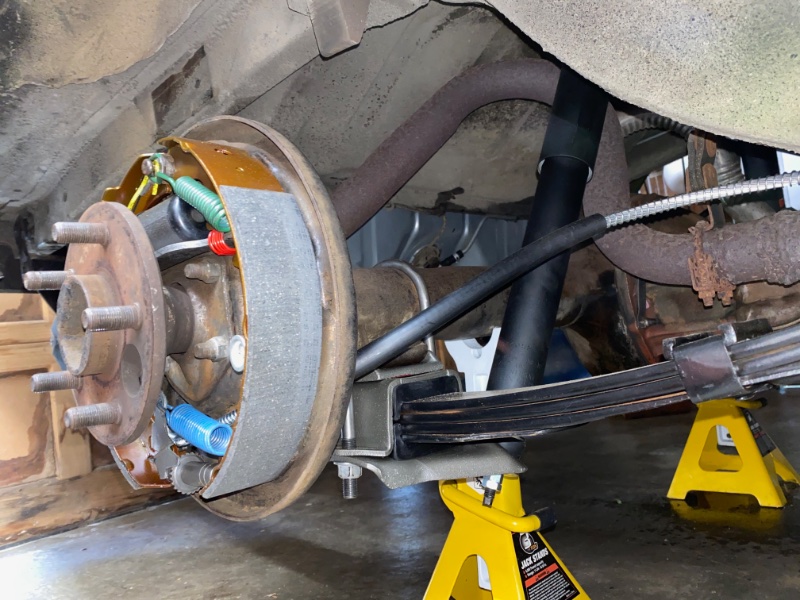
The rear suspension is ready to go.
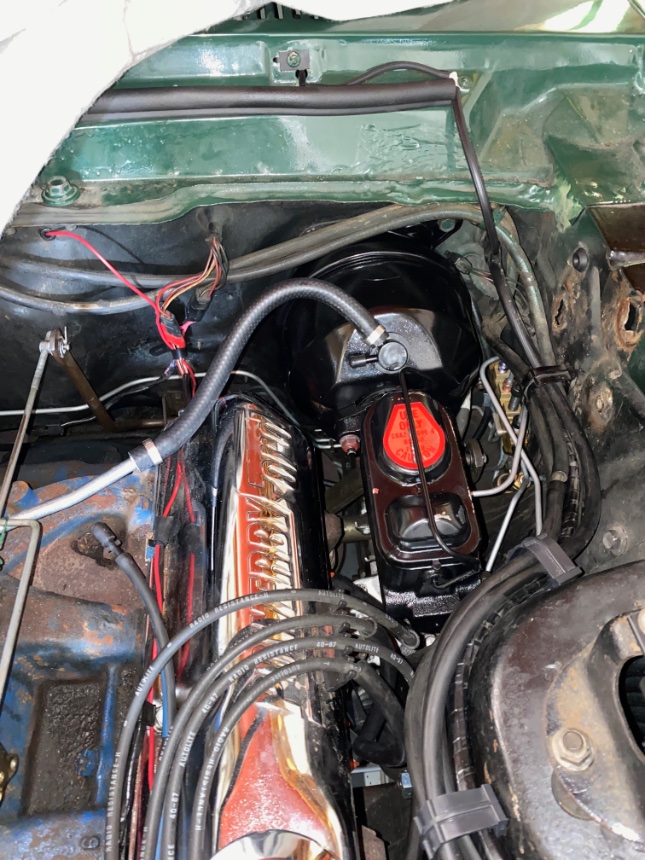
And today I installed my Midland booster and repro master cylinder and bled the brakes. It was easier to maneuver the master/midland combo into place than it was to remove the master/bendix combo that was in there before. Just about another 3/16 clearance at the shock tower.
I have my original Bendix master and I may still get that rebuilt but for now it’s just put away.
Up next is reinstalling the driveshaft, putting in a rebuilt fuel sender I got from Bill Basore, and rebuilding the shifter mechanism. Then, back on the road?