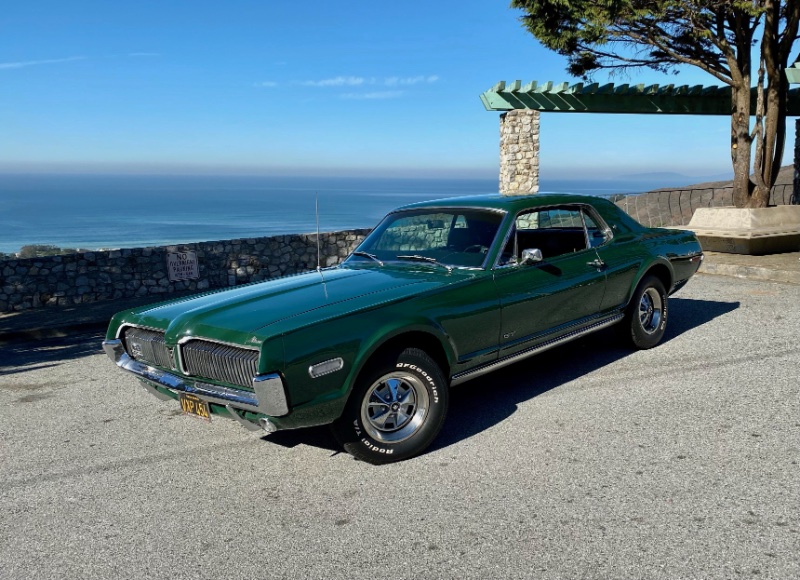
Today was a big day for me. After not running for about ten months the Cougar emerged from the garage.
I installed the new fuel sender from Bill Basore and the GT was lowered onto it’s own four wheels. I added two gallons of gas and the 390 GT started up. The low fuel light came on for the first time in 25 years and then I drove it back and forth until I felt like the steering was centered. I seem to have gotten lucky with all the measurements when I installed the new drag link and the new tie rods because the wheels seemed to center with the steering box centered. The toe-in was at 3/8", which seems the high side of okay, so I left it as is and drove to the gas station to fill it up.
The Cougar rides smooth and quiet now. The sloppy steering is gone and the clutch engagement and shifts are nice and crisp.
I stopped at the school parking lot to roll the car forward and back several times and set the self-adjusters on the rear shoes. After doing that, the brake pedal seemed to lose the slight sponginess it had when it first rolled out.
After the short cruise, I checked the ride height. I had cut one half turn off each of the Moog 8232 coils I got from Royce and it seems to be just about right, although the rear leafs seem maybe a touch high. Hopefully they will settle in with more driving.
Next will be an alignment and then on to the next part of the project. Many thanks to all the folks on this forum who have helped me get this far.
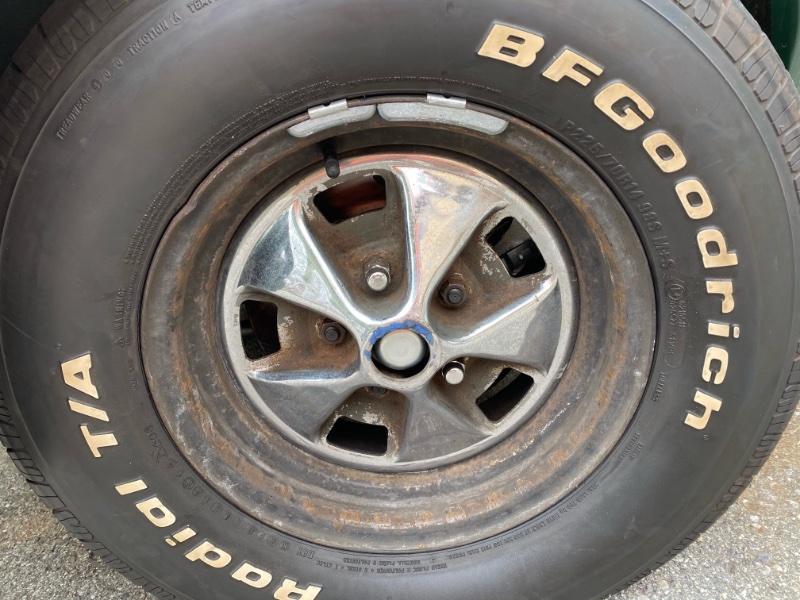
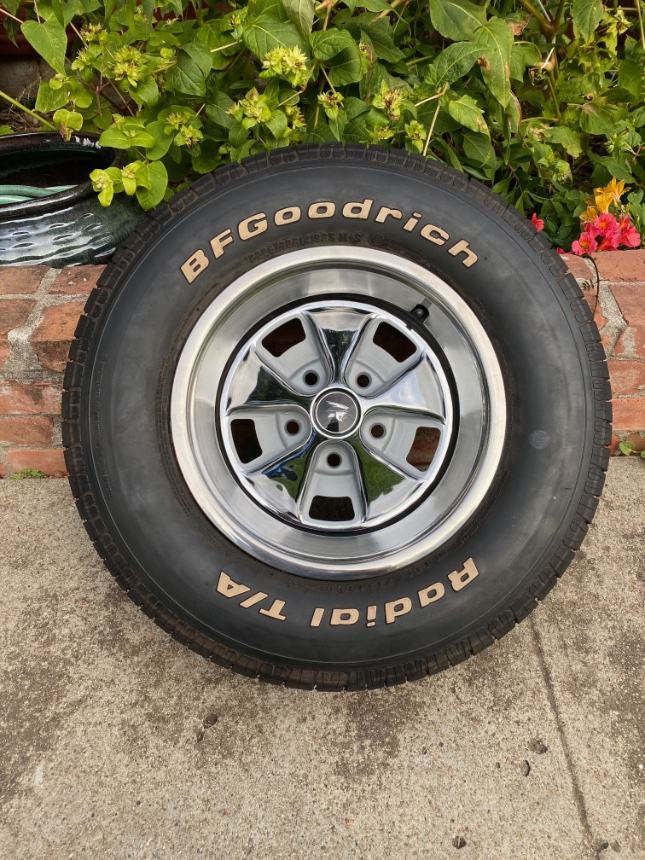
Had an afternoon free yesterday so I decided to try restoring my styled steel wheels. Even though my Cougar doesn’t have a great paint job and there is still a lot to do, the wheels were long neglected and made the car look tired.
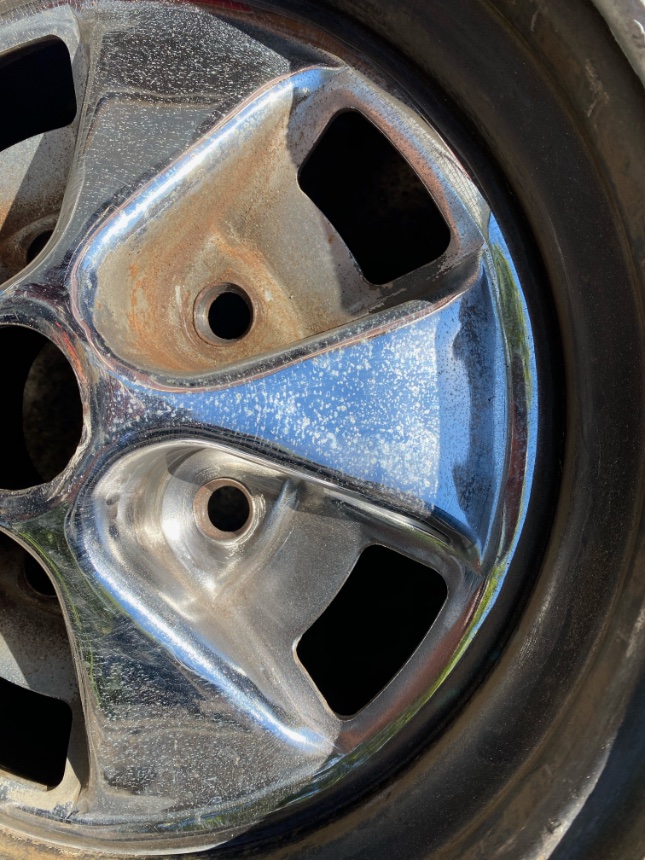
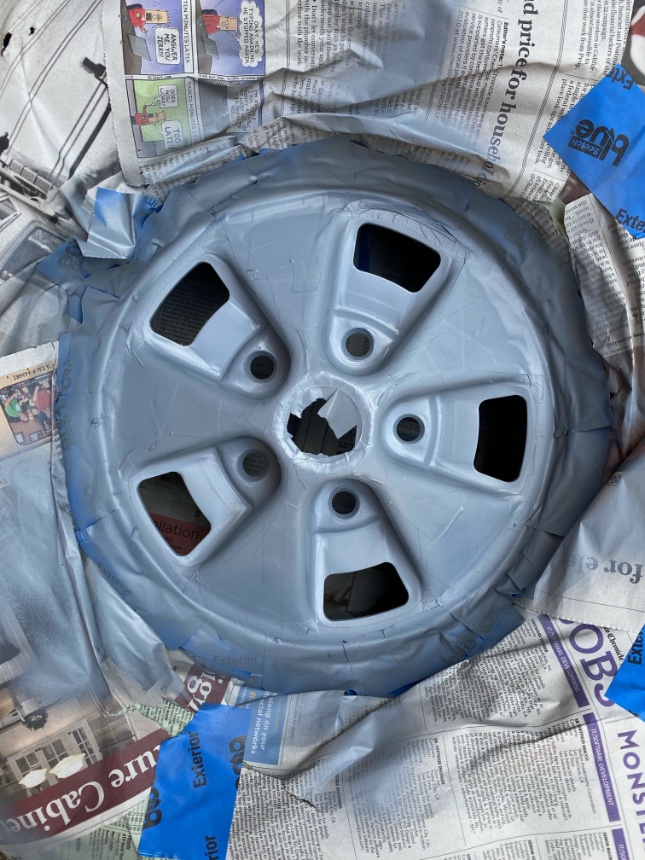
After cleaning all the brake dust and grime off both sides of the wheel, I used a wire wheel on a drill to get all the surface rust and old paint out of the recesses.
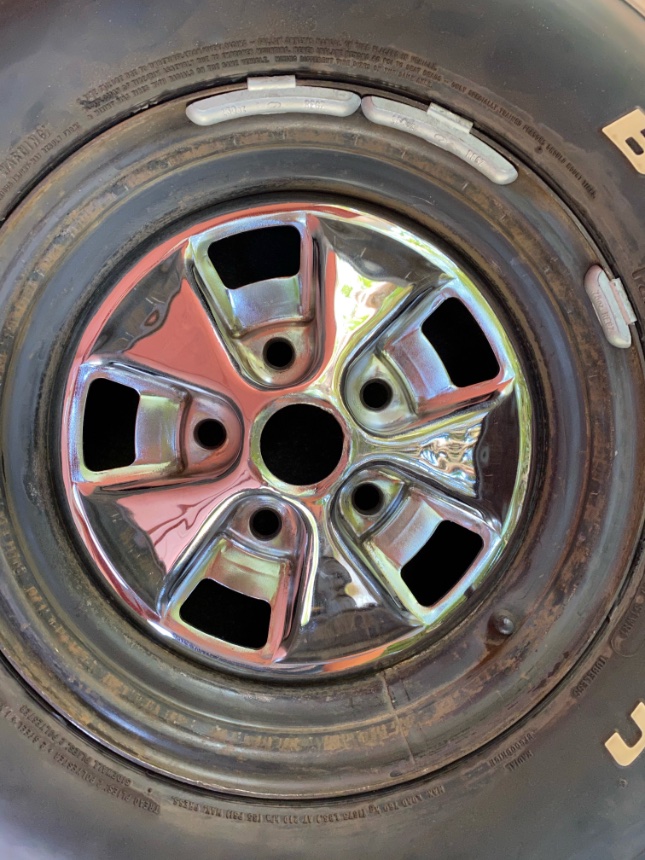
I decided on VHT wheel paint, mostly since they have an off the shelf “Ford Argent” paint. Their website says to use their engine primer on bare metal under the wheel paint.
After spraying the argent on top of the primer coat, I top coated with VHT matte clear wheel paint. I’m pretty happy with the result. The trim ring is the brushed '68 style repro from WCCC. Now I just need to get those white letter tires cleaned up.
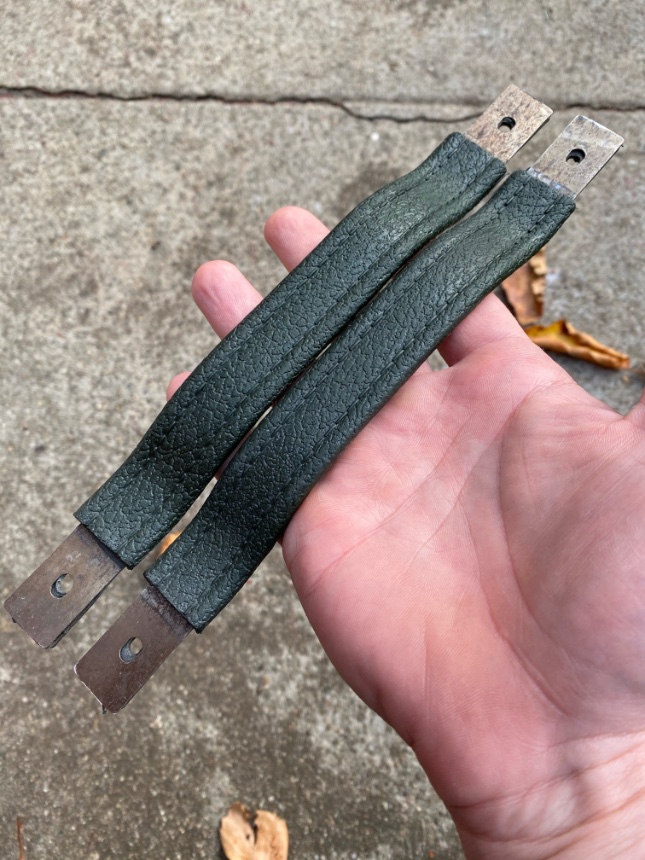
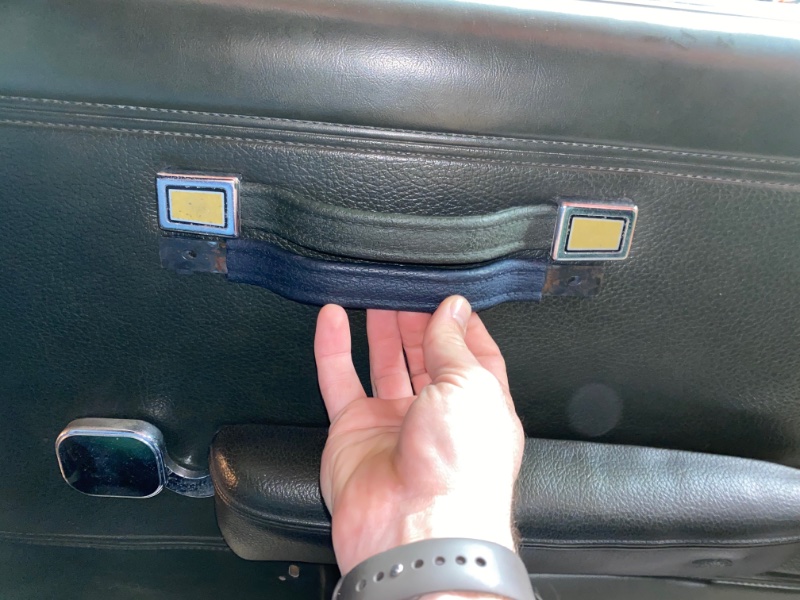
Finally getting rid of the old blue straps. Not sure how those got on there but they’ve been with the car as long as I’ve had it. Now I just need a driver’s side arm rest and map pocket. Maybe some day before I die…
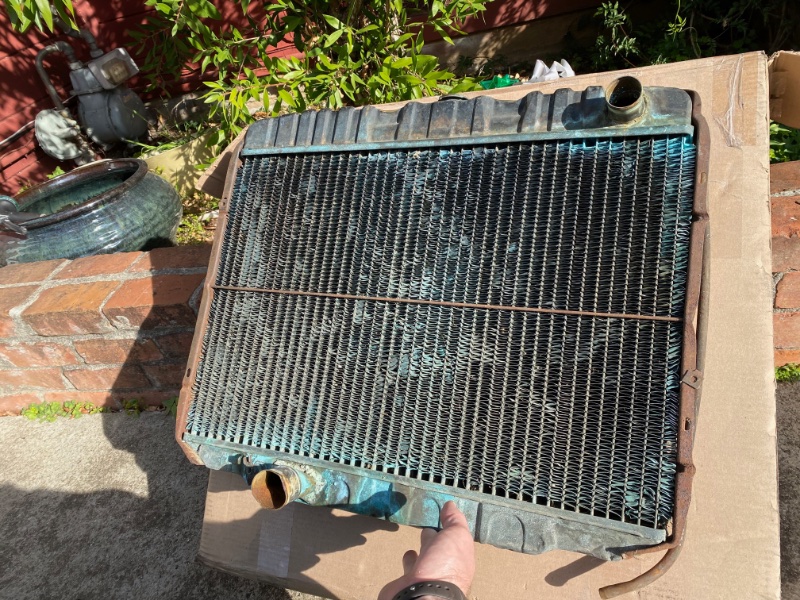
Merry Christmass great gift of a hard to find part in that condition. There are tools for straighting the fins and the radiator paint NPD sells is a very good product and will make it look as new.
The seller stated it was leaky when it was removed from an S code Mustang. I’m guessing there have been issues around outflow tube attachment at the lower tank because there is a bunch of crap looking cold solder on there.
I’m kinda planning to rehab it following a method I saw on the Concours Mustang forum C8ZE-L1 radiator restoration.
Thanks for the confirmation. I was pretty sure the W MO was the right one for me. Built in San Jose in Jan 68. Can you tell me if that number under the W MO is a Nov 67 date code?
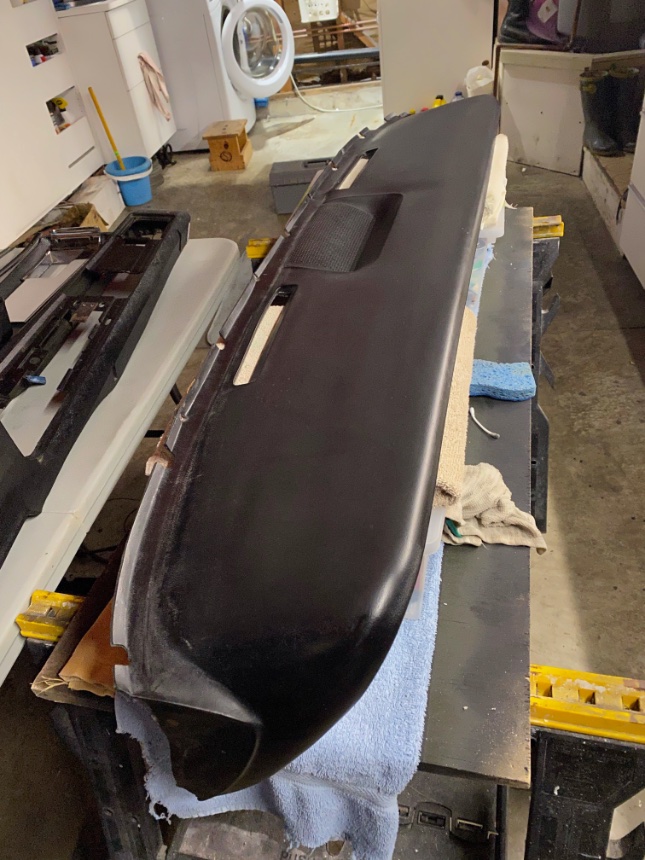
My son and I made a weekend project of removing the dash pad to give it and the area behind the instrument panel a thorough cleaning. I have never had the pad out of the car since I bought it and by appearances it was a very nice straight pad with no cracks or sags.
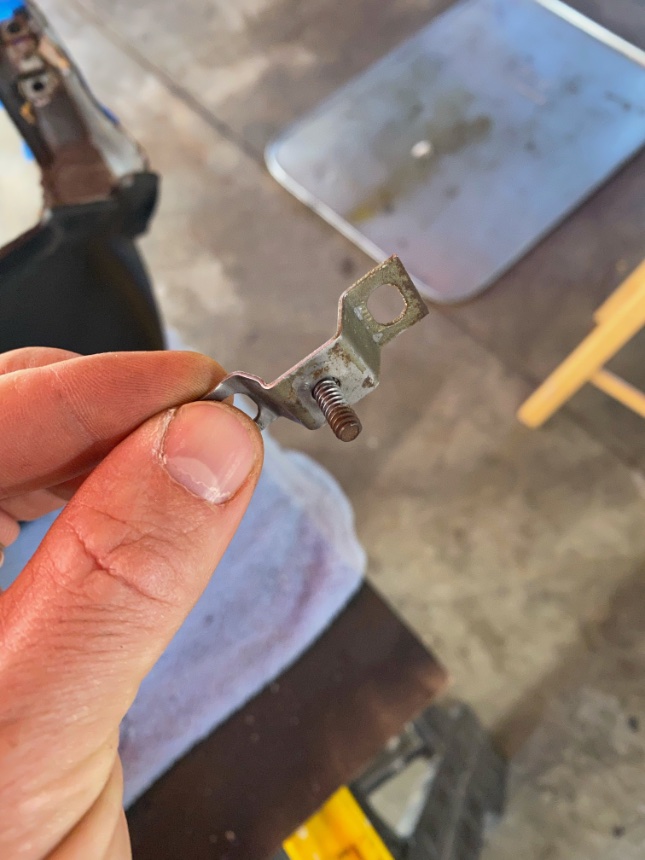
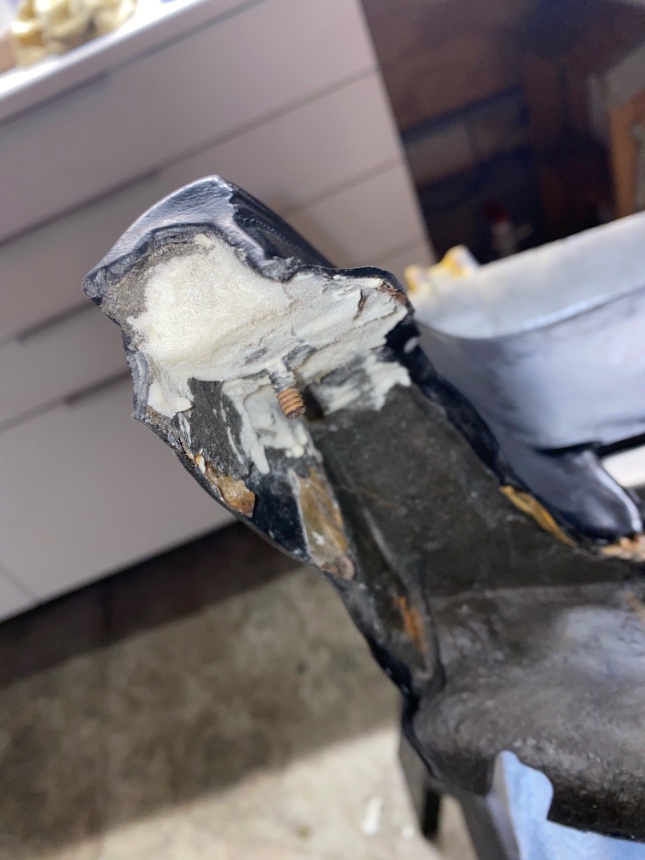
When we removed the dash pad, we discovered that some previous owner had ripped the stud out of the foam at the bottom corner on each end of the pad. The studs were still there but they were dangling from some ugly globs of what appeared to be bathtub caulk and were not holding onto the foam very well at all.
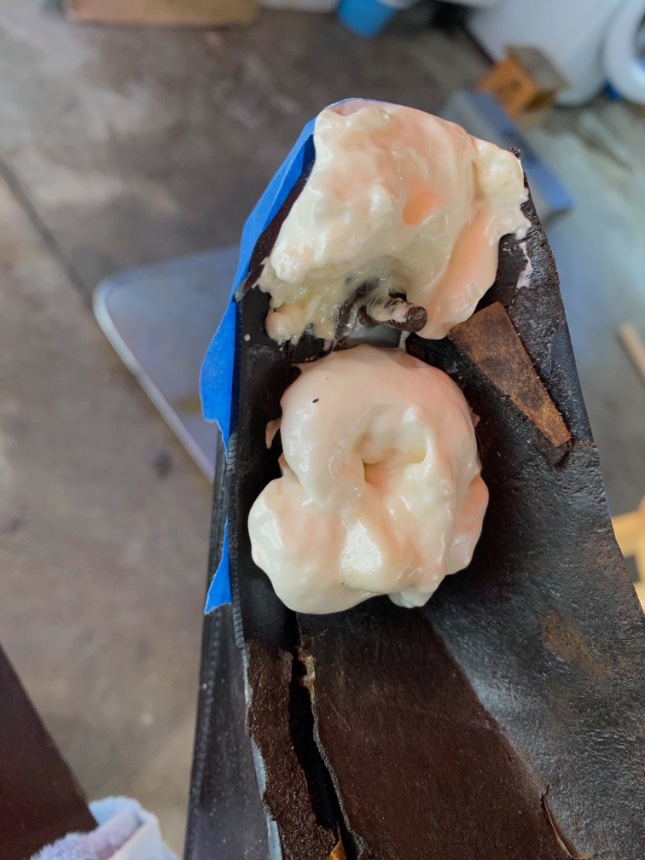
I decided to attempt a repair using this stuff Evercoat®. My wife has been using it to repair the roached dash pad of her 71 Datsun pickup and I found that it forms a nice firm but pliable foam.
First step was to clean all the caulk and old foam off the studs
I held the stud in place and squirted the expanding foam through the hole in each tab and into the cavity behind, allowing it to expand out of the hole and fill the area on top of the tab
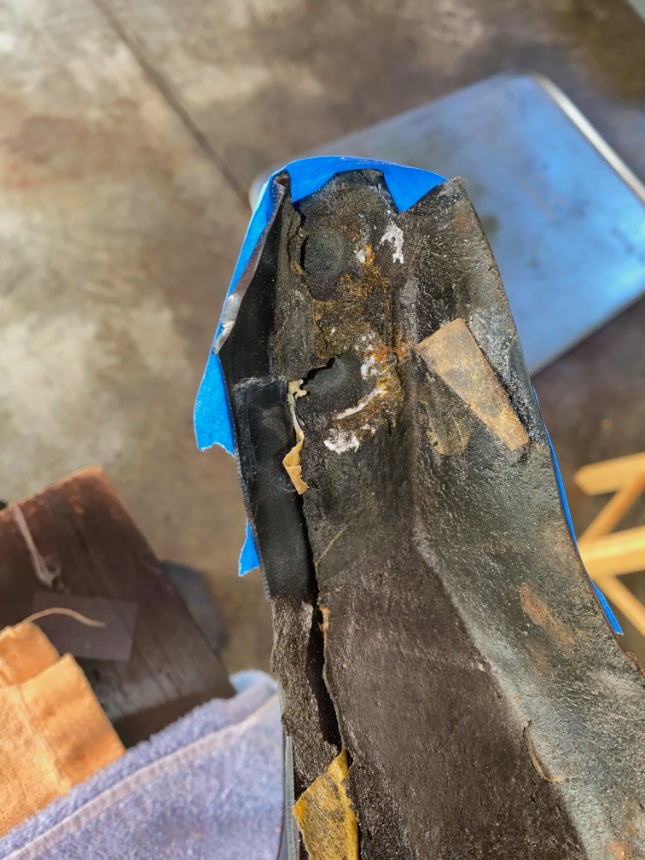
The stud was firmly held in place by the new foam. When we reattached the dash pad and snugged the nuts down on the studs, the corners of the pad pulled in to the dash face for a nice fit