The restored parts look a lot better:

The restored parts look a lot better:
After wiping them all down with the W&G remover they went on the car.


The dash was torn apart today to send out the main pieces and the center buttons from the tachometer and the speedometer for fresh vacuum painting. It’s a lot of little pieces. Tedious to disassemble but needs to be done. There are three plastic lenses that you need to save for the left and right blinker arrows, plus the High Beam indicator.
I take lots of pictures so I can successfully reassemble it a few months from now when the pieces return.


A short absence - now I am back at it. The fender extensions needed to have the blackout applied. At the factory this was sometimes done with a brush, other times it was masked and sprayed. No idea why two methods were used - in any case I masked it and sprayed.
The rear edges of both fender extensions were unpainted because the painter (12 years ago, previous owner) laid the extensions on a table and painted them off the car so the metallic is not perfect. In any case I masked the edge and then brushed them after mixing up some Nordic Blue touch up paint.


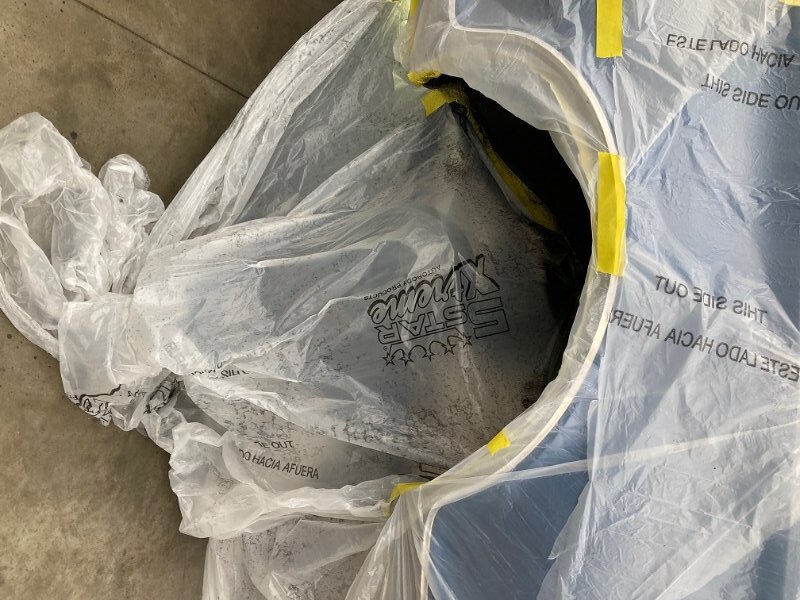
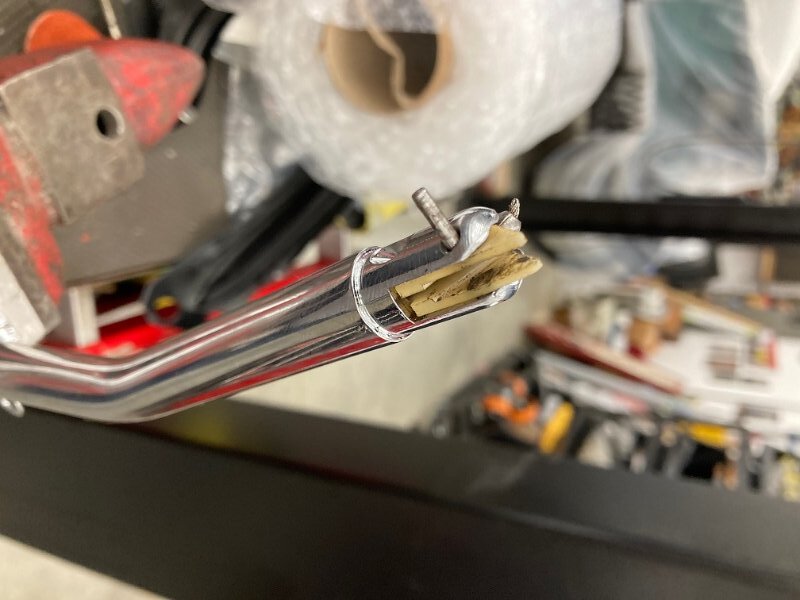
Yesterday the transmission came back from being rebuilt. It’s the original case with the VIN stamped on it. The vapor cleaning process worked nicely.

Royce, double check that shift rod. It does not look like an assembly line C-6 shift rod.
LOL that’s going in the trash.
Ran over a piece of wood.
I’ll bet that one has a “high stance” front end when finished!
We will see. I have no issue with cutting a coil spring if necessary.
The two surprises on each side -
The blocks of 2X4 are there because the engine is out. The wood is just to keep the upper A arm from contacting the frame.
Royce, are you going to reuse the UCA’s ?
We are looking for original 4 rivet style upper control arms, not cut back. Have not found any yet but hope to. I am able to re - rivet them myself so the main requirement is for good stampings with no pits.
Today among other things I worked on the sound deadener. I masked off the shifter area and hosed the transmission tunnel down. Then plastered the muffler areas and the lower rear seat area. Last thing I sprayed a bunch in both rear wheel wells.
Wheel wells:


And the under floor areas:


Today I was installing the original alternator harness and a new negative battery cable using the original bolt and star washer. I bead blasted the bolt to remove corrosion, and noticed the engine block ground point was painted thickly. I made sure it was shiny bare metal before installing the battery cable, alternator ground, star washer and the bolt.

Started out today reassembling the shifter. I had the lever re - chromed which turned out great but that means the whole thing was reduced to parts.
Turns out the top part was too big to fit in the Scott Drake reproduction assembly shift handle. I had to enlarge the hole in the handle as well as grind off the chrome at the top of the shift lever.
Putting the whole thing in a vice so that the catch is elevated helps when re-assembling the top part.