Since purchasing my current 70 Cougar 2 years ago I’ve had numerous Power Window issues. Along with this I’ve learned a lot, documented some of it, and developed some approaches to troubleshooting and improving reliability. It’s an early 70 (March build) and is different in switch bezels that the later 70’s. I expect it is the same or very similar to the 69’s
Some of the Failure Modes encountered are:
• Burnt, oxidized, or dirty switch contacts. – Switches test okay of continuity but have too much resistance under load and won’t provide full starting amps to the motor. The switches need to carry a lot of current without much voltage drop or the motor stays stalled. A typical indicator of this or other poor connection issues; is the interior lights dim but the motor doesn’t budge.
• Switch clips do not hold the wiring socket tight on the back of the switch. The little clip ends are a real pain to assemble and disassemble reliably and without damaging them.
• The contact mate (or crossover) plates that mount in back of the switch pairs get damaged and may not always provide good contact at each switch post.
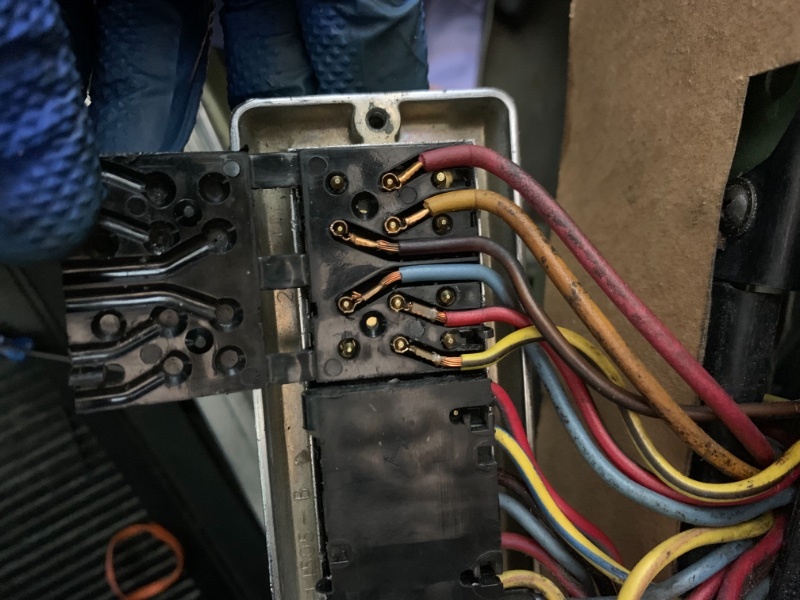
• Switch socket/plug contacts loosen and may not provide good contact with the switch pins. The plugs can be disassembled and the sockets tightened but reassembly can be challenging.
• Some of the reproduction switches have pins that are not well secured and can push back into the switch body messing up the internal contacts. This can occur when inserting the switch into the socket and will not be apparent.
• The tracks and guides were suspect and were all disassembled, cleaned, and lubricated. That didn’t really help with the on-going issues. The WCCC video provides some good guidance as does the Ford Shop Manual.
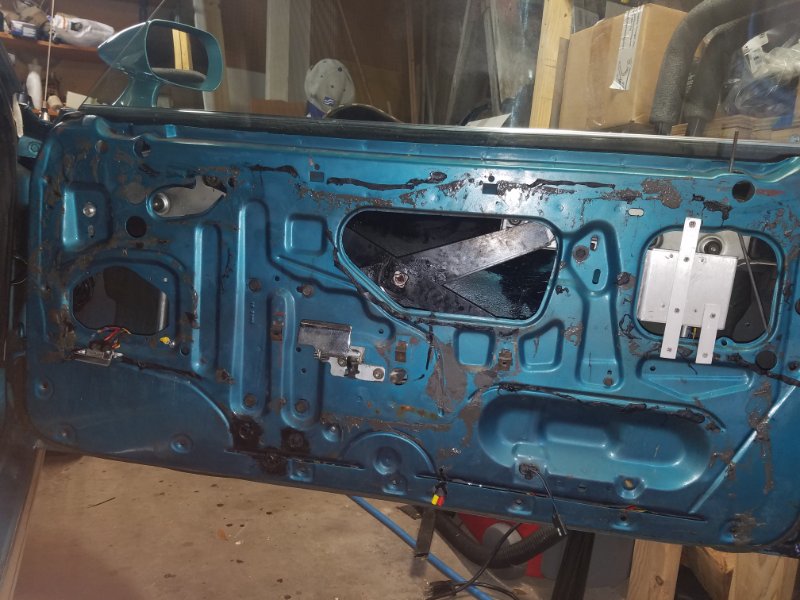
• Mine came with wiring issues including some bad splices and a driver door window motor replacement that chopped up the door.
• There was other obvious prior history of issues; the driver side window would not go down and I got a collection of switches and other used and broke parts.
With each repair I’ve learned more and documented more. While I’ve gotten fairly efficient at pulling the door panels and switches it is no fun especially when a window fails in the down position.
Attached are some diagrams showing simplified wiring details. They along with, a set of jumpers I’ve made have helped me diagnose and repair issues. Two jumper wires about 9 inches long with brass pins from a broken switch allow; 1) troubleshooting manually by duplicating switch functions, 2) with alligator clips on the multimeter to check voltage and continuity or 3) running power and ground directly into the circuit to test other components (local switch and motor). I have a cable that can be run from the battery terminals to power a window motor through the switch plug with the jumper ends (it includes a 20 amp in-line fuse).
Success with reproduction switch contacts has not been good, cleaned contacts on used switches haven’t been that reliable either. The car is not driven much so there is not that much usage.
Trouble shooting:
• A full set of wiring diagrams is recommended to properly do trouble shooting beyond the switch circuits covered in the attached diagrams. The full diagram is hard to follow with the switch circuits but covers the power source and all of the wire colors.
• If all windows are affected check for power from the Window safety relay and 20 amp circuit breaker near the starter solenoid in the engine compartment. Also check the Window lock out switch on the driver door. Don’t forget that the power windows are only operable with the ignition switch in run and accessory positions.
• Master switch doesn’t work in one direction but the local door switch does generally means it’s a master switch issue and I suggest starting there using jumper wires to emulate the switch in both directions. Also observe the switch plug before removing it to check that it was fully in place.
• Other issues in one or both directions, it’s generally better to start at the affected window. Using the jumpers to emulate the switch in both directions or bringing power from the battery to the appropriate plug sockets to test the motor. Again observe the switch plug before removing it to check that it was full in place.
• Check the two contact mate (cross over) plates behind the master switch pairs. These distribute both 12V and ground to pins in the switch pairs. I resorted to soldering these, more out of frustration than a demonstrated need. This did rule out one source of poor contact failures but it makes changing switches considerably more difficult. Heat and extra solder on the pins can cause other issues and unless the contact mate plates are damaged and irreplaceable, soldering is not recommended.
• If the plugs on the back of the switches will not stay on either in installation or in-service, replacement clips are available with the little curve fingers that are intended to hole the plug in place. If you get frustrated with these (they are a pain to assemble and disassemble) they can be replaced with small plates across the back of the switches and screwed into the bezel mounting plate (locate them to go into the open space inside of the bezel).
• The window switches can be partially disassembled and some contact physically cleaned not all are accessible, the chemical cleaners are less effective and the switches are easy to break in the process. Replacement switches run about $40.
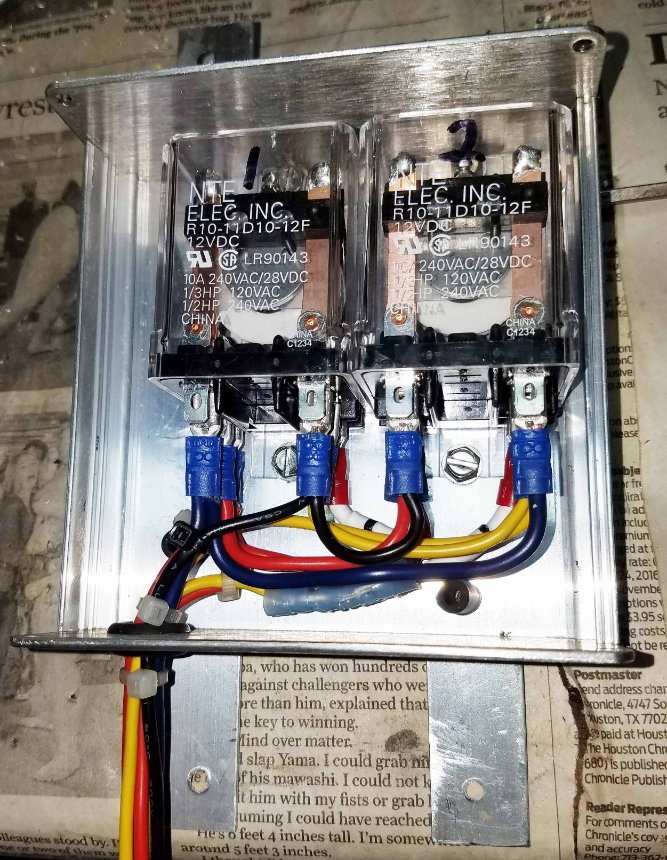
I’m currently testing a door mounted relay setup to move the high power load from the switches to relay contact (10 amp @ 28 VDC) and provide test/override connections at the bottom edge of the door panel to facilitate diagnosis and the use of jumper wires to open or close the door windows without tearing the door apart on the road. My “bad” switches have no problem pulling in the relays. Hopefully, the relay contacts will hold up better. They are only $13 each but I still really hate pulling the door panels. I’ll share the design if there is interest.
Questions, comments, and any corrections are welcome. I’m sure there is more good information out there. I’ve focused on the early 70 Cougar because that is the limit of my direct experience. Other information principally the West Coast Classic Cougar website gives a broader perspective suggesting this is full applicable to the 69’s and with only a bezel and a bezel related switch change to late 70’s and later.
PowerWindowWiringDiagrams.pdf (2.39 MB)