Hi,
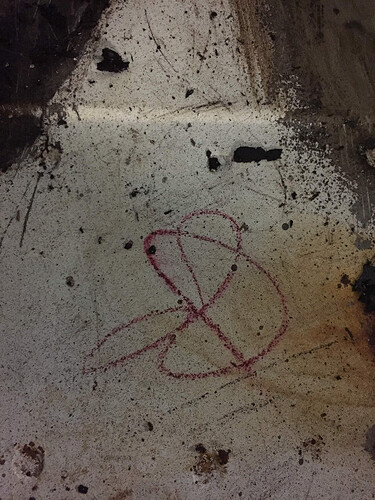
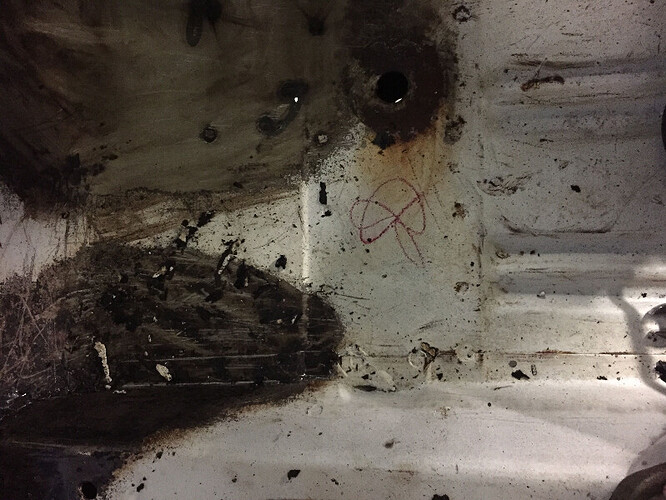
I started recently working on my 69 Cougar 351w with FMX Transmission in Wimbledon white. Now I’m stripping the “undercoating” inside the car. It’s brittle and in some areas there is little surface rust underneath it. Paint remover is working to get the oily rests, after scratching the brittle tar of, of. Now I was wondering what kind of signiture or mark I found under the carpet on the passenger side. I’m thinking how to safe it and if this is worth the effort. What do you think.
Greetings
Karl
Haven’t seen that mark before. So, I don’t know what it means. Looks like it started out as an 8. Maybe an inspector or quality mark. Use a grease pencil and redo it after the restoration.
Which plant was your car built at?
It can make a difference ![]()
It was probably Joe Bob at the Dearborn plant…he was notorious for coming up with “Hey, bet this will drive someone nuts in 50 years!” ideas…
His best one was tying a bundle of washers together, then hanging them inside the doors or quarter panels so they would bang around during cornering.
Hi,
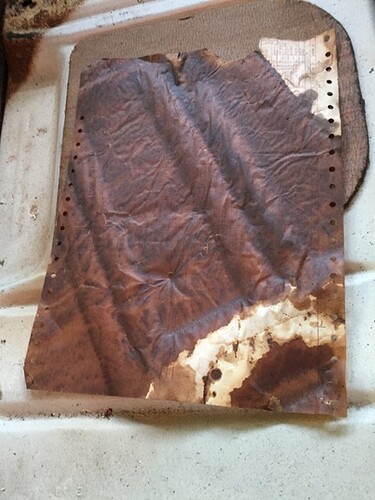
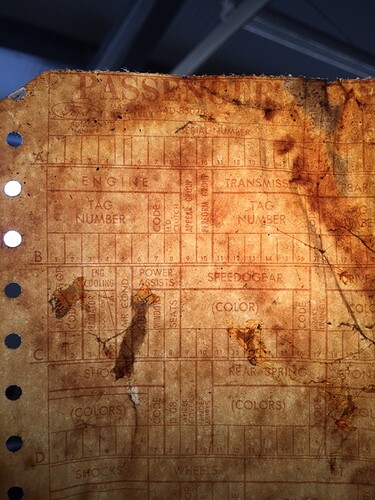
built at Dearborn (Plant F). I went on with removing erverything inside the car to clean it up and to remove the brittle stuff… I found a built sheet under the carpet on the passenger side, but it seems that there is nothing written on!?
Would just guess that it was the second head liner installers mark. San Jose guys assigned that task did a similar thing (number on the seat riser) to identify who did the task so that if there was a problem later on the inspector could find the worker and “improve” the process
For the buildsheet there is a “cleaning” process that seems to work for many.
Hi,
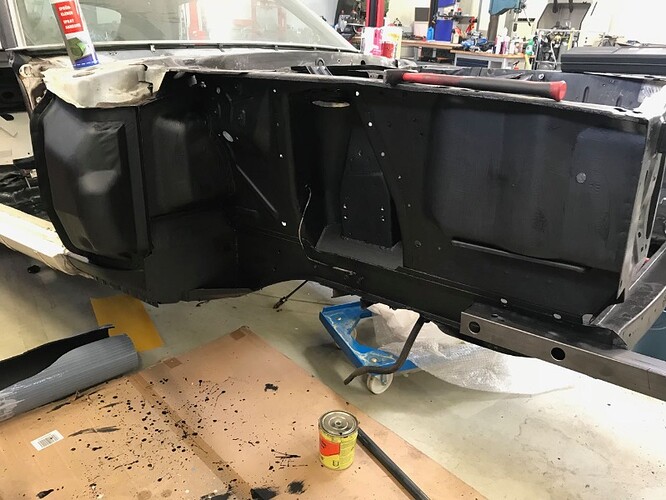
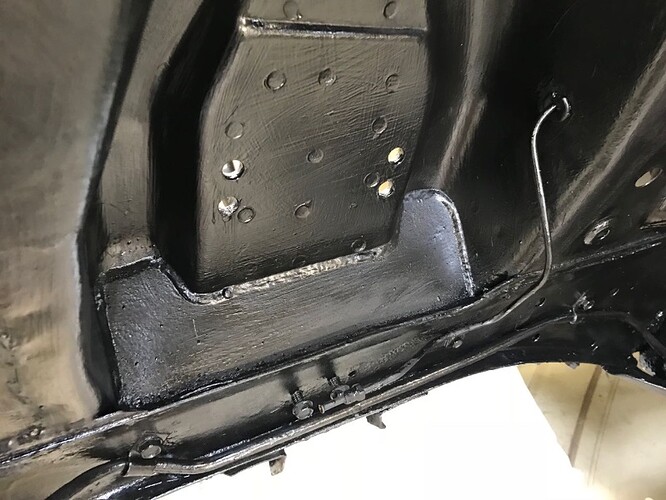
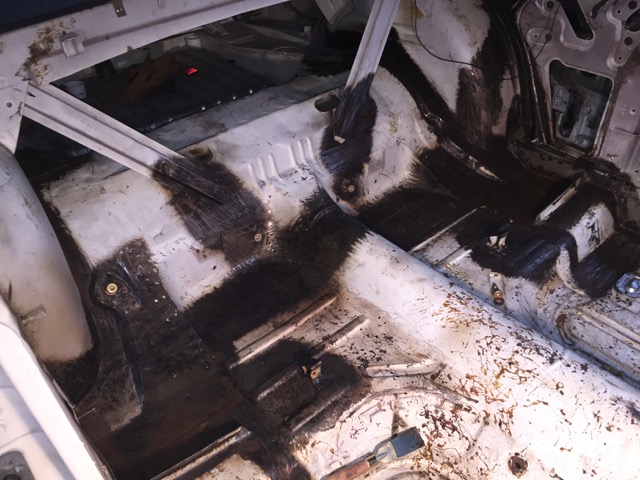
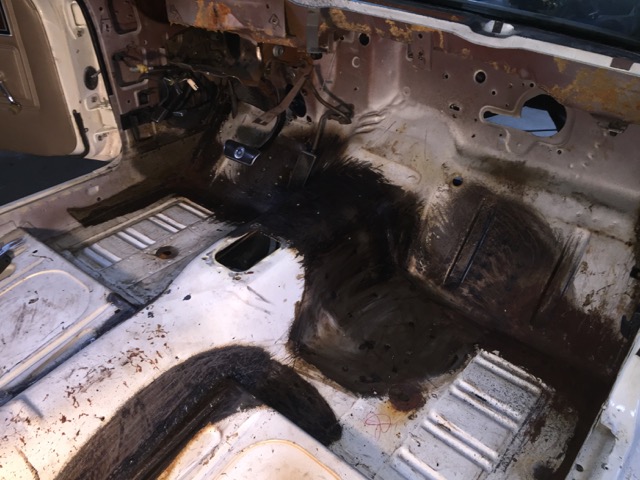
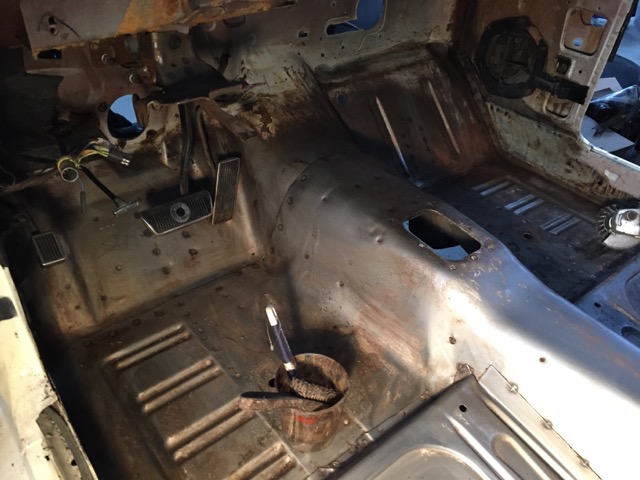
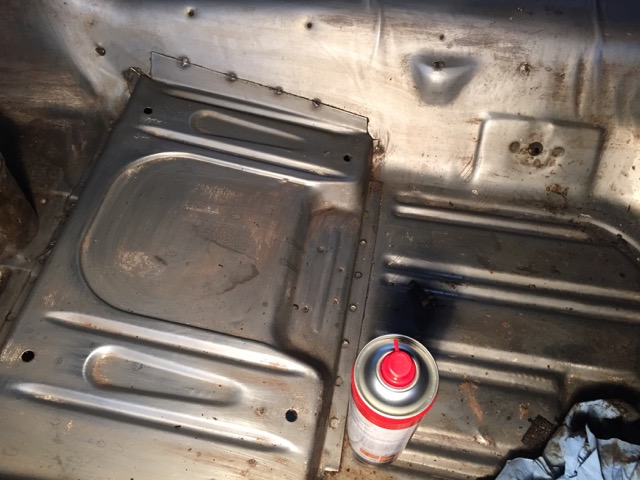
made some progress! The whole bitumen based coating inside is out of the car. I used paint remover (the old stuff :-)) and afterwards brake cleaner to clean up and remove the oily residue.Isn’t it amazing how the sheet metal is looking like after 47 Years? Little to no rust in most places. A bit more surface rust is in the floorpan on the passenger side under the air intake. Maybe it is because the heater core was broken and coolant was keeping the carpet backing wet there ?!
Next steps will be rust remover, phosphating and painting.
Greetings
Karl
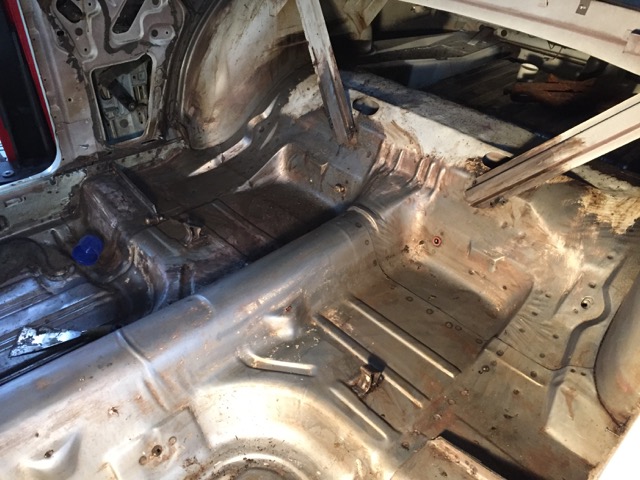
Nice work, and that is beautiful sheet metal!!! What kind of paint are you going to use on the inside?
Hi,
I gonna use self etching Primer, Sikaflex 221 seam sealer and than a 2k Wimbledon white on Top. What kind of sound deadening “Dynamats” are recommended to substitute the old, brittle and stinky bitumen mats? Or should I reuse the old ones?
Karl
Wow…that is clean as a whistle!
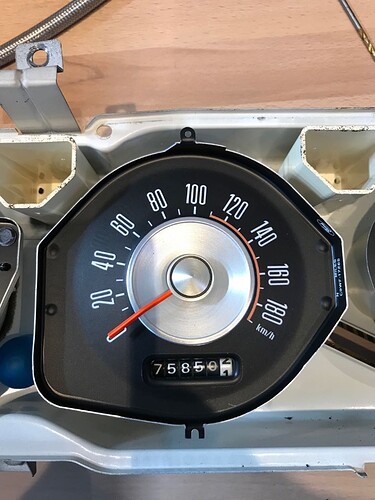
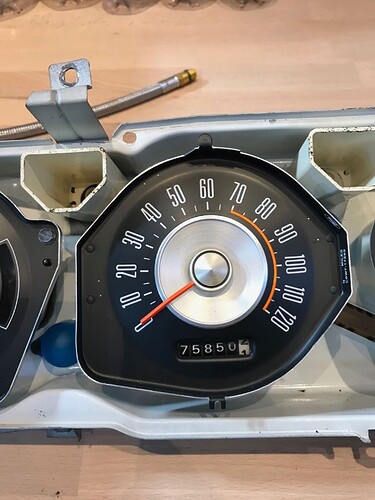
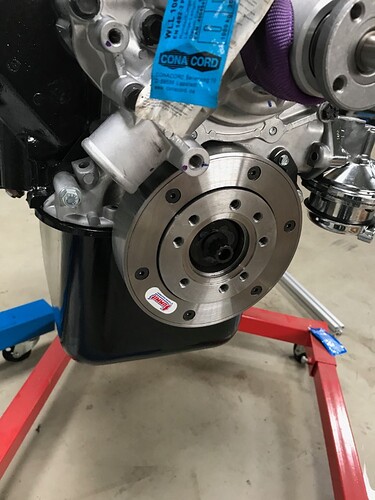
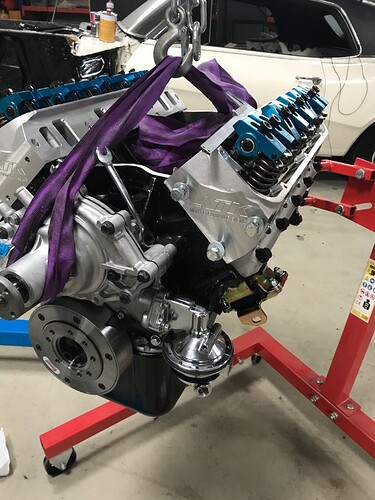
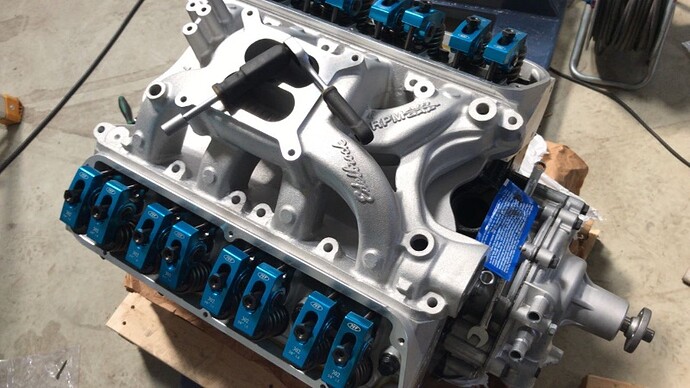
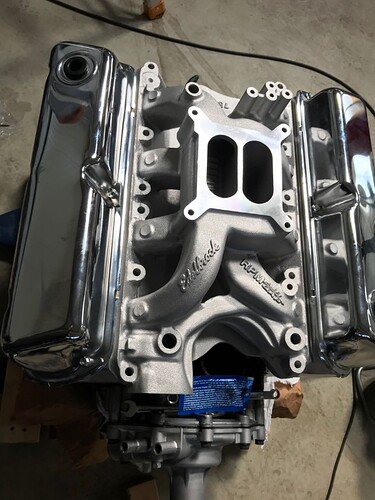
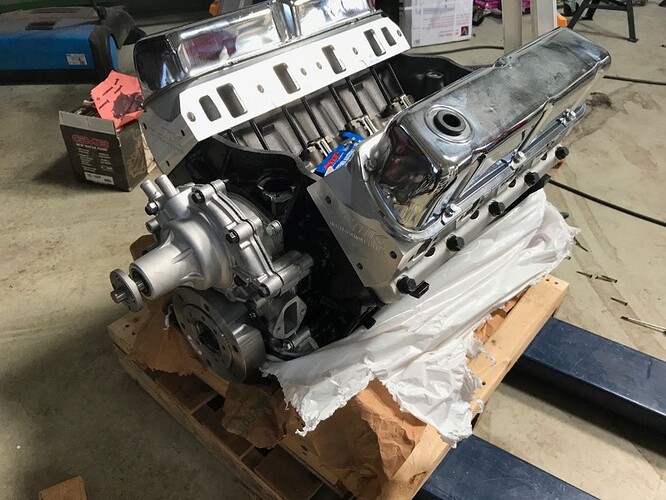
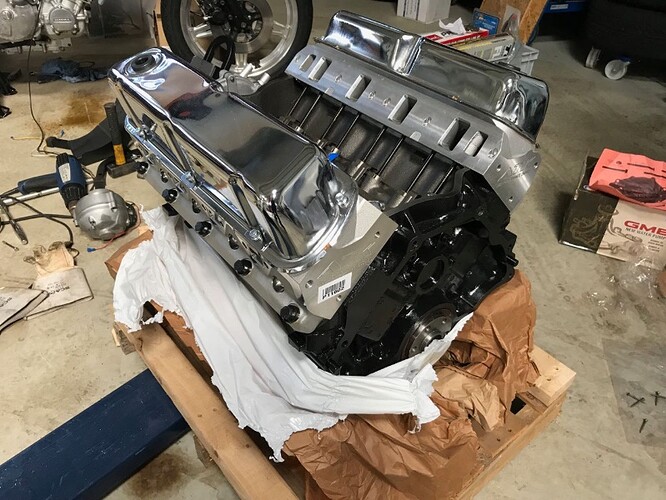
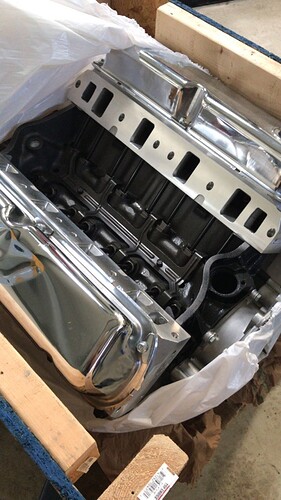
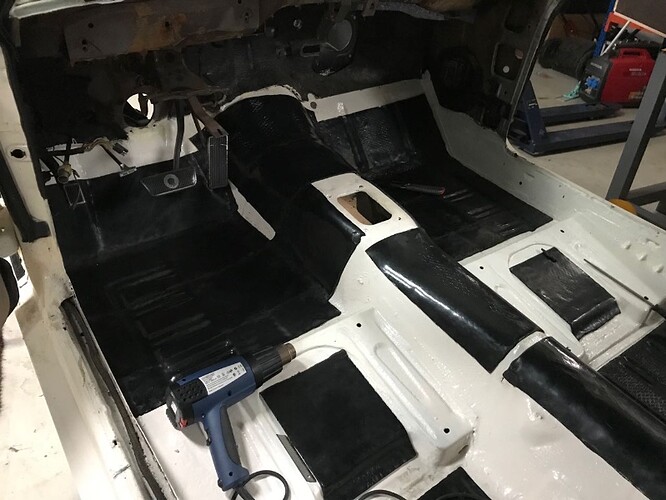
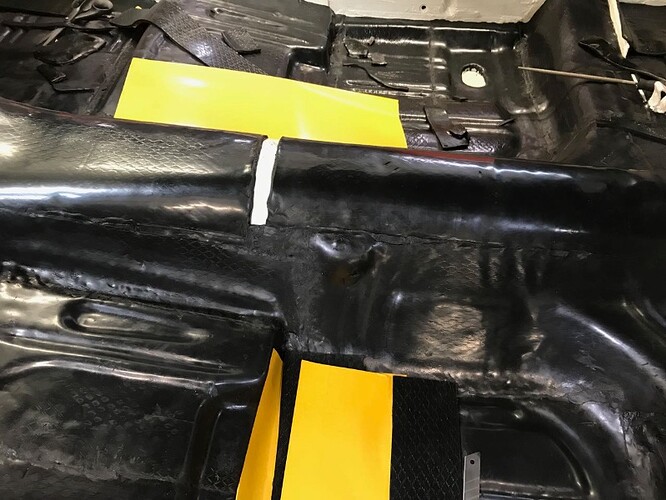
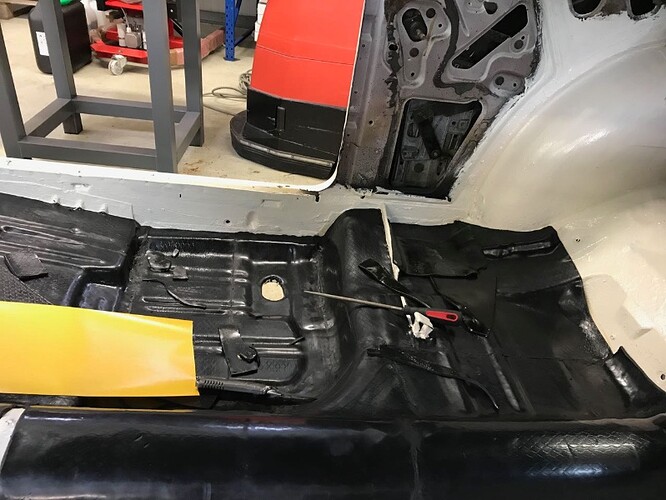
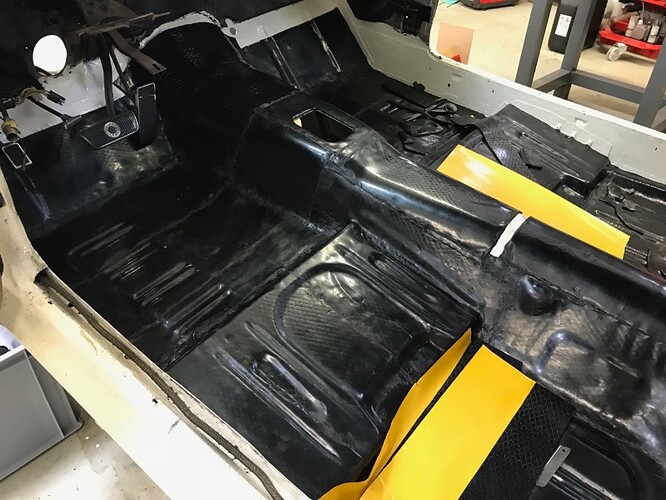
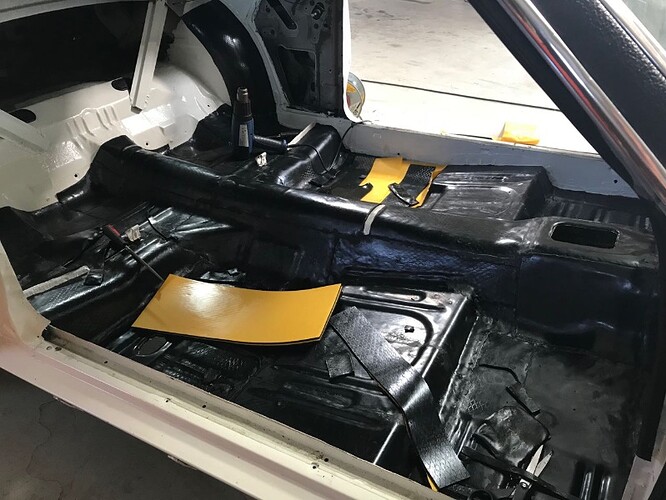
Long Time no Progress ![]() Now the days become shorter and the record summer is over… I did some work on the dampening mats and melted some mats in the floor panels. I uncrated the 408 stroker engine (ATK HP21) and started the assembly. And what came out very well, I converted the Speedometer from mph to km/h! The sticker looks awesome and since I had to take apart the cluster I was able to clean it as well. The lenses are not foggy but have scratches and I will try to polish them over the weekend. I let you know how it worked out.
Now the days become shorter and the record summer is over… I did some work on the dampening mats and melted some mats in the floor panels. I uncrated the 408 stroker engine (ATK HP21) and started the assembly. And what came out very well, I converted the Speedometer from mph to km/h! The sticker looks awesome and since I had to take apart the cluster I was able to clean it as well. The lenses are not foggy but have scratches and I will try to polish them over the weekend. I let you know how it worked out.
The engine and the gauge face looks fantastic. You’ll have periods when you really can’t make a lot of progress. Just keep doing what you’re doing and you’ll get the big stuff done in spurts. Before you know it you’ll be done.
As far as sound insulation goes I just used foil and foam self-adhesive duct insulation. You can put it on one or two layers thick depending the area.
Wow,
that is good input! Meanwhile I finished the dampening mats (all the white area in the floor pan is now covered seamlessly).
Additionally I have foam insulation here from a RV-Conversion of my Van. It is 5mm thick and has a self adhesive back. I wonder if I could put that on the back of the carpet and below the dash board?
THX
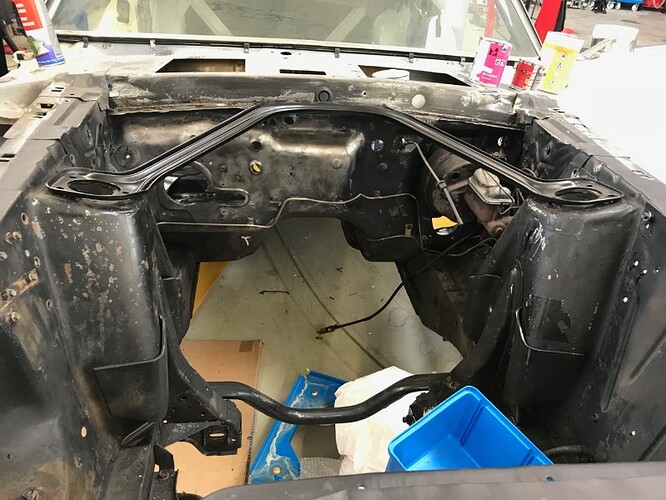
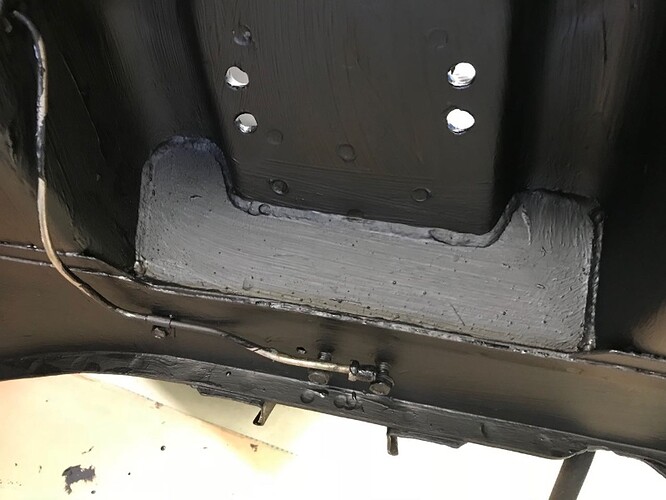
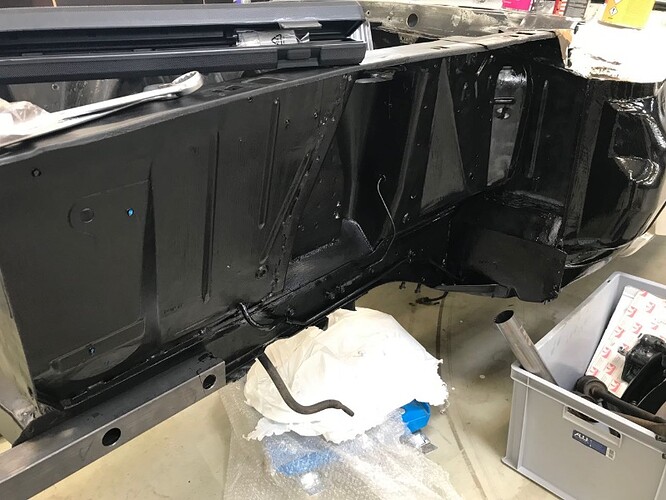
This how the dampening looks now. I finished the front inner wheel houses and welded in the Shelby reinforcment plates. The engine bay is just pressure washed and needs further attention. Does anybody know which color (RAL is prefered, since I’m in Germany) comes the closest to factor semi glossy black?
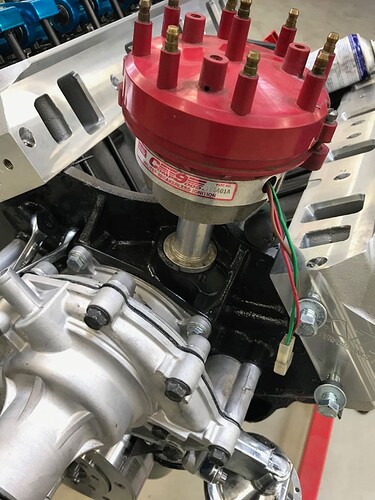
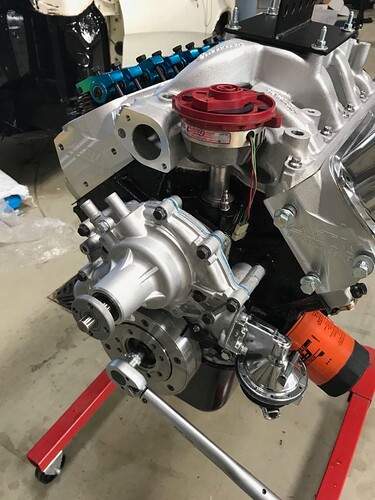
Test fitted the old Mallory Distributor and found out that the Water pump housing (which was a problem to bolt on…) is in contact with the Summit crank damper while turning for positioning the dizzy. I will rework that later.
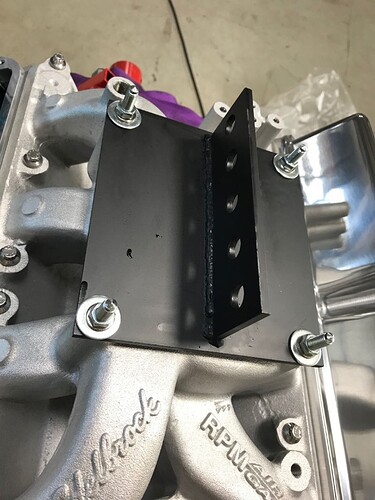
Small Progress. I finished the dampening mats and now I’m ready to start reassembly of the interior. I welded a lifting plate and test fitted the Distributor. The Aluminum Valve Covers are looking nice. Which kind of block venting is recommended? Thx for advice.
Since I’m doing the job in Germany it is a little harder to get all needed. I would like to mount a divider panel between trunk and passenger compartment. If I buy that in the US I pay more for shipping than for the part. Is there a DXF or other CAD File existing for cutting the sheet metal by my self? Same is needed for the seperator plate between block and C4 Transmission for 164th flexplate! Advice is apriciated!!
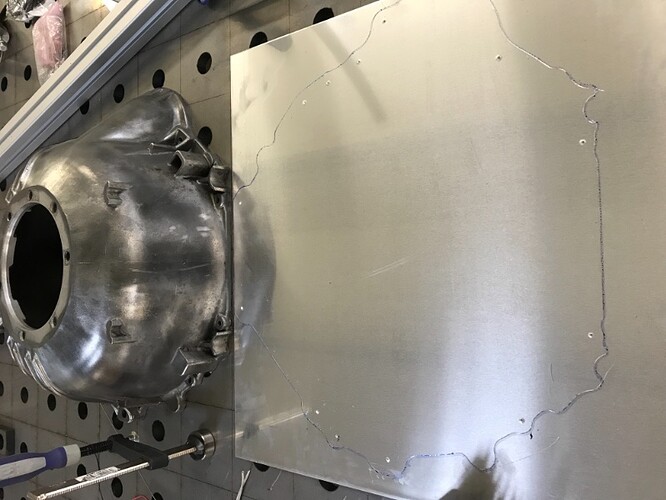
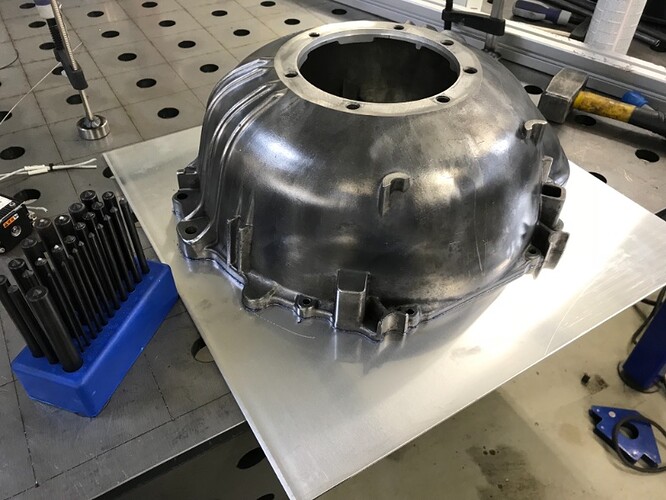
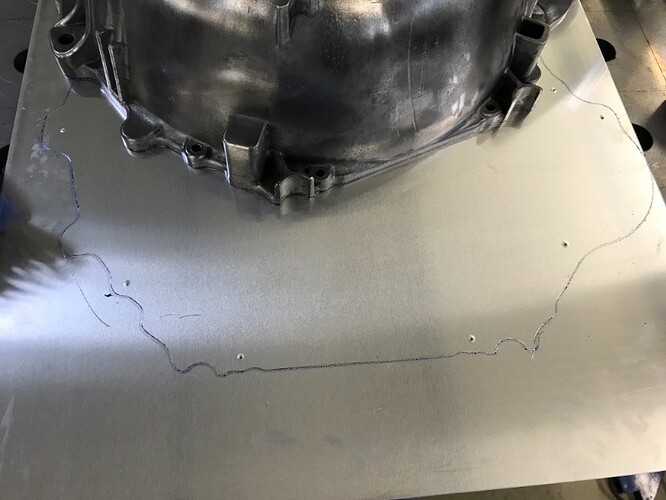
Made some progress and started with the Block-Transmission Separator Plate. I decided to go the transfer punsh route. The plate itself will be cut with a bandsaw.
Is there no one who could help with a sketch or drawing of the behind rear seat divider panel?
Thx
Kalle
Just an FYI in case you are not aware. The plate between the block and the bellhousing is not all one piece. There is a separate piece that is used at the bottom. You need to have this plate so you have access to bolt the converter to the flex plate. You also need it if you were to decide to drain the fluid out of the converter.
As to the rear seat divider panel I would think you could find a photo or drawing on one of the Mustang and/or Cougar vendor websites that sell them.
Randy Goodling
CCOA #95
Hi Randy,
many thanks for your advise! I look this up and will take care!
Karl
