I love grits and gravy. Thanks, Andy. I’m not all that smart; just lucky. If you ever find yourself on the left coast, give me a ring. We can have a few beers and talk about Cougars and physics.
I read that as “I love girls and gravy”. It was a bit disturbing, trying to put 2 and 2 together there
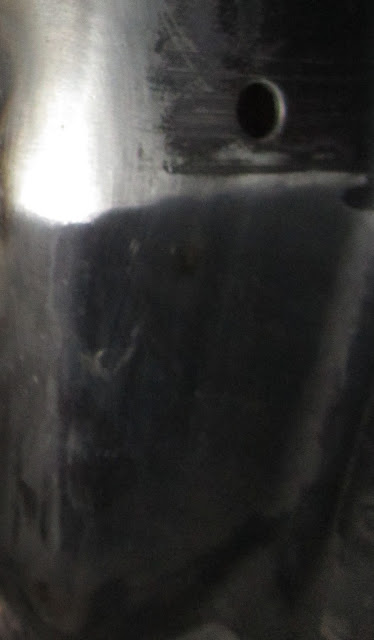
The four spot welds let go on my driver side package tray strut (I don’t know that actual name). I’m going to try to take care of it this weekend.

Here’s the passenger side. It still looks good.

I’ll also order or make a metal rear seat divider to stiffen this area up. I plan on rolling some beads in it and add a couple pieces of Dynamat to keep it from vibrating too much.
One of my supports had popped like that as well, Adam…quick fix for your acquired talents.
Leon’s Eliminator thread on The Garage has his divider pictured…did it in three pieces…looked like that might be simpler to make…at least, to me!
One in my X code is the same way. Must be a common problem.
Yep, one side on my '68 did the same thing…the drivers side was solid, passenger’s side was popped loose and sprung
I received a reply from Marti Auto Works. My Cougar did not receive a buck tag.
Dearborn didn’t start putting on buck tags until mid-April 1967 (The Mustang and Cougar Tagbook)
Degreasing, stripping and seam/stitch welding the engine bay is going well. Here’s the back side of my passenger side shock tower. It looks like someone took a short cut when greasing the upper control arm. That shouldn’t be too hard to fix.

I’ve made some progress with my project this week.

Unfortunately, I Fastcated my $10 HF angle grinder in the process. I was wearing my welding gloves and I didn’t notice it getting hot. Oh well, I guess I know where I’m going tomorrow morning. BTW, does anyone have a tip on how to remove the transmission cooling line that connects to the rear of the transmission (return line, I think) without removing the transmission? It is kind of getting in my way.
Here’s my homemade LCA bushing press. I made it out of a 1-1/2" galvanized pipe nipple and cap and a piece of 1/2" threaded rod. It is a lot easier to use now that it all welded together.
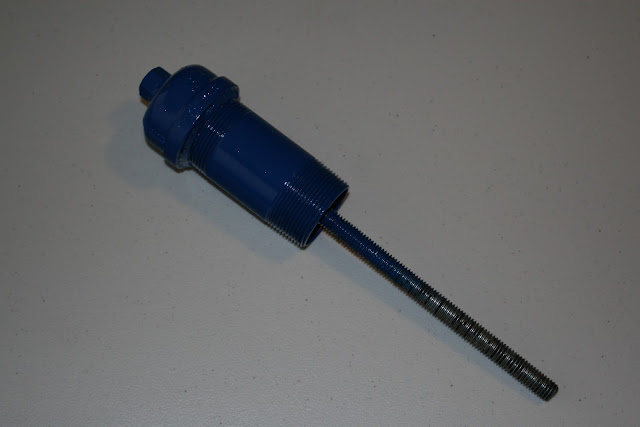
I needed to make a little adjustment to my passenger side LCA bushing because it was just barely touching the mount.
Time to weld the bearing housings in place and box in the control arms.

Looking good Adam! Glad to see you getting some wrenching time after all of your cough “research” cough on your thesis.
“OKLAHOMA”!! ![]()
Armageddon!!!
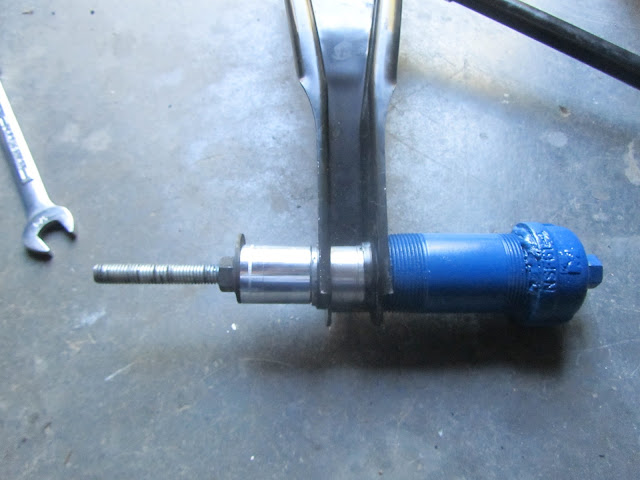
I’m surprised you guys didn’t mention anything about seeing my tool in action.
Well, while I can’t speak for Two, I, personally, never said a word about wanting to see that!!! :hide:
HEY! Clean it up mister! Just cuz you’re a little freaky, that dont mean the rest of us are freaks too.
I was just talking about my bushing removal tool. I don’t know what you’re talking about.
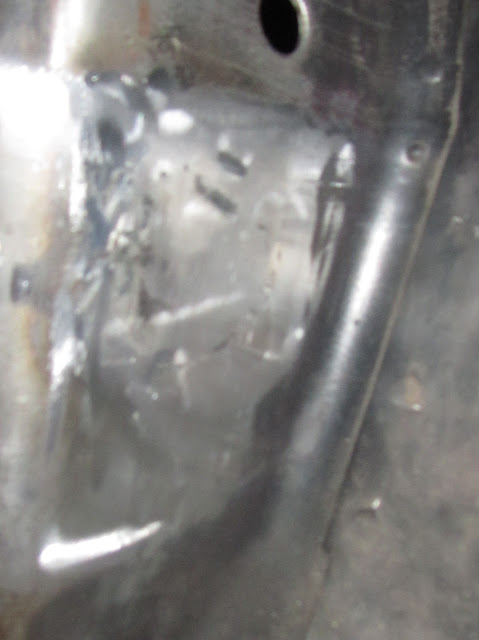
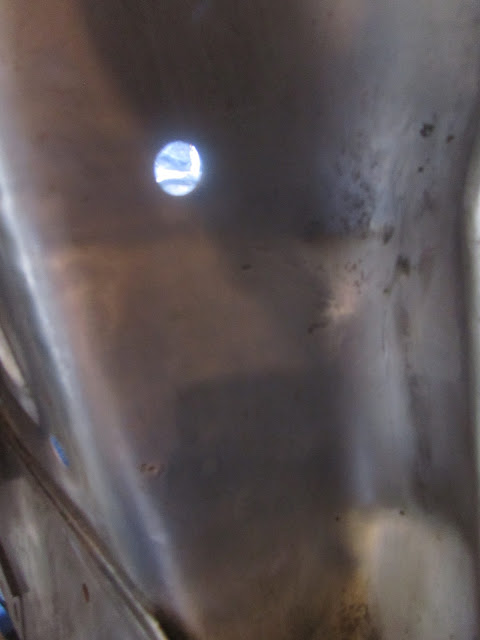
Here’s my attempt at patching my shock tower.
From the wheel well:

From the engine bay:
I still have a little more cleaning up to do.
All done.
Schnikeys! That looks fantastic!
Adam that patch looks great. After a coat of paint nobody would ever know that a patch was done. Thats why I like working with metal…a weld here…some grinding there…and Waa Laa, it’s as good as new! ![]()
Steven