The Snowball Saga - '68 Standard Revitalization Project

Yeah, I was kinda thinking that would be the way to go, but at the same time… it’s already a big enough project as is. I think I’m going to leave the drivetrain alone so that I might just be able to drive the car this summer. Then maybe next winter I can start doing mechanical stuff / engine detailing. The car runs well as-is, why hurry to make it a non-running shell? The only major problem with that method is the risk of messing up a nice new paint job by doing the dirty mechanical work AFTER the paint is done. Either way isn’t easy!

Thanks for that! It definitely helps having all the Cougar parts in the world at your disposal, and Don has been good to me with advice and some free body panels. The good news for WCCC is that we’ve sold a few roofs as a result of people seeing the video and deciding that they could tackle it. That’s pretty cool, IMO.

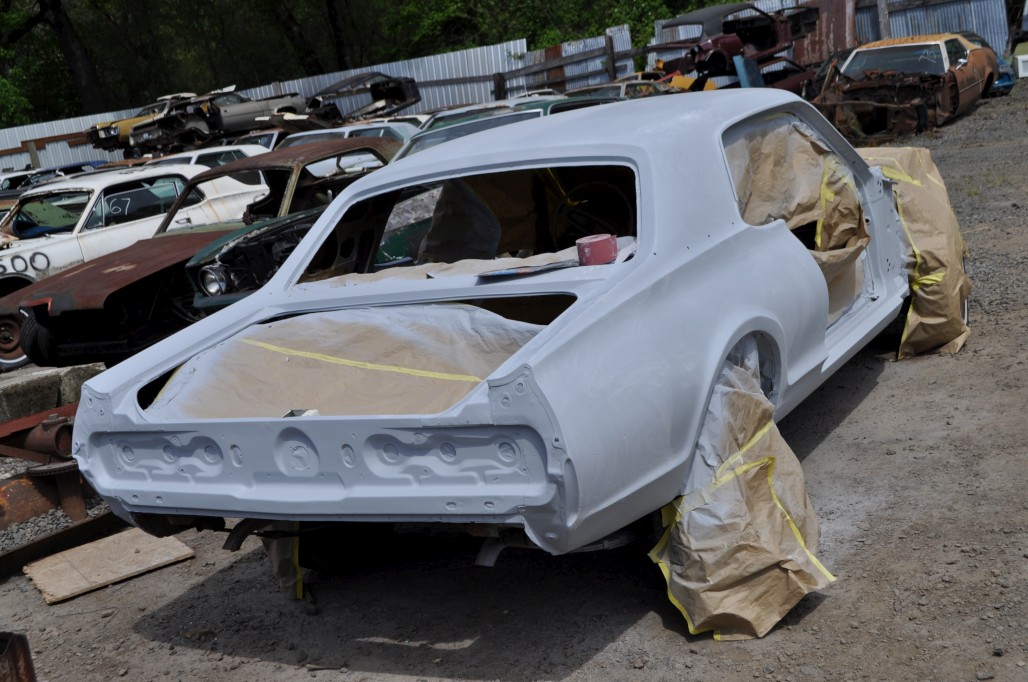
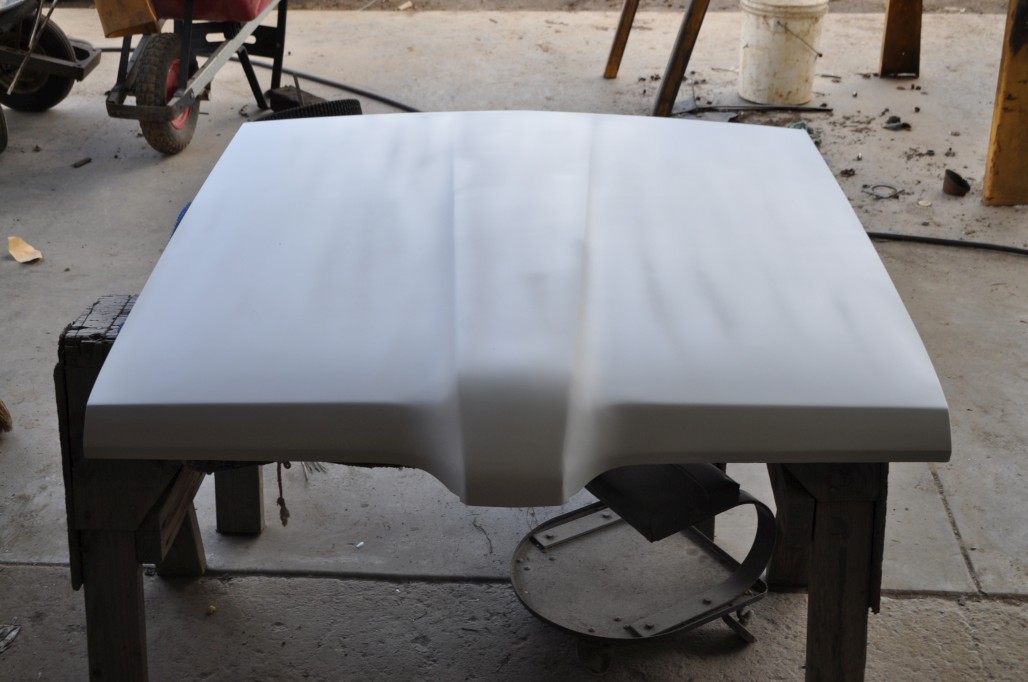
Anyway, some progress pics! Hood primered:

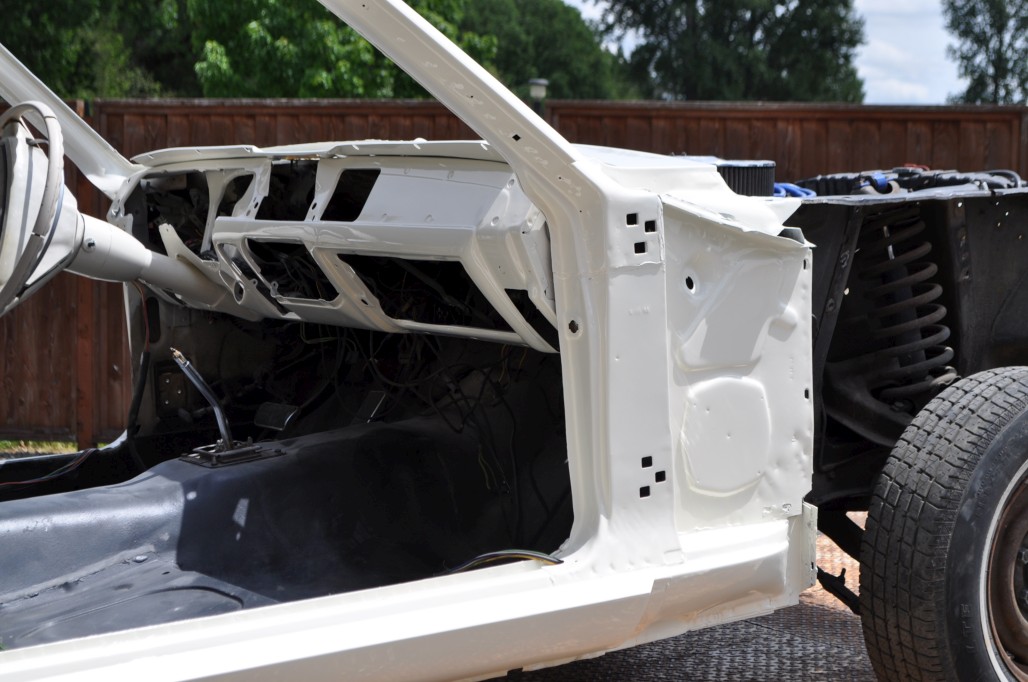
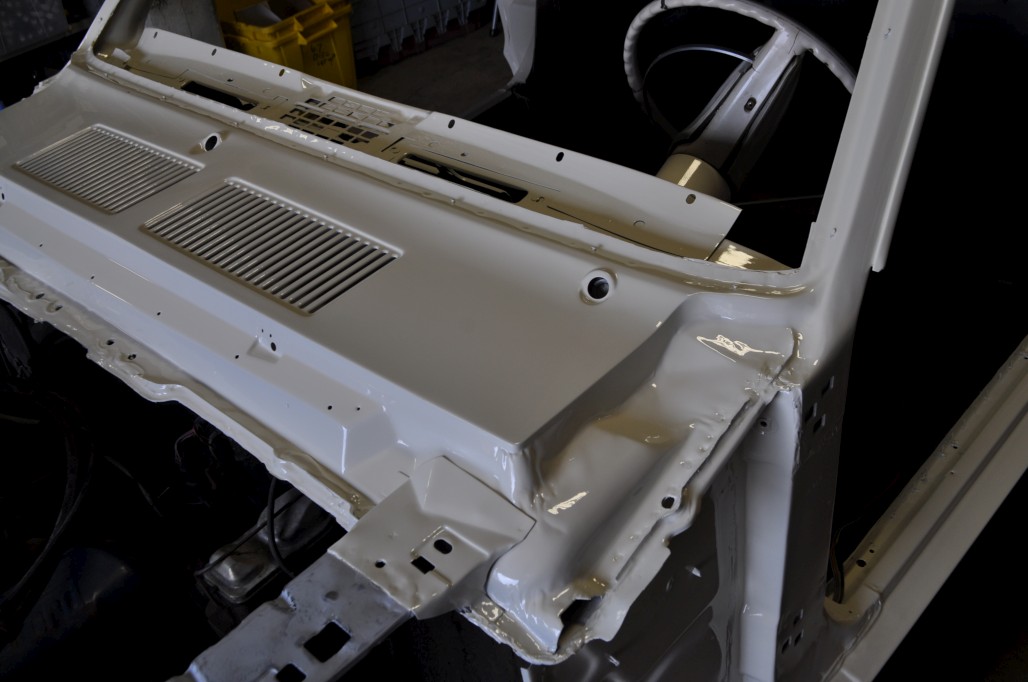
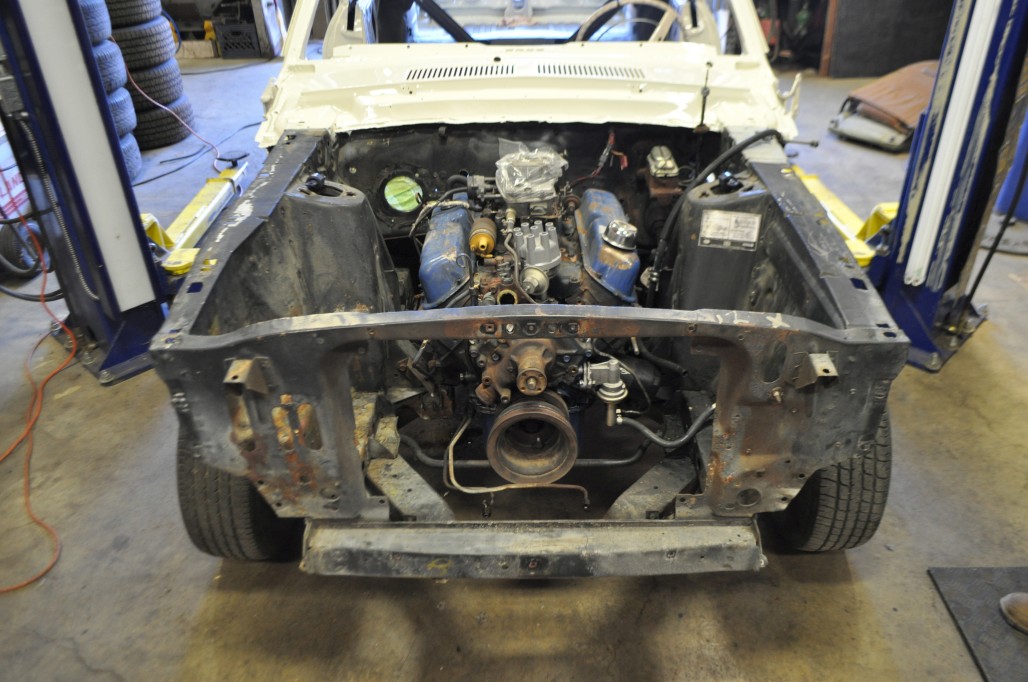
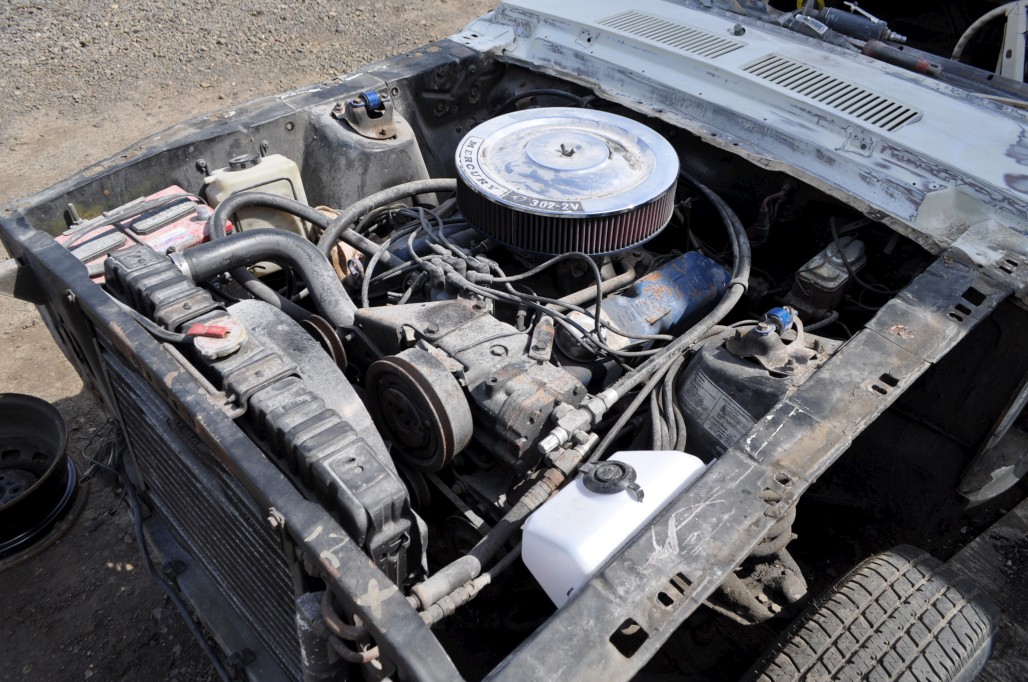
Here’s what the naked front end looks like. Note the dorky tall air cleaner. This is what happens when you want to run a K&N filter for improved performance… they apparently don’t make a shorter filter in this size. I might just go back to the stock blue air cleaner.

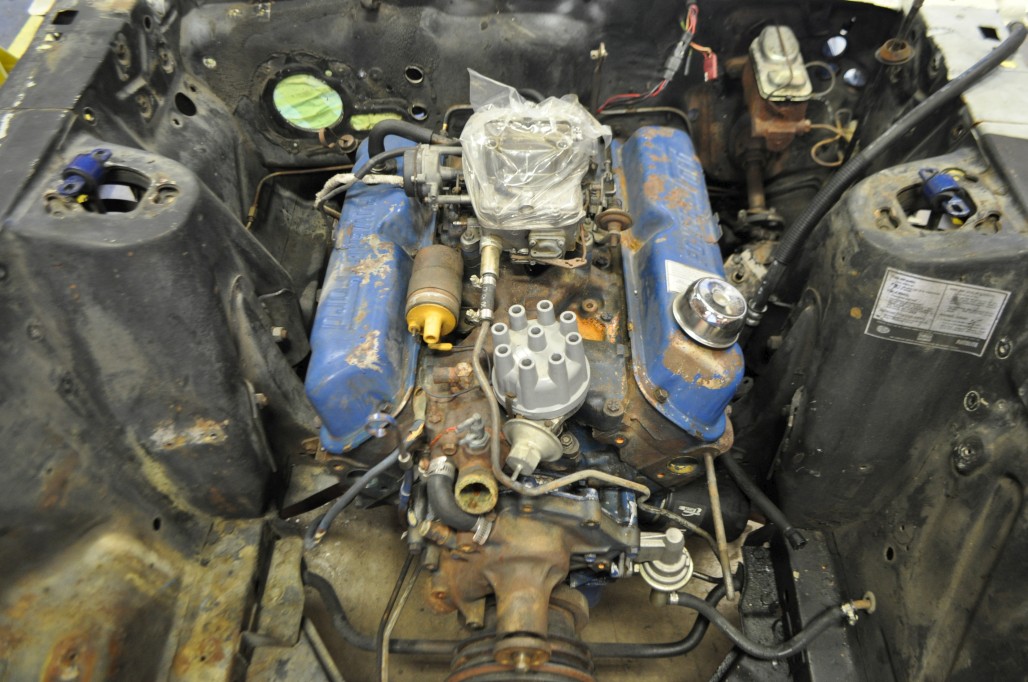
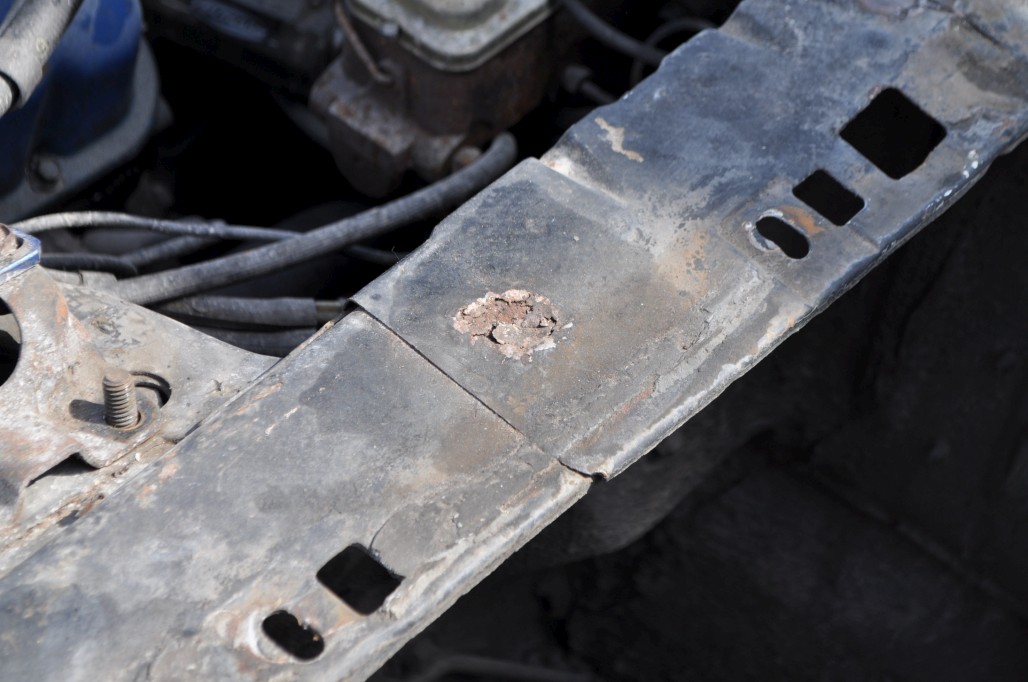
Numbers matching, yay!

Rust spot on the apron, boo!

Never mind, patched.

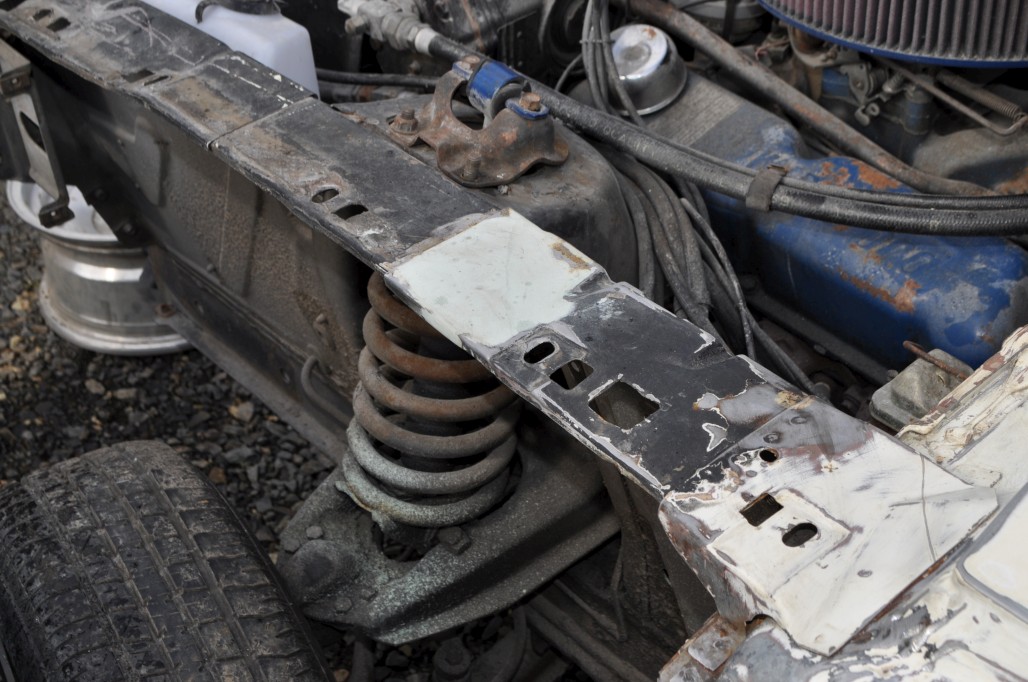
Also note the seam sealing action here:

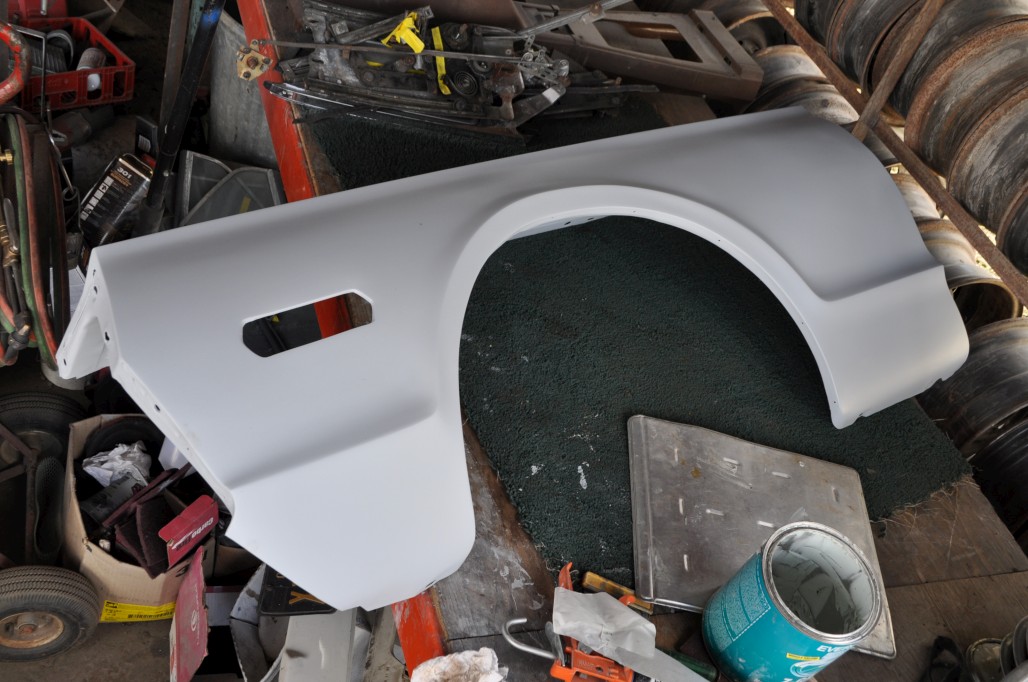
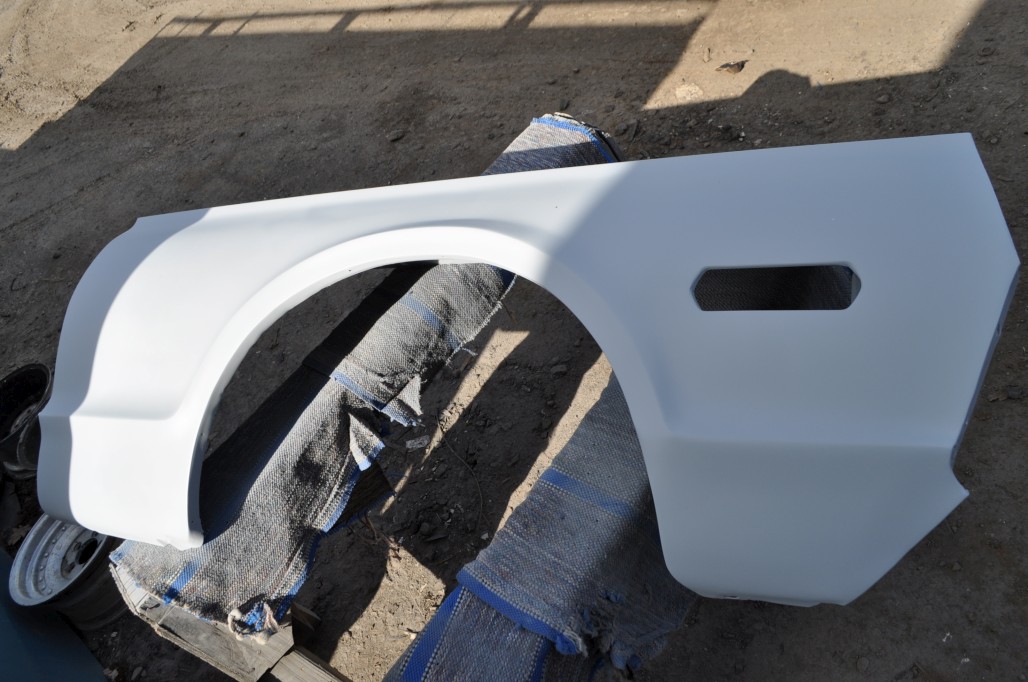
Guy likes doing things by hand… prepping the inside of the RH fender:

Fenders got primer by the next time I went back:

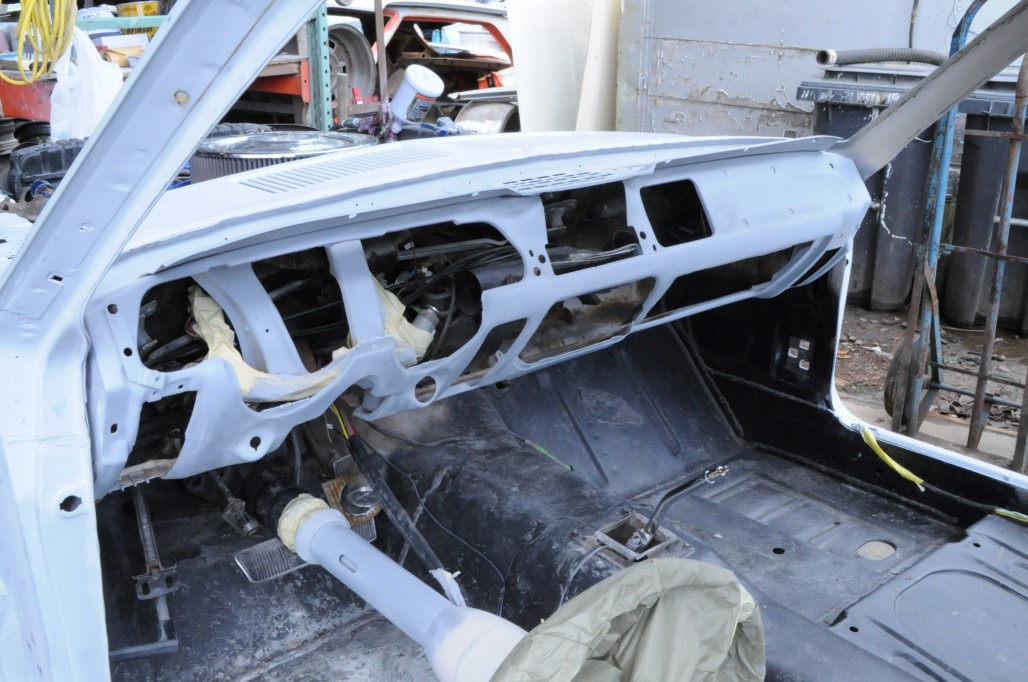
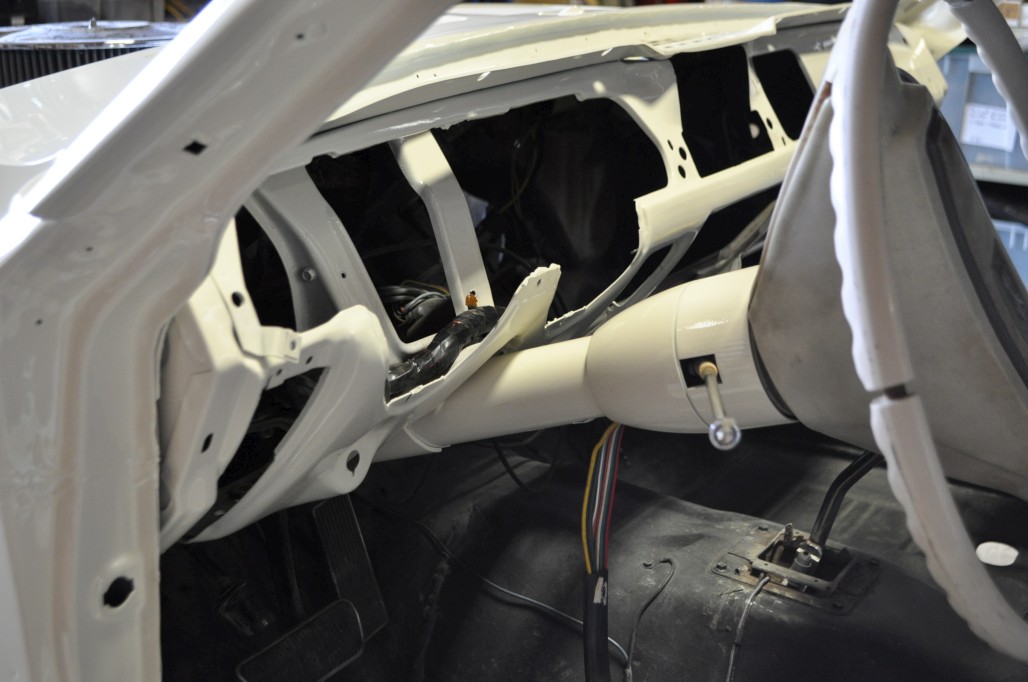
There was a little aftermarket temp gauge screwed to the lower dash. Probably put there long ago by my Gramps, maybe wanting an actual degree reading instead of the vague “C - H” on the stock gauge. I debated about leaving it for sentimental value, but decided it looked kinda crappy, so the holes are now welded up.

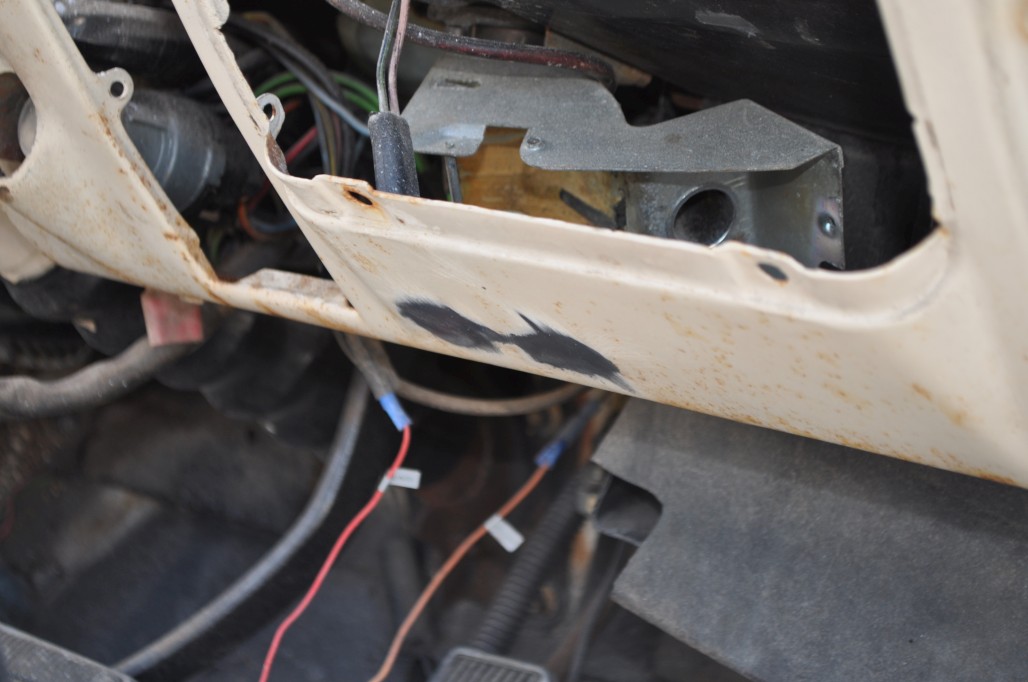
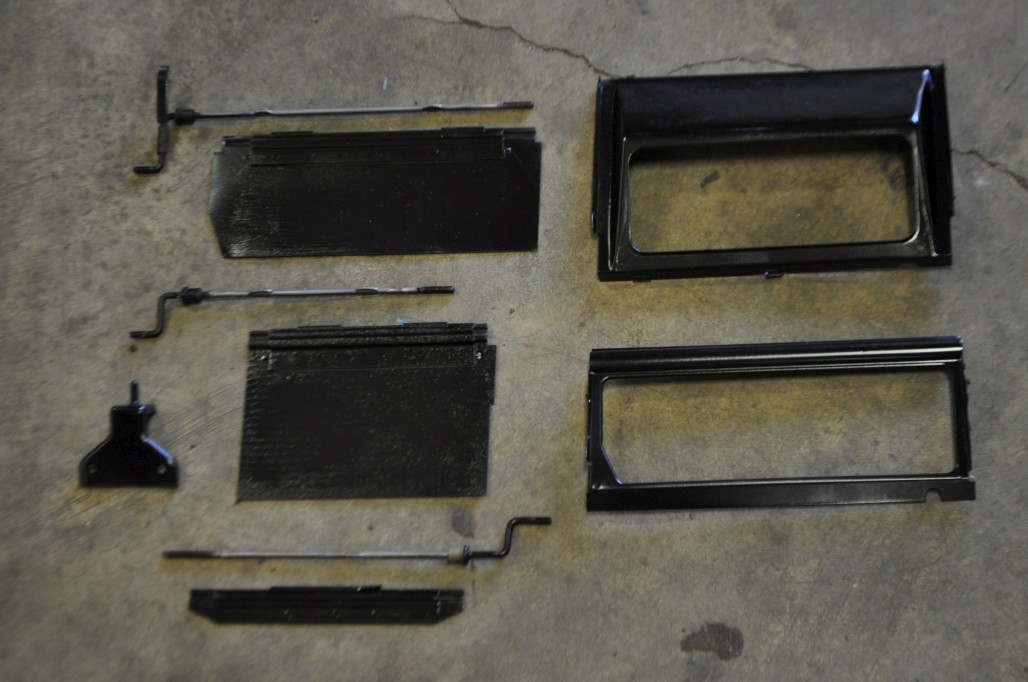
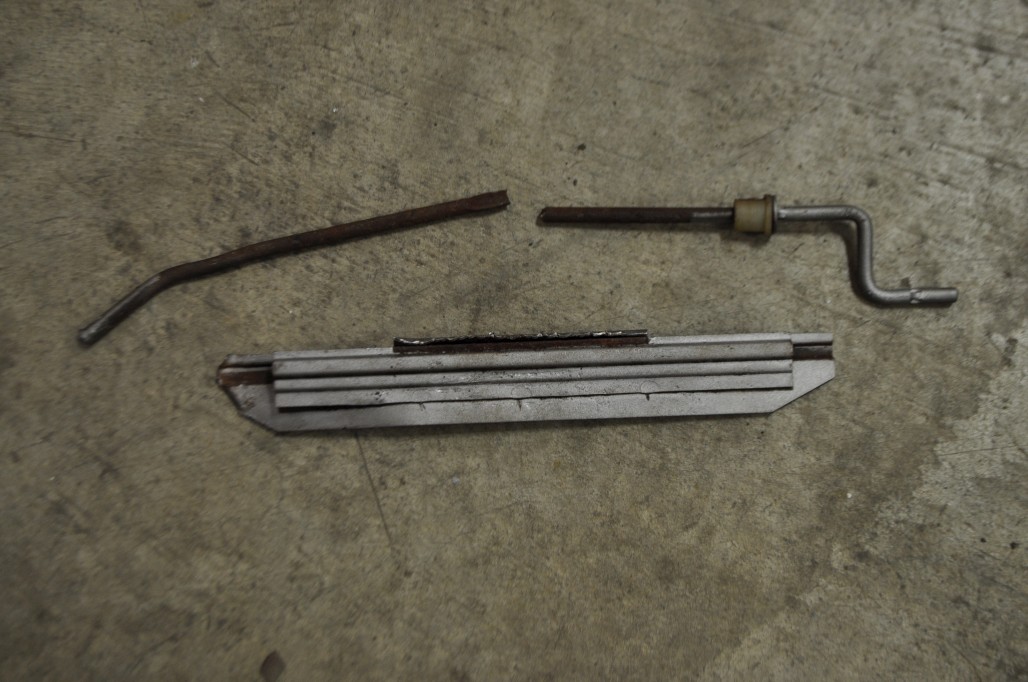
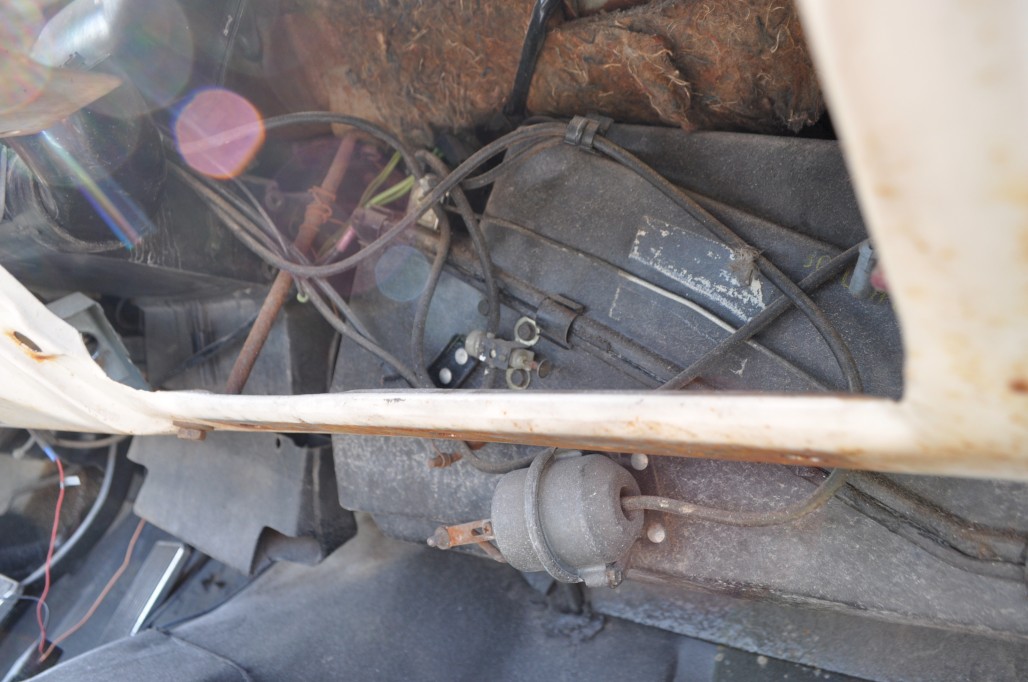
Yesterday after work I went ahead and pulled out my heater box. Luckily it wasn’t too difficult, thanks to the car being pretty stripped out already. I probably should have documented the process, but just wanted to get it done and over with. Took this shot before removal just for reference to see where the vacuum lines and stuff go.

Speaking of the heater core job, we’ll eventually come out with a how-to video on that. We’re halfway into the process on Don’s '69, but that got sidelined. It’s not exactly the same as on a 67/68, but there are enough similarities that it should be useful for first gen owners too. Watching Don take out his '69 one helped me figure mine out, anyway.

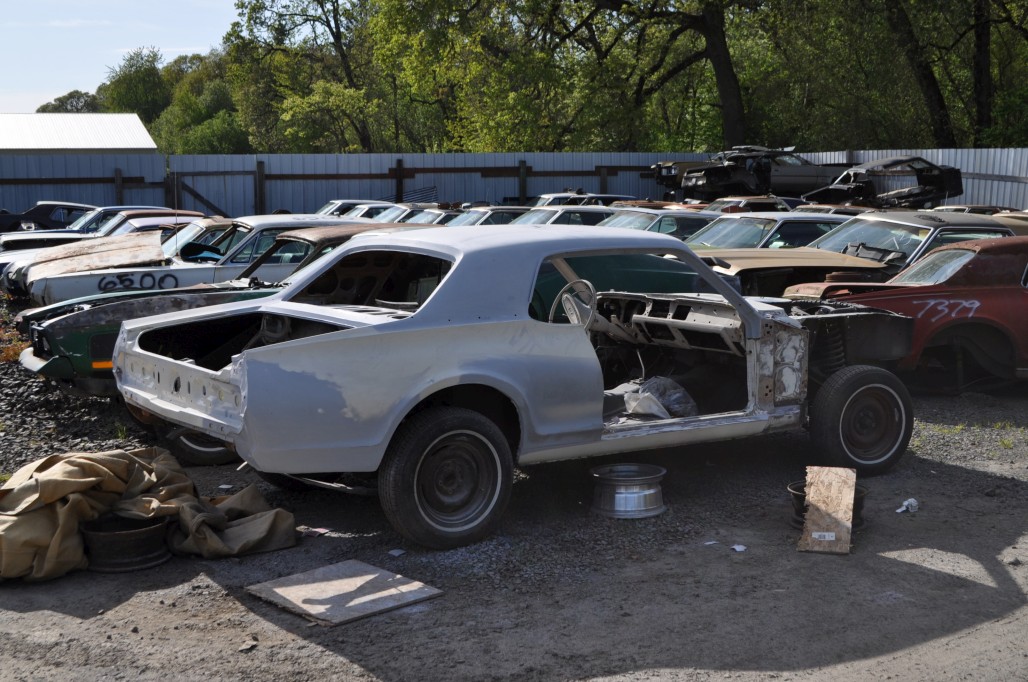
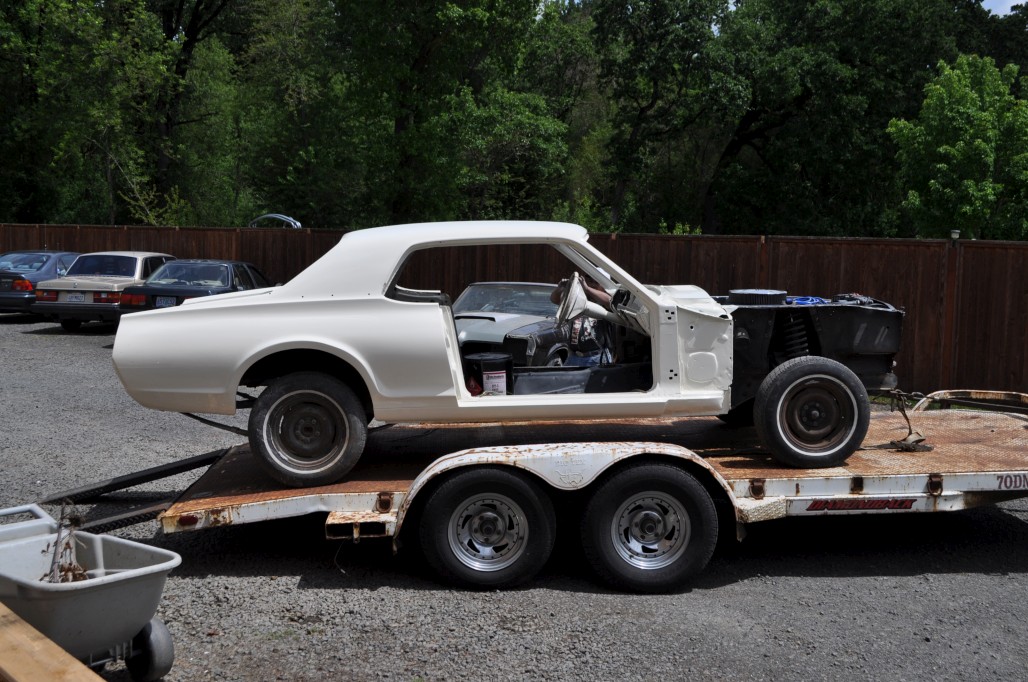
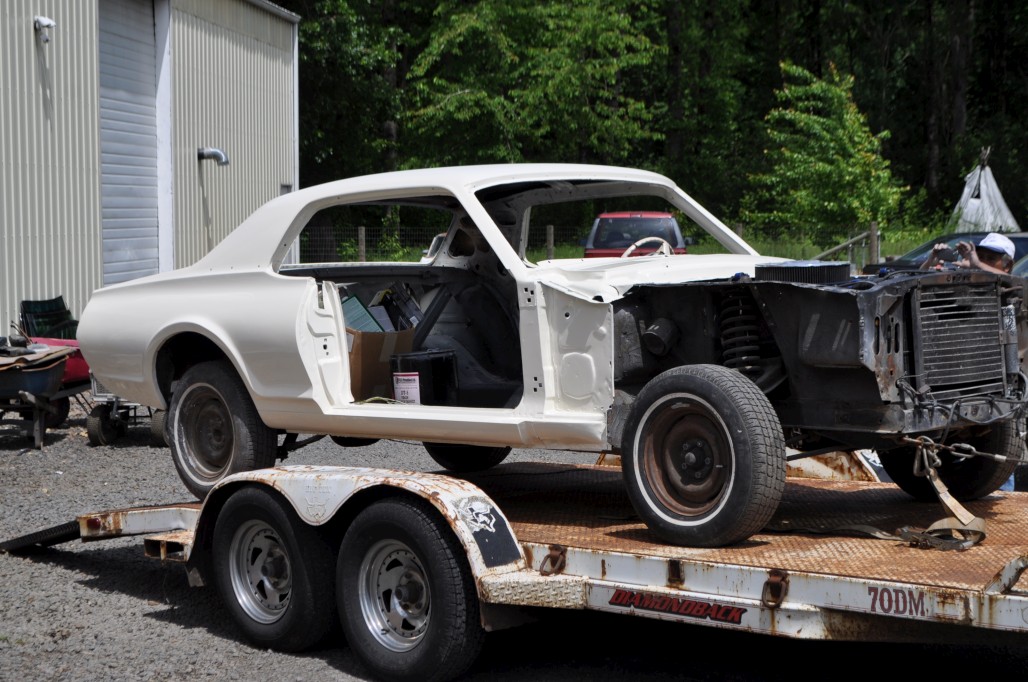
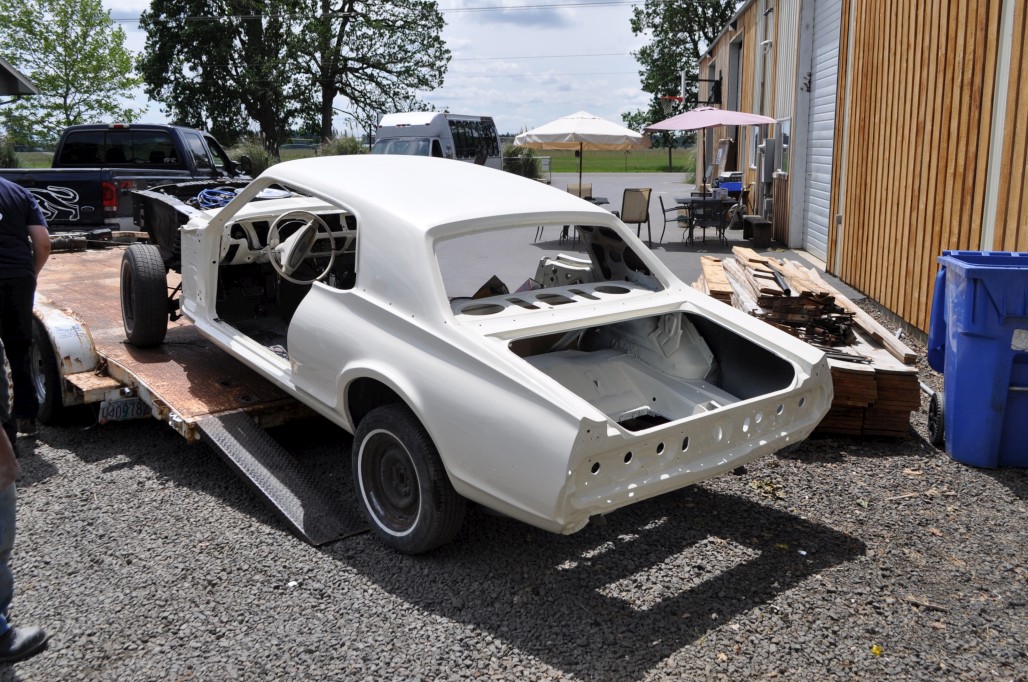
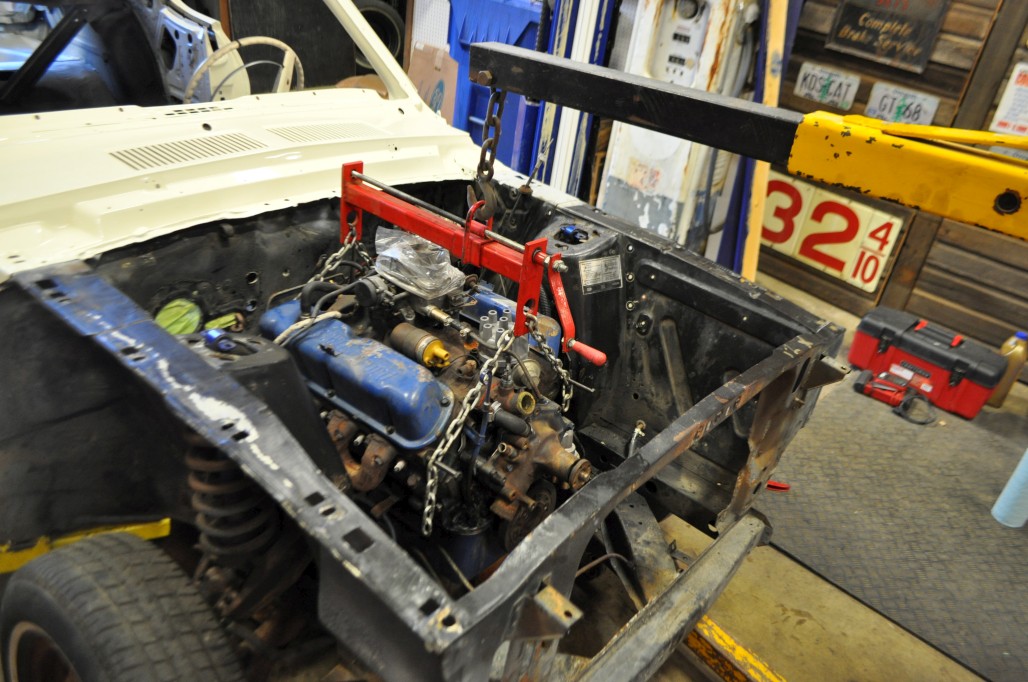
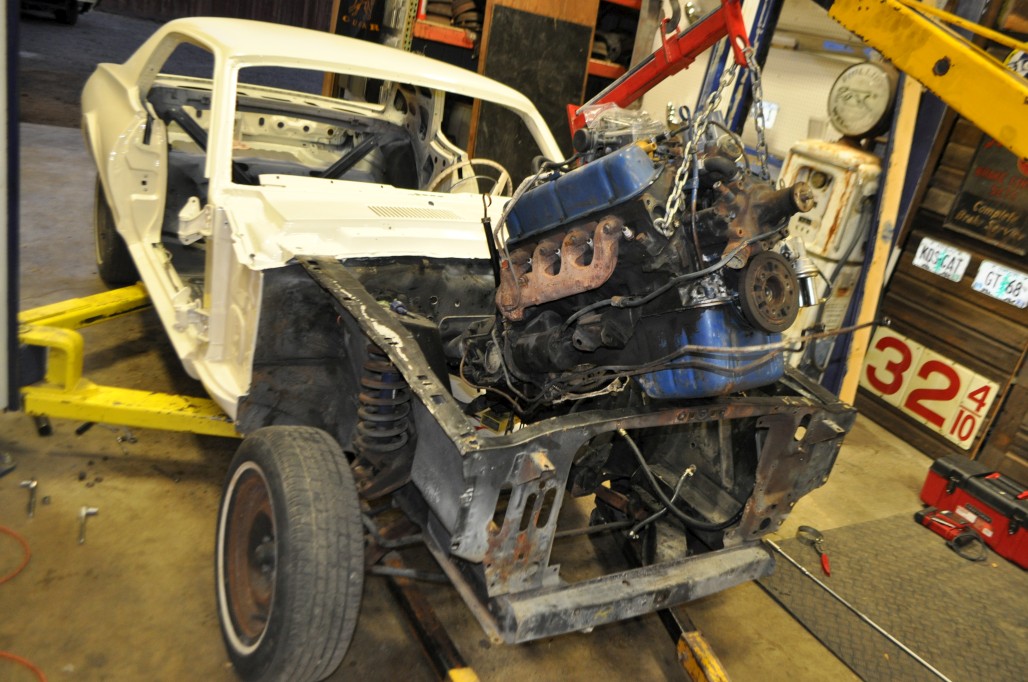
Final shot - If cars have feelings, it’s probably horrified to be sitting where it is right now. :buck:

Did you ask your painter to do all that work on the backside of the fender? Nice attention to detail.

If you ever wanted to put speakers in the kickpanels, now is the time to cut out the openings and install a set of factory enclosures.

Great work. I love to see this kind of restorations being done, and fast too :slight_smile: .

gave him a flat amount to finish the car ahead of time, which was actually a pretty dumb thing to do)

My experience with this kind of (body work by the hour) is that it usually takes more $$$$ than estimated so maybe not such a dumb move and he’s doing a great job.

Nope, he took it upon himself to do it. Glad he is taking pride in the project.

Very true. I am tempted to go that route, but I think for now I will just stick with the kickpanel “pods” and maybe paint the speaker grilles.

Yeah, I guess my worry was that he would just hurry to get it done, but it actually turned out to be a good decision because of his refusal to cut corners. At this point I am definitely saving money because of it.

So, the big news is - primer! We’re in the final stretch now… just some more wet sanding, then away to a local paint booth to spray the polar white and clear. Pretty exciting.

And here we see the guardian cat, fierce protector of the yard. Making sure no rodents find their way into my car.

Won’t be long before it’s shiny again! Stay tuned… Once reassembly starts I’m sure I’ll be posting more detailed stuff about fixing up random pieces here and there. It will be nice to get my own hands on it again.

Looks Great Andrew!!!

With all the amazing detail work your body man is doing, I’d pull the motor & do it up right, vs. working over new paint when you finally decide you can’t stand looking at that ugly motor anymore (and you will decide that at some point). The way your car sits now it’s a 2-4 hour job to get that baby out of there.

Very true, it is an inevitable thing… but I am going to put if off anyway! At least maybe what I can do is clean up the outsides of the aprons / suspension / etc before the fenders go on, then I’ll be able to do the engine bay without too much fuss later on. I dunno.

Last bit of prep on the shell was done before this weekend… dash and steering column in primer and sanded smooth:

Over the weekend he got busy, aaaand…drumroll… we have paint! The shell is done, but the doors, fenders, hood, trunk, and other misc. stuff still needs to get done. Scott and I just picked up the car today at lunch and here’s how she looks!

Well, that’s the big news of the day. Needless to say I am stoked. It looks good. There are a few very minor bubbles here and there, but they should buff out fine.

P.S. - The roof isn’t cleared on the very top, since I’m putting vinyl back on it. Is the primer and paint enough to protect it from rusting again down the road?

That looks awesome, Andrew! Congratulations on getting this done so quickly without being held in body shop jail.

Nice! I know you said it was a mistake, but I think the dash and steering column look good shiny.

Very nice Andrew very nice indeed! :thumbup:
Steven

At the very least I’d want to put on a few coats of primer/sealer. I’d be wary of the vinyl-top cement solvents dissolving into the base-coat, making a molten mess. Gotta get that sealed up and cured before you install the new vinyl top IMHO.

Looks very nice indeed! Dash/column included! I’d leave it that way, once all the cluster/fascia components go on, it’ll look killer.

One thing I noticed about my speaker pods in the kick panels is that the windshield washer pedal comes VERY close to the pod. Its to the point where I might cut and reweld my pedal so that it is about an inch closer to the brake pedal.

Thanks dudes! As far as the roof goes, I’ll ask around a little bit to see if it needs any other coating first. I’m guessing that even what it has now is better than whatever the factory did.

Mine isn’t bad enough to think about relocating the pedal. My foot does rub against the speaker grille a little though. Maybe your grilles stick out further than mine.

So, random progress… I dismantled my heater box and the metal components were rusty, as you would expect. Blasted them and coated with a rattle can of generic black paint that was lying around. Not worried about making them pretty, just giving them something to prevent rust in the future. I will scuff the flapper surfaces before gluing on new seals. On the rods, I ended up removing the paint from the middle sections so they can slide back in more easily. Will probably put a little grease on them to help them slide back in and also protect them slightly from corrosion.

Also, a word of warning. The small flapper next to the heater core will not come out easily. What happened to me was this: I had removed the other flappers without much trouble (taking off the little round fasteners, spraying with WD-40, and pulling the rods straight out). When I got to the little one, I thought it would be the same story. Well, I ended up pulling the whole thing straight through the fiberglass, making a flapper-sized slice in the heater box. Doh! So, for this one, I would suggest leaving it in place and cleaning it up as best you can. Even when it was out of the box, it was almost impossible to get the rod out. Here are the mangled remains of my original one:

What I learned was - there is a flat sandwiched spot on the rod that indexes it and keeps it from going anywhere inside the crimped part of the flapper. In order to pull it out, I had to bend up part of the top tab on the flapper (in the above pic you can see I bent the whole thing up, but on the next one I only needed to bend a little section of it, close to where the flat spot is.) Long story short - leave this one in the box.

Next thing was to take apart my steering wheel pad, which took about 2 seconds.

This was to be my first test of the SEM Phantom White paint, which is supposed to be a perfect match for Parchment. So I scrubbed the center pad with random cleaners and water, dried it off, and sprayed a couple thin coats of paint on it. I elevated it on a piece of wood in hopes of getting better coverage around the edges.

I was worried that the texture was worn out, but after painting it actually looks pretty good.

Then after it was dry, I had to put it up against the Polar White paint to see if the colors matched well or clashed. I’m happy to report that they look great together. No worries about the lower dash paint anymore.

So, I have a question about the main steering wheel pad. The ends (by the column) tend to flare out from age. Has anyone figured out a way to sandwich it back together so the ends don’t stick out awkwardly? I was brainstorming a ridiculous plan of removing the old foam, getting the vinyl re-seated properly & glued to the metal frame, then using some kinda spray foam to fill it back up. Sounds kinda crazy and risky though.

You might try Gorilla Glue, Andrew. Worked well on my armrests, but I had to rubber-band them together to keep the expanding glue from going too far.

Well, time for an update. As for the steering wheel pad, I ended up ruining mine by cutting out some of the foam to try to compensate for the shrunken vinyl. In the end, I just grabbed another good used pad (thanks Don) and painted it. It looks good! Will show that eventually when I get to the steering wheel resto.

Other news - I put some insulation on my roof (this stuff) and am hoping to get the headliner in soon.

In fact, I did try putting it in myself, to an extent…

…but then I realized how tough it would be to get all the wrinkles out and get the awkward corners to fit right, so I gave up and took it back out. We have an upholstery guy coming to the shop sometime in the next couple weeks to do a convertible top (which we’ll be making a video about) so I’ll hopefully get him to do my headliner and vinyl top while he’s here (those could also could make good videos!).

The big news is, the engine is out of the car. I had been contemplating trying to detail / paint it and the compartment without removing the engine but… I want to do this the right way. And it’s so much easier to work on brakes, steering, suspension etc without it in there.

Some “before” shots:

The beginnings of the hoisting action:

(note: should have flipped the leveler around the other way so the crank wouldn’t run into the hoist arm)

And it’s out!

Big thanks to Scott B (CougarCJ) for helping me pull the engine last night. Couldn’t have done it by myself! Well, maybe, but I probably would have messed something up and/or killed myself. :laughing:
Stay tuned for more updates, whenever something happens! I might not be too motivated the rest of this week since it’s going to be 100+ degrees.

Duplicate

I took the handle off and welded on a 1/2" x 13 nut (3/4" hex). Now adjustable with a air impact or speed handle.

Andrew by the quality of the work you have put into your restoration so far I think its a good idea that you pulled the engine. It is the right way to go and you’re righ the detailing will look much better in the long run. Can’t wait to see more pictures.
Steven