I have not made much progress on the car lately, spring projects have taken up a lot of my time. But SOON! But I did sell the old F250 and today it went away…
All loaded and ready to go.
It is on it’s way to the Leavenworth WA area on the other side of the Cascade mountains. I hope he has a safe trip home. I am happy to have that gone.
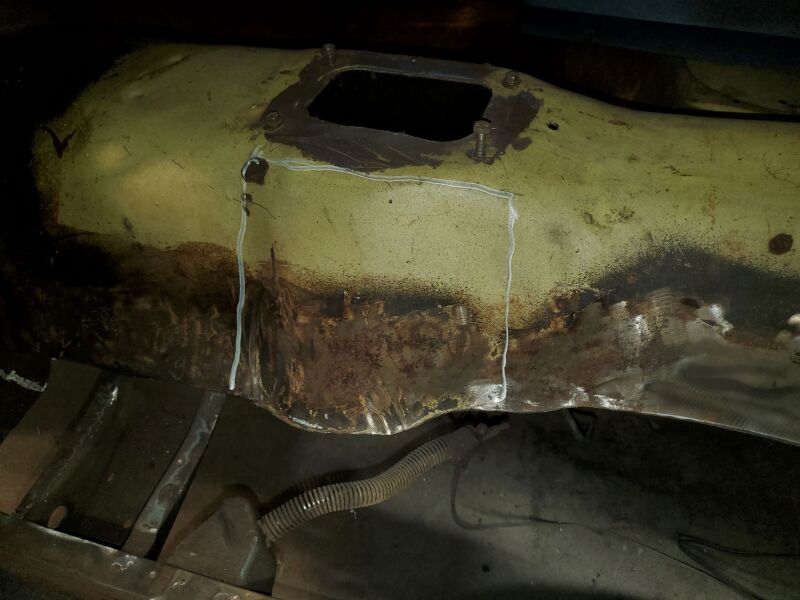
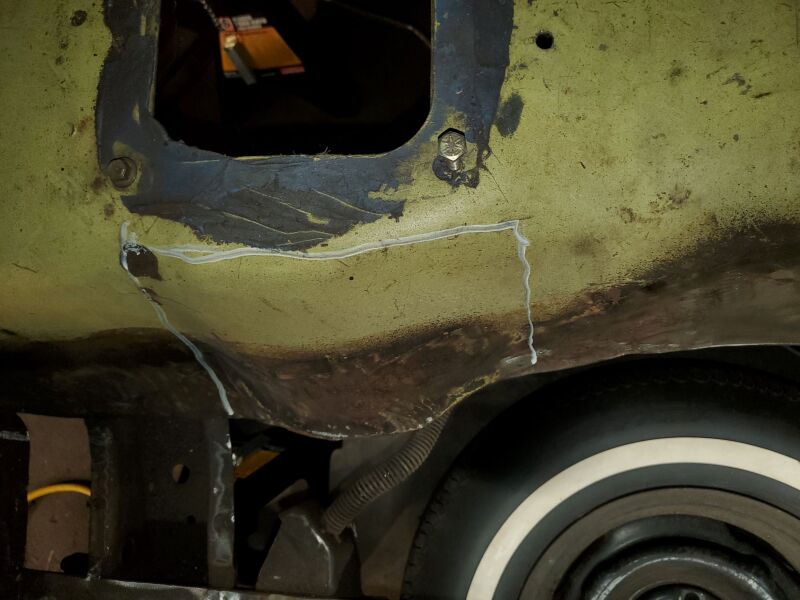
In only 5 months, well not really. I started stripping the engine compartment a couple weeks ago. I have been getting one section done at a time and in to primer/sealer and just hit this point this evening. Now I have repairs to make. Like replacing the section under the battery and welding up may be 50 extra holes.
Some areas had 7 coats of old paint, Black, primer, Yellow(body color), Black, Primer, Factory Black and then Factory Ruddy Red primer. Other areas had a coat of silver paint and other areas had a coat of Red paint. It took a lot of work getting it all off.
I spent this afternoon getting my truck ready to go in tomorrow for new windows. Had a cracked windshield, then broke one of the little ones in a back door. So off in the AM for that.
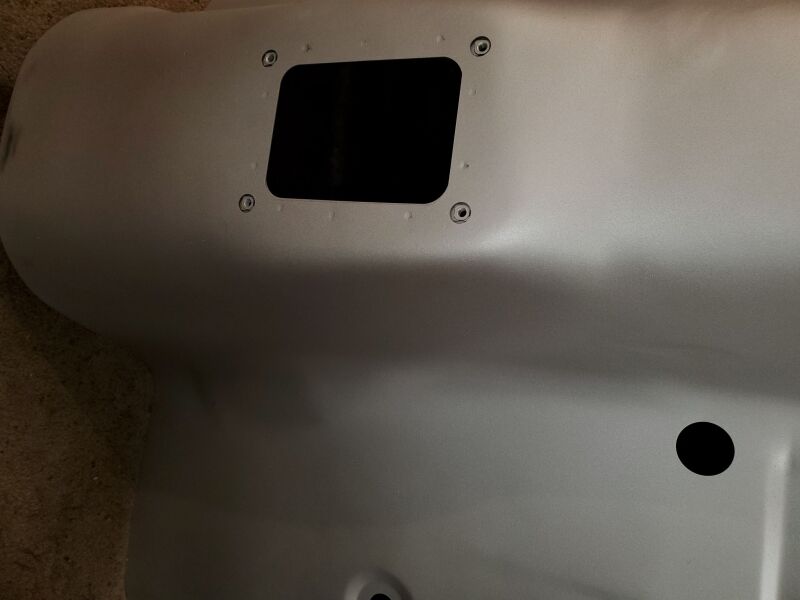
After that I spent time in the shop cleaning, grinding old paint can make a mess even though I swept the work area up each evening when I was done. Then I marked all the holes in the forward aprons for identification as to what gets welded up and what stays. Total number to weld is only 34. One is a 1,125" hole that the big fuel line ran through above the factory hole. This weekend I plan to fire up the welder and make sparks.
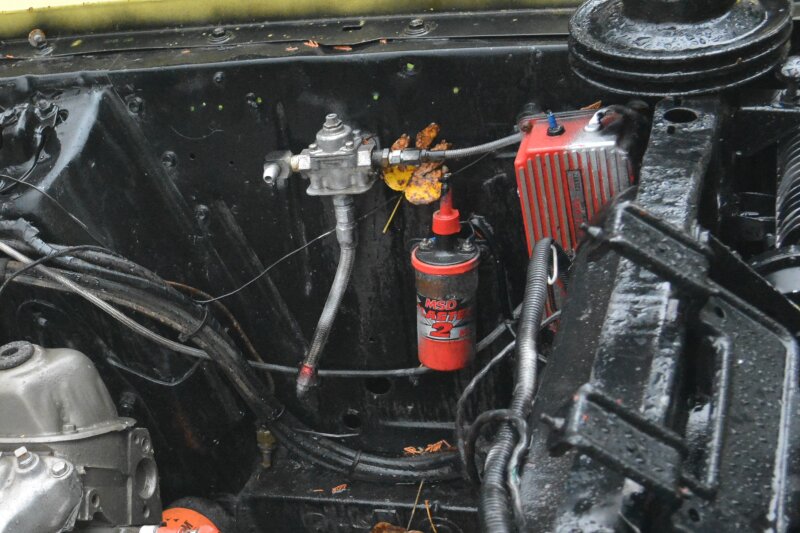
Last night’s count was 34 extra holes. Most are on the left front fender apron. It had a bunch of speed equipment bolted to it. This is what was there the day I bought the car.
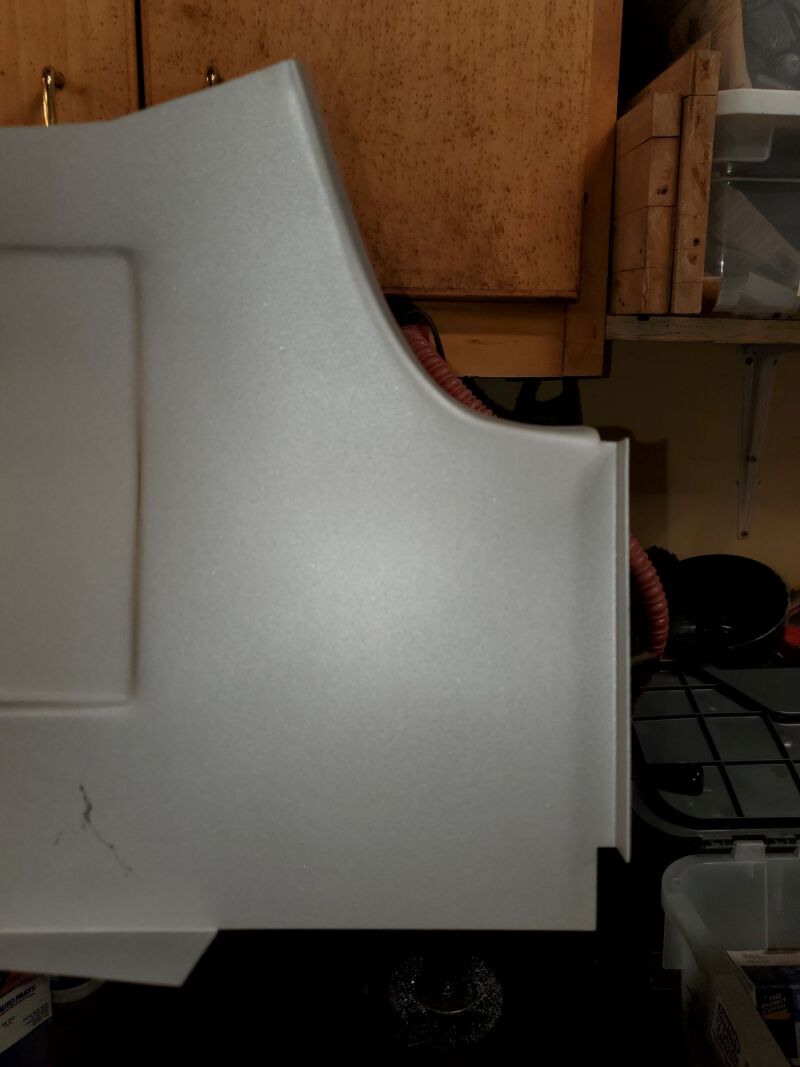
I have been getting a few thing done on this lately. I have the battery tray apron nearly completed. Pictures of that later. I got a delivery this morning that will save a lot of work and time. I bought a full floor pan.
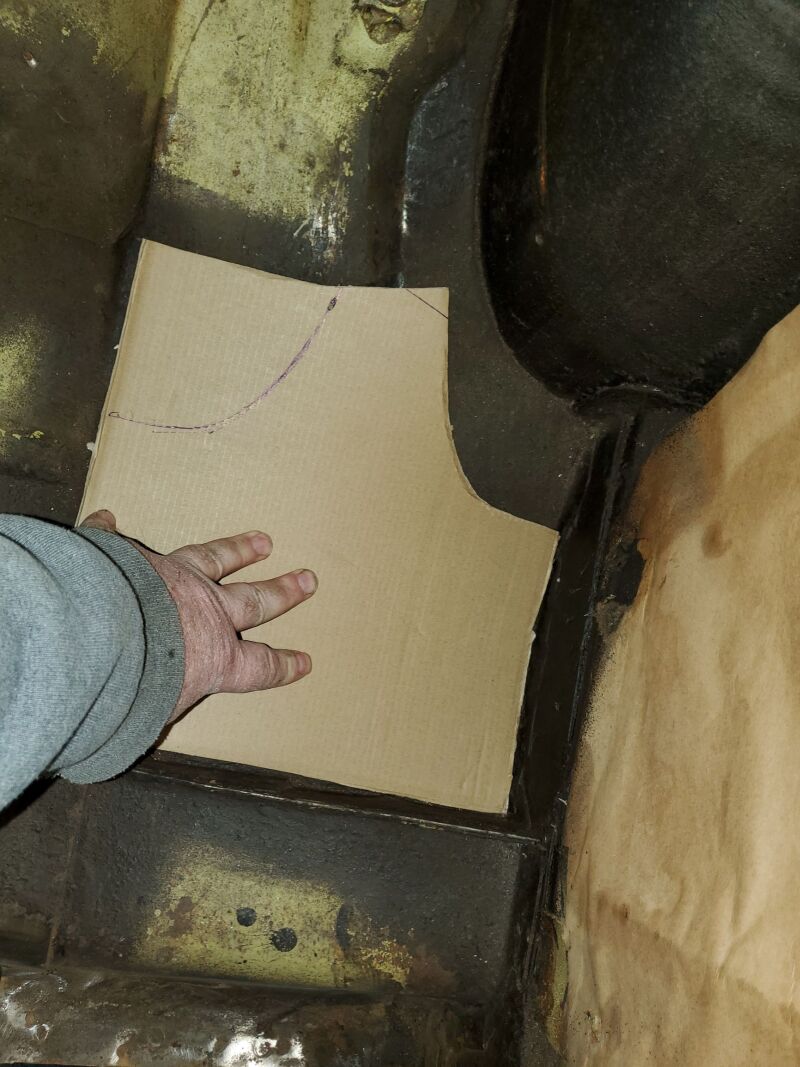
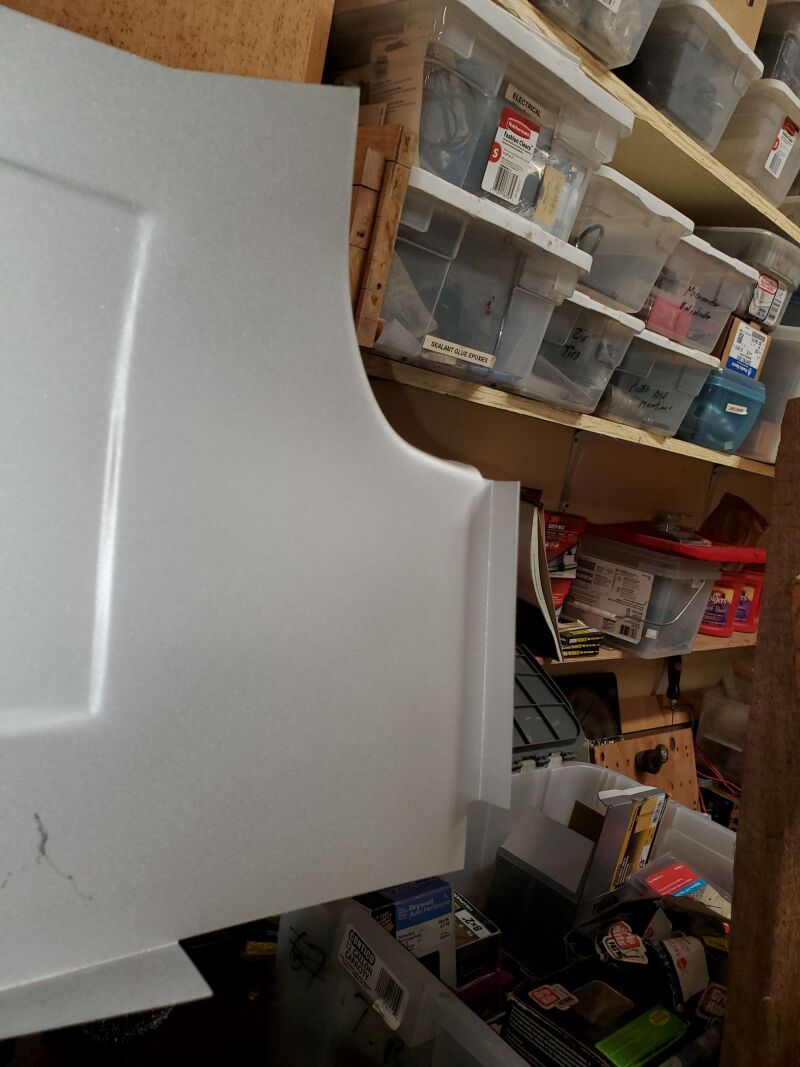
This one is painted in Weld Through Primer and is nearly ready for installation. It is a Mustang pan so the rear under the seat is not exactly the same. I will fit it. It is also a 69 and earlier so the hump for the factory Hurst shifter is not there, I may weld in the one from the old pan. But this will take far less welding and tons less grinding to hide the welds.
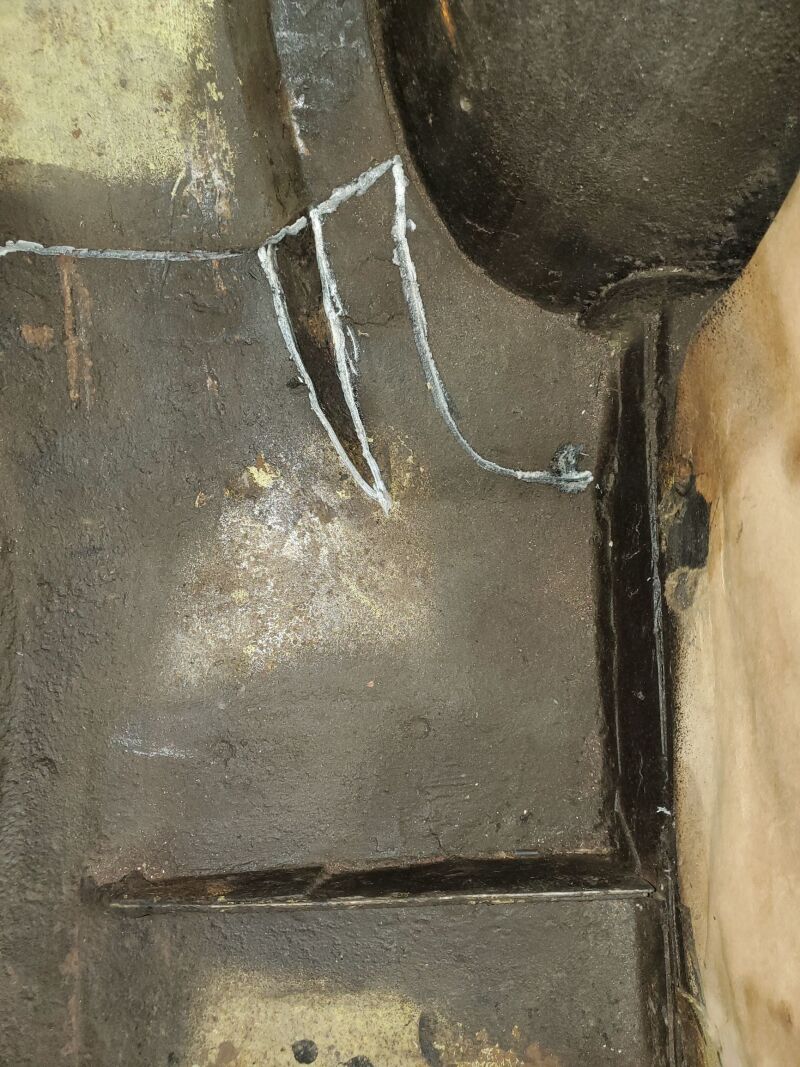
Note the white marks on this area. You can see the riser that is not on the Mustang pan, that is the pie cut shaped area, the wheel house area also marked and unmarked from the pie cut to the wheel house on the Mustang pan is a straghe shot from the line coming from the left.
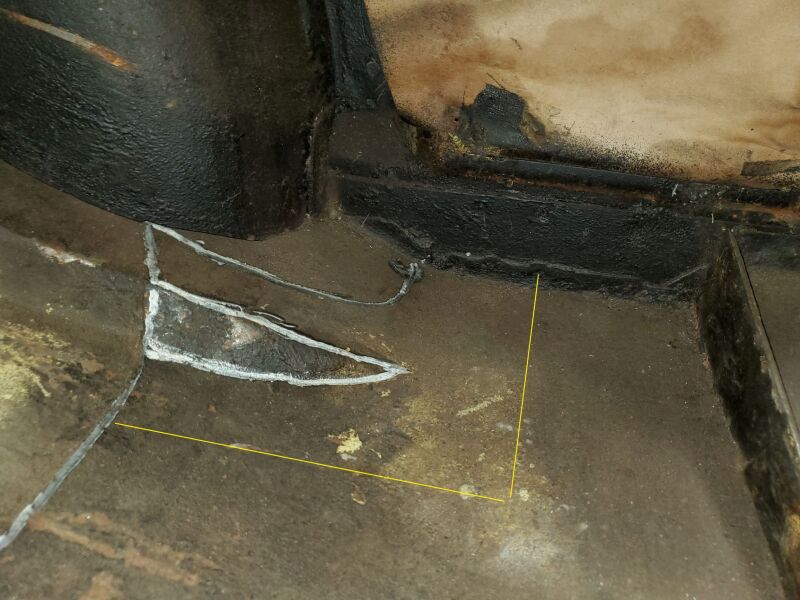
I have to make the area at the rear of the pan work. I could live with this, but it shouldn’t take more them a couple hours to splice in the area from the old pan.
That bulge is on my White 70’s floor as well as on the 70 parts car I have. There was a note on the CJ Pony parts page for this pan that it is more correct for 69 due to this not being on this pan.