I’ve been slowly hacking away at removing the floor from this. I have made a fair amount of progress. Today I spent a lot of time cutting spot welds and removing small hunks of rusted sheet metal. This is how it looks now.
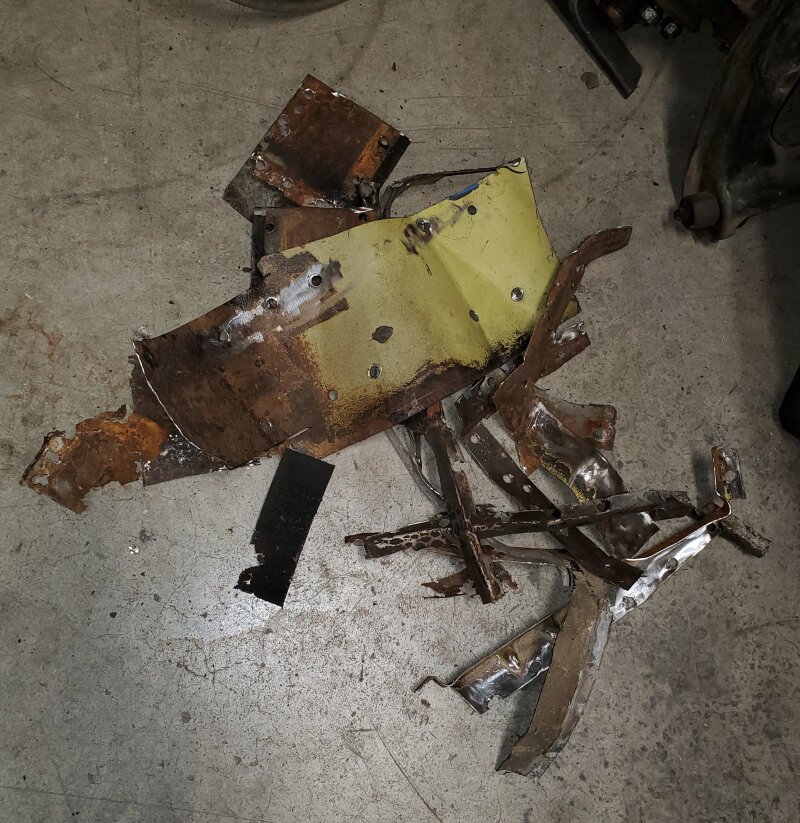
This is the pile of rusted sheet metal I removed today. It took several more hours then cutting the tin out up close to the edges. One of the next things to hack out is the lower parts of both toe boards. Then trimming new tin to fit begins…
This pictures shows how I plan to section in the Mustang pan under the rear seat. I did a cut along the top of the frame rail about half way in to it. The new pan will get trimmed to fit this area.
I hope to get more done over the next week, depending on other projects…
Yep, Fred would love it… I have been collecting CJ parts to upgrade the 428 PI to a 428 CJ. I found a set of heads some tile ago, this week I got a set of exhaust manifolds. I feel I did alright on the price. No cracks or damage. Look like they have been sitting for a long time.
I don’t plan to put the Thermactor system on it, I think I now have all the parts for the engine. I think I have all I need for the engine. I need to concentrate on getting the rust repairs done.
Sounds like a good plan. Doesn’t always have to be numbers matching. KISMIF - Keep it simple, make it fun.
You could be chasing dated parts for years.
I looked back through this thread and it looks like you already have the 1968-71, IMCO style, Ford FE brackets and pulleys. Probably should use the AF power steering pulley with A/C.
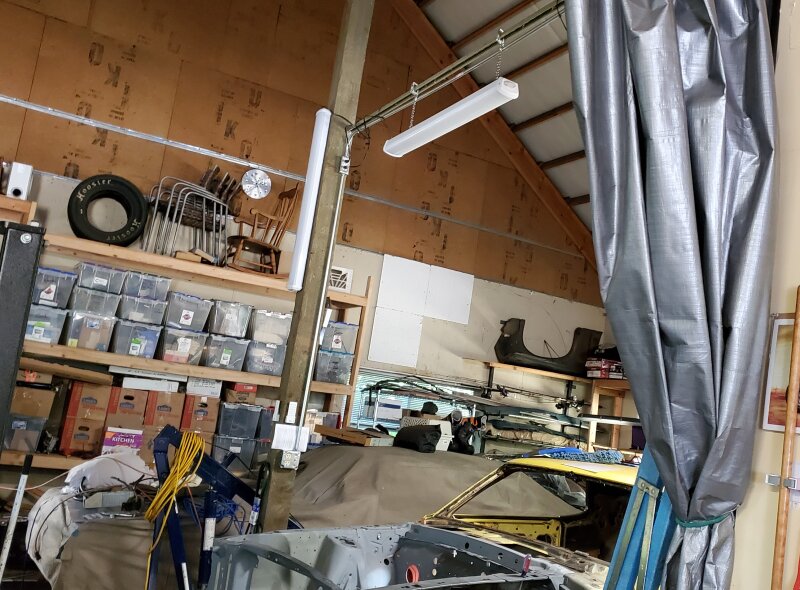
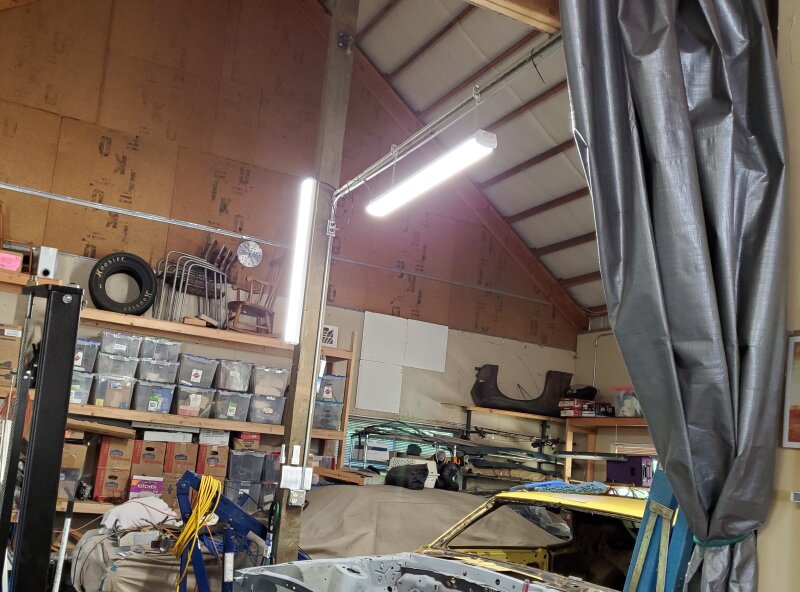
I plan to add 2 more on the post. One to the back and one to the opposite side of the shop. This really brightens up this area a bunch.
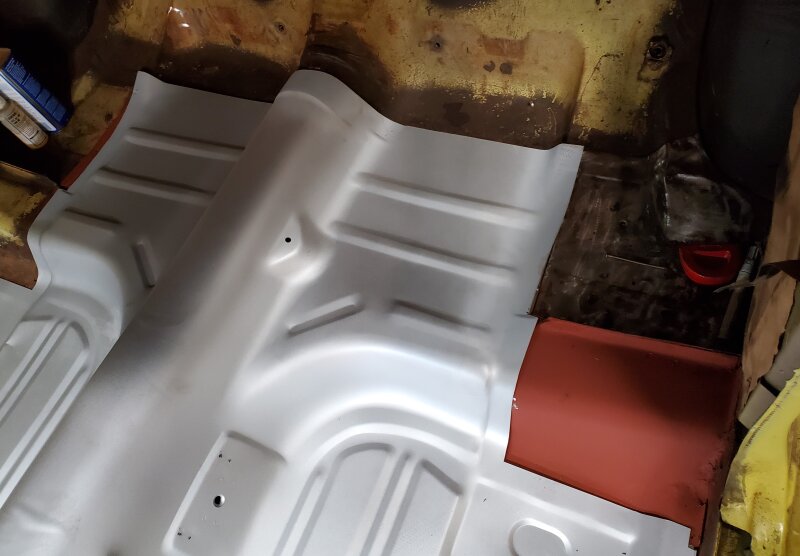
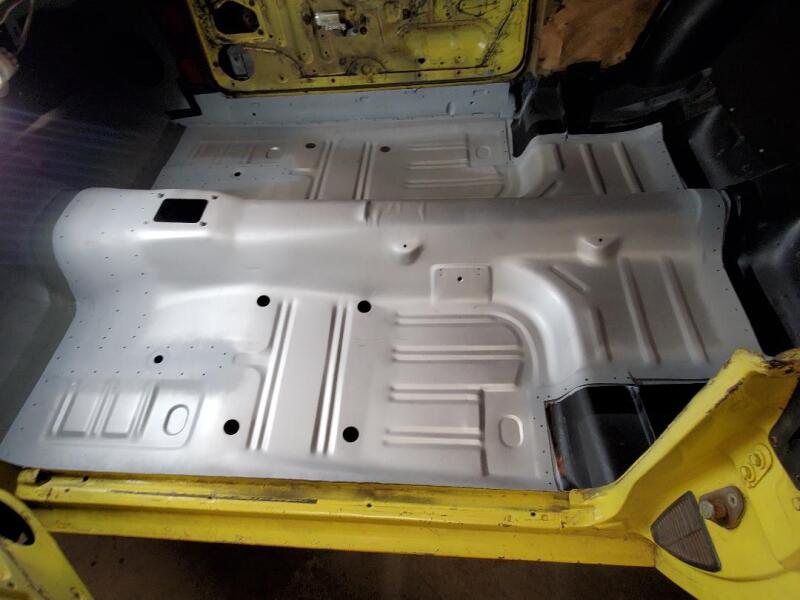
I did a mock up fitting of the floor board today. I can see I need to work on the trimming at the rear some more. Outside of that it looks like it is nearly a go…
I have been making some progress on this project. I finished the toe board repairs and moved on to the floor panel today. I got it on place and about a dozen sheet metal screws holding it. I need to go get some more drill bits and finish securing it. They start the welding.
For S & G’s I sat the seat risers in place. I found the drivers side is damaged and will need some hammer and dolly work before I install it. But that is still down the road.
I don’t think so. I need to come up with some cash for rebuilding the transmission and other things. I’ll keep doing what I have parts for and keep saving for what I need.
I am enjoying what I’m doing and do want to get it out and do some tire shredding
Some updates on 0F91Q5056**
I came up with a 69 CJ C6 a few months back. it’s a fairly fresh rebuilt unit. The PO swapped in a top loader and I was able to make a deal on it.
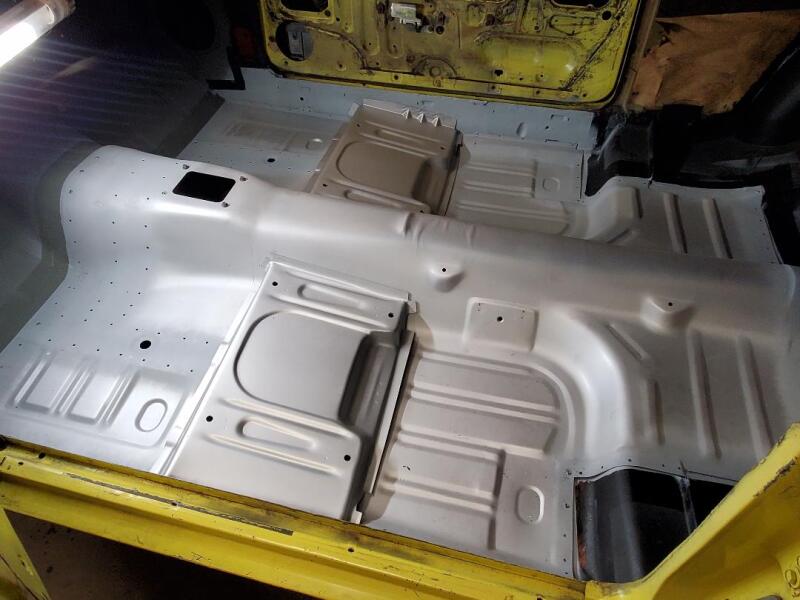
The new floor is finely coming along well. The main floor is now welded in and I have the seat risers in place ready to weld them in. I have to set the lower rear seat clips and weld them in and the bracket for the E Brake on the underside. cut out the drain plug holes. Then get some paint and dress it up.
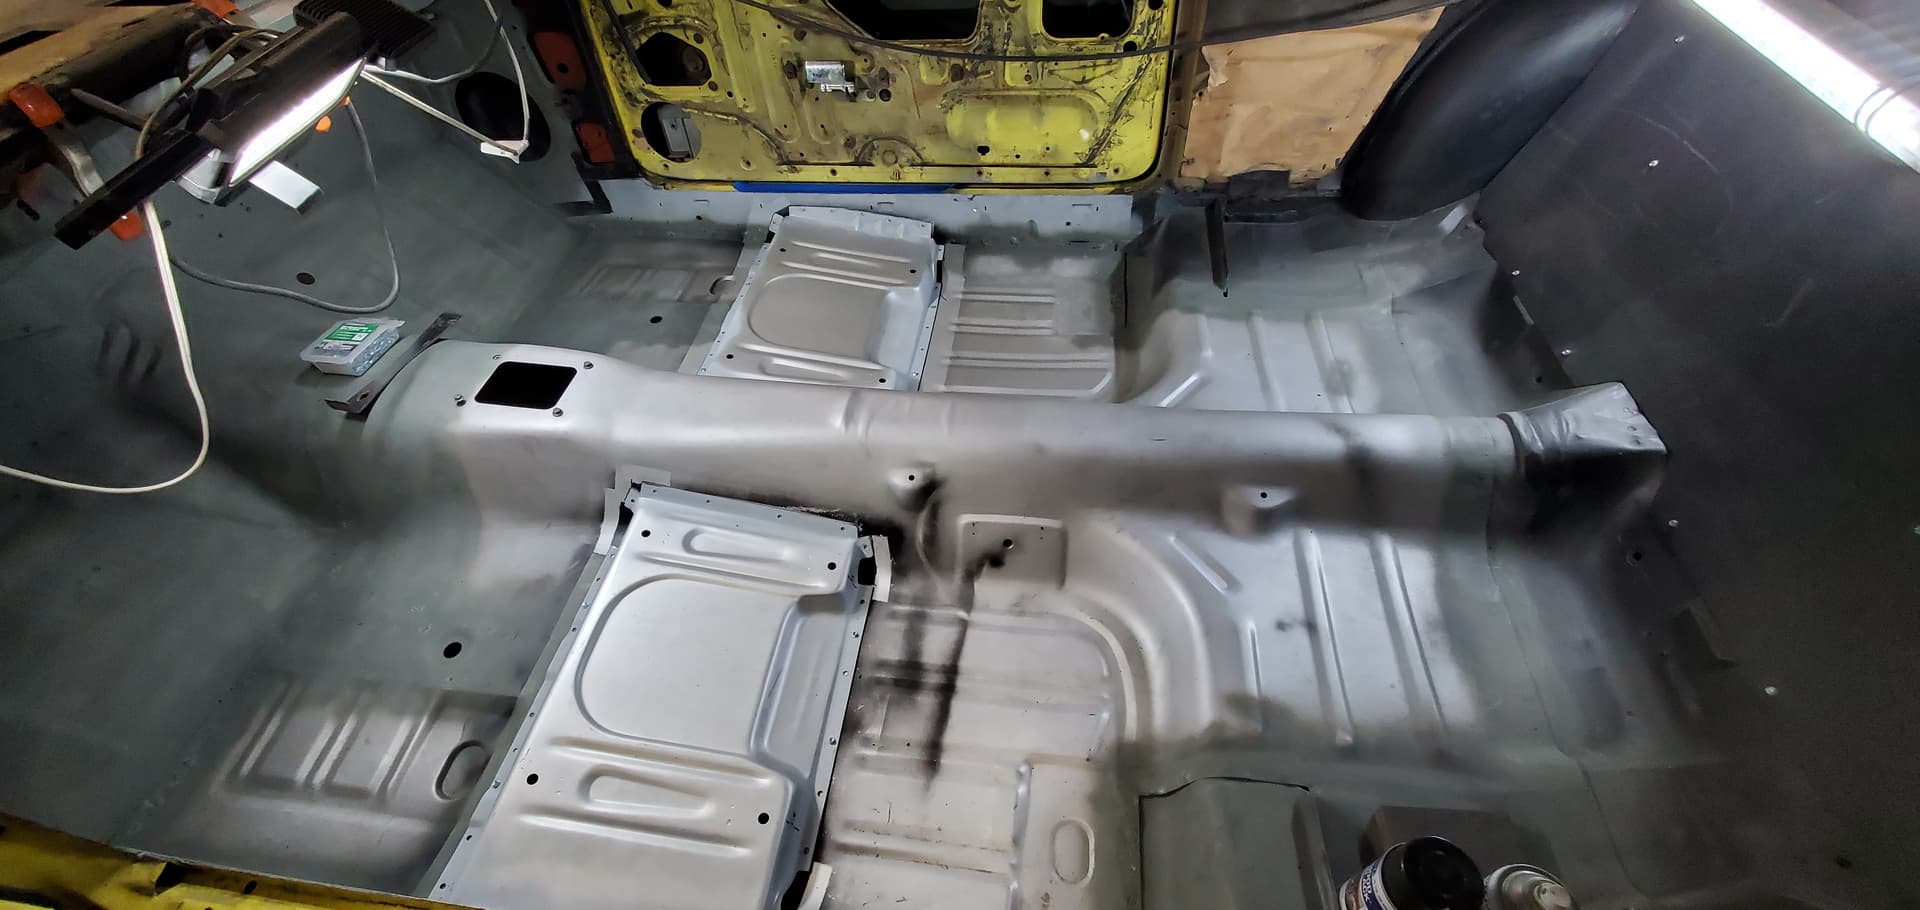
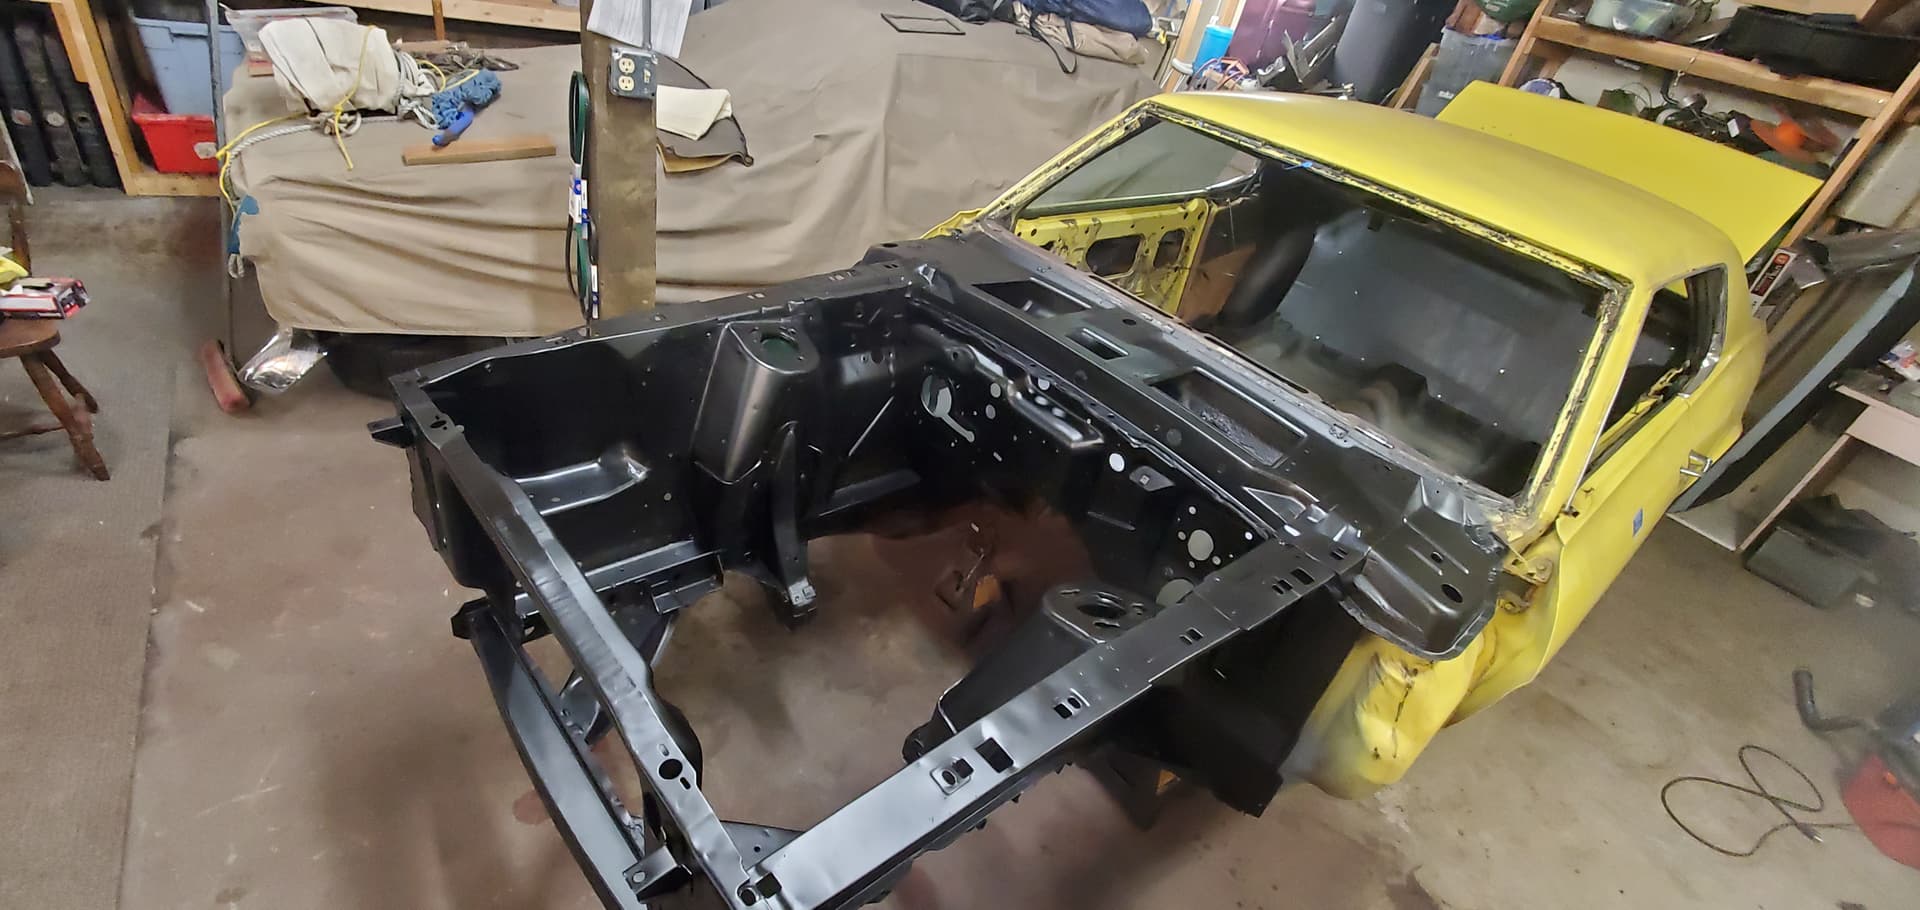
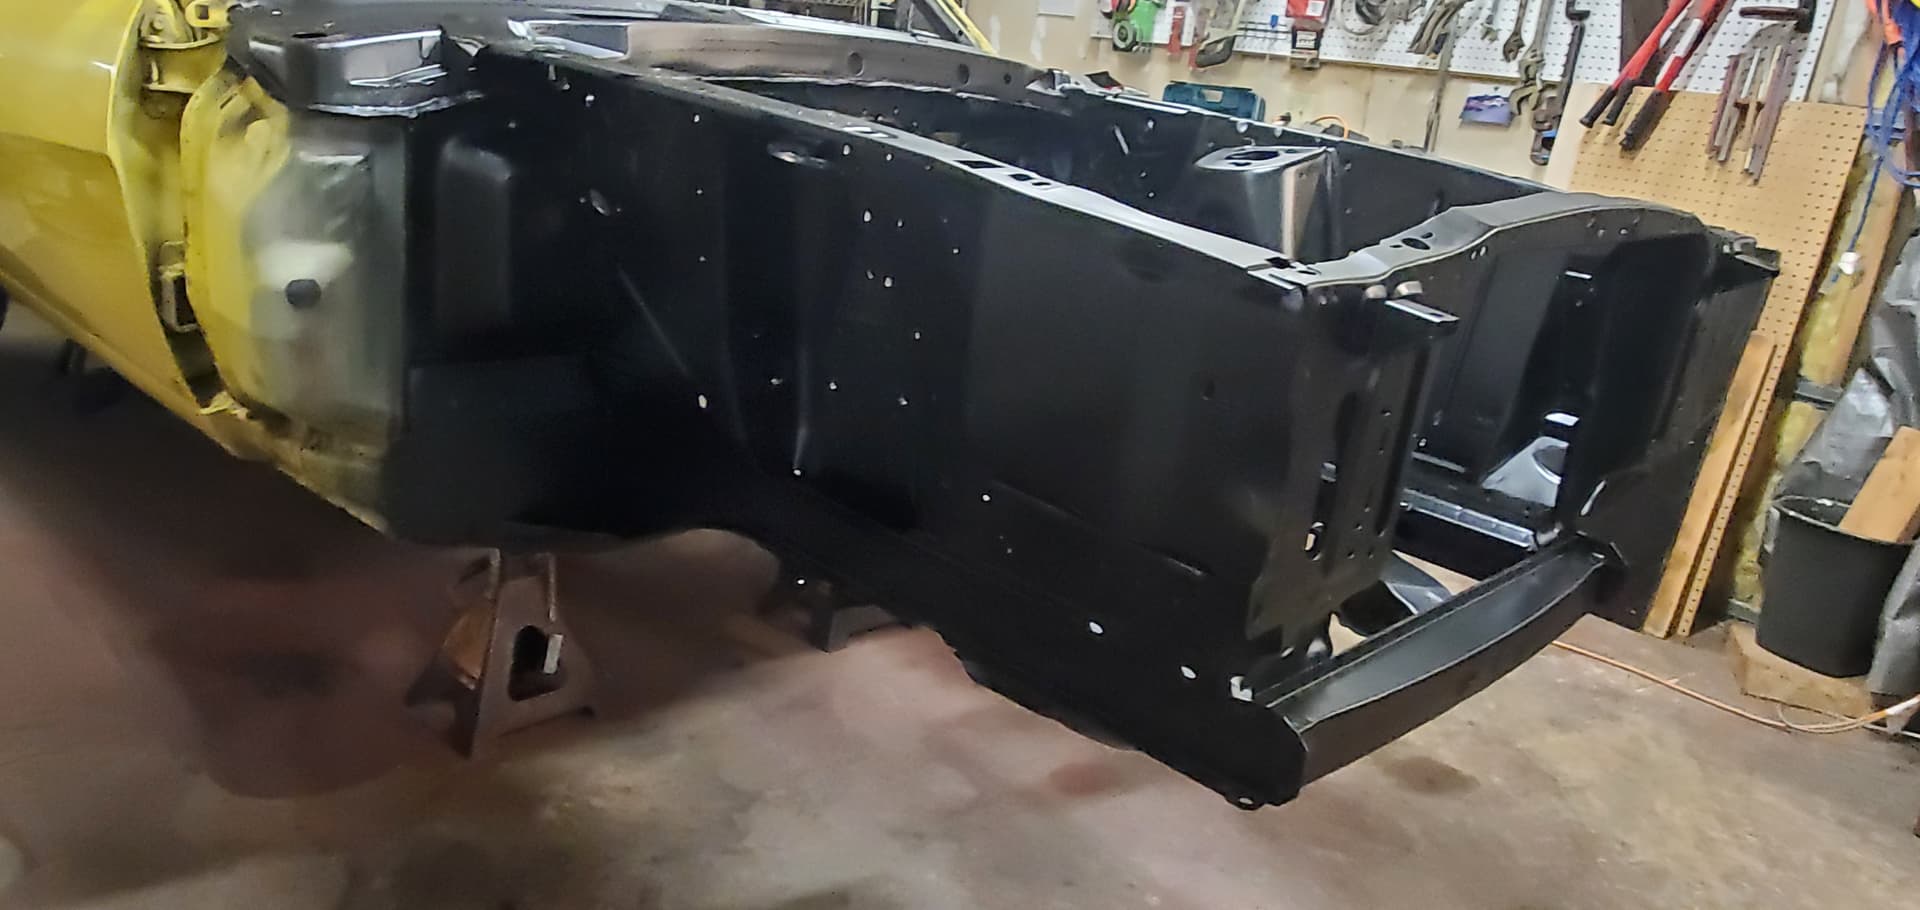
Here is how it is looking this evening,
I am jealous!!! Your one bad motor scooting mechanic, you got some.crazy skills!! If I had your skills ,I would have to put a bed in my garage along with a lift!
Thanks for the kind comments. It’s not as nice as I would like, but it is not going to fail. I use to do gas welding and some TIG. But I’m kind of a green horn with MIG wilding.
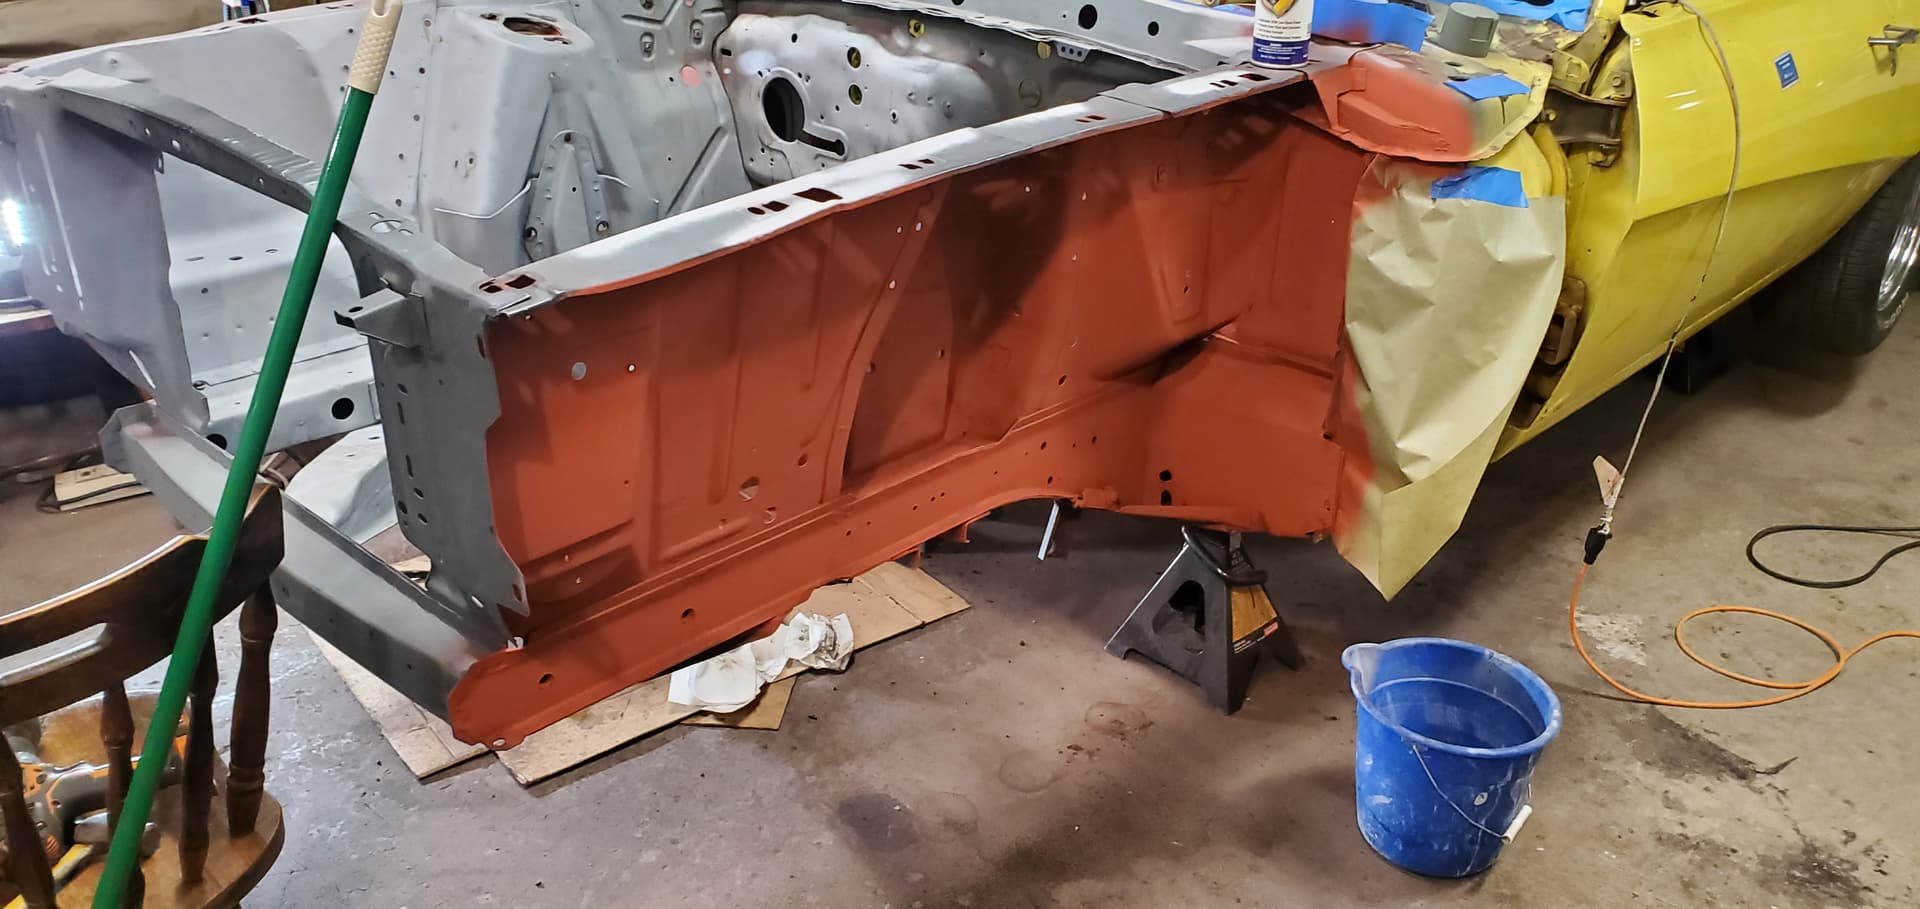
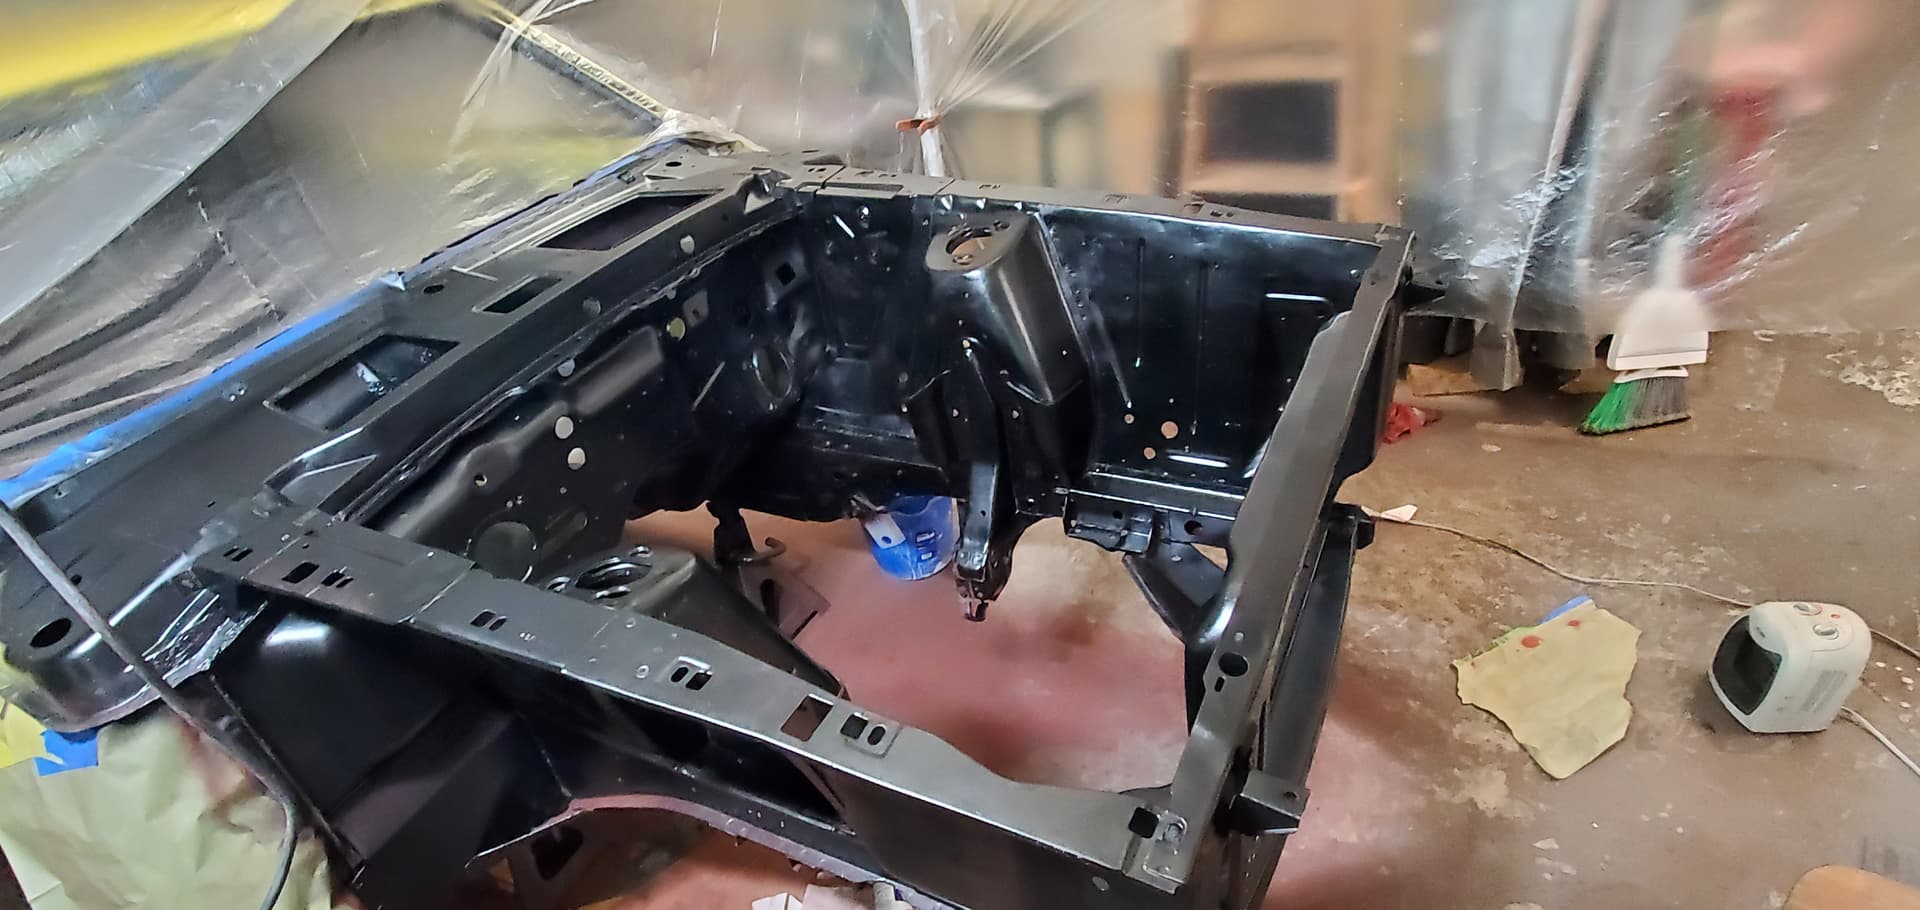
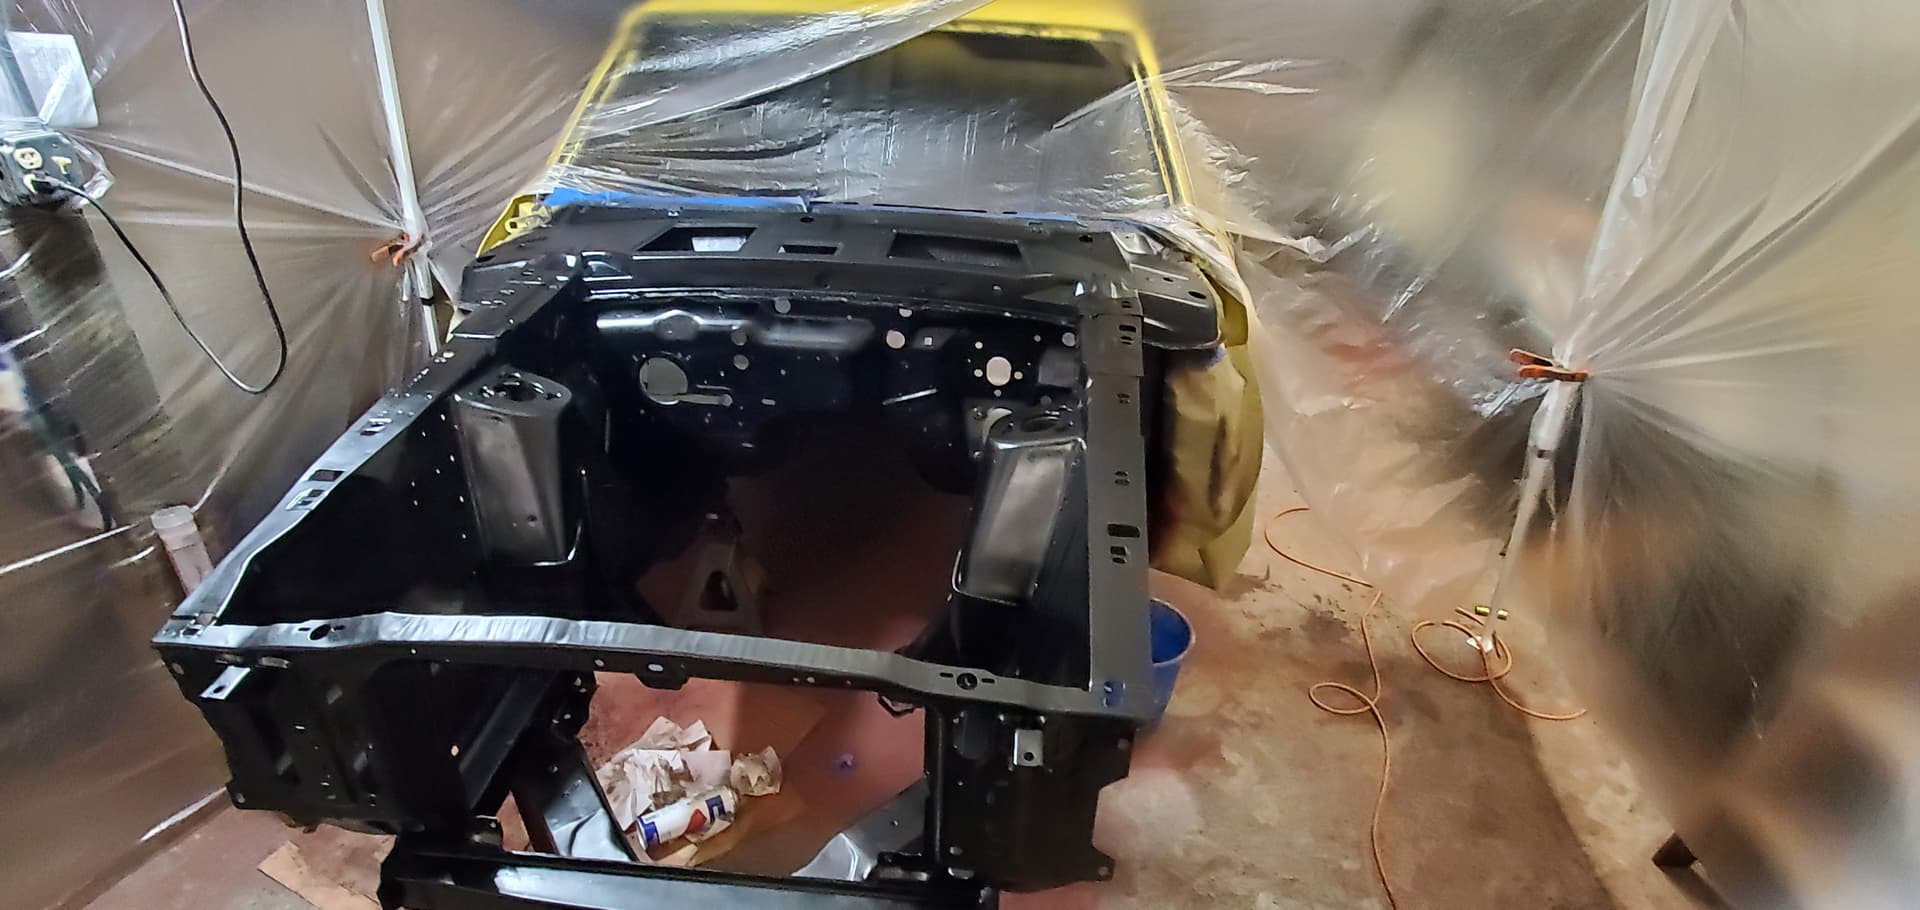
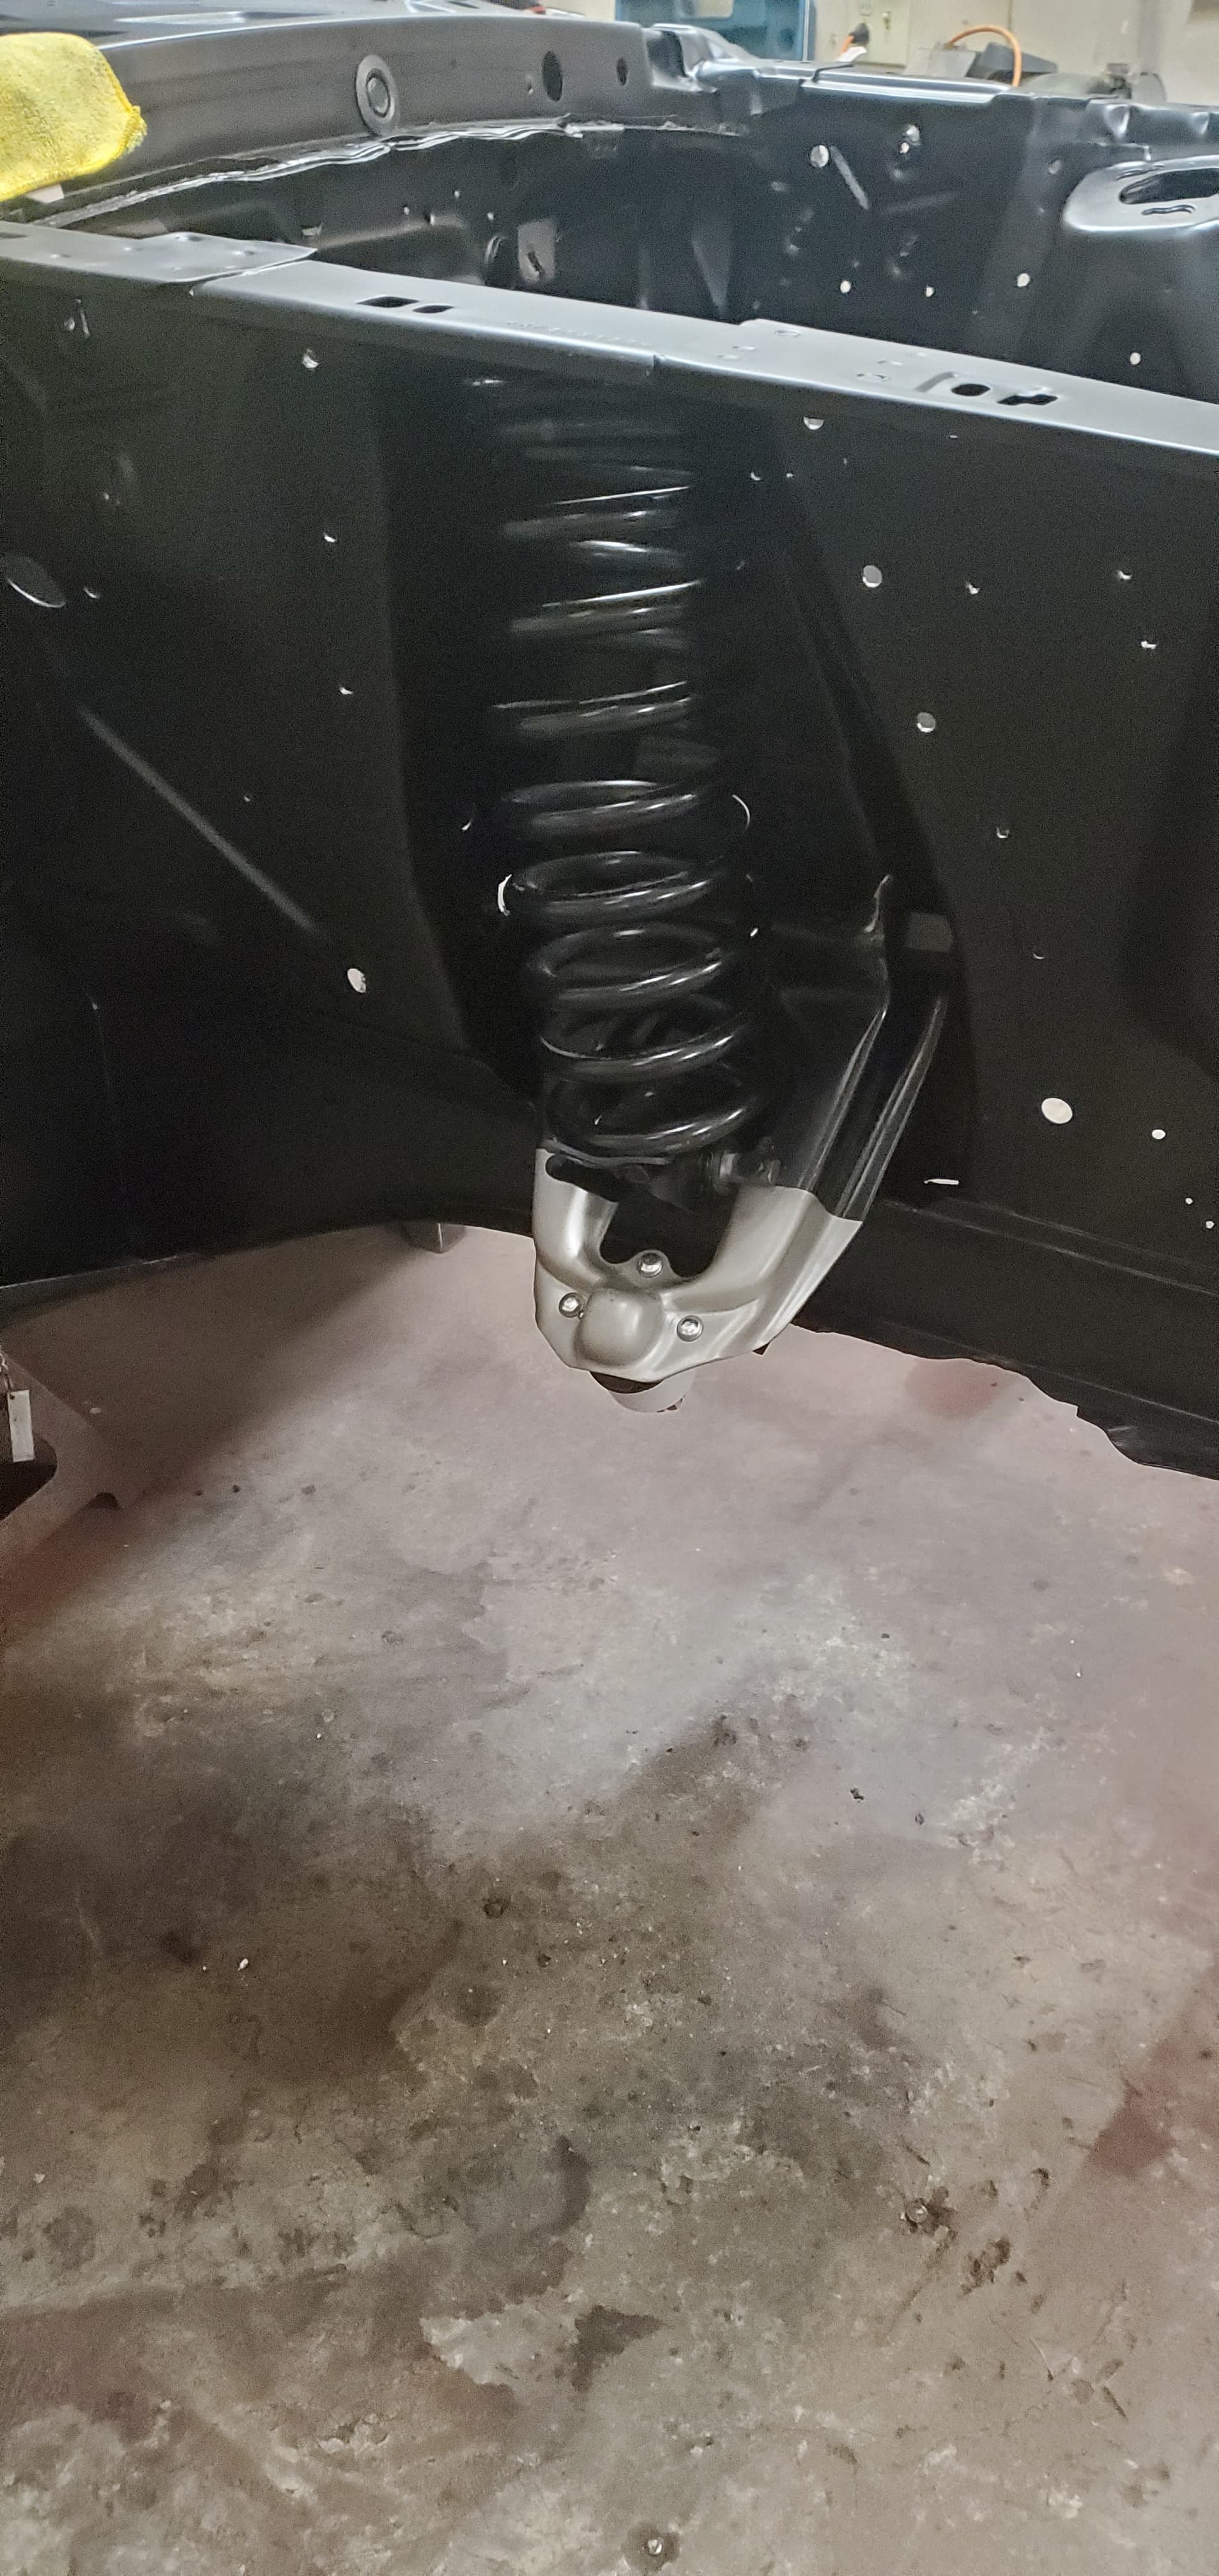
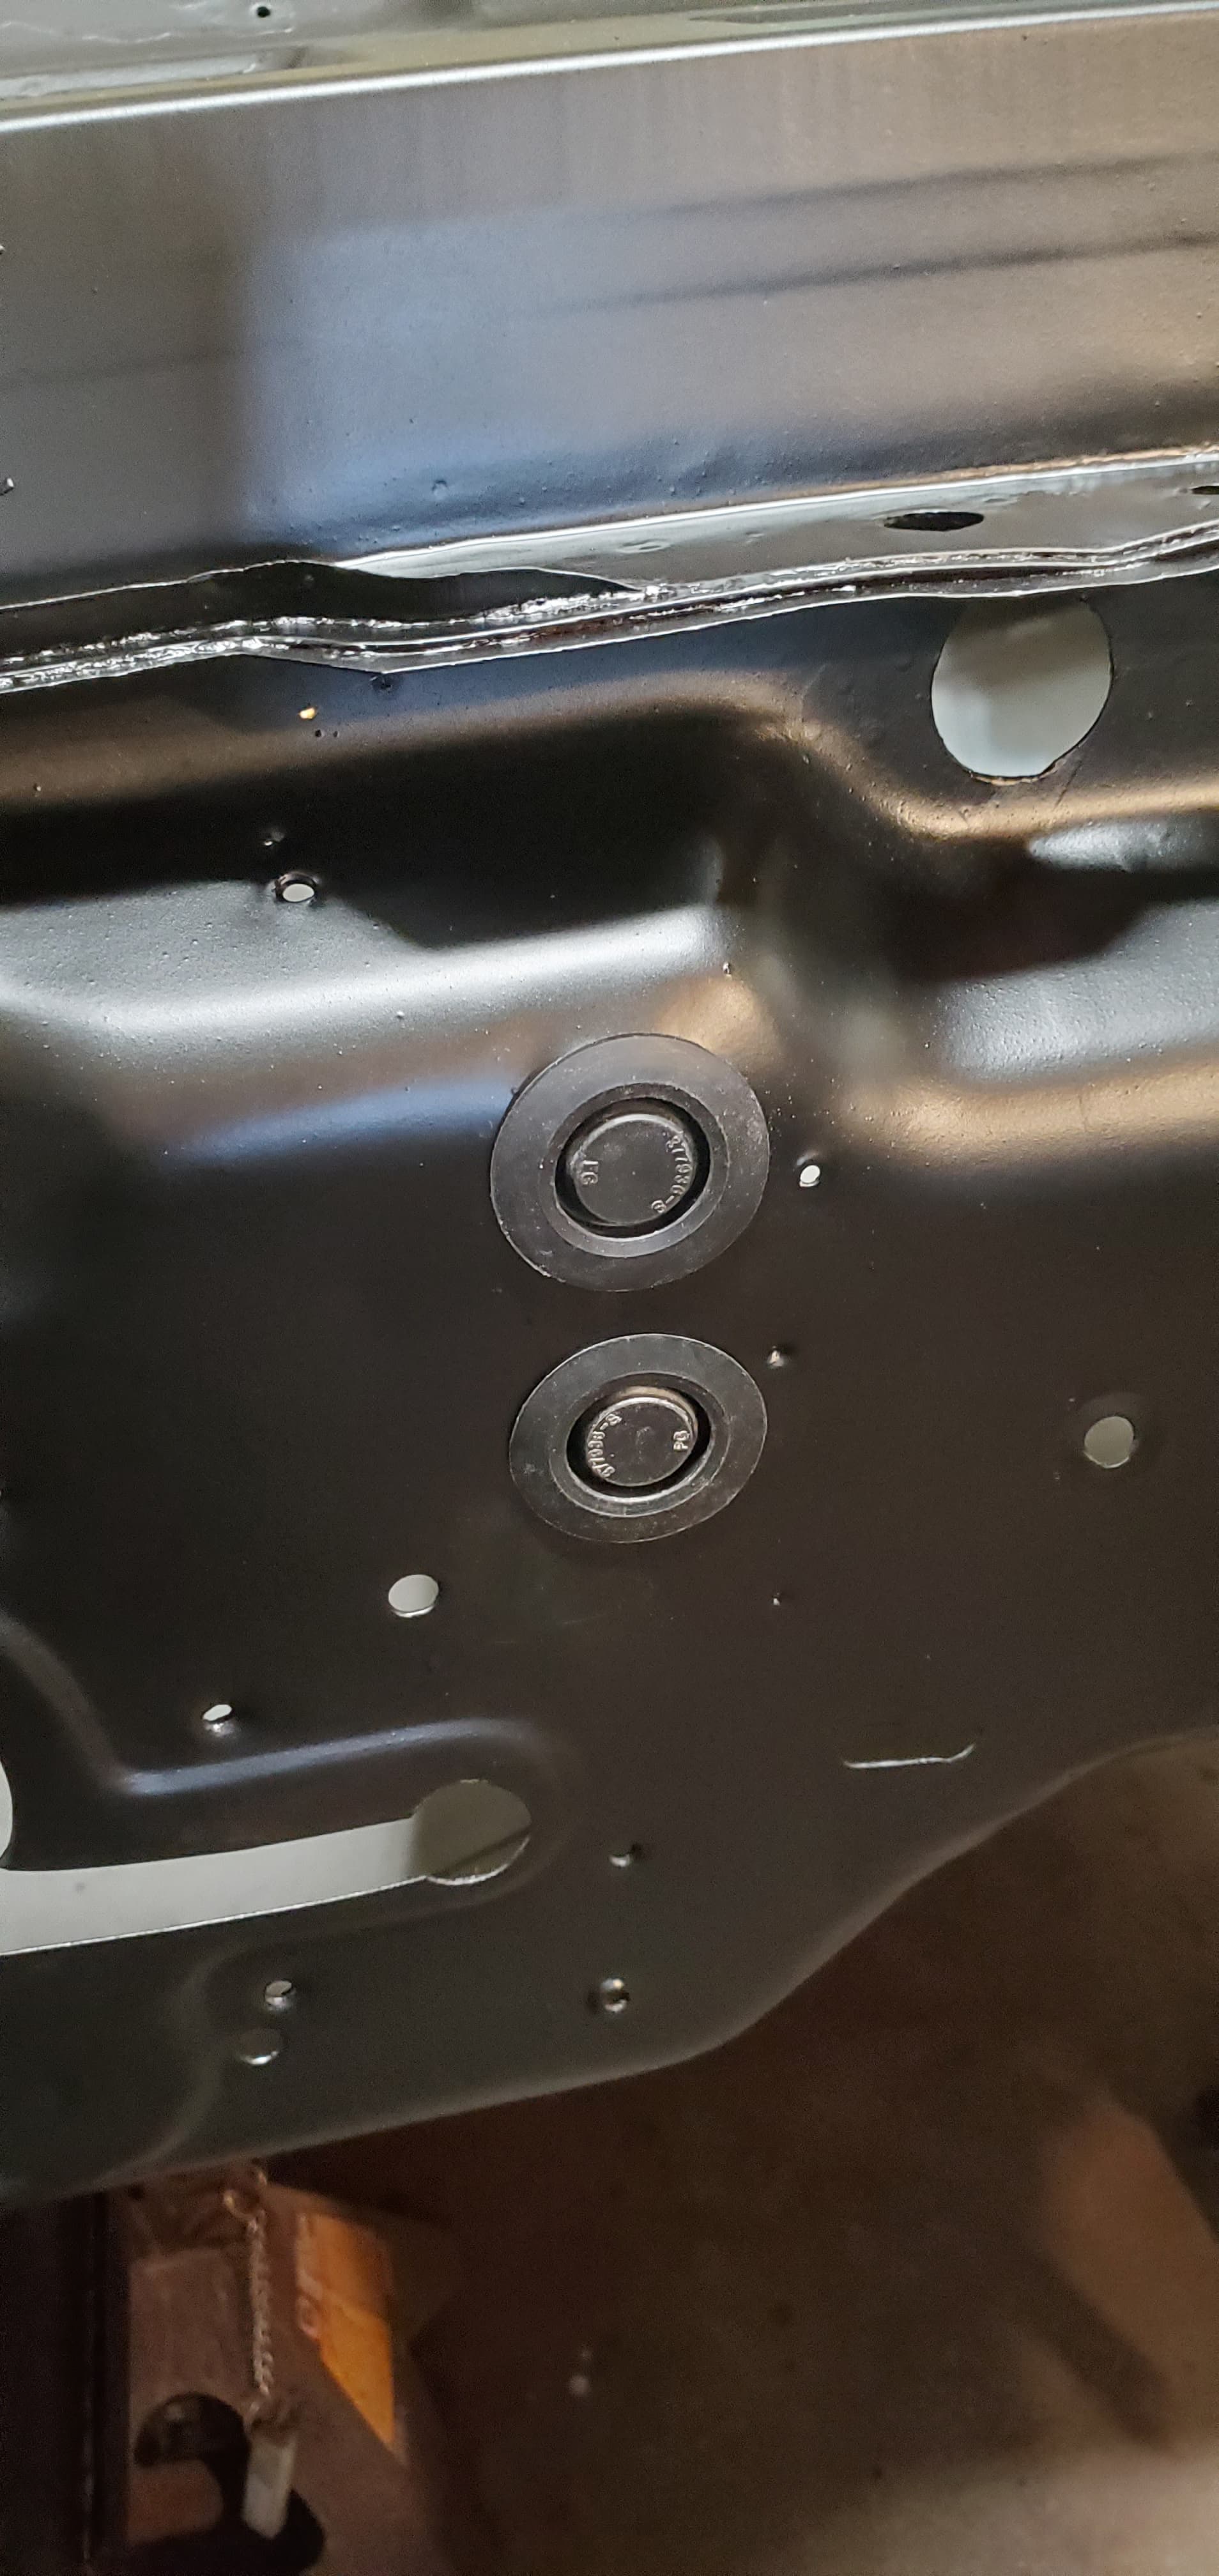
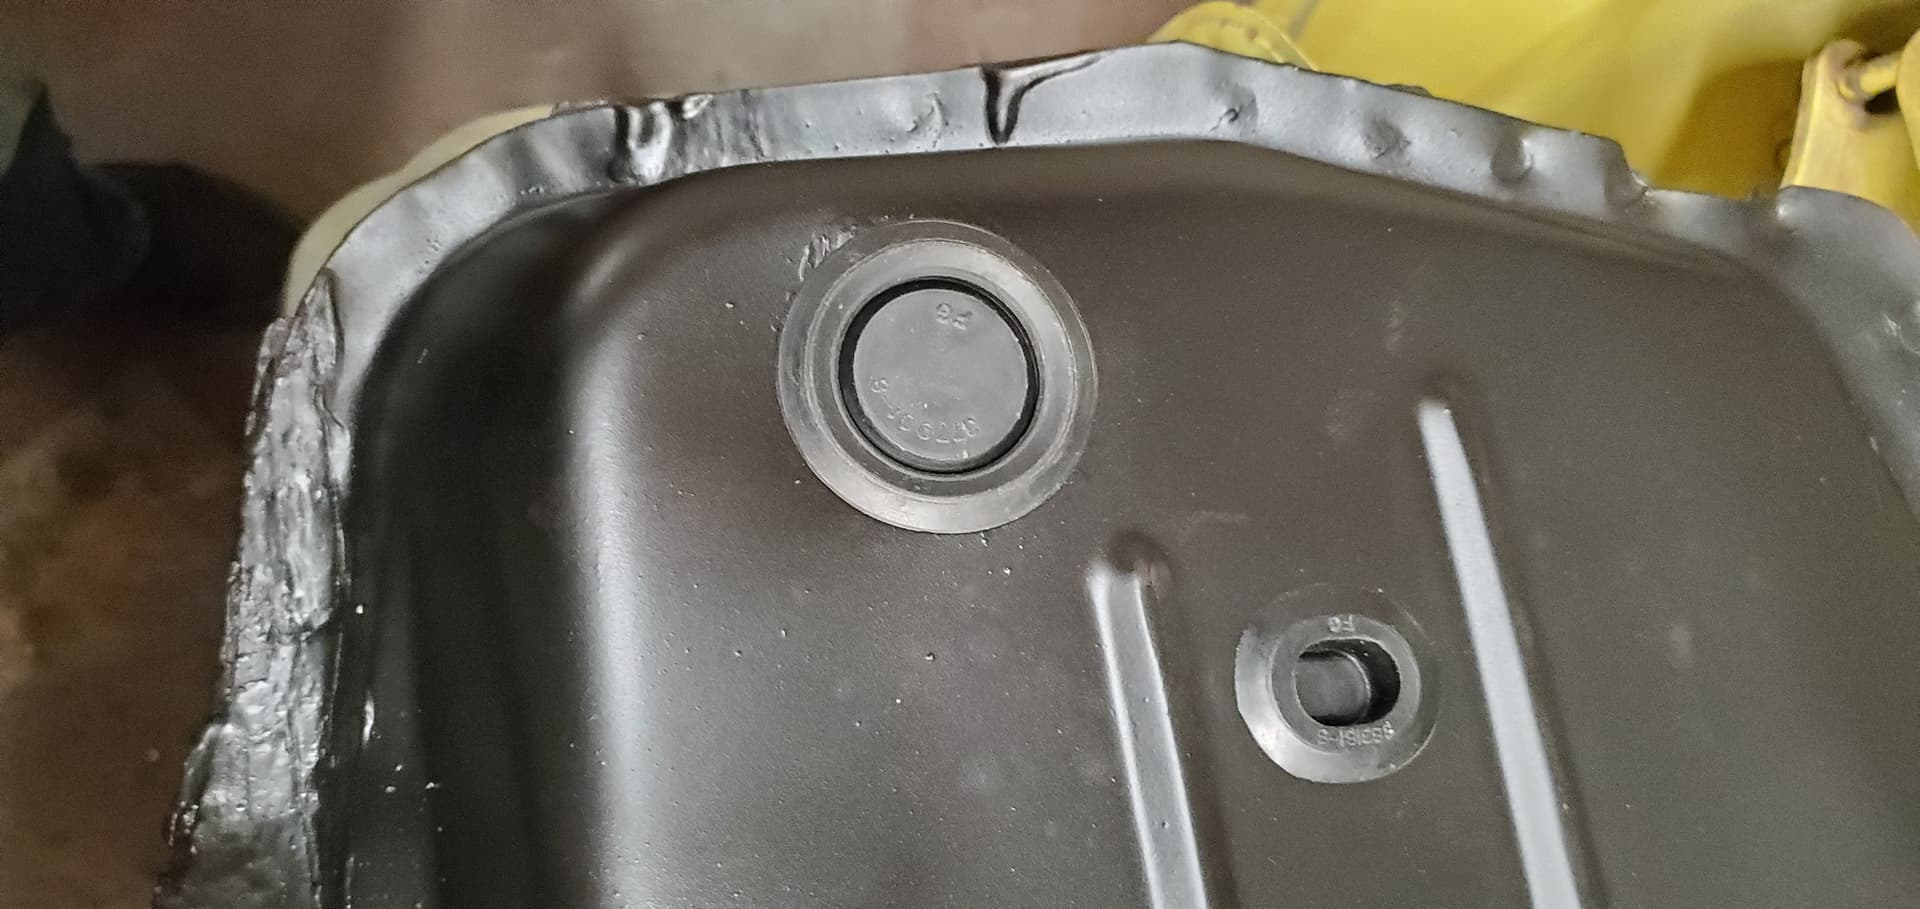
I moved on to getting the engine compartment final preped for paint, and got primer and a first coat of Chassis Black sprayed. I’ll be pushing to get a second coat on tomorrow evening as this week another project I have to put time in to is braking loose. Here are some pictures;
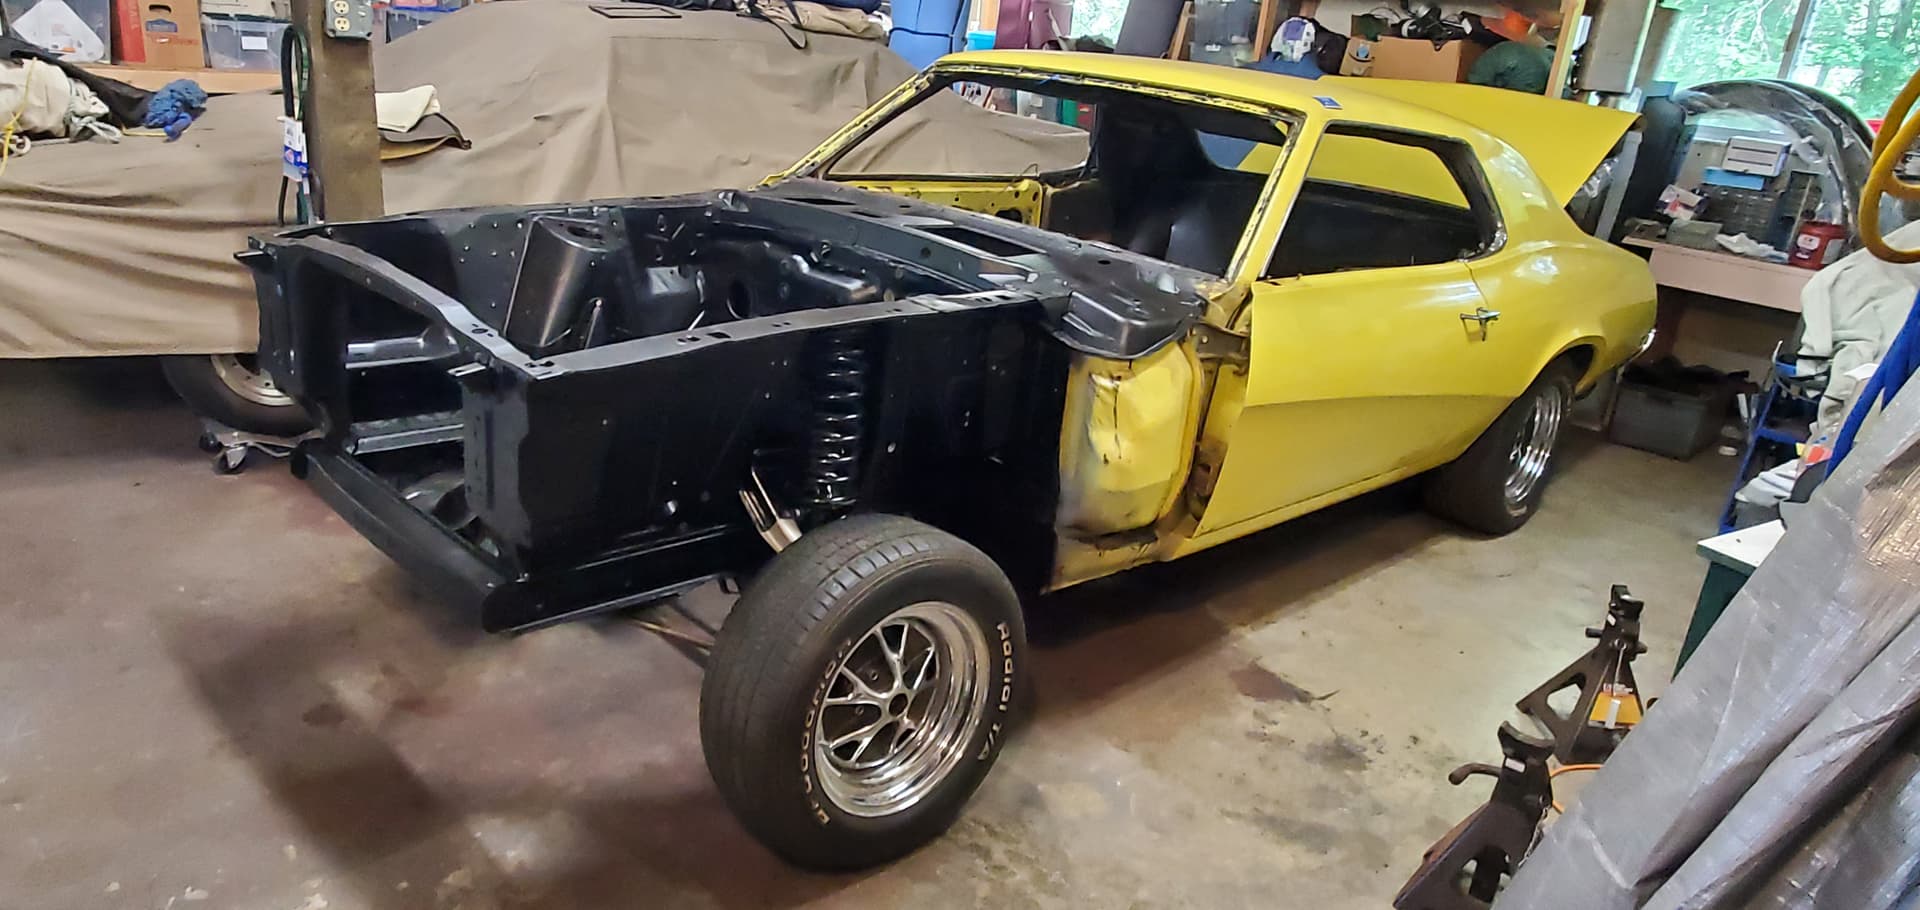
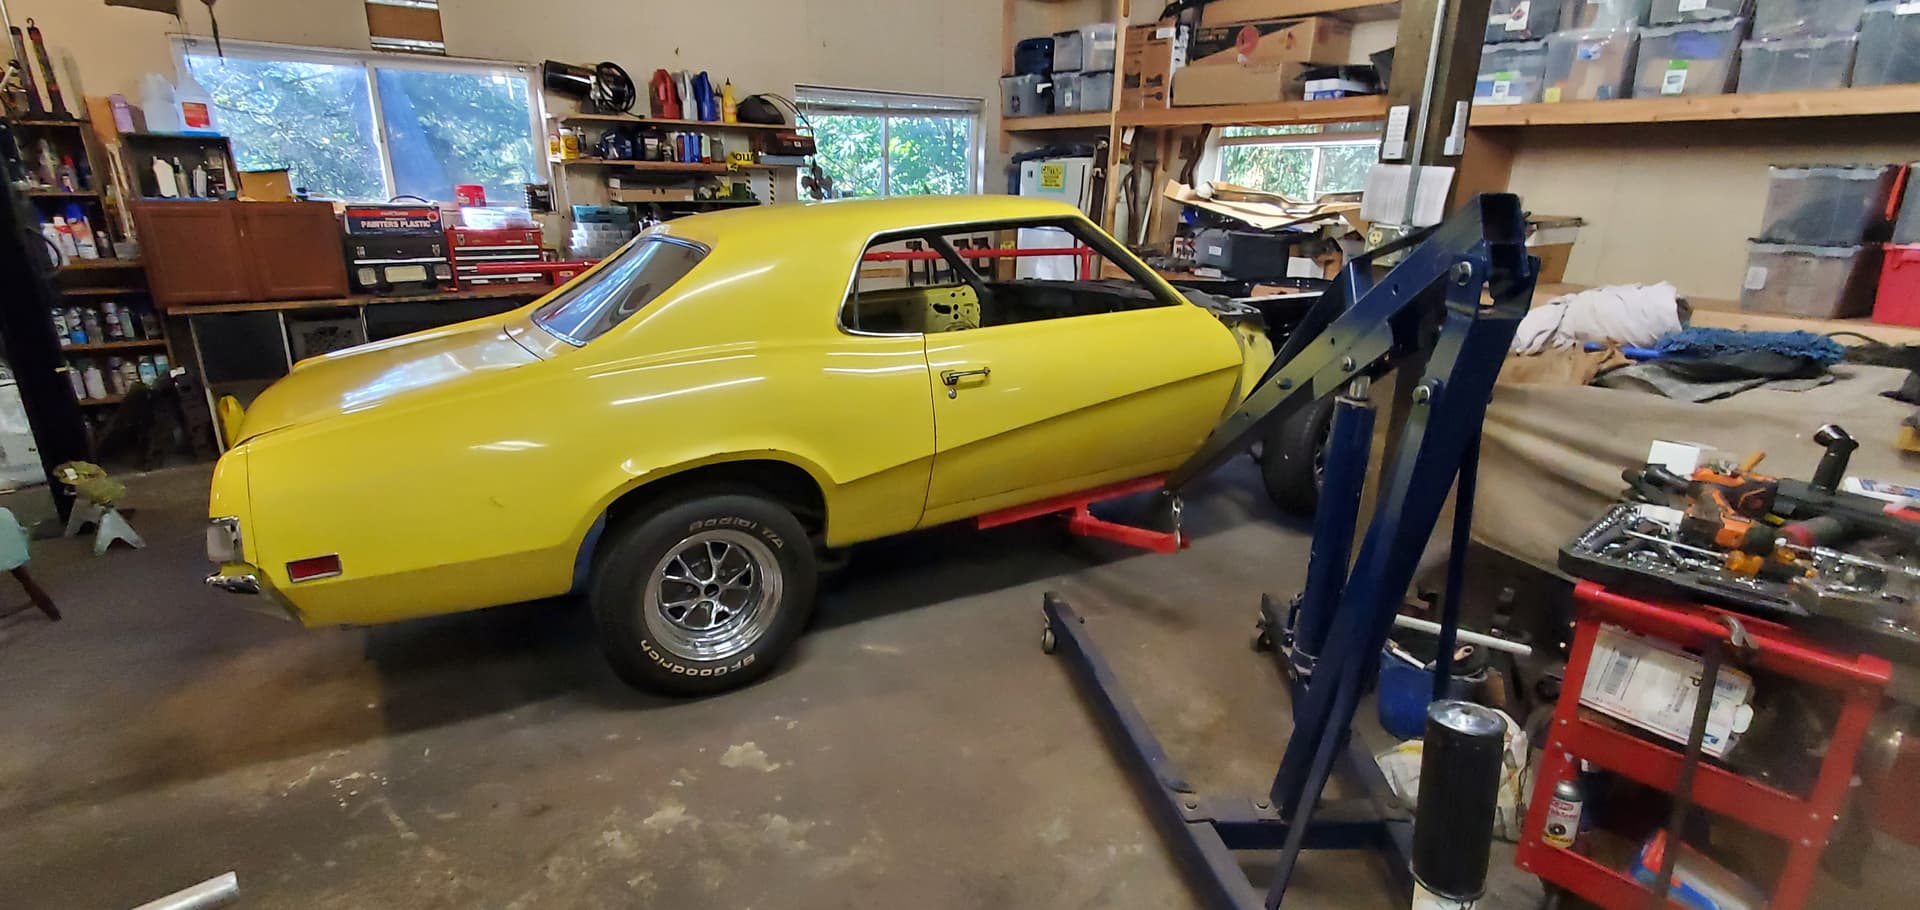
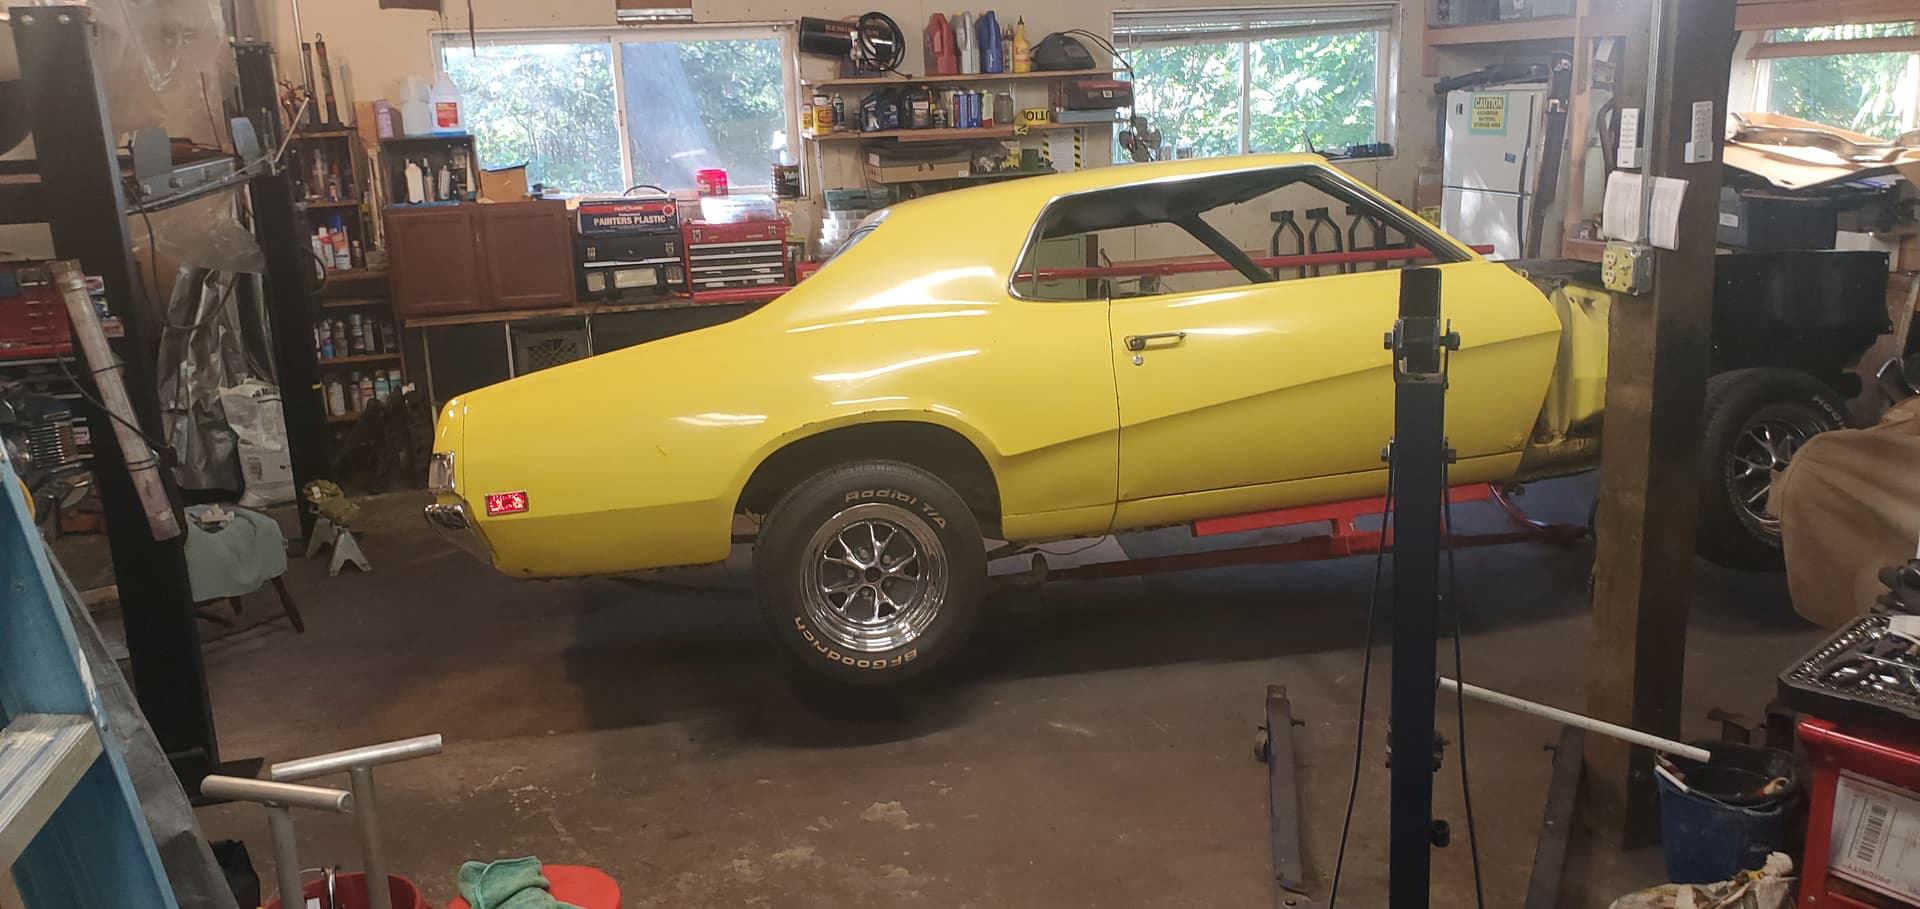
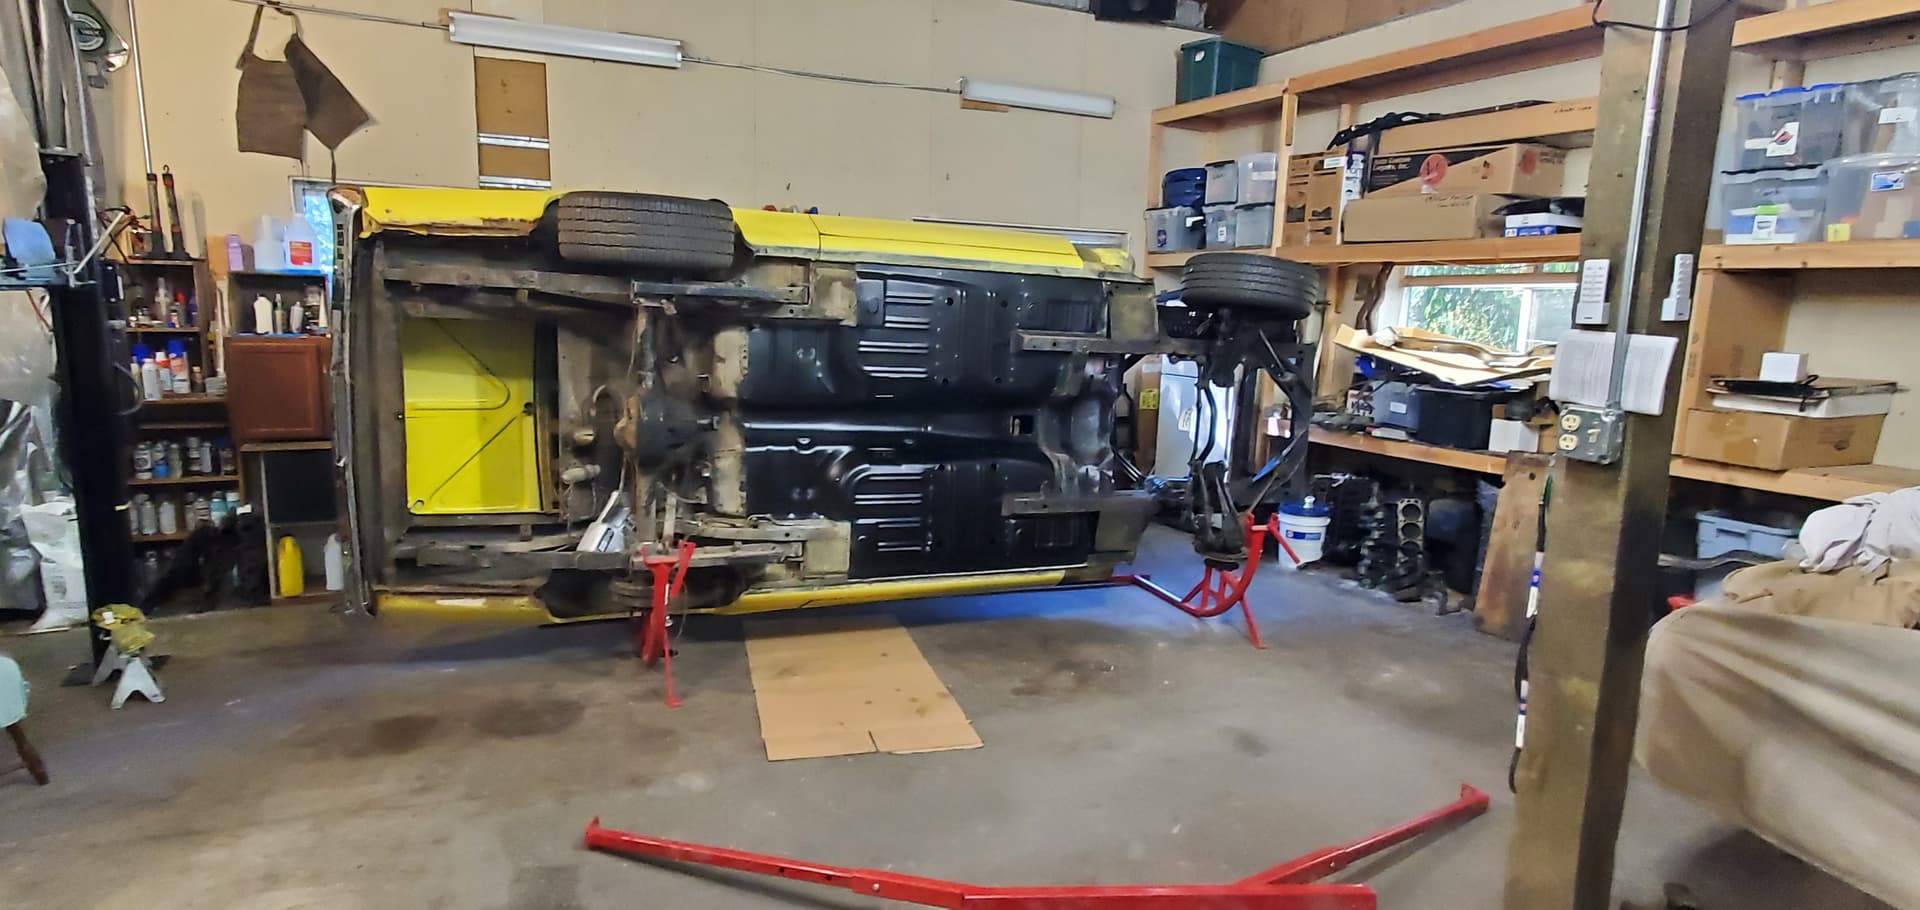
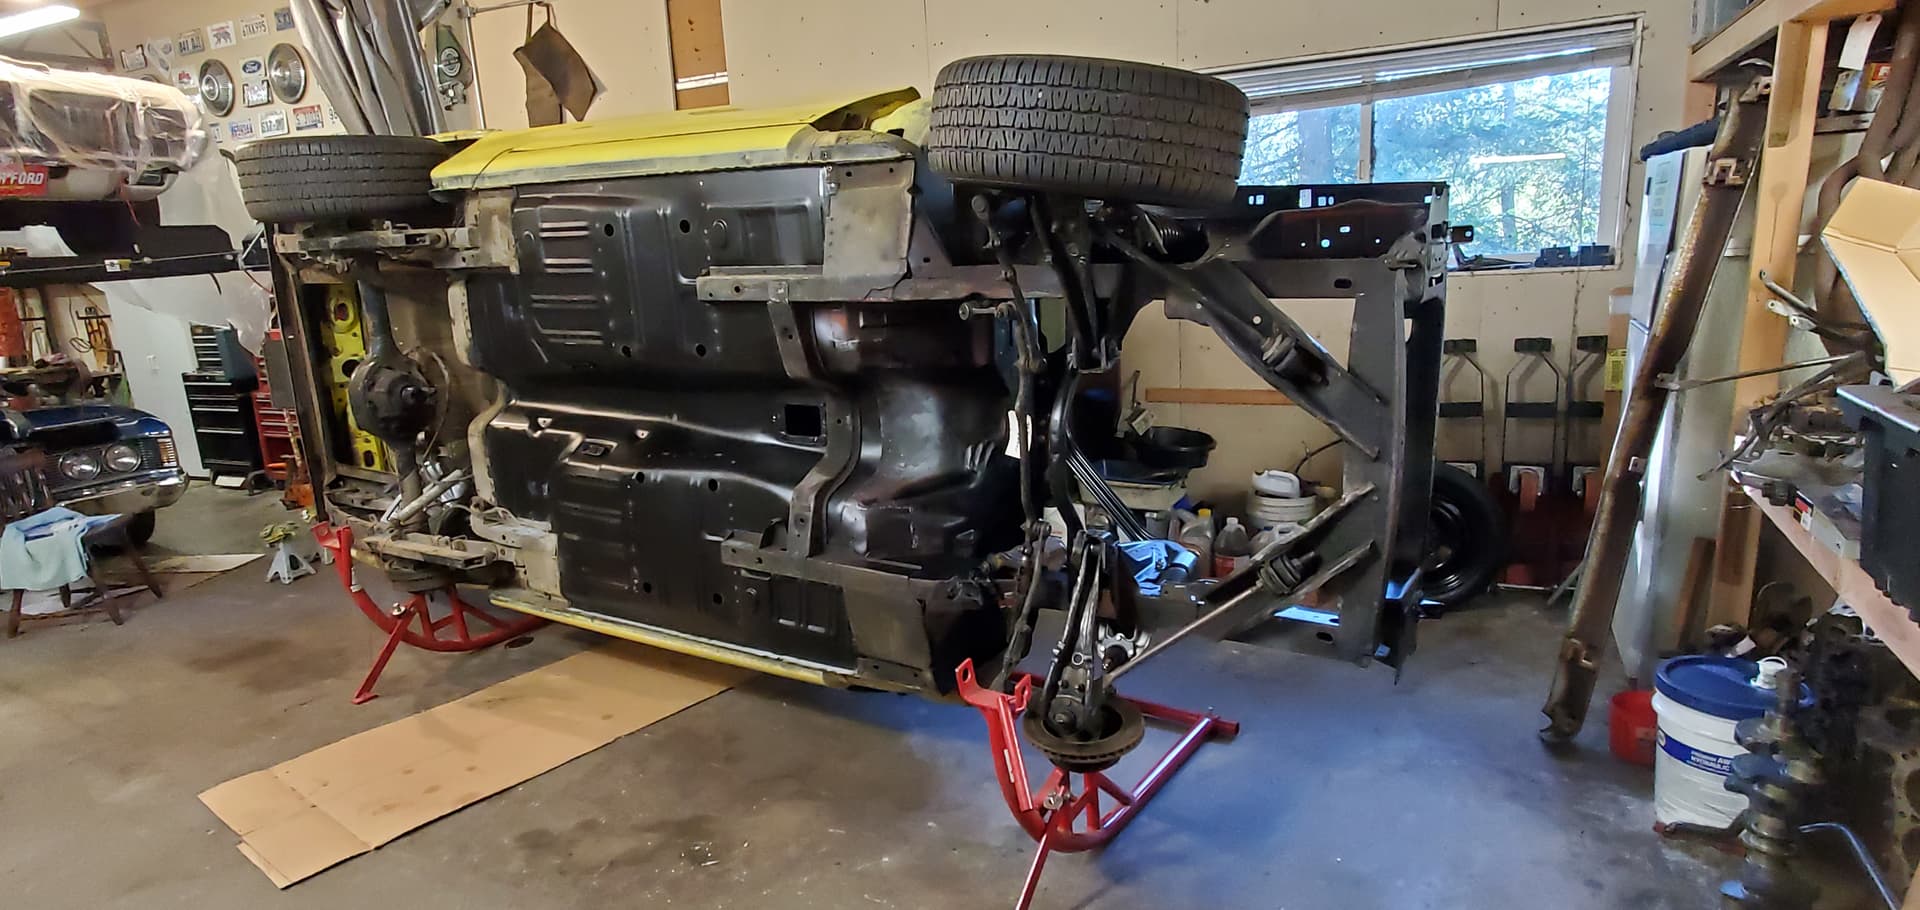
I need the frond suspension on it so I can bolt my Car Cradle on it and tip it op on it’s side so I can do some more work on the underside of the floor.
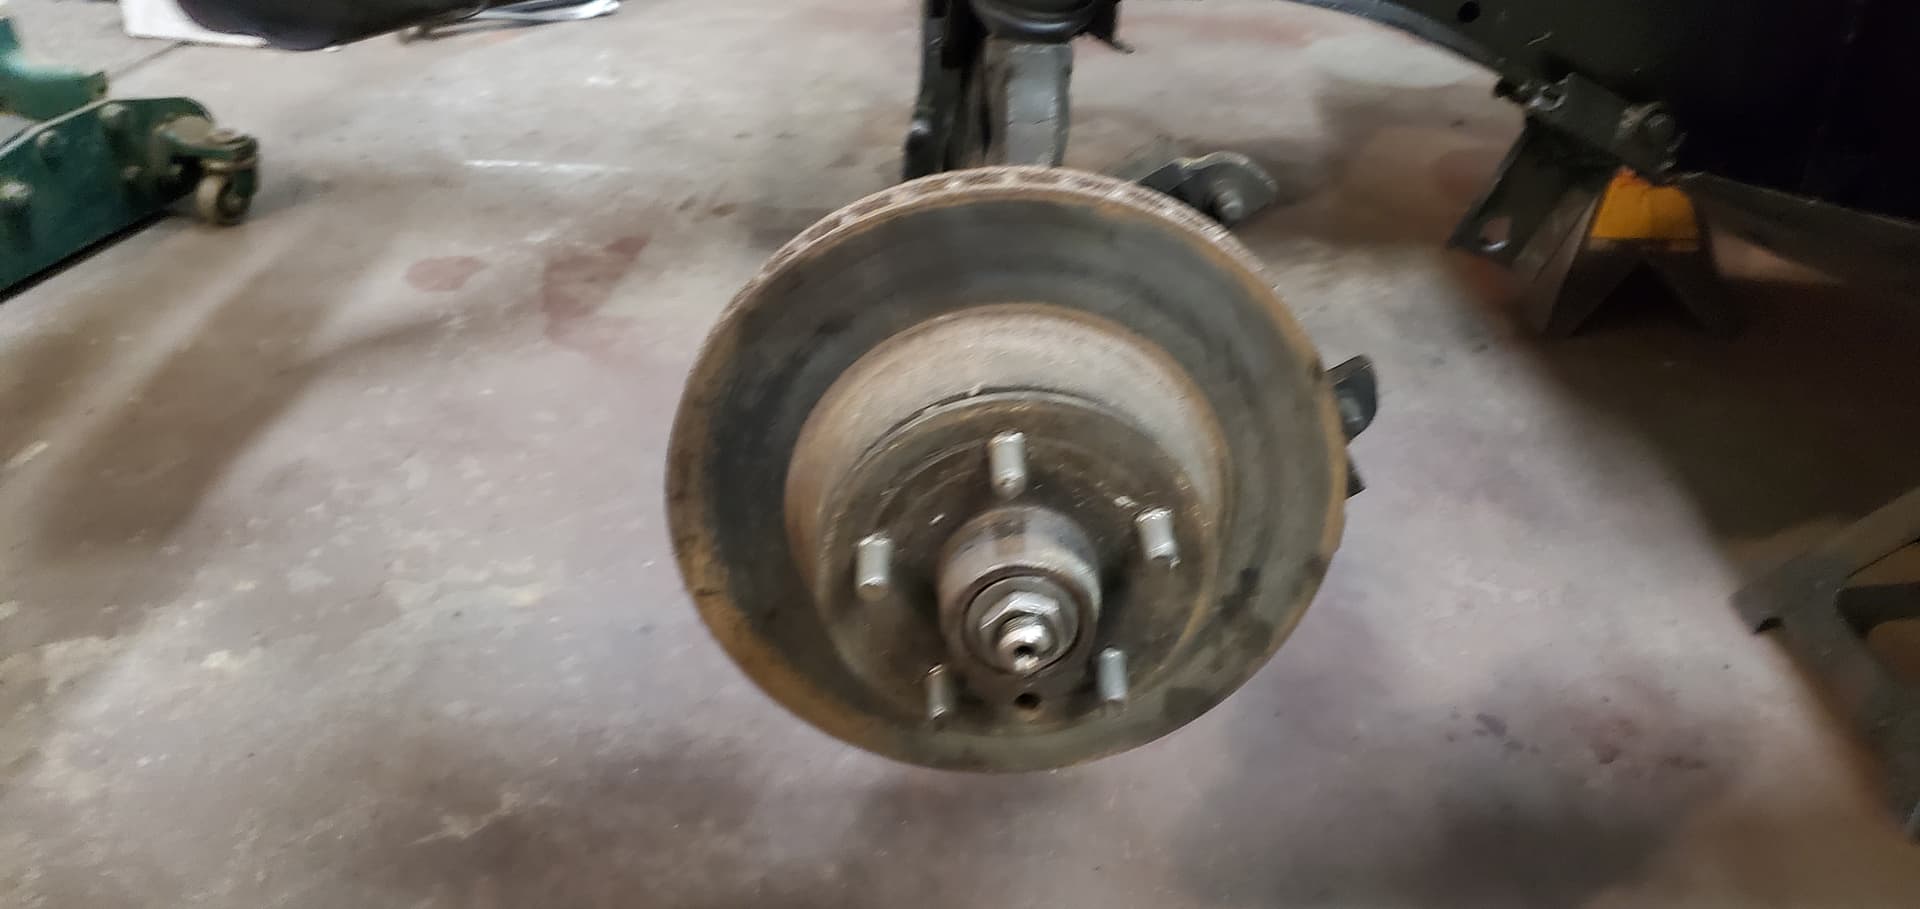
I had some down time in the last week to do a little work on this Cougar. I cleaned up the spindles, but detailing comes later. I installed them Cleaned the old lower control arms, Strut rods and the steering rack. They all are not temporarily installed.
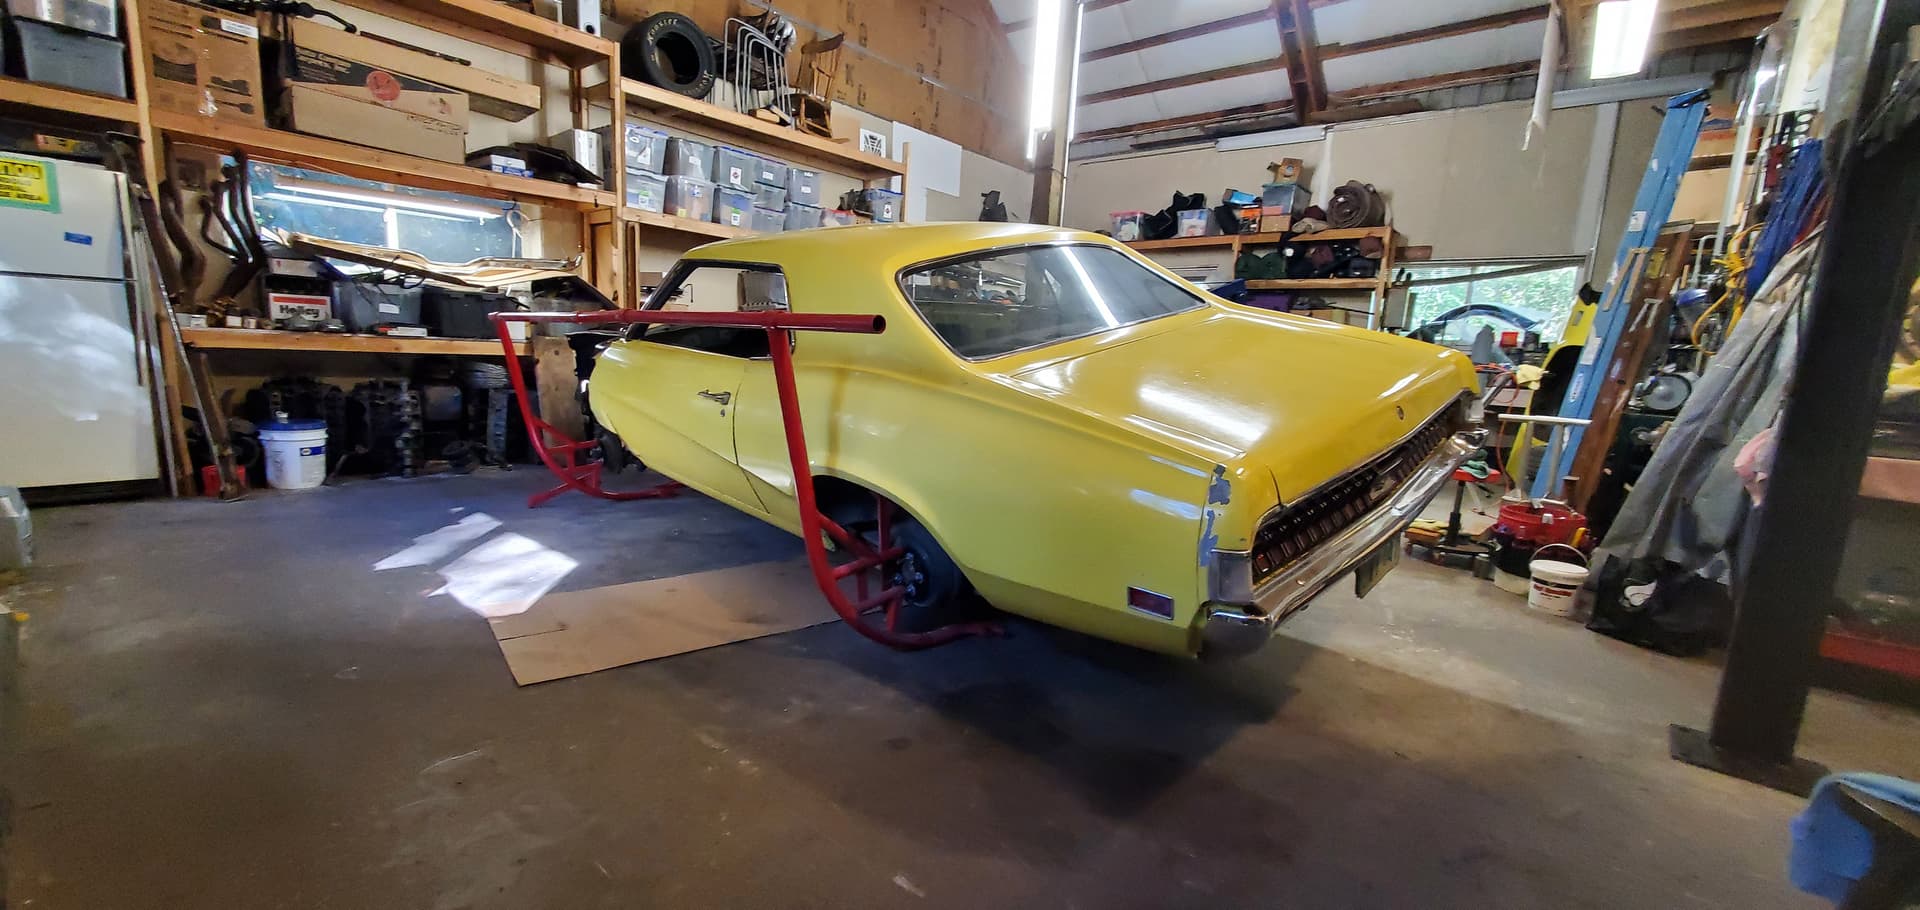
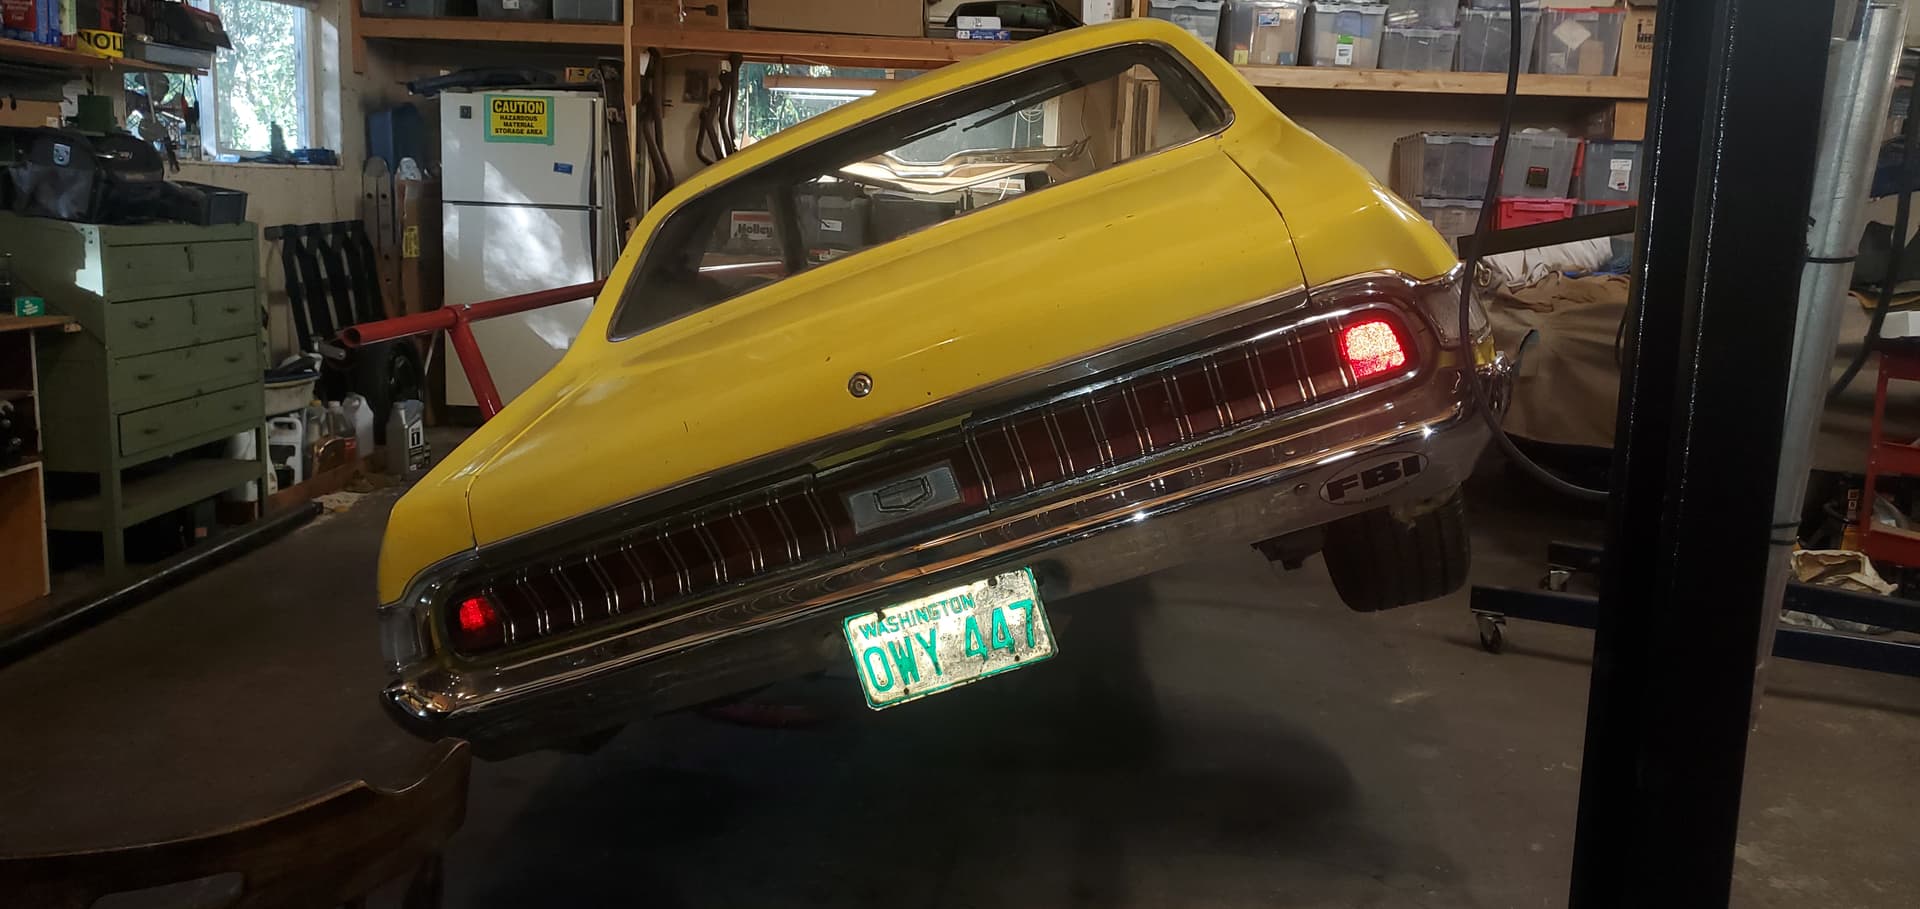
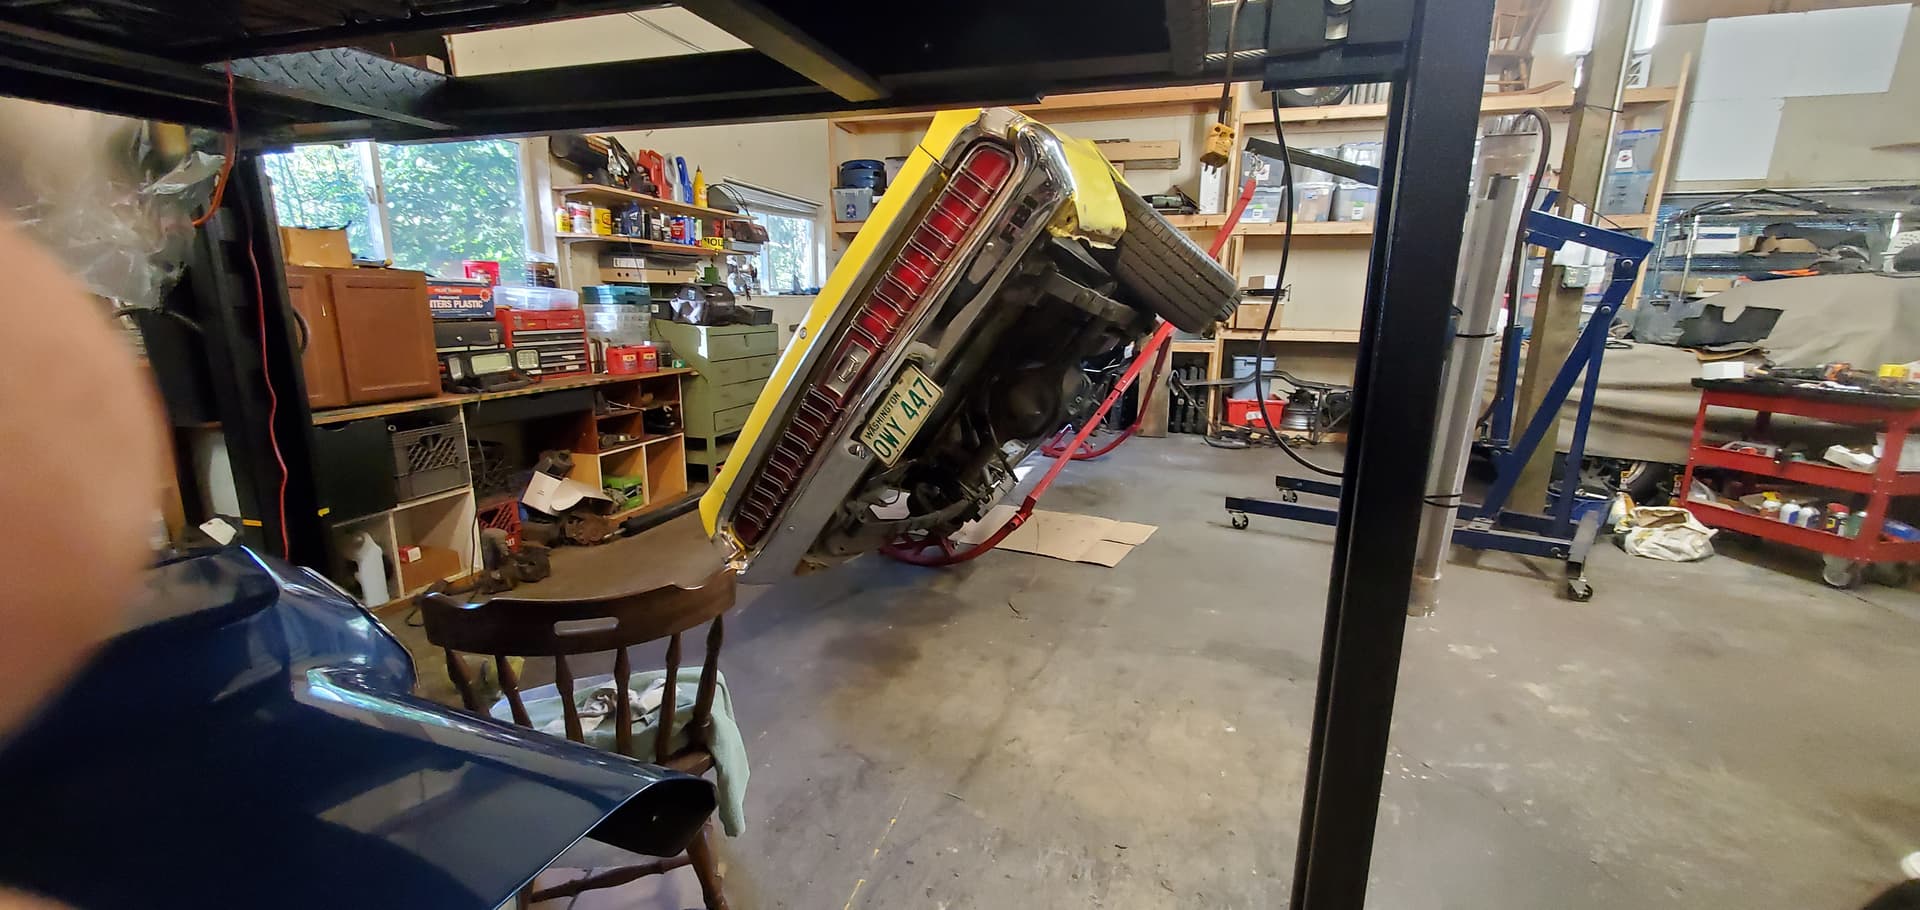
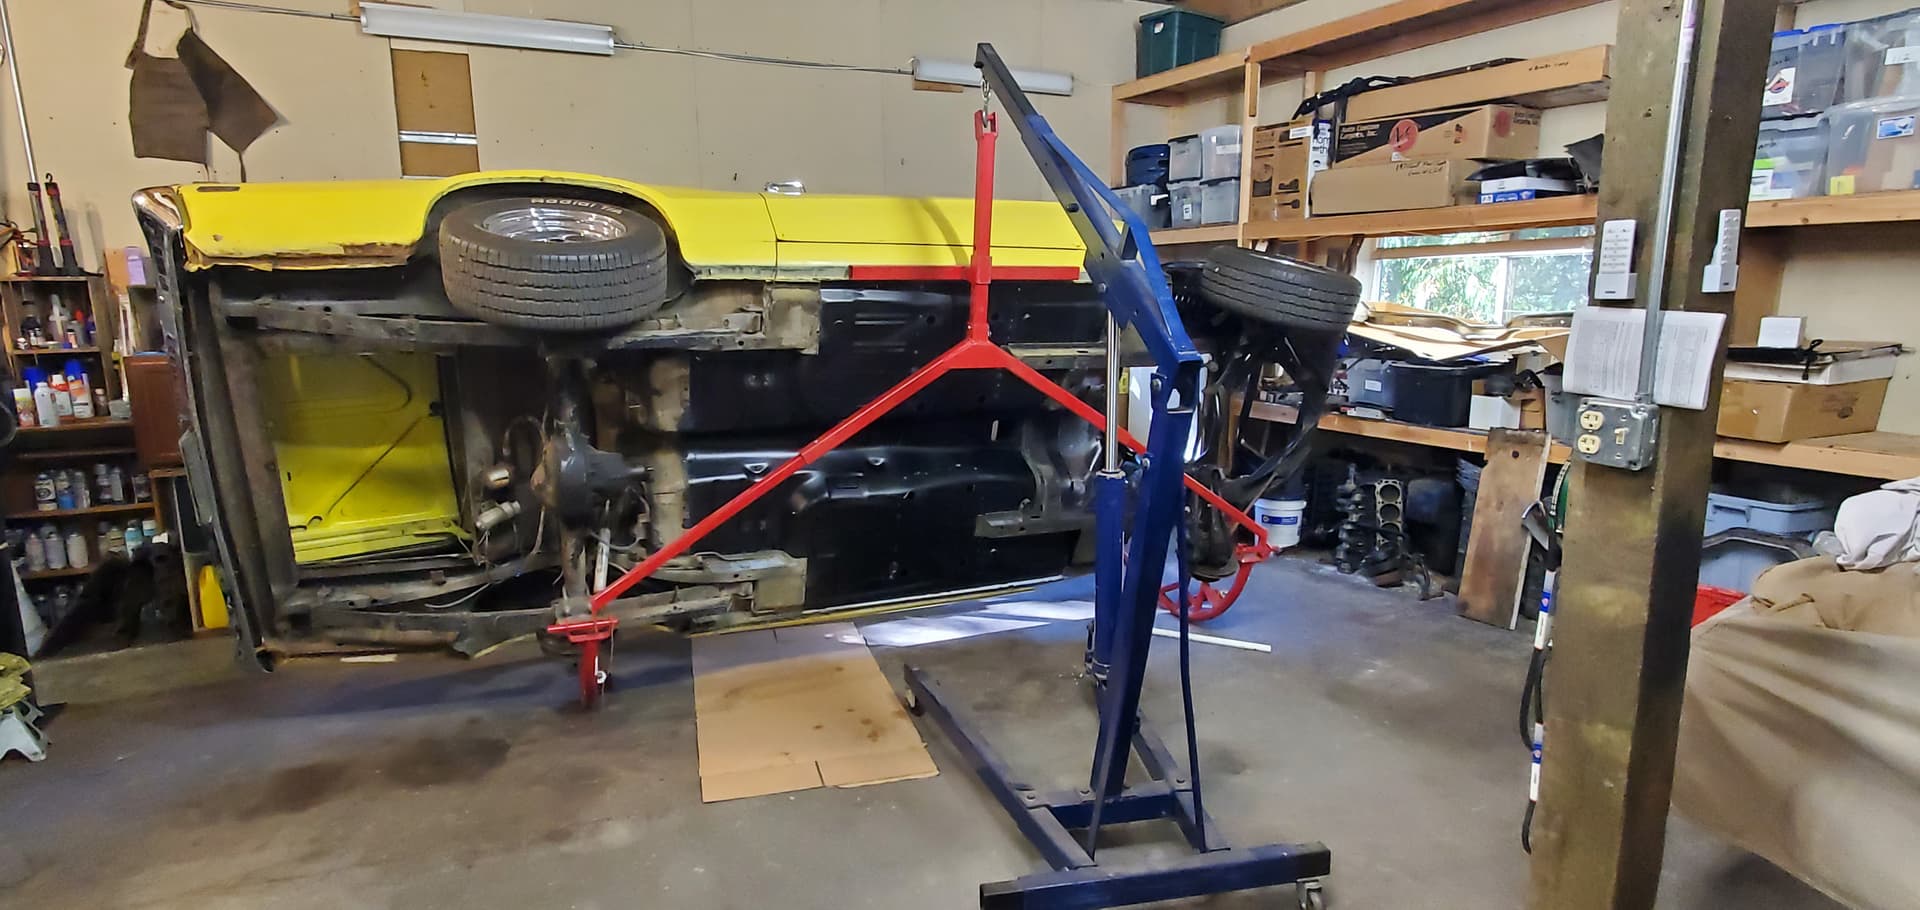
This is so I can move the car around the shop and arrange it so I can put it on my Car Cradle and set it on it’s side. For the time being it looks like this.
Well,
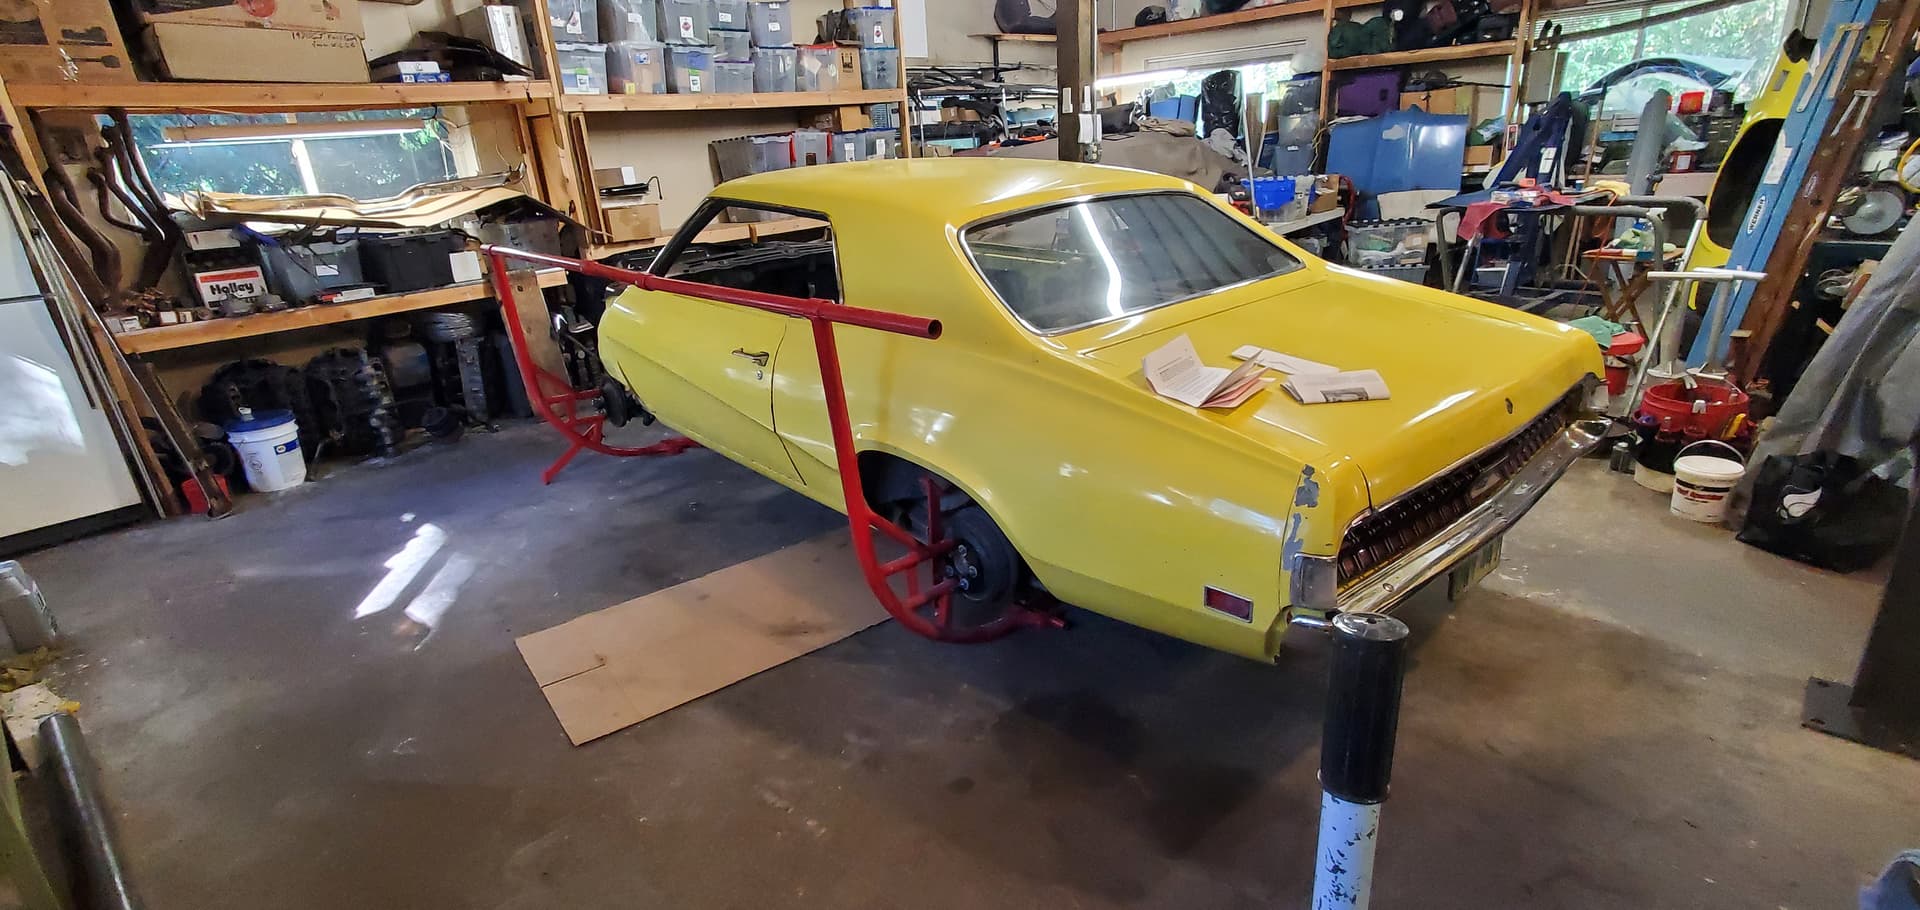
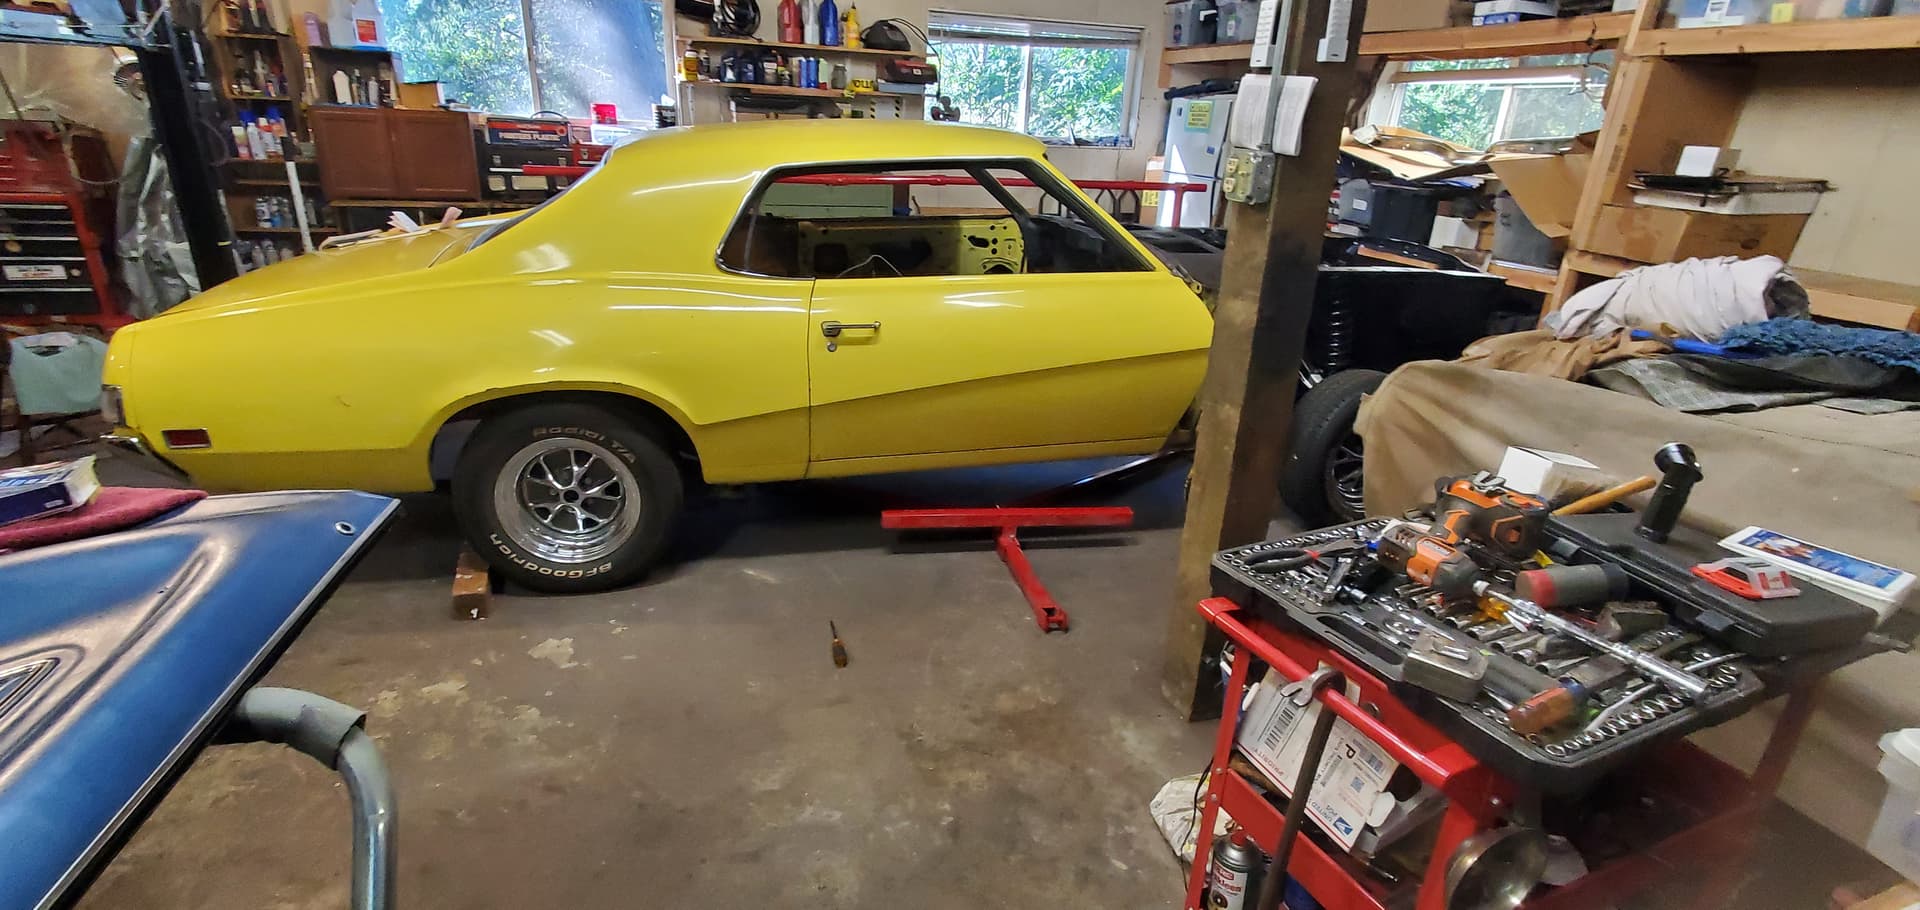
I finally found time to do some work on this beast. I have done some other small project to it that I have not recorded. I moved the car around in the shop so I could put it on it’s side to do underside work. I was given a Car Cradle by a guy local to me that had it hanging around his shop for 15 or more years and never used. So to day it did get used!
Now I can finish welding brackets on the underside and clean and paint the underside. As winter is on it’s way I need to get to work on this.
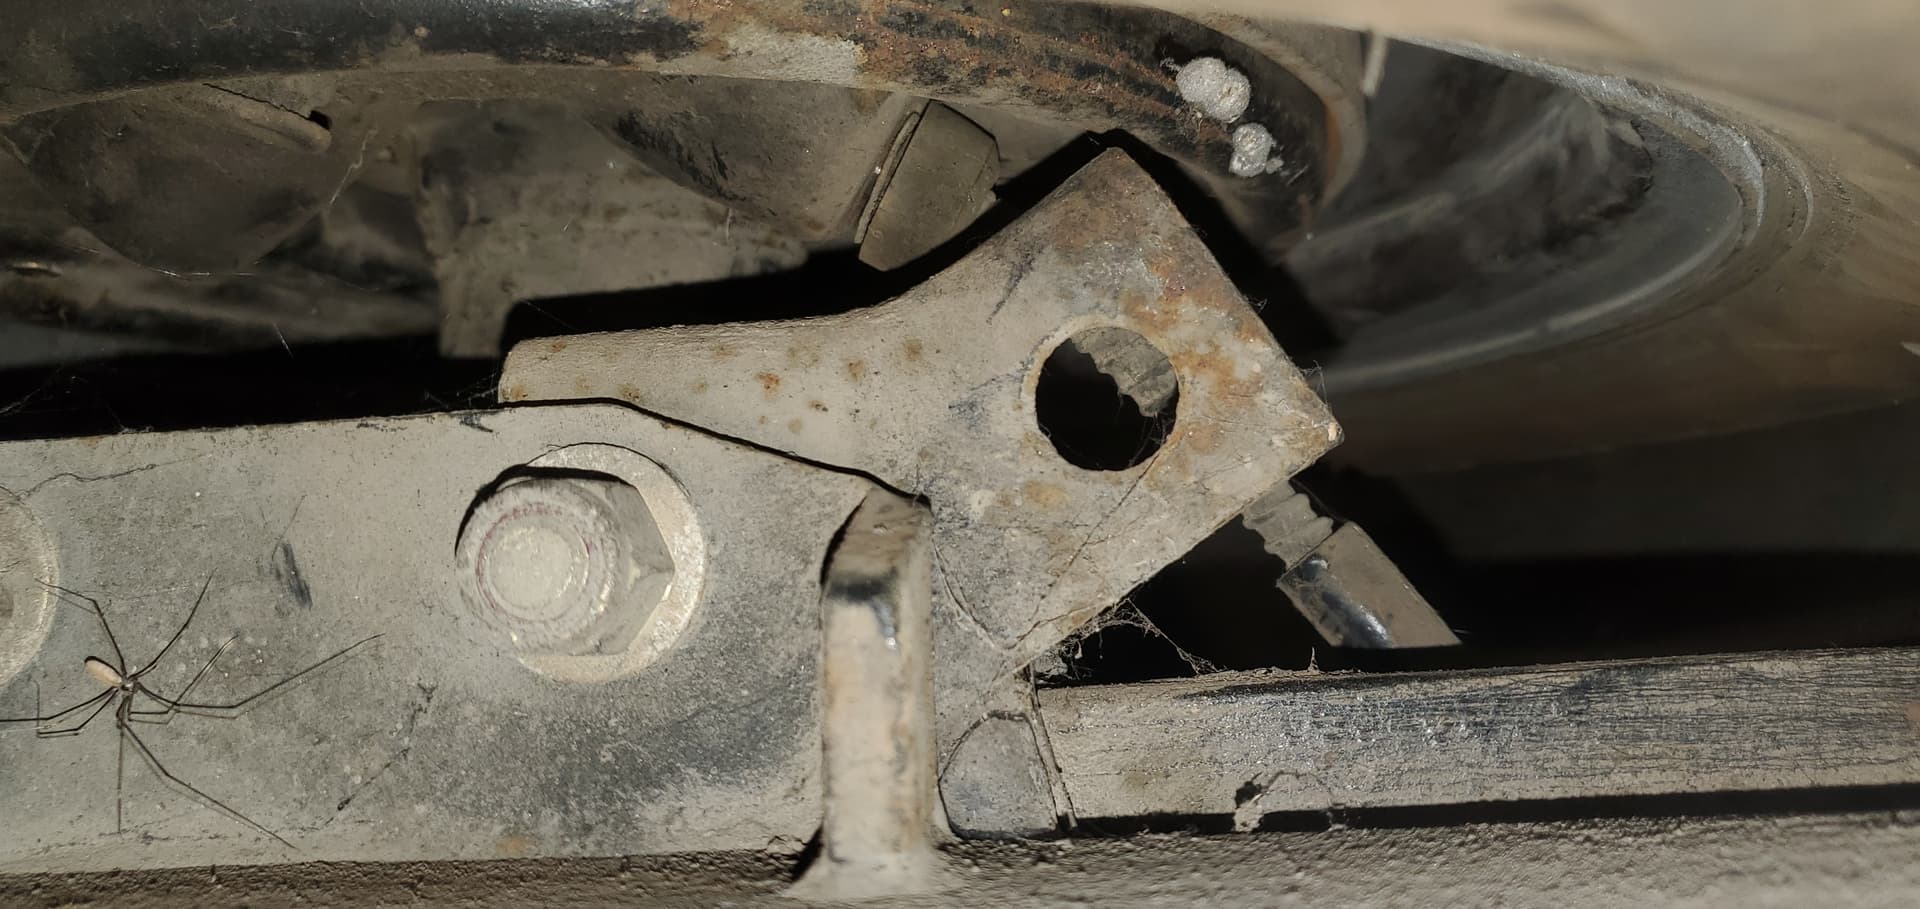
One fun thing I had not noticed before, this still has it’s ear sway bar brackets on it.