Kerry, could the engineering numbers still be read on the shocks you took off the car ?
I will look to see if I can find some pictures of them. Was there some specific information off of them you were looking for?
I was looking to see if they were C8WY parts with so few Cougars built with competition suspention.
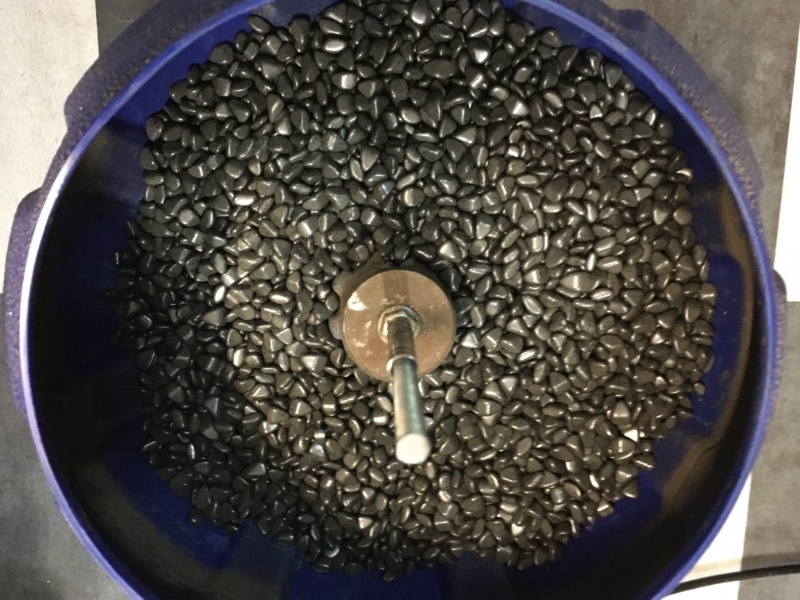
It has been a busy two weeks with the car and a small issue that cropped up that had to be resolved. Last weekend I decided to finish out the rear differential and brakes. I started out with the parking brakes, cleaning and painting the handle sleeve then blasting and tumbling the parking brake hardware. I use small stones in a vibrating tumbler with a little wd40.
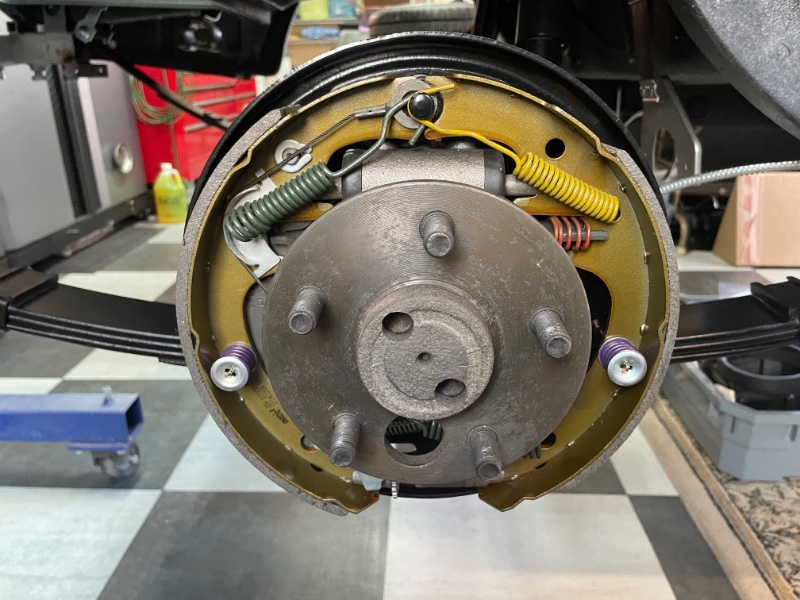
Then new shoes and hardware as well as freshly powder coated brake drums.

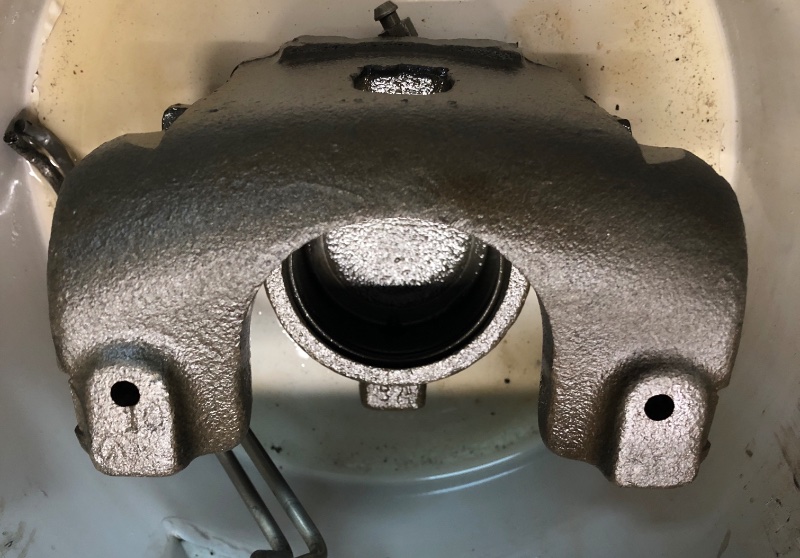
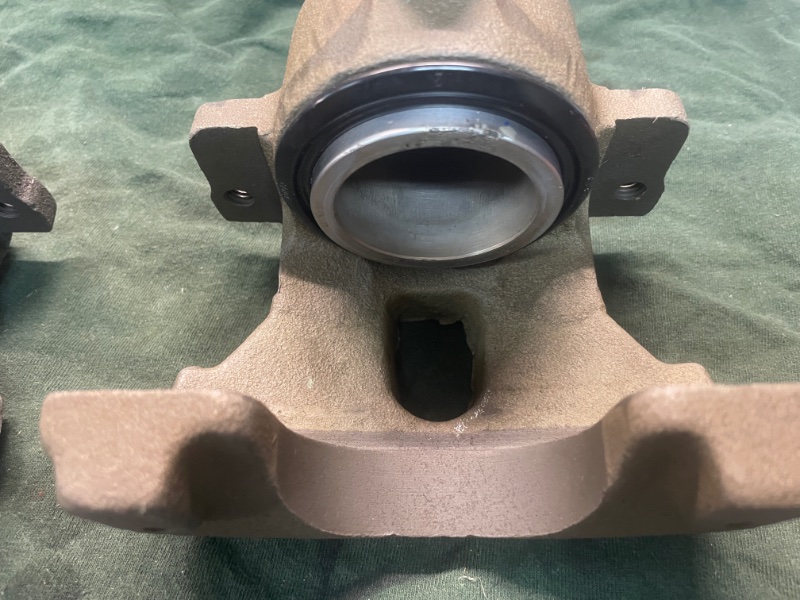
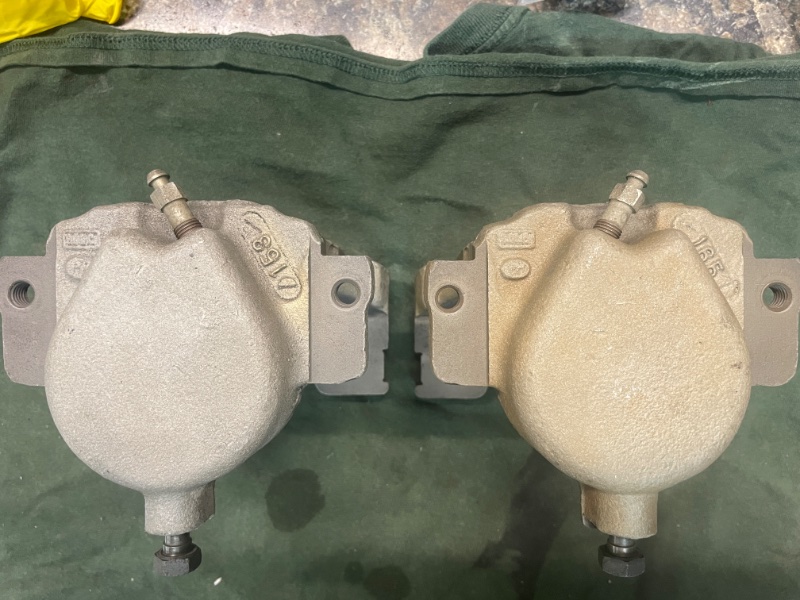
Moving to the front brakes, I started with the calipers. It appears that the original calipers were on the car so I opted for cleaning and rebuilding. After disassembling I soaked the housings overnight in evaporust and the came out looking new the next day. Now to freshen them up with new seals, pads and hardware.

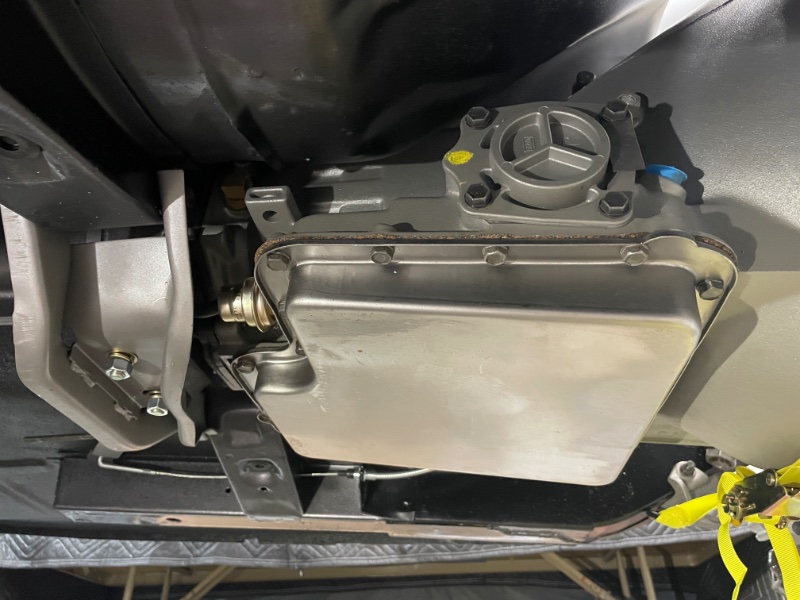
My goal today was to finish the undercarriage and get the car down off of the rotisserie to get some room in the garage. Speed bump ahead though! When I got out to the garage this morning I noticed a puddle of gear oil under the rear differential. Upon further inspection I found it was coming from the pinion seal.
The correct carrier was one of the first items I was able to locate for the car close to two years ago. It had been rebuilt a reputable builder and I had kept it in dry storage and oiled. Let’s say I felt pretty confident with the guy I picked it up from when I walked into his shop and saw a 68.5, 69, and 70 all CJ cars and a Boss 429.
So my plans changed for the day to fixing the leak. I removed the yoke and inspected it, no scarring or seal grooves. The seal appeared to be properly installed so then I popped the seal out to find the culprit. The seal tension spring must have popped off when the seal was installed.
I’ve had this happen before years ago and have a little trick a seasoned tech showed me years ago to prevent it. I added some photos to the previous differential assembly post to demonstrate.
A trip to NAPA for a new seal which they had in stock, then back together with the yoke. Differential is refilled and as of 9pm tonight no leaks!
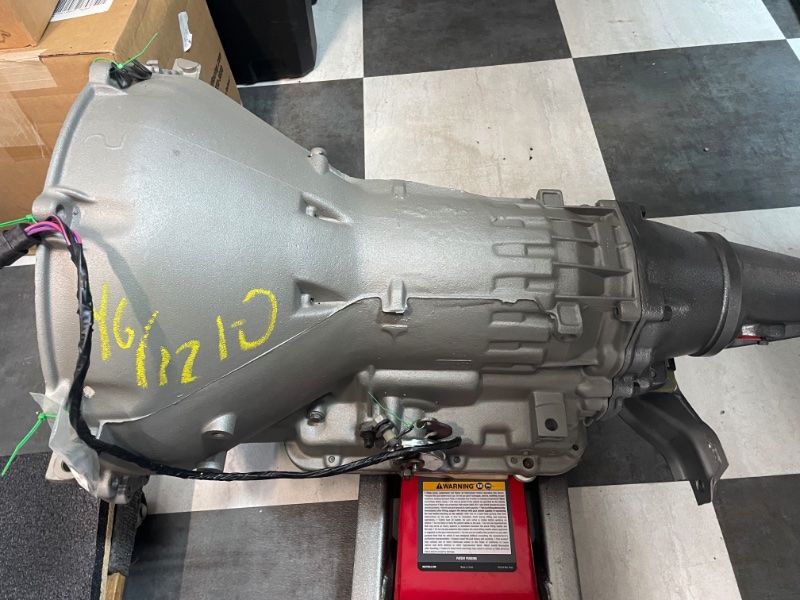
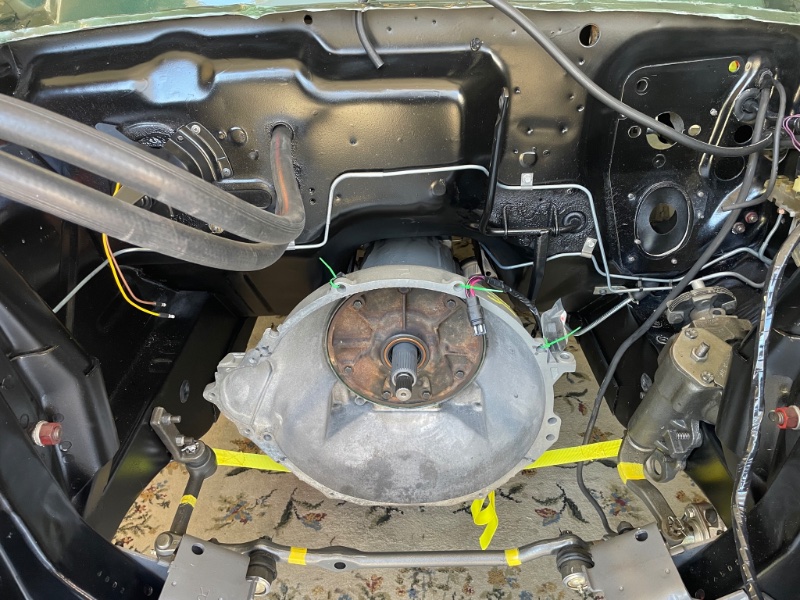
Time to get on schedule. Transmission installation came next. I duplicated the factory grease pencil markings prior to installing. I tried to create templates of all markings I found during disassembly to be replicated on assembly.


Plumbing the brake lines and hoses for the front brakes was next on the list. Pre-bent lines are the best thing since sliced bread.
25 years ago when I restomodded my first 68 I had to bend and flare all of the lines by hand.
I had previously rebuilt the the distribution block and proportioning valve using parts and the video from Don and WCCC. If you haven’t seen his videos they are worth the watch.
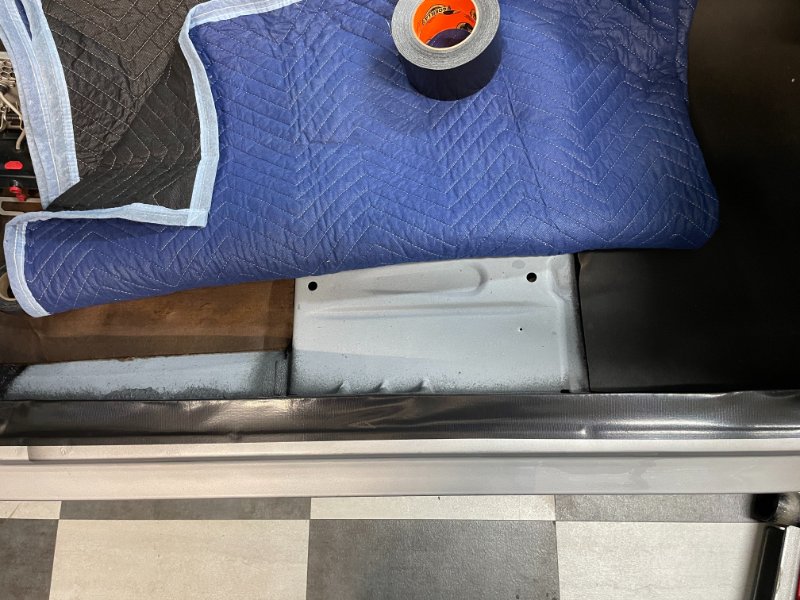
Firewall insulation came next. I reused the original insulation as it only had a few small blemishes. Royce, thanks for the installation tool tip from your build, it worked perfectly.
I rebuilt the heater box previously while the car was at the body shop so it was ready to install next after the insulation. The box got a fresh heater core, blower motor, seals, as well as correct hoses and clamps. A coat of lord furor seal and on the firewall around the blower motor and accelerator pedal to finish it off.
I have seen pictures with the blower motor shield installed before and after sealant was installed so I opted for after.

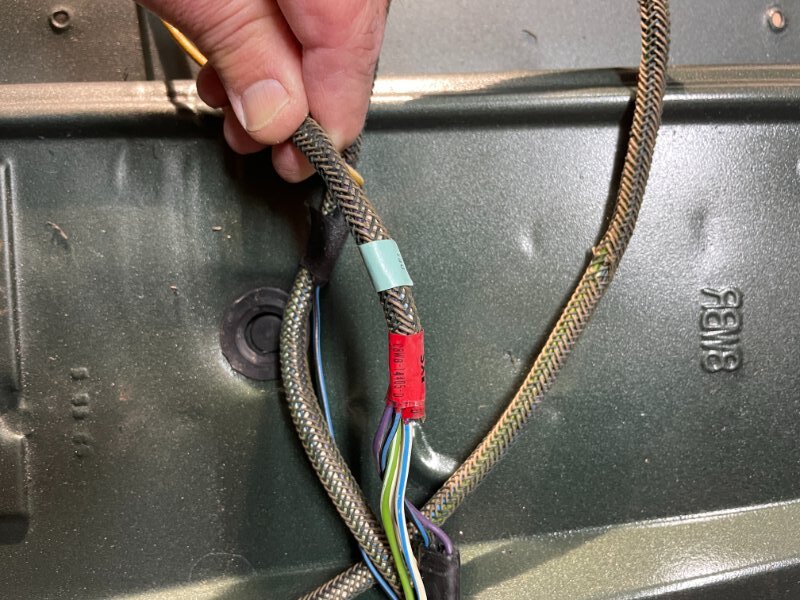
I also had previously restored the wiring harnesses so the engine harness came next. In restoring the harness I removed all original tape the cleaned all of the wires and connectors using hand cleaner. Next I ohm tested all of the wires individually from end to end to hopefully avoid any electrical gremlins. I used the Dead Nuts non-adhesive tape and cloth tape to restrap as original. I did the same for the dash however only ohm tested the rear as it was in great condition.
Once the engine harness was in the restored washer and headlight vacuum harnesses were installed. For all rubber parts I soak them in a mixture of 50/50 water and harbor freight water base parts cleaner. I found this buy accident years ago, it cleans and softens the rubber like new.
Once the harnesses were in the washer pump and fresh air vent finished the day.

Just noticed that your throttle pedal shaft is for a small block. Big block pedal shafts have the kick down tab, welded about 2 inches to the left. Might want to check that before the engine goes in.
The throttle assembly should be much lighter in color since it is phosphate / oil finish. The rear brake drums ought to be lighter too, they were just cast iron other than a few places touched by machine tools. The throttle assembly, front brake lines, and heater all were installed prior to the last coat of sound deadener being sprayed on the firewall / foot well areas.
The face of the brake drums got blacked out if the car had the styled steel wheel option. A worker used a gallon can of semi gloss black paint and a two inch brush to accomplish this task. It was sloppy and messy.
Thank you for the information Royce. I find it funny how we can be so particular and how we do some of this stuff to replicate something that was done so sloppily at the factory. Kind of like your thoughts when you sprayed the sealant on your car we’ve got all this beautiful work and then we slop it up with the spray sealant.
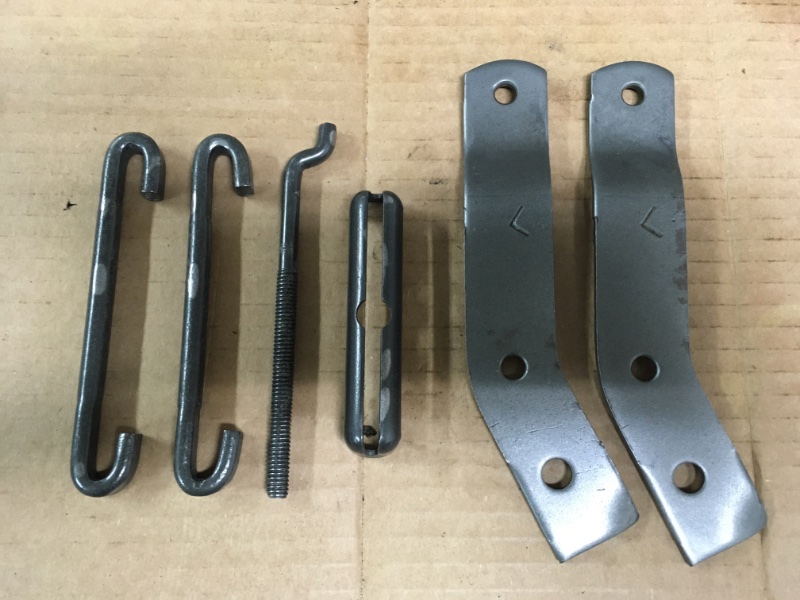
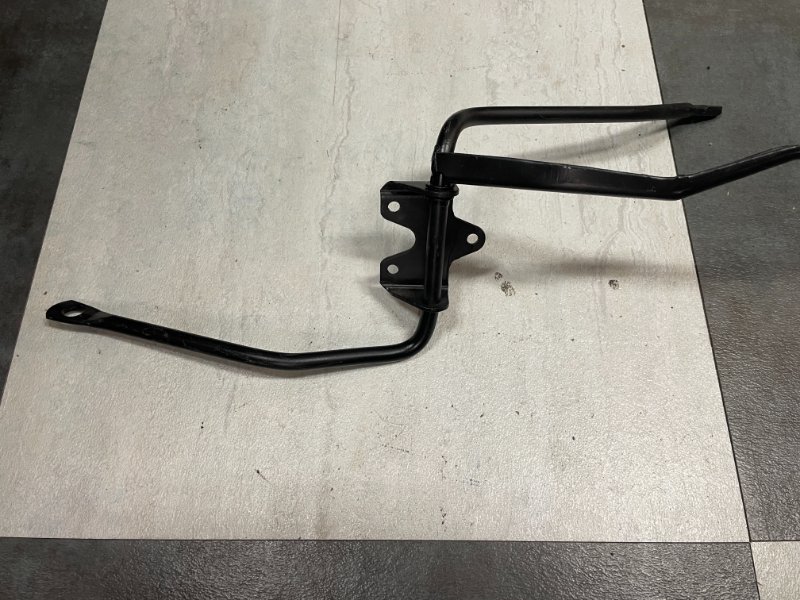
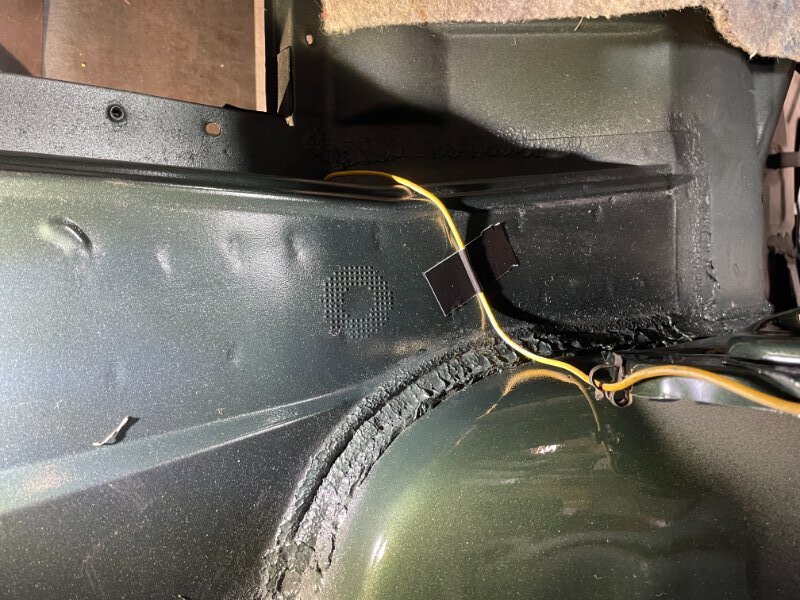
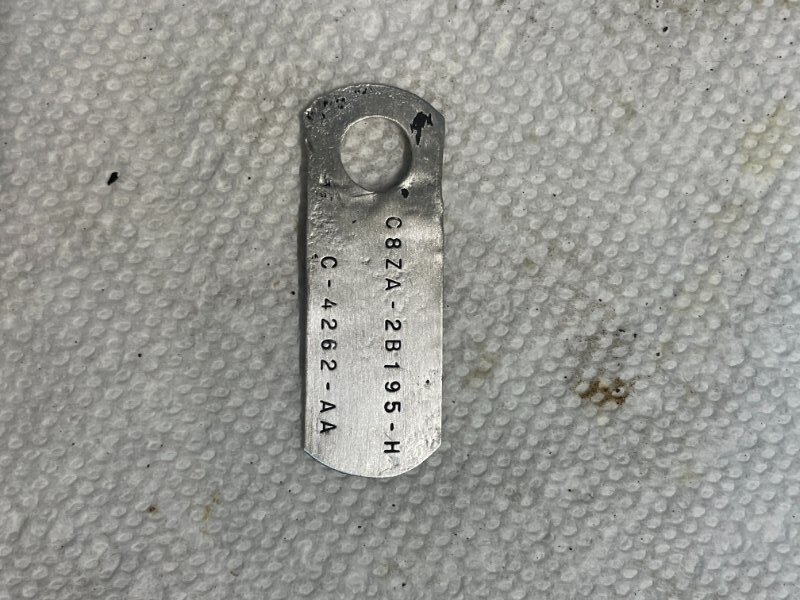
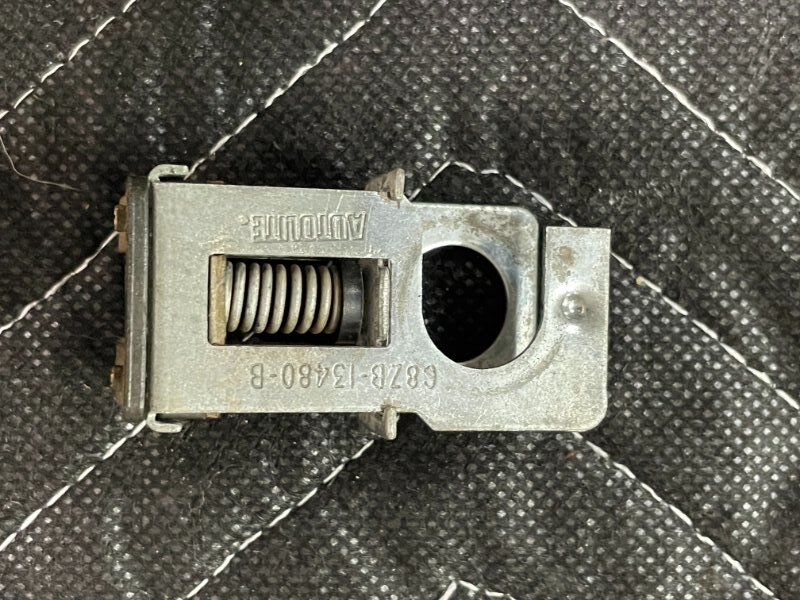
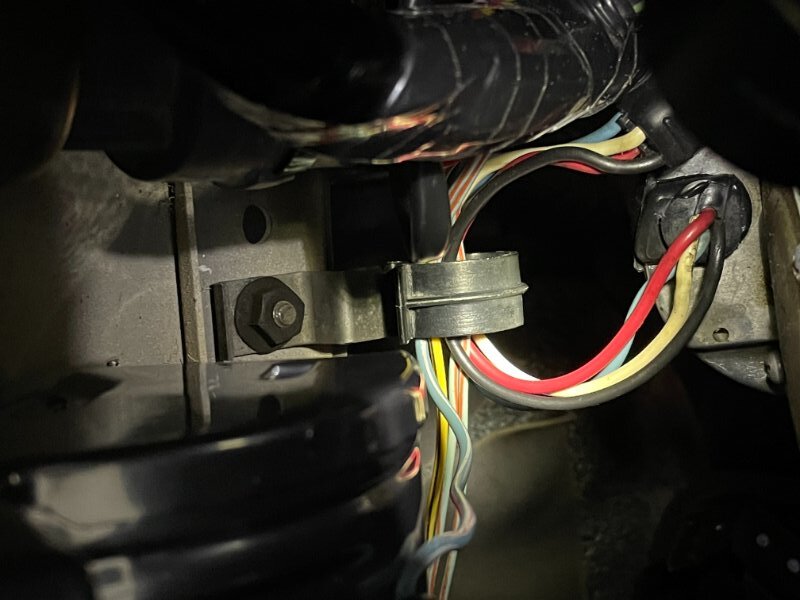
On another note I feel like I did a pretty good job labeling everything as it came off of the car except for a few odds and ends. Can anyone tell me where this clip goes? It has been cleaned and ready to install however it was in an unlabeled bag and I can’t find a picture anywhere of where it came off the car. It is possible it may have come from another project in the past. I appreciate your help in advance.

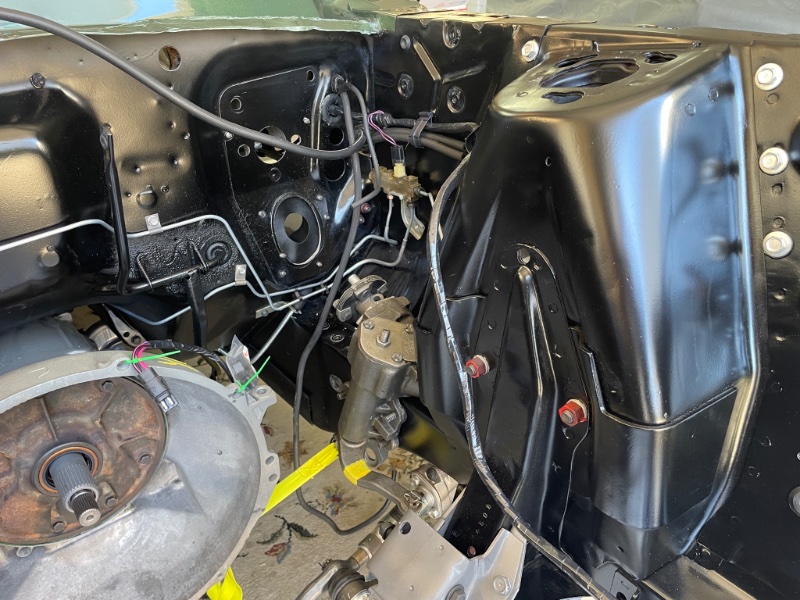
Spent the afternoon getting the dash and rear wiring plumbed on the car. Nothing terribly exciting here, being a standard body car the wiring is extremely simple.


Afterwards I installed the power brake booster. The car still had the original brake booster when I purchased it so I opted to have it rebuilt. I used Power Brake Booster Exchange in Lynnwood, Wa and they did an amazing job, great price and fast turn around. I highly recommend them. The car also still had the original brake light switch, it bench tested fine so I re-used it.


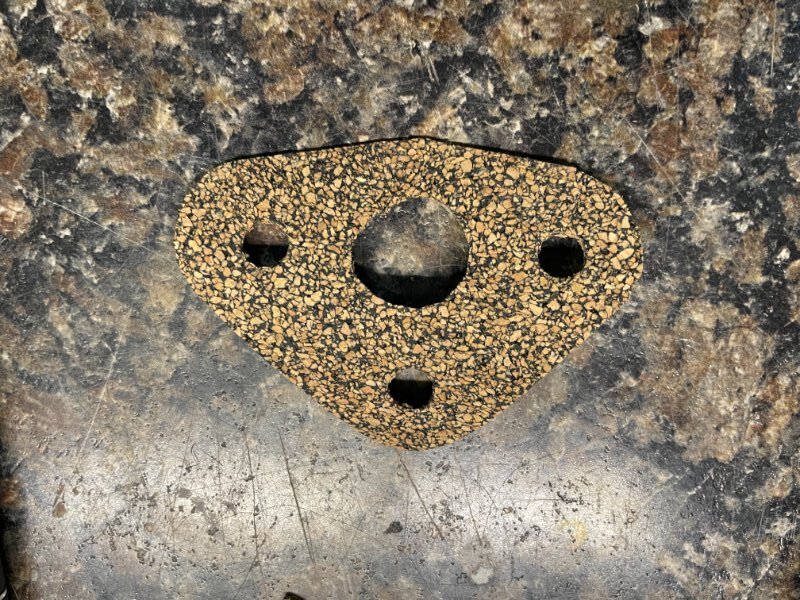
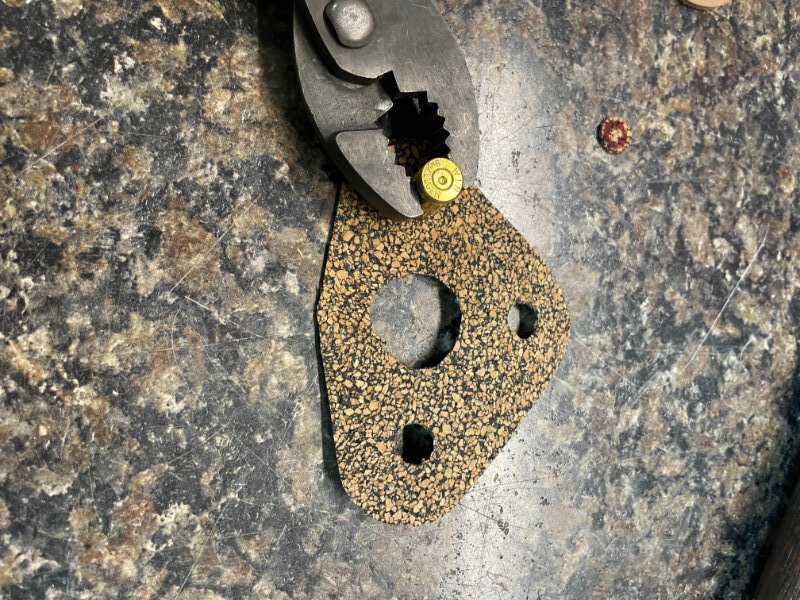
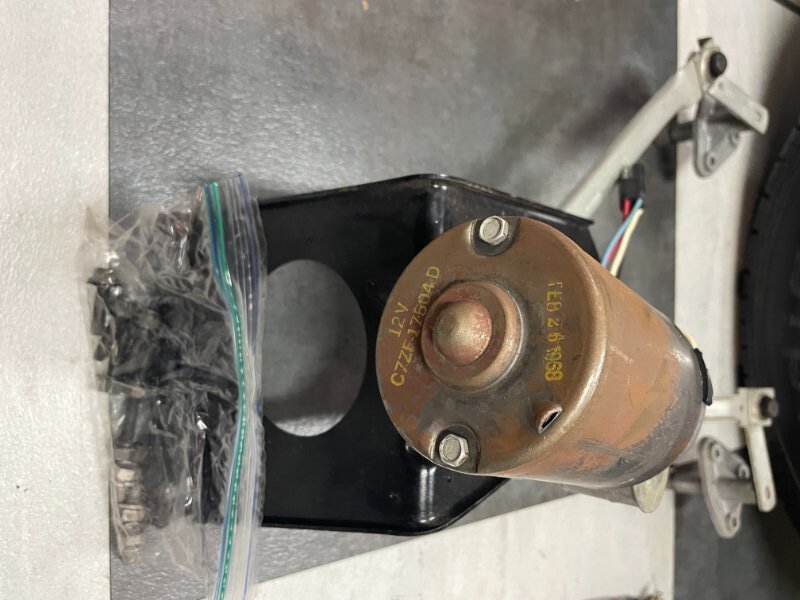
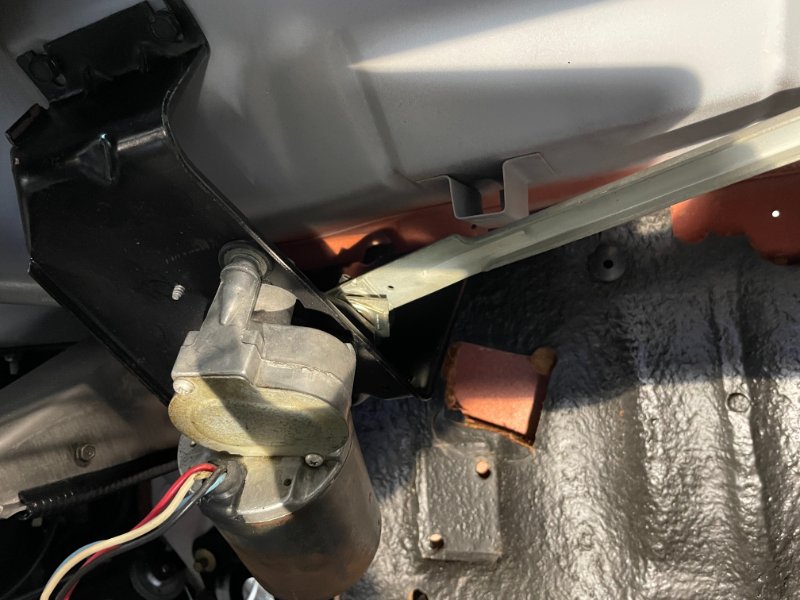
Wiper motor was next on the list. I bench tested the original which worked perfect. The housing had a slight amount of rust haze but still had the part and date stamp so i opted to leave it as it was to preserve the stamping. New gaskets for the wiper to cowl were needed so I opted to make them myself from bulk gasket material. The originals were cork gasket material.

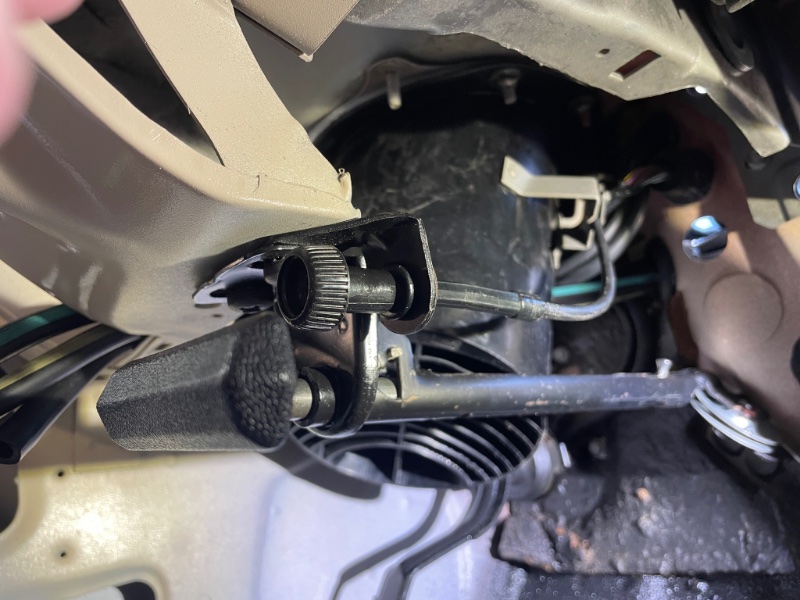
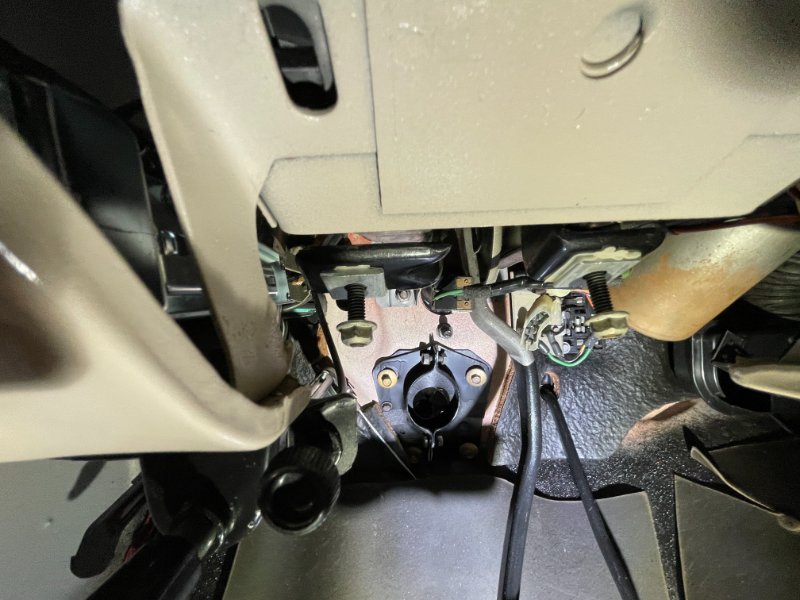
Figured out the unknown bracket this evening. It holds the radio and cigarette lighter wiring behind the ashtray. I found a picture where I had all of the dash pieces laid out in order as they were removed. I guess this is to prevent the wires from getting pinched by the ashtray.
I like the bullet casing for making bolt holes. Never thought of thet.