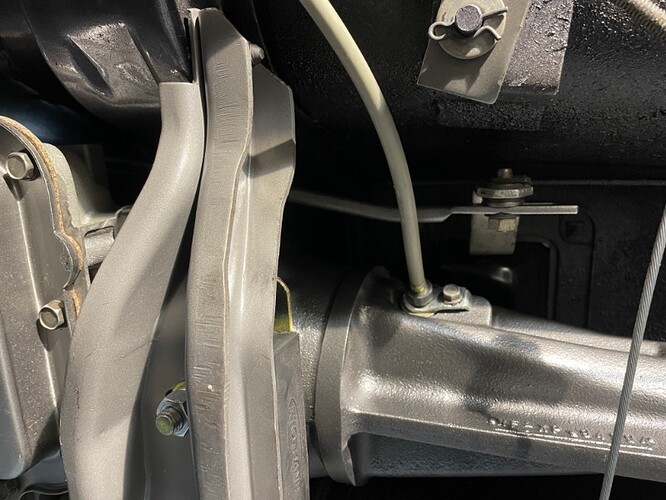
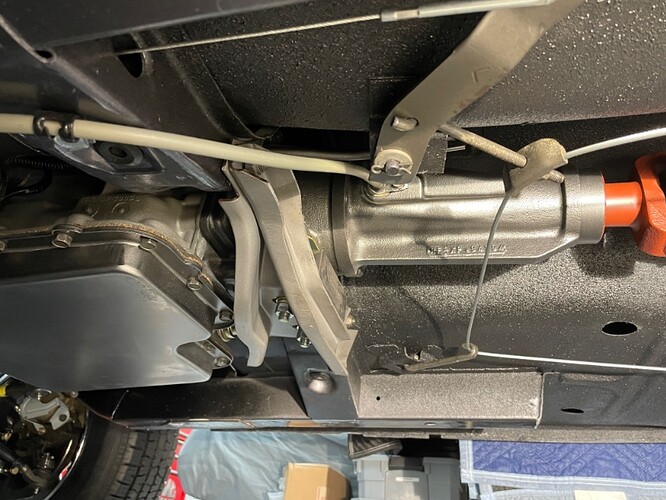
Yes I realized when I rotated it to hook up the parking brake cable I forgot to rotate it back 180, great catch PacificaXR7GT and thank you for the compliment . Easy fix took about two minutes this morning. Thanks for the heads up.
I would leave the steering column out until the dash is complete and the carpet installed. It and the steering wheel are just in the way.
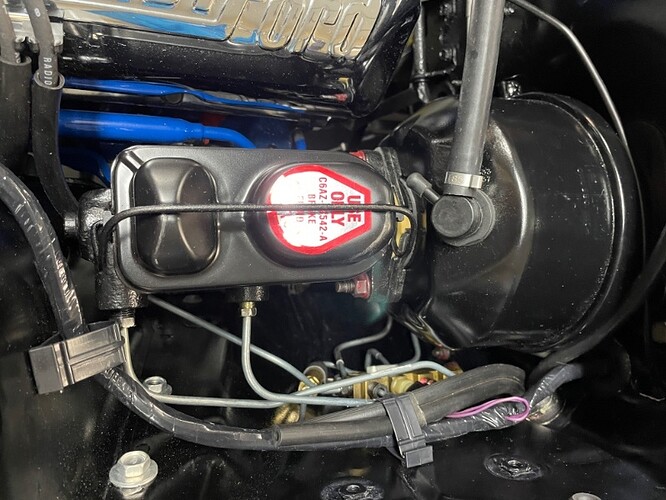
Saturdays goal was to try and complete the small items under the car. I started out with vacuum bleeding the brakes. I also wanted to do a pressure bleed as well to test leaks so I convinced my bride to assist (she refused a photo op). Unfortunately we had a couple of geysers, one on the left frame rail and one at the top rear of the distribution valve which just required a little additional torque.
I opted to use carbon steel lines instead of stainless because of this. When my son and I restored our 84 GT350 there was a leak at practically every fitting, the stainless seems to require much higher torque as it is not nearly as flexible as the carbon steel.
Leaks fixed and a couple of clean bleeds at each wheel and the brakes are now complete. Fluid was topped off and the correct decal applied.
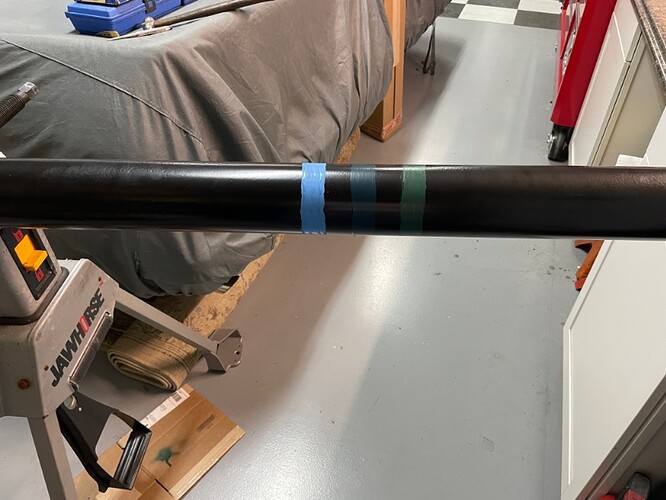
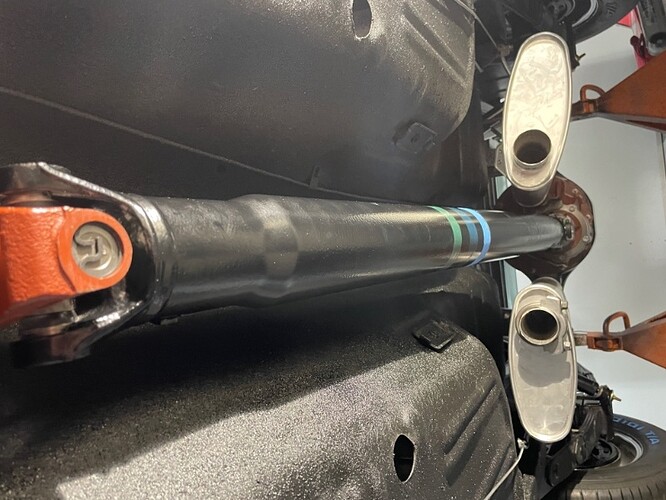
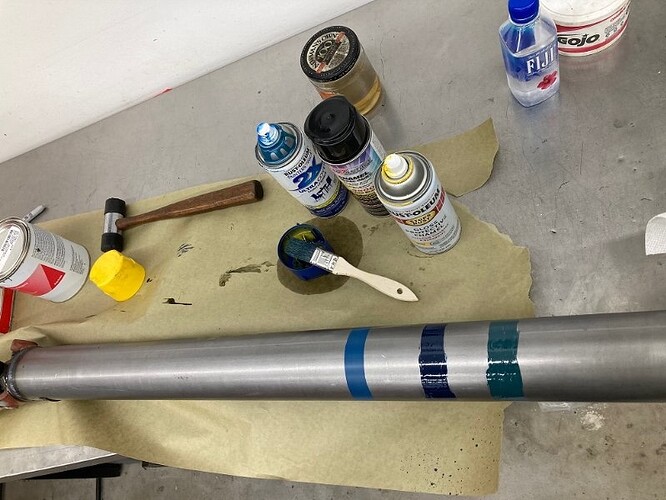
Next up was the driveshaft. The original shaft was pretty ugly from years of the car sitting but it was the original. I had the driveshaft blasted then powdercoated satin black as I couldn’t find a color close to the raw steel from the factory. Using the photos from Royce’s build I duplicated the factory color stripes. New u-joints and we are ready too install.
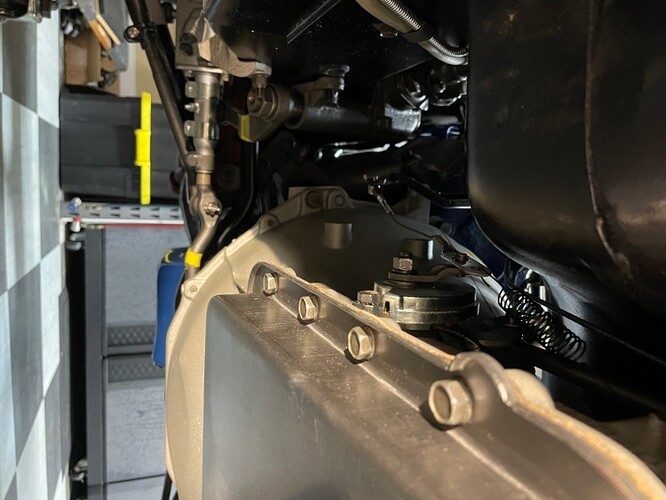
Once the driveshaft was in the shift linkage and kickdown linkage were installed. I adjusted the shift linkage at the shifter with the transmission and shifter in the neutral position.
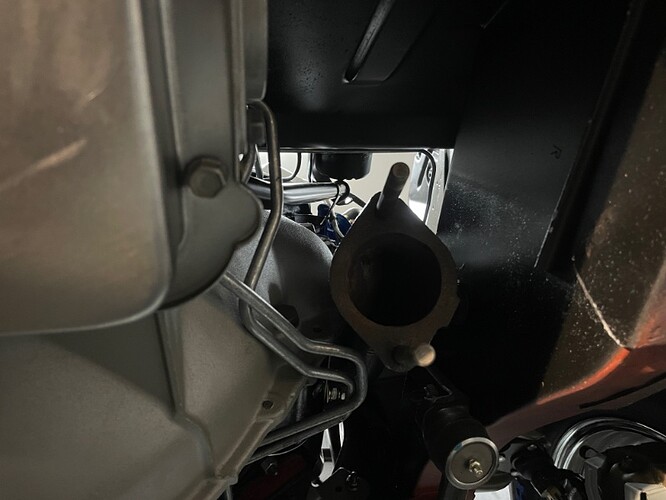
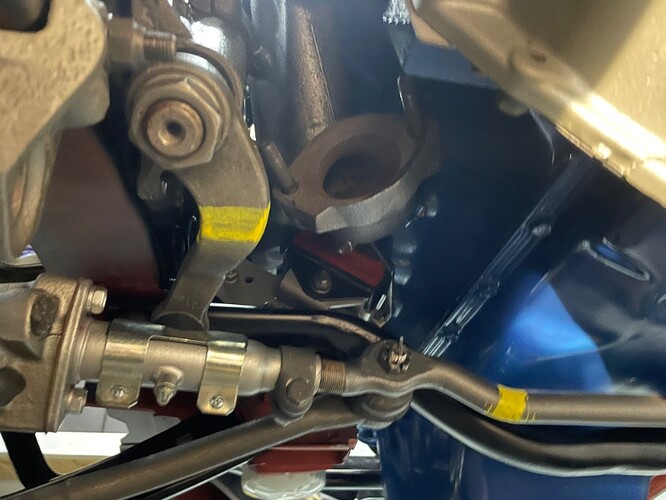
The exhaust manifolds were originally installed with no studs to avoid scratching any of the engine compartment during installation. I tapped the stud holes to clean the threads then installed new studs. I went to pull the parts to install the h-pipe and couldn’t find my second donut gasket so I’ll have to make a trip to the parts house later.
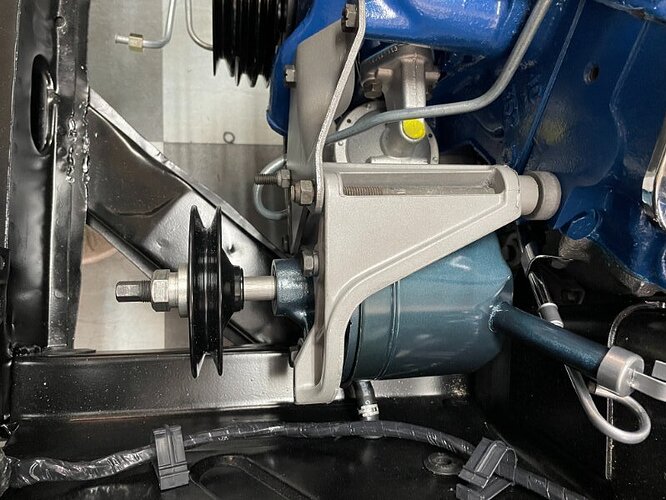
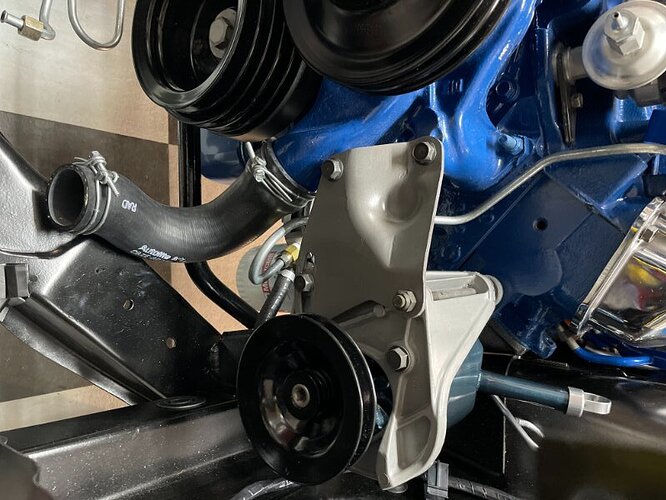
Time to move up top to work on the smog system and engine accessories. I started with the power steering pump installation. The pump and control valve for the steering were rebuilt by Chockostang, if you haven’t used him and need power steering items done give him a call. Turn around time is great, prices are extremely reasonable, and the quality is excellent!
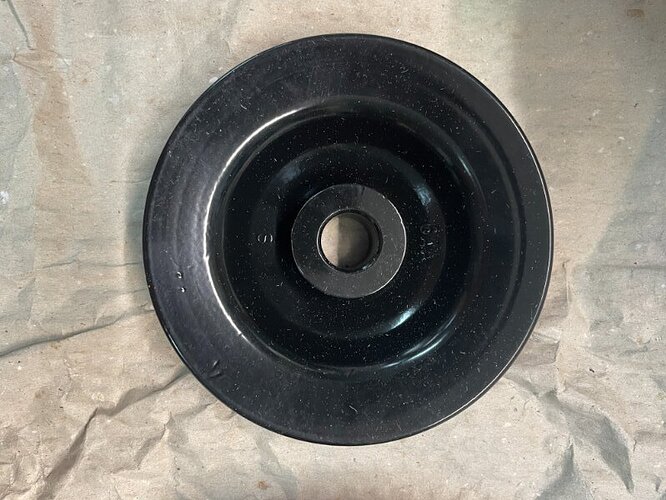
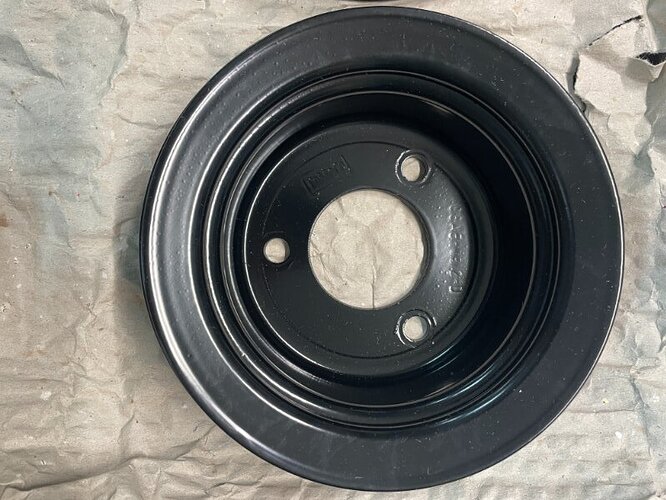
All of the pulleys and brackets for the engine were powdercoated since I wanted the finish to last a lifetime. I opted to install the pulley once the pump was mounted up to verify pulley alignment.
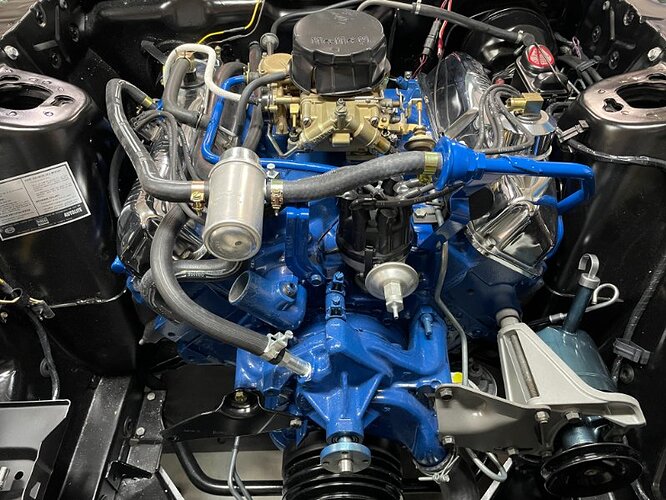
Reproduction smog hoses, valve, bracket and hardware were installed next.
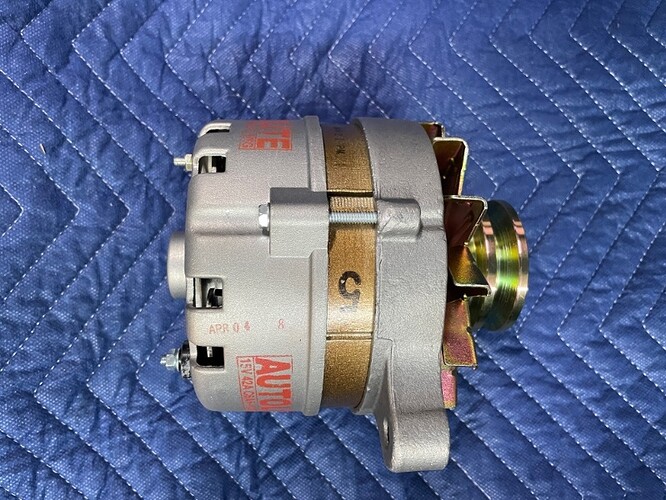
The alternator and smog pump were next on the list. The alternator is a rebuilt reproduction piece withe the double groove pulley. Interestingly enough my 84 SVO equipped GT350 uses the same part number C5AF-10A352-J pulley on the alternator as the CJ cars do however the face is concave instead of flat. One of many items that I have found Ford still used in 84.
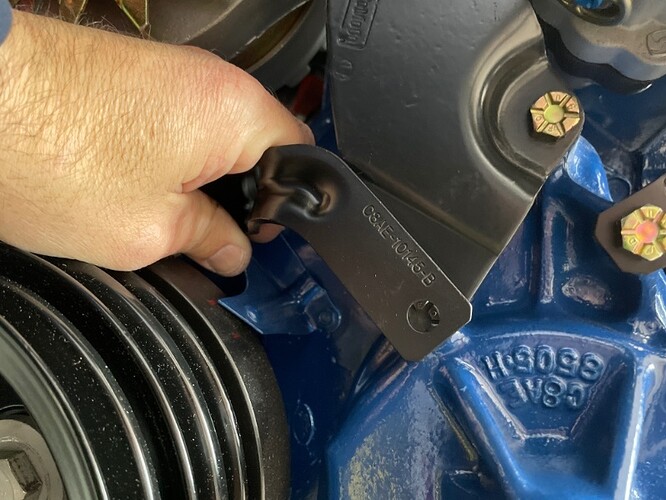
Upper alternator bracket was installed along with new hardware then came speedbump #2 for the day, my lower bracket is for a non-smog car. So if anyone has a nice smog alternator lower bracket I have a nice non-smog one already powdercoated I will swap or just purchase yours.
Moving on the smog pump, I located a rebuilt unit along with pulley and brackets a while back and installed it.
Aren’t those driveshaft codes for a 427? I think a 428 is different. Royce will know.
CJ C6 → Light Blue, Dark Blue, Green
I used Jeff’s article on paint marks - he defines the colors. Maybe I’m a bit colorblind or your color choices didn’t match his.
I have a car (GTE) built within days of yours and some of the other codes are different.
The driveshaft was beefed up about March 1968 and even though it was physically different it still wore the same color codes. Kerry’s photos show the later style that still used the same end pieces but swells from 3" diameter at each end to 4" diameter in the middle. My pictures show the earlier style that is 3" diameter from one end to the other.
Probably because it interchanged with the earlier parts. It’s something we documented long before the internet existed. The actual paint colors are open to discussion because none of us has any idea what the light blue, dark blue, or green looked like originally.
The GT-E drive shaft is not unique to its application - every 390, 427 or 428CJ used an identical driveshaft depending on transmission (manual or automatic).
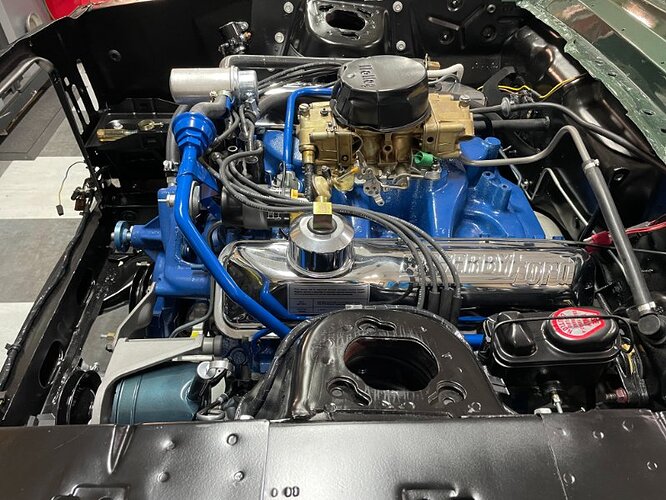
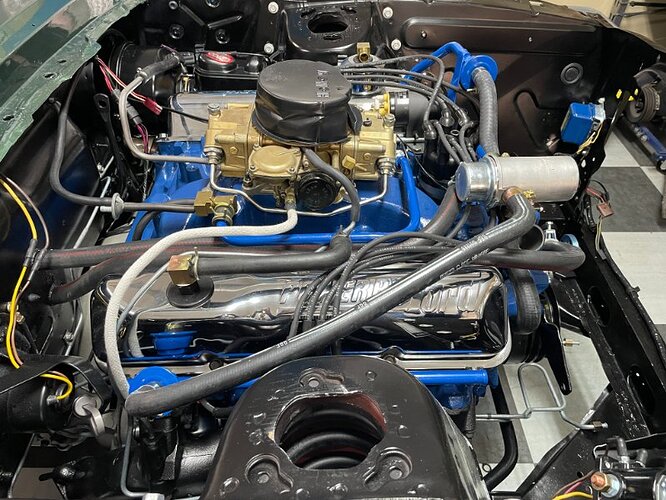
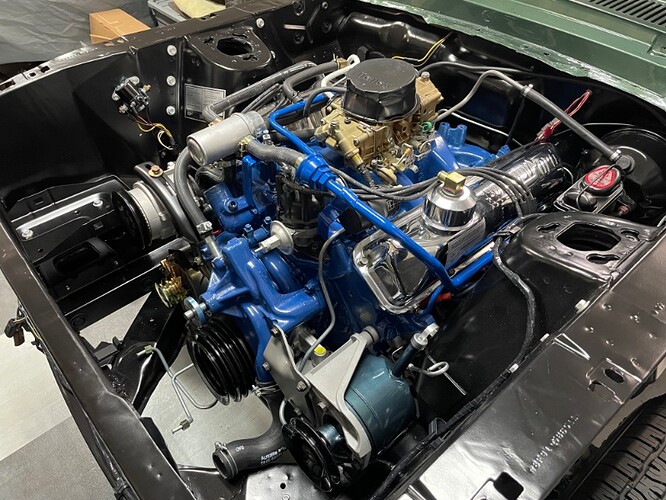
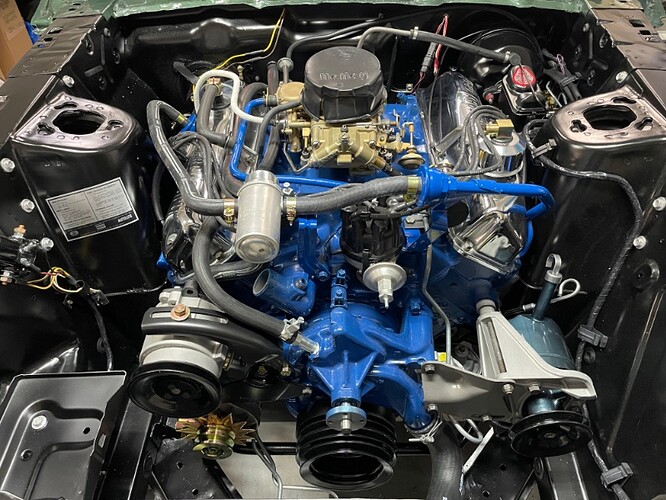
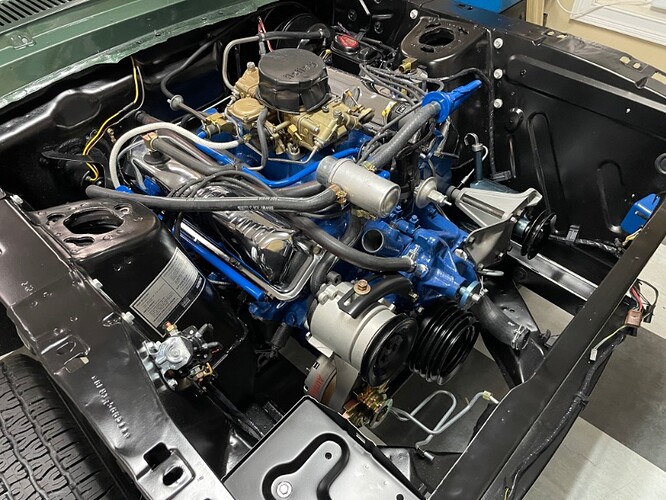
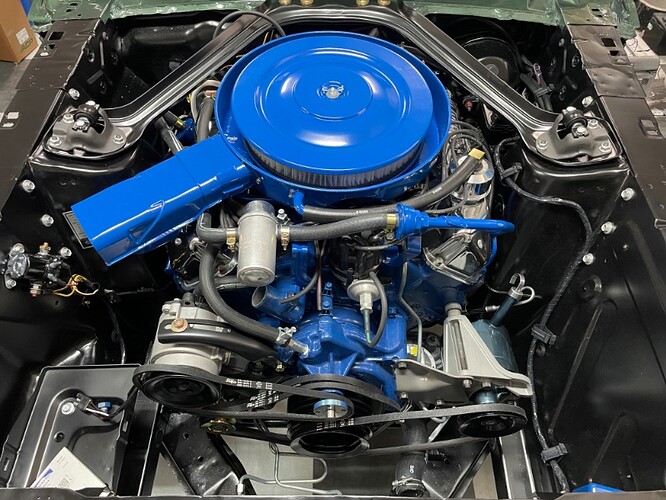
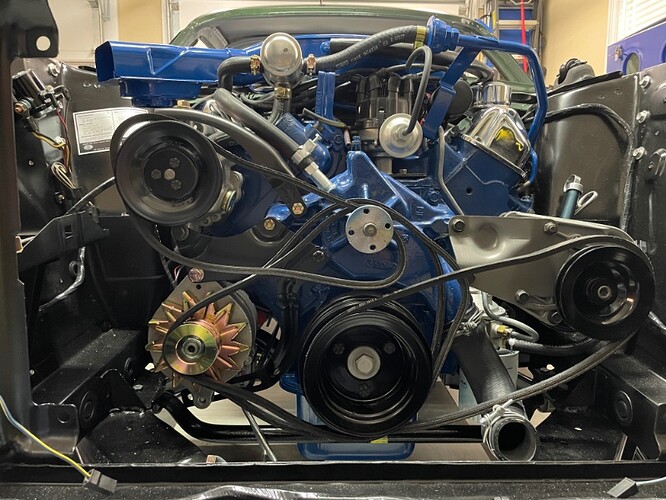
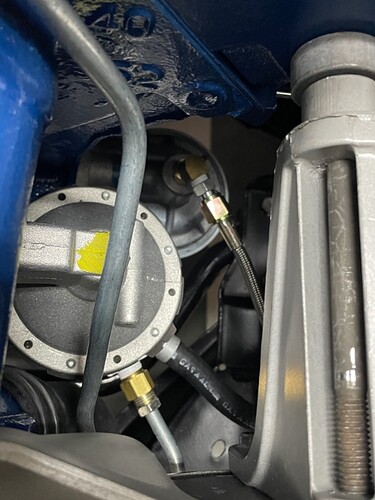
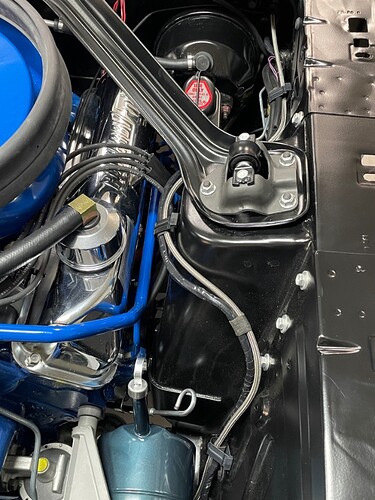
Made a little bit of progress over the weekend while I wait for the new water pump pulley to return from powder coating. The smog pump and alternator are now in place and attached with the correct brackets. The throttle linkage has been adjusted and installed. The remaining vacuum lines have been routed to the ram air flapper and temperature/ vacuum switch (I’m leaving the switch out for now to bleed the cooling system). Thought I would go ahead and install the breather to get a preview of what’s to come.
The pulley should be back this week and I’ll finish the front of the engine along with the radiator, fan and shroud.
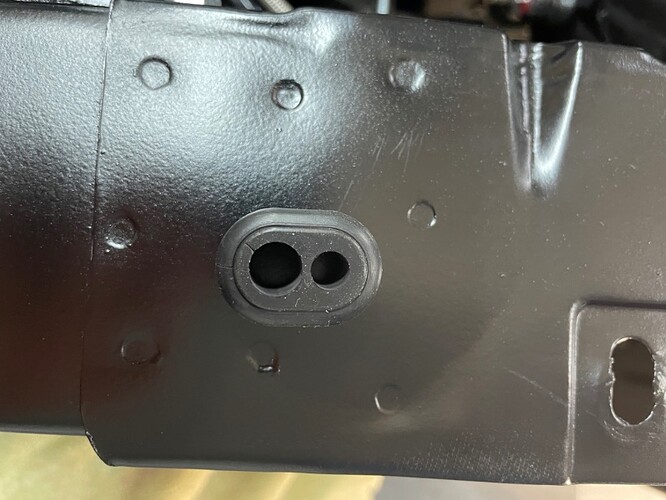
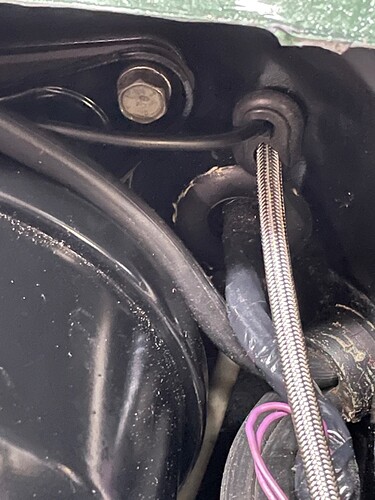
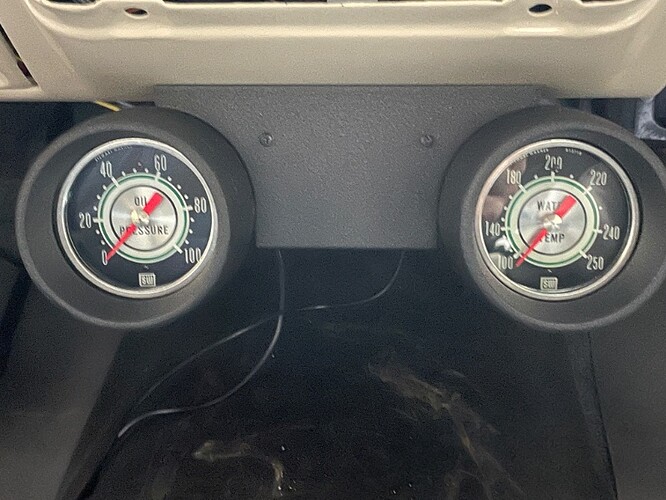
The Shelby gauge pod with mechanical water temperature and oil pressure gauges will follow. I have been trying to determine the best option for routing through the firewall without cutting. I finally settled on removing the two washer hoses where they pass through the firewall, as I am confident I’ll never use that function. I sourced a new grommet which is just the right size for the oil and water hoses. Just waiting for the remaining pieces to arrive and I’ll detail the installation.
The Shelby gauge pod was the project of the day today. The pod itself appears to be a modified rally pac that is inverted and has a dash bracket to replace the steering column strap.
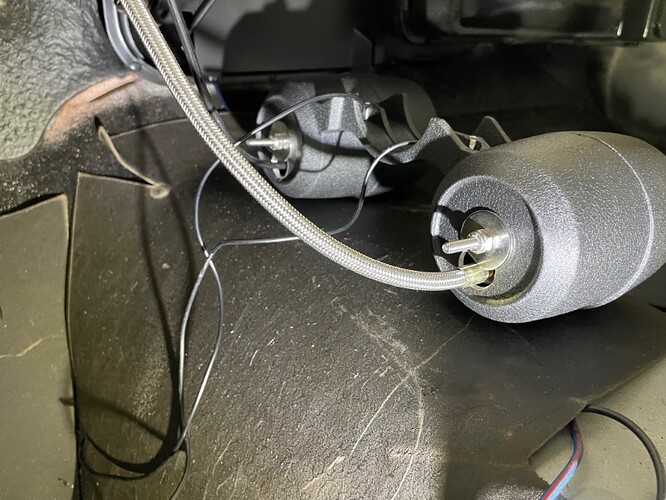
The unit does require some modifications to use for mechanical gauges. The pods have small wire openings in the back top if you are using electrical gauges. I had to drill two holes in the back of the pods, a 3/4” hole for the sending unit and oil line, then a 1/4” hole for the gauge retaining bolt.
To avoid cutting any new holes in the firewall I removed the two washer hoses and grommet and routed the lines through the firewall there. Replace grommets are available so I sourced a new one and slipped it over the lines then into the firewall.
The pod attaching bracket mounts using the radio support bracket hole, so no drilling required. The pod points upward for a good line of site to the gauges. Once mounted it has a finish cover that screws to the front.
I routed the water line down the valve cover with the gauge/ coil wiring. The oil feed line is braided steel and routed along the main wiring harness and secured in the harness clips.
Very cool period modification -
- Phillip
I don’t know how you get any work done with how beautiful that motor is to look at!
Thanks for the compliments Phillip and Jason. Yes, it is a bit of a distraction but also a motivator to do everything that remains with the same patience and quality. Lots more to go!
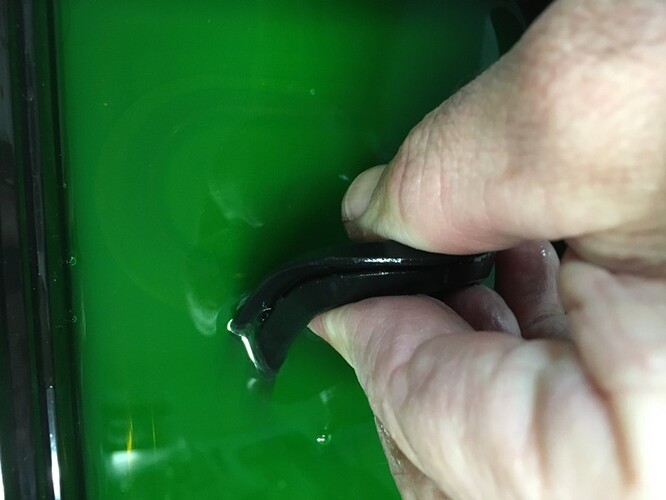
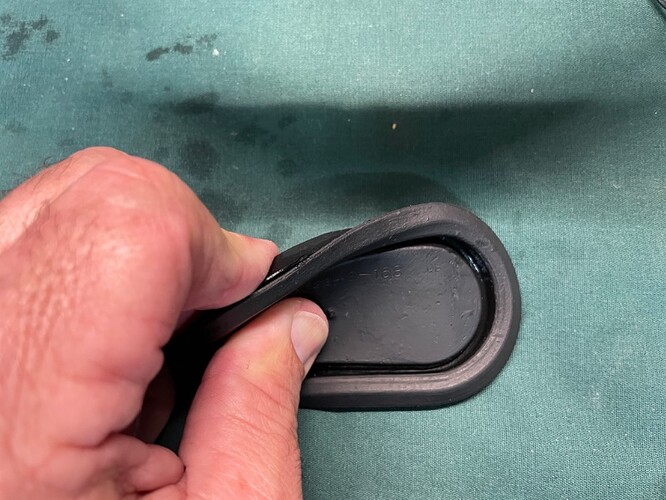
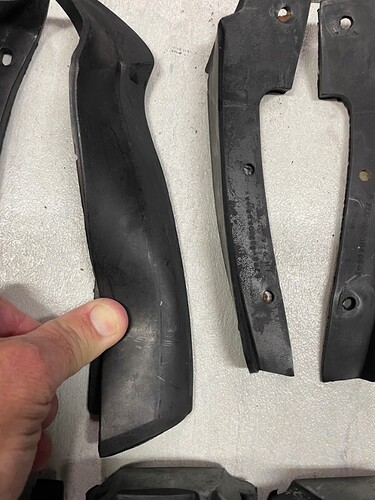
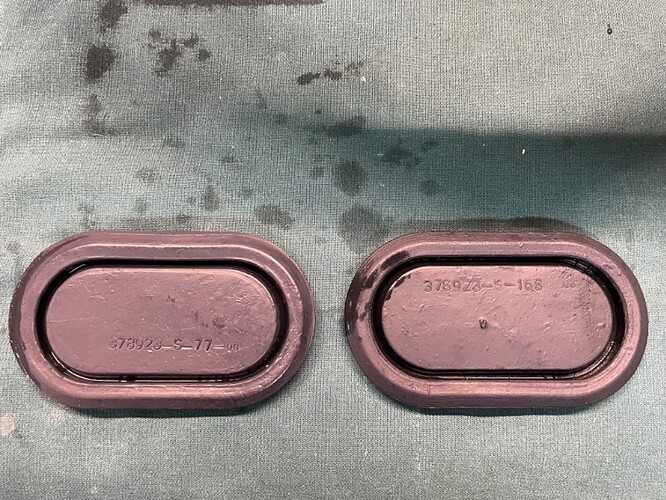
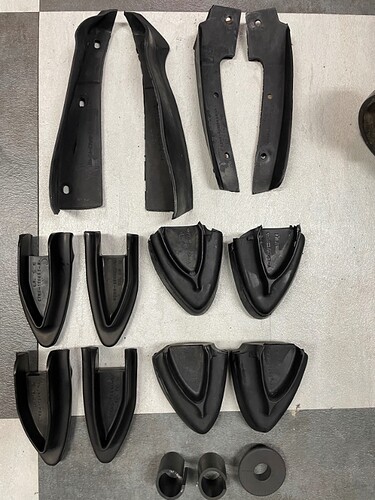
The rubber parts (bumper fillers, grommets, hoses) on this car were hard as a piece of granite from neglect over the years. Five years ago when my son and I were restoring his Mustang I dropped some of the rubber parts in the parts washer for cleaning but forgot about them for a while. About thirty days or so later when I went back to the task of cleaning the parts were soft as new rubber and wiped clean with a cloth.
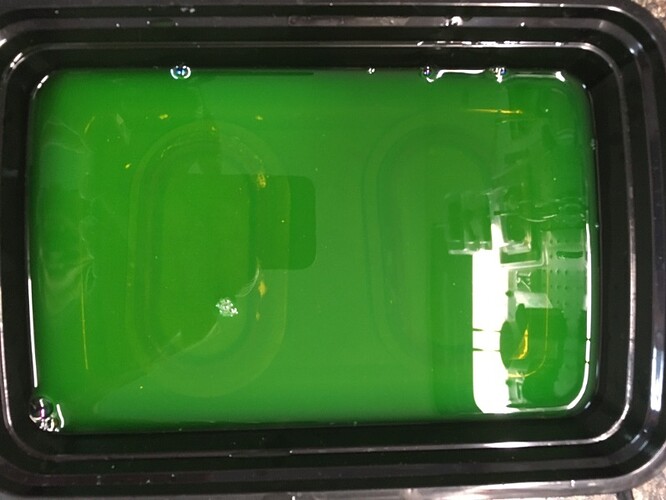
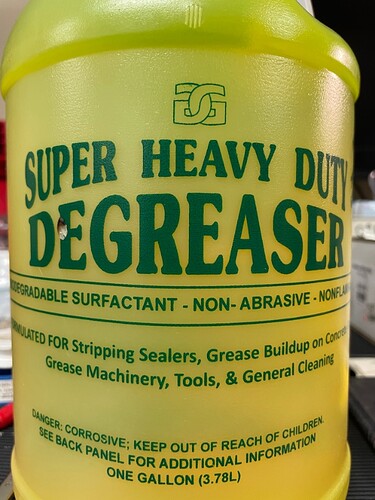
Since that time I have used that product for about a thirty day soaked and returned similar results. The product that I used is Harbor Freights water base parts cleaner. I mix the solution 50/50 with water in a small plastic container, throw the parts in and forget about them for a time.
Below are some pictures of the reconditioned parts and the solution. As you can see they are now soft and pliable whereas before they were so hard I thought they would crack. One note of caution though if you soak the color coded headlight vacuum lines the striping will separate from the hose, a shorter soak time seems to prevent that from reoccurring.
That’s a great tip. Thanks for posting.
