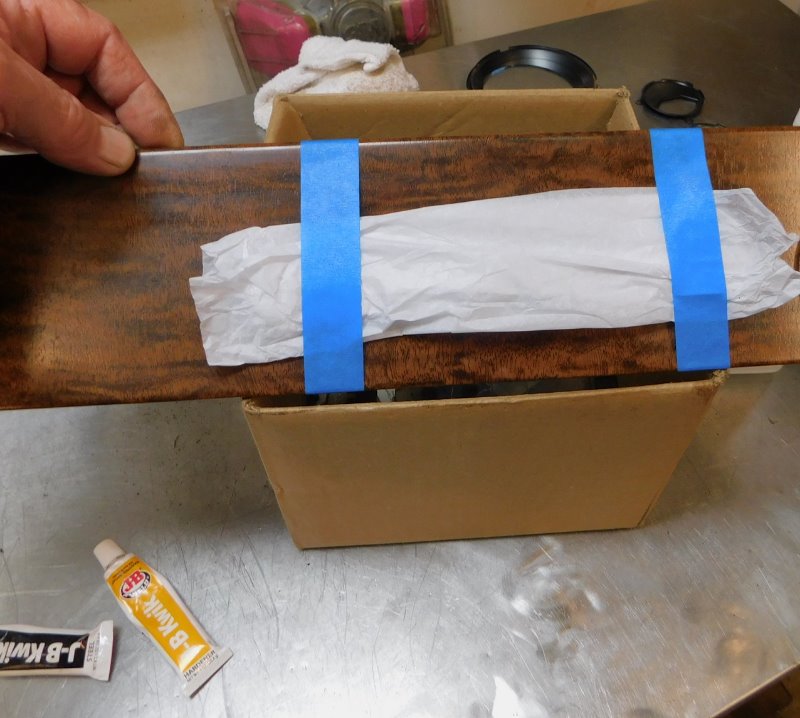
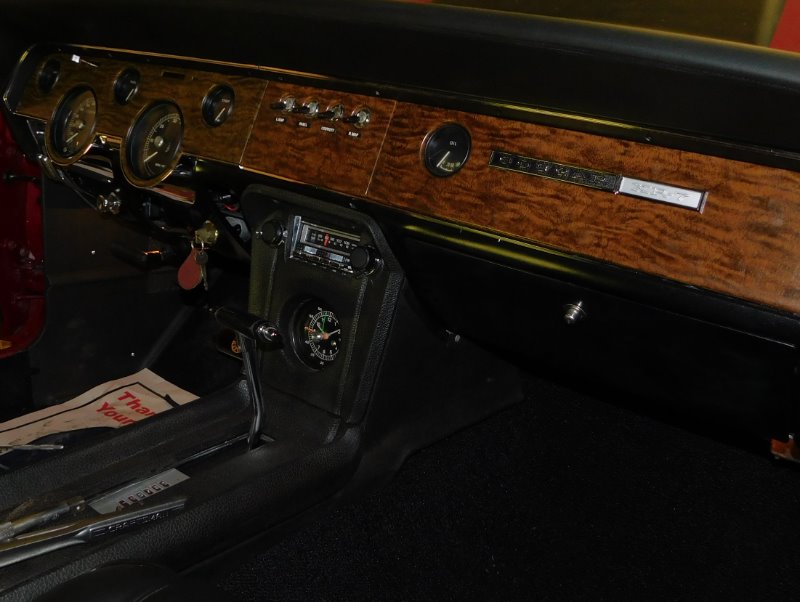
I bought the reproduction Cougar XR-7 plaque from WCCC. To install it I first taped it in place, with tissue paper between the plastic chrome and the tape. Then a little button of JB Weld went on each of the pins on the back side.

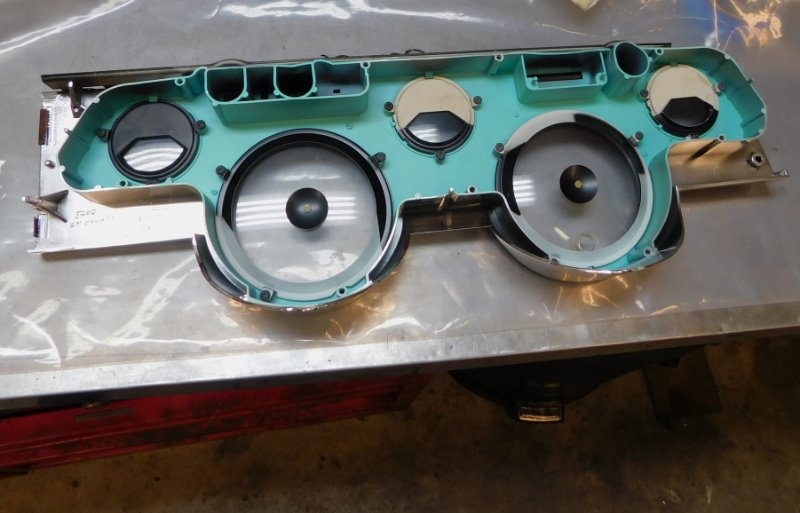
The trim rings dried overnight. There are three lenses that need to be attached. The Hi Beam lens attaches to the plastic dash piece. The left and right green lenses for the turn signals attach to the wood grain overlay. All those lenses are cleaned with alcohol and installed before the woodgrain is reinstalled. The trim rings around each instrument have little tabs that fold over and secure the woodgrain to the plastic. It’s simple but tedious work.

Next all the gauge lenses and their masks must be cleaned and reinstalled. The temp gauge mask is all black on the back side.
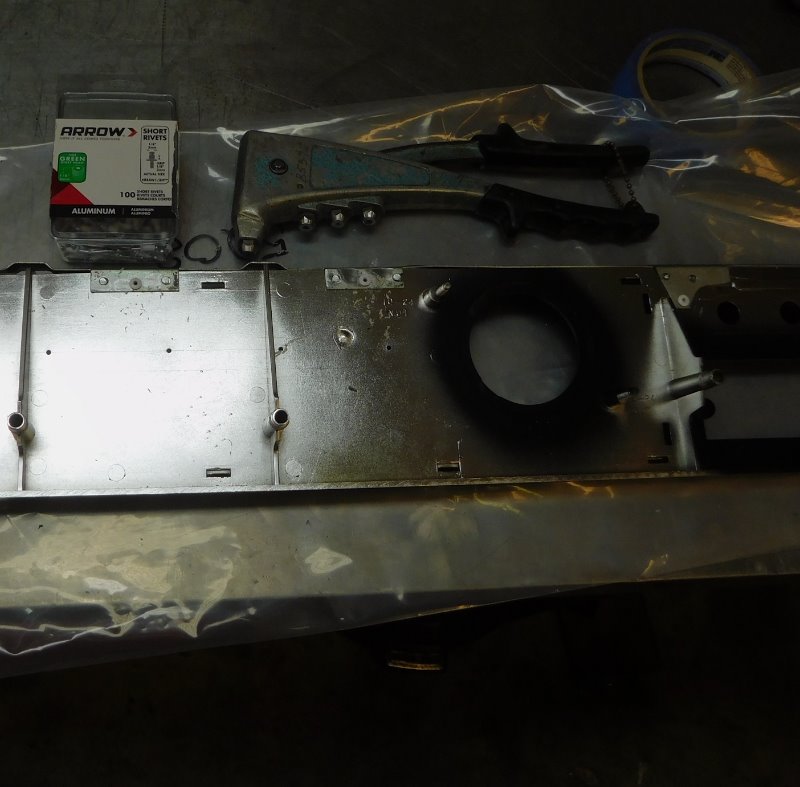
On the passenger side we had to remove the metal support piece from the top to allow for the part to be plastic chromed. We drilled #30 holes through the plastic, then used 1/8" aluminum pop rivets to secure the two together again.
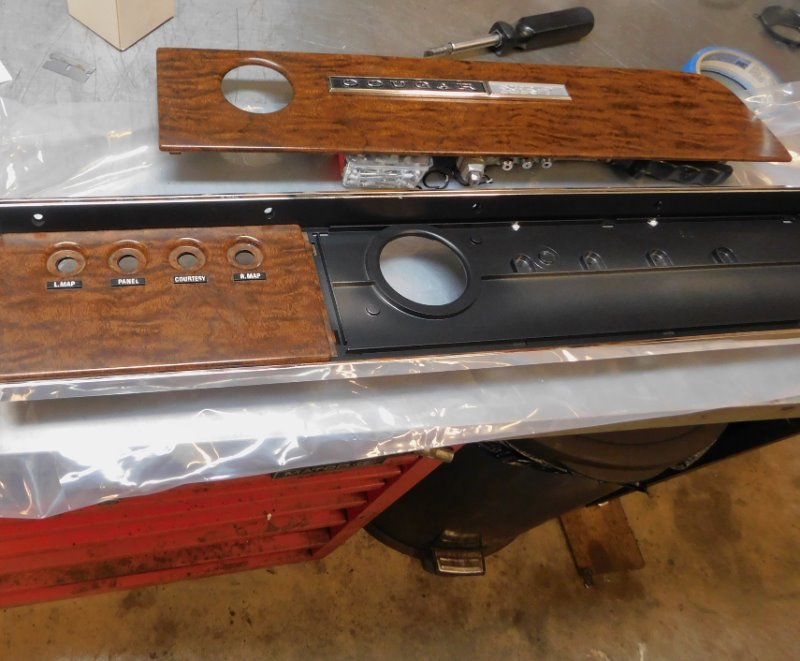
The woodgrain on the passenger side must be installed in the proper order. The center goes on first, then the passenger side.
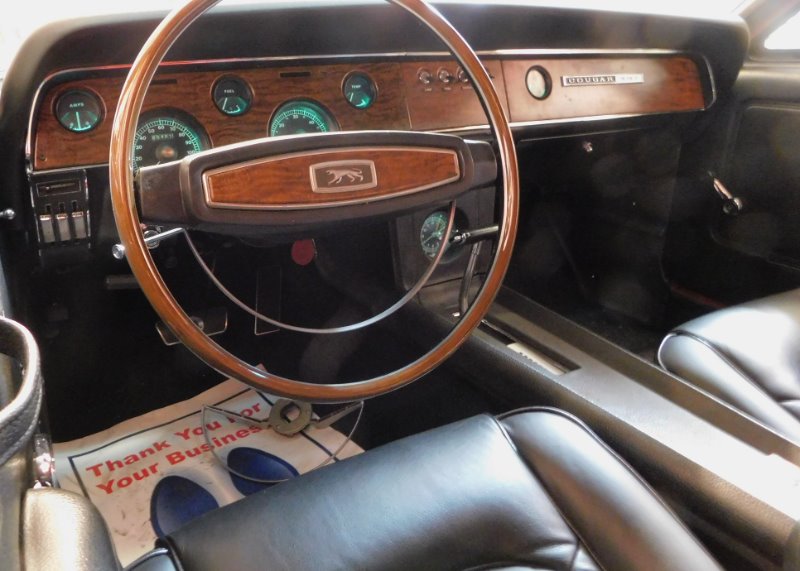
We replaced all the bulbs as a precaution with new ones. We pulled the steering column out to make this easier.
Nicely done and well explained. Thumbs Up.
That looks gooooood. The dash is the centerpiece of the interior. Looks so nice when it’s all freshened up. ![]()
Today I finished installing the steering column and wheel. Then when I got done the phone rang - my bumpers were ready to be picked up at the plater!!!
Here’s the interior, basically finished except for the ash tray and the glove box liner. Tested all the lights, everything works properly except the “Belts” light stays on all the time.
That looks plush. ![]()
very nice work! She looks brand new inside.
I would have to say the dash is one of the most tedious jobs on these. Not hard but time consuming and the parts are not getting any younger so gotta be extra careful not to break anything on disassembly or reassembly
Mercury hit a home run with the 67/68 XR7 dash design. I would argue one of the nicest ever made. The detail is outstanding, Nice work ![]() .
.
Thanks for the comments, it is starting to look pretty good. Big items remaining are the pin striping and the bumpers. I have a list of other appearance gripes that need tweaking. One wheel lip molding is still out being polished. Hope to be able to photograph the car for a book later this month.
Royce, very well done. I look forward to seeing your project completed. Your attention to detail is outstanding and your dash turned out beautiful.
Steven
Worked on the bumpers for the past several days. Rear bumper went on in a hour. Front bumper took some adjustment and shims, but is looking good now.
The plater sandblasted the rear of the bumpers so I painted the bare metal flat silver before installing them. I put tape on the gravel shield to make sure it didn’t get scratched in the process.


This is after installing and removing the bumper 2 - 3 times the first day. I kept installing or removing shims to change the angle of the bumper ends to get a uniform gap with the fender on each end.
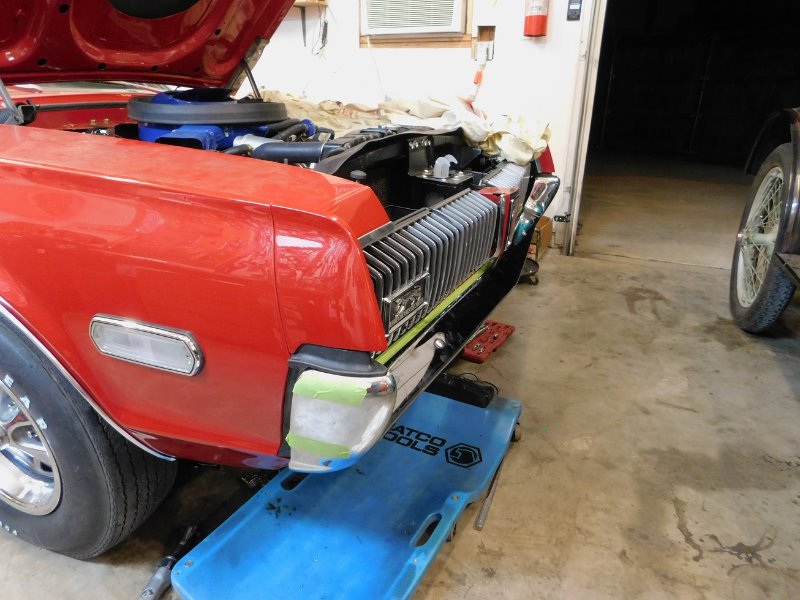
Once the bumper fit was acceptable another day was spent aligning the lower valance, bumper guards, and finally cleaning off all the handprints. Supposed to have the car pin striped today!
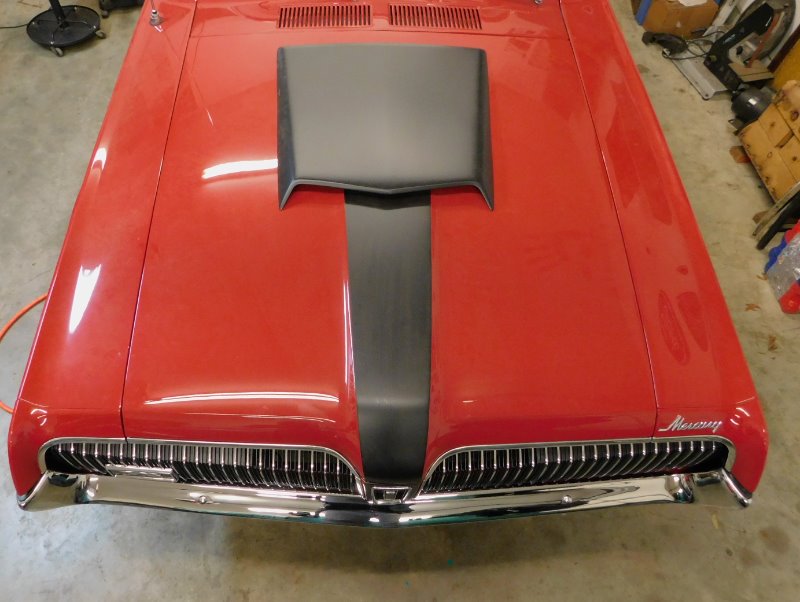
That last pic you took looking down on the '68 CJ hood stripe and scoop says it all ![]()
- Phillip
perfection!