
Slayer 450 carb seems to not want to let the engine idle at 950 rpm with the transfer slots squared off and on ported vaccume. Lowest I got it was 1000 rpm with curb idle backed off half a turn, also pulling a little timing down to 5 degrees. 1100 rpm with squared off transfer slots. I checked for vaccume with the squared off transfer slots and it’s not advancing anything, as is expected. It’s not really ideal to run my vaccume advance with my transfer slots backed all the way closed just to idle at around 950 rpm. Carb acts fine on the road across it’s whole throttle curve, so i don’t think it’s a vaccume leak, except that 1 cm the transfer slots open where it tried to die real quick. Any advice? Should I try manifold vaccume to circumvent relying on transfer slots entirely? Pull more timing? Thanks!
Sounds like a massive vacuum leak. The carburetor should easily be idled down until the engine stalls. Try disconnecting any and all vacuum things like the headlights and the PCV.
Vacuum leak is very likely.Take off the carb and look at the gasket especially the front and rear edges . Many aftermarket gaskets only cove by 1/16 in that area.
With the carb off ,and choke open ,hold it up to the light and see how much the secondaries are open. Its an old trick to open up the secondaries to provide additional air thus allowing the primaries to read the meatering slots(they used to drill holes in the butterflies but that was hit or miss).Should be a secondary idle screw accessible from the bottom.
Timming should not be re tarded to set idle. I like to set initial timming with vac advance plugged and a Vacuum Guage on the manifold. Advance timming until additional timming does not increase vacuum reading. Lock it down and shut off for 10 minutes. Hit the key ,if it bogs you have too much advance. Kick it back a couple degrees and try again. Once set , if it pings going down the road , you nee to slow down the timming in the advance curve. Sometimes a vacuum delay valve in the vacuum advance line will stop part throttle pinging. Good luck
Another dumb question…is the pcv valve in the correct direction ?
It should be, but ill double check. I’ve seen people put a thin layer of greese on their gasket before installing it, should I try that aswell in case it’s a leak at the gasket?
She’s been a good daily, I put on about 1000 miles! just looking for a driver’s side door. Here’s the sequential tail lights in action, and a good exhaust note!

1 Like
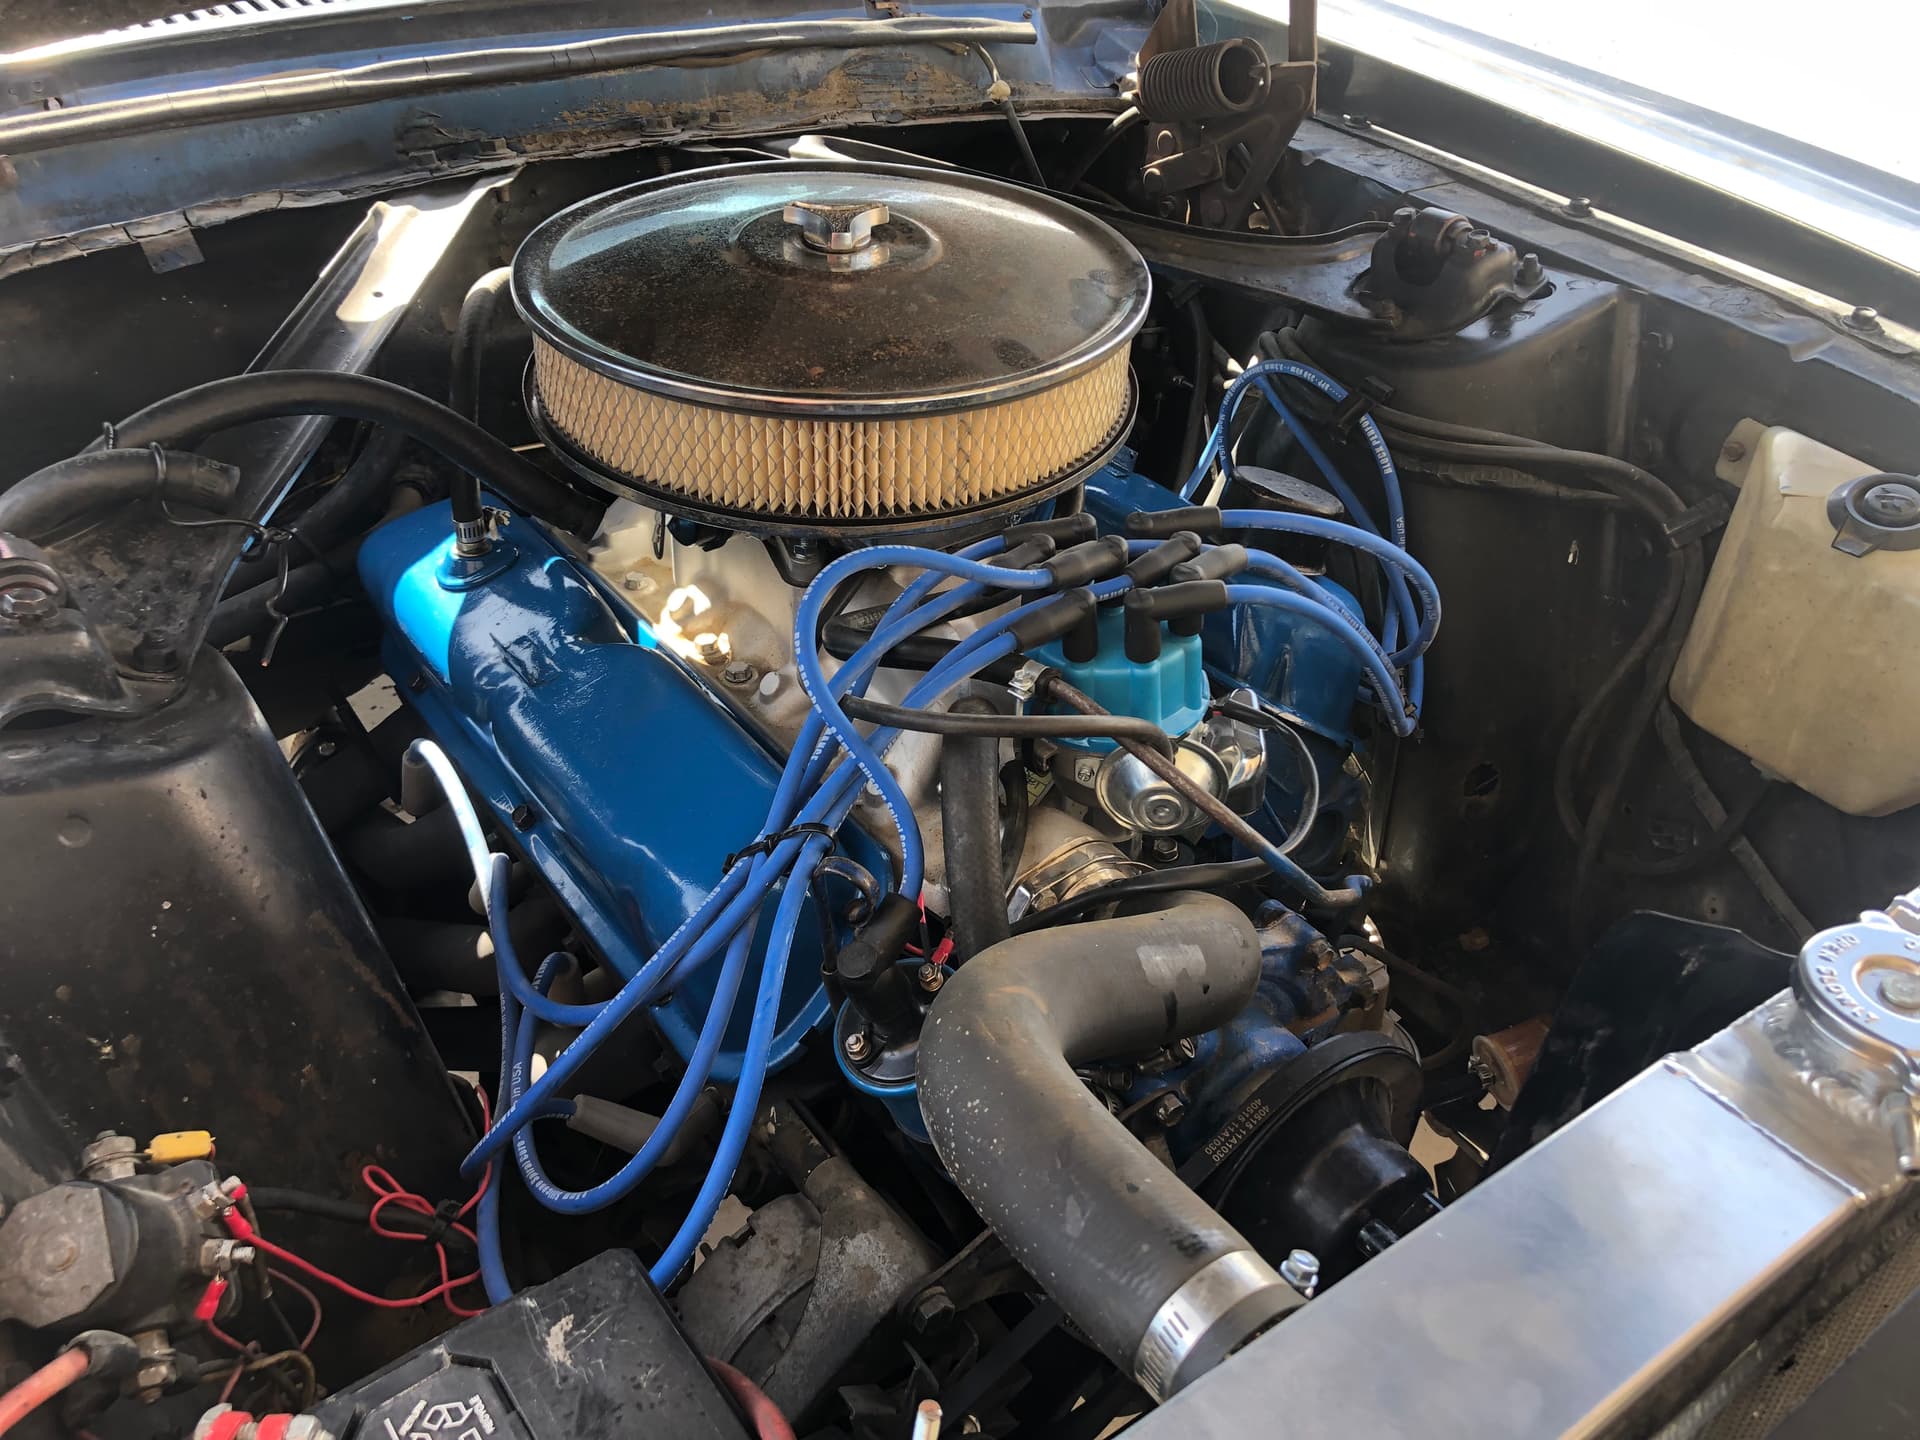
I’ve found the cause of the high idle. It’s a vaccume leak in the crank case ventilation. However, it wasn’t the PCV valve, because the vaccume leak only happened at idle.
Anyways, I cleaned up my original valvecovers and the vaccume leak stopped. It turns out that it was my oil cap! It wasn’t sealing and allowing enough vaccume to raise the idle! It fits nice and tight in the original valvecovers, and quite frankly, the Ford blue looks much better than those cheap Elelbrocks valvecovers.
I’m also getting a much better off-idle response now. ![]()
You inadvertently fixed something else. The oil cap is a vent that lets air into the crankcase that is then evacuated by the PCV valve.
1 Like
That’s exactly my understanding of PCV valves. If that wasn’t it, then I guess i just have the magic touch! Although, if I kink the hose (like fold it and block it off) the idle lowers even more. IDK if it should do that. Maybe leaking at the rubber where the PCV valve goes in?
Pcv is intentionally a controlled vacuum leak. You either have too high flow pcv or a vacuum leak elsewhere
hmm, maybe it is too high flow. The one i was using i stole off of an HO 302, ill have to try another PCV, thank you for that Idea!
I have located vacuum leaks by first blocking off all intake ports including the PCV and then using a can of STARTER FLUID. Get the engine up to operating temp with the choke open. Then using the straw attachment on the nozzle spray in various areas. Carburetor base, intake manifold to head, and fittings. Listen for an increase in RPM or hook up a tachometer. It is a quick way to determine if the top is sealed.
1 Like
Hmm yes, my spur gear took quite a tumble and now looks like a melted peanutbutter cup. This was a very expensive mistake that made a railroad track inside the drum. Remember when I thought my brake rod was too long and spaced my master out? Well, I think that was only a patch for a more serious problem, and the real reason my brakes were dragging.
I’m not sure if it was an improperly installed rear brake, improperly misadjusted, or the fact that my ebrake cable came off of it’s little wheel and jammed them on. Actually it was probably all 3 and I don’t have anybody to blame because I put the car together haha!
Anyways, im doing drum brakes again. Got one done and I can’t wait to do 3 more.
PS I think i found the vaccume leak, my vaccume hose is loose at the carb nipple. I’ll be picking up a tighter fitting hose.

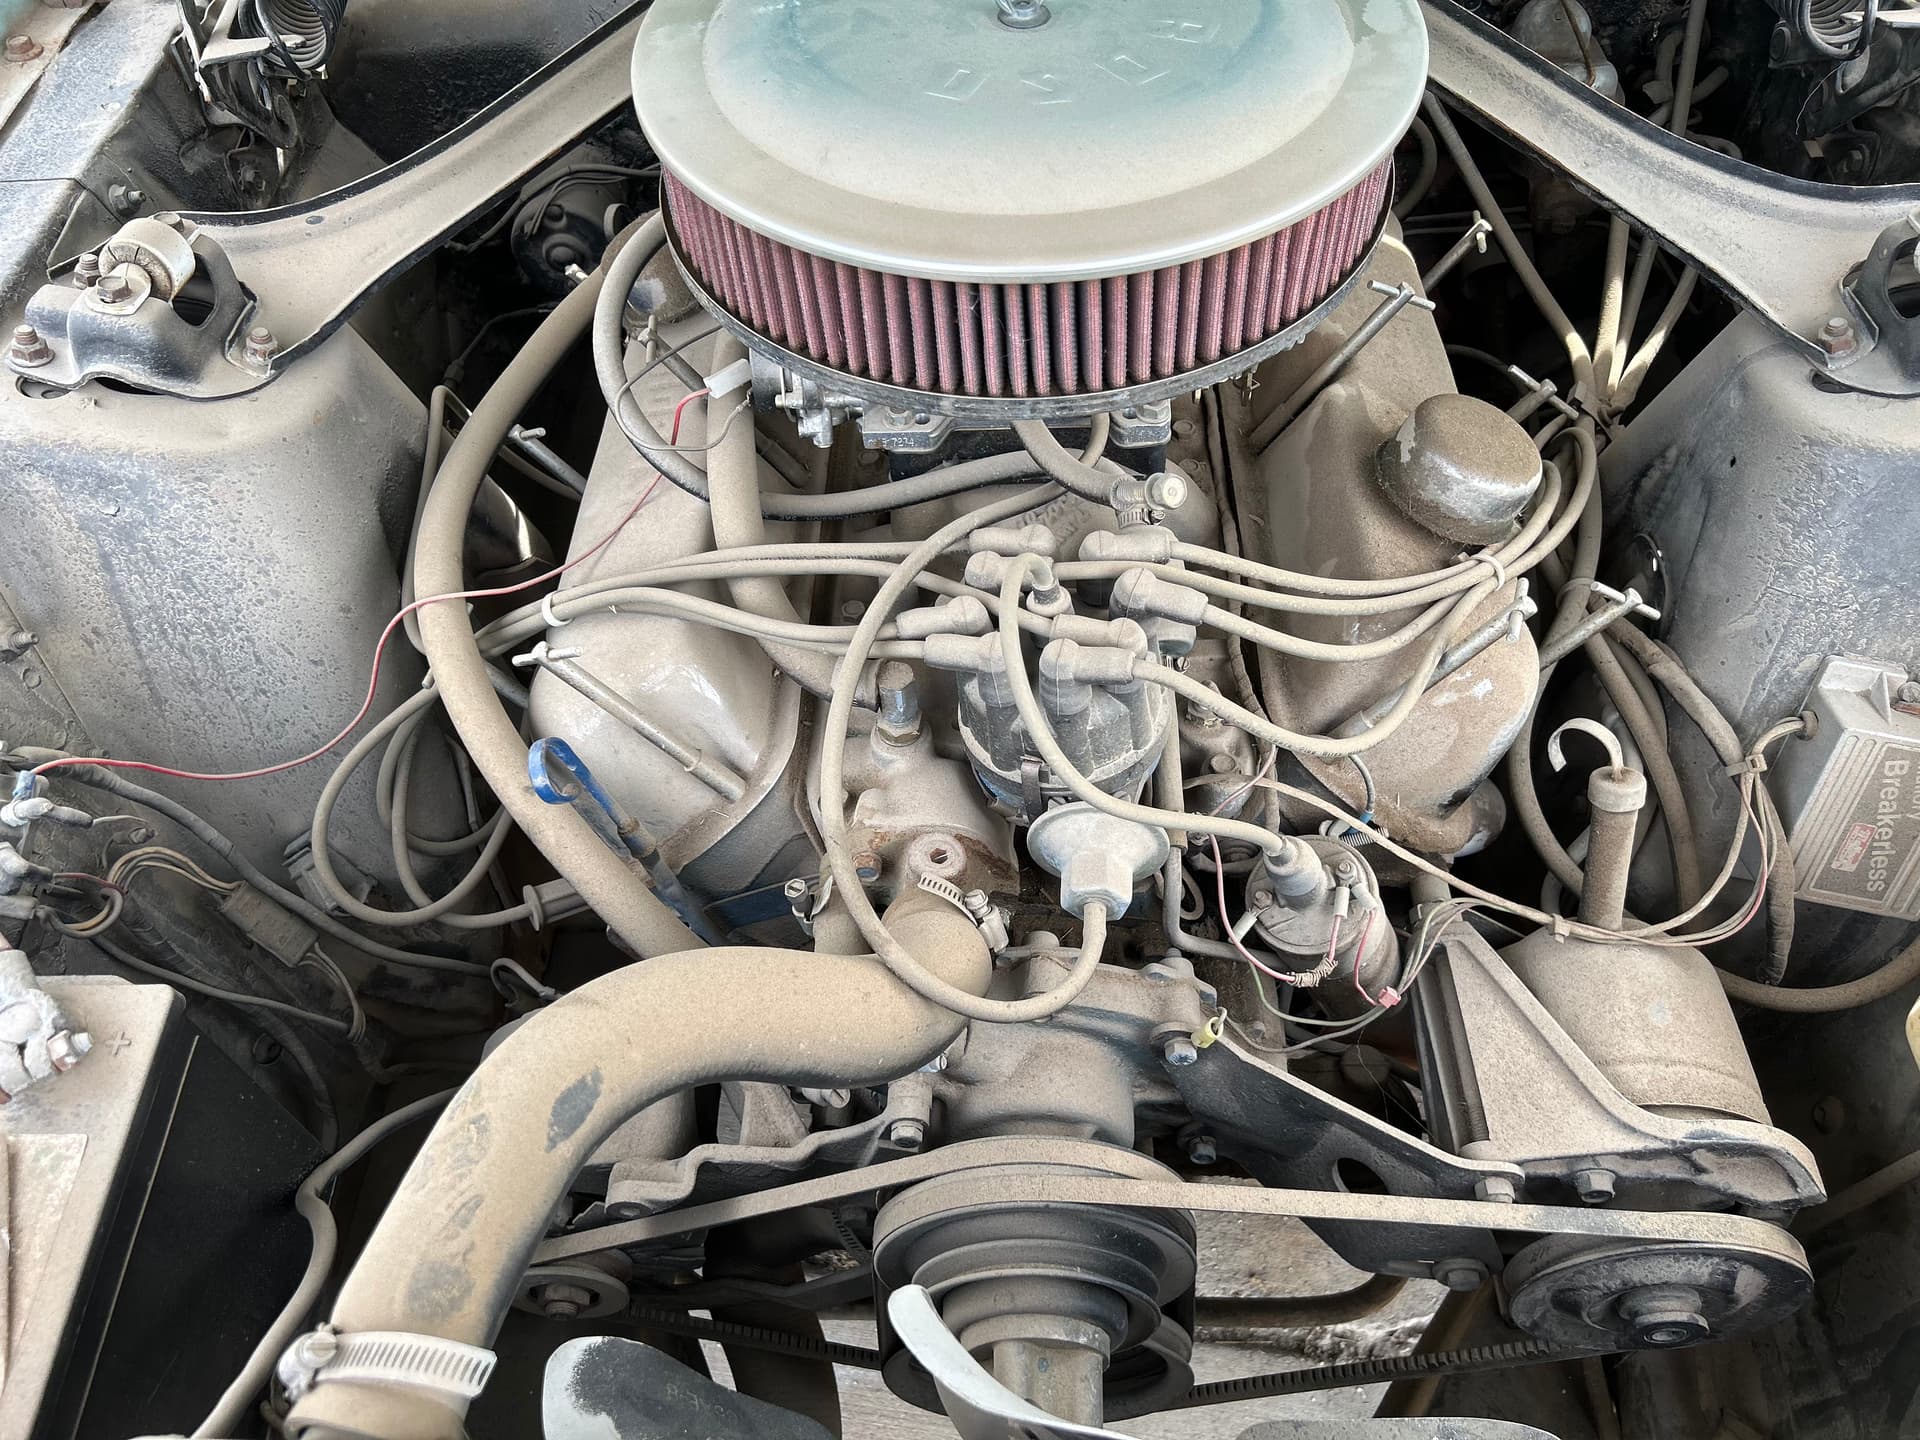
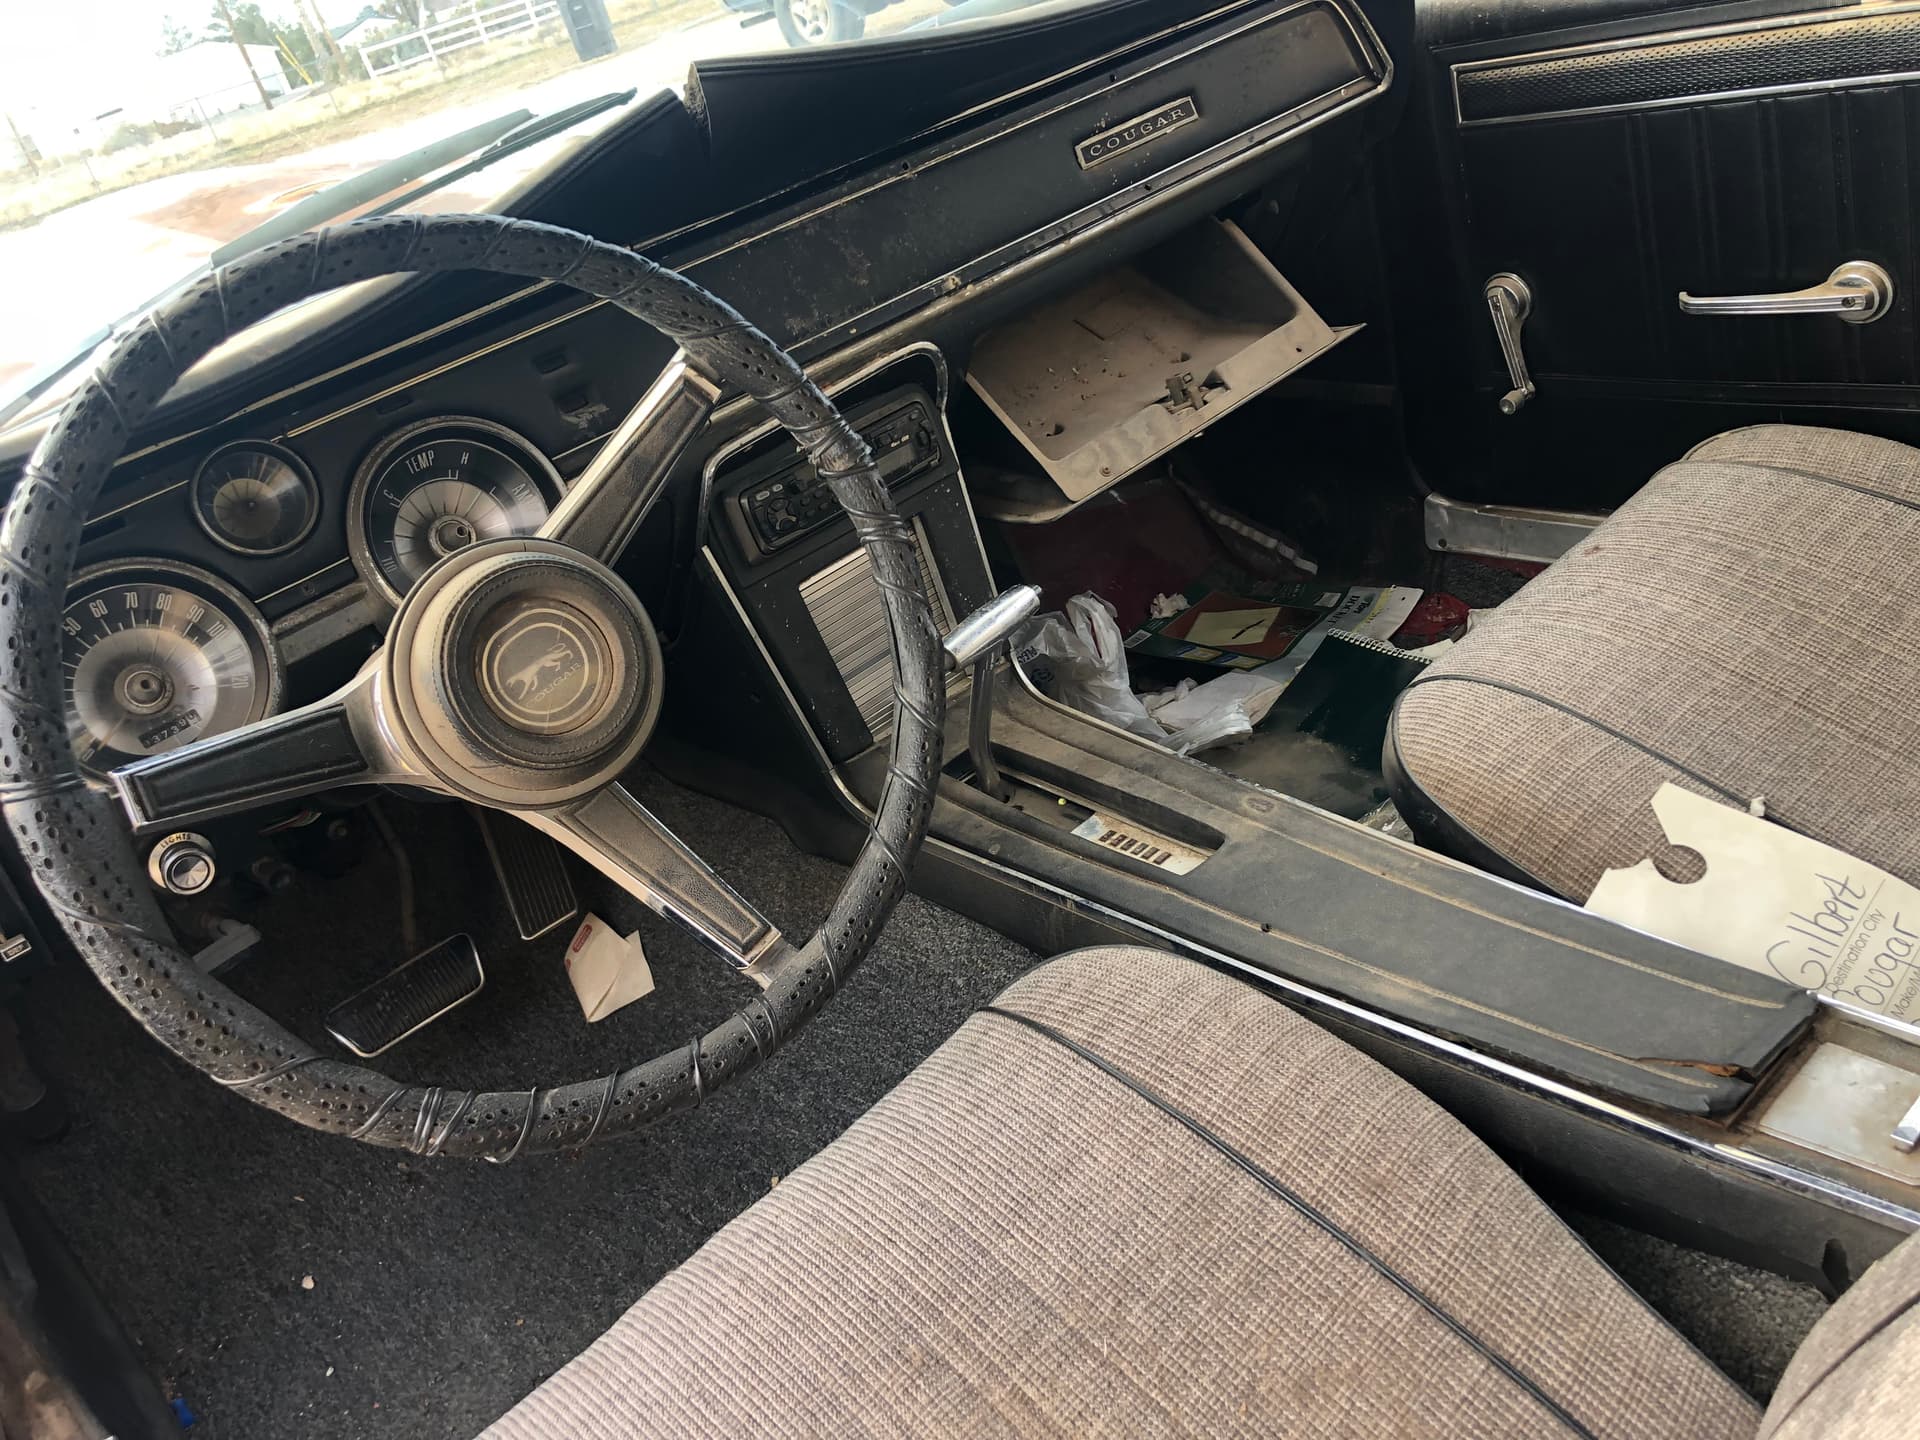
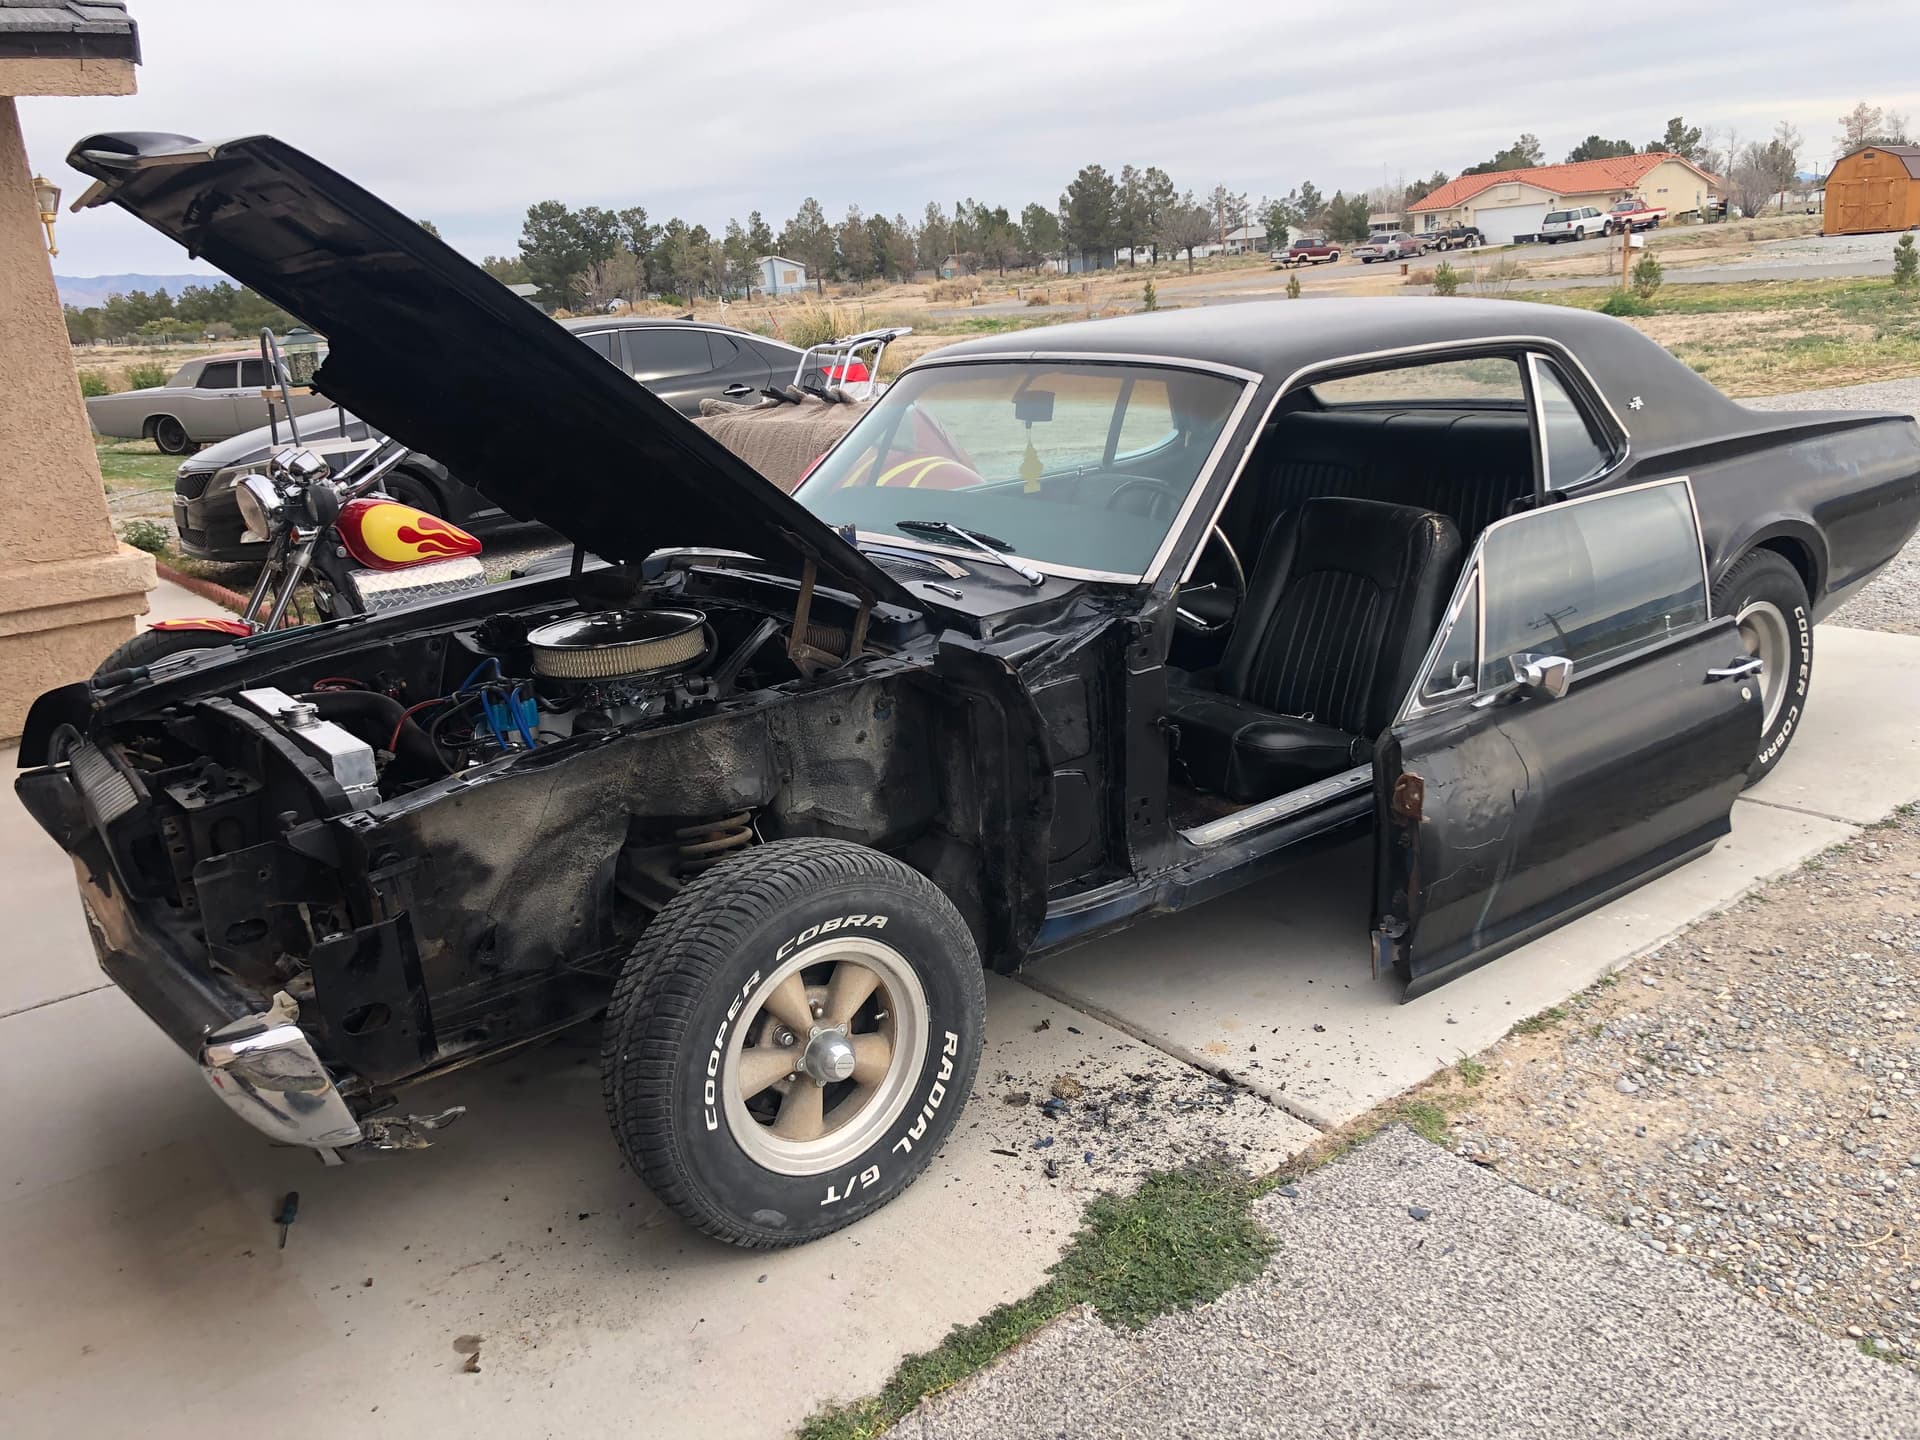
I picked up a second car to exchange the driver’s side fender and door. They tell me that it’s a rebuilt 289, and the car appears to have a console. Filled the bowl with gas and it lit off and idled. It runs and I think i should keep it complete and sell the car in a drivable state. It’s an AZ car and appears to have less rust than my XR7. If anyone happens by this and wants to give this cat a good home after I swap the body panels, hit me up.

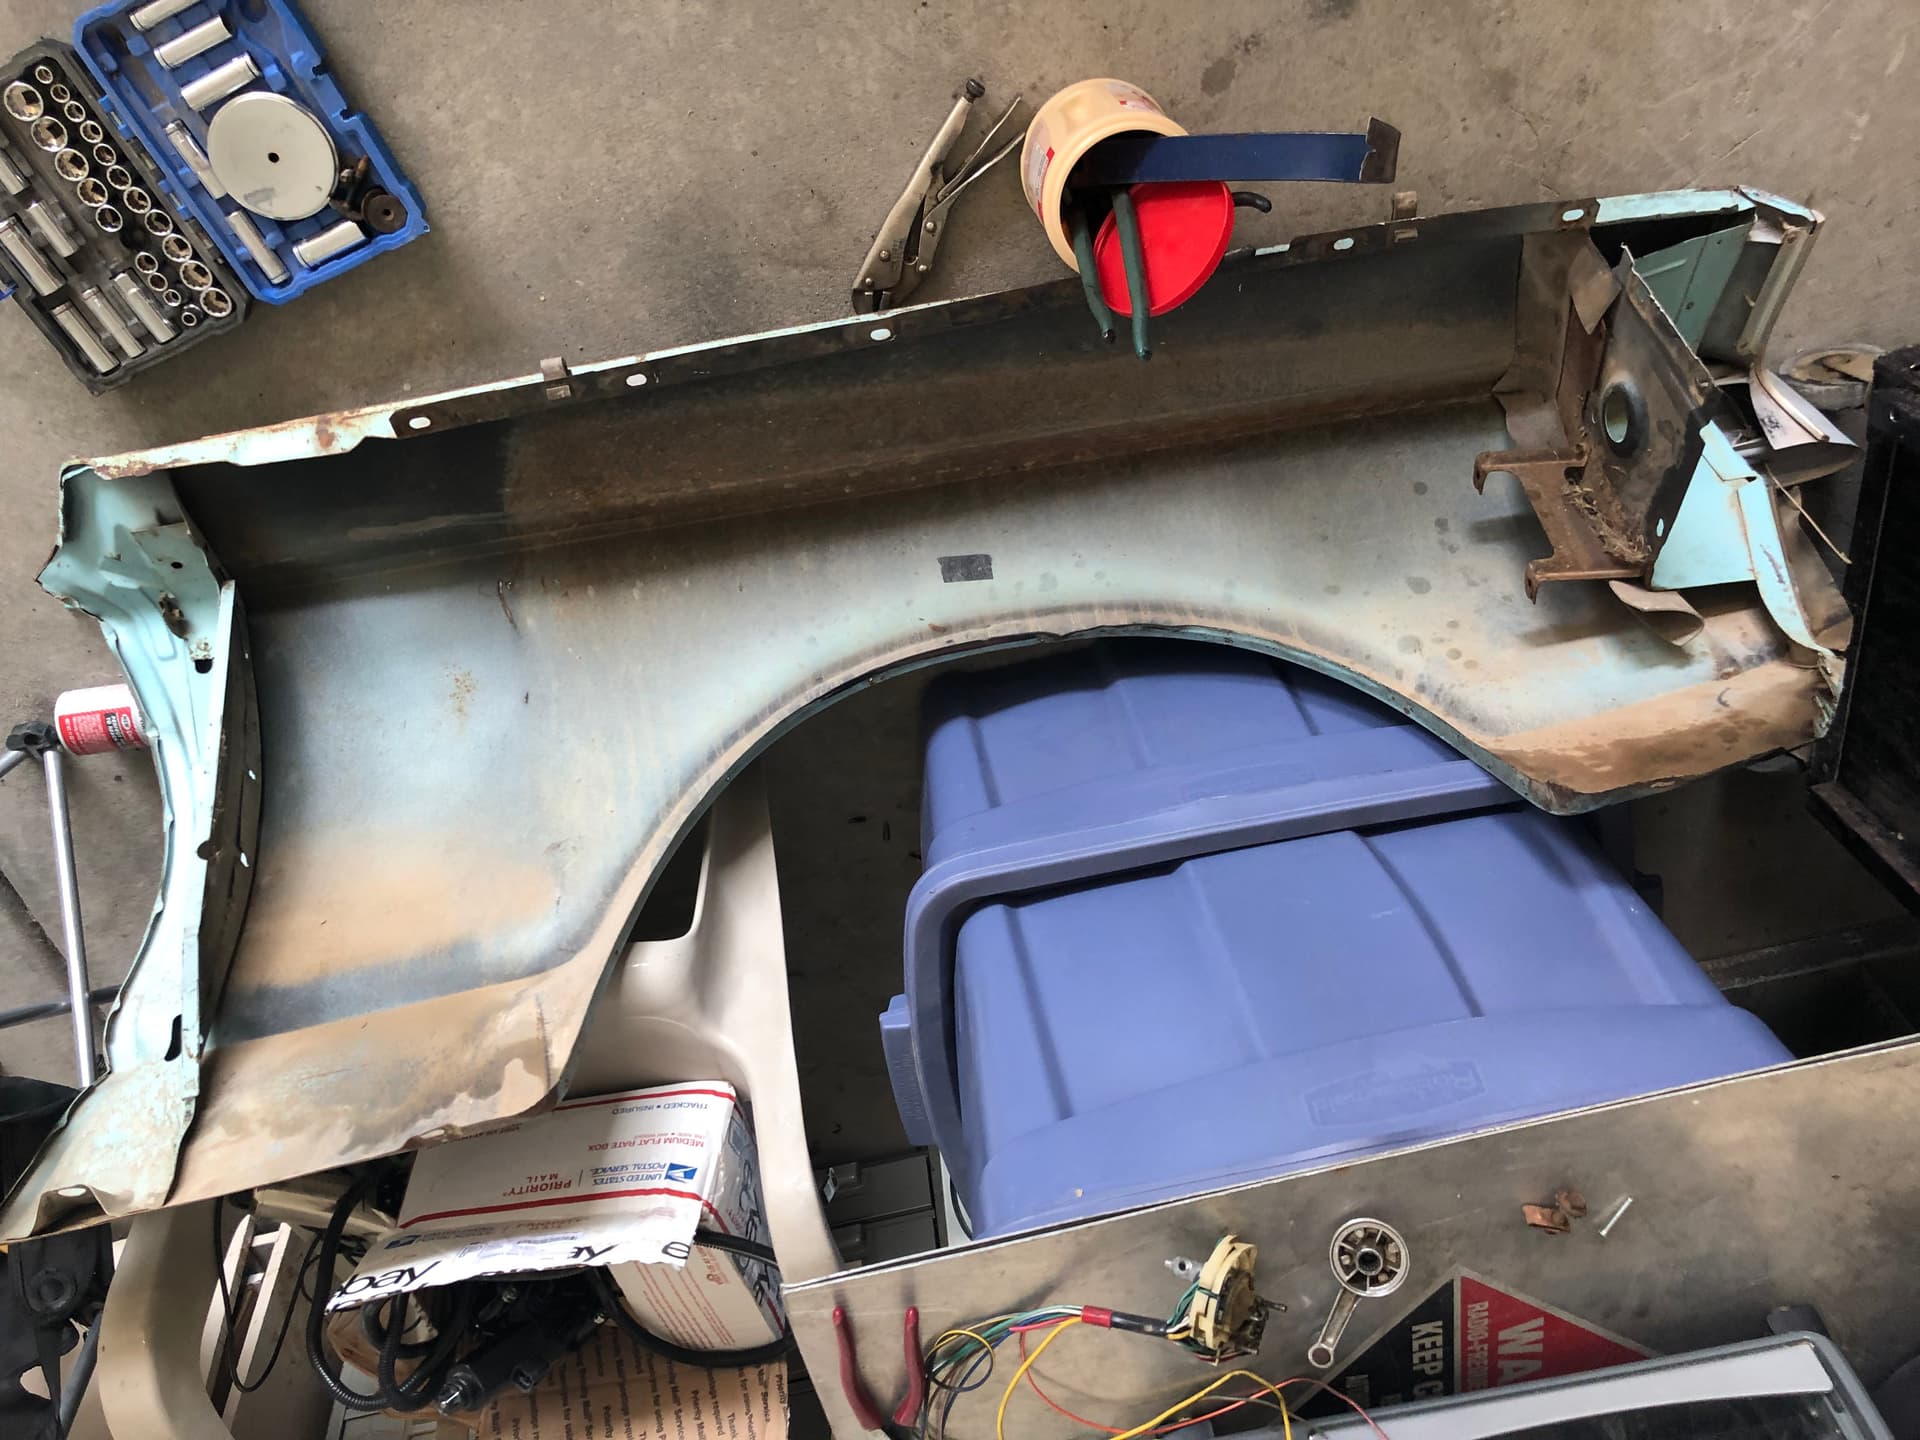
Removed fender and door to get ready for the transplant! Pretty solid under there, cleaned up nicely, stay tuned! ![]()
![]()

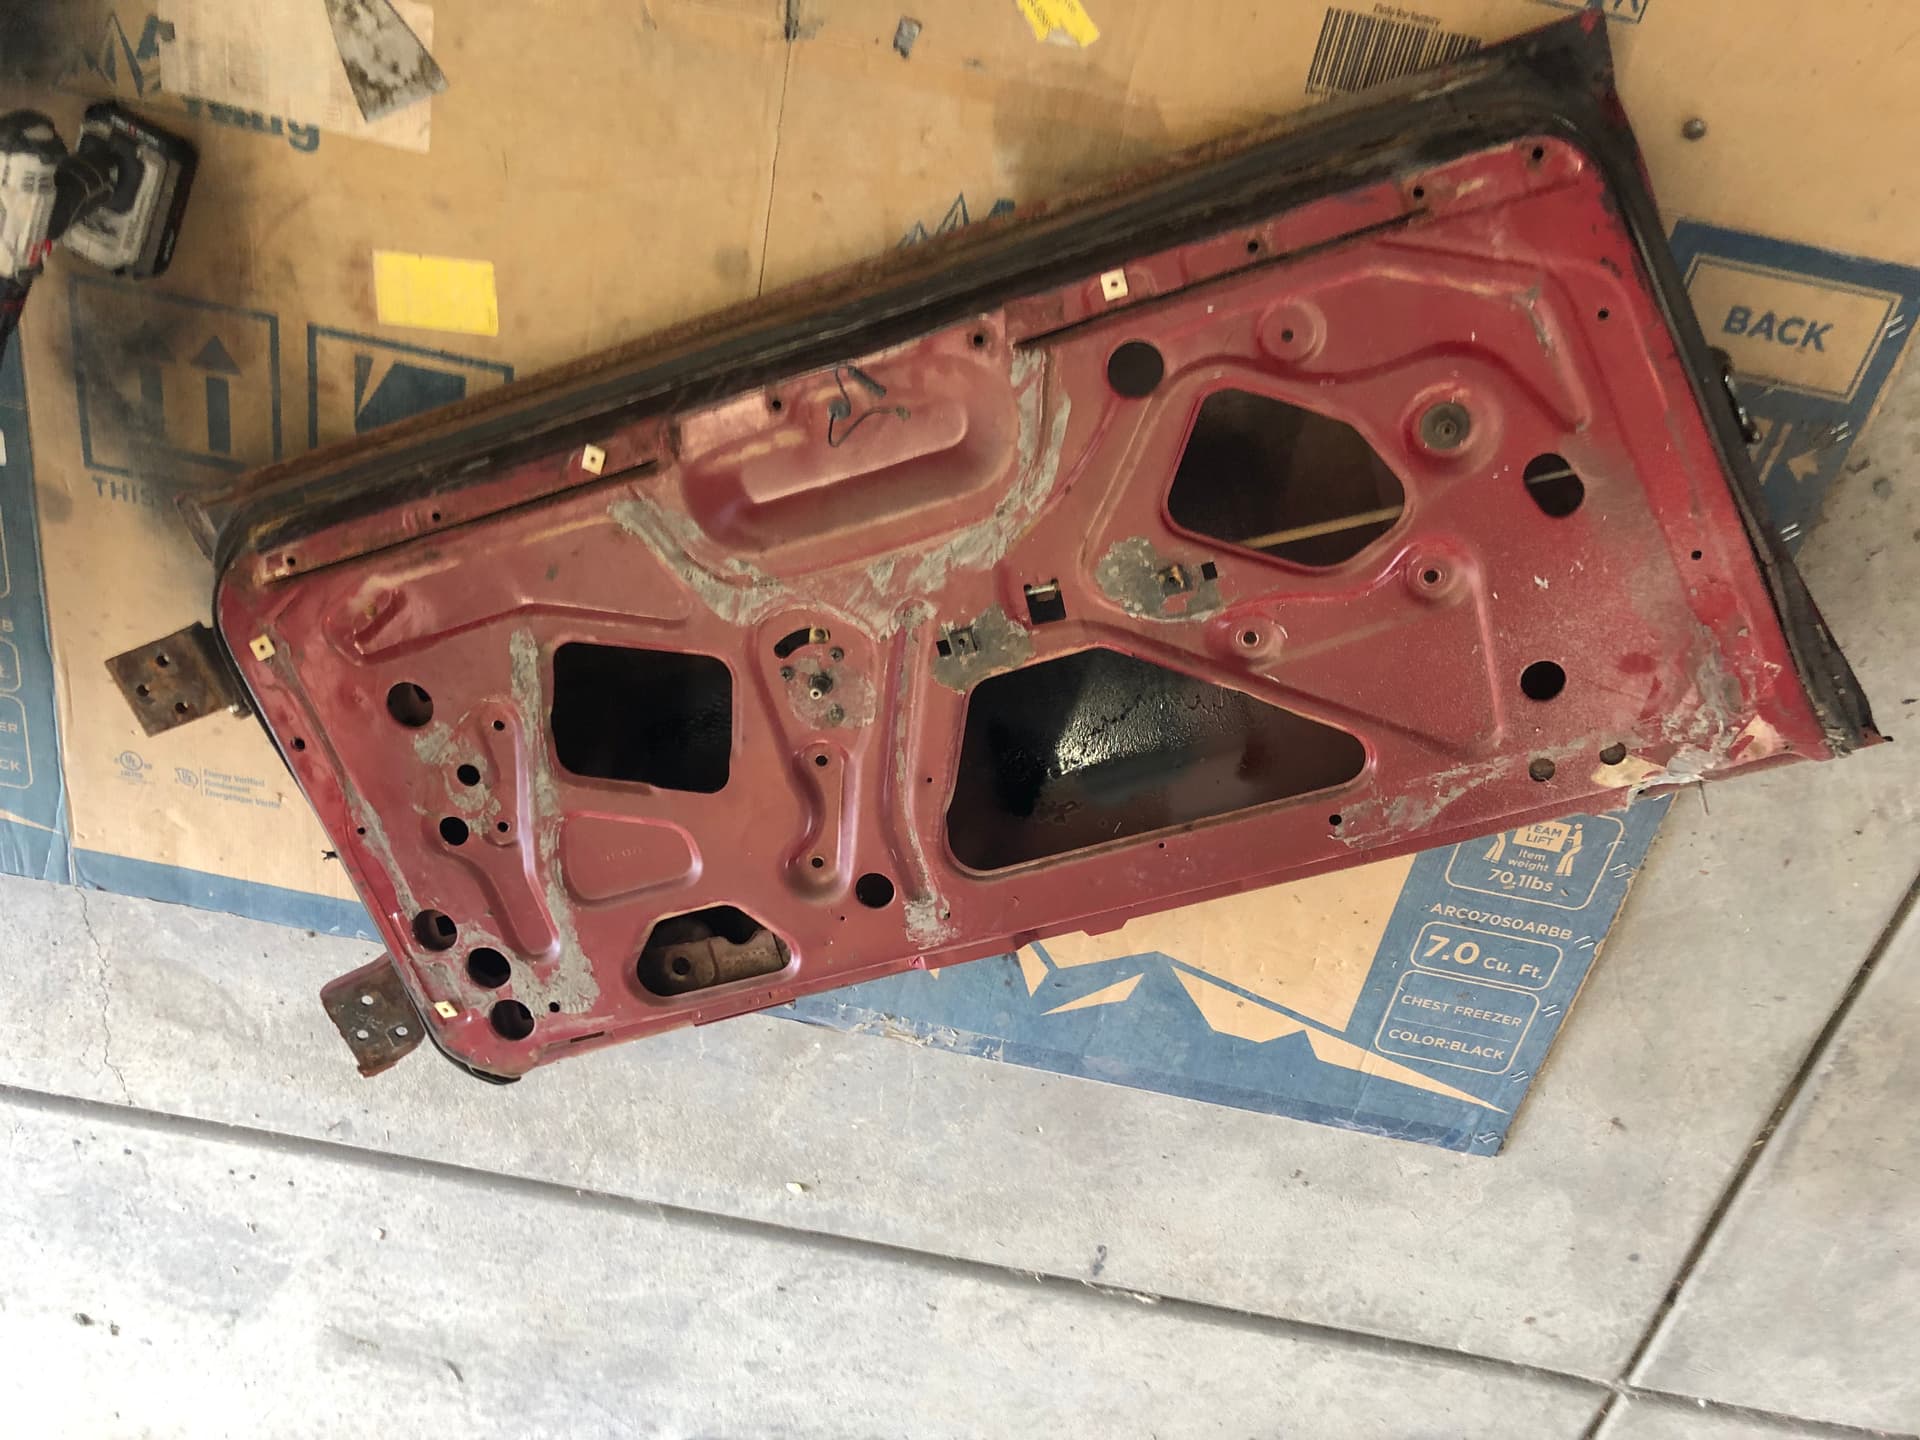
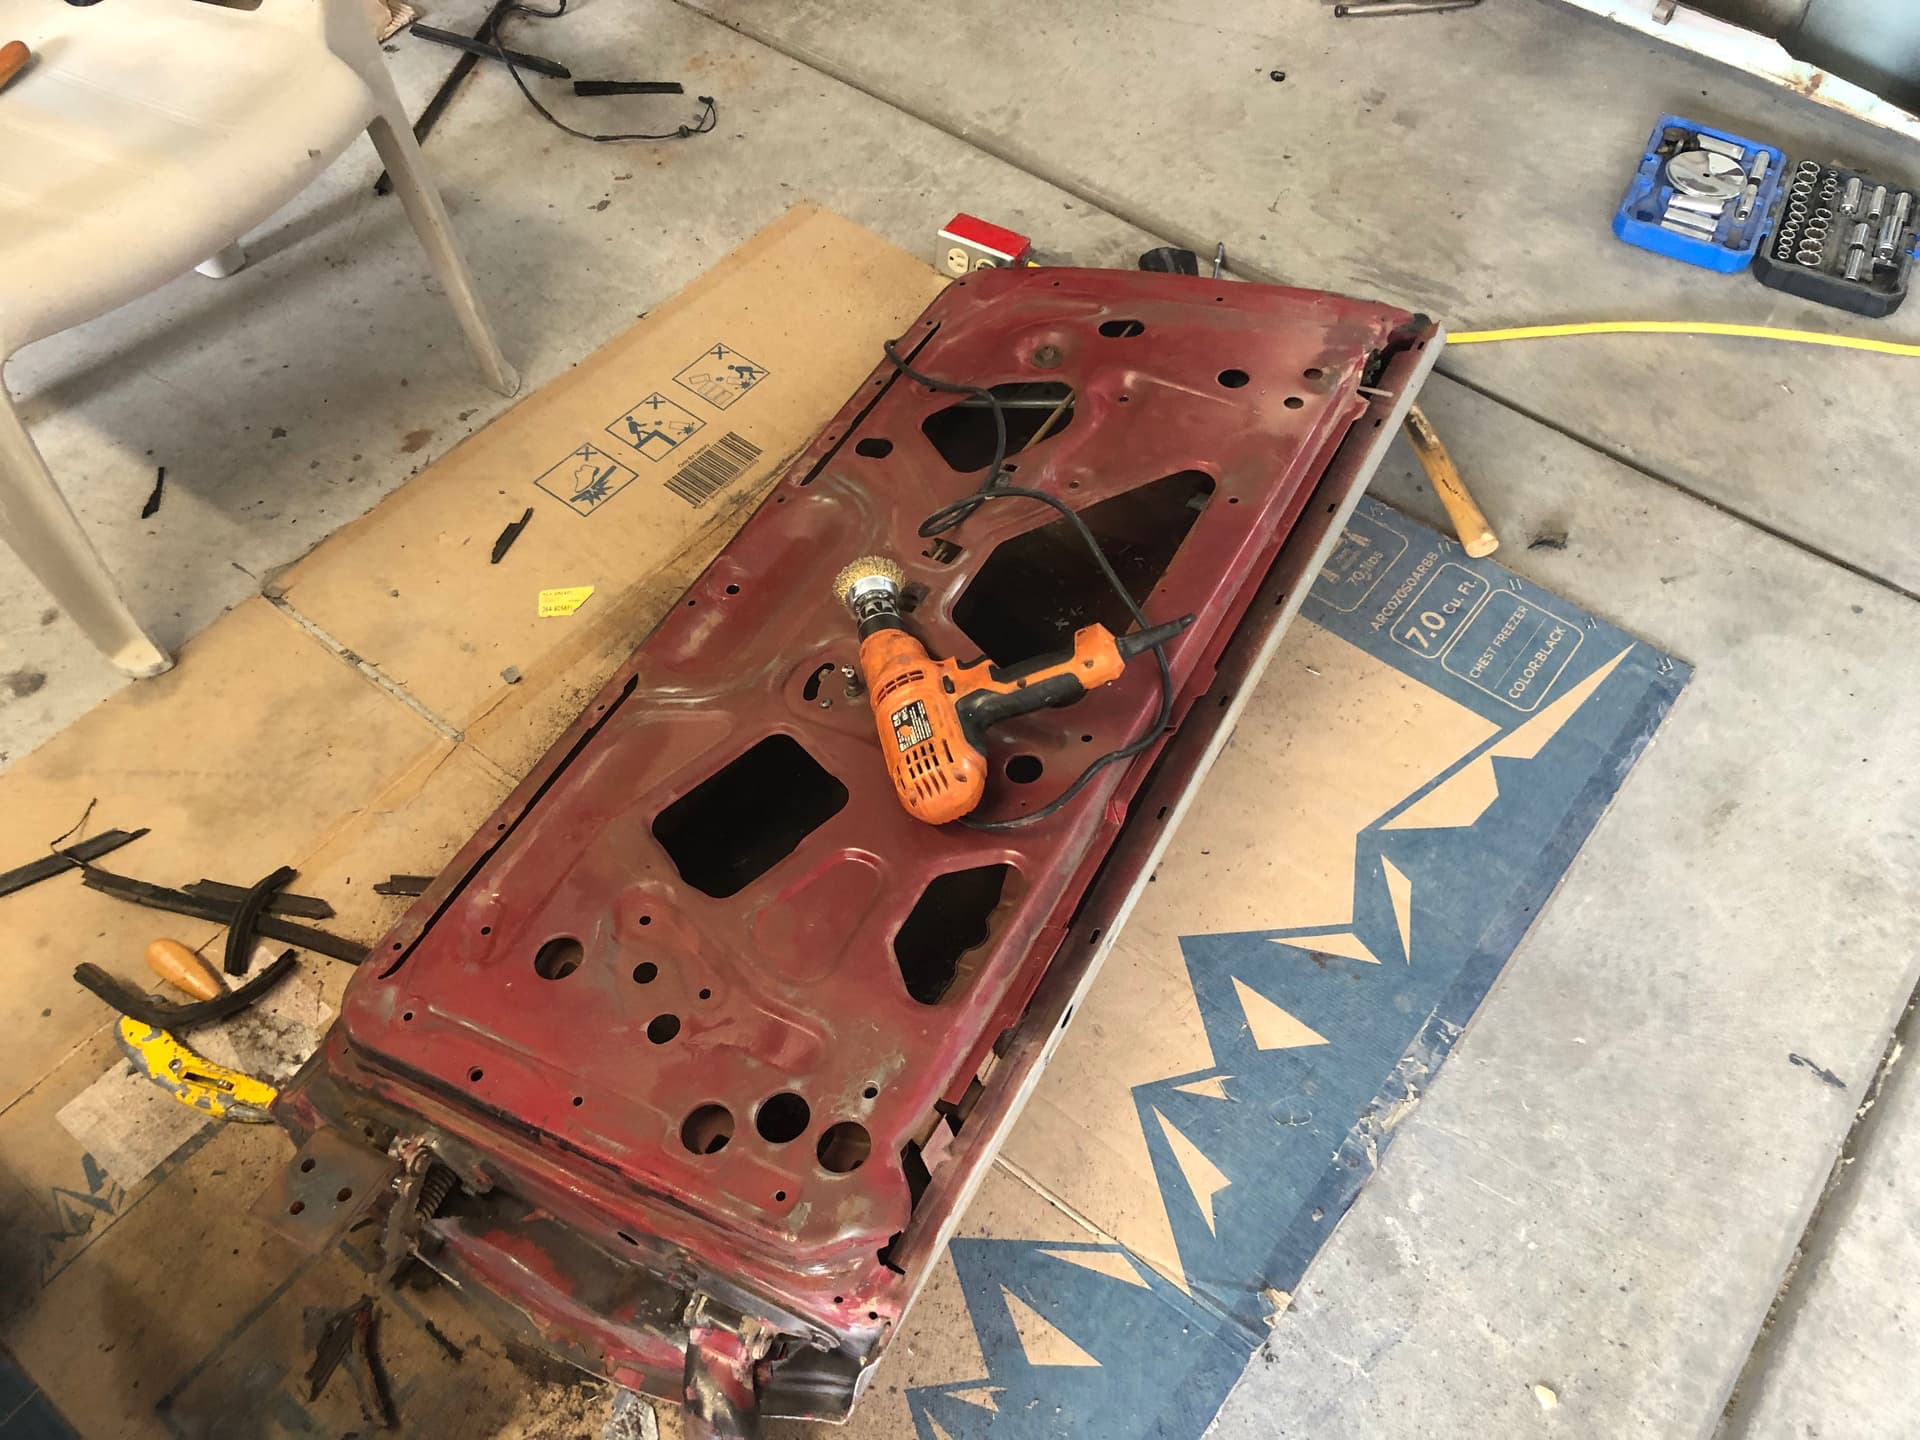
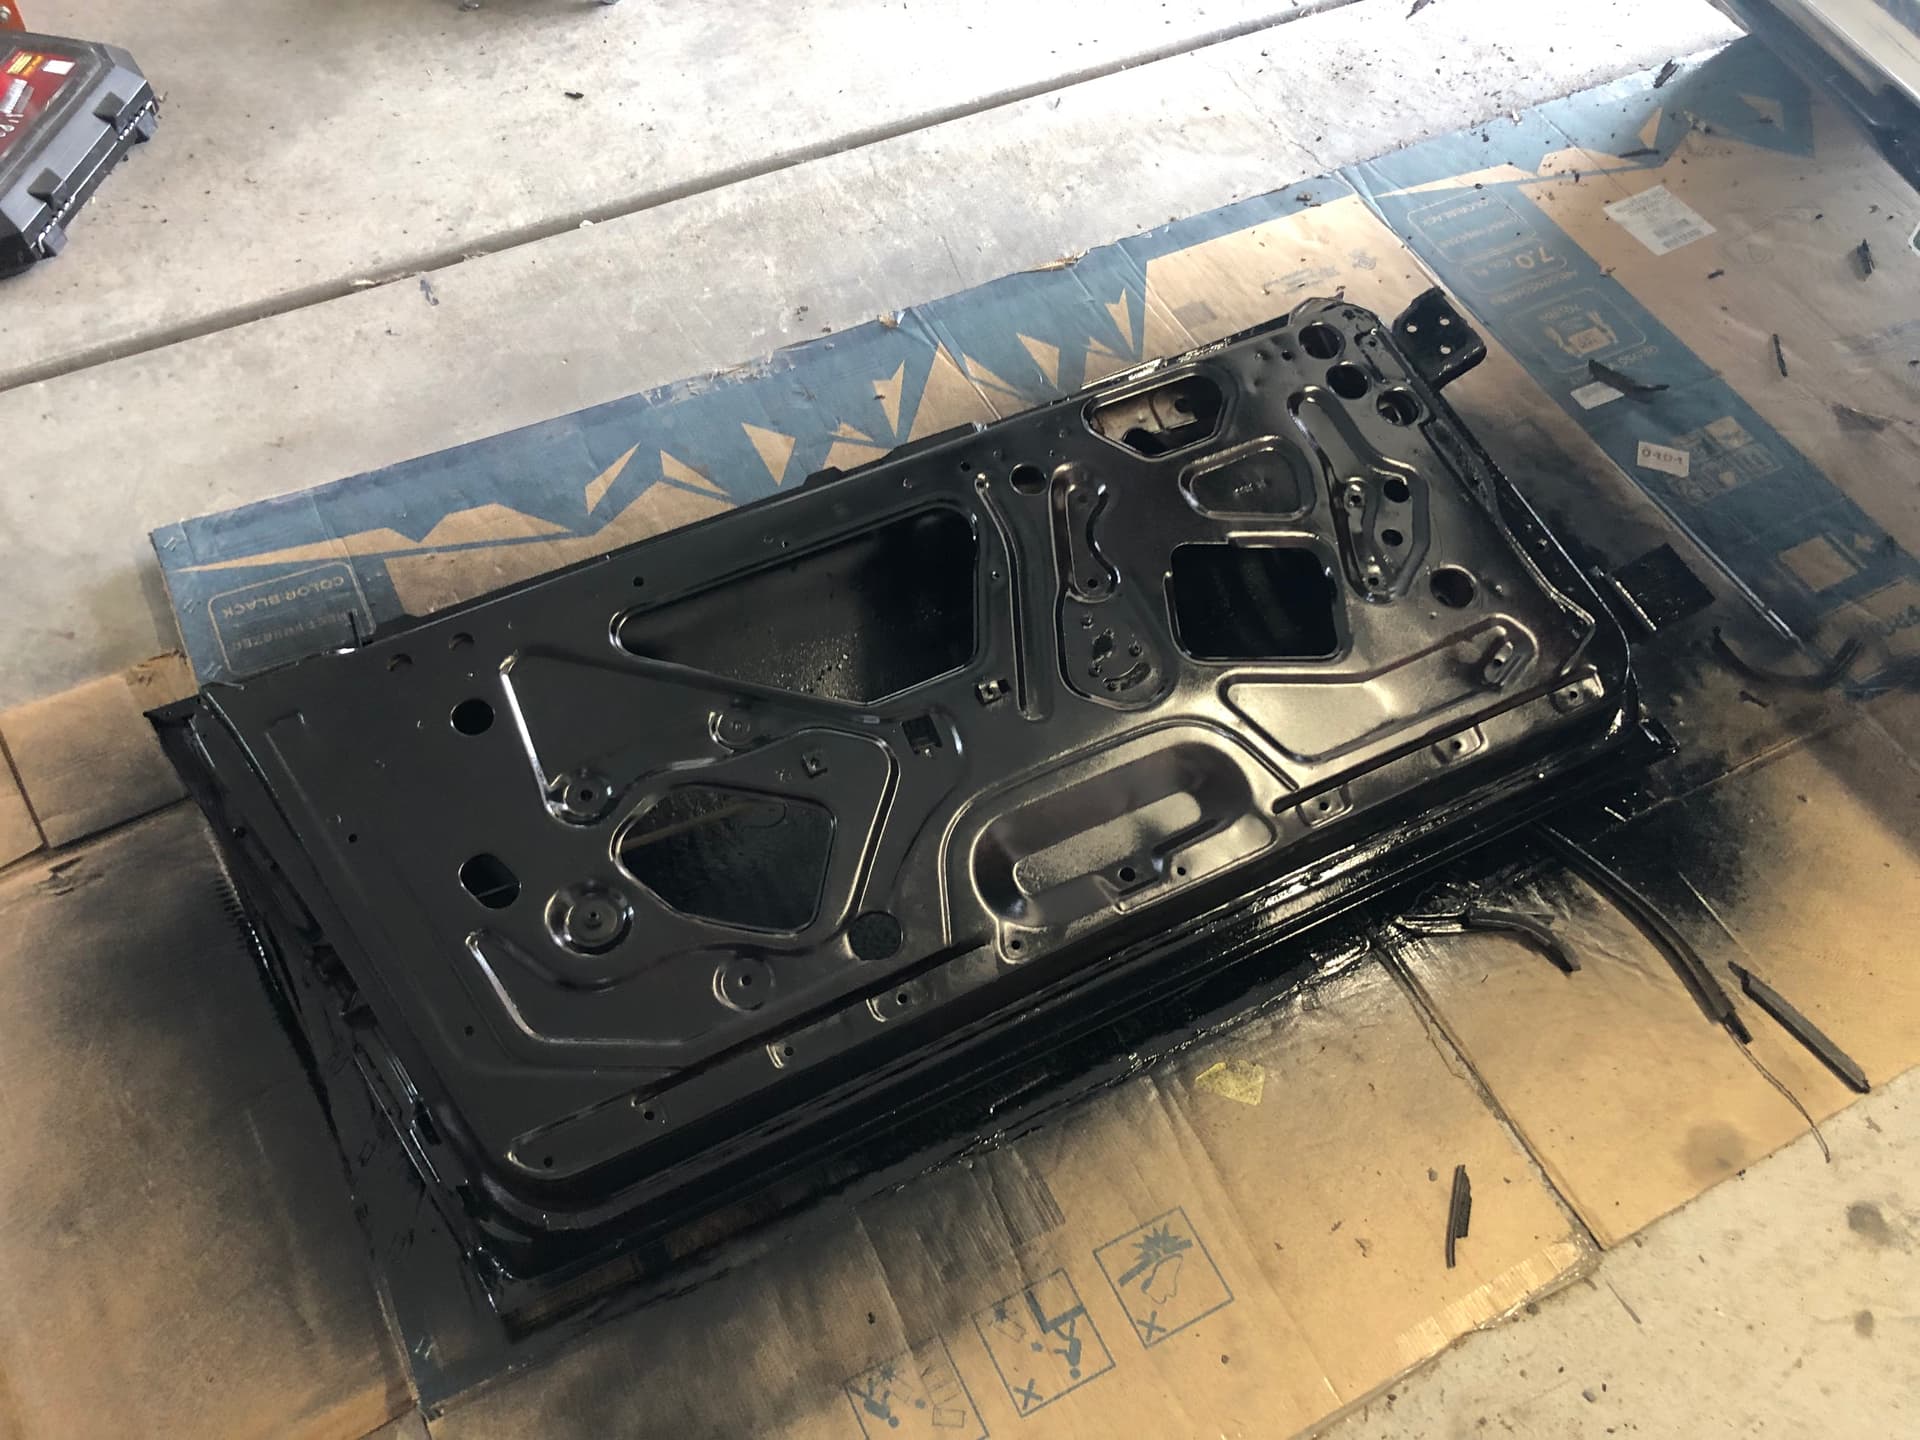
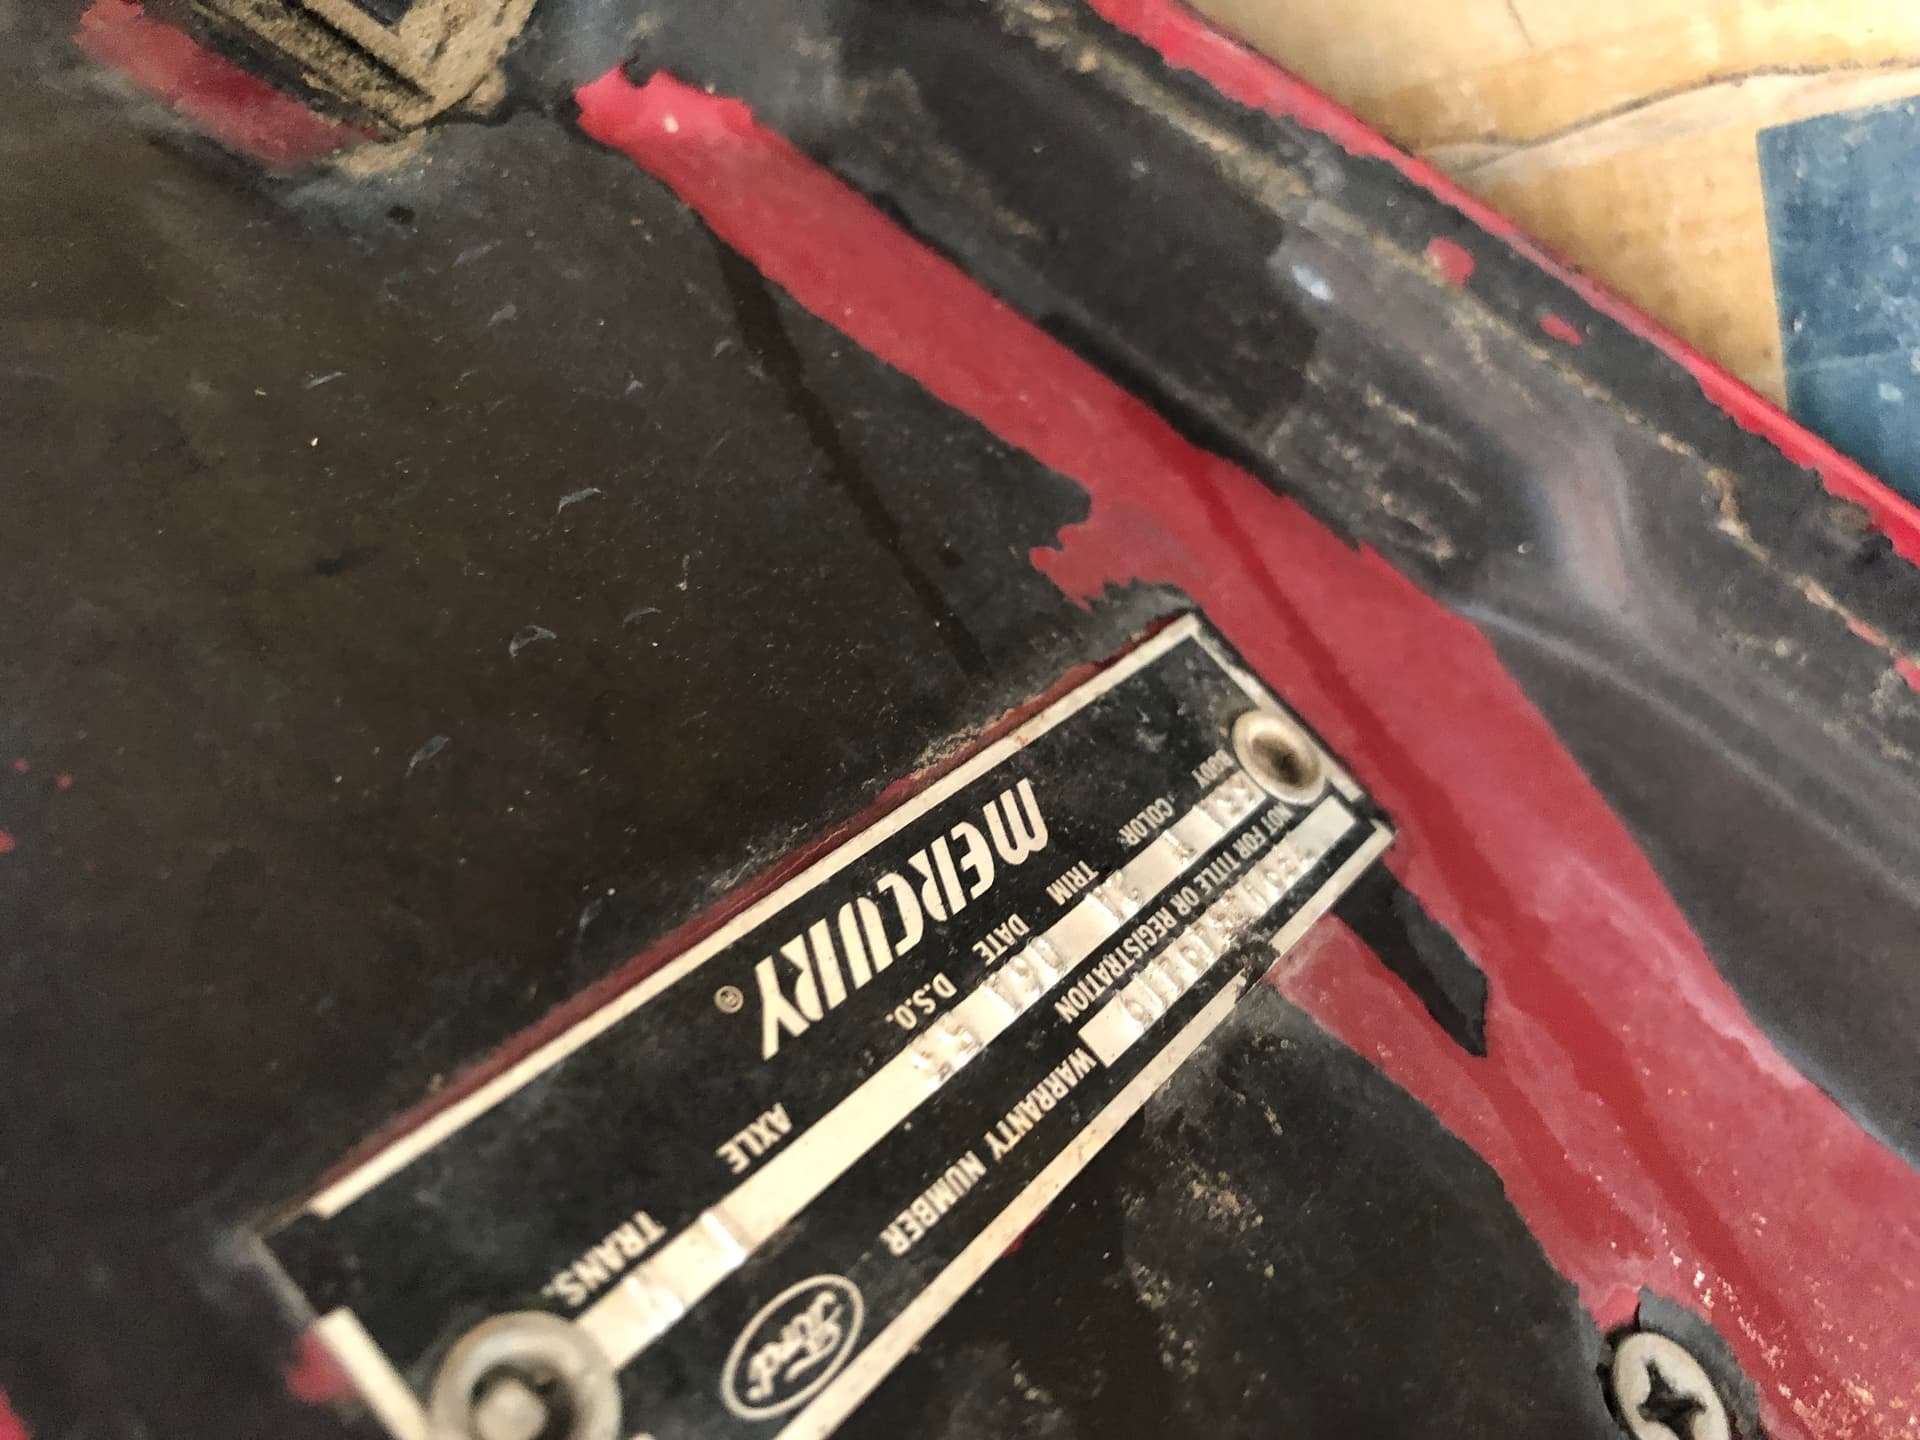
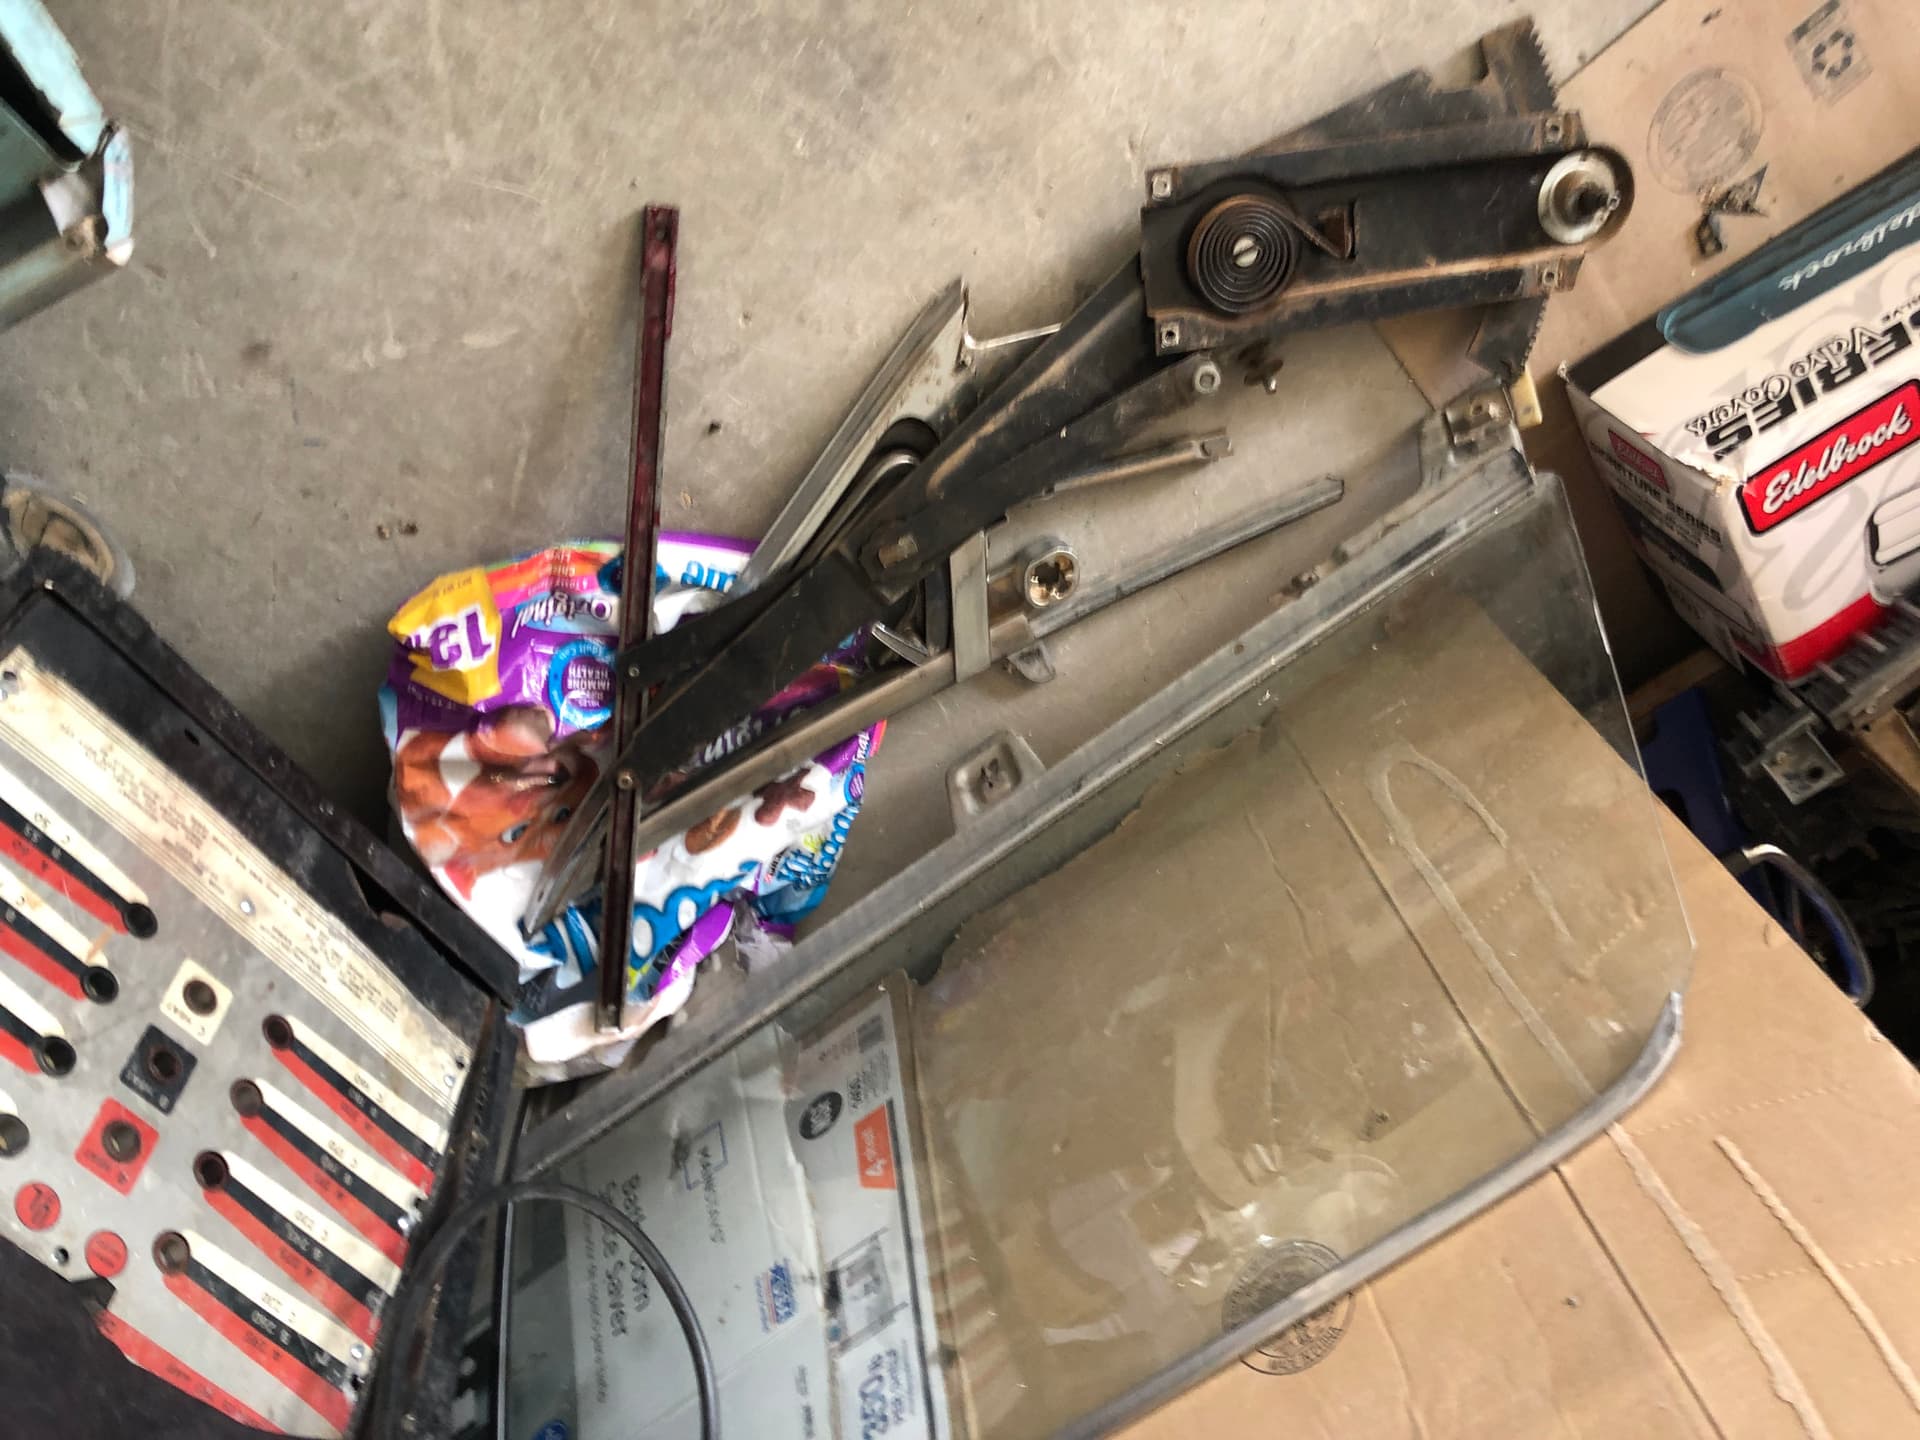
I’ve been meaning to take more pictures but my ADHD brain keeps forgetting. Sorry some of them are upside down, my phone is retarded and I was high on paint. Spent a few hours tearing apart, cleaning out and rust proofing the inside of the donor door. I included a picture of the door tag in case anybody wants to look up the options on the donor car.
The fender is super mint. The door has a little mud but they did it right.
WCCC is about to get my paycheck, because im going to need seals, window track (probably) and the door wiring harness.
Thank you for reading! I appreciate anyone who’s seen these from the beginning lol
Keep up the good work. It’s coming along nicely.
1 Like


