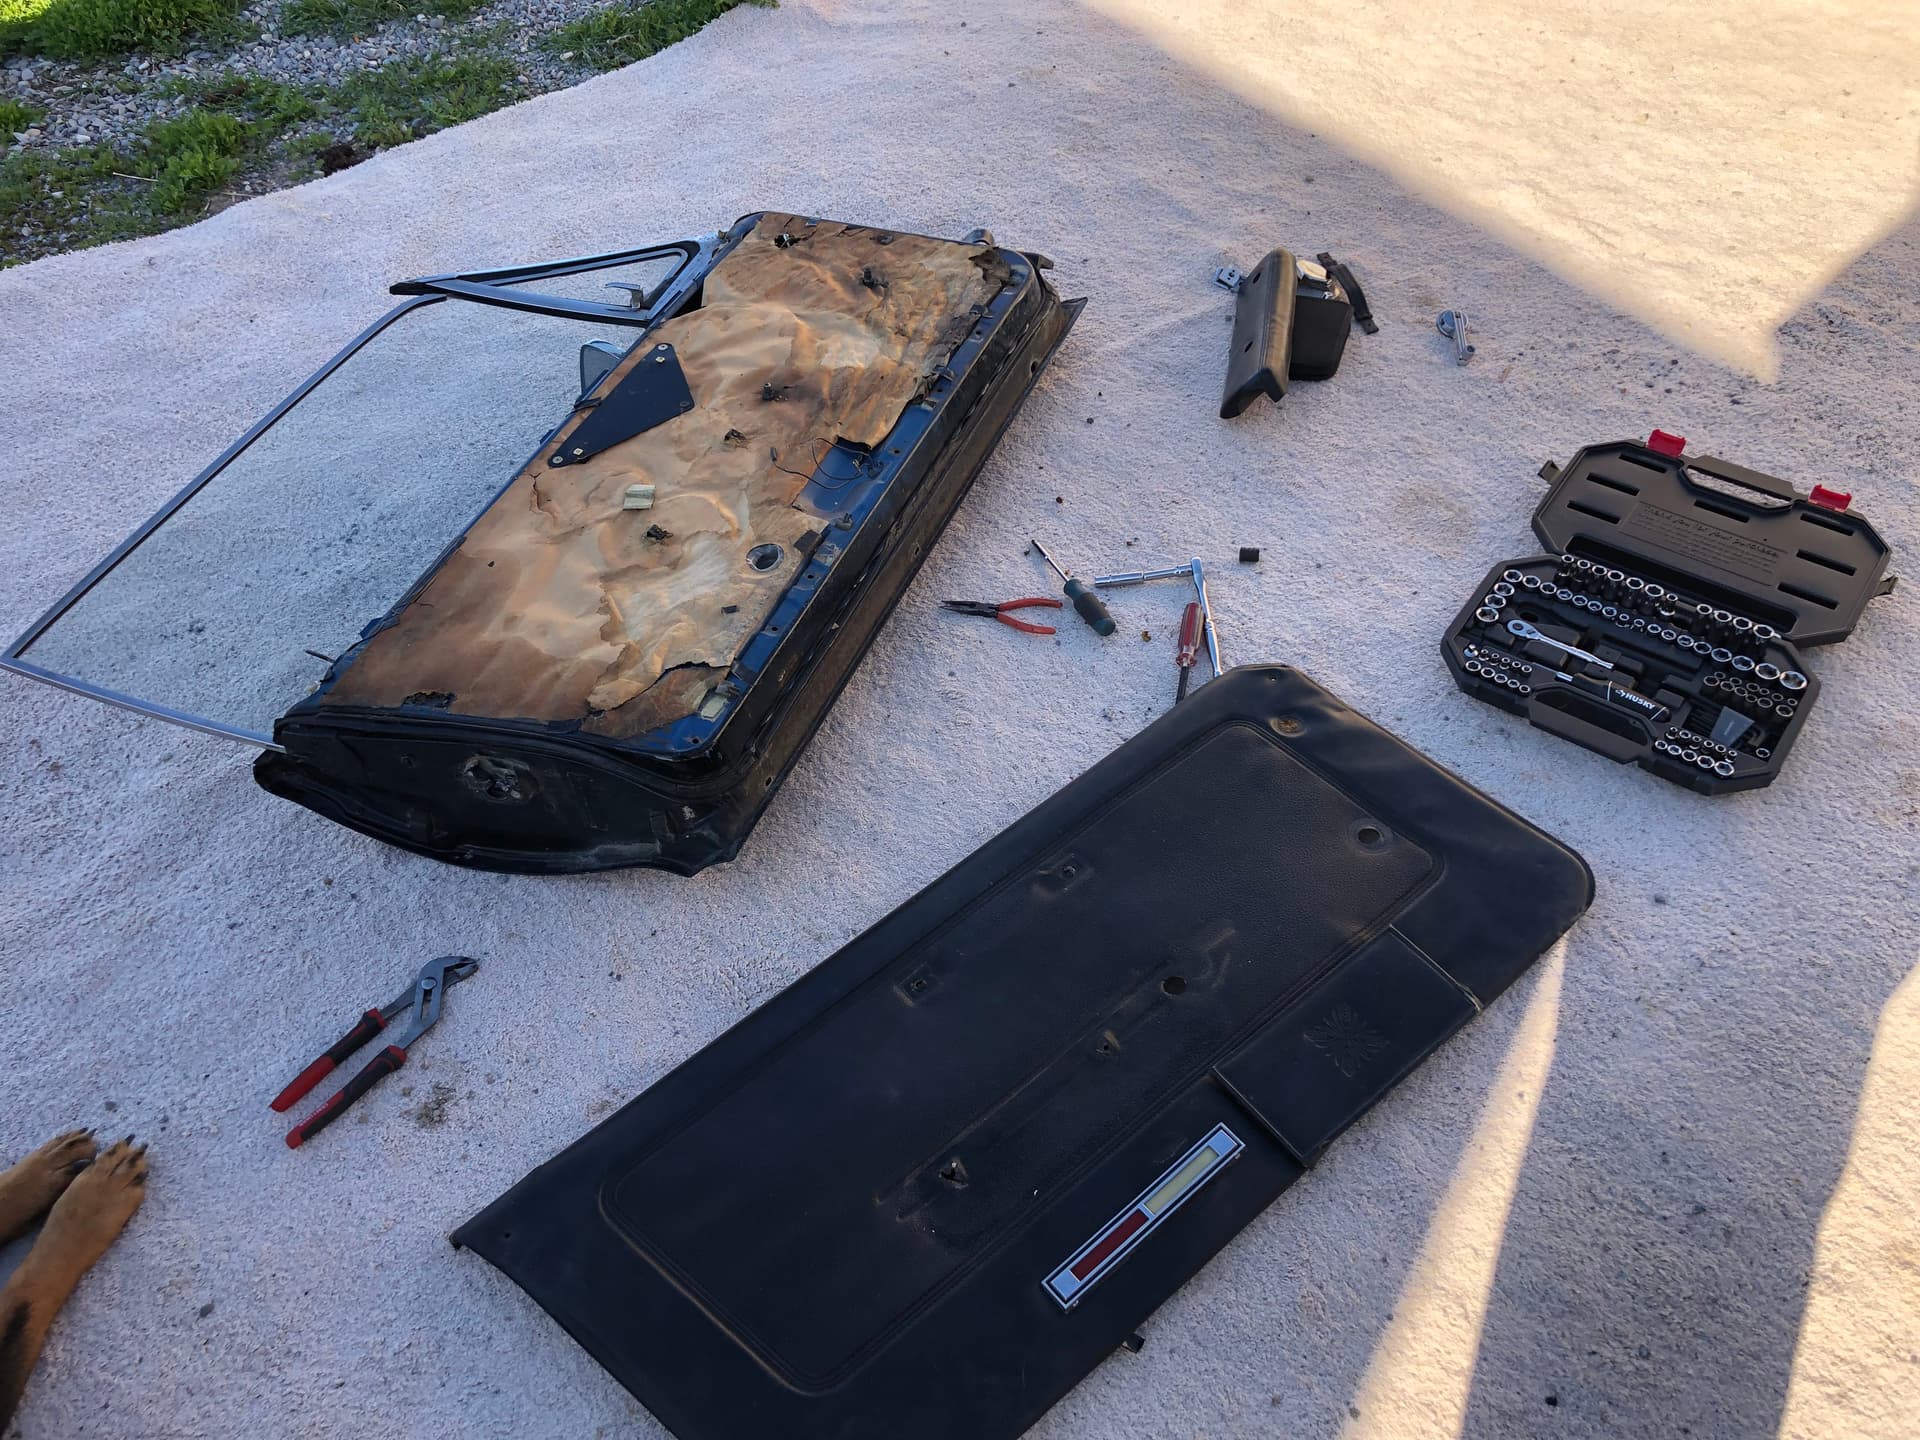
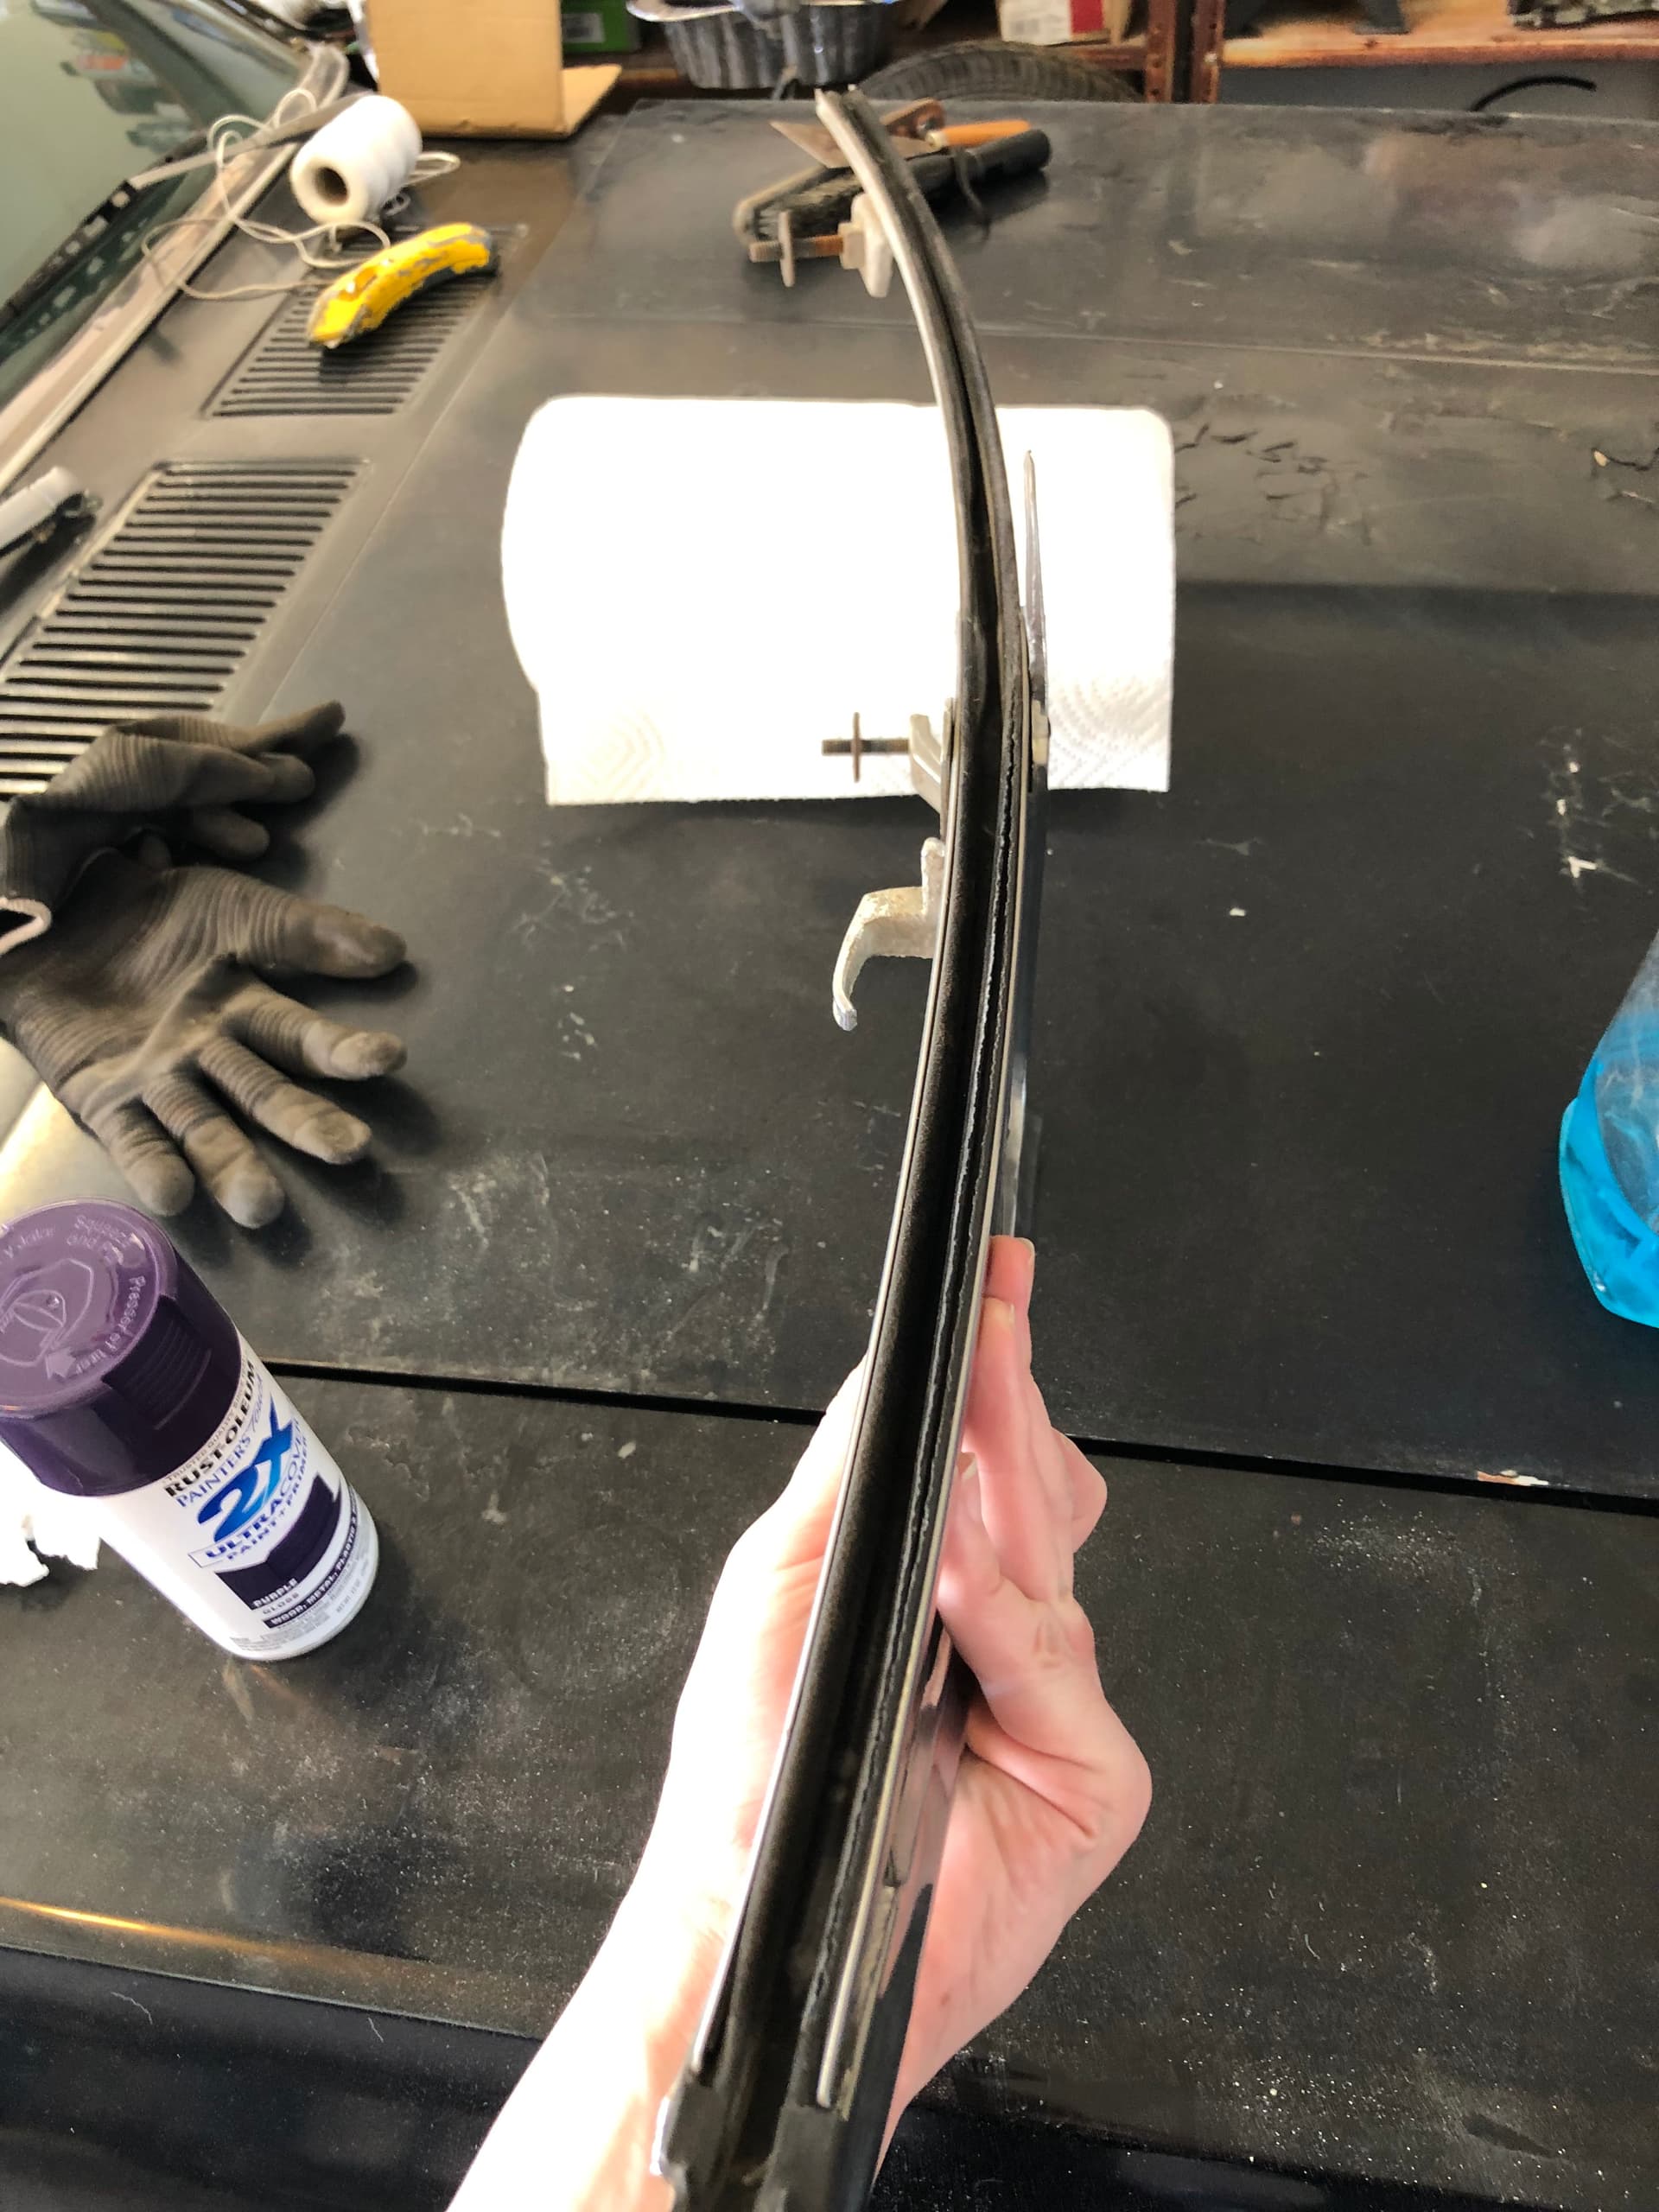
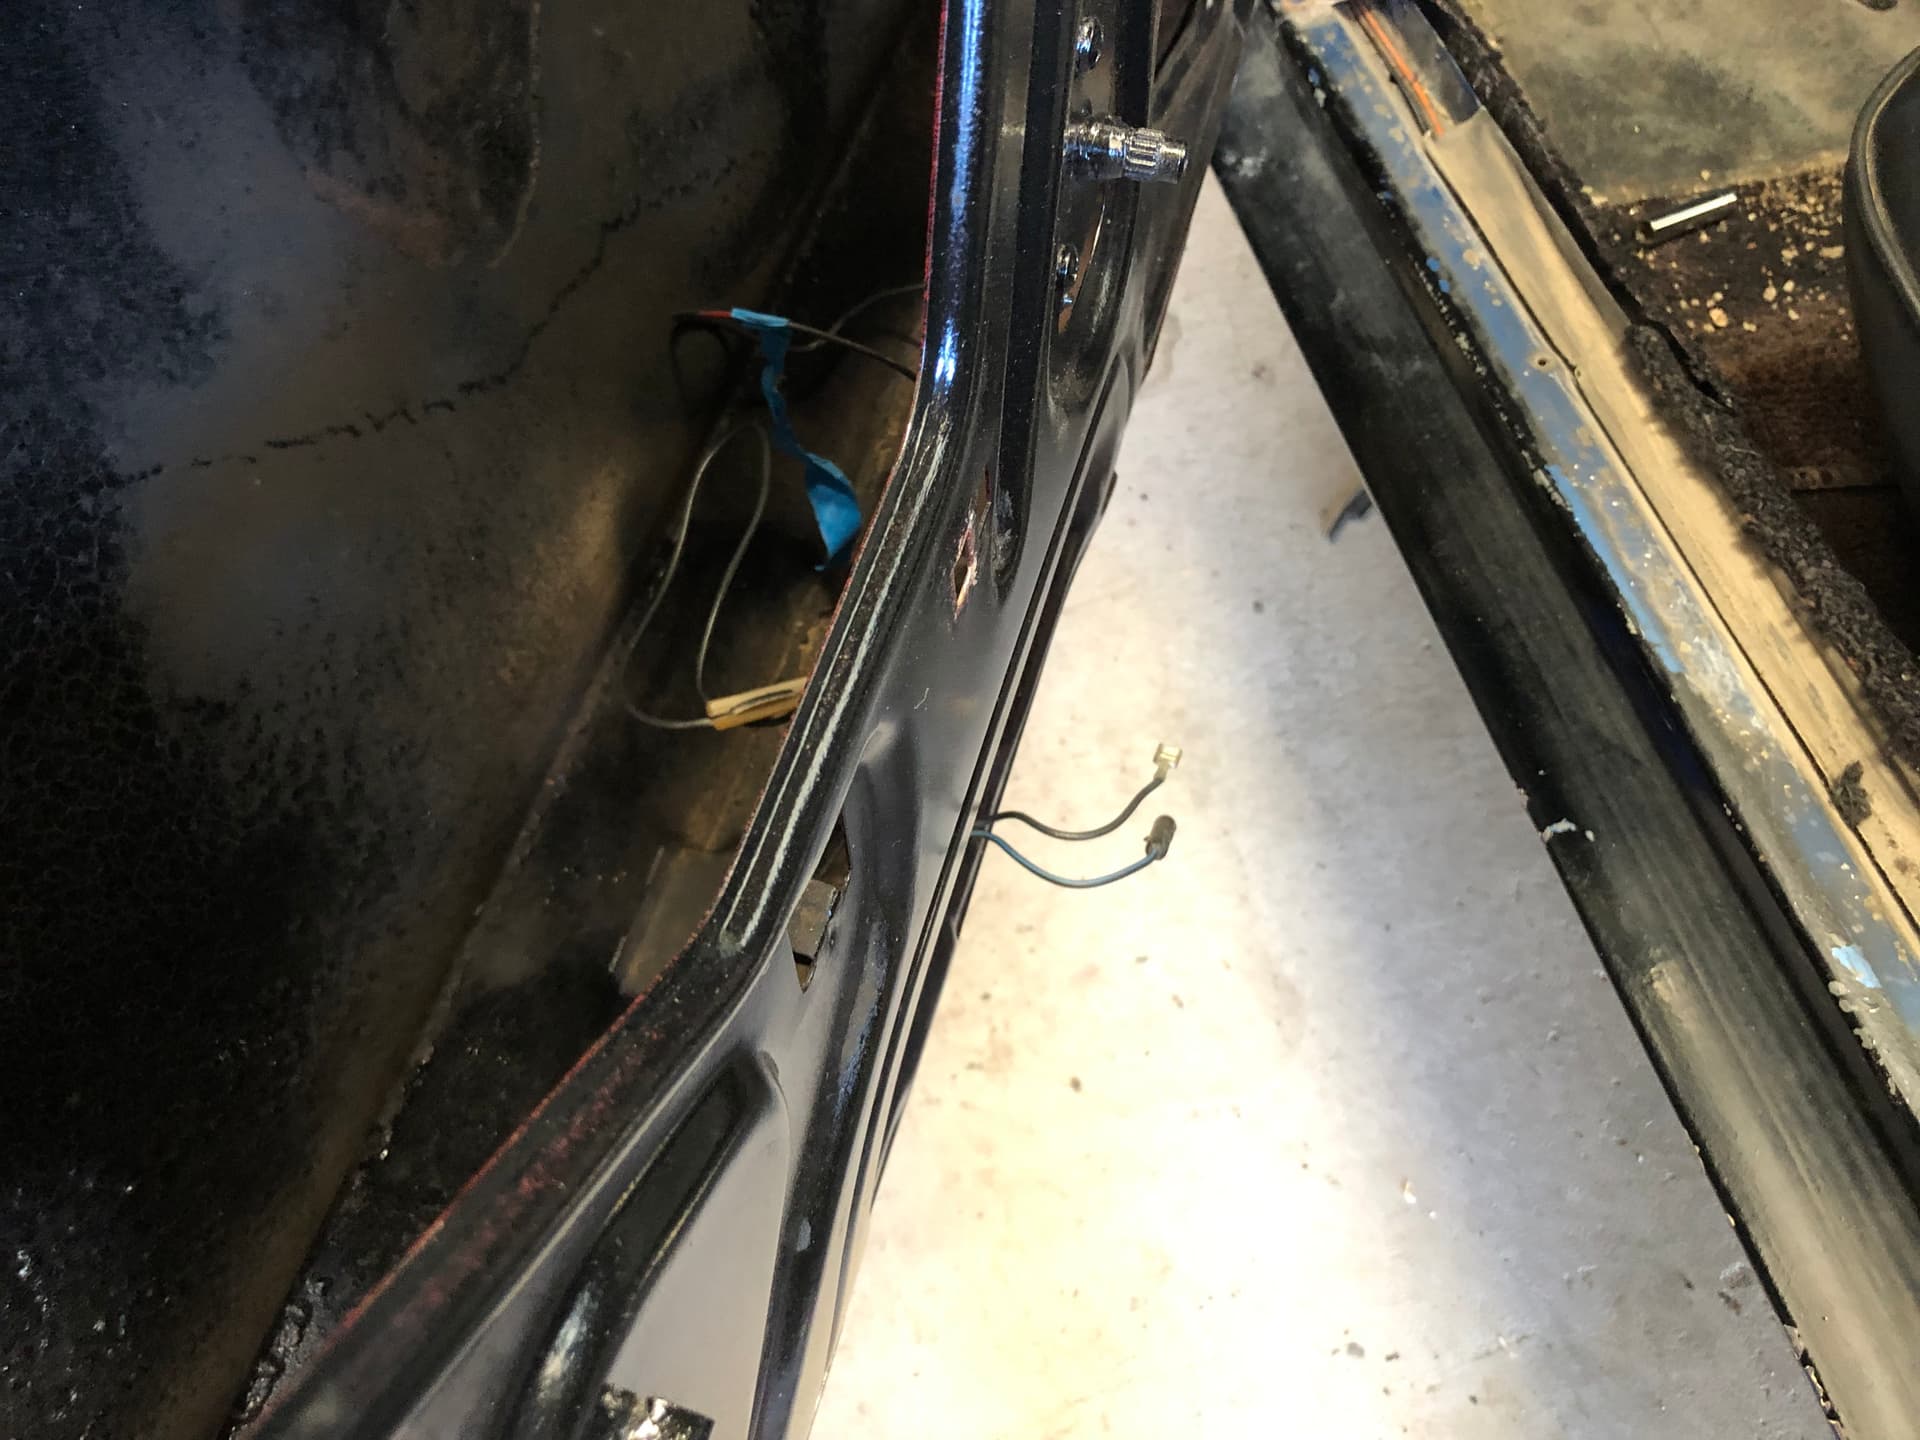
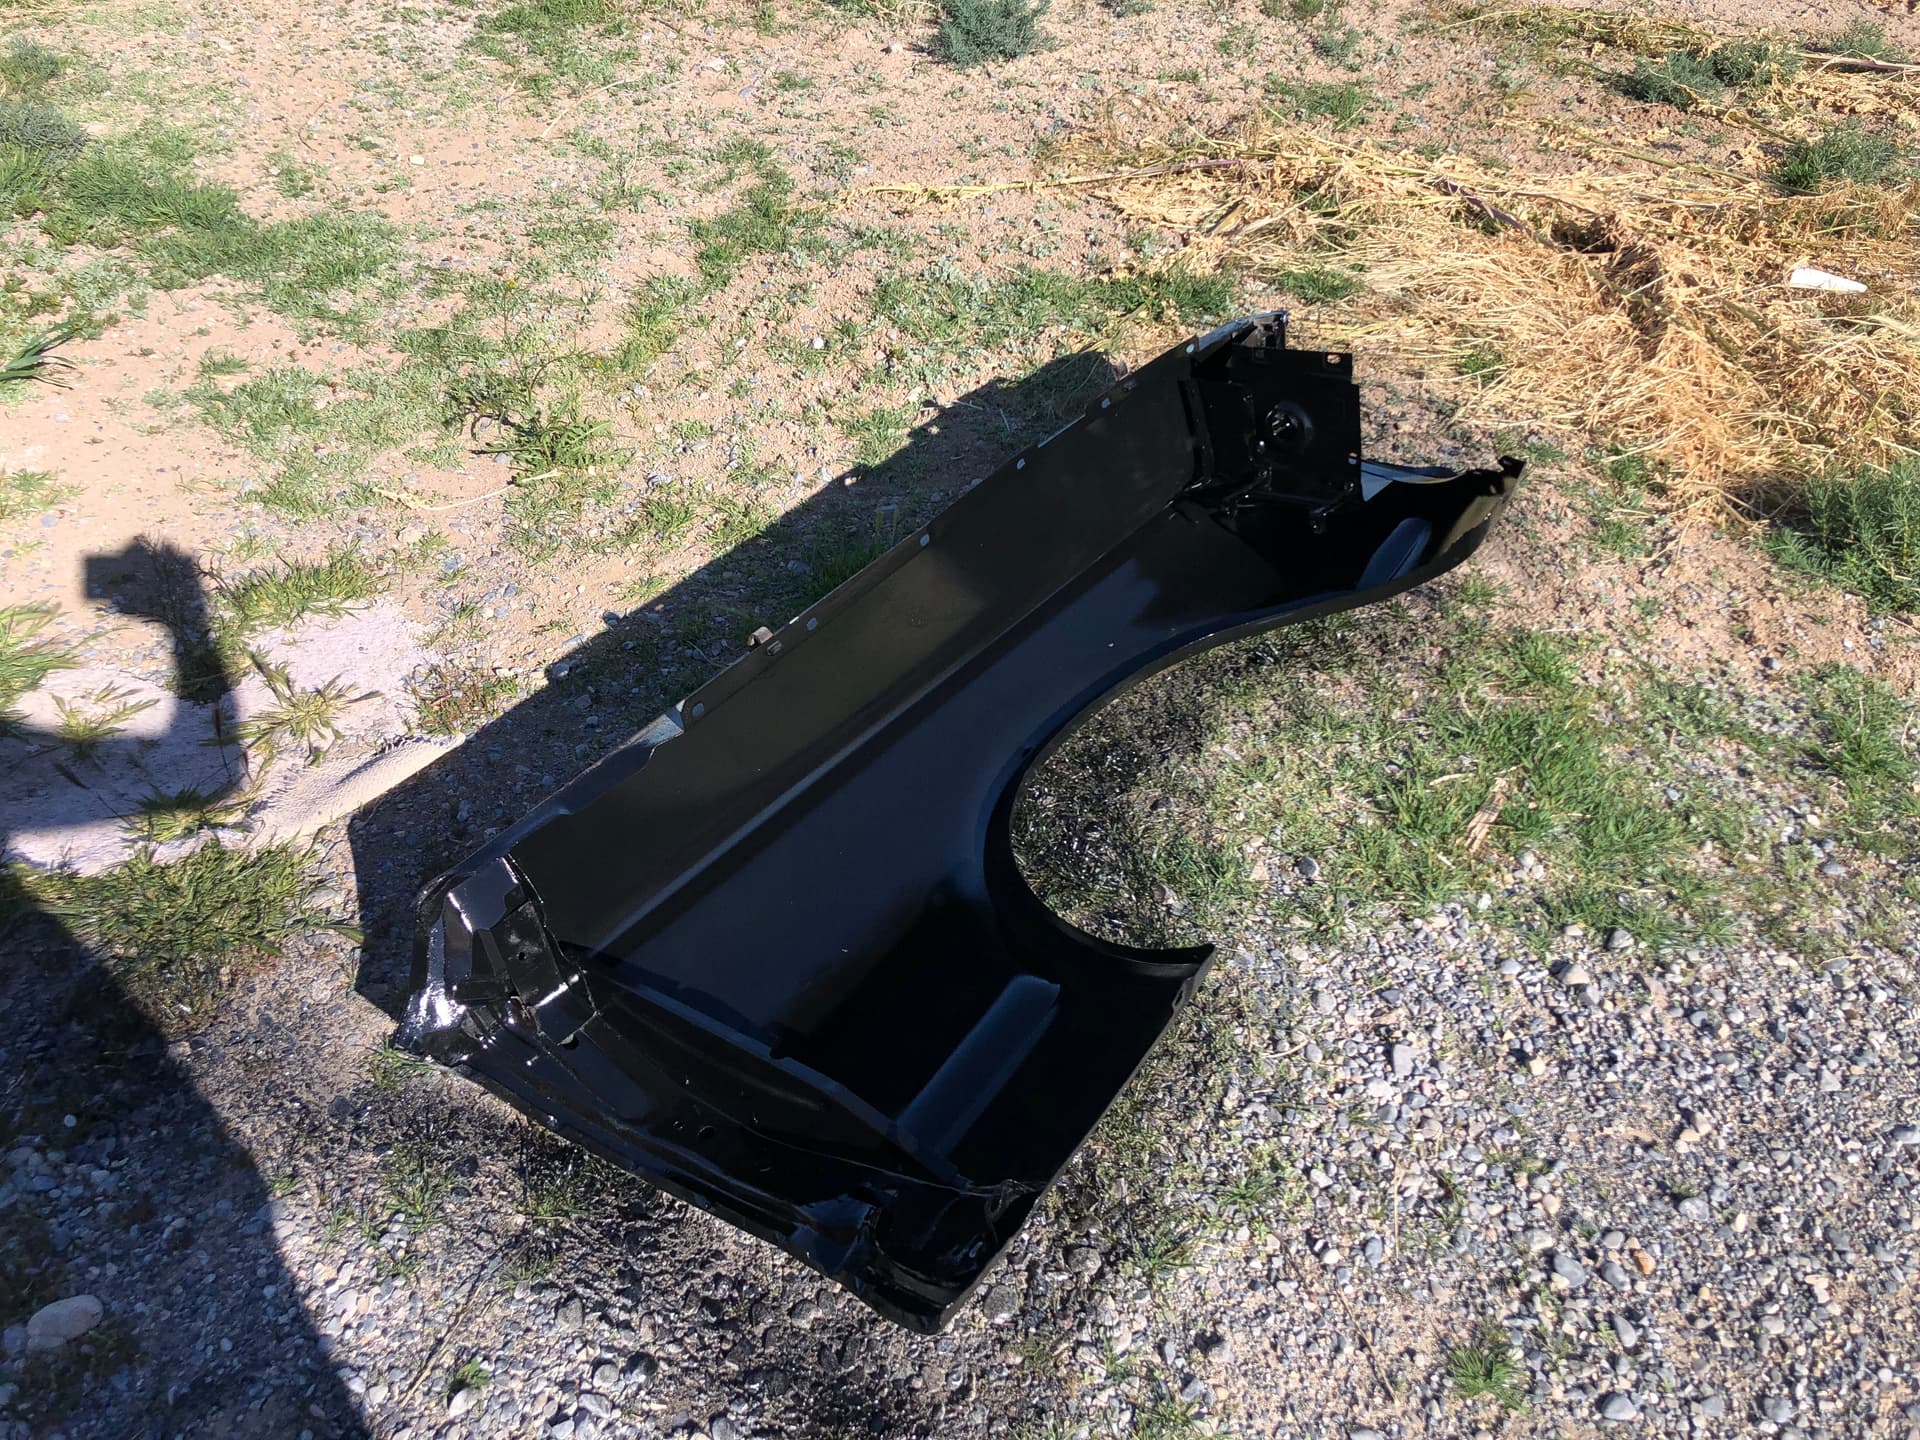
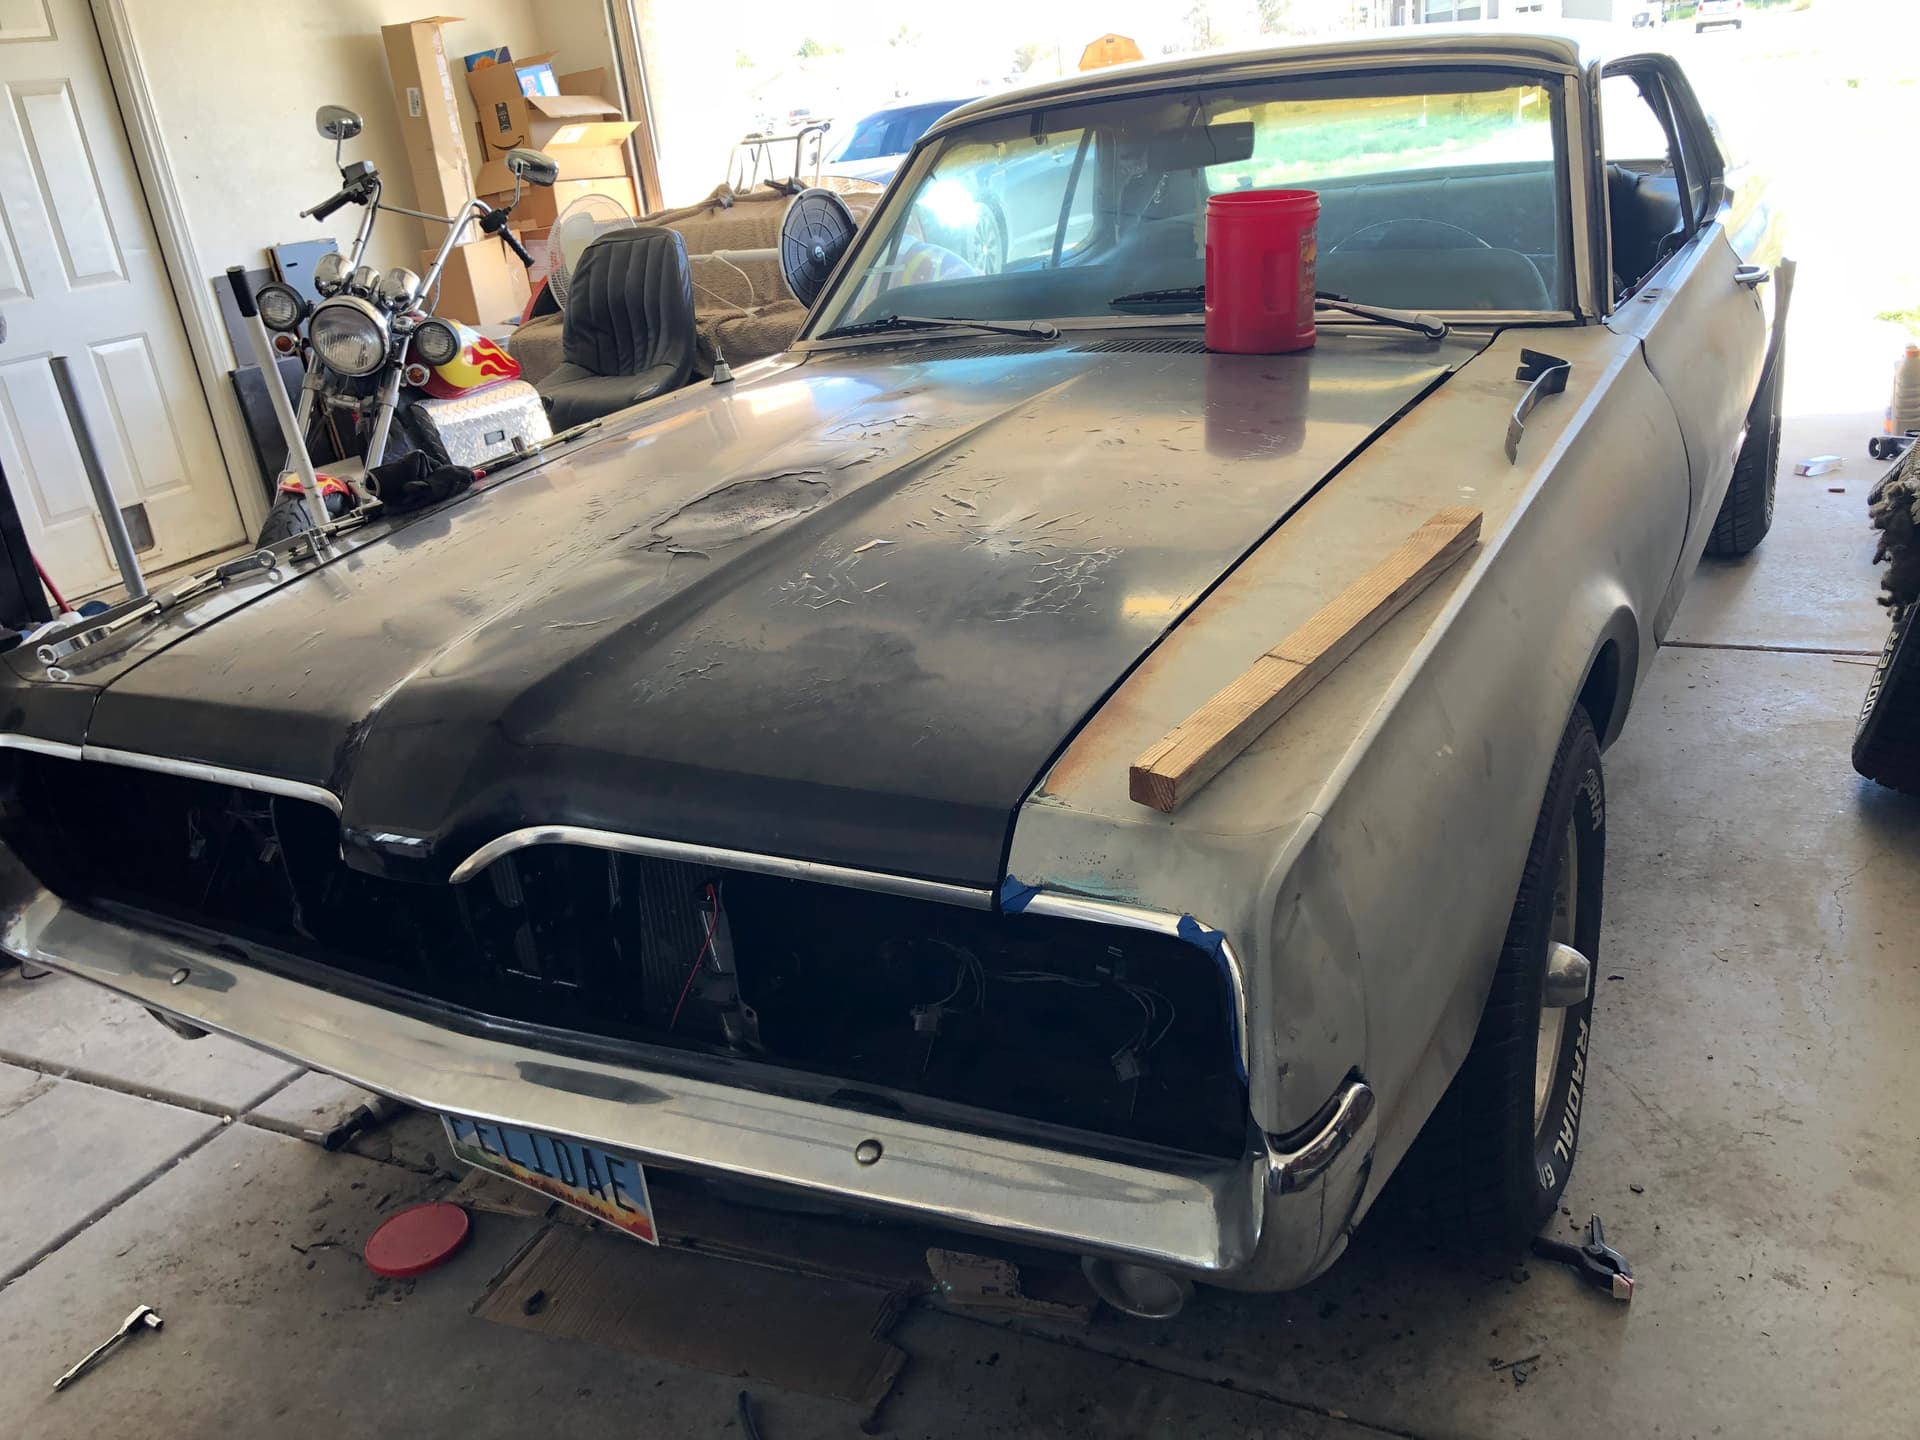
Took my sweet time removing that 300 dollar bill from the door so i could get inside. I followed the window regulator video from WCCC and figured out the rest to get the glass out. The window regulator looks brand new! The wing window and it’s track look amazing and ill probably re-use it.
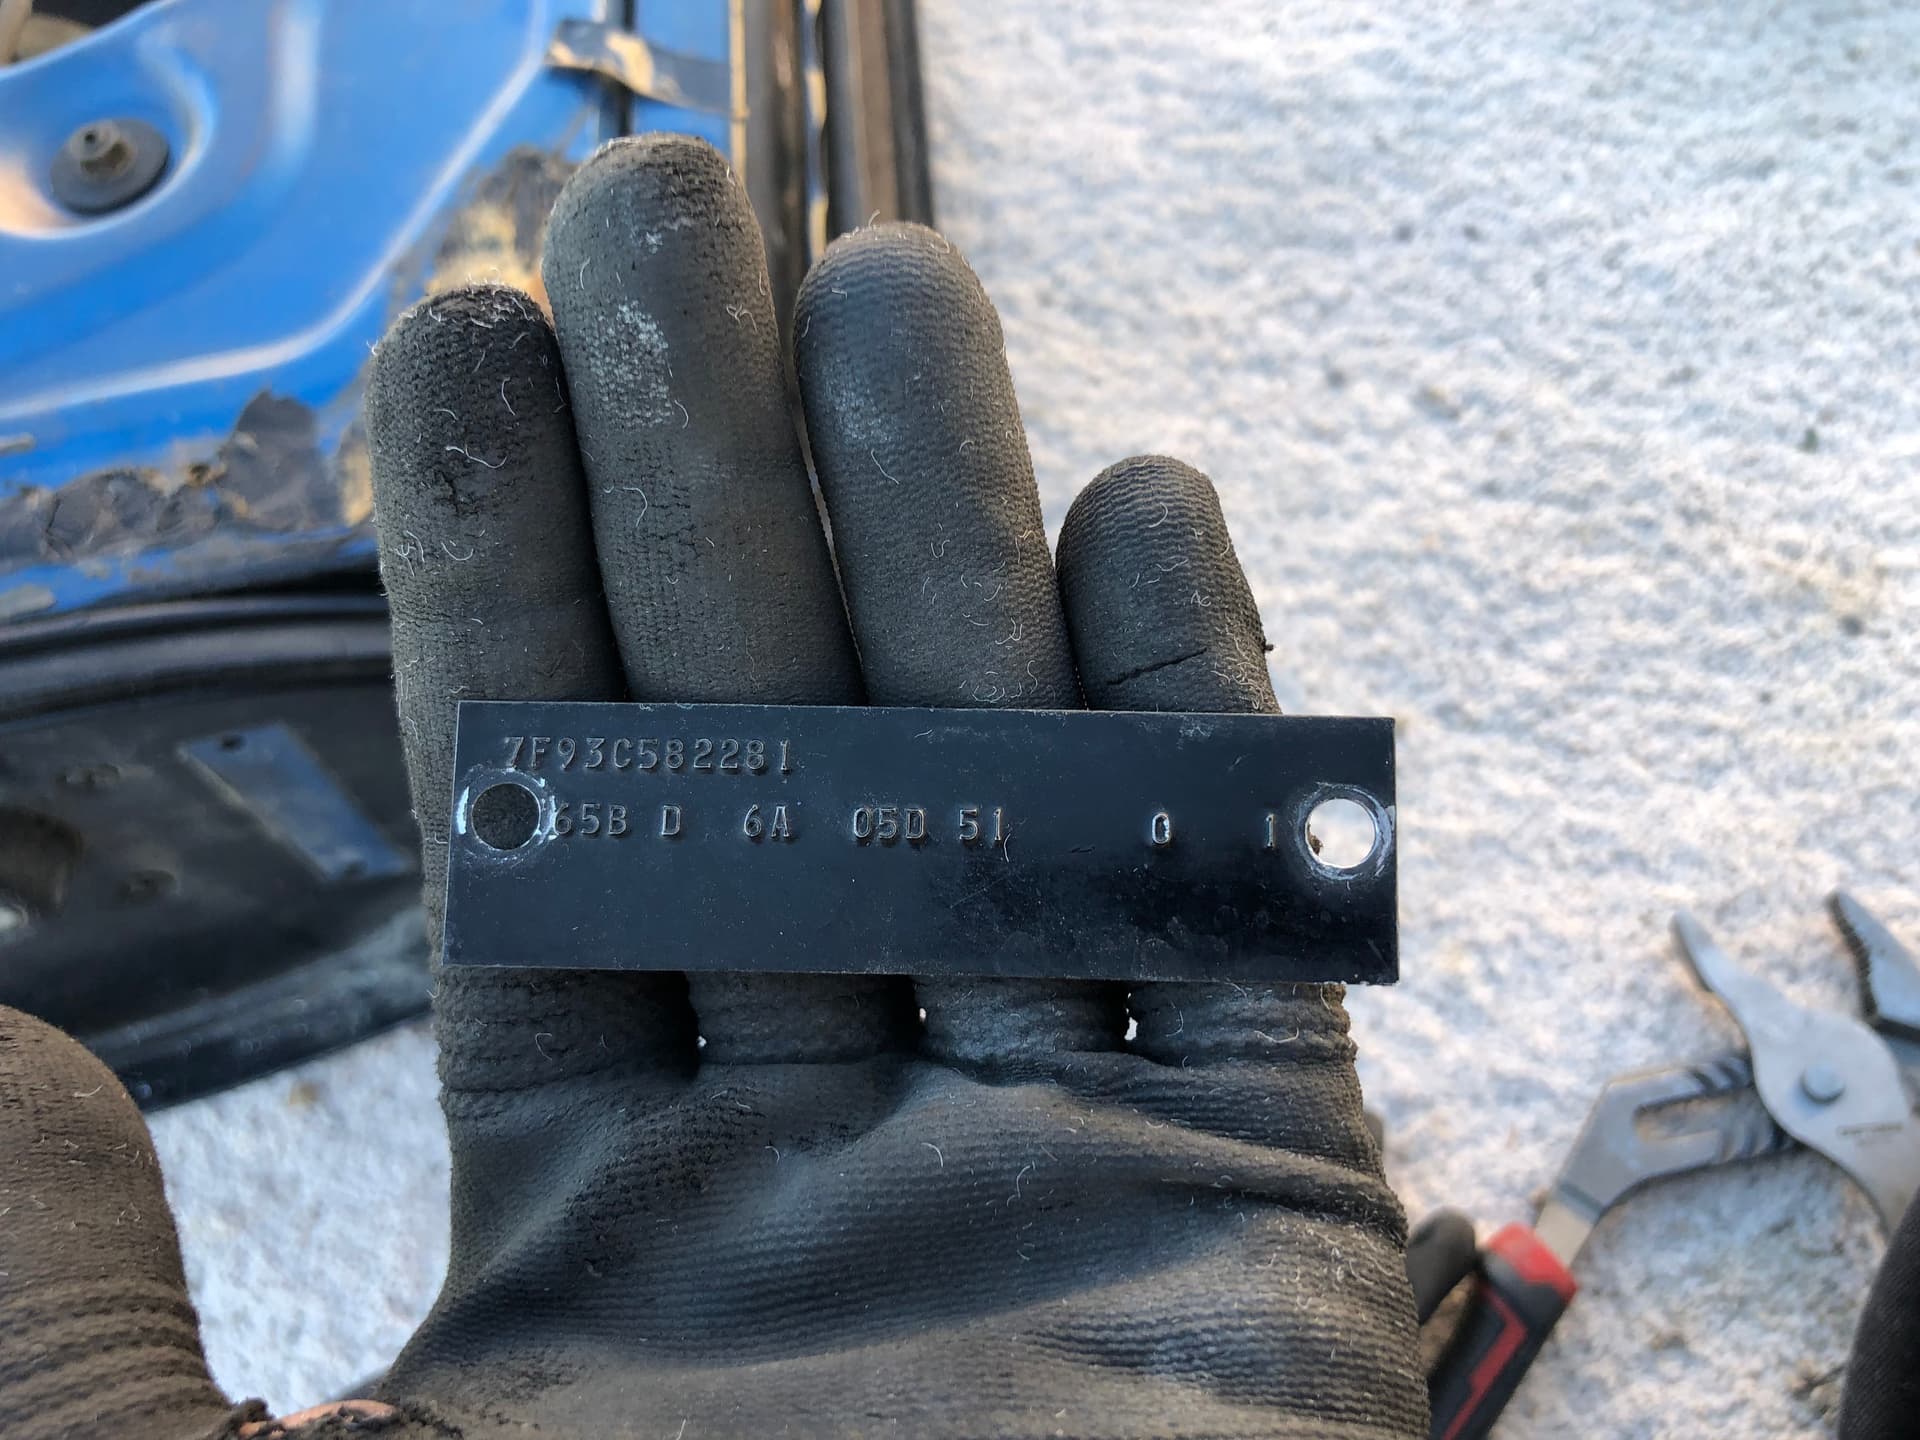
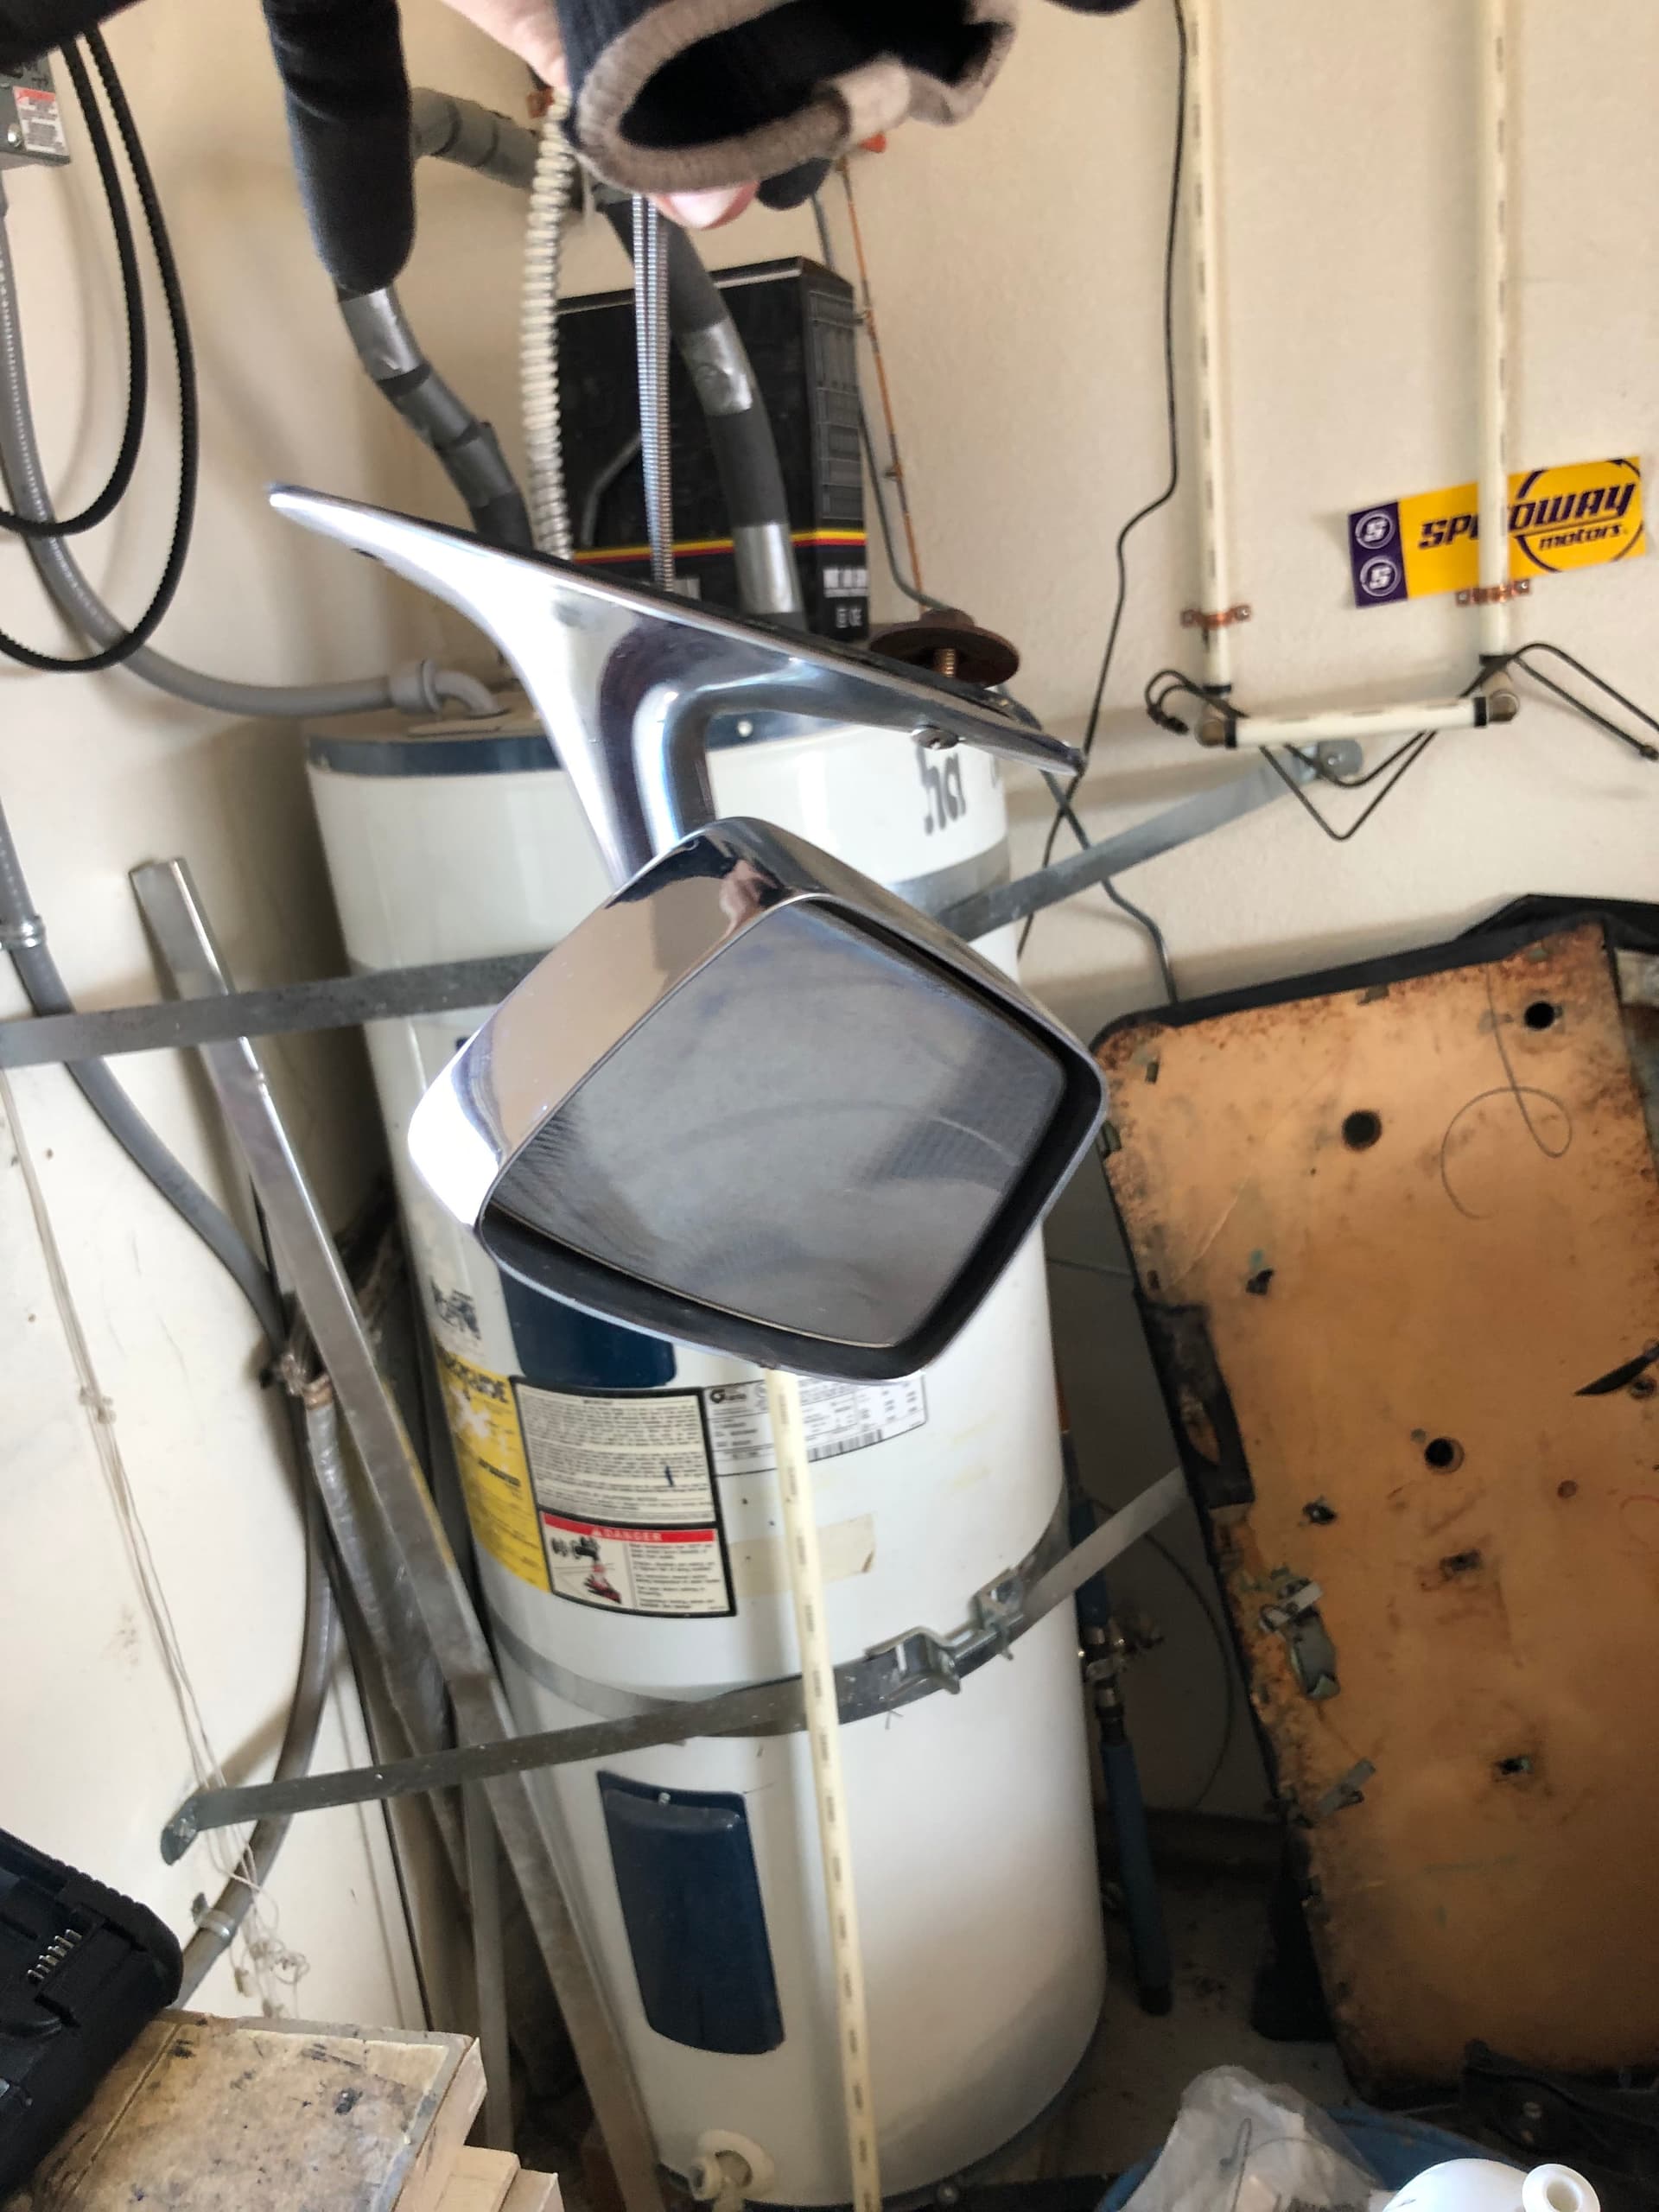
Even got my dataplate and mirror back!
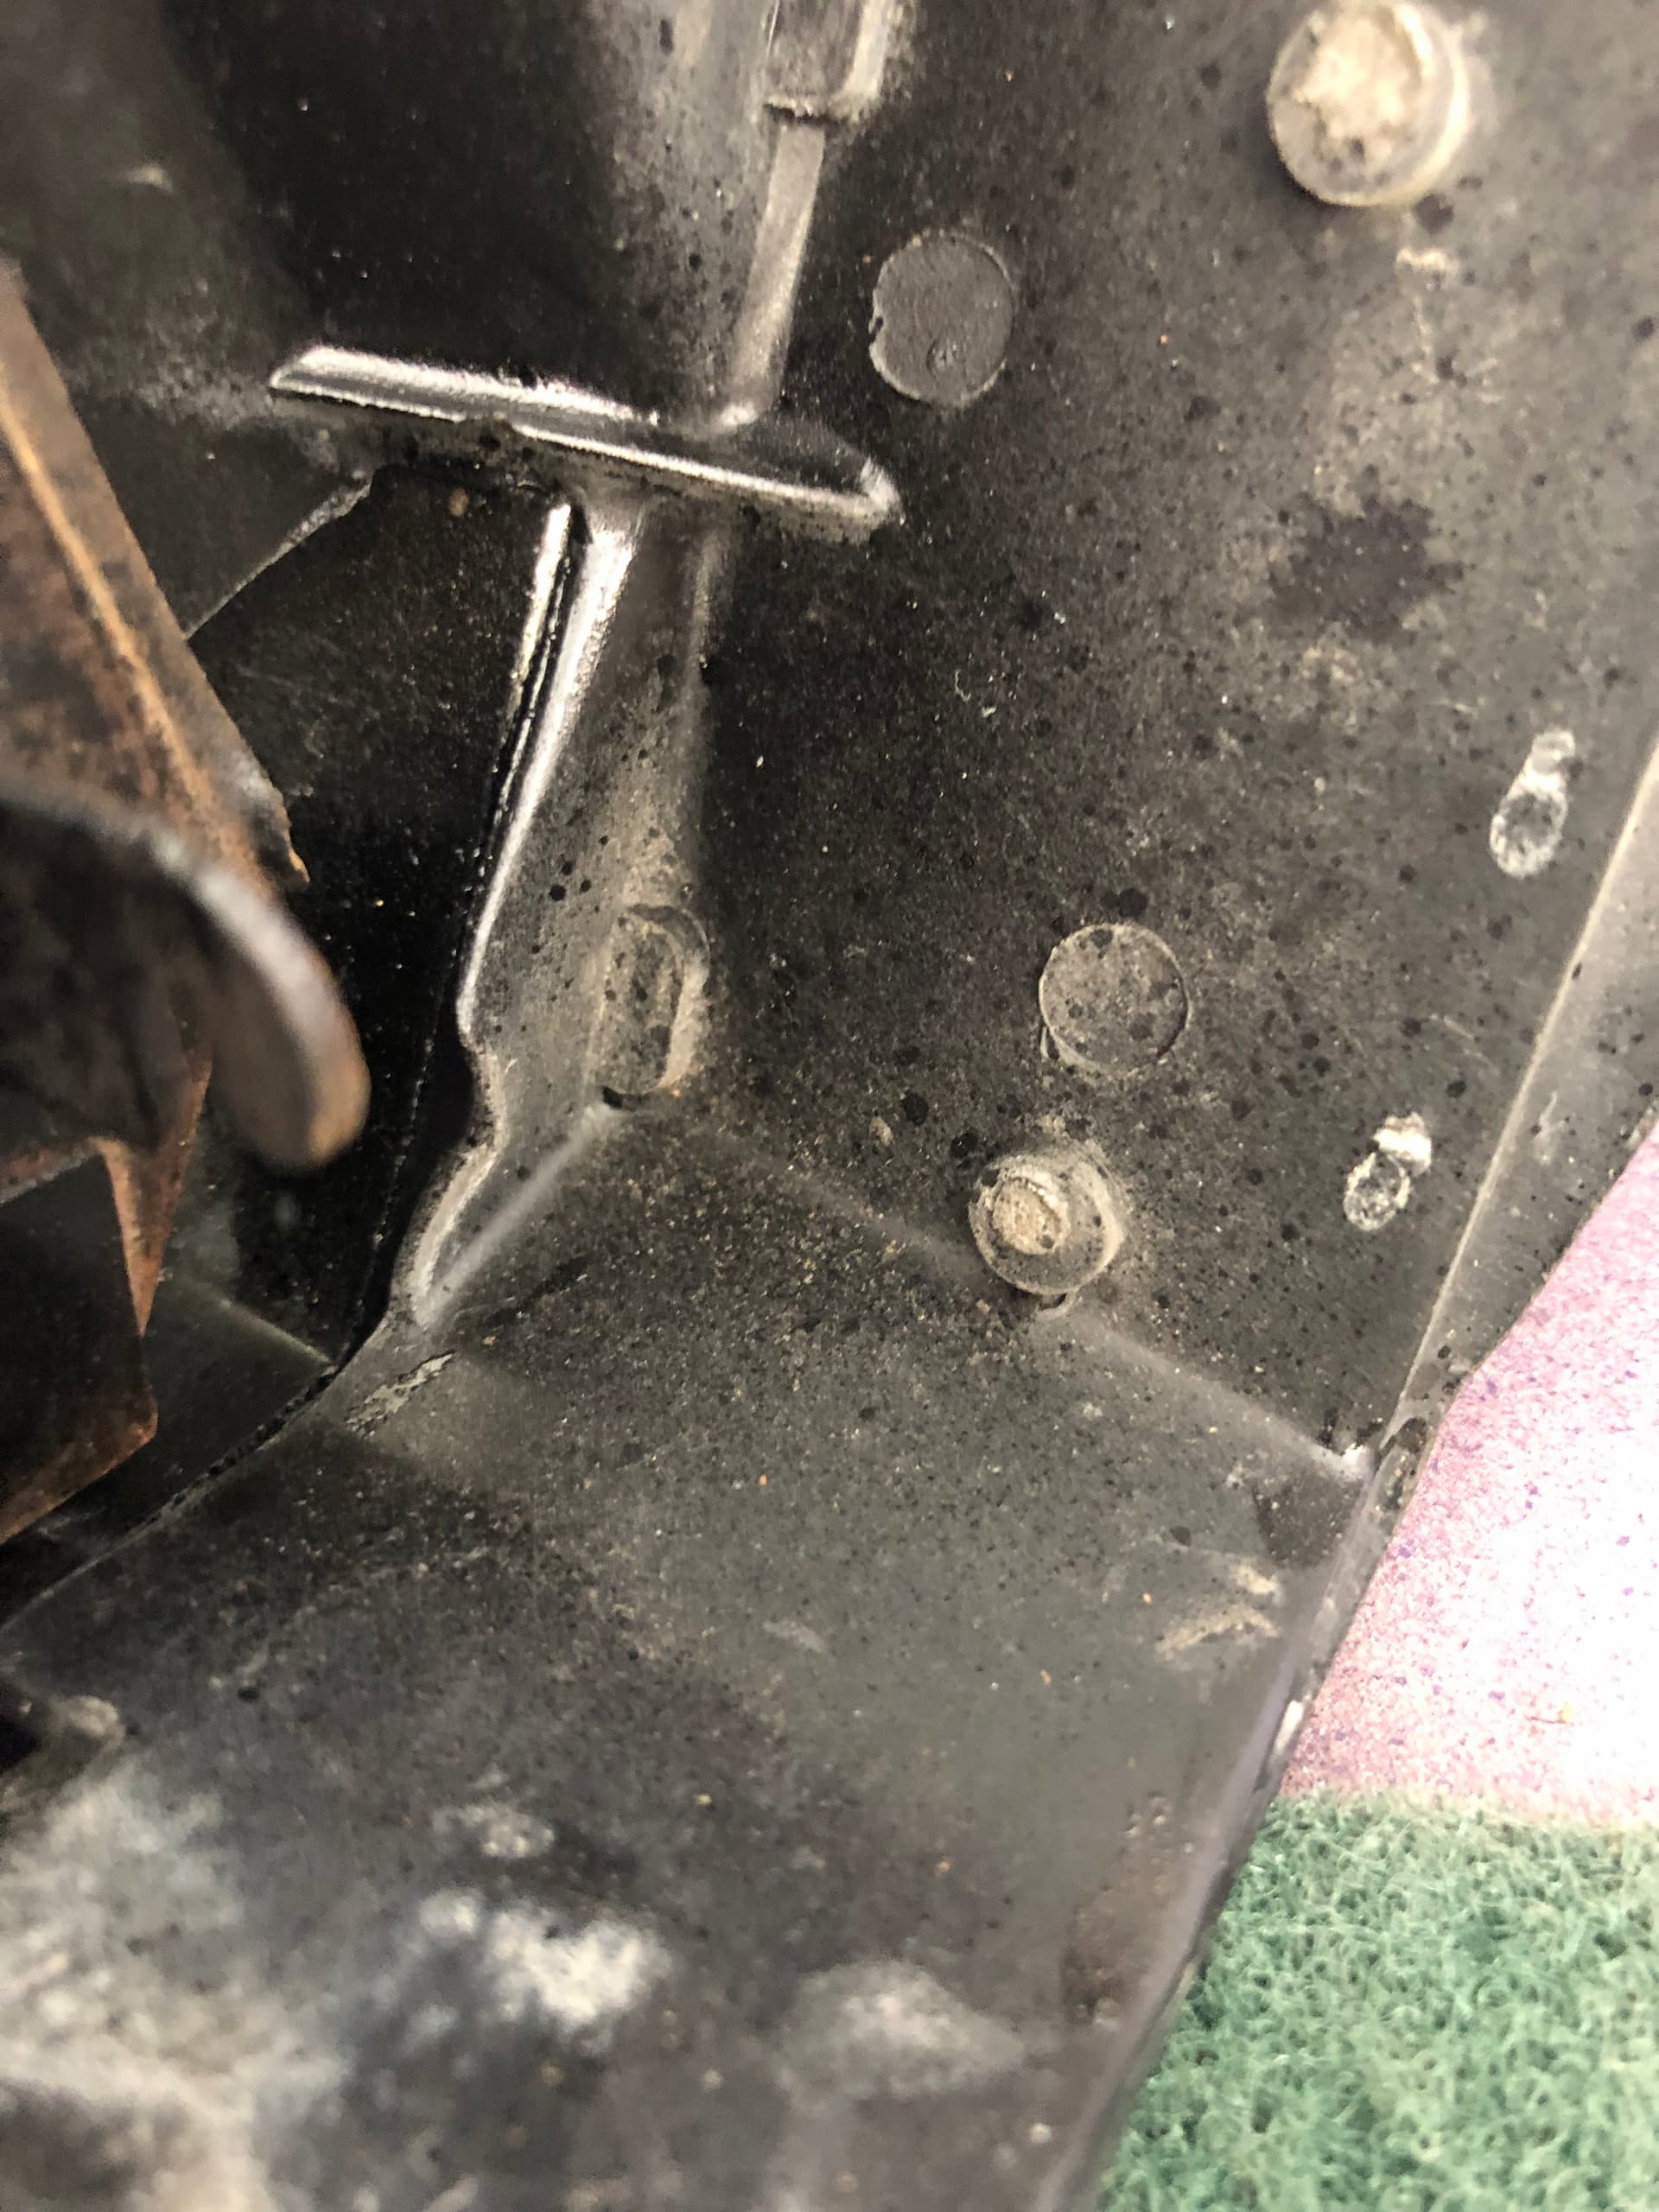
I only stripped one of the window track screws and had to drill it out, but I have enough fittings from both cars besides the weatherstripping to assemble my door.
Thanks for reading, and stay tuned! ![]()
1 Like
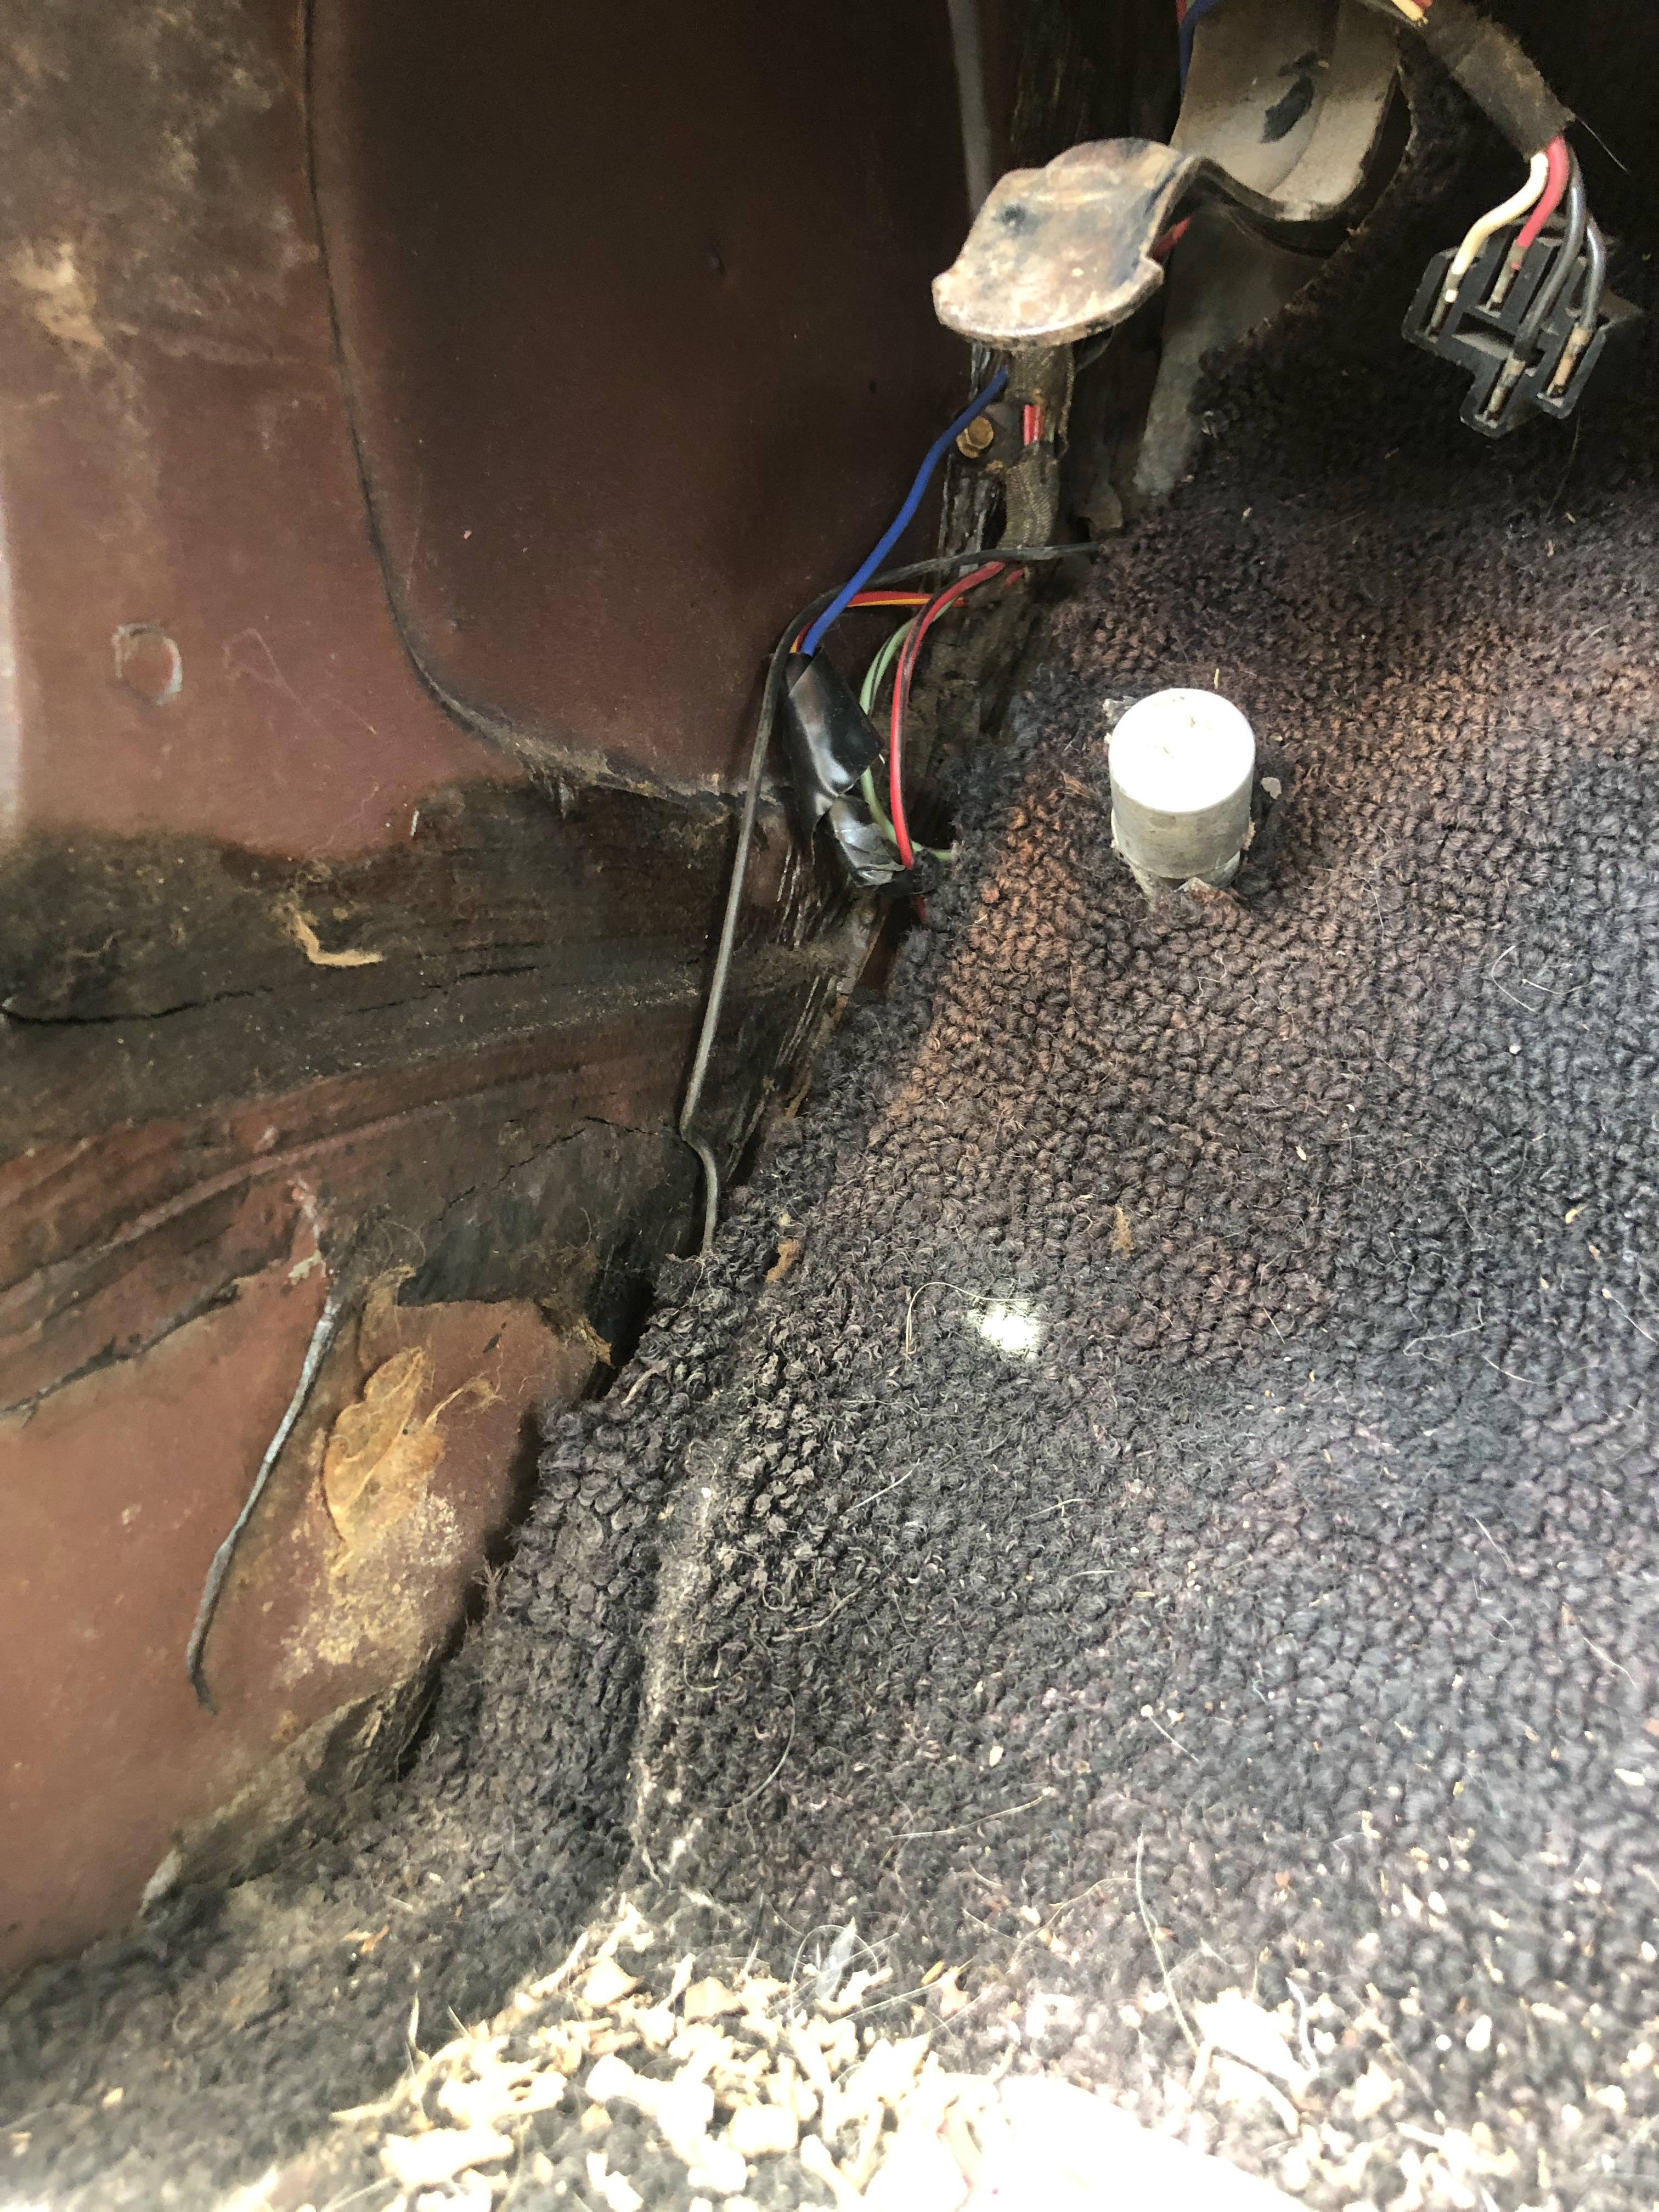
Installed my door harness I got from WCCC, switch works and gets voltage. There was a super long lead that looks like a ground, I don’t know what it goes to so im leaving it to dangle in the door until i figure out what it’s for.
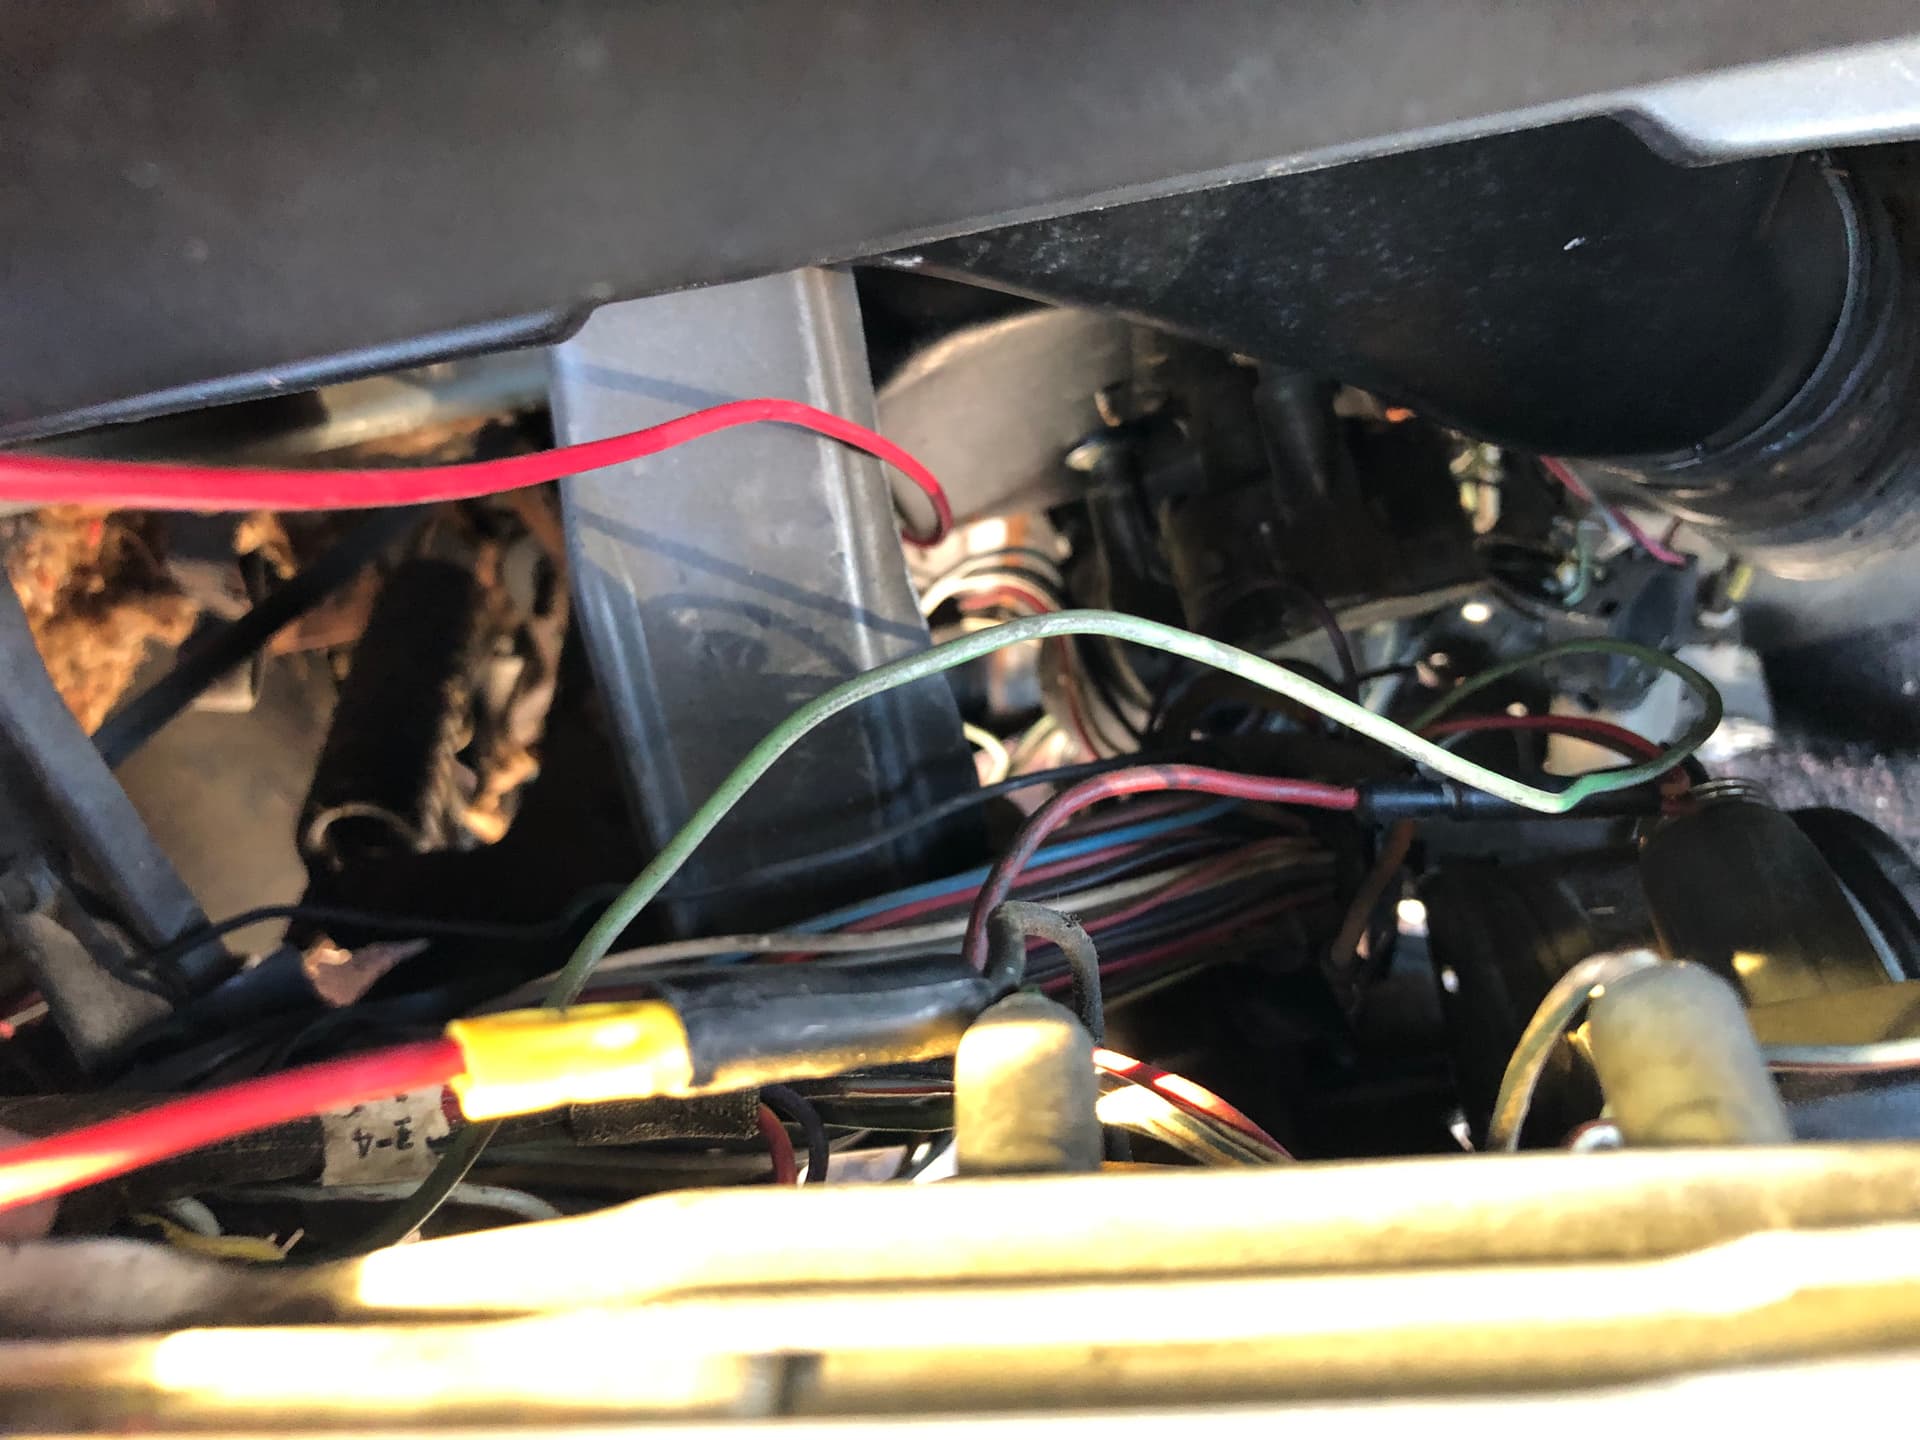
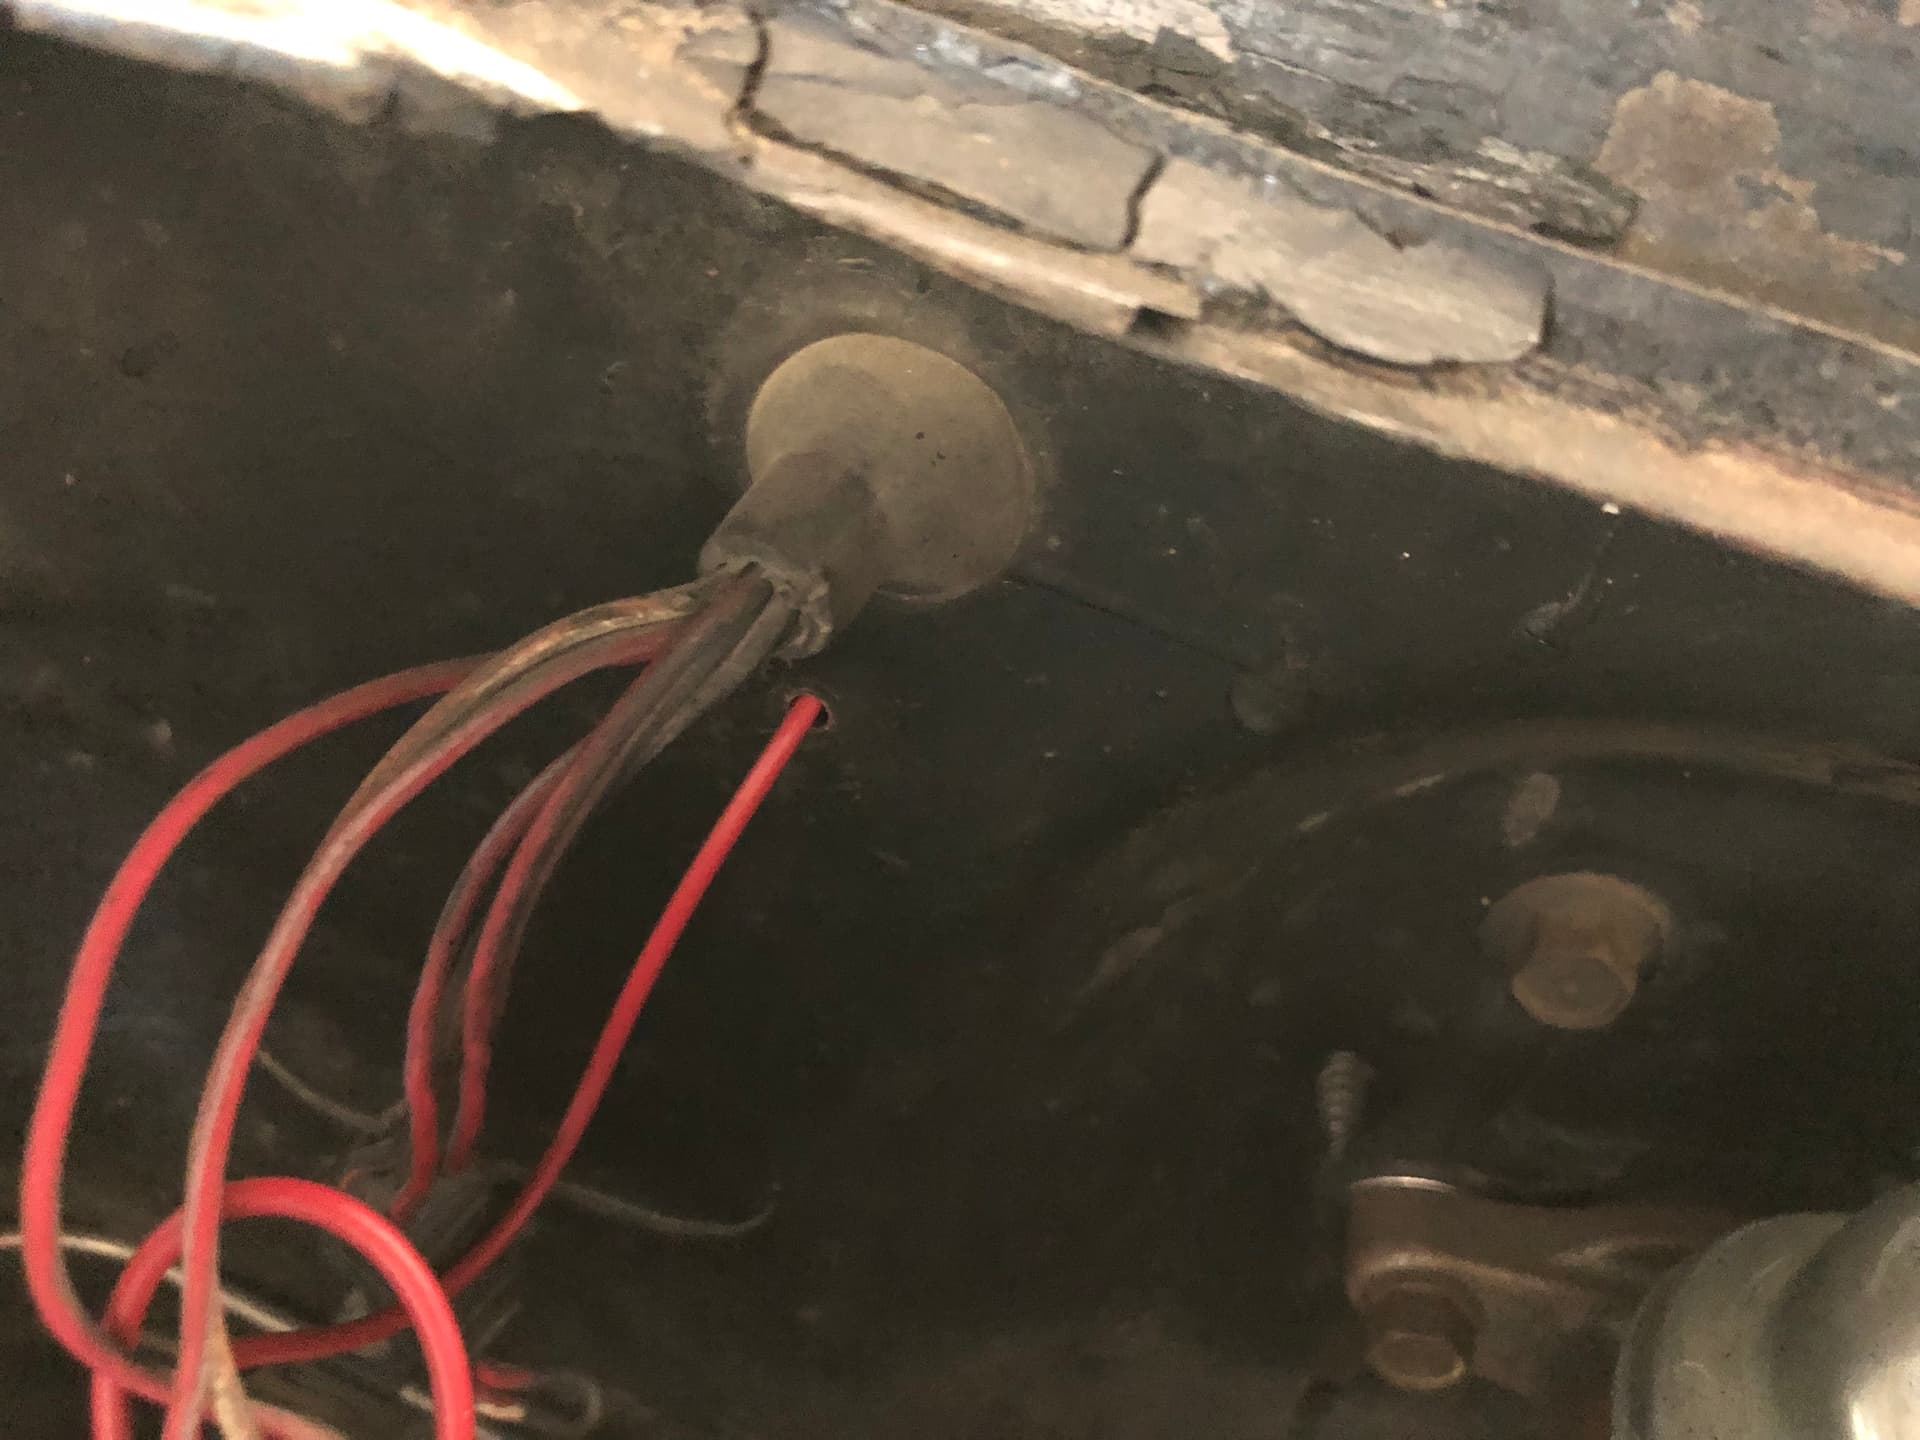
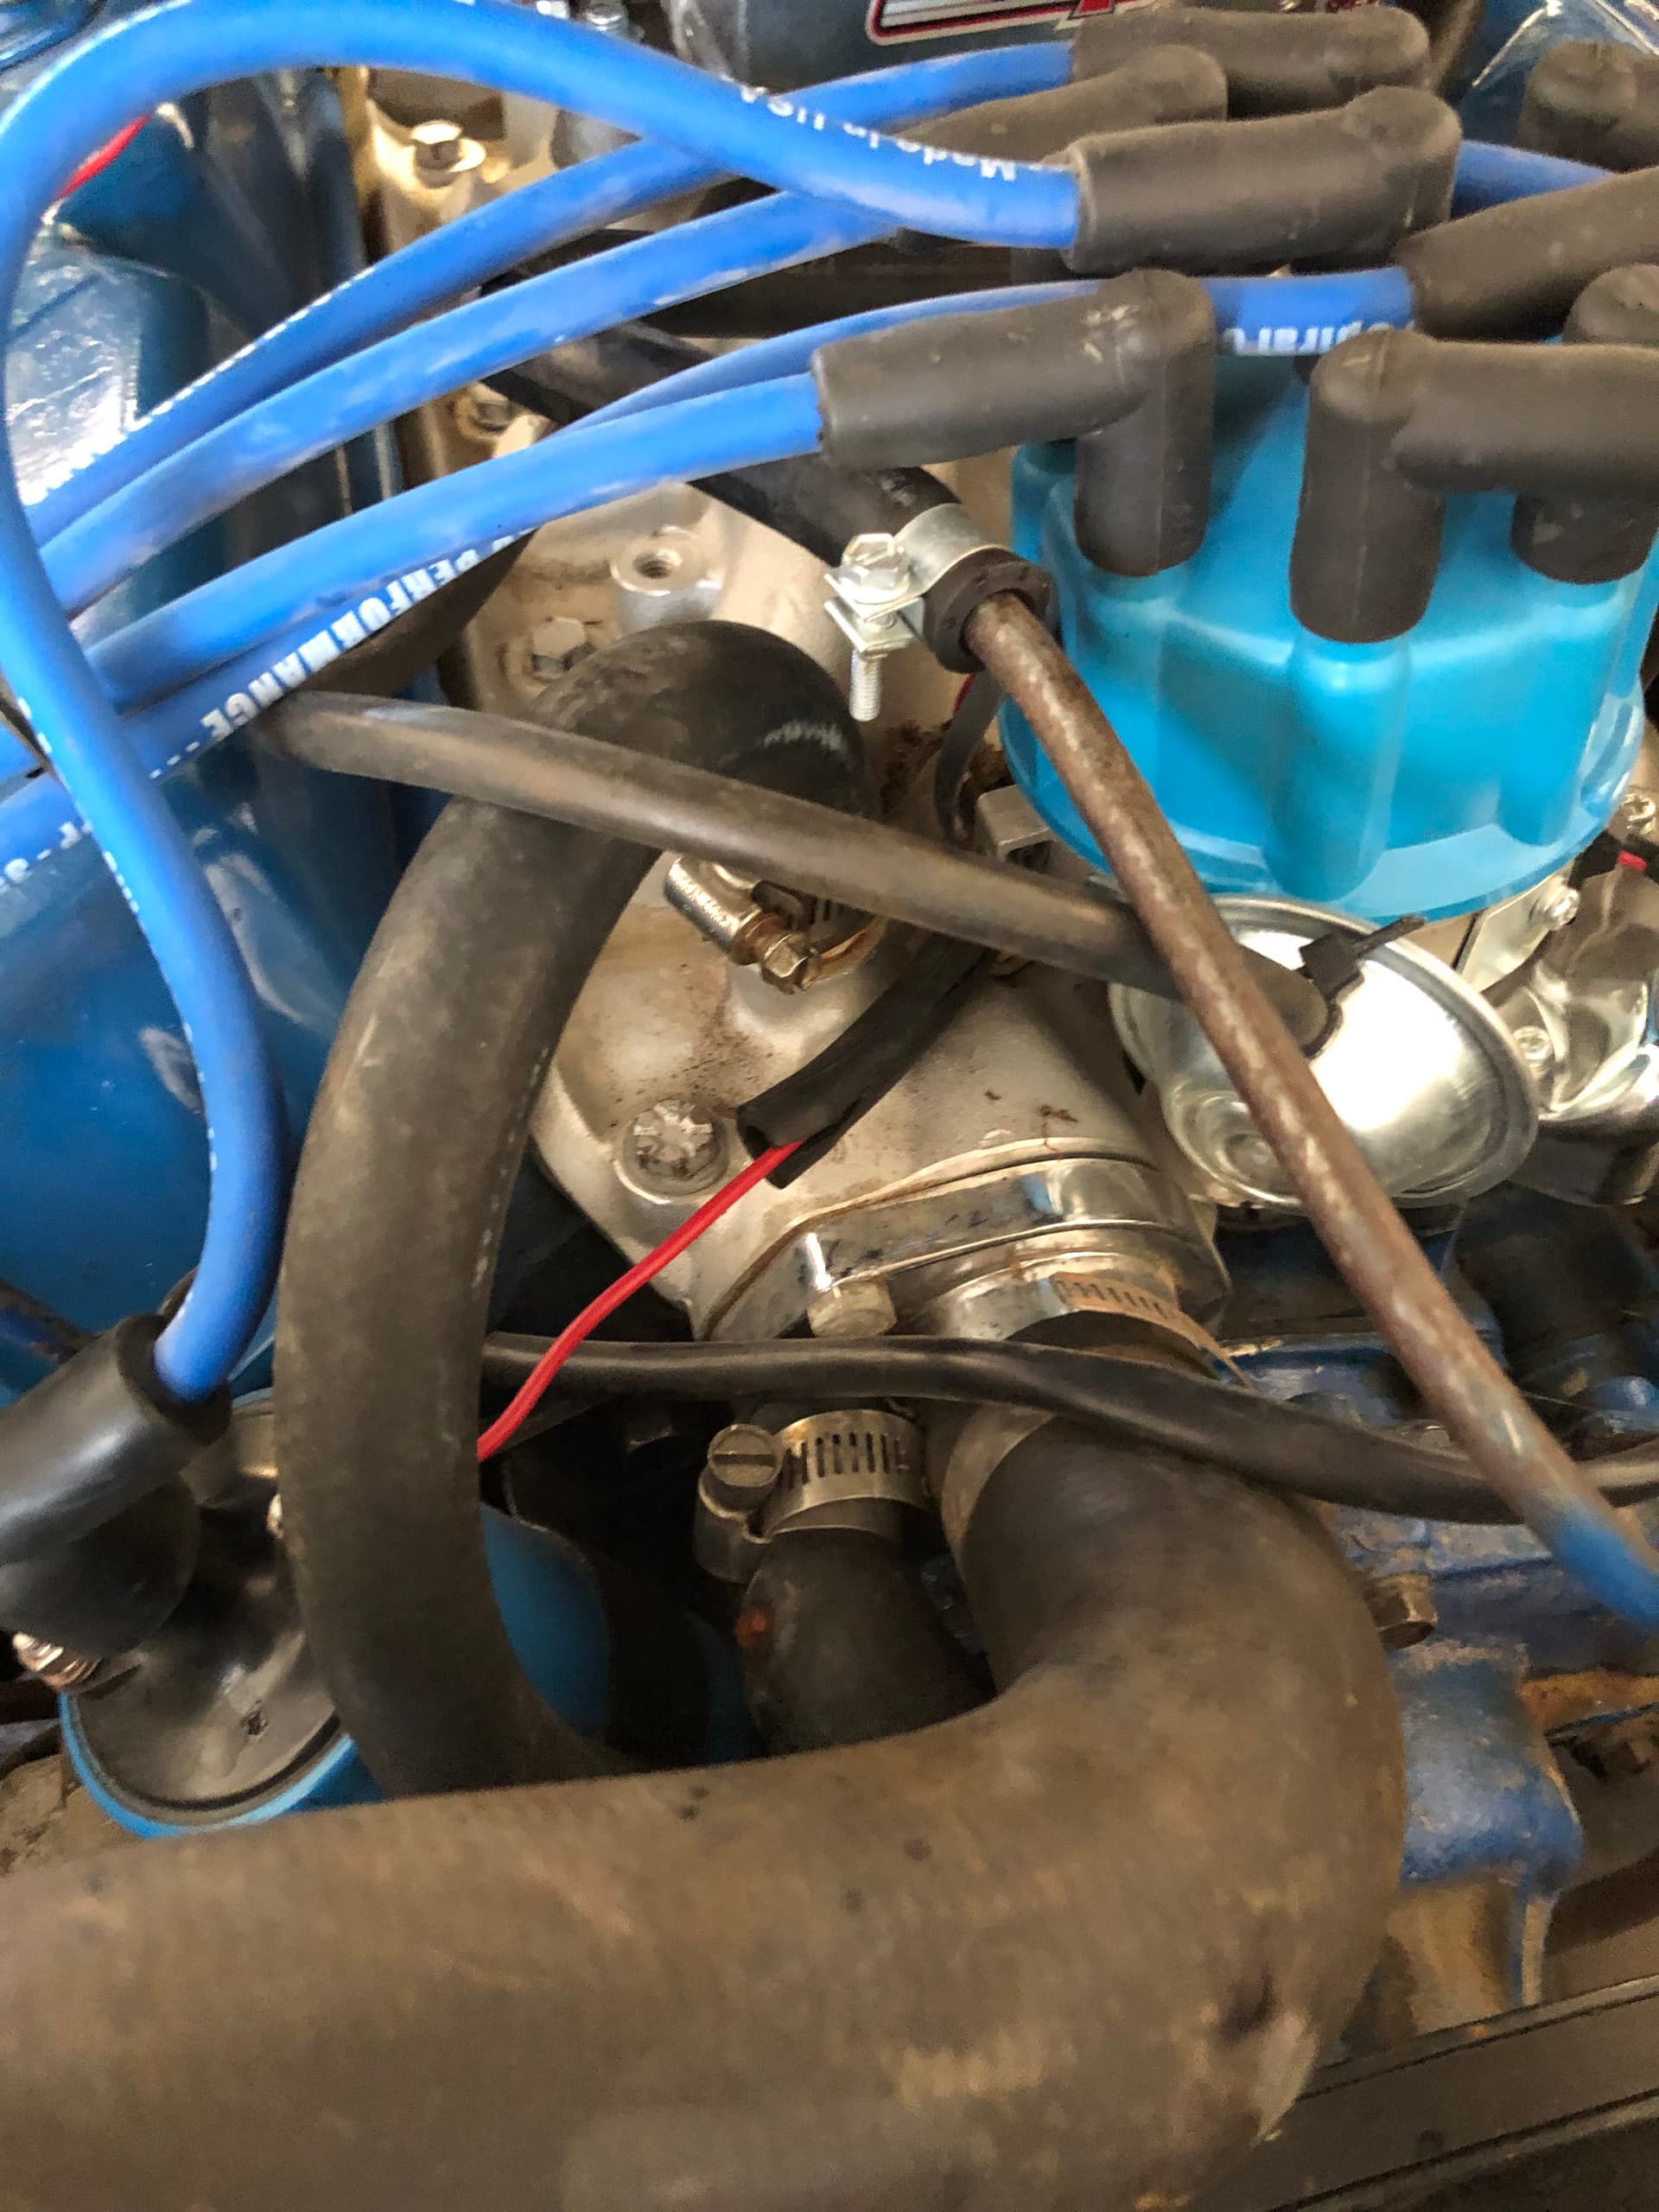
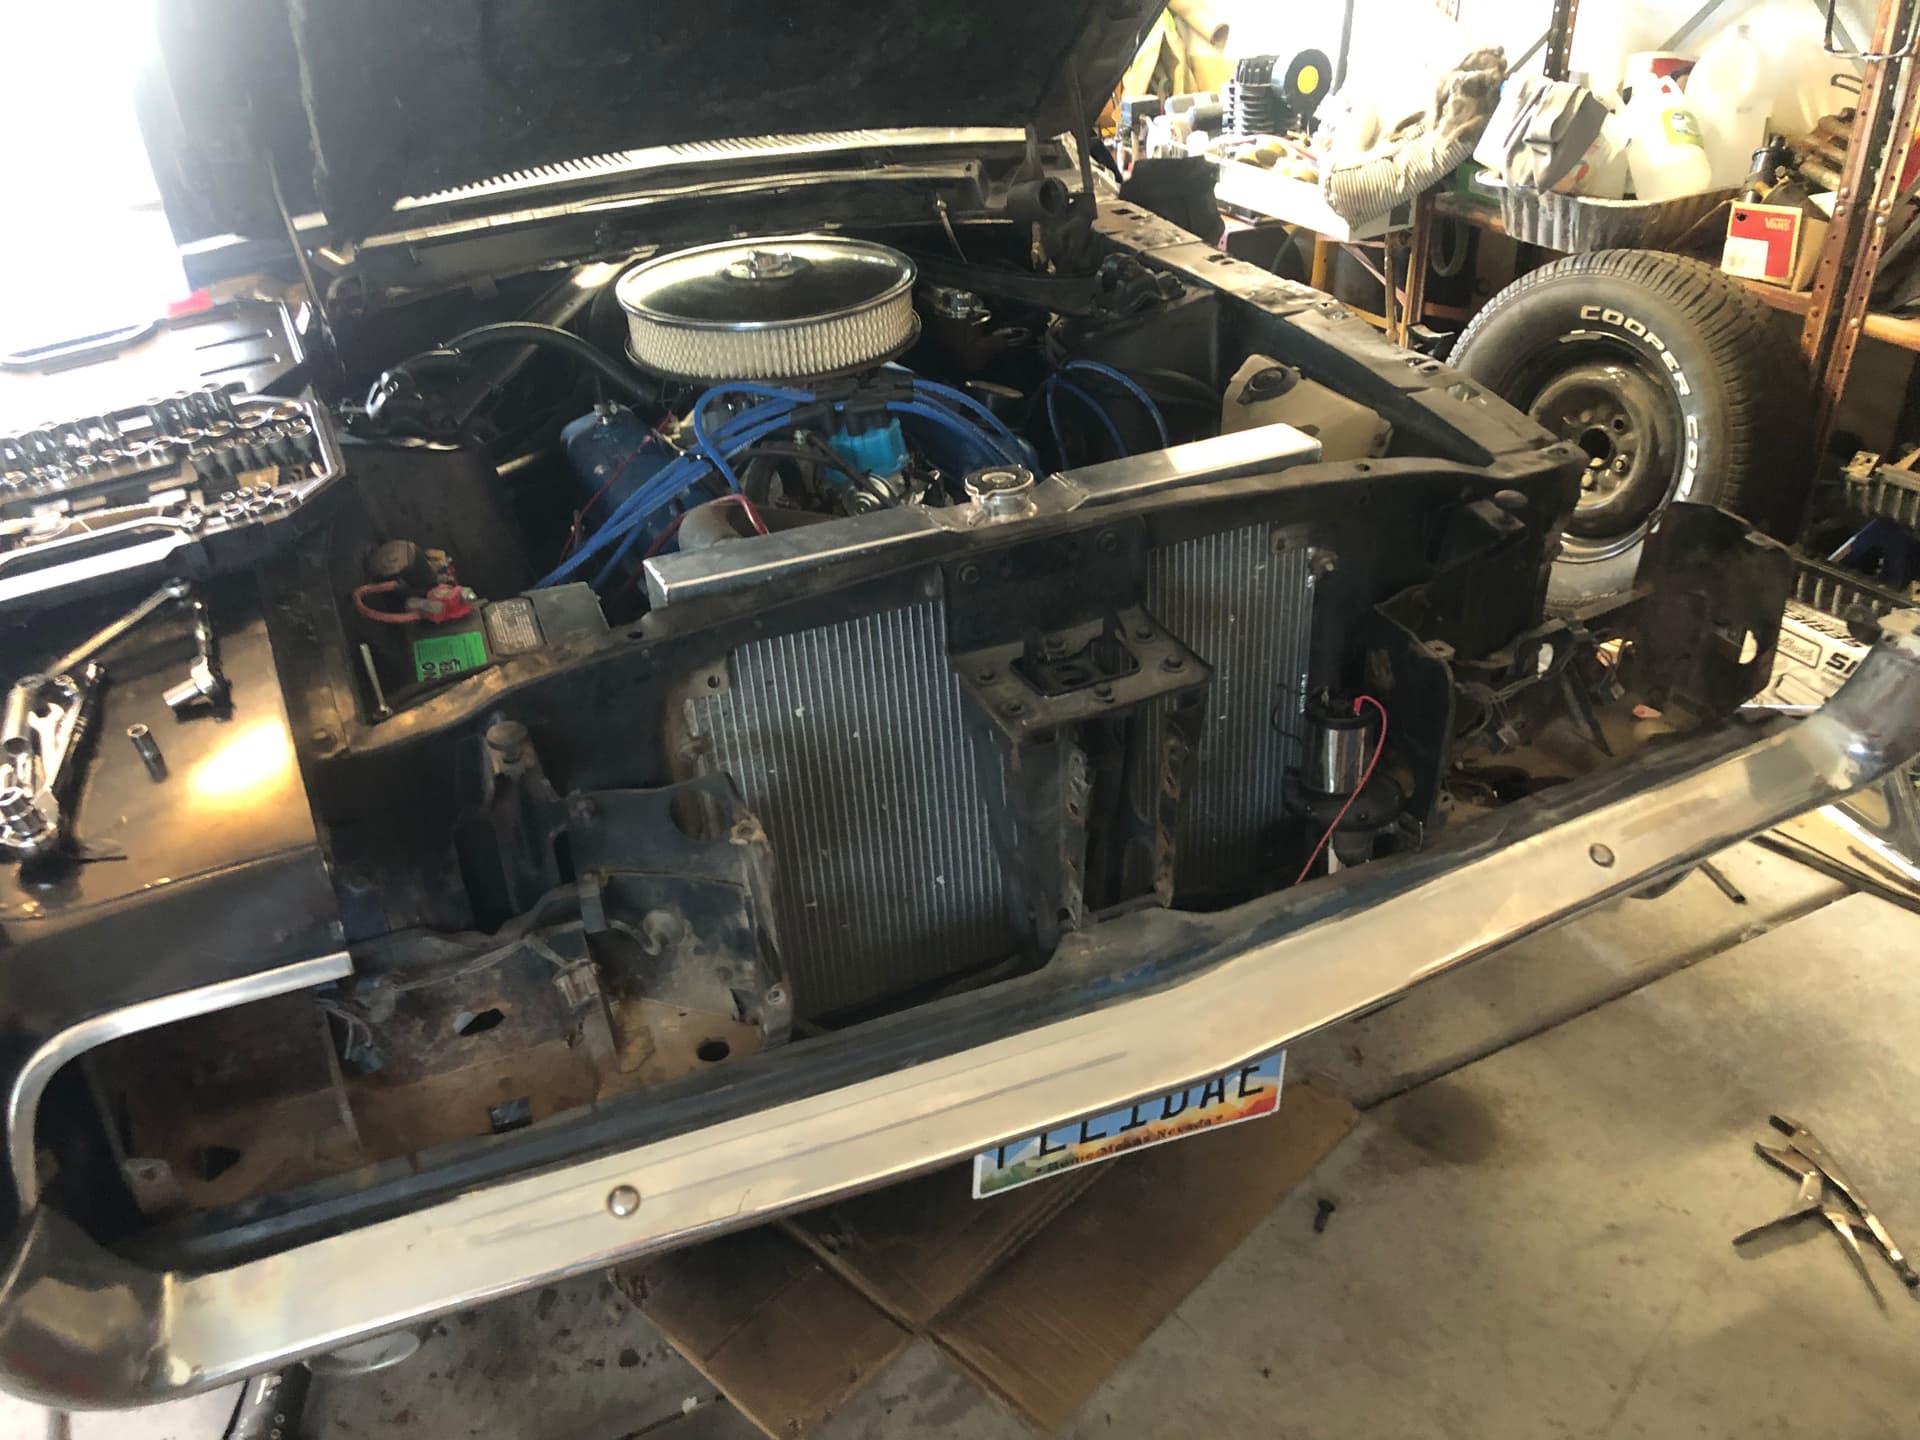
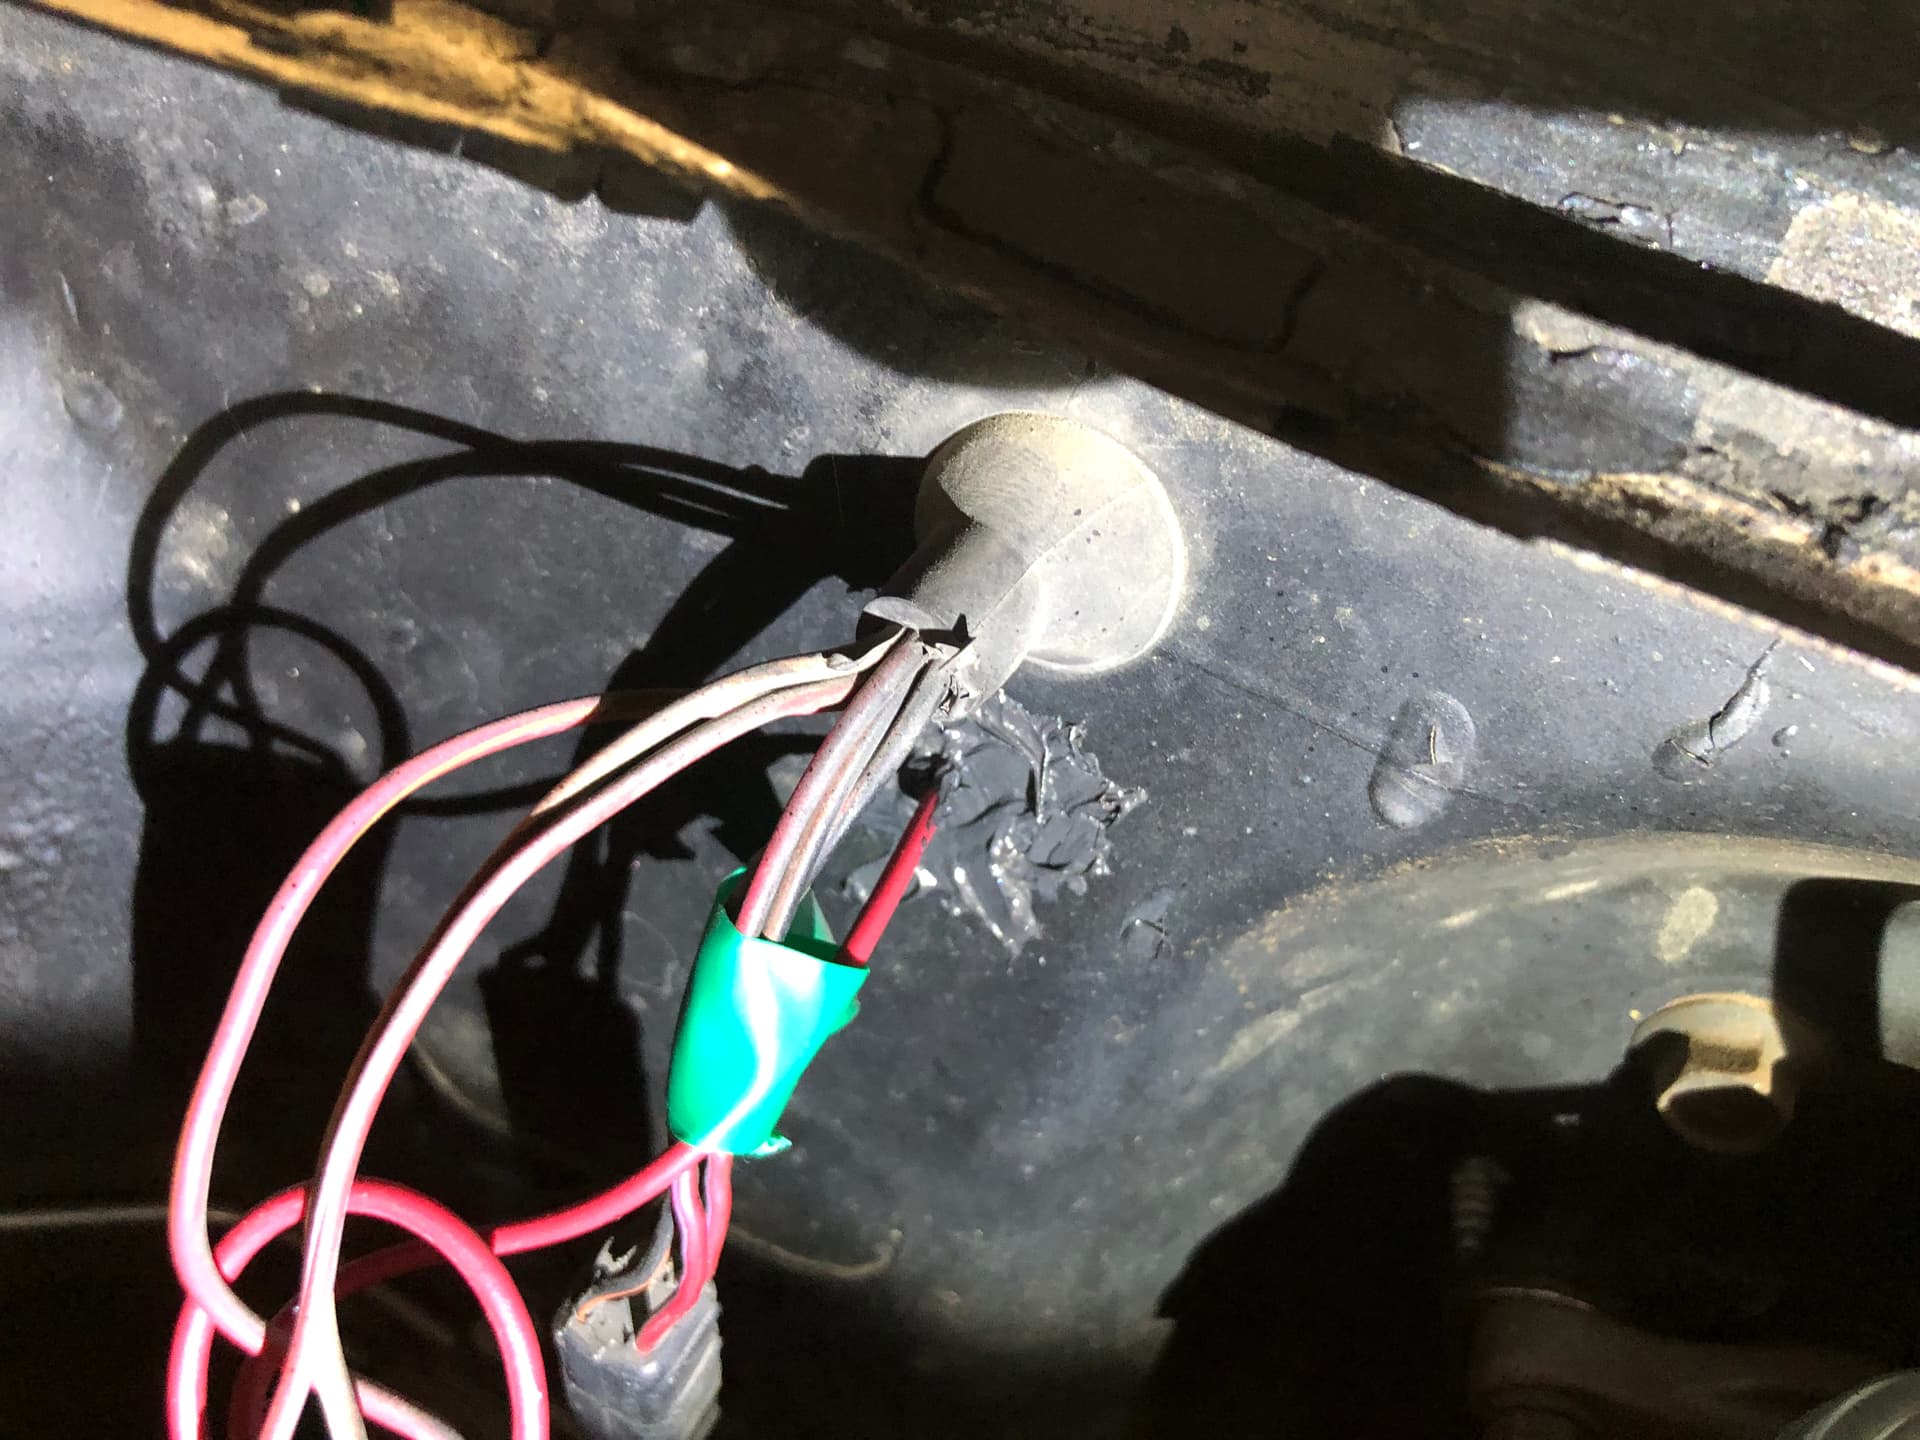
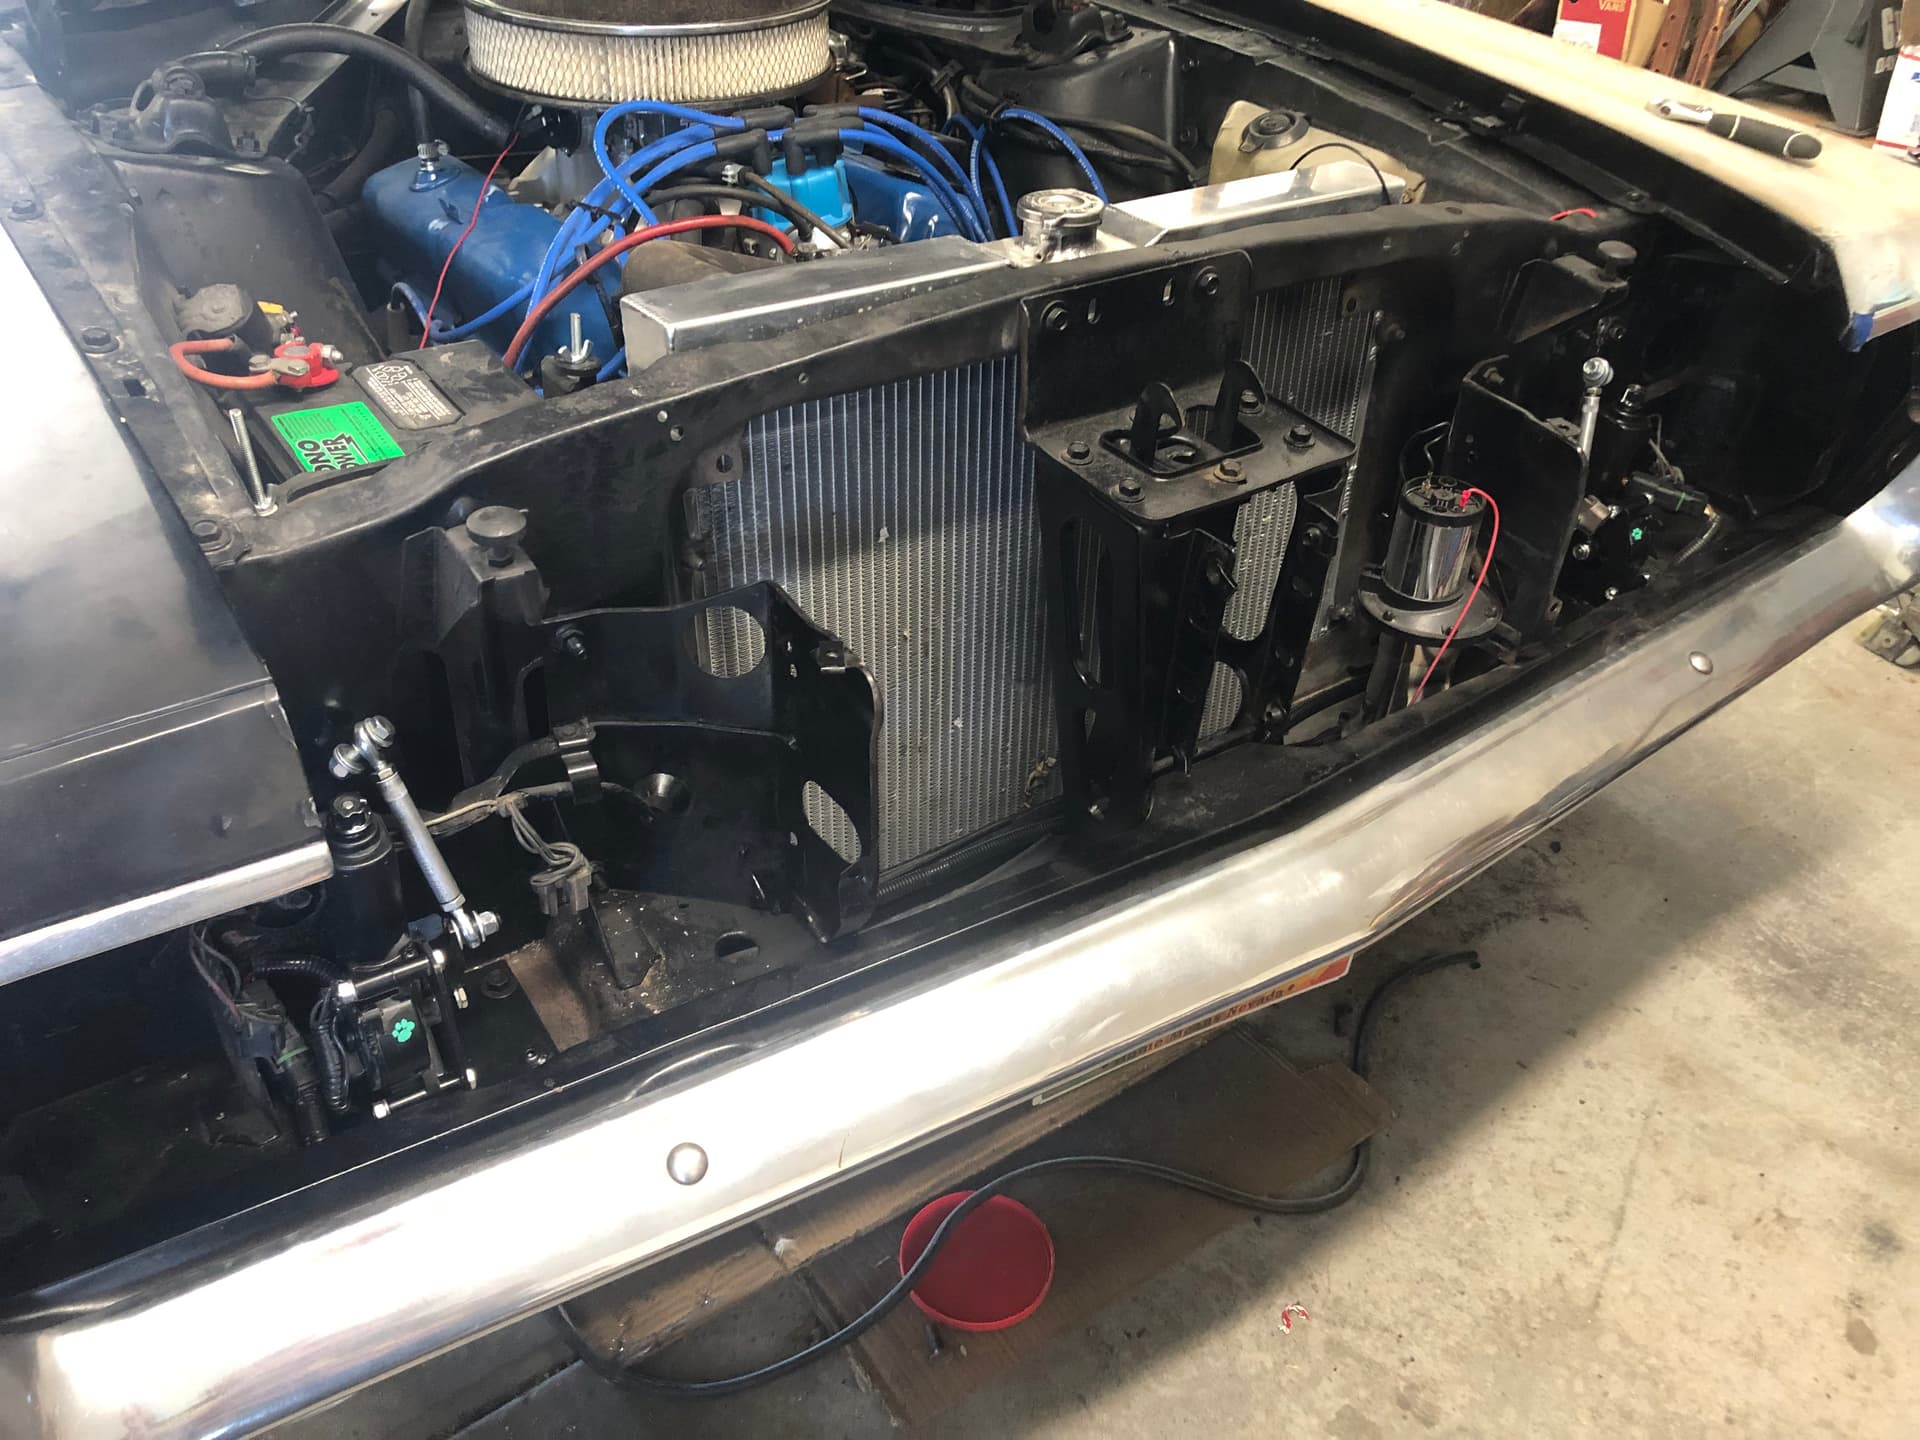
I bypassed my pink resistor wire. It comes off the tach on this model. I just drilled a hole in the firewall and ran a new wire to my coil. I did this because my distributor and coil and made for 12v.
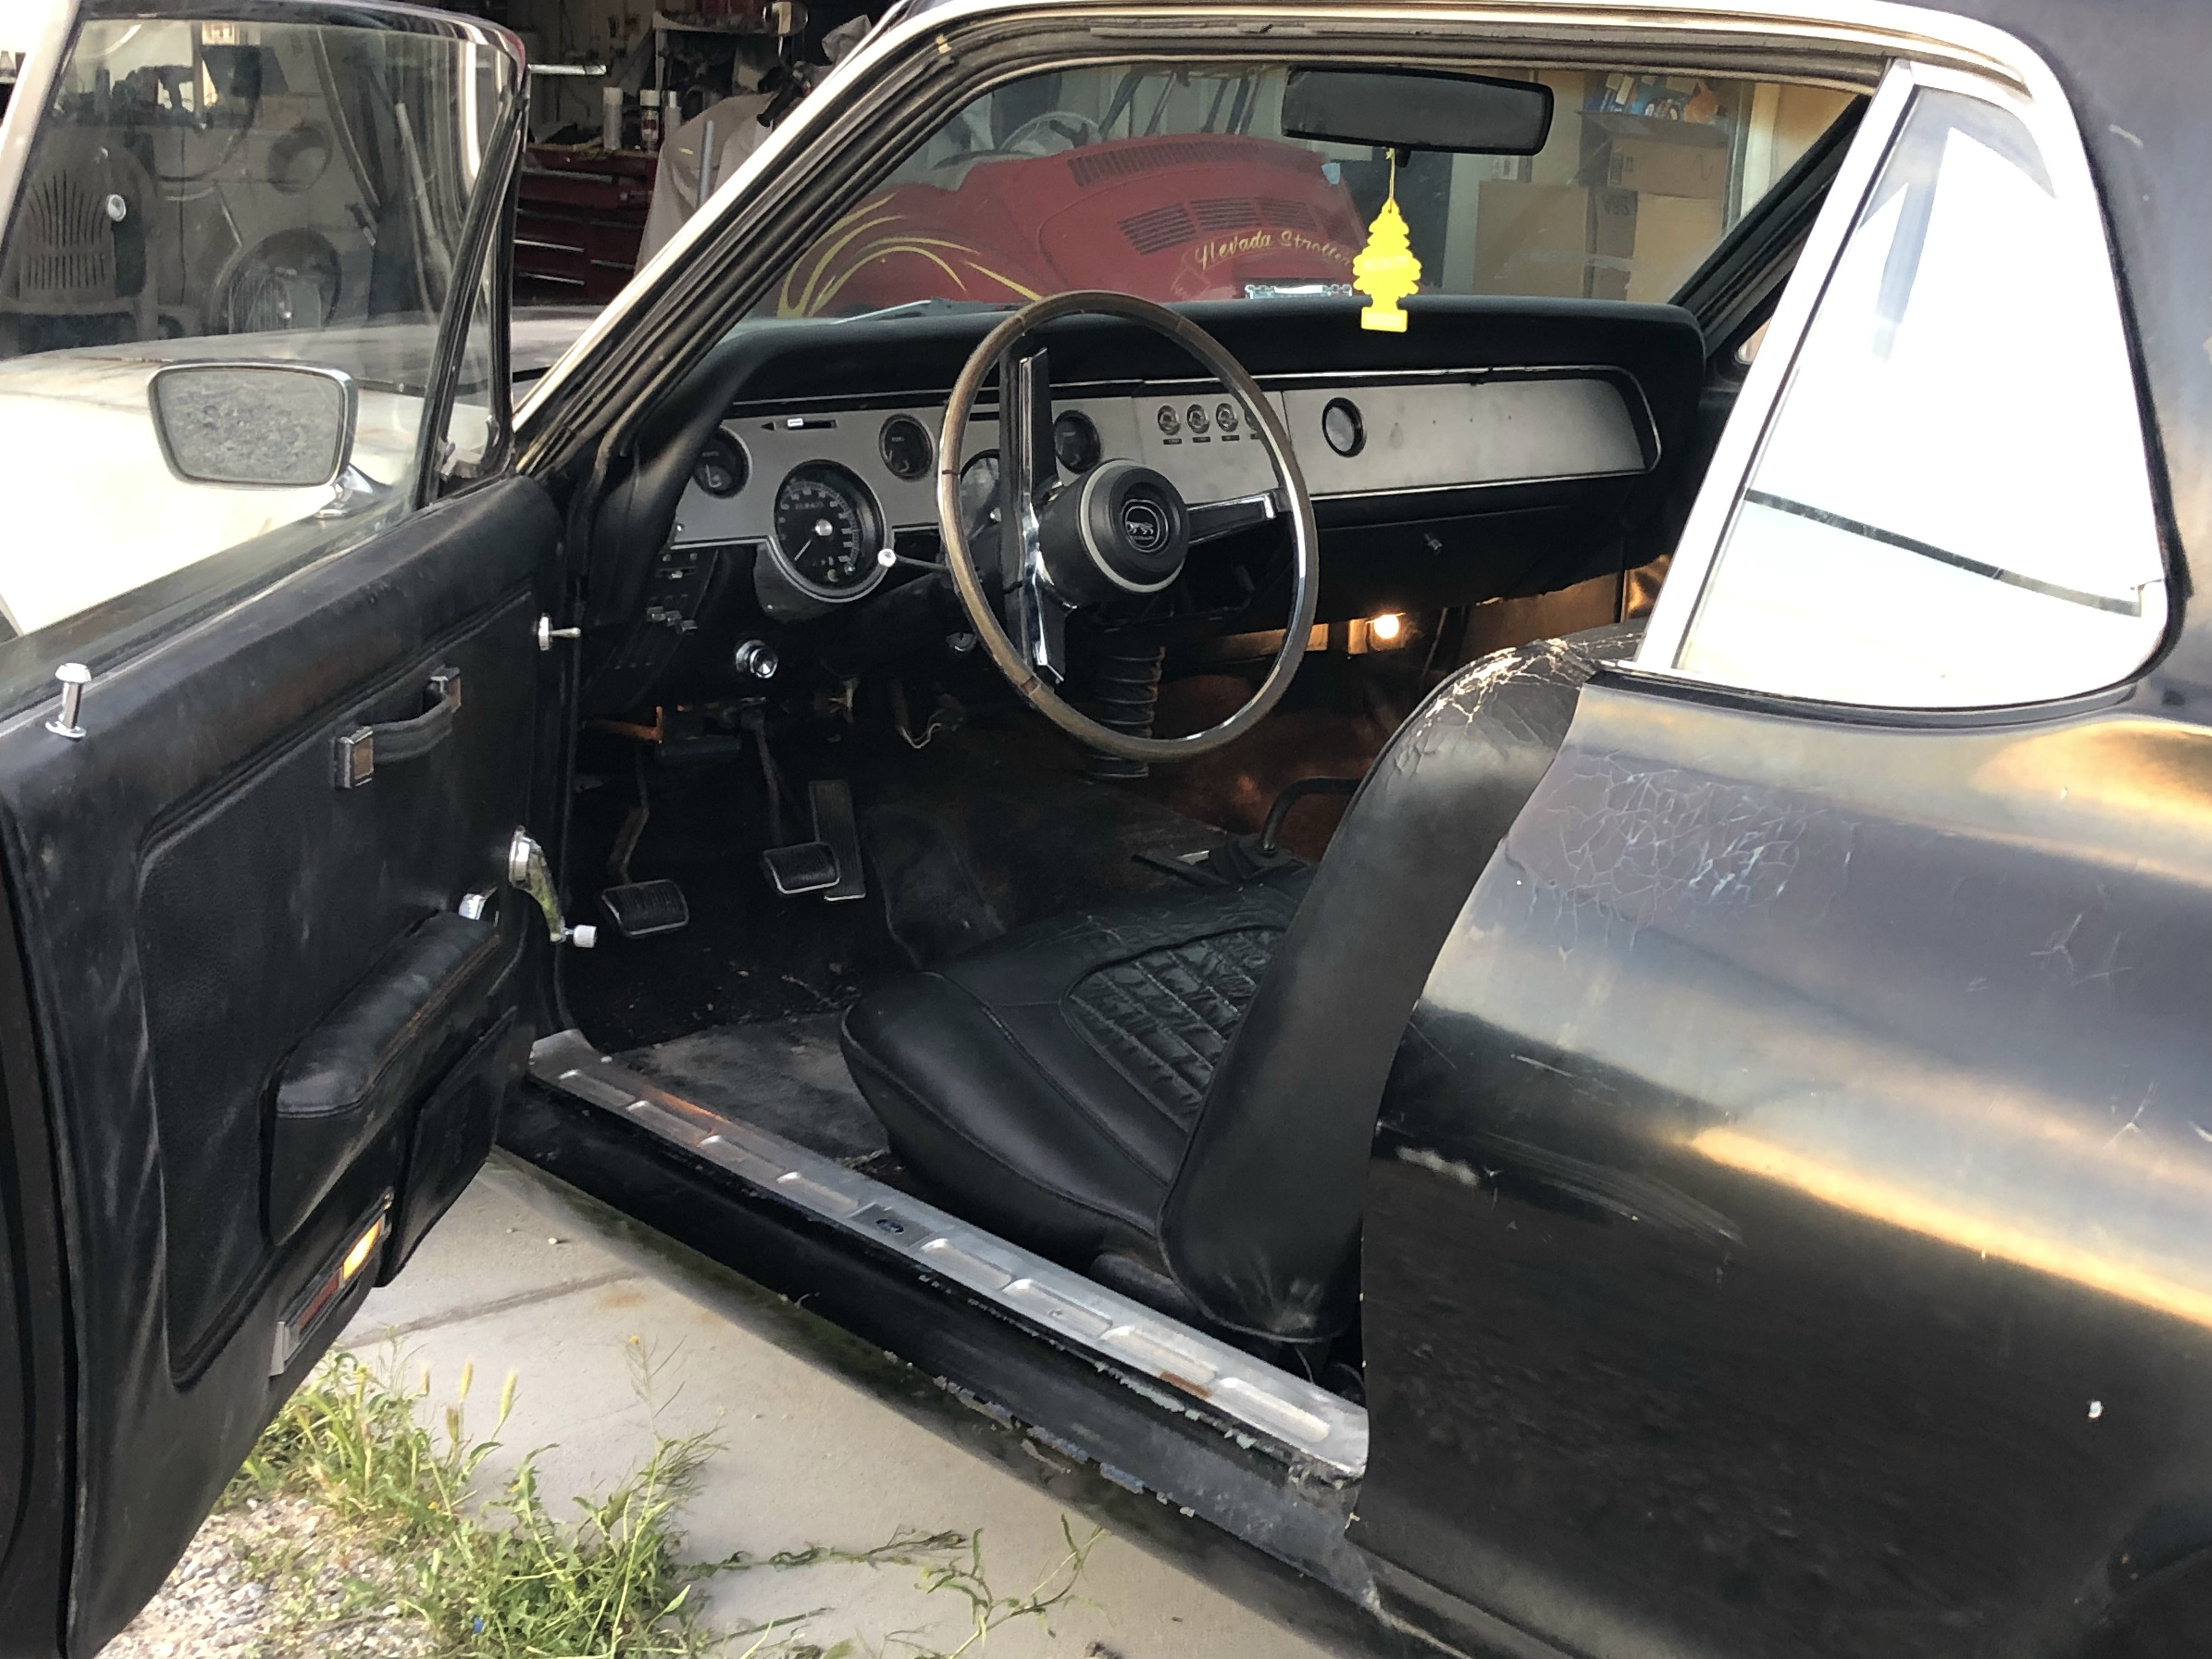
My dash went back together easily, I only needed to remove it twice because i forgot to plug in the speedometer cable.
Thanks for reading!

1 Like
I think you’ll be unpleasantly surprised how quickly that wire will wear through the insulation.
2 Likes
Wire should’nt wear through insulation. Unless I’m misunderstanding you.
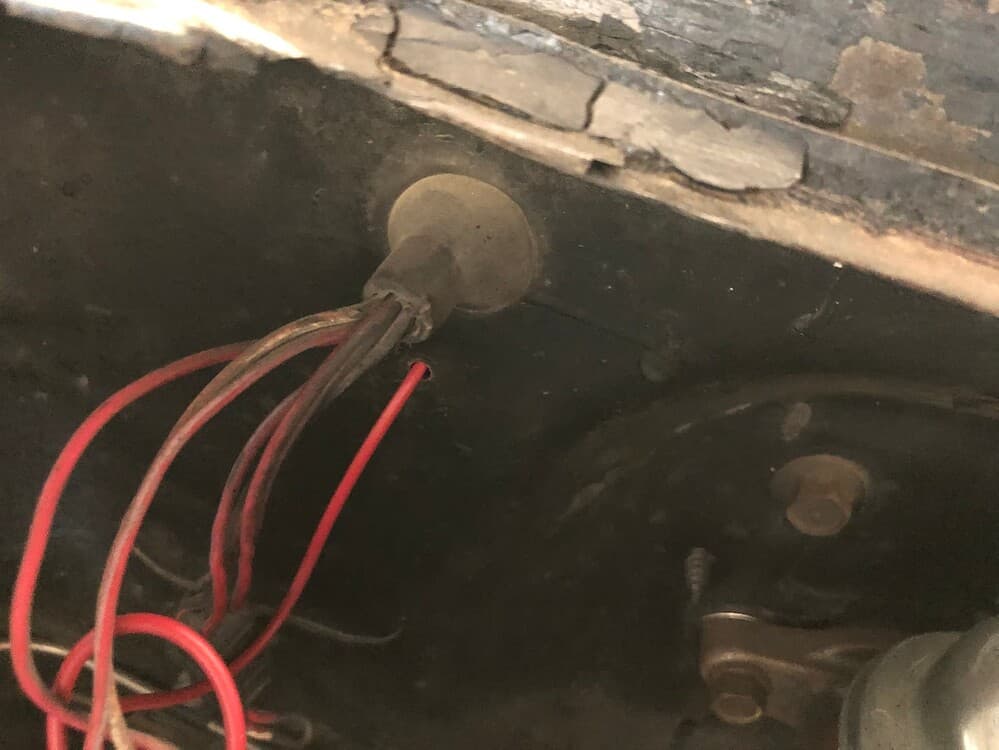
Where it s going through the fire wall it looks like it is not protected from the metal. This is the location Al_Bundy is talking about. If you do have a rubber grommet there then your fine. If not you should put one in.
3 Likes
Ah! Gotcha! Thank you for pointing that out! You’re absolutely right, ill see what I can put there. That would be a VERY expensive issue to arise lmao
1 Like
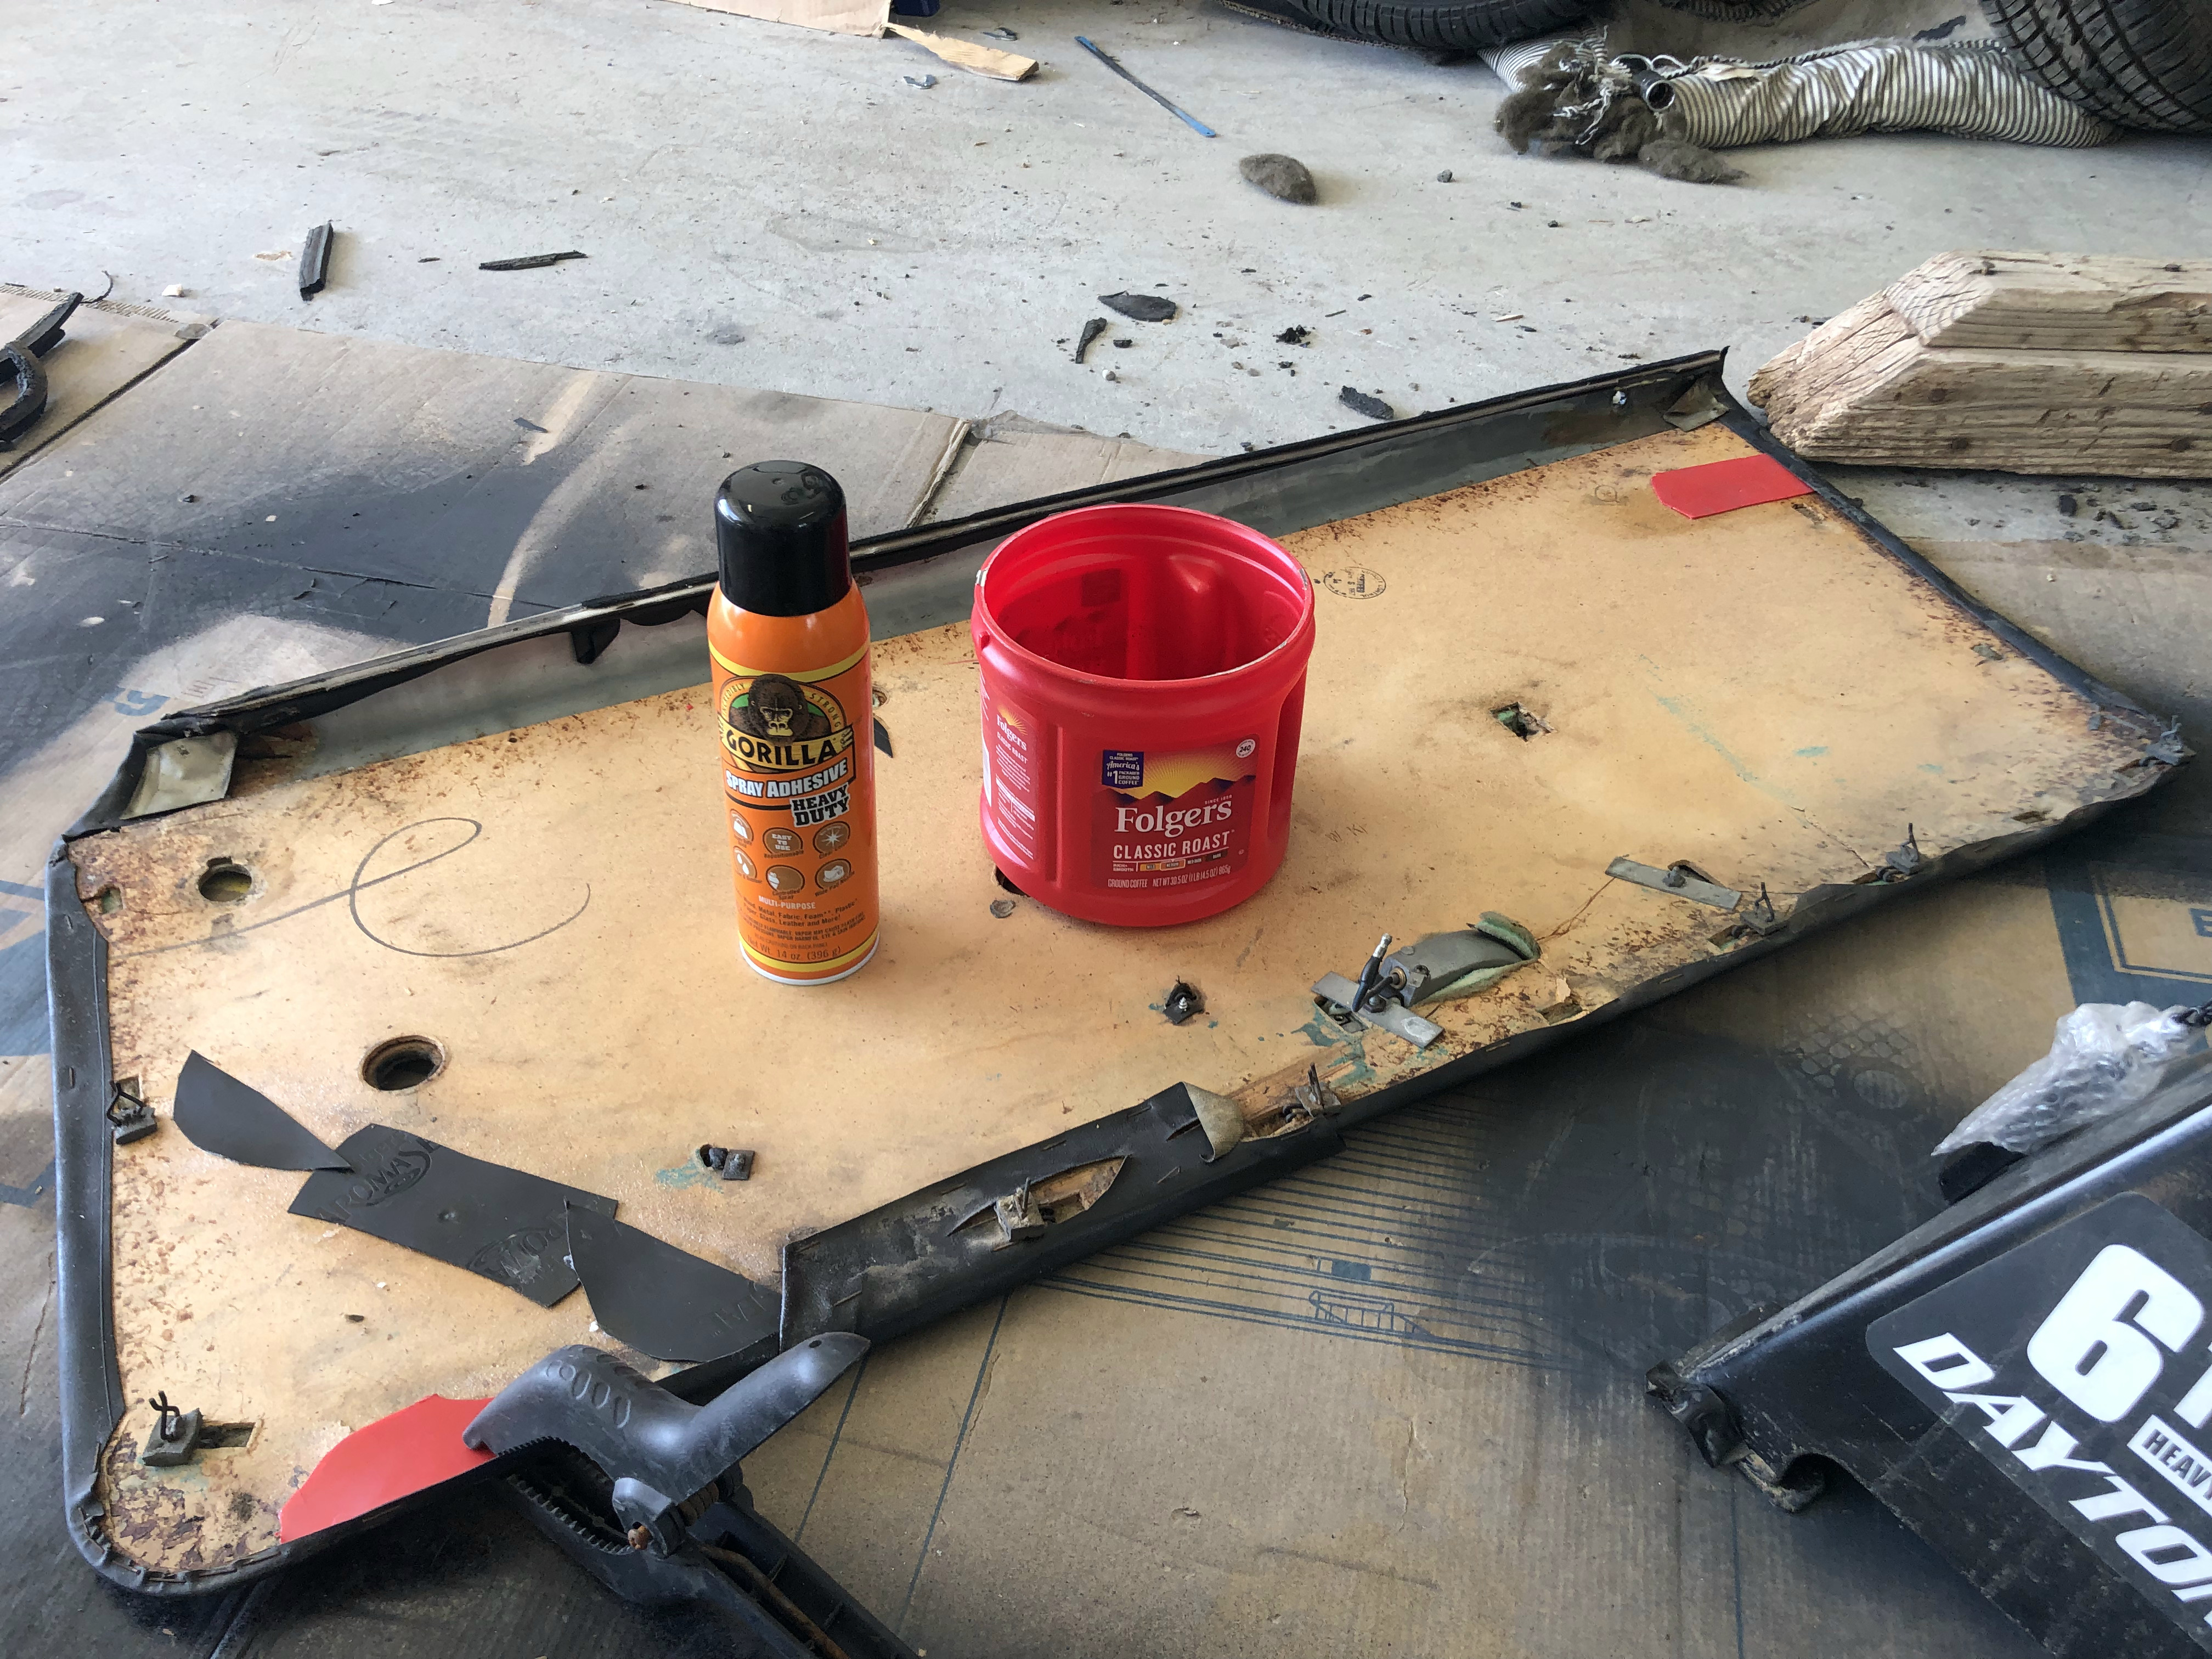
With a minor bit of bodywork on the fender lip, I painted the inside really good with rust inhibitor. It’s out there drying ready to put on tomarrow.
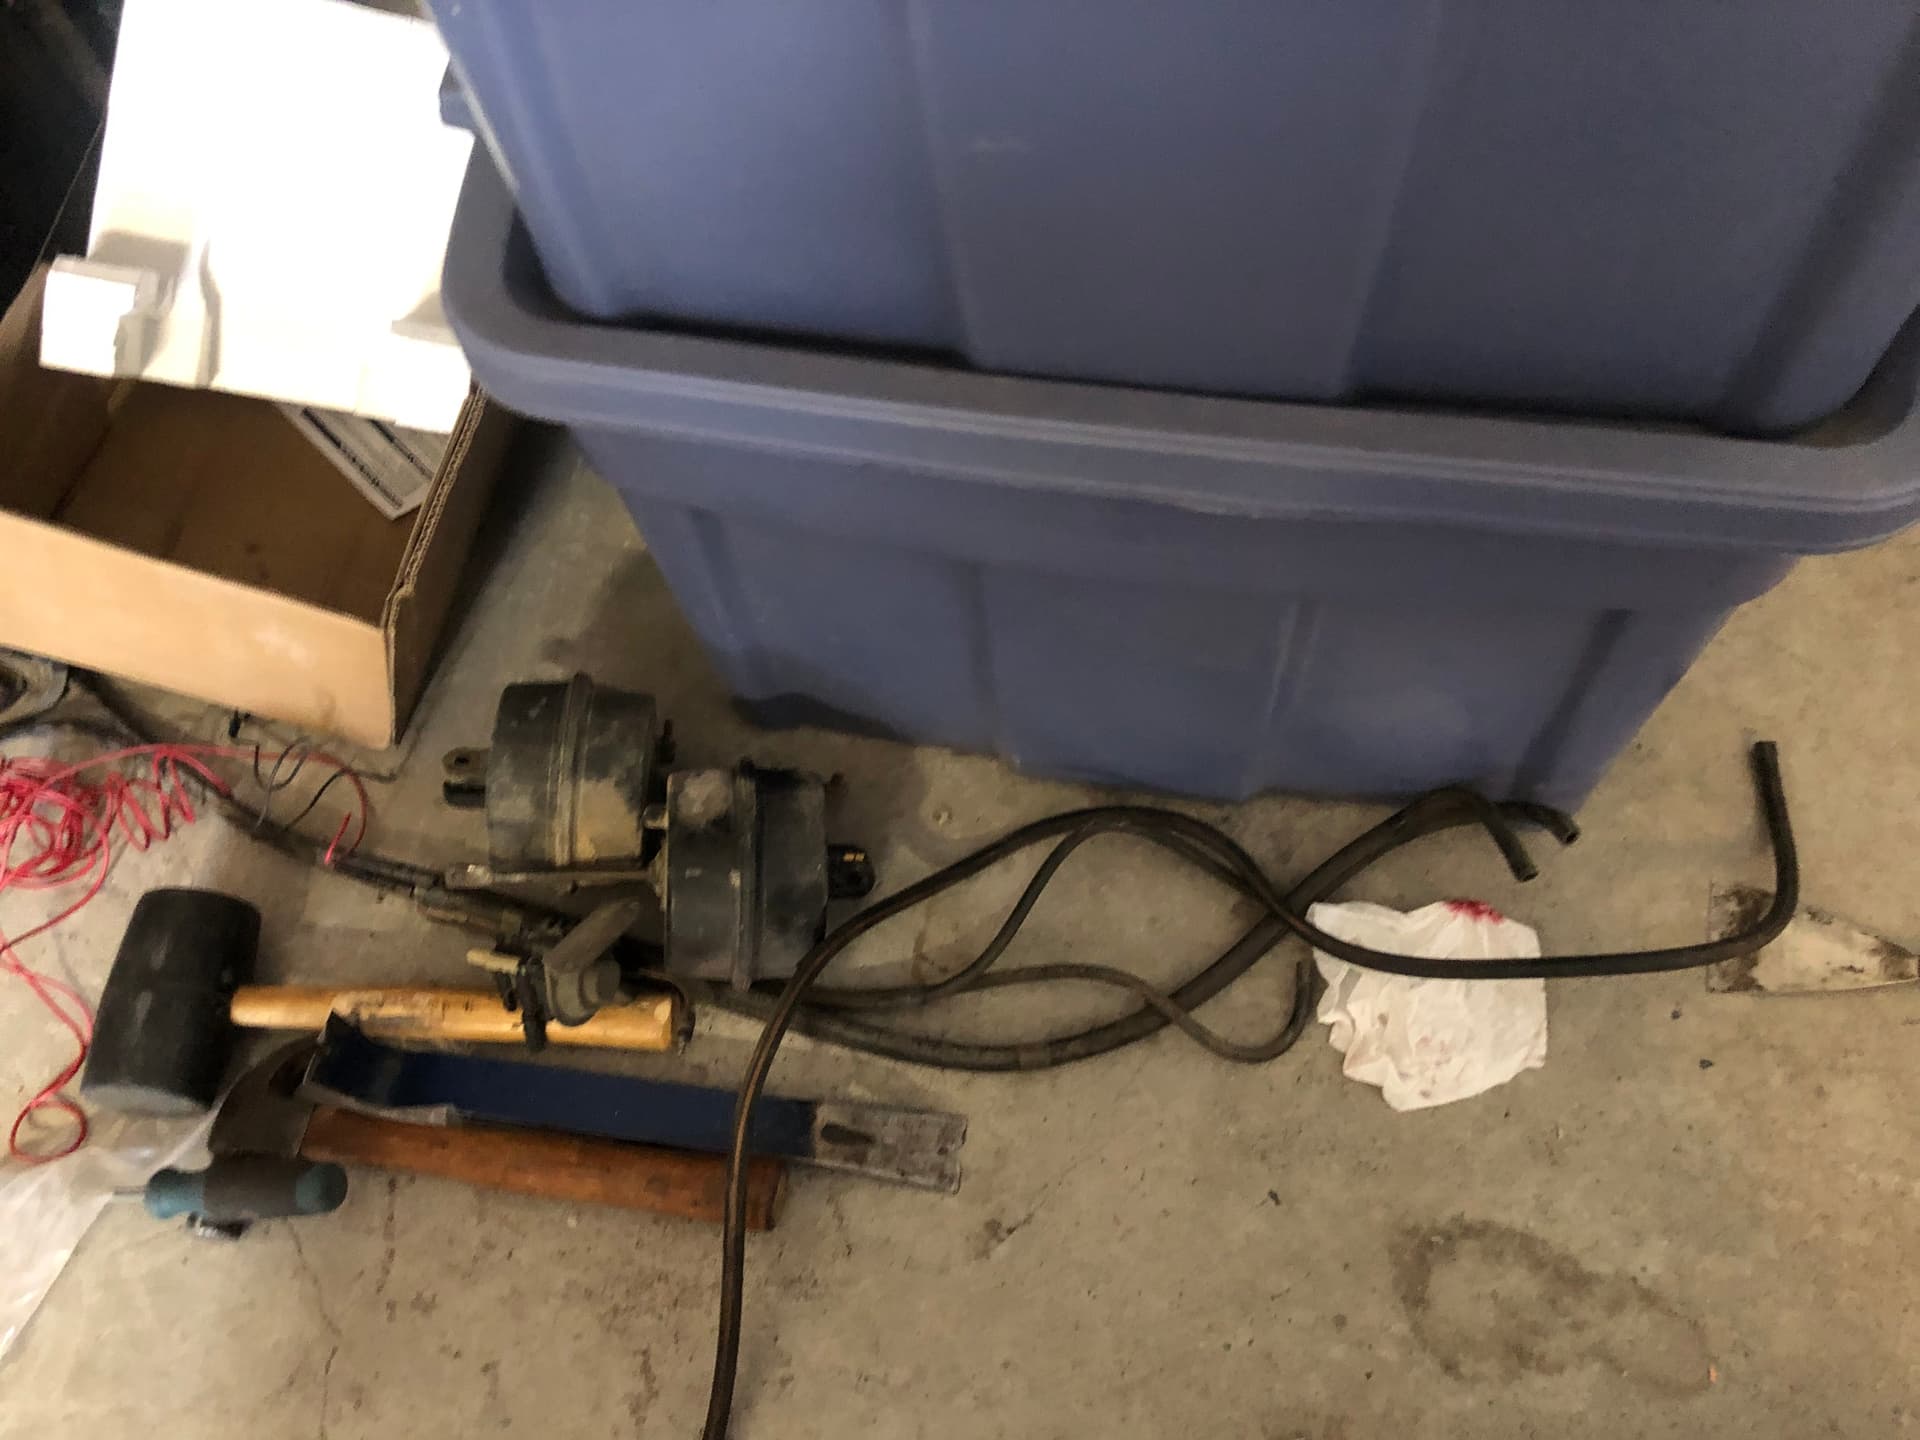
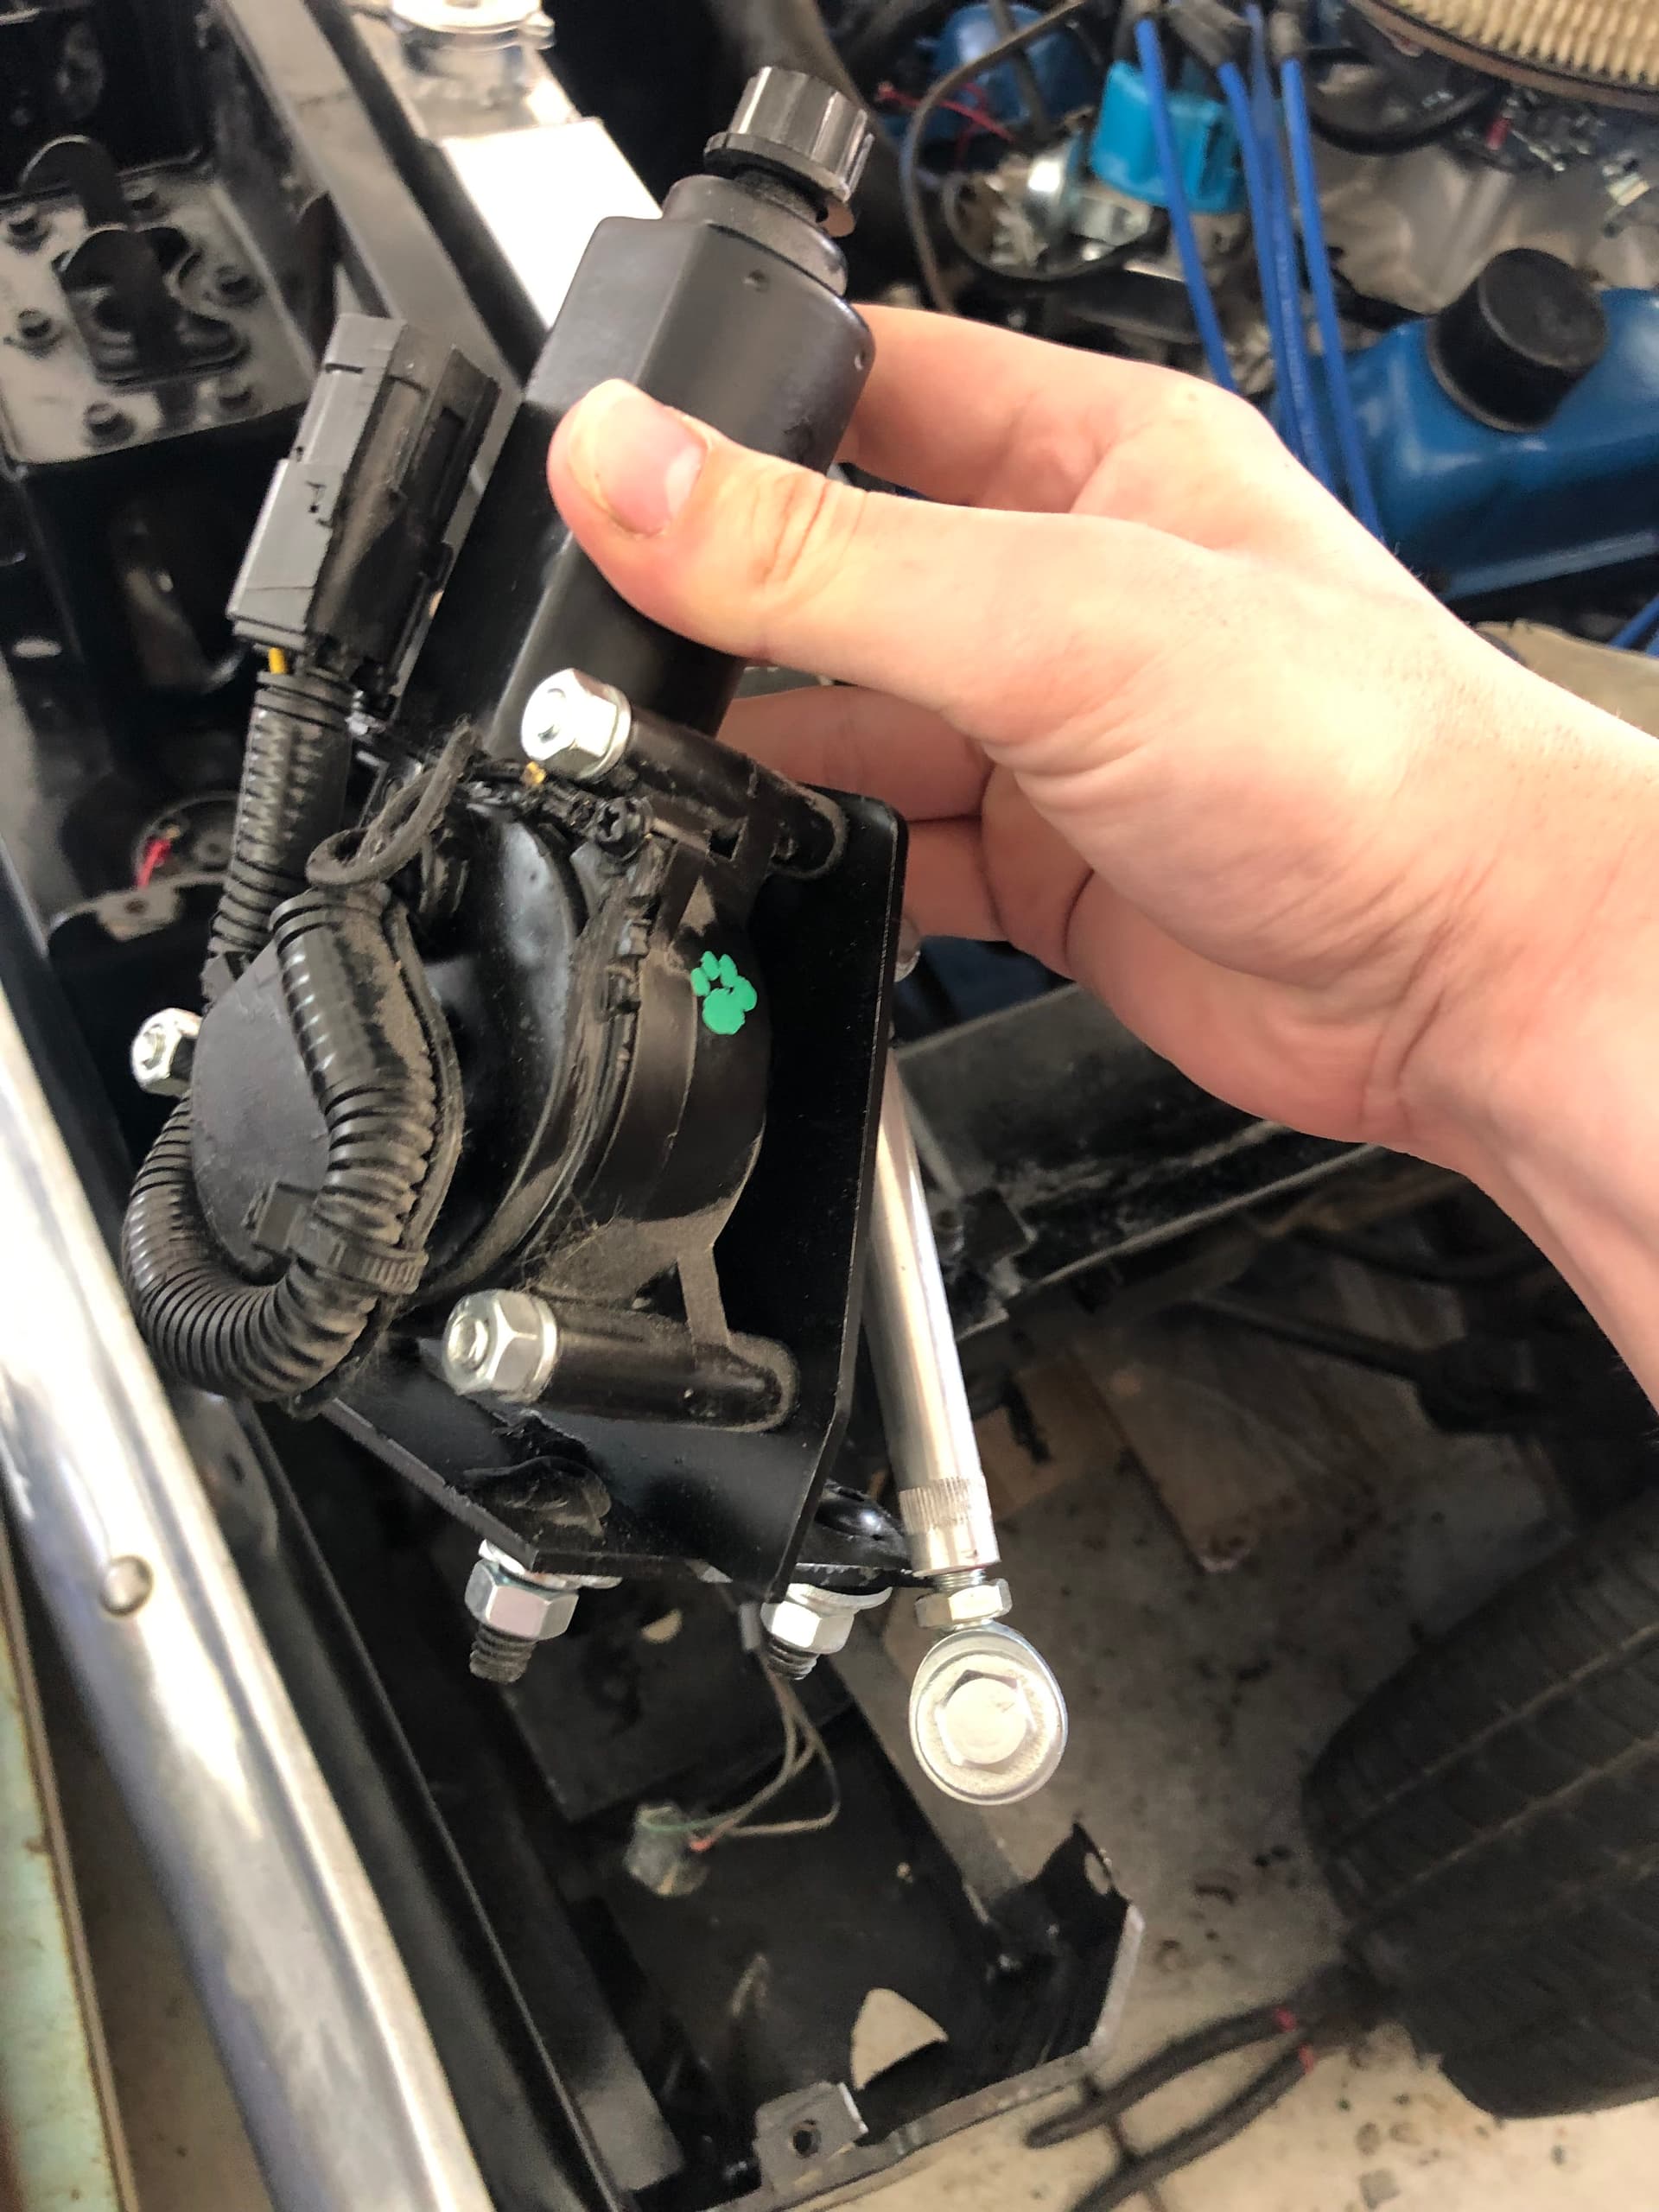
Removed my headlights and will treat the rust tomarrow. I removed the original vaccume hoses, solenoid and actuators and set them aside. I understand there is a market for these and people like to rebuild them. I’m going to be moving to electronic actuators so if you’re interested, make me an offer.
I made a custom RTV grommet for the 12v ignition wire so it doesn’t wear through.
Thanks for reading!
1 Like
Well, it… um, it’s a grommet! lol <3
Lots of work on this. =) You and I are going through much of the same stuff right now!
1 Like
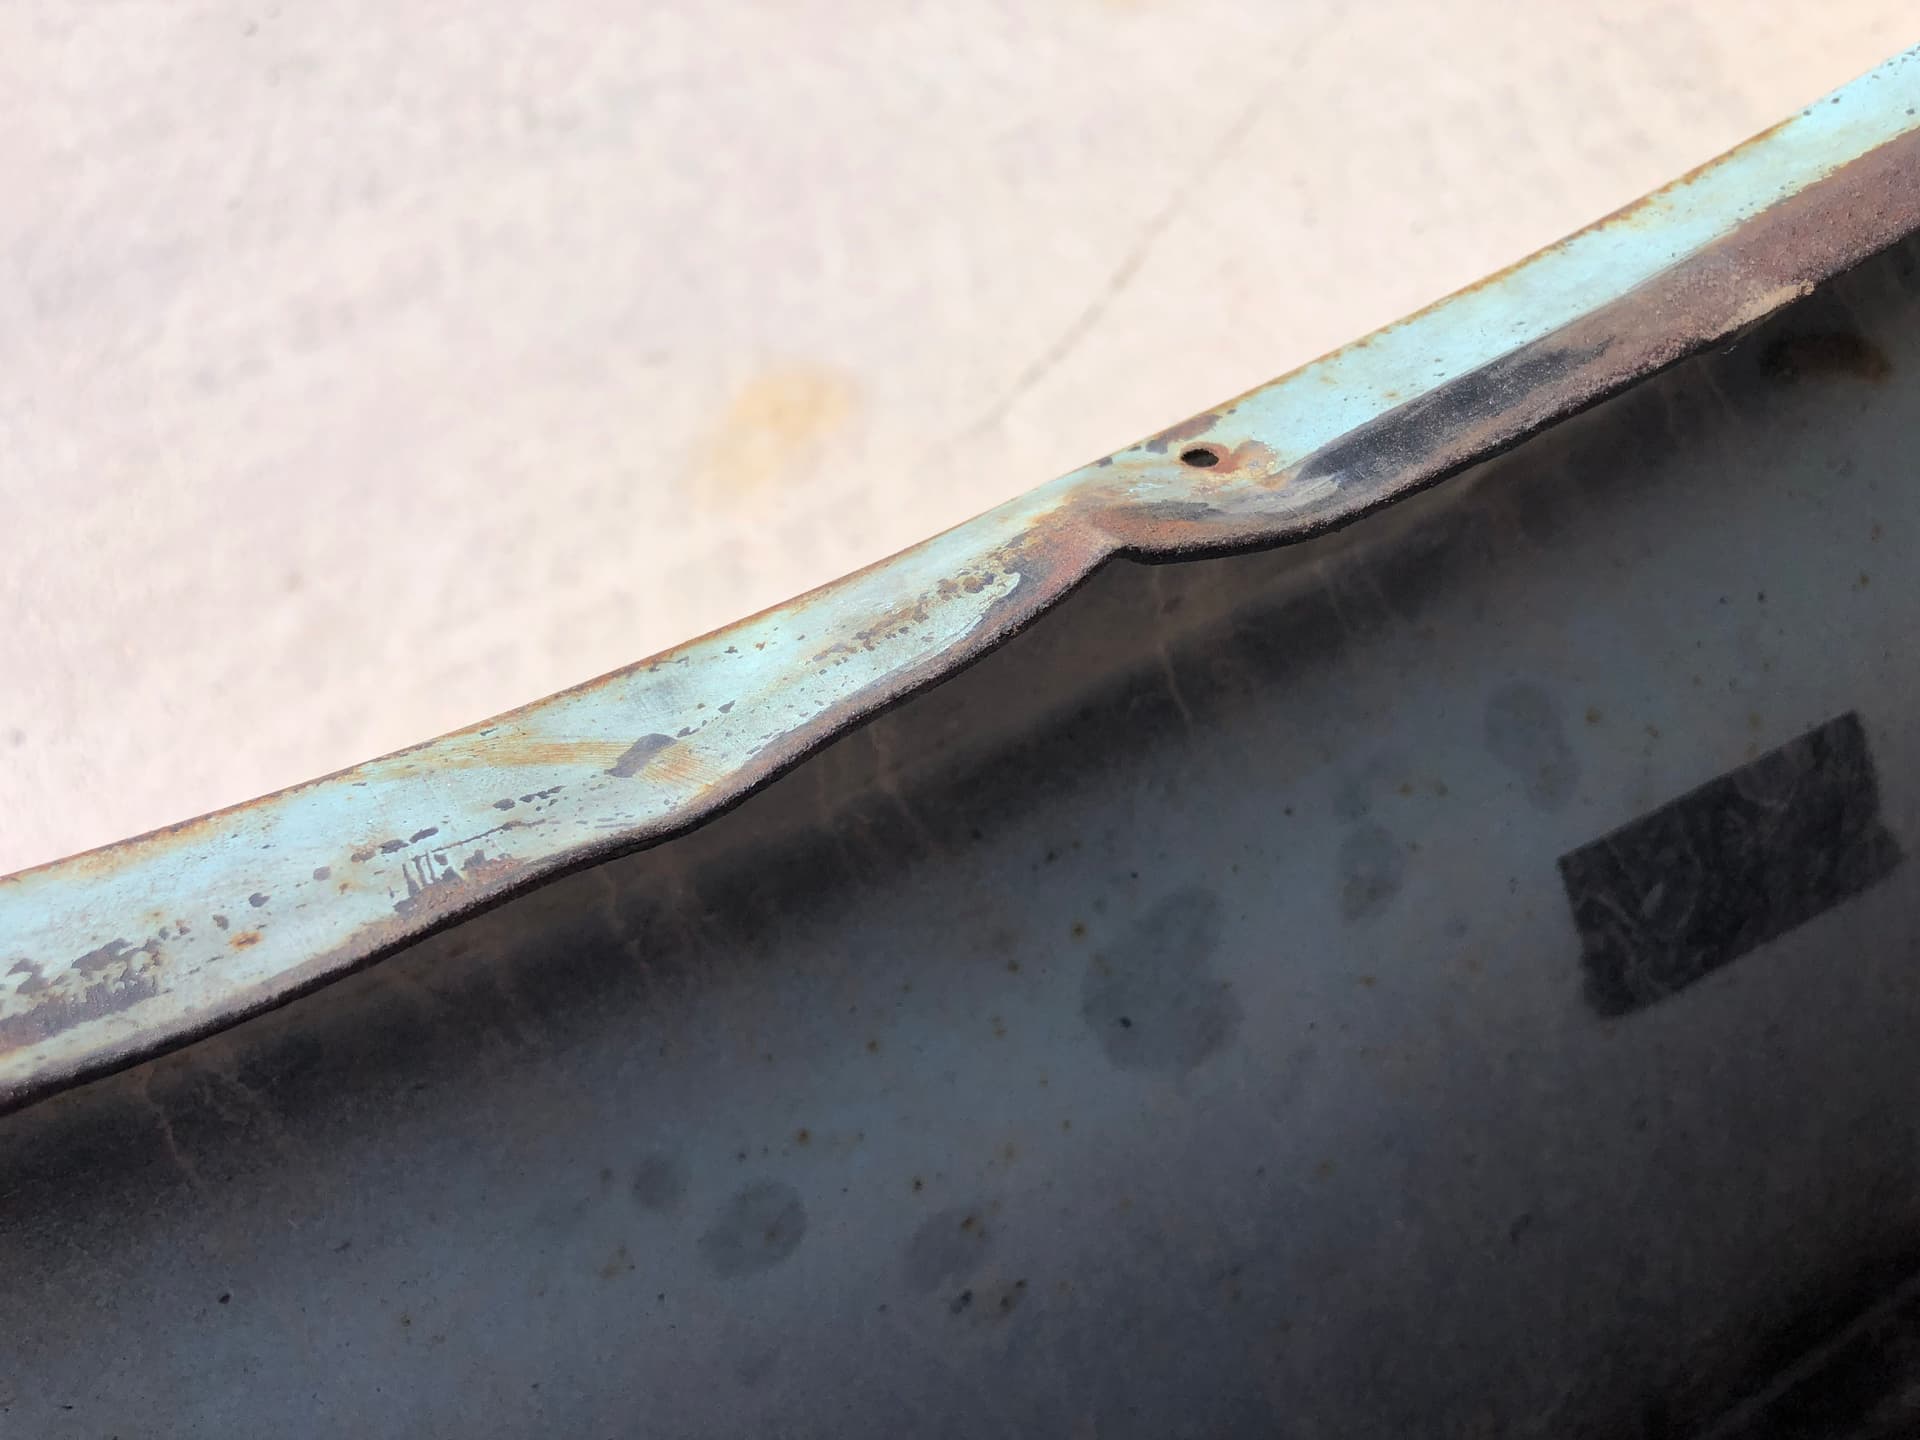
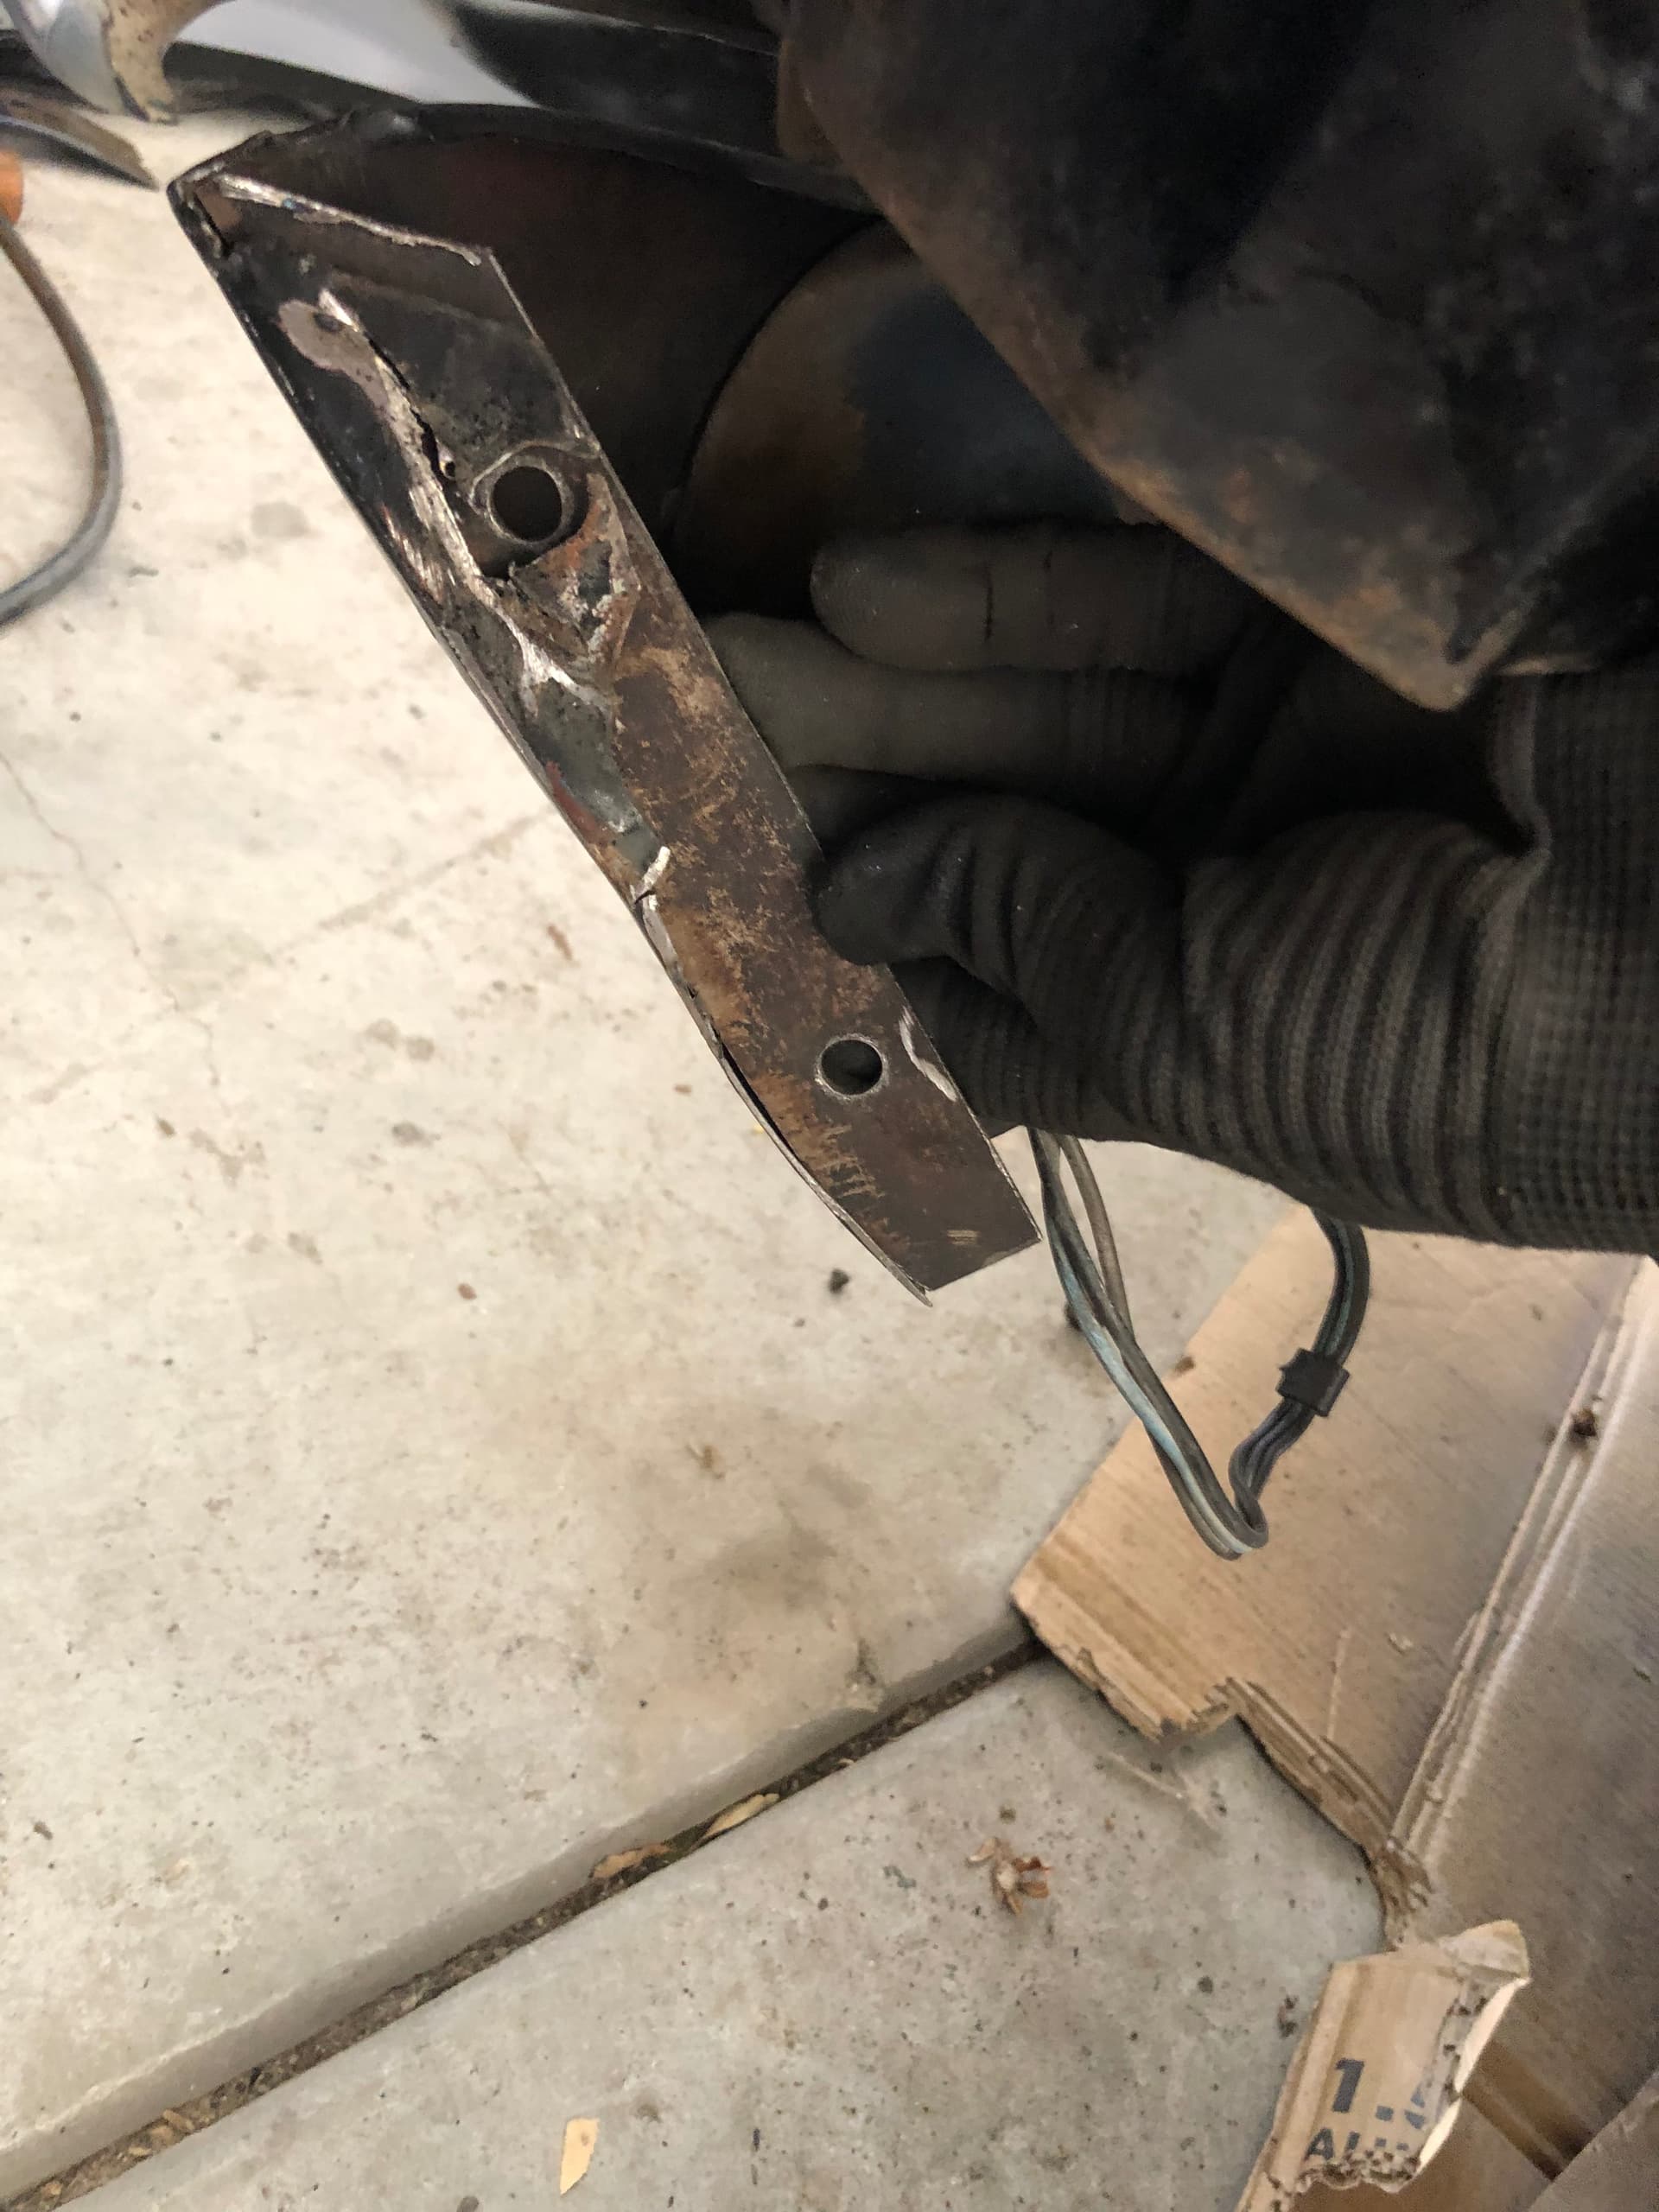
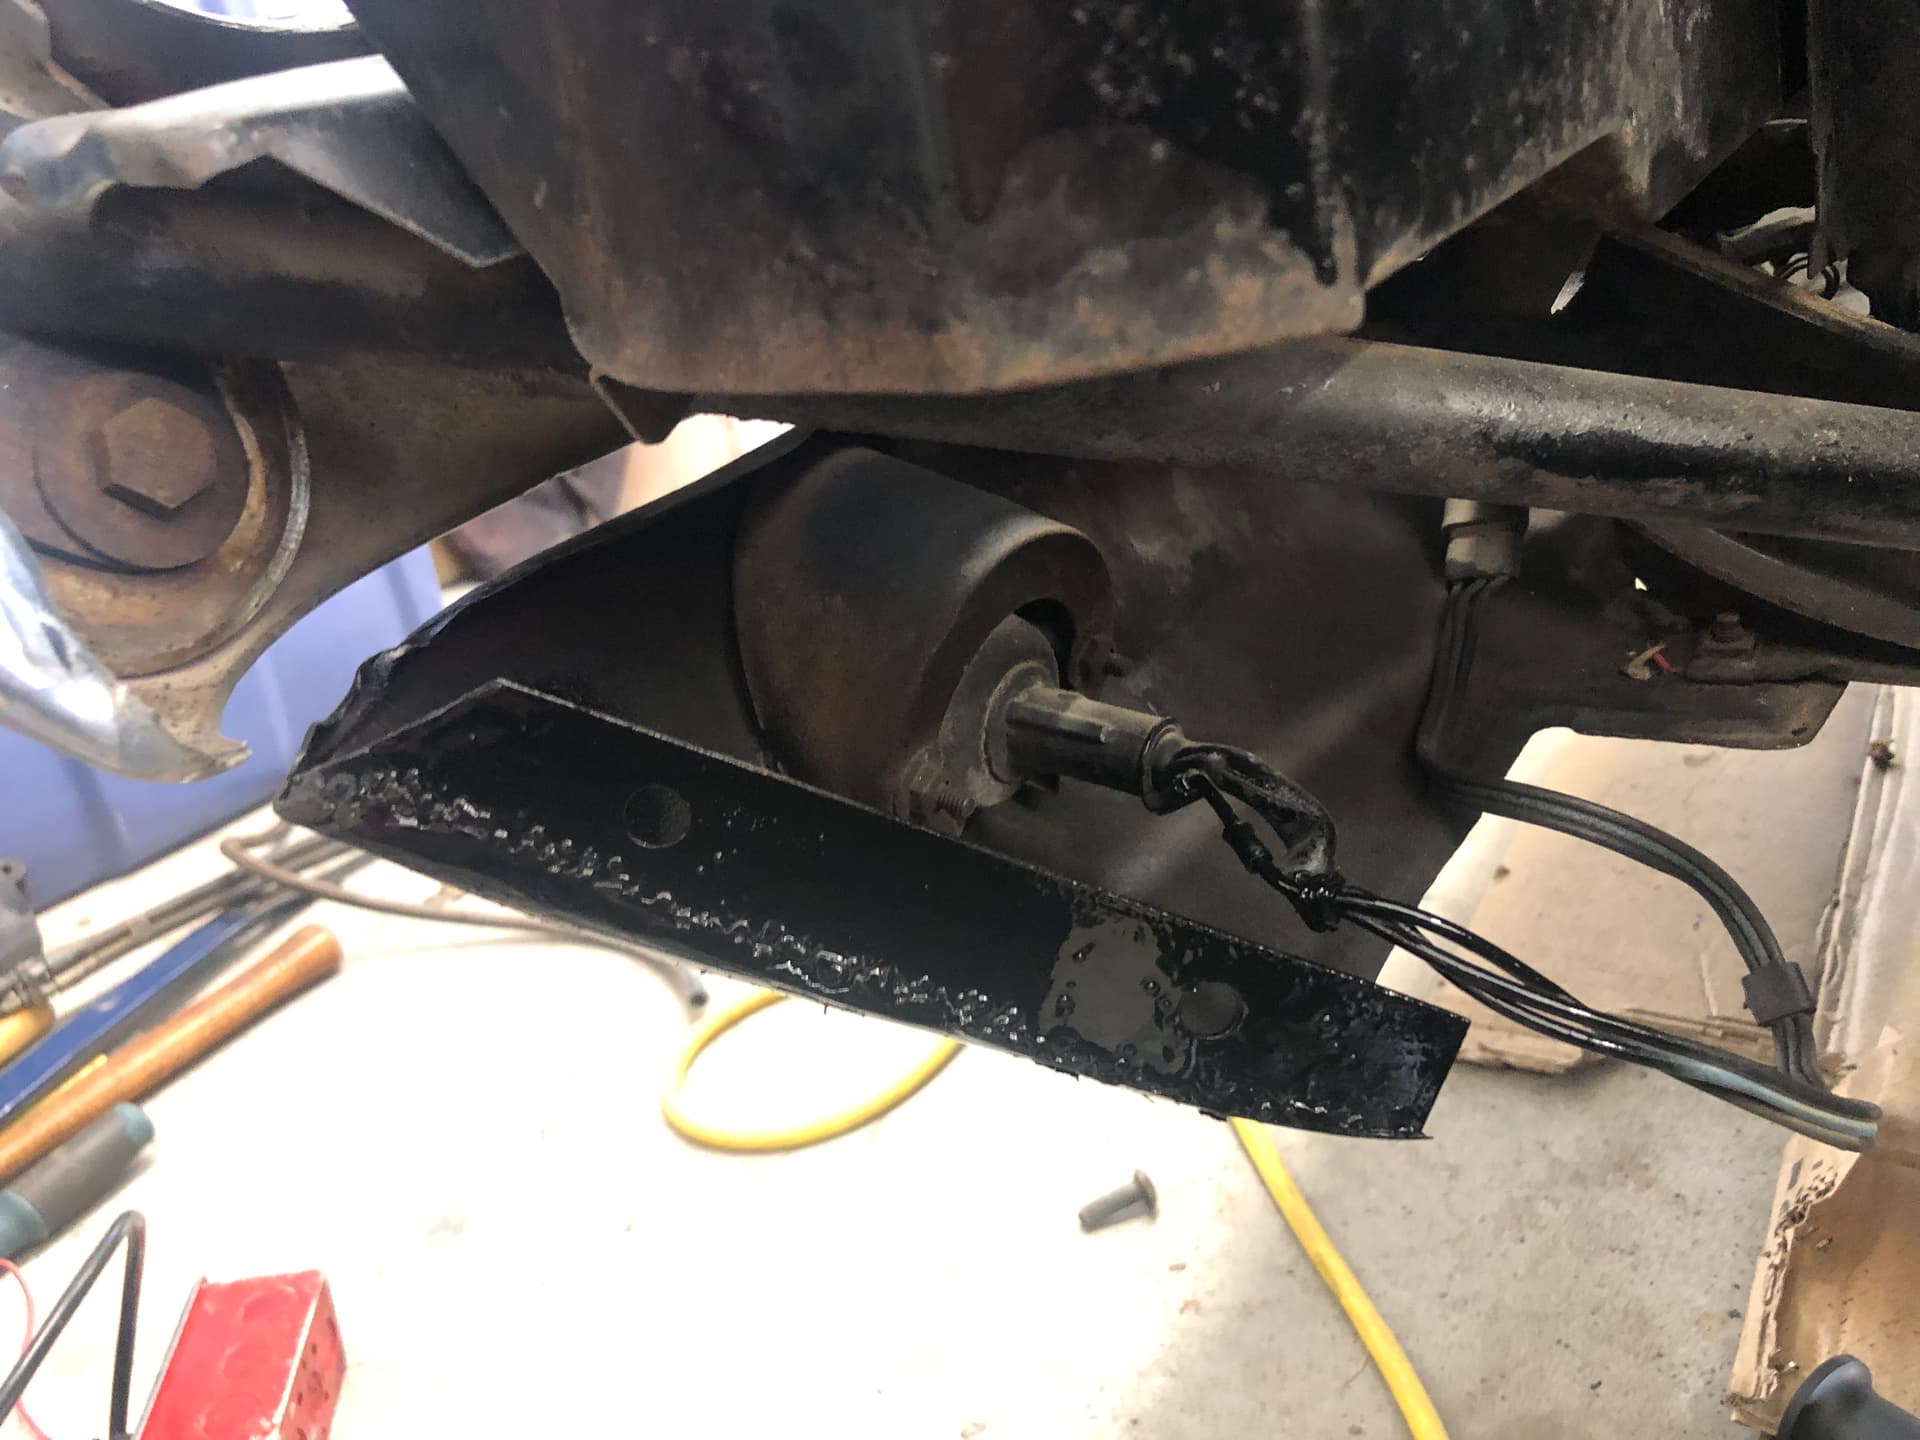
There was some eyelets that were mangled on my original gravel guard so made a piece and boogered it on there with a flux core 110 i found at the dump. I won’t tell if you dont lol
Also cleaned up and painted where my electronic actuators are going to go!
2 Likes
What headlight door motors are you installing?
I used “catheadlights” on my '67 XR7.
Very pleased with them.
Jim
1 Like
I also got catheadlights! I’m glad you showed up, that means I can copy your homework haha.
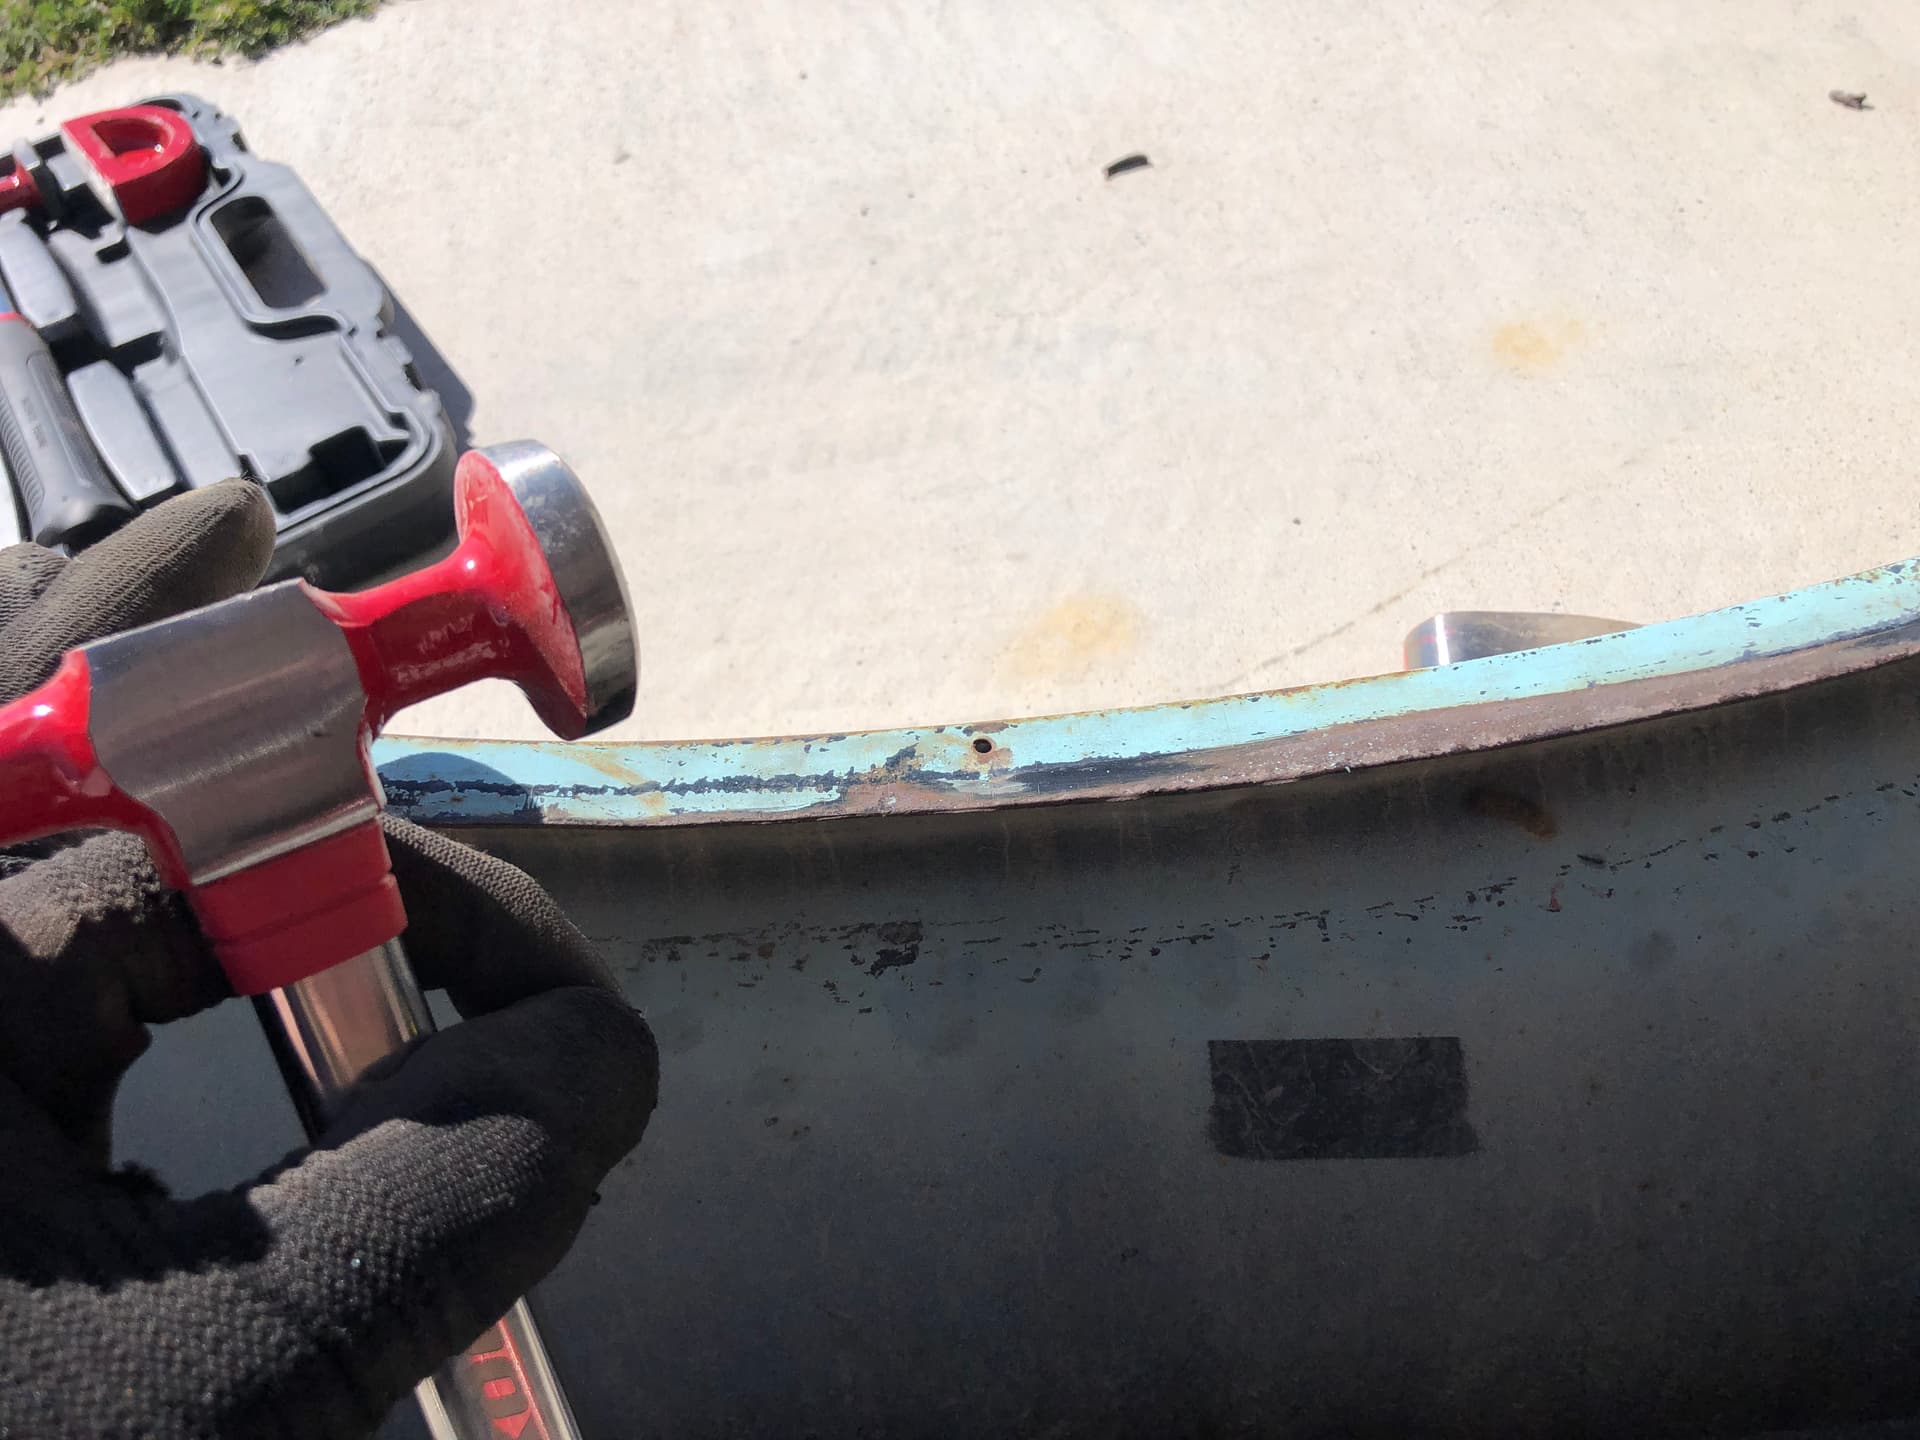
I also have an issue with one of my eyelids scraping the inside as it open and closes. Do you have any tips on straightening these out?
1 Like
I had no issues with the opening and closing on mine. If it’s a small area you could try to file it down a little. Is it the edge of the door.
Jim
2 Likes
yeah, the edge. It looks like i only need to remove 1mm of material. Ill try that, thanks!
1 Like
Alignment is tedious. I got the fender on, ordered some body shims! I’m going to wait on hood alignment for now because when i straighten out the dent in the middle, the geometry is probably going to change lol.
Have you seen this video from West Coast Classic Cougar? May or may not help with your grill alignment.

2 Likes
Typically you want to align the hood to the cowl first then fenders to the hood. Doors get aligned to the rear quarters. I agree having done it myself too its very tedious!
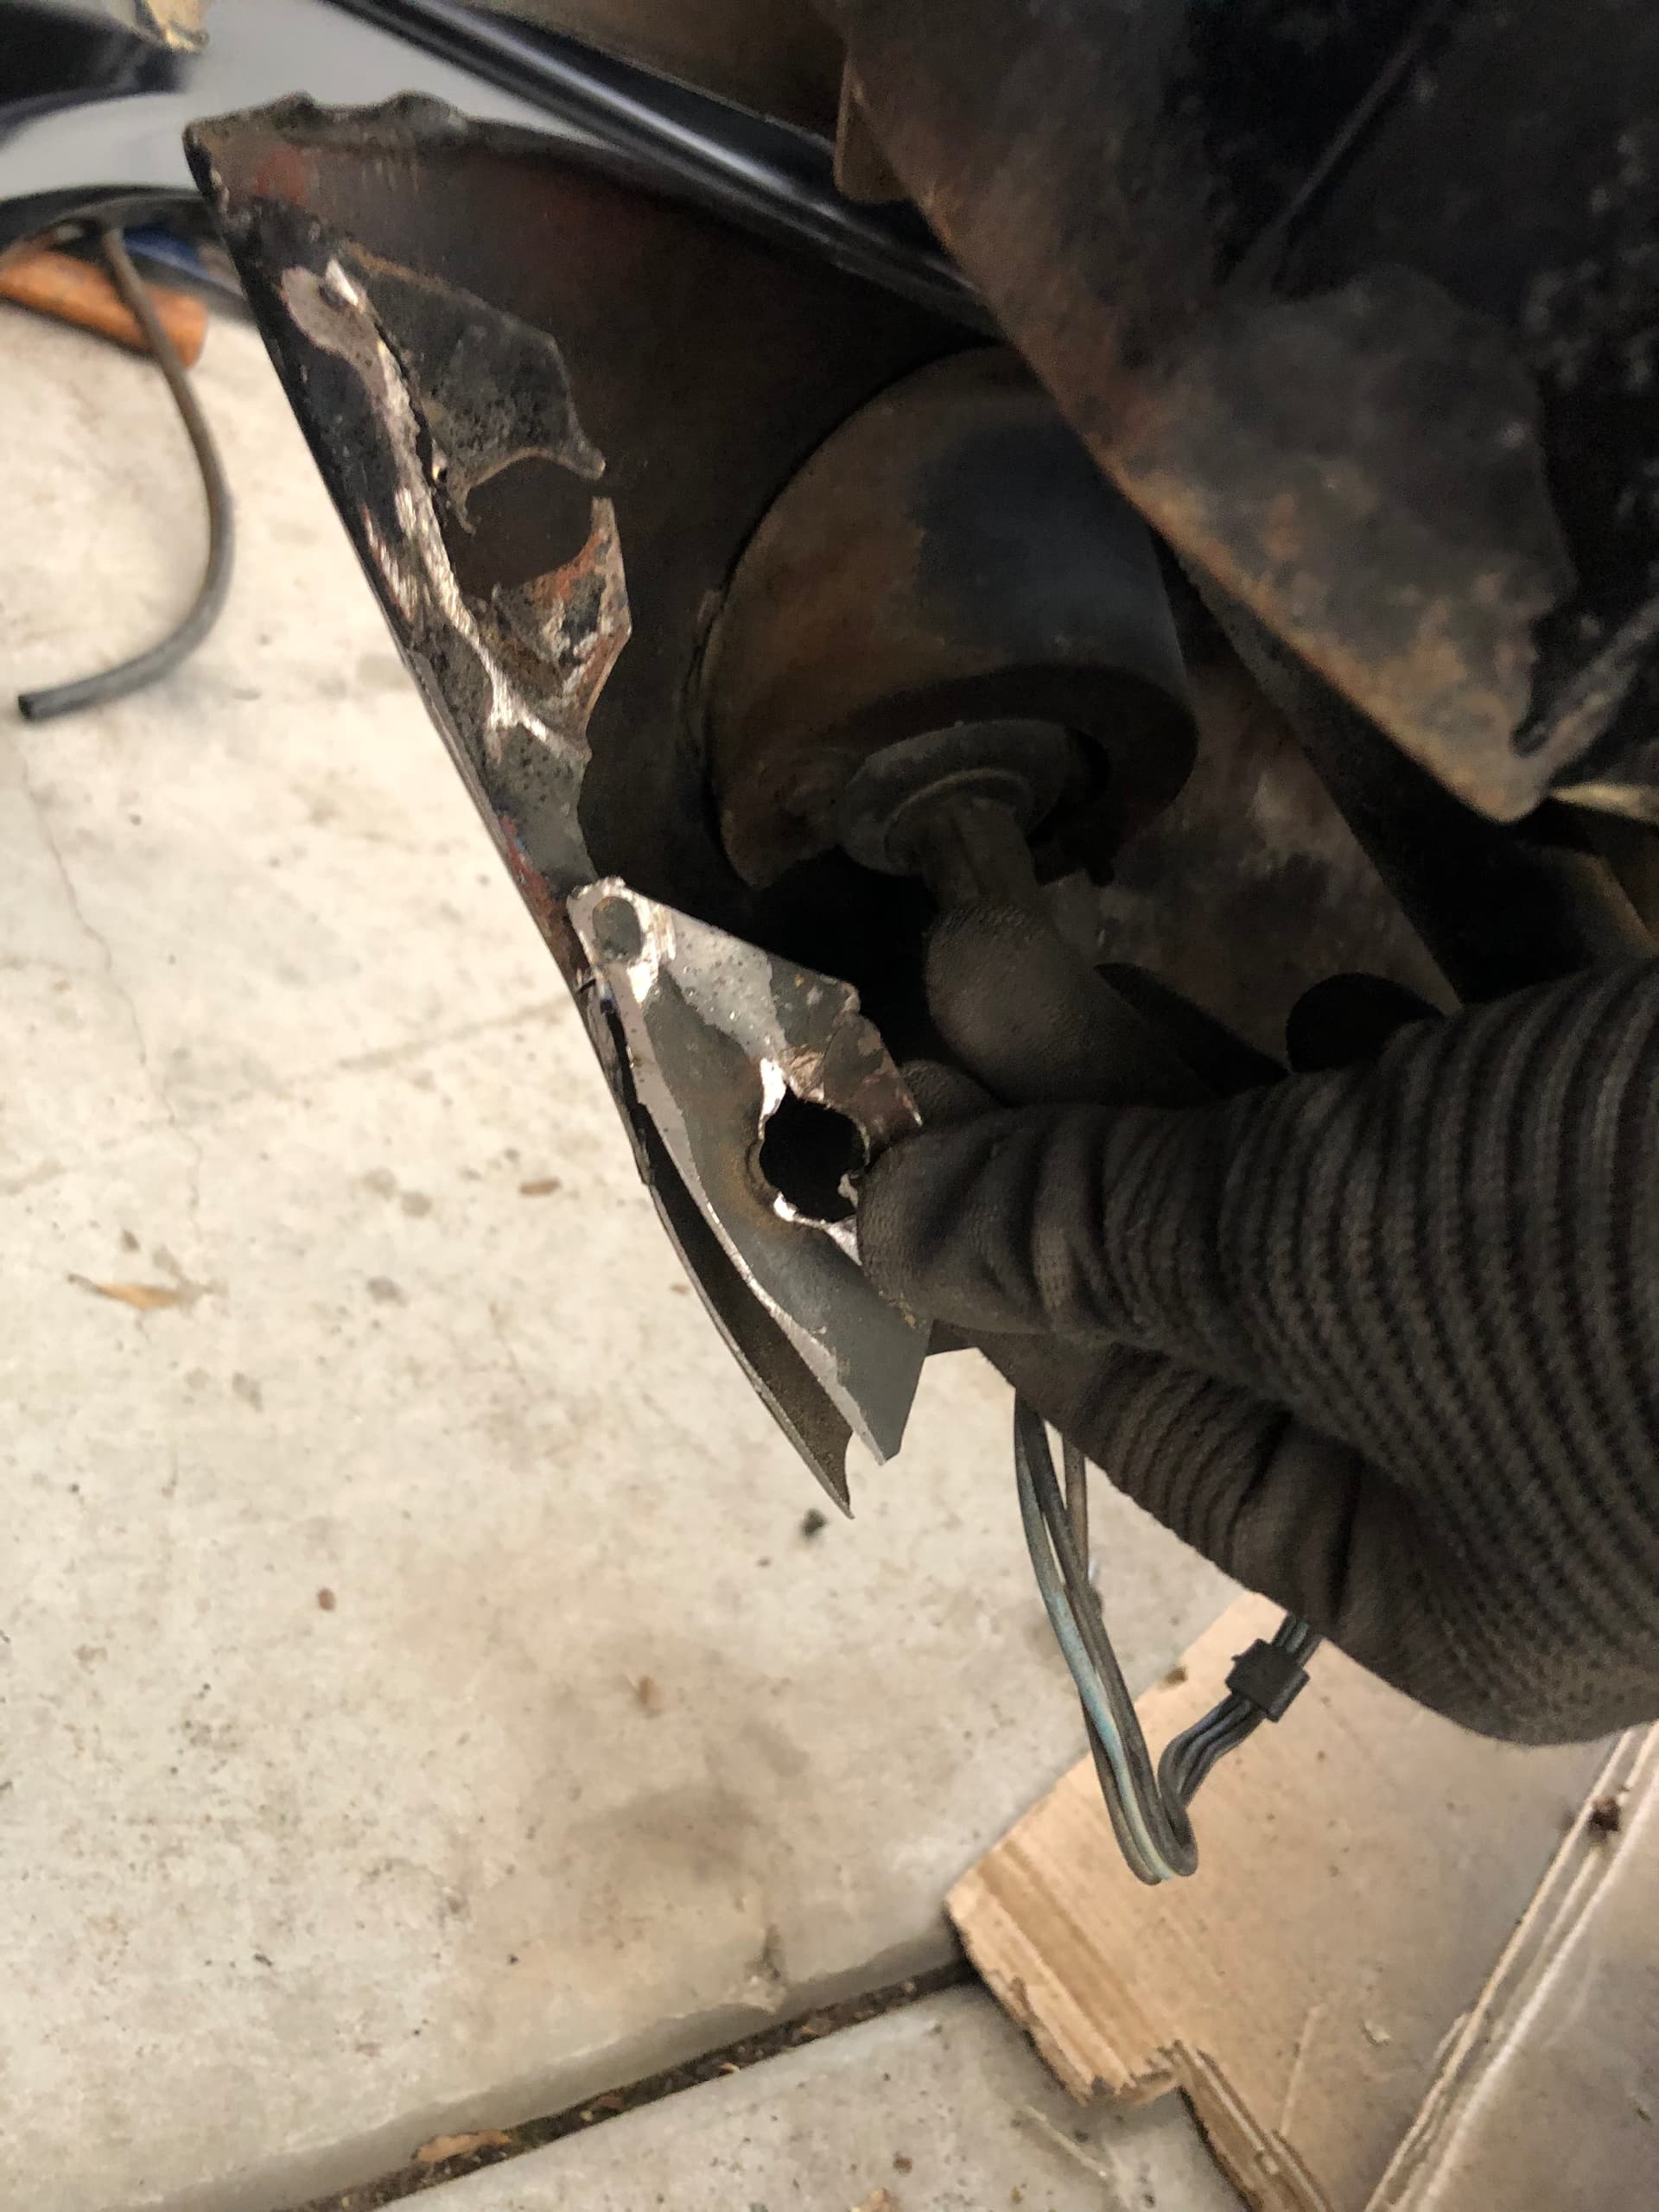
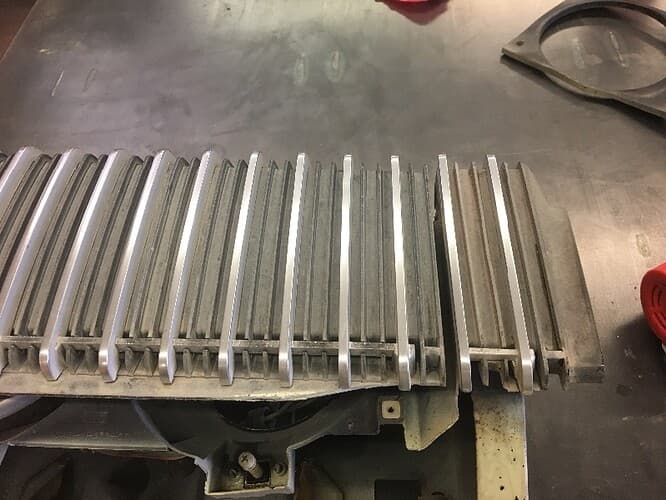
Depending on how tweaked your headlight and grill is you may need to heat up and bend them straight. The small outer part on mine was bent in so much it was contacting the headlight doors. This is typical from the headlight actuators applying constant pressure over the years and one of the main reasons I ditched the vacuum actuators. I have yet to install electric but thats another story!
I used some heat and pry bars to bend a little at a time to get them straight. Go very slow and dont pry too hard. Its mostly cast alum and pretty soft. Dont use a torch as its too hot and direct, a heatgun works better and easier to control temps.
I dont have a before picture but here is after I get done straightening mine. The outer section had been touching the door.
2 Likes
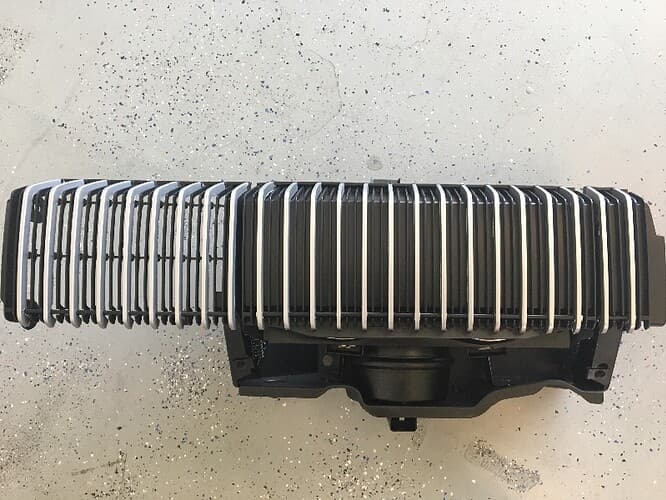
I got my electric actuators in today, with a short video of testing them! I’m still straightening my grill but finally got it so they don’t grind (as bad).
Thanks for looking!

1 Like
I can tell you if you follow Don’s video posted above you can absolutely straighten out your grill pieces. Your passenger side looks very warped, so that one will definitely take some work but it is doable.
1 Like
Over the last few years I’ve used these wedges I saw at a home improvement store. They are hard plastic and can be broken off at any ridge. I slowly forced them in areas to be widened over time. They stay in place well and are left in over winters.
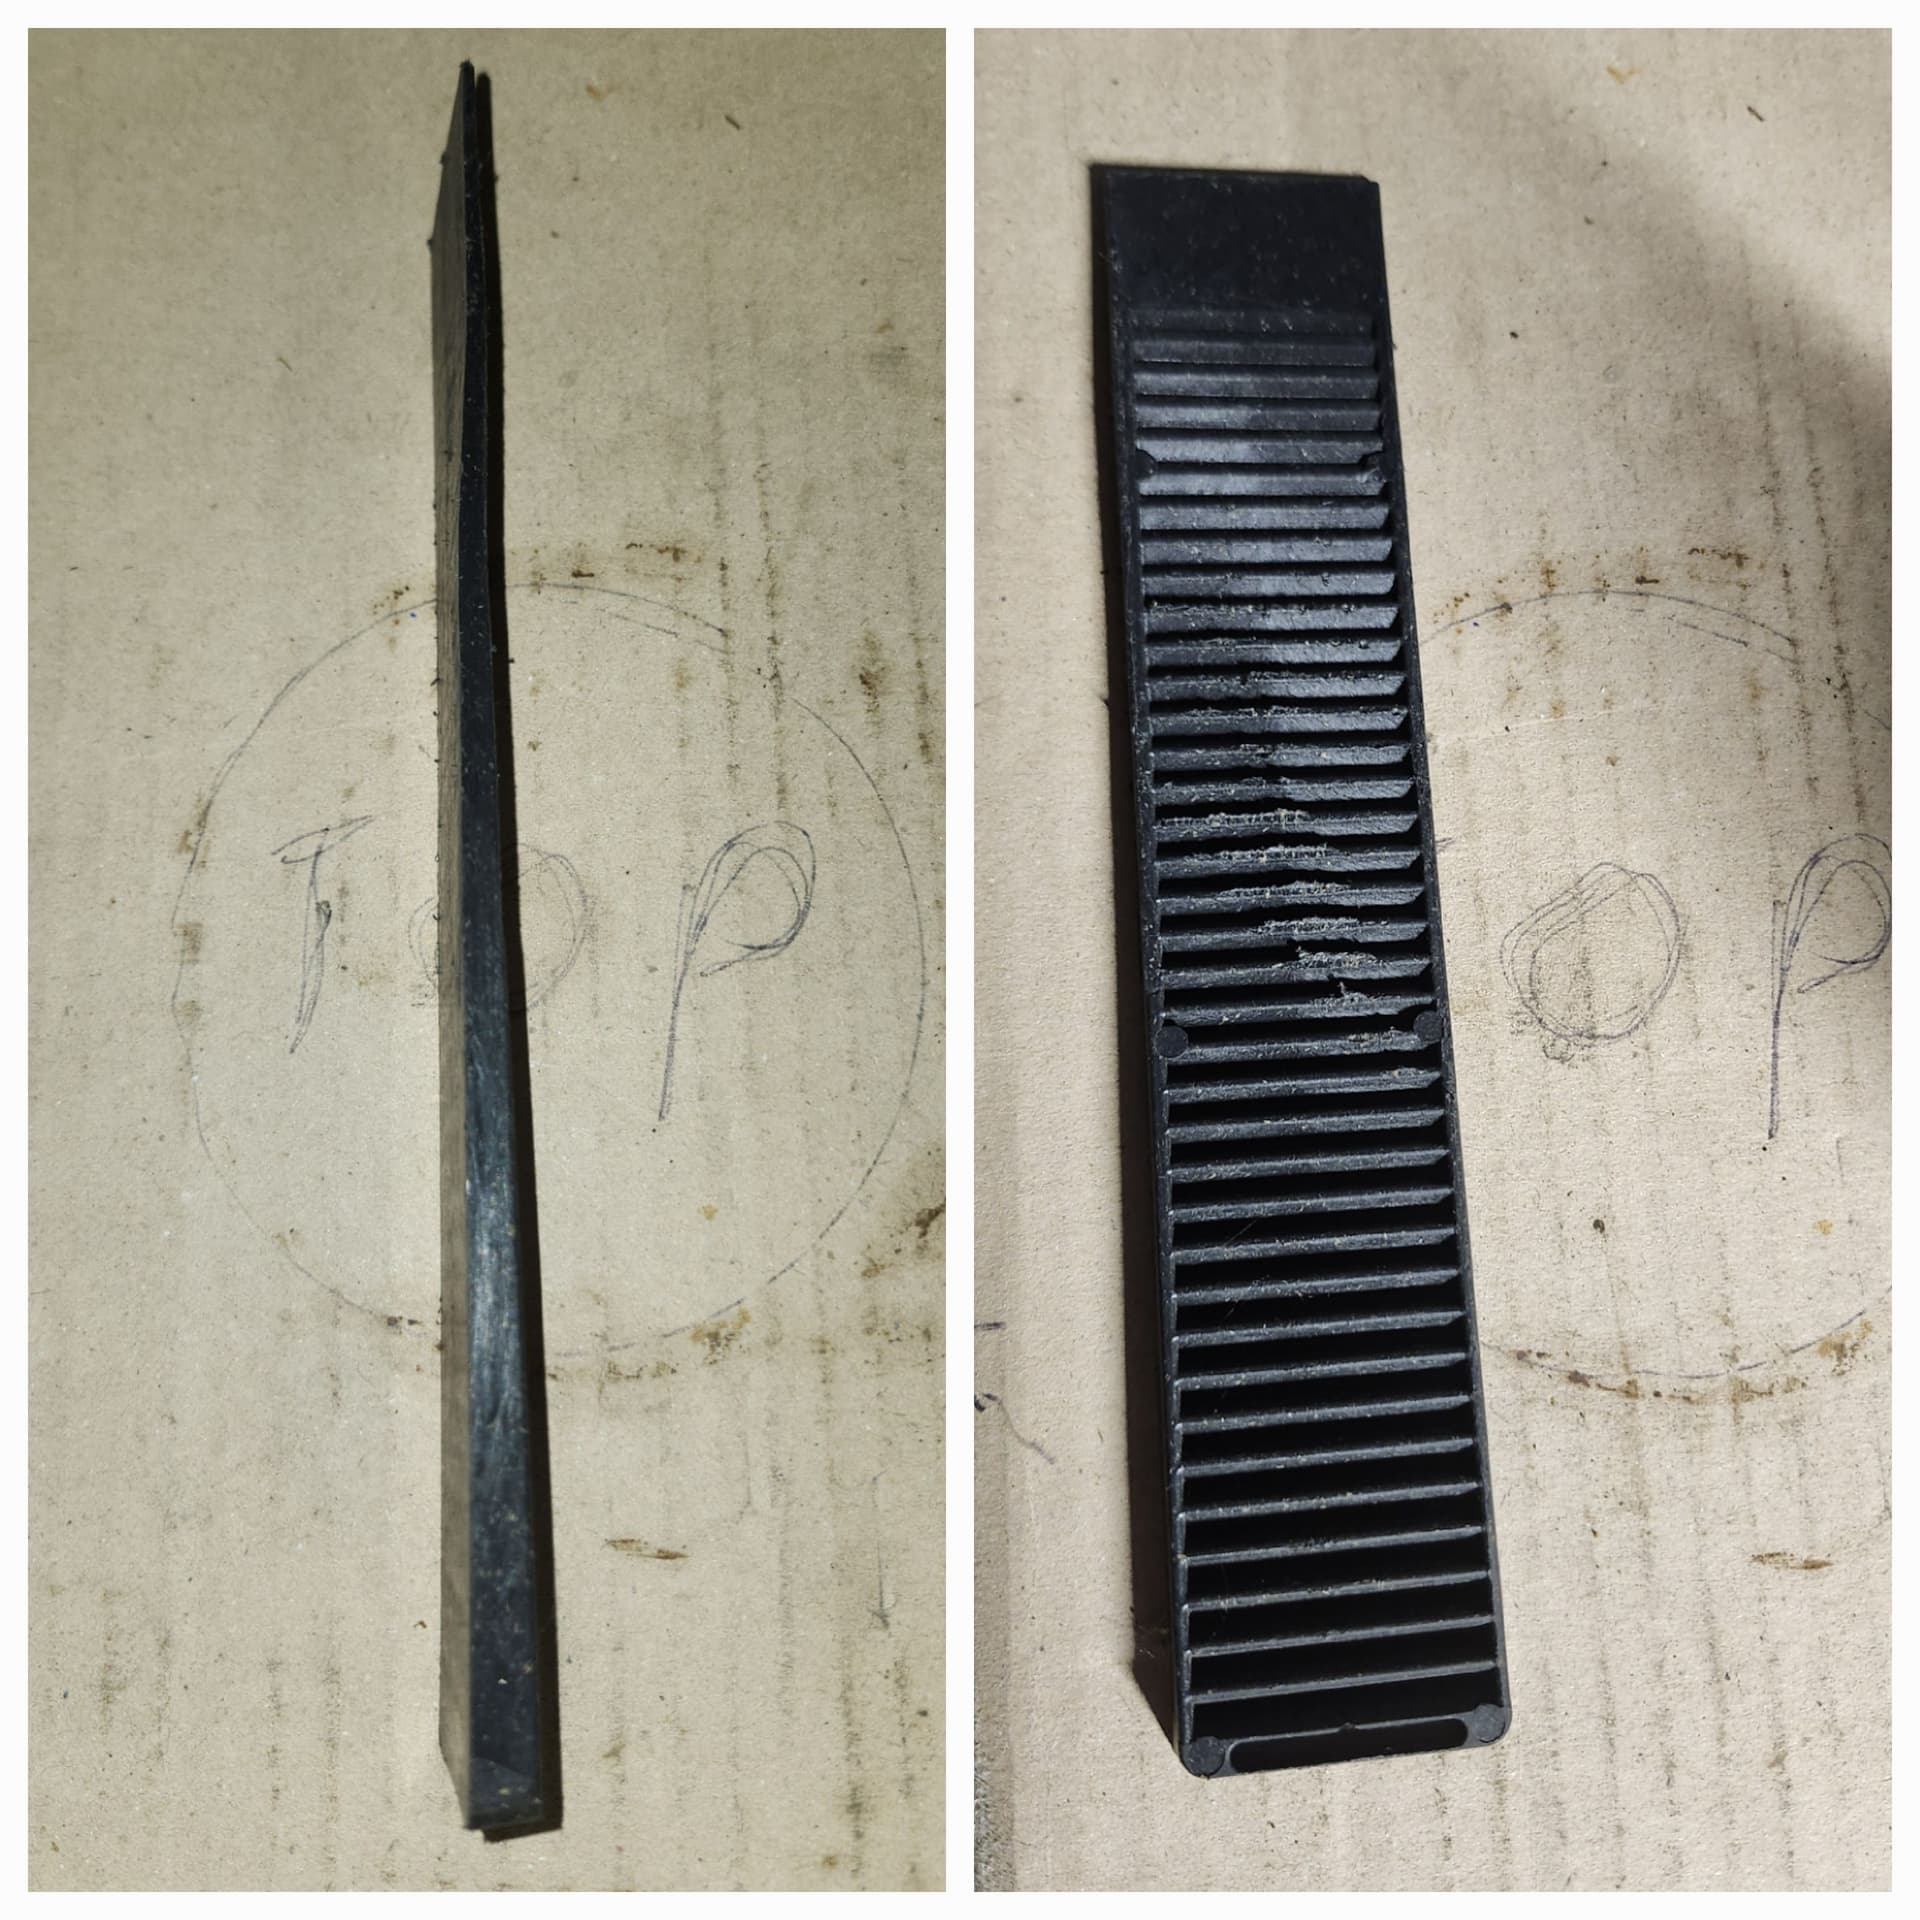
Composite Shims
2 Likes
I got my headlights to open at the switch. The instructions said i could run the blue wire off of my original wire for the vaccume solenoid but i suddenly lost power to mine, probably due to the wire damaged in the harness. I ran the alternate way, which is to run the blue wire to the headlight dimmer switch. Next time i go to town im gonna see if I can’t find those wedges @Since1980 pictured!
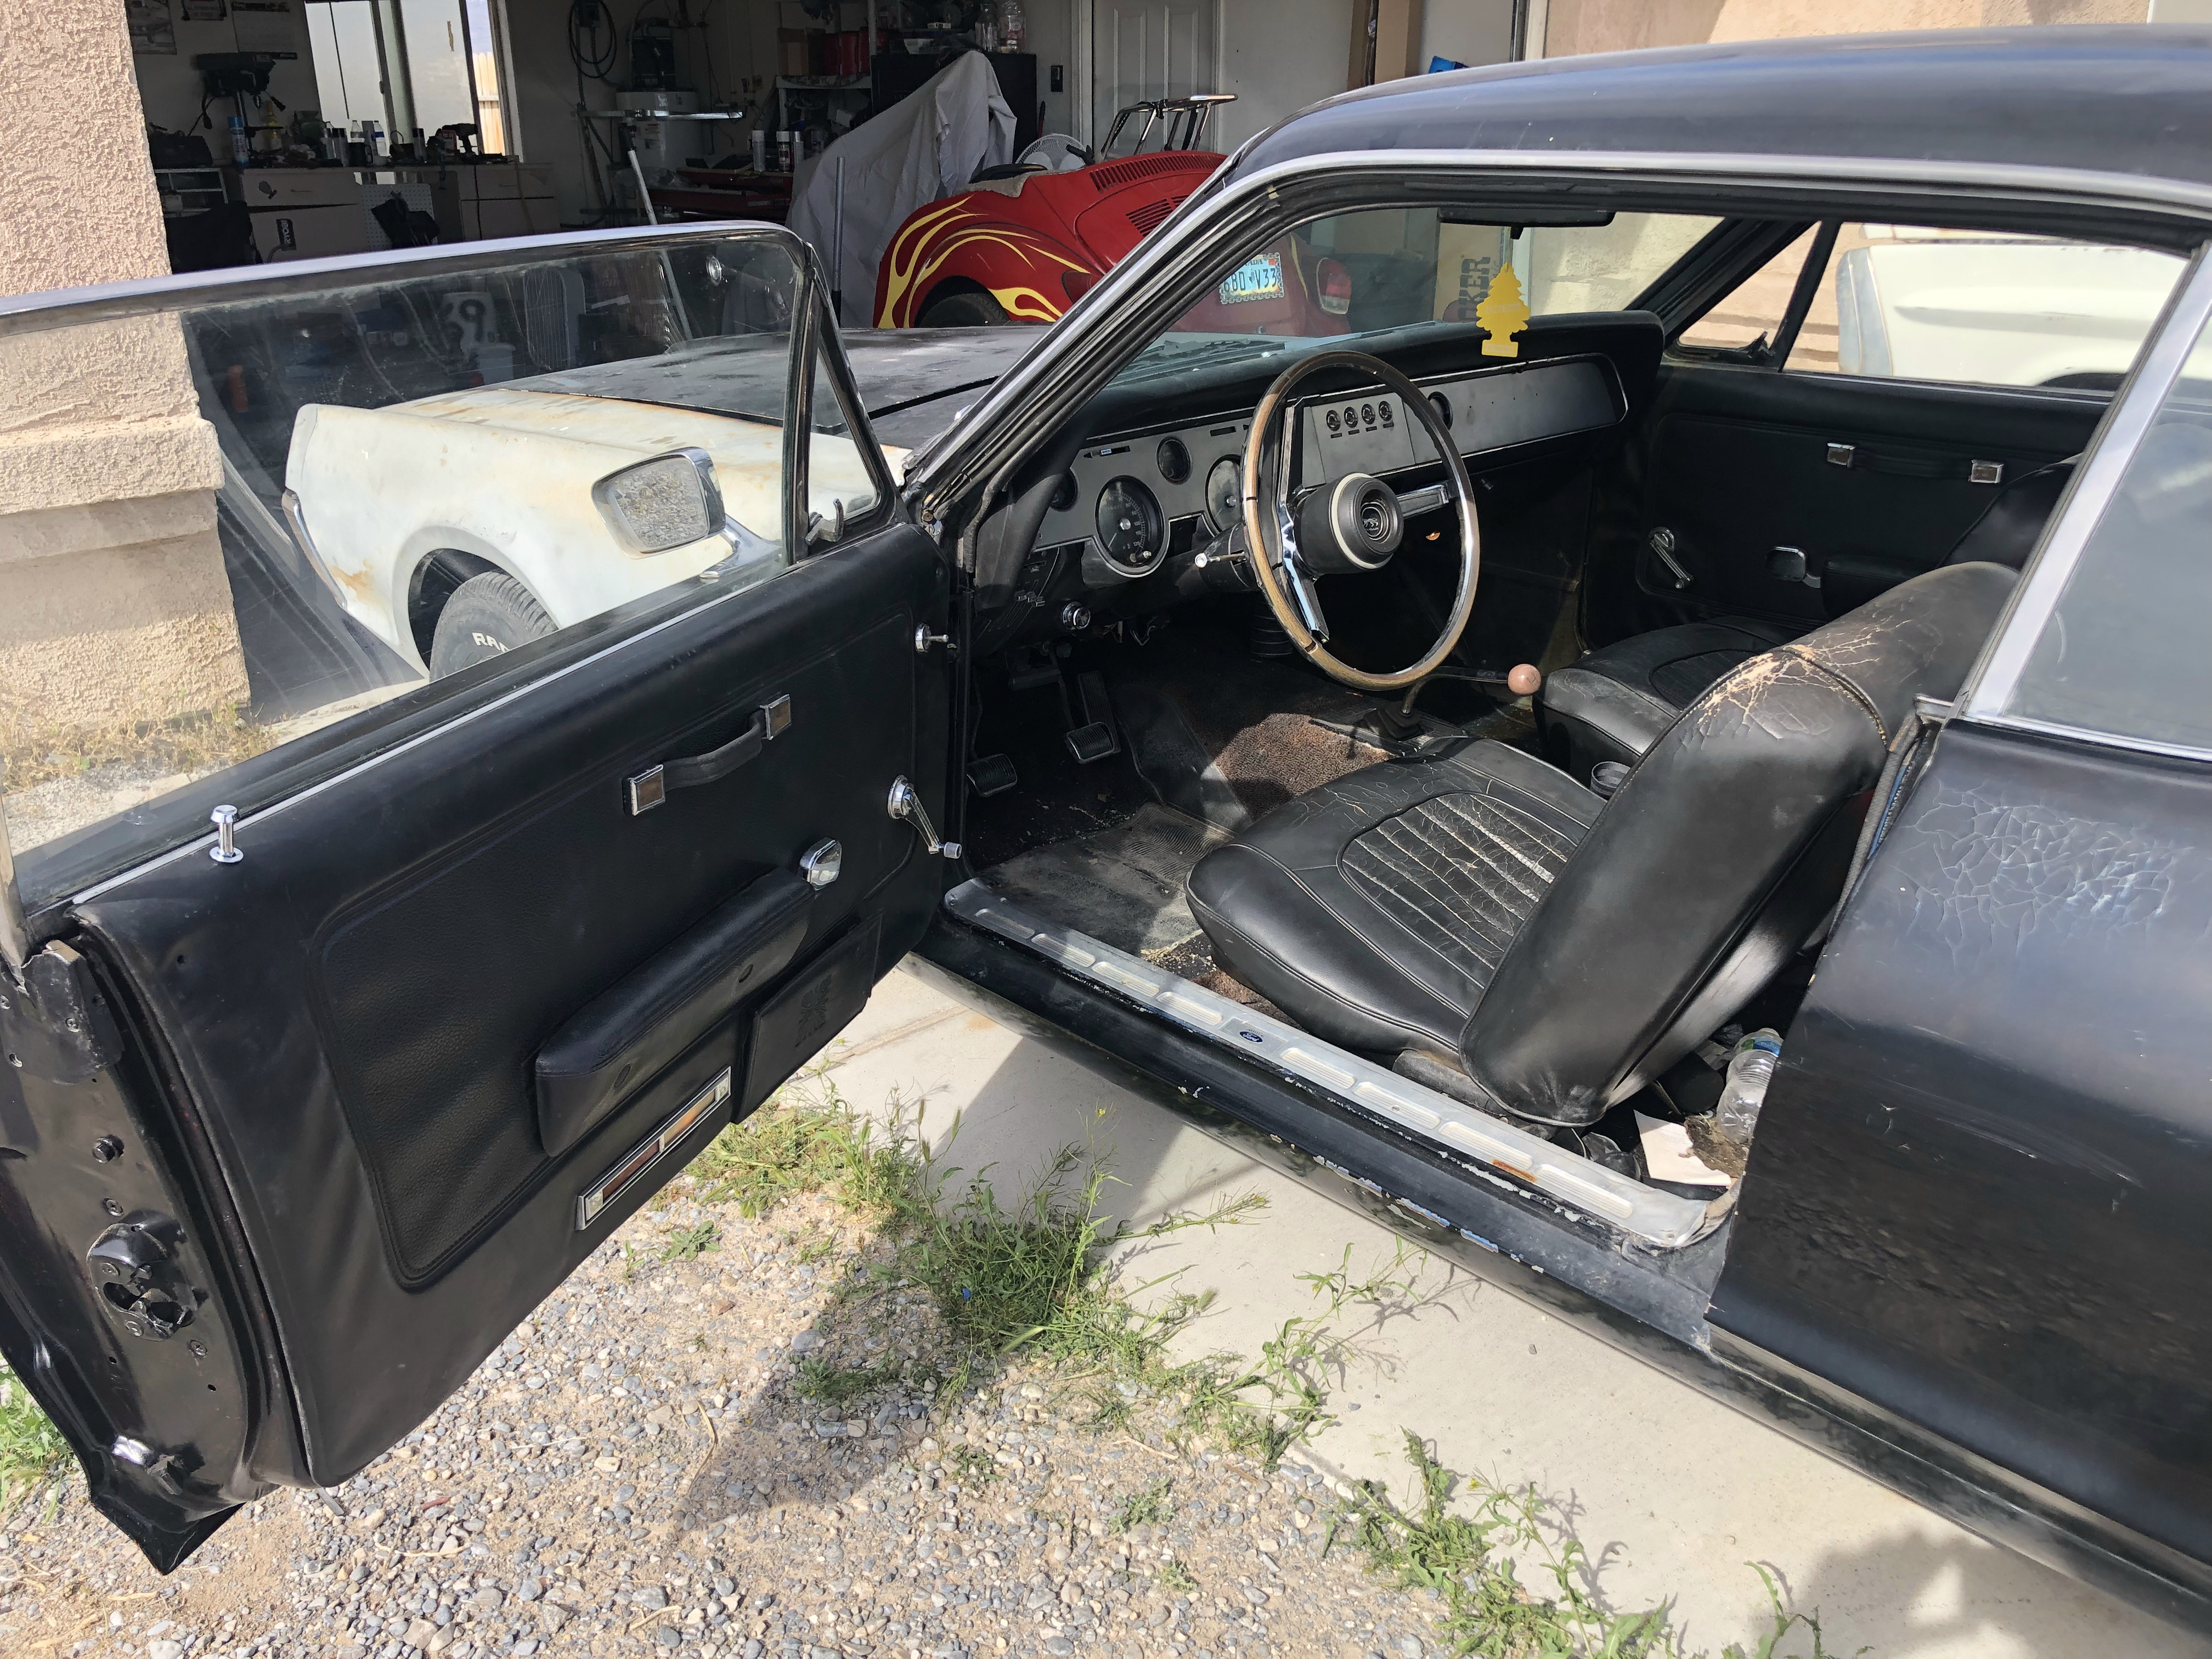
Got the door panel and trim back on, and the door light works. It’s nice to have the car out of the garage again!
Thanks for reading!
1 Like