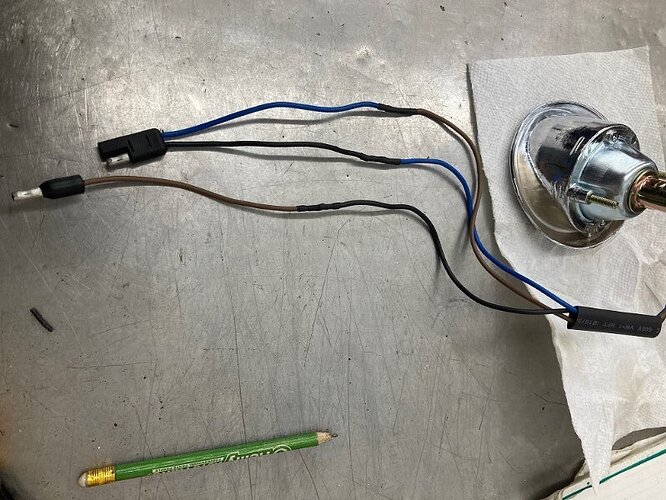
The 1965 - 66 Mustang turn signals look exactly the same as Cougar turn signal assemblies for 1967 - 68. The Cougar has different wiring though. To adapt the Mustang turn signal / parking lamps to the Cougar wiring harness is pretty easy once you know how. I cut and soldered each wire with shrink tube over each wire, and a large piece of shrink tube to slide down and cover all of them.
Today was the start of the headliner installation. I started by making a pattern of the sail panel insulation. Fasteners are installed everywhere they are used so they will be easy to find later.

Then cut out two of the insulation pieces from Owens - Corning Fiberglas insulation. I sprayed the B - pillars with contact cement and waited for it to dry to the touch.
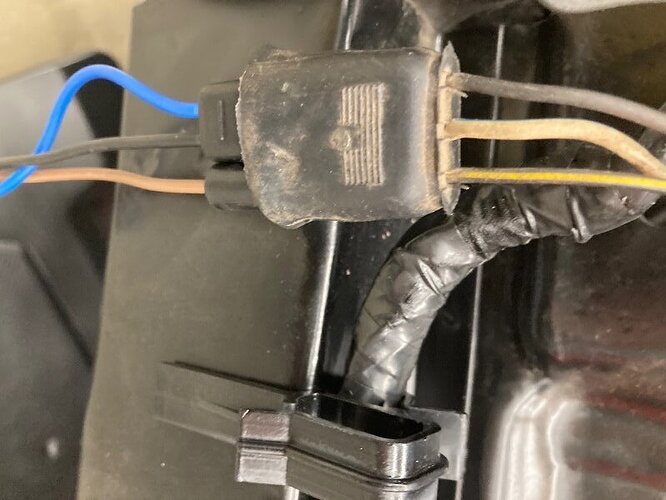
Notice the wiring to the B-pillar opera lamp - the connector has a power and ground connection but a single power wire connects to it. The opera lamp gets its ground from being screwed to the car.

When the glue was dry I stuck both the insulation pieces. With the battery hooked up the opera lamp is easy to find.

I marked around the light with a Sharpie and cut it out with scissors.

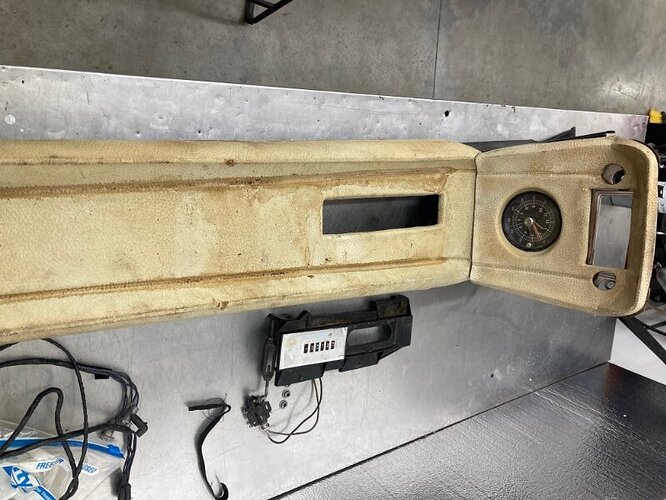
Yesterday I started working on the console. It was complete other than missing the radio. The parchment pads are stained with nicotine and it looks like someone spilled a syrupy substance on them too.
This view highlights the heavy staining.

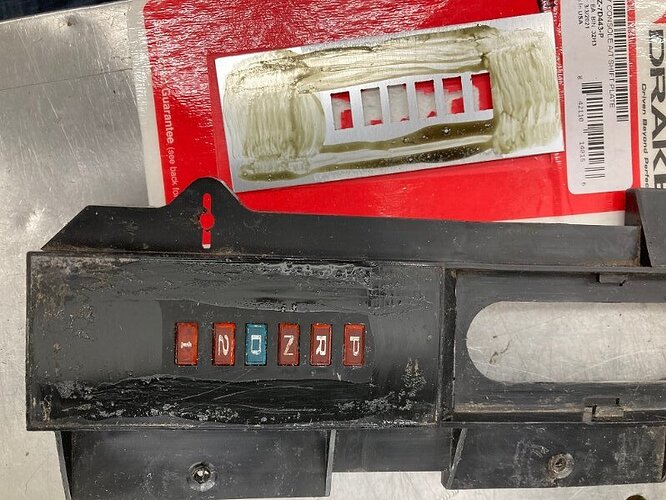
The shift indicator was complete and had a home made repair in the form of a small turnbuckle used to replace the plastic operating arm.

The console wiring harness was in pretty decent shape except the ground connector was broken at the clock. This is an important connector because it also acts as a splice. Because it was missing none of the items in the console would have worked.

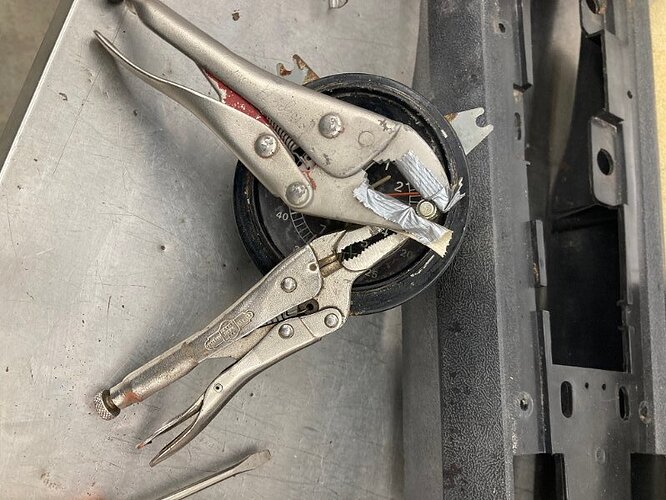
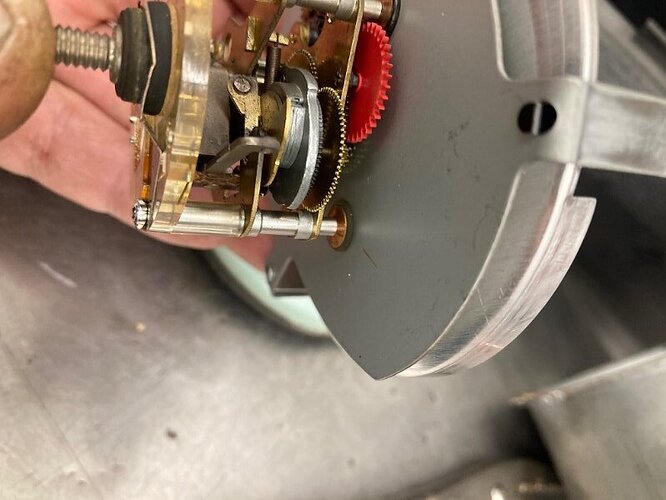
I took the clock out. To access the internal mechanism the knob must be removed from the shaft. I use a needle nose vice grip plier and a second set of vice grips with a bit of duct tape protecting the knob from damage.
You can see the clock is fully wound yet it quit working. Often it’s due to tiny dirt and dust stuck to the gears. I flushed it several times and got it to start working. Unfortunately the winding motor reads open with a meter so it is inoperative.
The clock face pad was coming loose from it’s underlying sheet metal piece so I peeled it off as carefully as possible. The foam was in great shape but it won’t stick to rust. I bead blasted the metal to remove the rust, leaving the foam attached so it would not have any odd voids or lumps when it was glued back together.

Here I am cleaning the pads to remove the nicotine and sticky soda mess. I used a lot of different products in an attempt to remove all the stains. Go - Jo, 409, wax and grease remover - all helped but they didn’t remove everything. The clock face pad is seen as clean as it could get. I just started on the long base pad. Once they are clean they will have to be dyed.

Royce, have you tried Dawn PowerWash on the vinyl? I’ve been amazed at the cleaning power for about everything I’ve tried it on.
I have not tried that product. We actually have some in the kitchen. The pieces shown are already dyed. Hope to have the console buttoned up shortly.
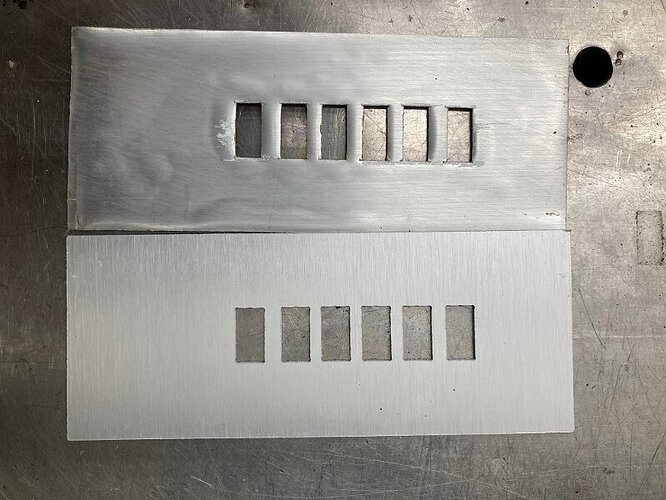
Still working on the console today. I started by repairing the wiring harness. This image shows the original aluminum insert and a new Scott Drake insert. The Scott Drake part has the brushed surface running 90 degrees off from the original.
The Scott Drake part didn’t come with any adhesive so I brushed it and the shift indicator with contact cement and let it dry. Then put the new insert on.
Even though the brushed portion is wrong it looks better than the 50 + year old one.

An NOS shift indicator slide is a nice touch. The shiny side goes down, textured side up.

The ground terminal at the XR-7 clock serves as a splice for the ground wire. Without it many lights don’t work. I added an inch of wire since it seemed short, soldered the connections, and put shrink tubing over the whole thing.

The dead clock is a place holder until we find one that works.

With the work on each component of the console complete we put it together. Some of it will have to come apart on installation.

Will have to see how well the adjustable shift indicator works. Not sure if it stays or not.

The clock wiring installed.

Hard to see but the “Park” indicator is lit.

Original lens cleaned up nicely. We used LED lamps. There is a bit of a shadow caused by the fixture.

