

Nice work Royce. One question though, the console base in the above photo looks to be one for a car with A/C. I looked back at the beginning of this thread and there is a before photo showing the interior, post #4. In that photo it looks like the console base is a non A/C base. Or am I missing something?
Randy Goodling
CCOA #95
You are correct. The owner wants me to add Vintage Air. So the console has to be cut short like a factory one for A/C. In fact I used a factory A/C base. So the original one can remain uncut.
I have been using 3M weather-strip adhesive which seams to bond better than standard contact cement, what have you found to be the best?
I have been using 3M weather-strip adhesive which seams to bond better than standard contact cement, what have you found to be the best?
[/quote]
Either 3M Fastbond 10 or 3M 1357. I think 1357 is a little thinner and easier to use for most things. The Fastbond 10 is a little thicker and faster drying. Both come in multiple colors and container sizes. I use the 3M spray trim adhesive for things like the fiberglas padding on C - pillars.
About a month ago I started to install the headliner. It turned out to be a false start because it was a 1965 - 68 Mustang headliner. Note to Cougar owners: Mustangs have a totally different headliner.
It took almost a month to order and receive a proper Cougar headliner. It’s here so time to stick it in!
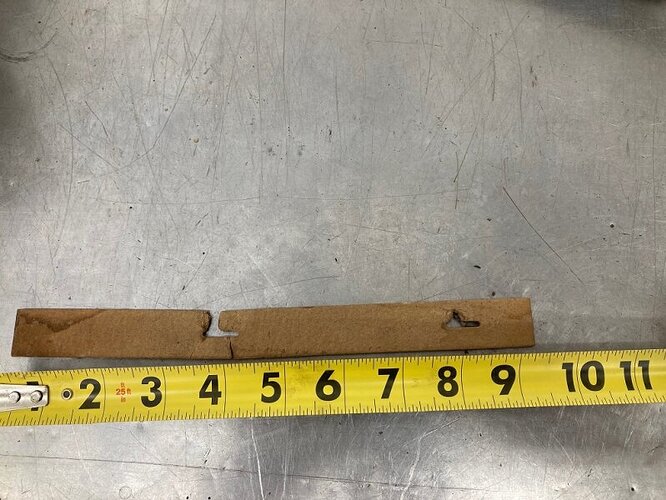
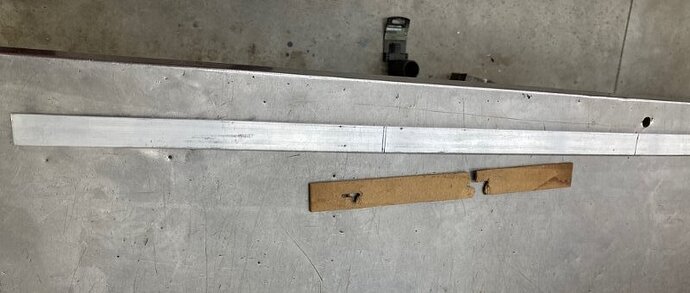
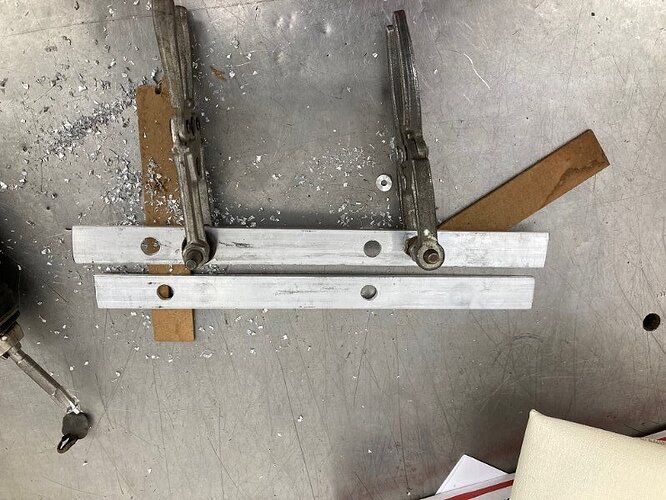
First order of business is getting everything ready. The headliner at the rear package shelf is held in place originally by two fiberboard pieces. They always get broken so I made new ones from a piece of aluminum .125" thick X .750" wide X 36 inches long. The original fiberboard parts have slits in them. I find it equally effective and easier to just put 3/8" holes in where the slits were. I used a .125" pilot hole, then used a short aircraft 3/8" counterbore to make the holes.
On each side below the sail panel area are tabs punched into the support structure. These are there to hold the headliner. Several of them were clogged with paint or bent over. We fixed them on both sides.


Part of the headliner installation involves a pair of spring steel clips that keep the rearmost bow from rotating. There are holes provided for them in both sides of the roof support just forward of the rear window. In this case the originals are in good shape so I used them. I’ve made them from pieces of coat hangar wire when they were not usable or missing. You need these.


I put an old sheet on the hood of the car so I could unfold the headliner and insert the bows in the pockets. The front bow is the lowest and is round in profile. Bows two and three are the same shape as the front bow but they have their sides squared. The rearmost bow is the longest and deeper than the other three.

It’s important to measure the headliner’s width and make a mark at the center. I also measured the car to find the center there. I marked center of the headliner with chalk, the car was marked with Magic Marker.

There are two sets of holes drilled for each bow to go into. I figured out which set would put the headliner the highest yet also clear the insulation. This is the RH rear bow - I am going with the higher, forward set of holes.

Once you are happy with the way rear the bow fits you can rotate it forward so the spring steel clip punctures the loop that contains the bow. The bow is captured by the spring steel. Make sure it snaps in place on both sides.

Then you can put the other three bows in place. I used the forward set of holes for all of them. This is an XR-7 so it has an overhead console. Duct tape secured the wires for that temporarily.

Remember when I measured and put a chalk mark on centerline of the headliner and a Magic Marker on centerline of the car? These are those in the windshield area. I stretched the headliner forward as much as I dared, then clamped the headliner to the windshield opening of the body. Then made a mark in between clamps.

With my mark done I applied 1357 adhesive on both the windshield frame and the headliner. Then let it dry, and stuck it. Note : Don’t cut anything yet. You will find that the headliner stretches overnight and it will need to be removed and re - glued. My wires fell down so I had to re - do the duct tape.

This is how it looked when I quit for the day after repeating the process in the back window.

Your headliner is coming along great Royce. The preparation and patience pays off in the end.
The intrior light shows just where the opera lamp is in each C pillar. I press the headliner against the lamp and then cut inside the lamp with an X acto knife.


The headliner is about done, and I had all the parts for the rear axle so those were going together next so they would not take up room in the shop any more. This car like all GT-E’s has a 31 spline axle which uses a lot of different parts than a typical 28 spline axle. The axle uses a sleeve for the seal to ride on, and the seals are different diameter than the more typical 28 spline ones. I took the axles out originally because the pinion seal was leaking on the center section and found the seals were incorrect and there were no seal sleeves!
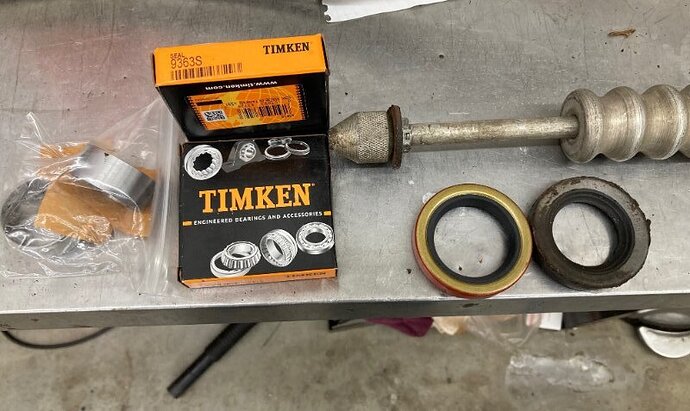
I started by using a slide hammer with a big washer on it to remove the old seals. One of the old ones is in this picture along with the new correct ones.
This is what I found. The axle bearing has been replaced, the bearing is held on the axle by a bearing retainer. That part is OK…

This shows the axles ready for pressing on the seal sleeves. I am using an extra bearing retainer that has the proper ID to install the seal sleeve. You can see the bearing retainer on the axle on the left. I greased up the area where the seal sleeve fits on the axles.

This image shows the hydraulic press being used to install the seal sleeve on one of the axles.


