The press ran out of travel before the seal sleeve was all the way on so I had to add a 5/8" block of steel between the press and the axle to finish it.

Back to the car again, in this image you can see my seal driver tool and the brass faced dead blow hammer used to install the seal.

I slimed the seal outer edge with grease then drove it in the housing.

This picture shows the blue paper gasket used between the axle retaining plate and the backing plate. There is a metal gasket between the backing plate and the axle housing. The short axle goes on the left side.

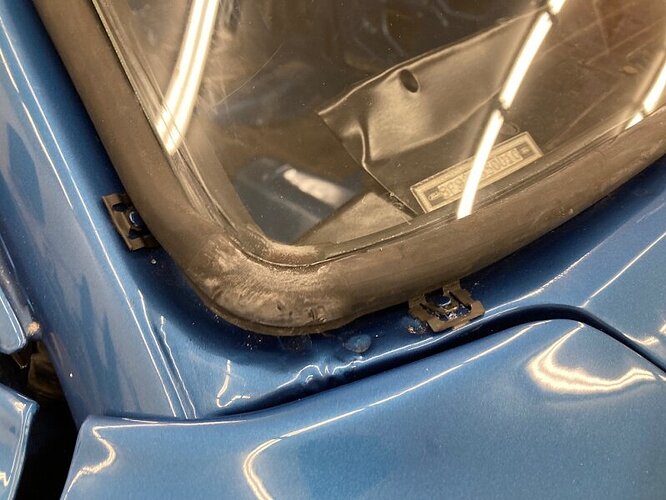
With the headliner about done the front and rear windows come next. The windshield is a reproduction from ECS complete with a date code and Autolite stamping that appear to be original. The rear view mirror button was glued on the windshield with it laying on top of its box on the floor. Much easier to install the button that way.


That’s a really good work you have been doing It’s a pleasure to see your post. ![]()
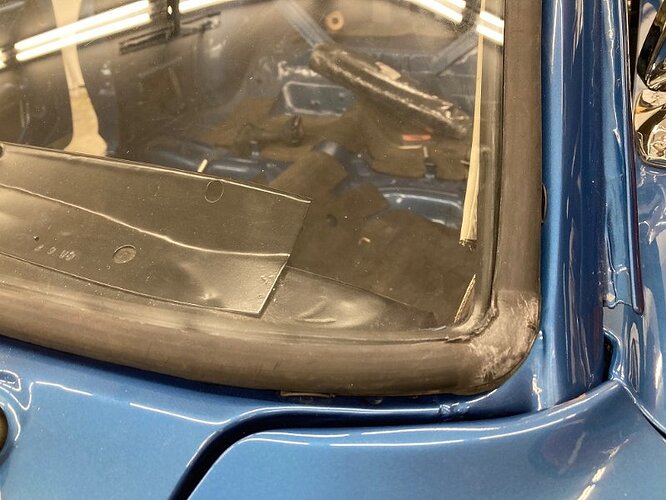
Thanks! Yesterday it was finally time to install the windshield. I use a heavy kite string in the seal, all the way around with the two ends hanging out the bottom center of the windshield. Then I place the windshield on the car as centered as possible in the opening.
Inside the car I started pulling the string, then pressing the seal over the lip of metal. I work evenly on both sides, stopping every so often to look outside and make sure it is all going well.


I keep going around the lower corners, up each door pillar until the string meets in the center top of the windshield and comes out.


In the rear window opening I looked at the clips and decided two were missing near the middle. They are easy to add with the window out - they just pop rivet in place. All the clips have to be installed before installing the front or rear windows.

Nice work Royce.
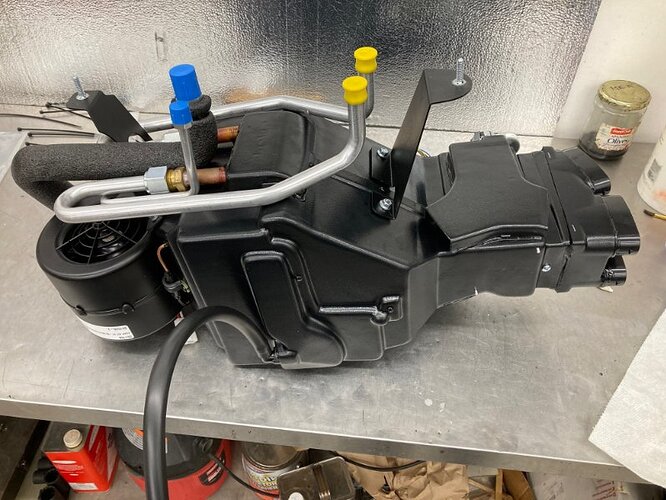
The main unit is built up and ready to install. There is a blank off plate on the RH fresh air intake - something that in my mind makes the aftermarket unit inferior to a good working factory AC unit but that’s the way it goes.
This is the block off plate:

Some of these combine the heater core and evaporator into a single unit. How does this one work?
This car had only a heater and vents originally. A plate is supplied in the kit that covers the hole for the heater blower motor in the firewall and has grommets for the AC pressure and discharge hoses and for the wiring harness.

From the other side of the firewall you can see what the plate looks like. You have to drill two additional holes for mounting the main unit, one of them can be seen near the hood hinge.

The condenser must be mounted forward of the radiator. It came with hardware as shown to mount it, which would have been fine if the radiator bolted in. This car has a four core copper radiator that clamps in, so I substituted countersung screws and washers for the hex head bolts to save some room and keep the fins intact.

This shows the filter / drier and the binary switch which keeps the compressor from engaging if the pressure drops below a pre - set level.

It’s looking pretty busy under the hood, what with smog, power steering, and AC all vying for attention in there.

Aftermarket AC kinda makes me cringe as original as this car was. But you are doing a nice job, and it will be nice to have. Will the AC hoses at least be able to be routed as the factory ones were?


