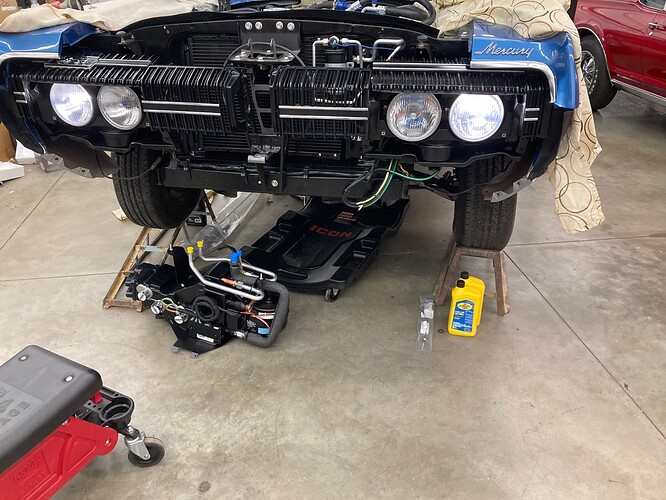
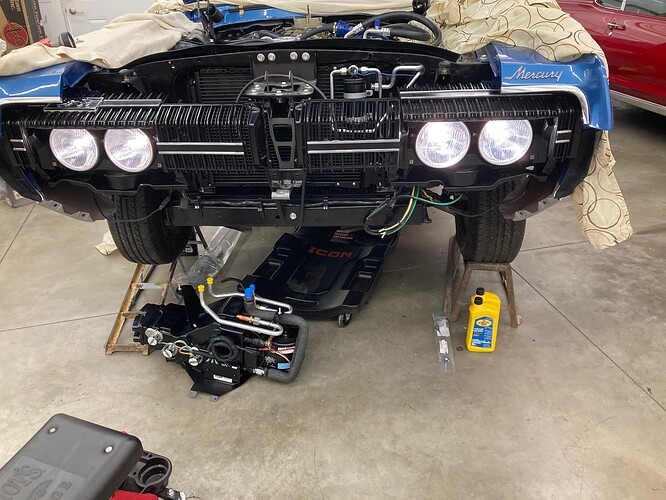
Yep just like that. All of the stuff is combined into one unit as shown. It has heater vents that point in both directions unlike the Old Air unit which only heats the passenger side.
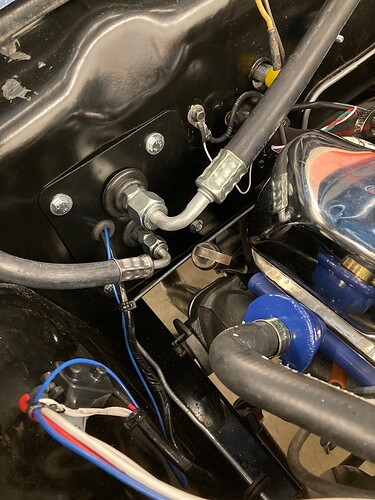
Yes pretty close to the same routing. I will show the engine compartment as it looks when it is all operational.
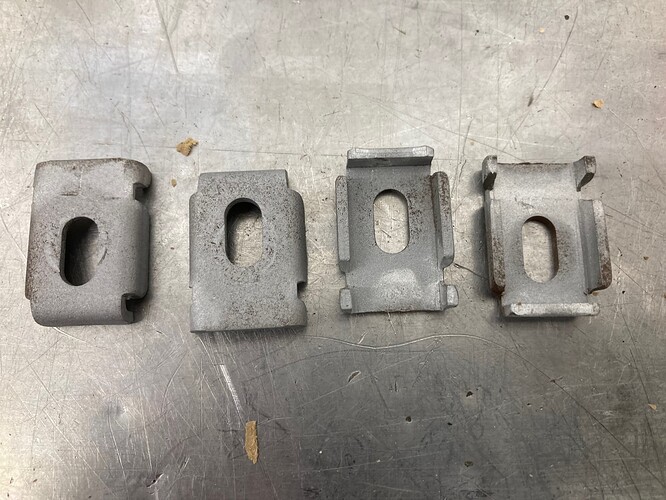
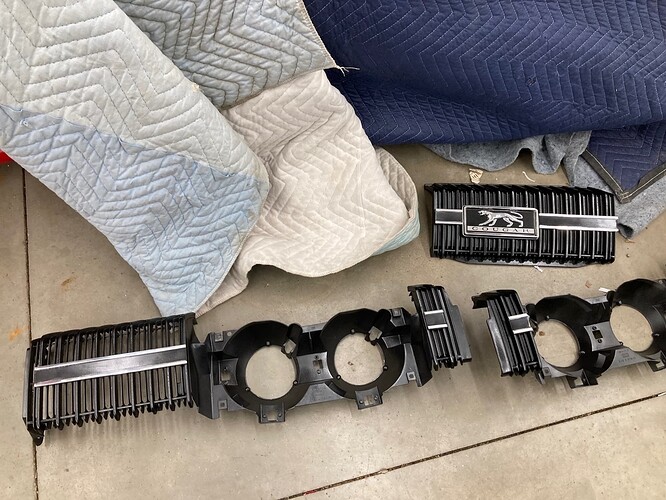
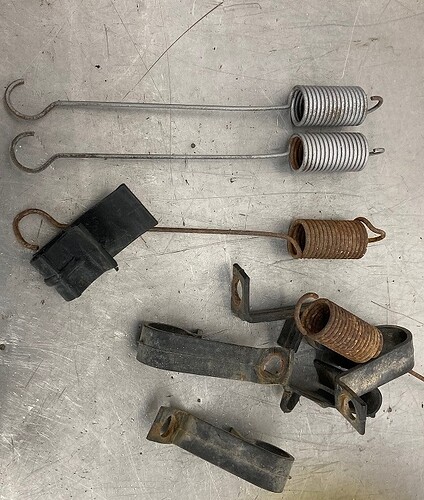
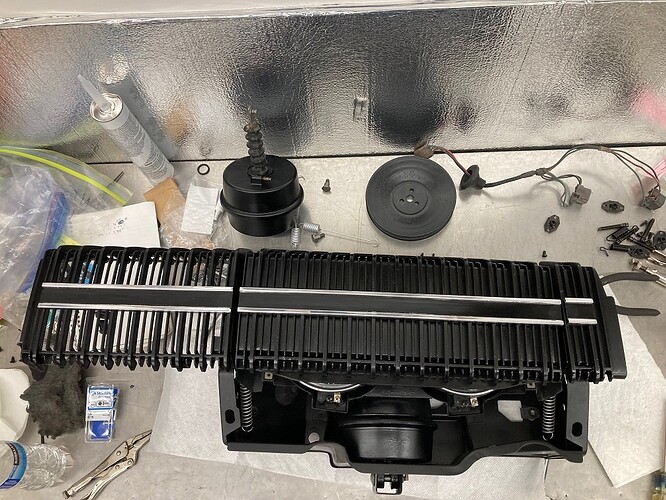
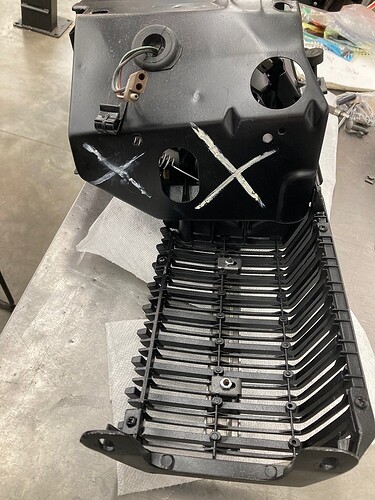
Today I was working on the grilles. Had to repaint the black on the grille bars. This car has all of its original grille attaching hardware which is unusual for a GT-E.
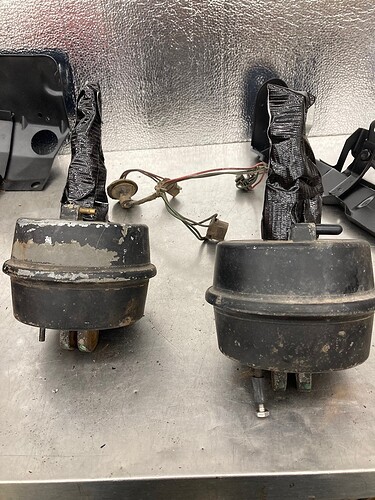
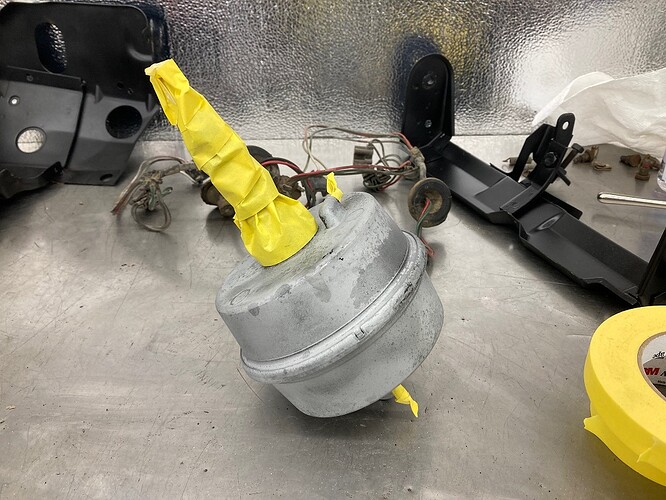
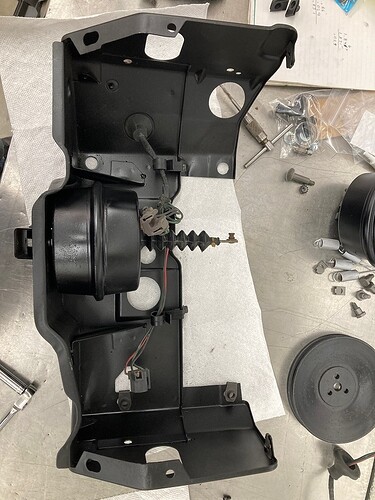
Still working on the headlamp assemblies. Today started with masking off the vacuum motors - original ones from this car that are in perfect working order.
They didn’t look that great but they are 50+ years old so…
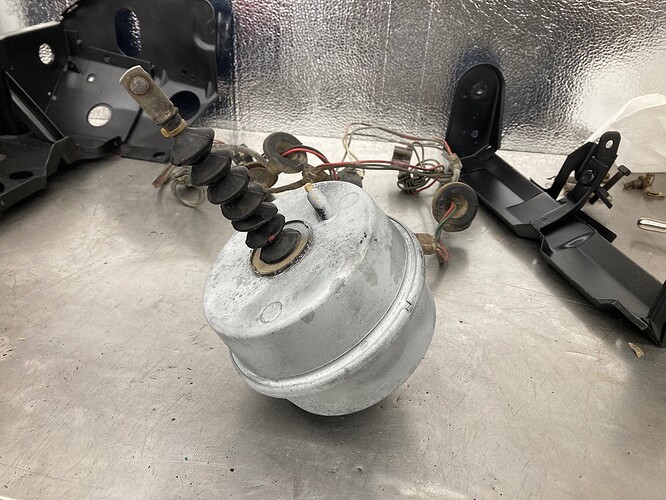
After blasting the vacuum motors they were wiped down with wax and grease remover. Then the bellows were masked again with masking tape this time, in preparation for paint.
Other parts can be re - used but they also have to be restored first. It all starts with bead blasting. Have a lot of it to go still.
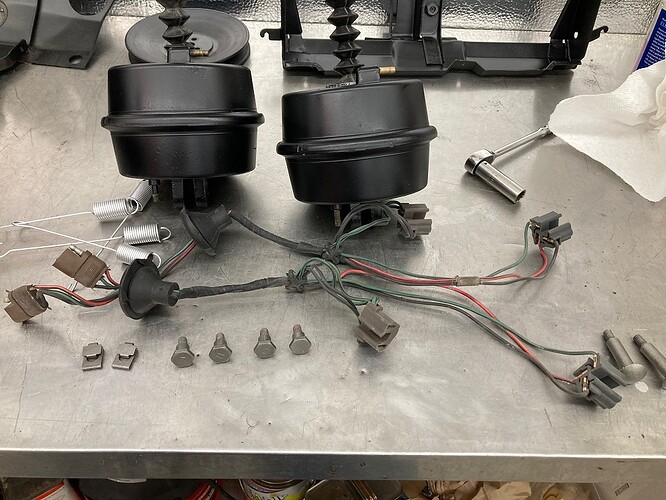
Still working on the headlight assemblies - today I finished bead blasting everything. I painted a lot of stuff various colors. The original headlamp vacuum motors were good so I used them.
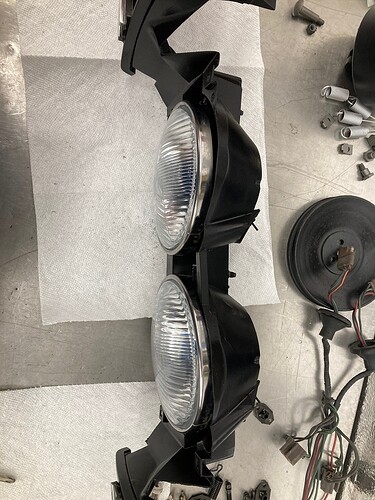
These are LED headlights. First time for me.
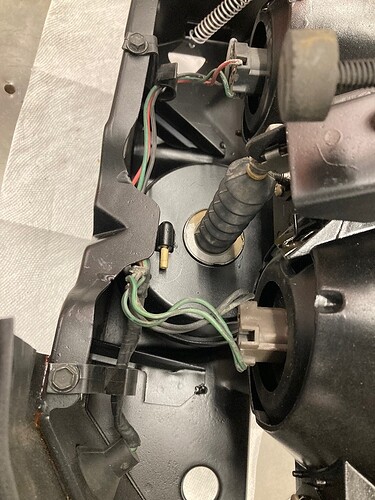
Installing the vacuum motor and wiring harness in the headlight bucket comes first.
When the grille is assembled they are able to be married again.
I temporarily hung the grilles and plugged them in so I could test the LED lighting. Dang those are bright!
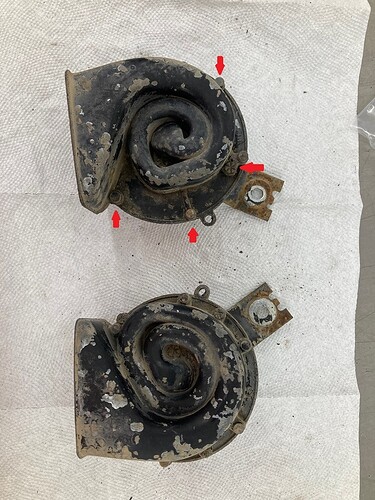
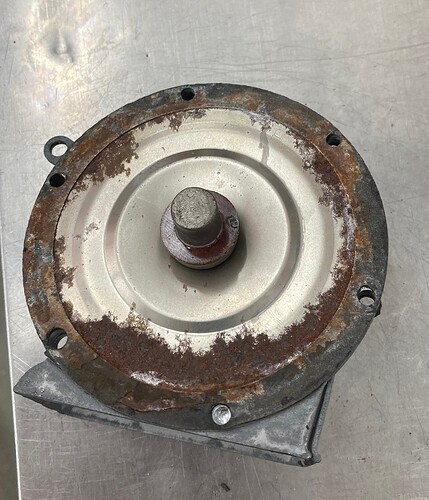
Since the grilles were mostly done I next tried the horns. Neither of them made any noise at all. The Low tone horn read open with a meter, meaning the points inside were too corroded or maybe the wire was disconnected inside.
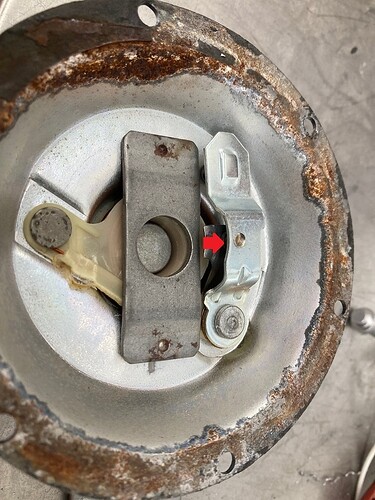
First I bead blasted the outside of the horns. Then I drilled out the six rivets holding the horn together (red arrows).
The rivets are available from Corvette restorers like Zip products. Same rivets we need for Cougar horns, they are 3/16" diameter and made of steel.
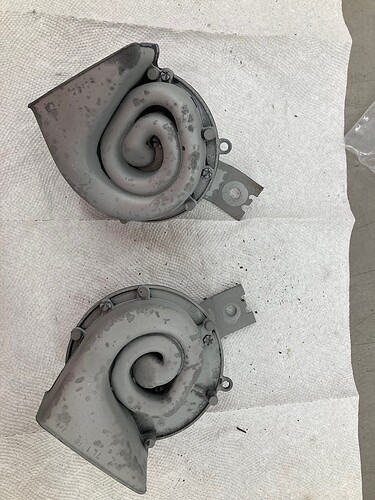
The bodies of the horns are made from a cast zinc material often referred to as pot metal. The horn diaphragm is made from steel and is in the trumpet side of the horn after you disassemble it. The vibrator is in the other side, the points are where the red arrow is pointing. You need to carefully file the points until a meter reading of zero ohms is achieved. Then cleco the halves of the horn together so the tension screw can be adjusted for best
sound. When you are happy the horn can be riveted back together. The brass contact is masked off, and where the bolt attaches the horn to the headlamp bucket makes contact you place a small dot to keep it bare metal so it makes contact. Then paint the horn semi gloss black.
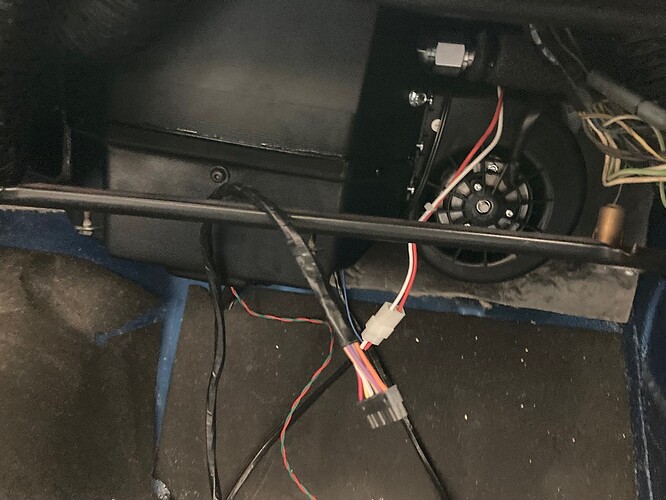
While this picture might look rather innocuous, it represents a great triumph. I finally got the aftermarket Vintage Air box mounted inside the car! Then I ran all the flex hoses. A major step!
With the main unit in place it was time to hook up the hoses and the wiring. These things use transducers to tell the unit what fan speed, function, and temperature that you want. It’s a fairly hi tech system.
The high pressure hose is a little longer than it needs to be. It’s probably a part that is shared with another application.
Do you have a link handy? A search returns hundreds of results.
Royce, this is an incredible reference tool for anyone restoring a GT-E. I will be referring back to this as mine progresses. I am also amazed at the speed of your progress!
I love the Vintage Air system in my '70 but I’ll be very interested to see how this one responds to the charging system in this car.
My experience is these modern systems will self-limit blower fan speed at idle with the stock alternators on these old Fords due to insufficient amperage. I ended up with a stock-appearing unit with an extra 20 or so amps which cured the problem for me.
This is my second Vintage Air installation. The first one went in a '67 Mustang GT that was changed from its original 390 to a 462 stroker (made from a .030" over 428). I used the factory pulleys and auto part store alternator. No issues with that one.
This car I swapped the crank pulley for the bigger one that comes with 390GT air cars. So it’s going to speed up the water pump and the alternator and the PS pump and the AC and the smog pump. The alternator looks factory but it is actually a 55 amp unit. The VR looks factory but it’s an electronic one with a repo cover.
I’d like to hear about a long term test after filing the points. Typically, contact points are plated to resist contact erosion and welding from the high current flow. Filing would remove the plating and hasten contact failure.
