So silence is better than filing the horn points?
No, I recommend using a relay contact burnishing tool such as GC Electronics 9338 on contacts in relays, sequential motors, etc. This tool should remove the oxidation without the plating. Of course, if the contacts are severely corroded/pitted, a metal file may be the only option.
Again, I’m interested in the long term effect of filing contacts. Do they still work after 5 years? 10 years?
I was fascinated by your DIY disassembly and restoration of the horns (and the rest of the car).
Adjusting the points has always worked for me but I’m sure that I’m spoiled by parts from the desert southwest.
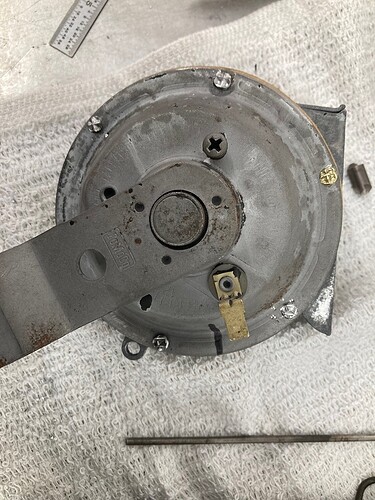
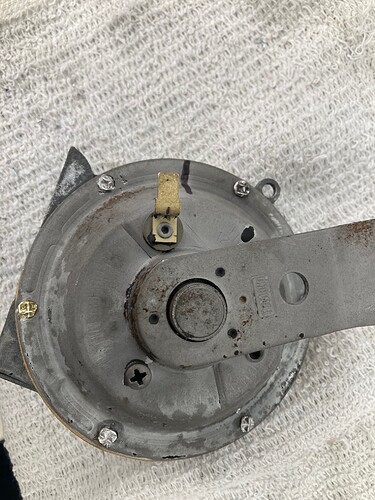
This horn had severe corrosion on the points so filing them or tossing the entire horn was the only option. Not sure how long it will last. I used to file ignition points the same way and was typically getting another year of service from them. The horn might last a lot longer because the points are normally closed and the horn rarely used.
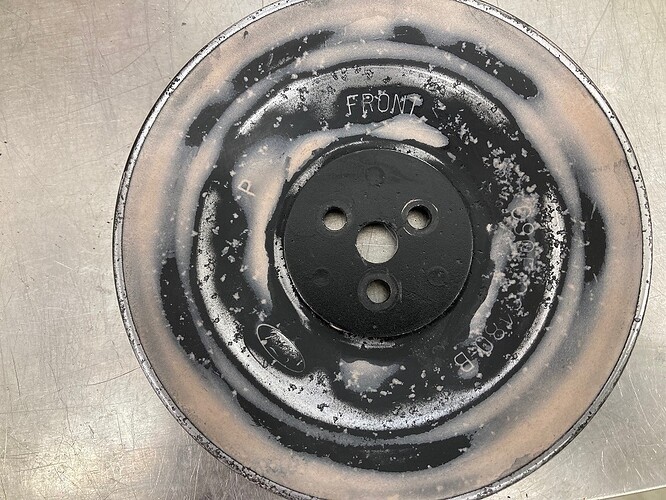
Today I started by filling pits in the smog pump pulley with Rage Gold filler. Then I sanded it down and primed. Will block sand and prime a couple more times before painting it. This is the extra wide smog pump pulley for A/C cars. It’s a larger diameter too to slow the pump down some since the A/C
crank pulley is bigger, and therefore will drive the pump faster.
Both front fenders were replaced with NOS parts. The guy cut the flange off the original fenders, cut the flange off the new fenders, then MIG welded the lip to the new fenders, and ground the weld and filled it so the repair is unable to be detected. Fanatical attention to detail for sure.
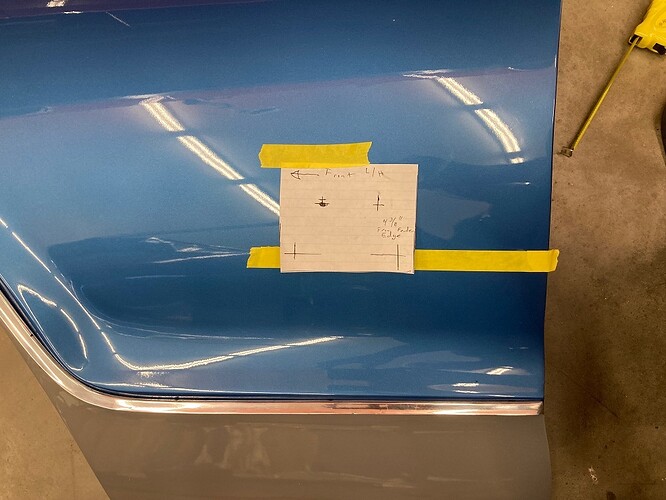
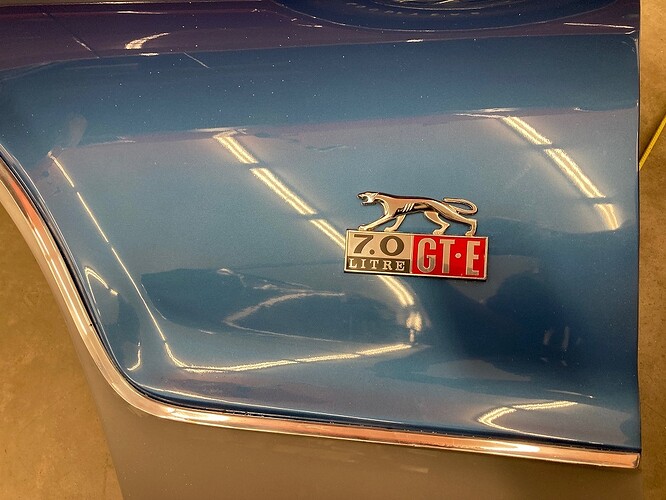
This is why I had to drill all the holes for the GT-E trim on the front fenders, and why I had to make a template to drill the holes for the GT-E badges on both front fenders.
First I carefully measured where the template needed to go.
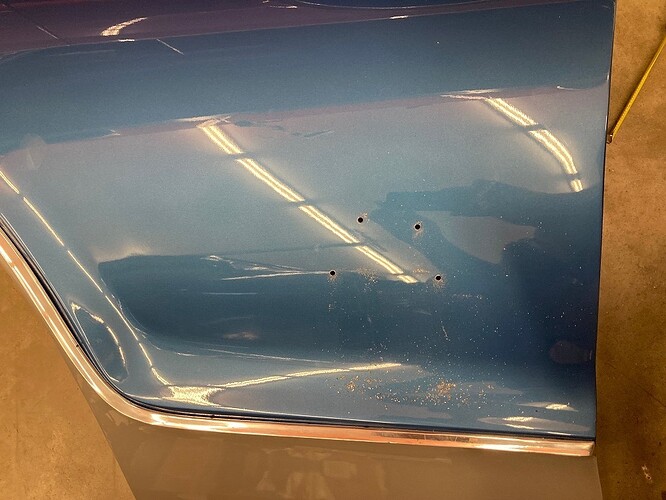
Then I drilled 1/8" pilot holes and removed the template. Then I opened the holes to their 5/32" final size.
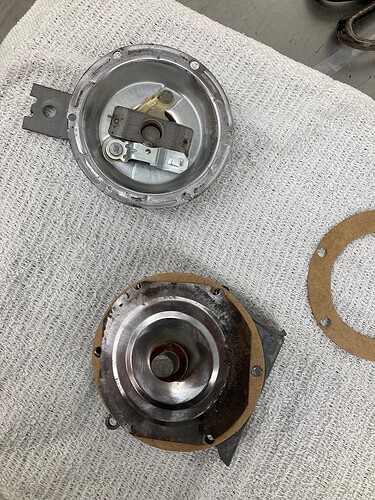
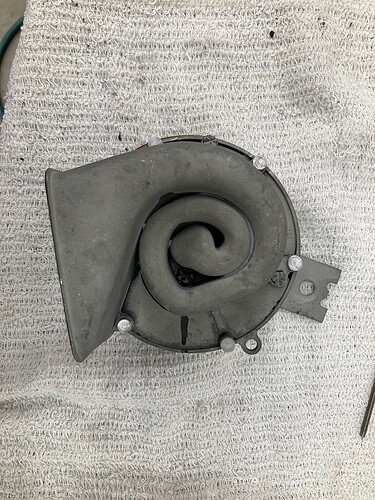
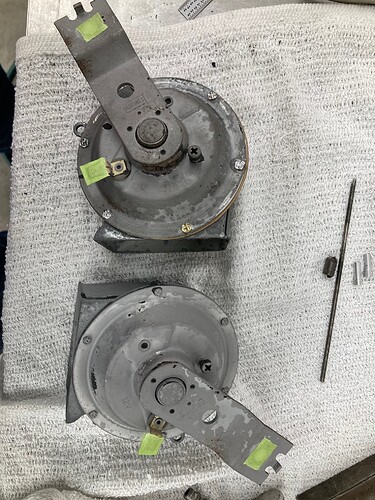
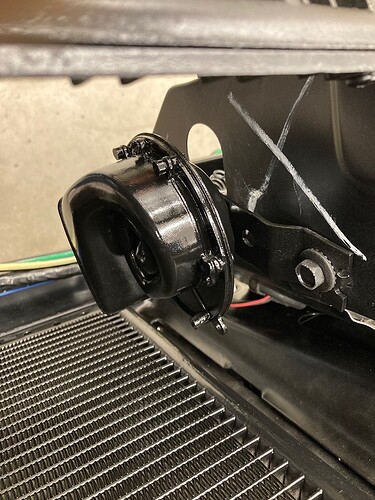
The horn kit came today so I started working on the disassembled one again. First I used a fiberglass wheel to clean the rust from the bare steel diaphragm. Then I assembled the horn with new gaskets from the kit.
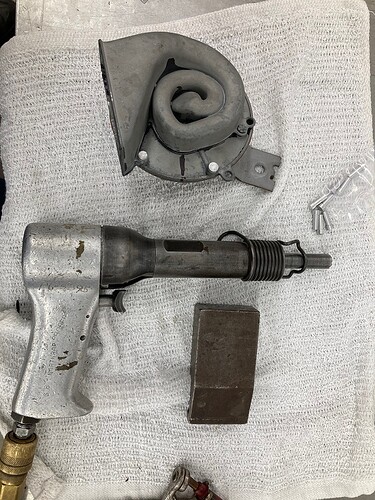
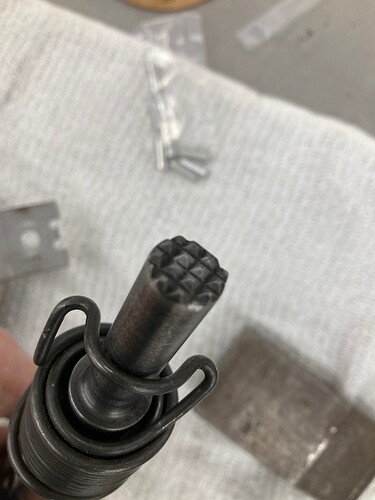
The rivet set I am using has a waffle imprint so the heads look just like the ones I drilled out. The new rivets are soft aluminum - much easier to install than steel.
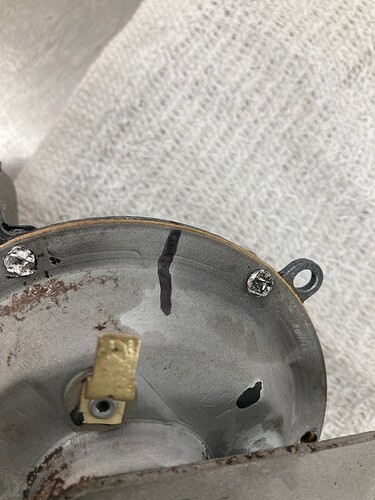
You can see a sharpie mark I used to keep everything aligned.
The rivet set:
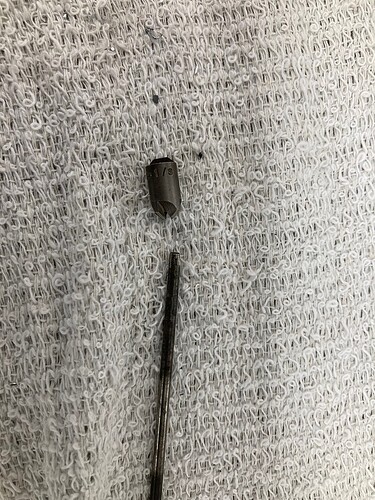
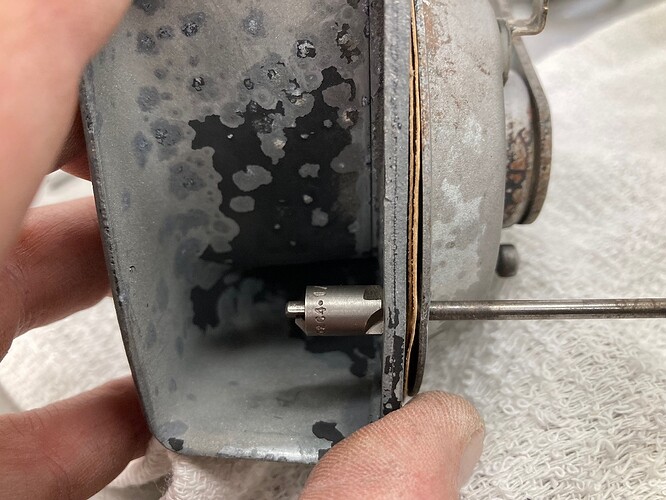
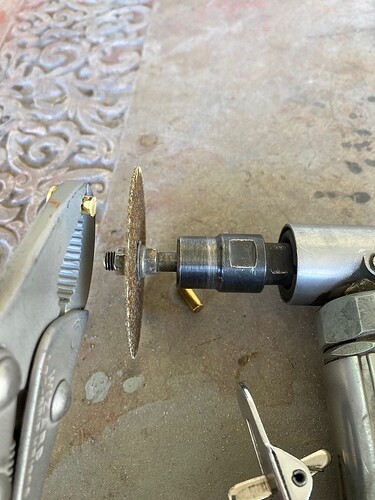
One of the rivets was inside the horn bell. Because the clearance was so tight I had to use a back countersink to install a flush head rivet. Originally the rivet was integral with the horn body and made of zinc alloy. Since I drilled that out I had to install a rivet.
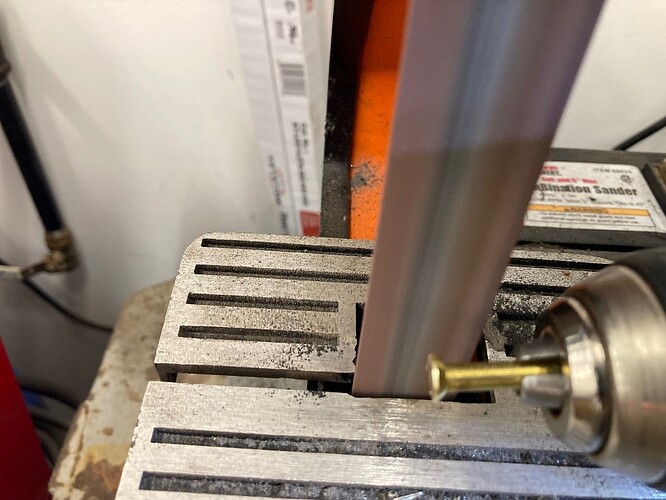
I had some brass rivets that were countersink and the correct 3/16" diameter. I made the heads smaller on the belt sander with the rivets chucked in the drill.
Then I marked the length and trimmed off the unneded rivet length.
Finally I shot the brass rivet with the bucking bar inside the horn supporting the back side of the rivet.
With both horns complete I masked off like the factory originally did and sprayed them a glossy black.
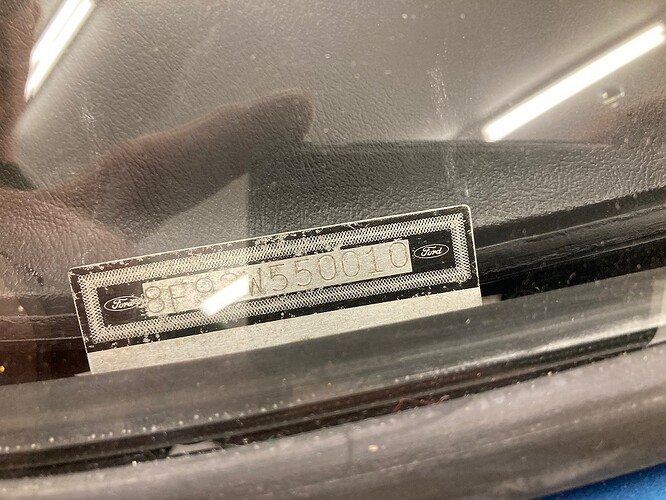
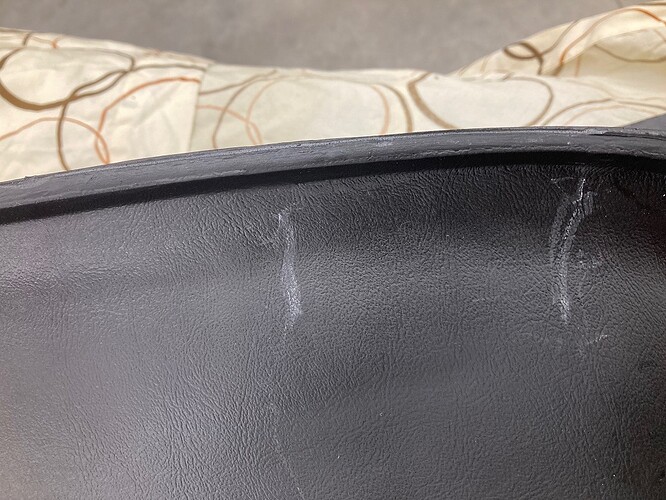
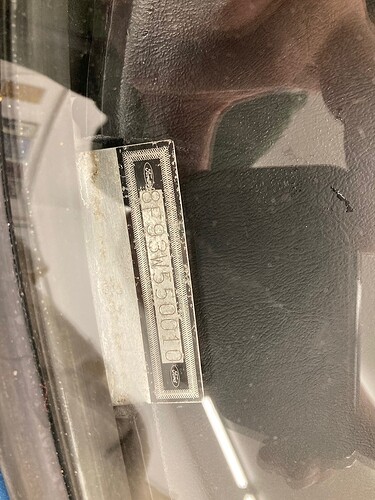
Hard to see but if you look closely I have put chalk marks on either side of the location for the VIN tag on the new reproduction dash pad. The reproduction pads are made to fit either 1967 or 1968 so you have to add the VIN cutout if you own a '68.
I laid a sheet on the hood of the car and then put the dash pad on the sheet. I used a razor blade to remove the lip of the dash pad between the chalk lines.
With that task done the dash pad went right in and I put the nuts with washers on the studs.
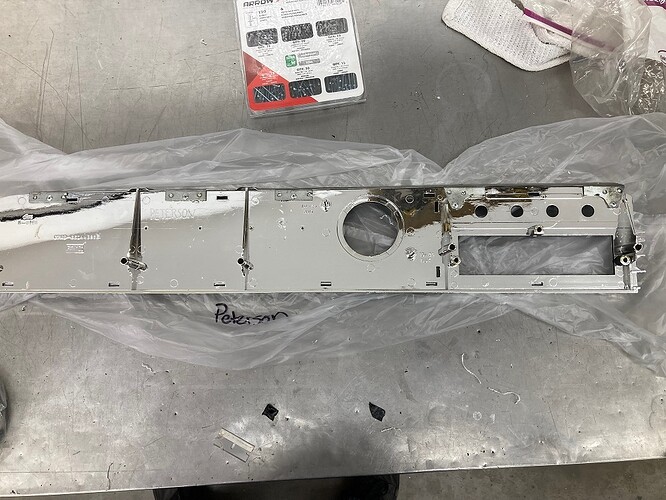
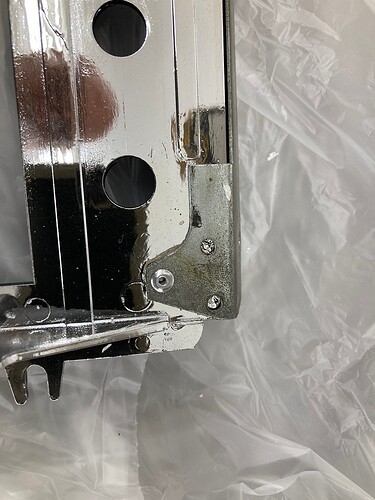
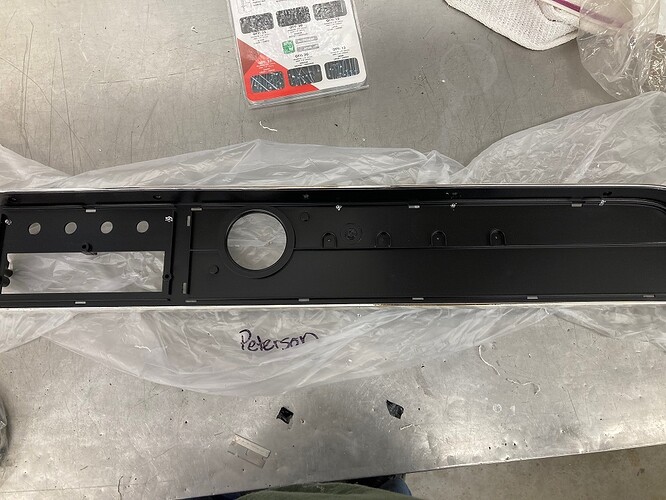
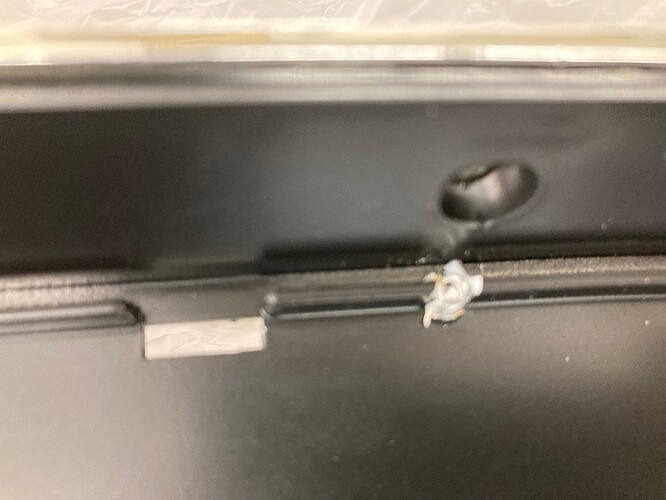
With the dash pad installed, the instrument cluster comes next. I started by using 1/8" X 1/4" grip length aluminum pop rivets to secure the metal reinforcement on the top. It had previously been attached using some sort of mucilage type cement which was successful in making quite a mess.
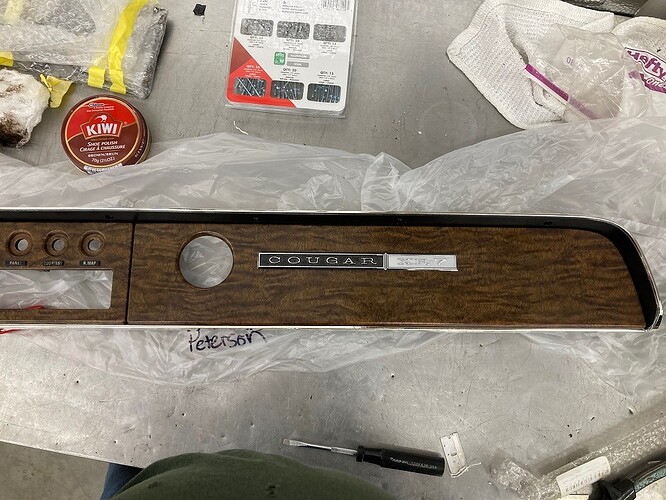
Thats good shoe polish……KIWI…….(hint) ![]()
I used some more KIWI Dark Brown to polish the wood grain on the LH side. It started to go together today.
Before using the shoe polish I cleaned the dash very well, first using 409 and then Isopropyl alcohol
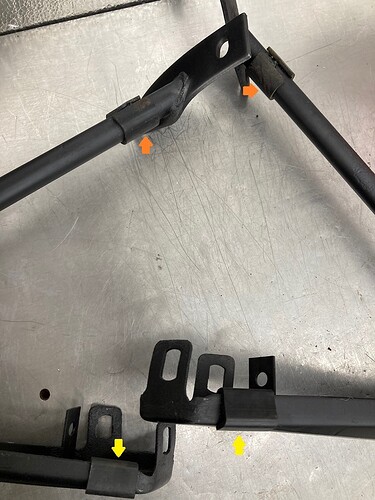
Today I worked on the front bumper. Someone had tack welded the brackets to one another which is fine if they are straight. I decided to keep them that way and glue the anti - squeak pads to each of them.
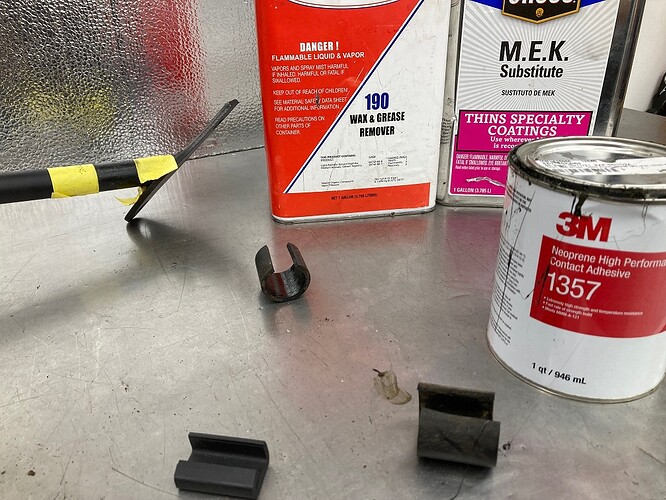
The front of the main bumper bracket gets a sort of L-shaped flat molded piece (yelow arrows), while the outer support tubes get a section of hose cut to size (orange arrows). I had the originals which needed some cleanup. Wax and Grease remover didn’t do it so I had to use MEK. Then I glued them on.
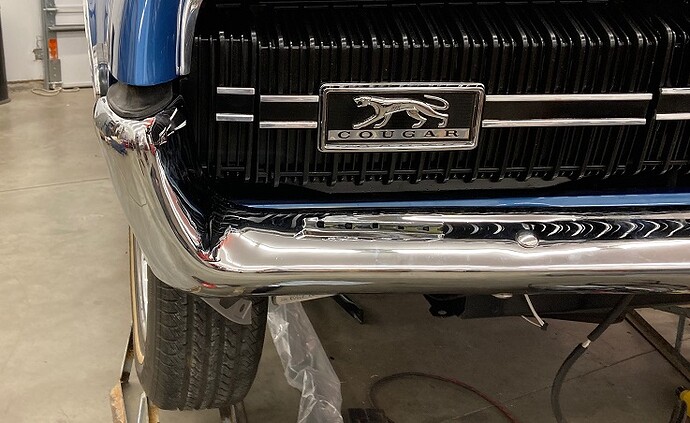
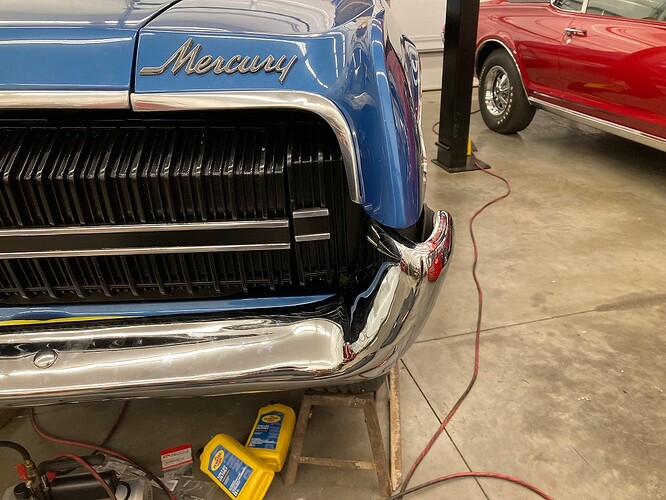
Then I bolted the brackets to the front bumper and test fit the bumper to the car. I put some masking tape on the gravel guard to keep from chipping the paint.
The RH side looked fairly well centered on the fender tip.
The LH side not so much. The bumper is going to have to return to the chrome plater for repairs.
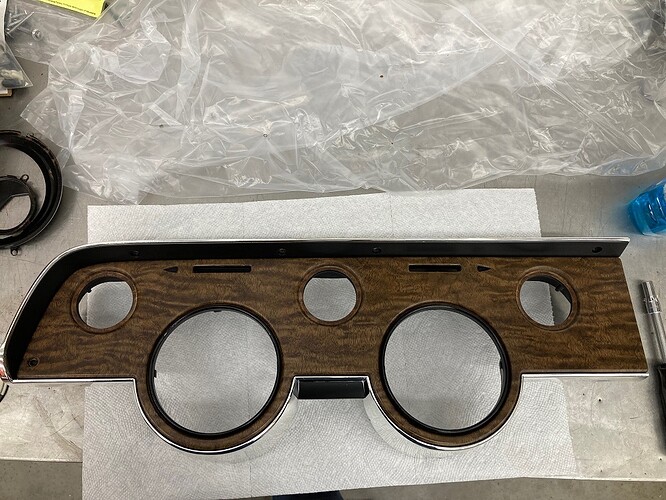
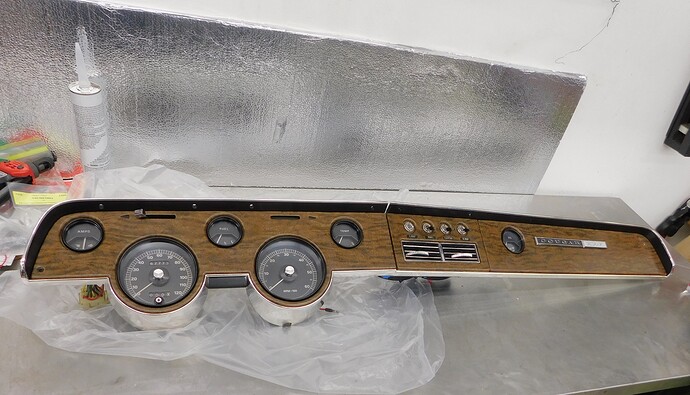
Well the front bumper is back at the chrome plater for rework. Meanwhile I finished the restoration of the instrument panel. One of the new switch handles broke so I am waiting for a replacement to arrive.
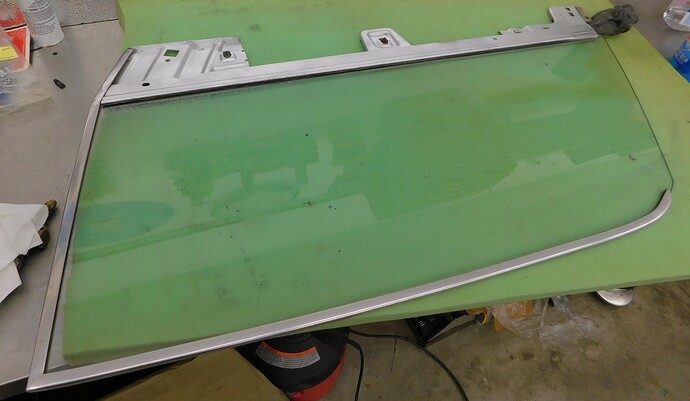
The door windows are original to this car. I used a fiberglass wheel to remove some surface rust on the metal parts, masked them off and then spray painted the metal with flat aluminum which resembles the original cadmium plating. Then I cleaned the clear glass - not tinted - with steel wool and MEK. The windows are dated 7M while the car was produced March 11 1968
Looks nice.
