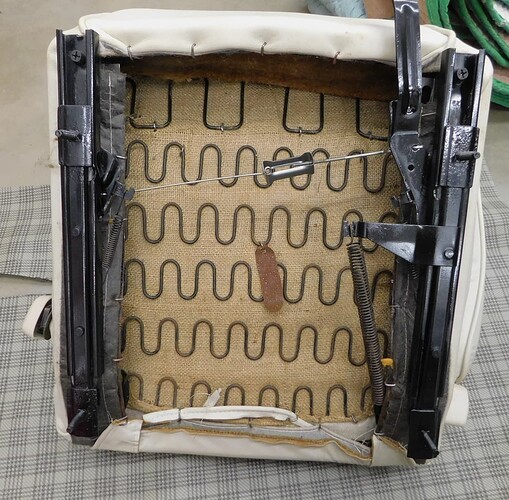
Back on the seat again.
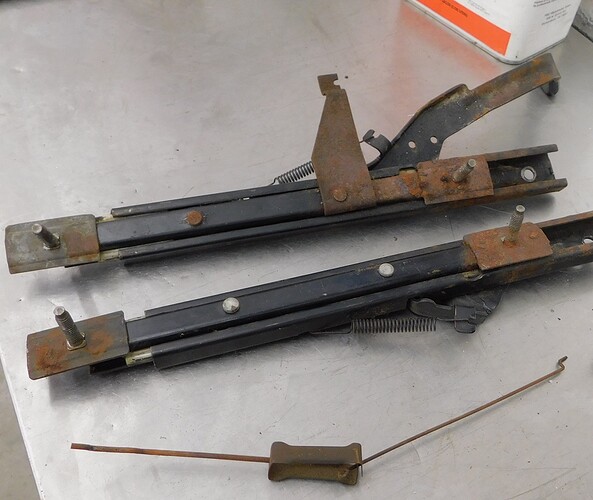
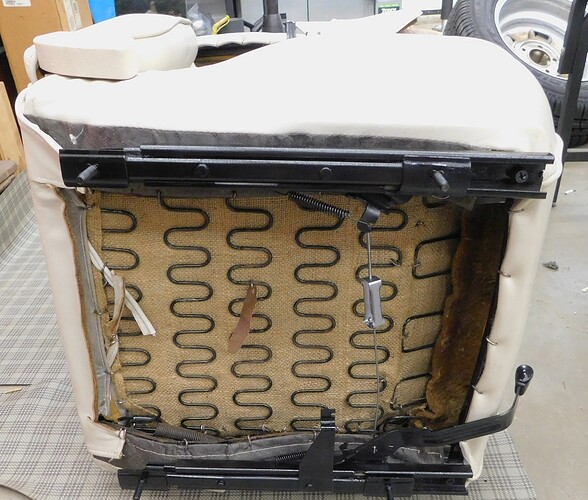
The boring part of a restoration - you have to do some things twice. So today I restored the driver side seat tracks.
The surface rust was not quite as bad. Plus the plastic knob was still intact.
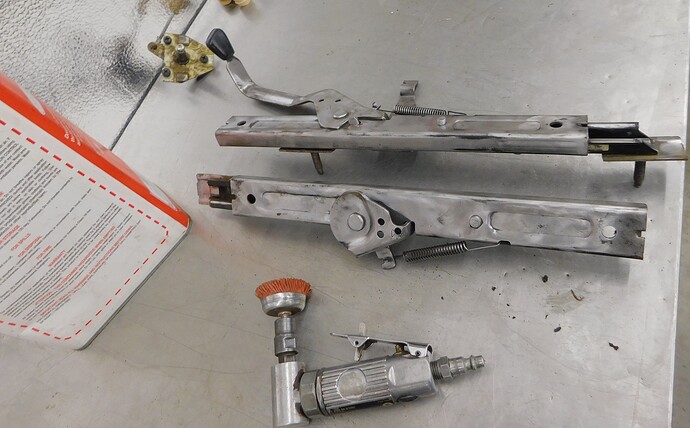
After cleaning with the fibreglass brush I wiped the tracks with wax & grease remover.
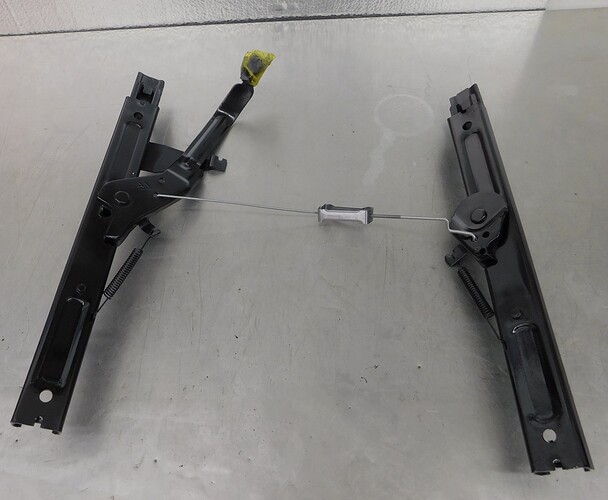
The center link got bead blasted then all the parts were painted.
Then put back on the seat.
Looks nice Royce. Is it new upholstery or dyed?
It’s all leather. Happened before it got here. I don’t think any dye is involved.
I should note the headrests appear to be dyed. I don’t see any evidence of it on the seat upholstery. It’s not a kit, someone made a really nice set of leather covers. It’s all leather, unlike the original stuff.
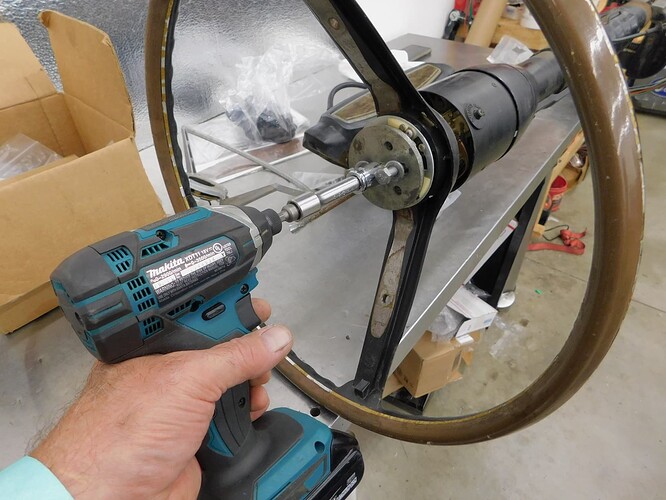
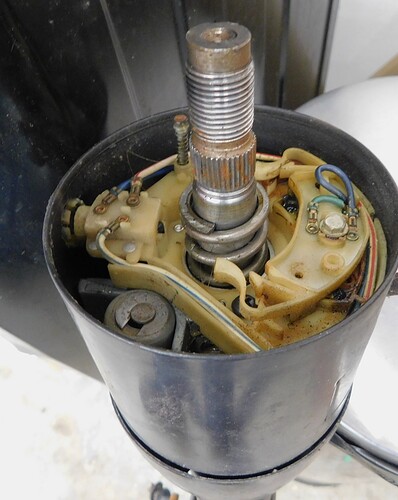
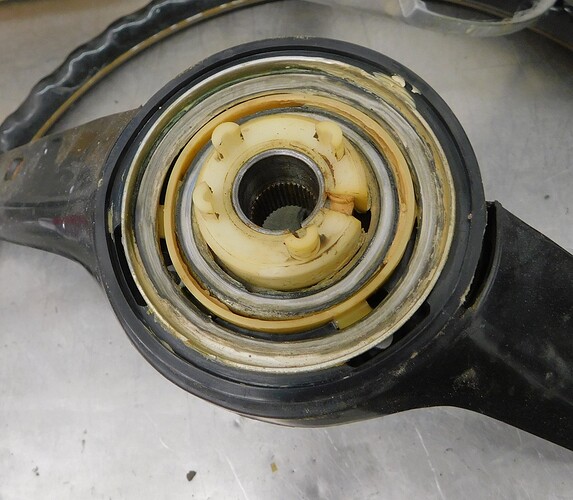
We have a new Best In Show reproduction steering wheel but there is a lot of stuff that isn’t available as a reproduction. We took apart the old steering wheel and pulled it off the steering column to get the spring and the turn signal cancelling cam.
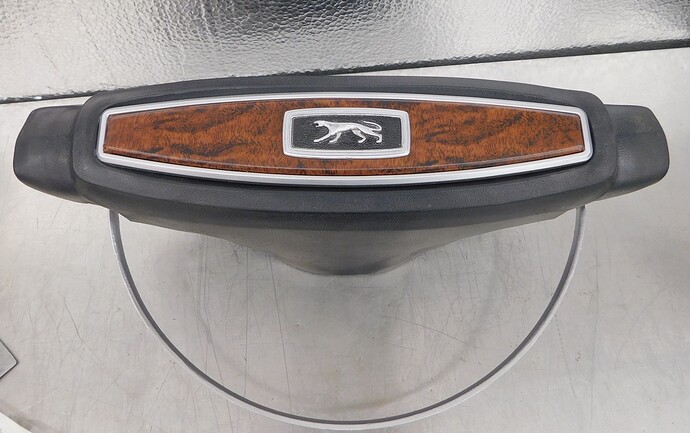
The horn pad and the original woodgrain were in really nice shape. However the reproduction woodgrain from WCCC looked pretty good too. Hmmmmmm.
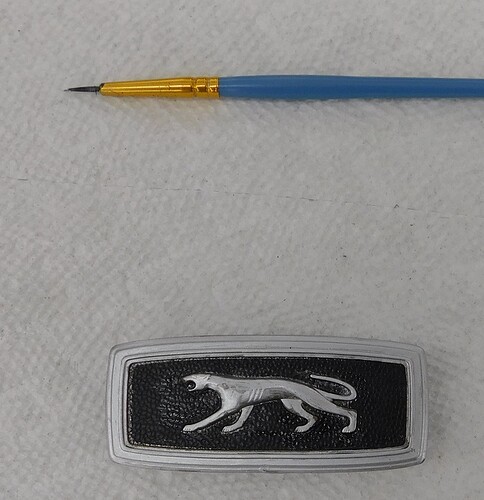
This is my first pass at painting the steering wheel center emblem.
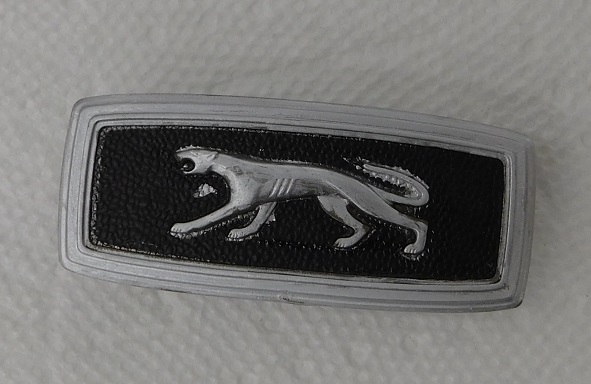
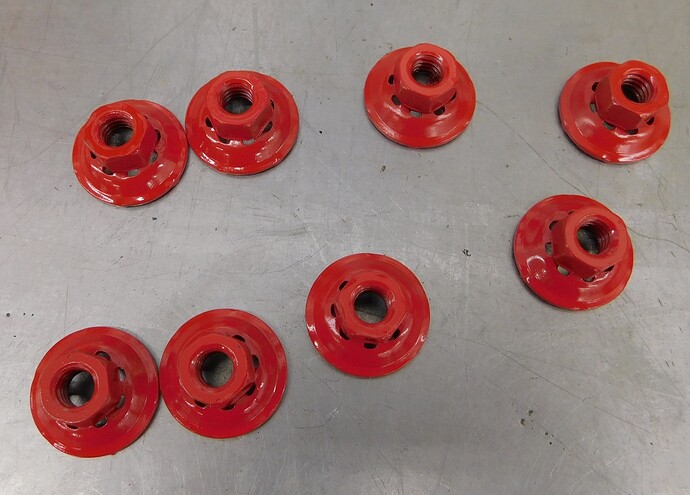
I temporarily mounted the front seats today. Had to bead blast the nuts and give them a fresh coat of red paint first.
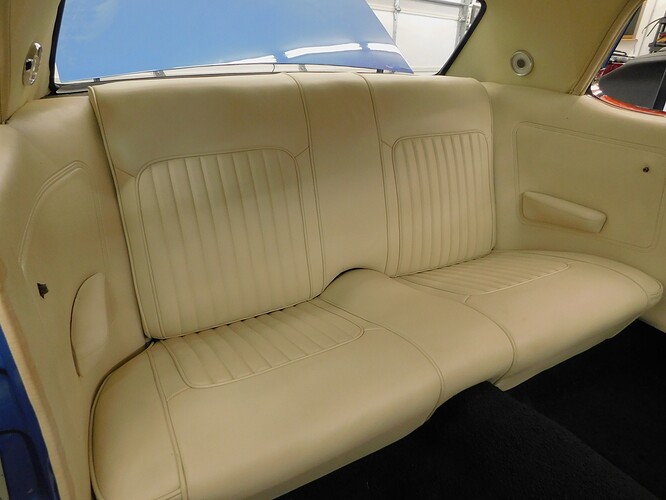
I took a closer look at the picture of the back seat and noted the different grain from the original contrasting vinyl and leather. Very nice duplication of the seat pattern though.
Like the looks of that sound deadener and rear seat divider. Where did you source them from?
It’s one of several types sold by WCCC.
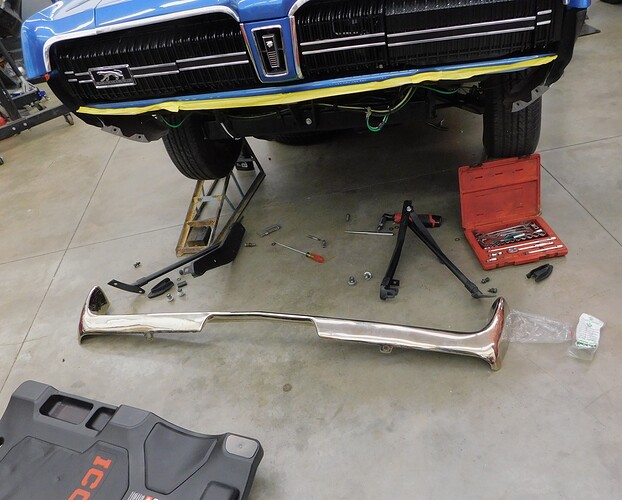
Jury duty the past couple days has me bored to tears. On break yesterday I picked up the now straightened bumper. Today I test fit it - it’s right now. Back to the chrome shop for polishing and plating.
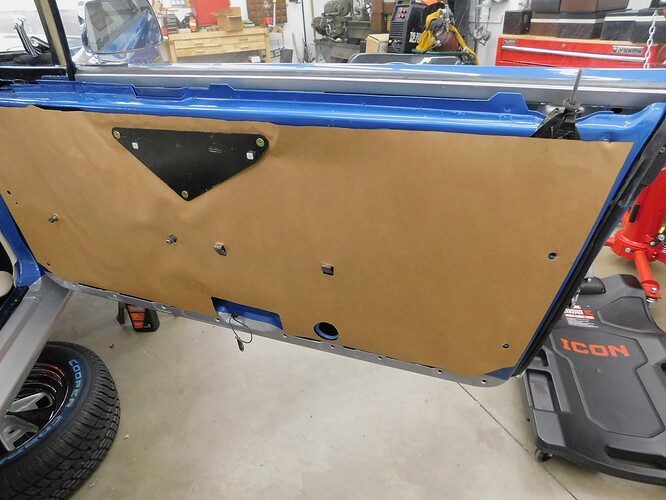
Today I did what I dread more than almost anything. I had to remove the perfect door panel that I installed last week. Turns out the exterior push button was a hair too tight, whih made the door lock stick in the down position occasionally. I tried lubrication with LPS 3, and it was better for a couple days, then it went back to sticking.
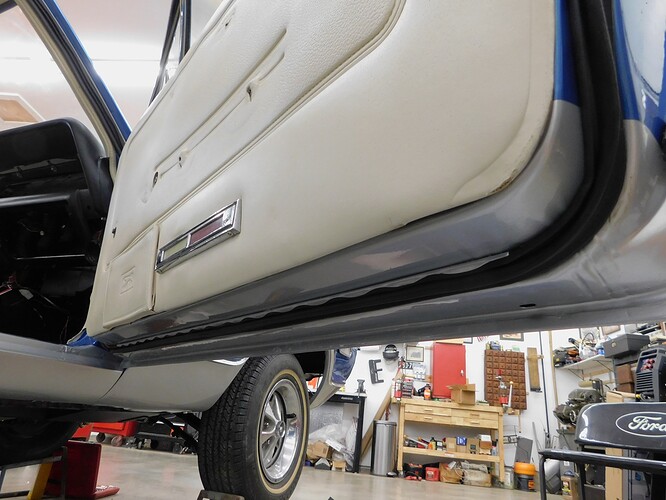
This is what it looked like after I adjusted the outer door handle. I tested it a dozen times - no issues.
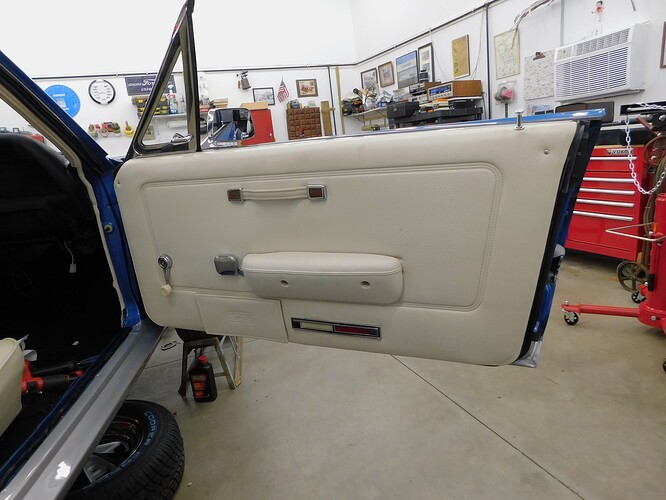
The door panel clipped back into place successfully - again.
I may be able to install the arm rest plugs. Going to test it for another week to make sure.
Today I spent a lot of time doing mundane stuff like installing the LR axle shaft, installing differential lube and friction modifier, adjusting the rear brakes, installing the rear drums, rear shocks, etc. Looking like it is almost ready for an engine test run!
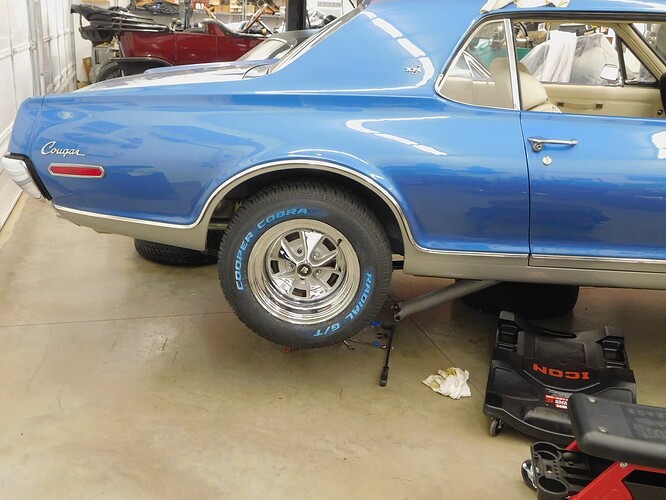
Meanwhile the tires and wheels are all here so I took the time this afternoon to test fit one of the rear wheels. This is with nearly everything installed except the drive shaft and fluids. The rear axle is supported by jack stands so this is about the ride height of the finished car.
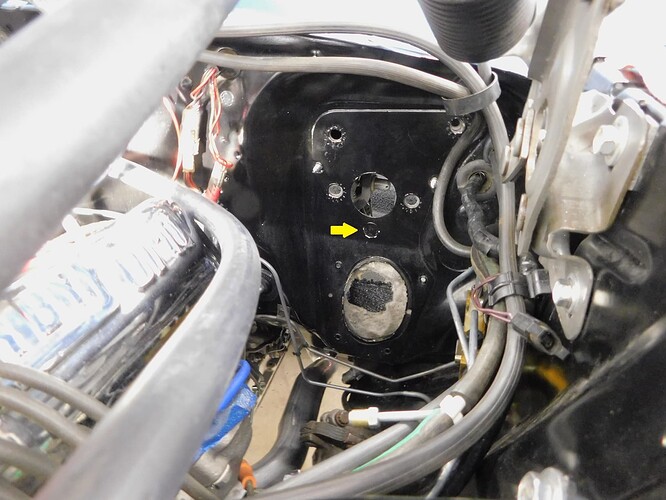
With starting the car coming up soon I figured it might be nice to have brakes and steering too. With that in mind I started installing the brake booster. I ran into a problem - one of the mounting holes had never been drilled.
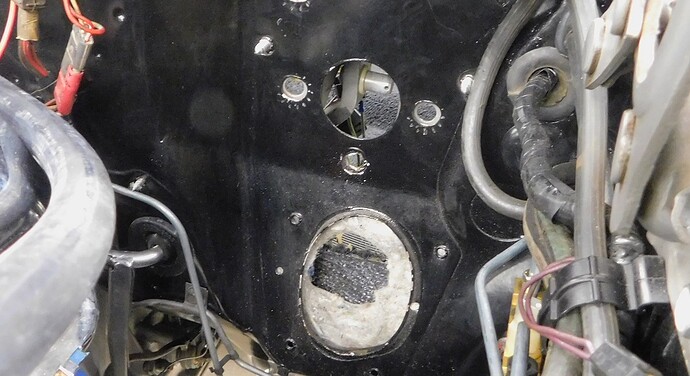
This car got replacement floors grafted in from a donor vehicle that had the same date codes. The donor car was a manual drum brake car - so the hole never got drilled!
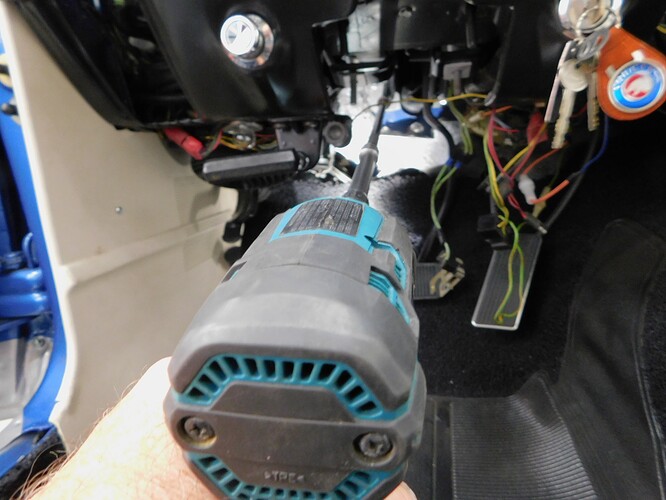
The hole had been drilled in the firewall piece so it was pretty easy to locate. The studs are 3/8"-16 while the holes are 7/16" in the metal. So I drilled the hole first in the center 1/8", then stepped it up to 1/4" and finally 7/16".
