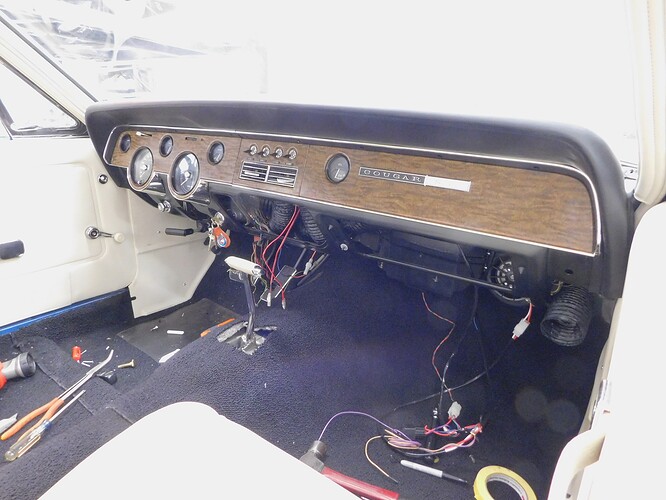
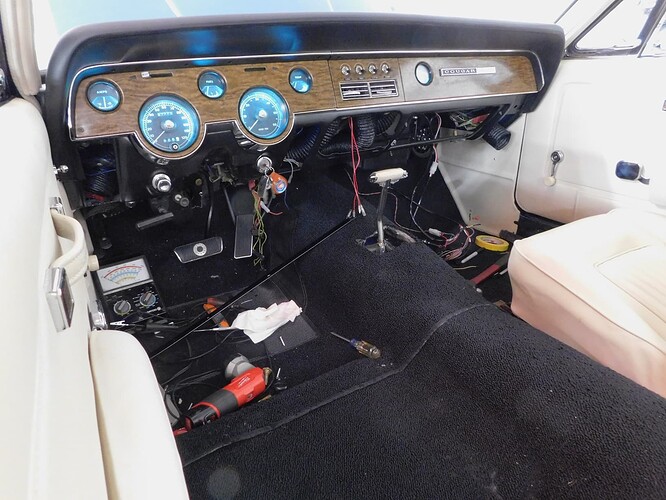
Royce, everyone knows that those have to be installed while lay upside down across the drivers seat, blood rushing to your head, while cursing the long-dead engineer who designed this crazy setup.
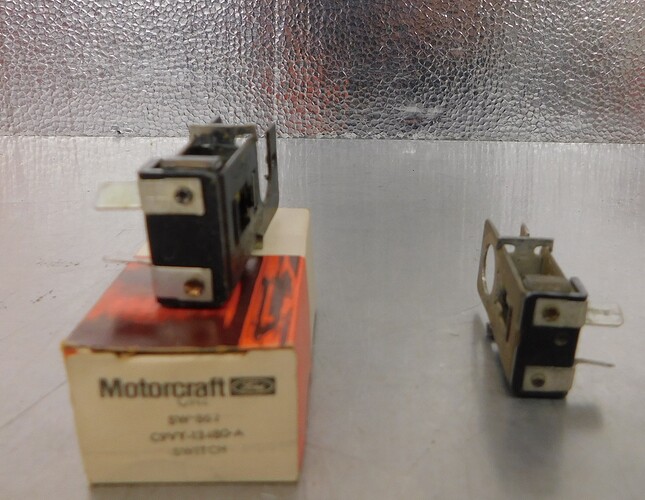
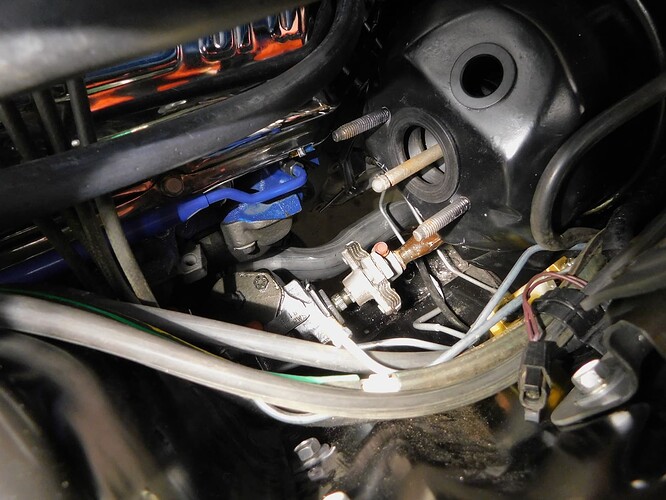
Not if you do it in the same order they did it on the assembly line. I am still waiting for the brake lamp switch so that can be installed. The one I have here is made for a non - power boosted application so it won’t work.
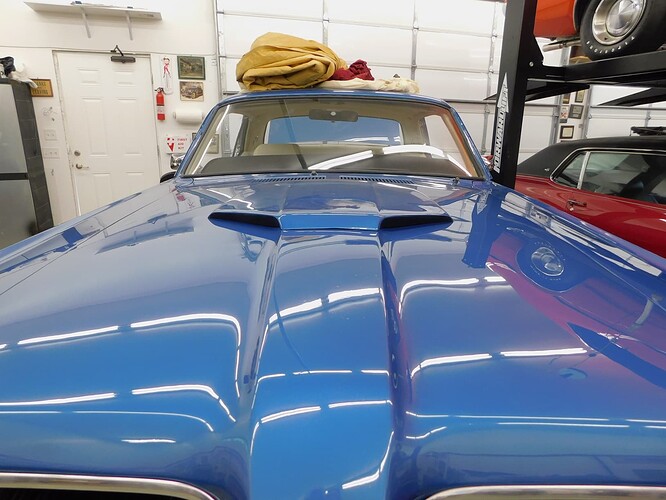
Yesterday I started the day masking off the hood scoop and painting the black mouth simulations. It turned out pretty good.
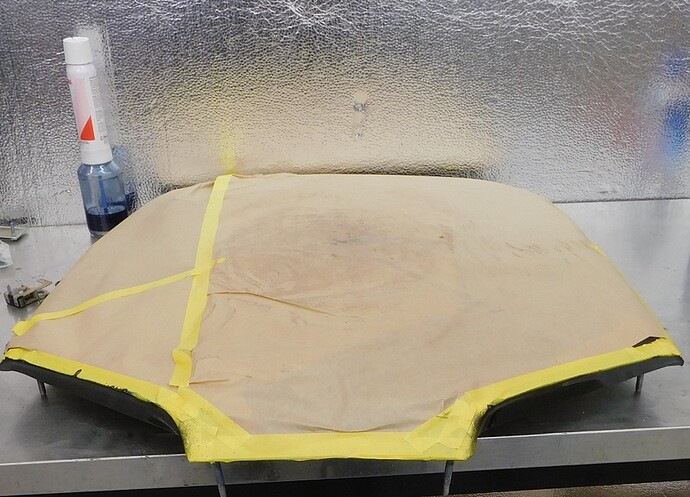
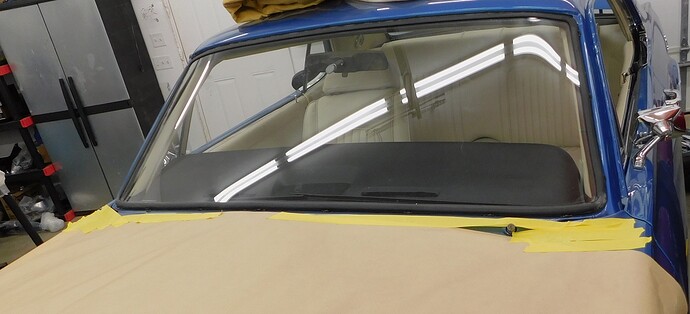
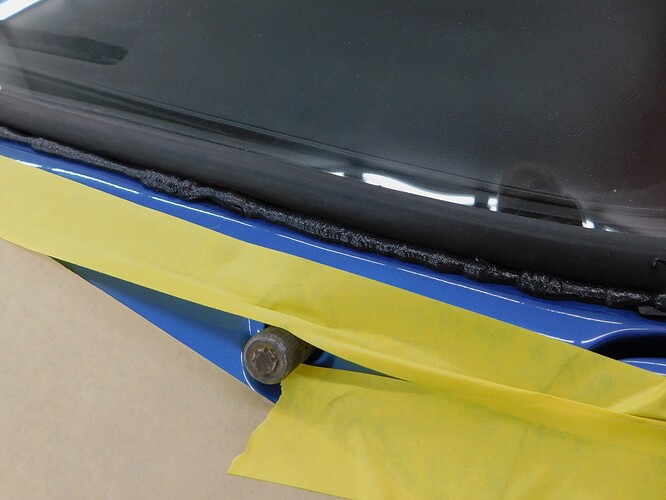
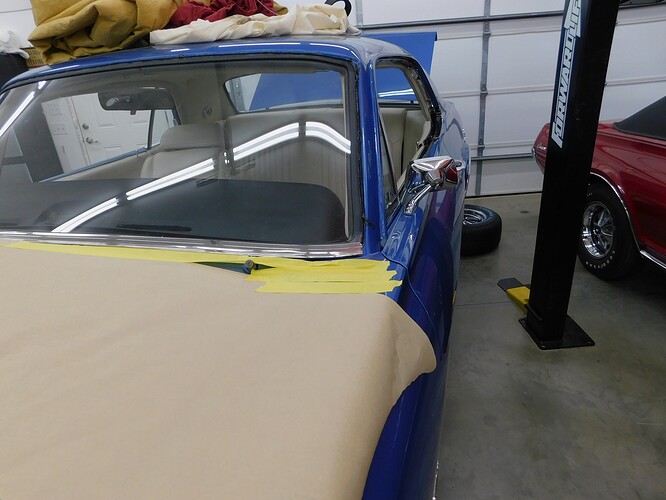
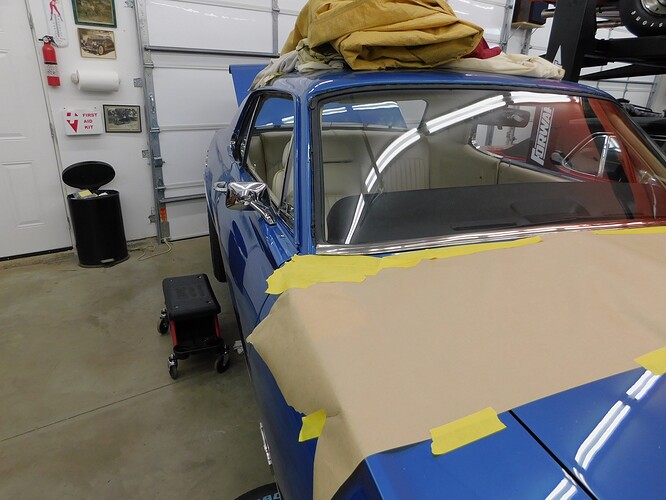
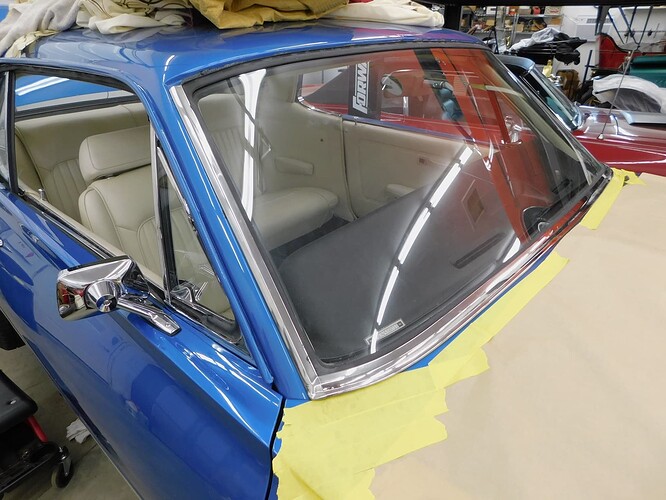
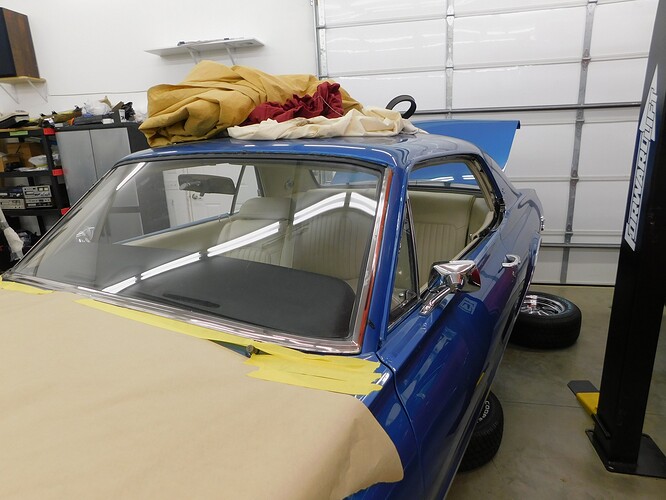
After that I decided to install the front windshield stainless trim. I started by masking off the hood to protect it and limit the amount of wax & grease remover I would need to use.
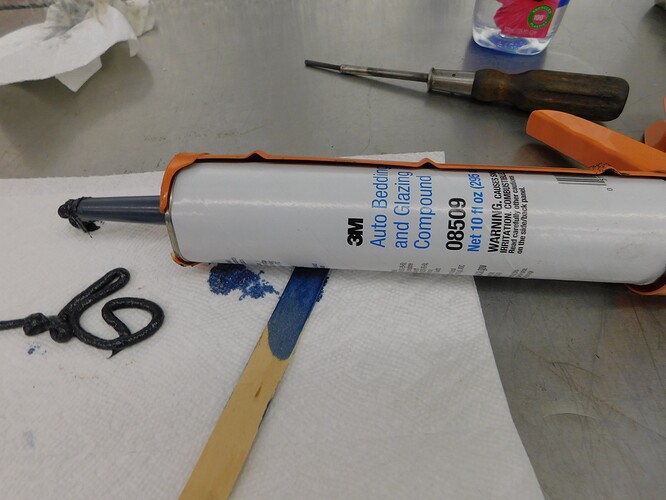
The butyl rubber sealant does not set up, it stays pliable for years. This is not the stuff you use to glue in later model Cougar windshields. Notice I had a paper towel ready when I cut the tip and punctured the container. It’s sort of pressurized because the 3M factory is at a lower elevation than Tulsa.
This shows the appropriate coverage. Corners get filled even more.
After applying the sealant all around the lower trim is snapped in place first. It is carefully centered before I install it - it’s hard to move once in place.
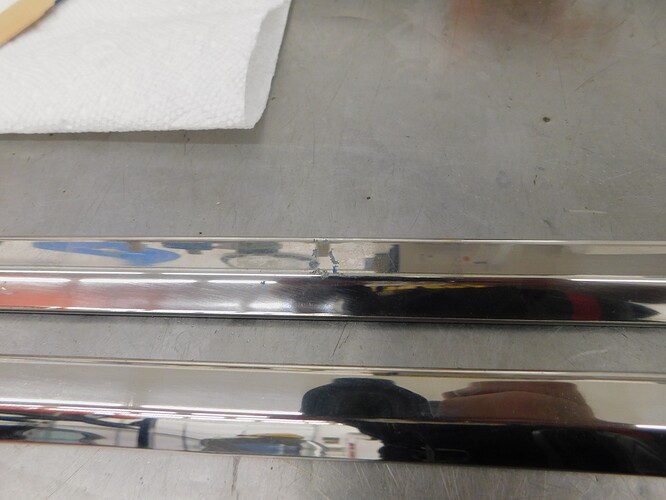
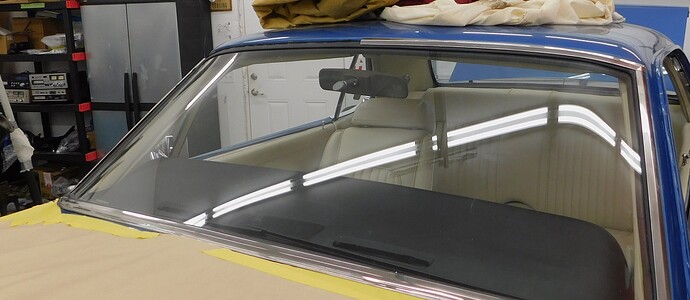
The side pieces were polished maybe 19 years ago - I had to re - polish them where old masking tape had left a mark.
The top driver side piece goes on next.
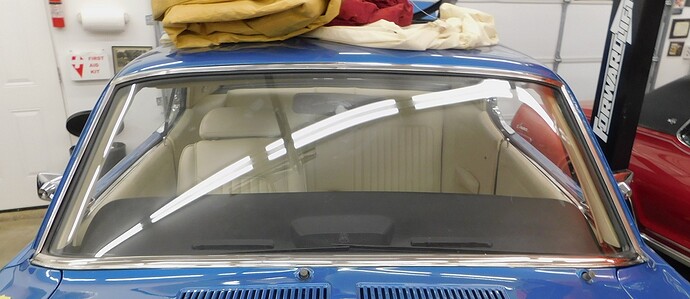
The final piece is the passenger side top. Then I get to clean up all the sealant that oozed out.
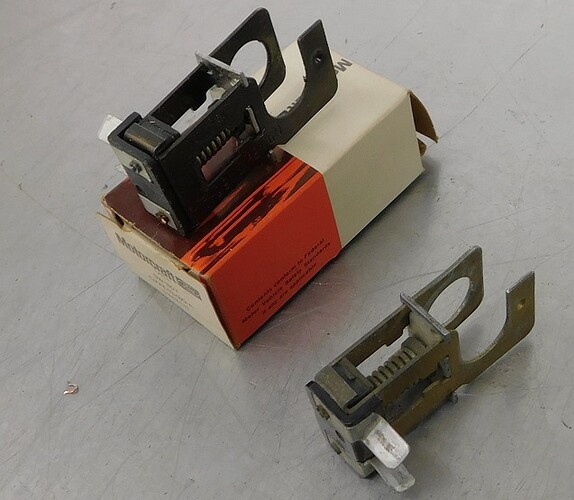
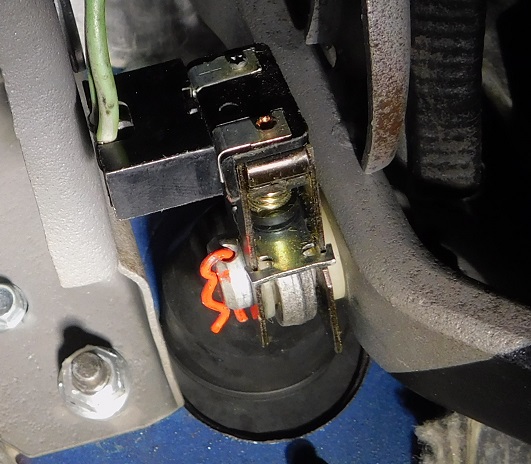
I ordered an NOS brake light switch from eBay. It got here today. The ones you can buy from the auto part store are made incorrectly. Backwards it would seem.
If you install the replacement part the terminals contact the pedal. The OEM one fits and works properly.
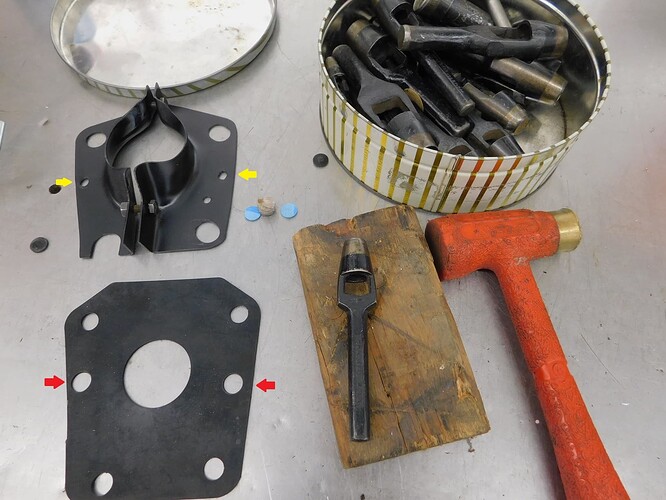
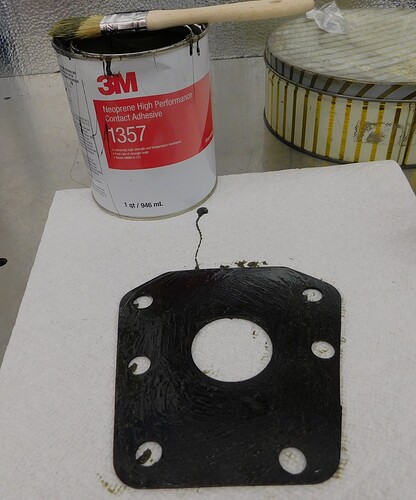
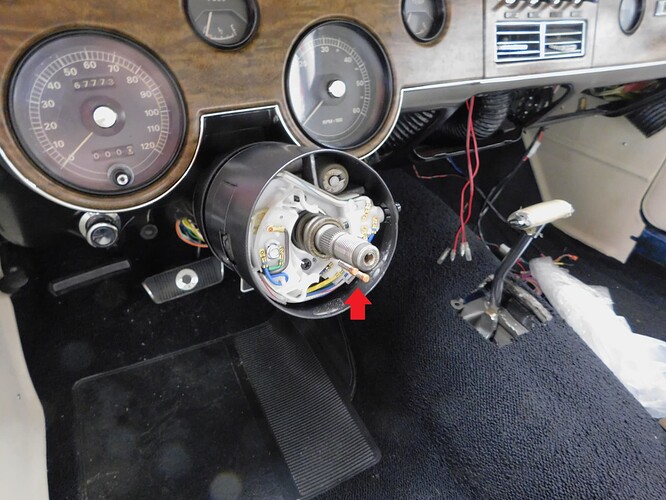
The vendors all sell a reproduction steering column seal. I cut the two missing holes (arrows) in mine before gluing it to the firewall like the factory did.
Yesterday the last thing I did was hook up the negative battery cable and turn on the parking lights in order to test the instrument panel backlighting. I was anxious to see if the LED’s worked as I had never used them before. They didn’t work.
So today I started by measuring voltage at the fuse. With the switch “ON” there was battery voltage at the top of the fuse, but not the bottom. I removed the fuse and tested it with an ohm meter. It was bad. I installed a new fuse.
So actually testing things works better than throwing parts at it? LOL
Yes it turns out I fried the fuse while changing lamps in the oil pressure gauge. Never hurts to put a meter on to see where you stand.
I enjoy following a thread where things get done right….
Not that there is anything wrong with freestyling things…. (For those with cars off piste, like mine, where it no longer matters).
But watching it get done right is satisfying!
I appreciate the sentiment. This is a great car, wish it was mine. Progress is slow right now because we are waiting on some key parts.
This was a couple days ago. Just now have time to post it.
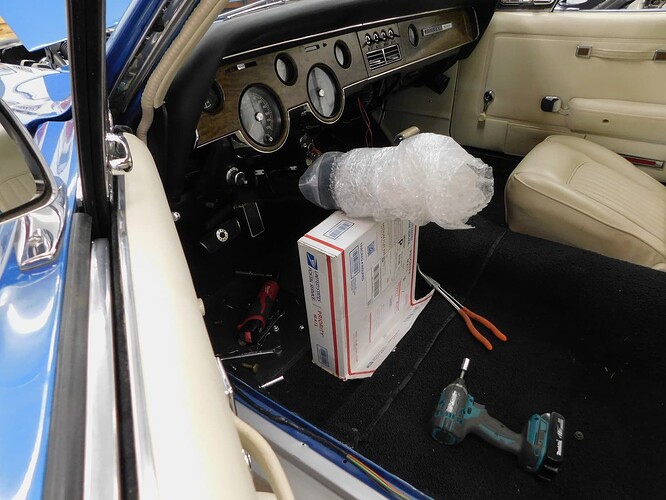
Te steering column is easy to install with two people. Not so easy by myself. I started by gluing the rubber seal to the firewall. Then I put on both halves of the firewall steering column clamp assembly with all of the bolts in but none tight. With the steering column resting on a large flat rate USPS box it’s aligned enough with the steering box but still below the mounting studs.
With the steering column in this position I can install the rag joint and then go inside the car to put the steering column up to capture the four studs.
Well I have done a bunch of mundane stuff like finished the brake master cylinder and bled it. I had filled the transmission with fluid, it had a small leak so I ended up trying lots of stuff before draining the fluid and changing the pan gasket. The neutral safety switch wasn’t working so I took it off, flooded it with contact cleaner and then it started working. I reinstalled it, adjusted it and all was fine. Until today - it isn’t working again.
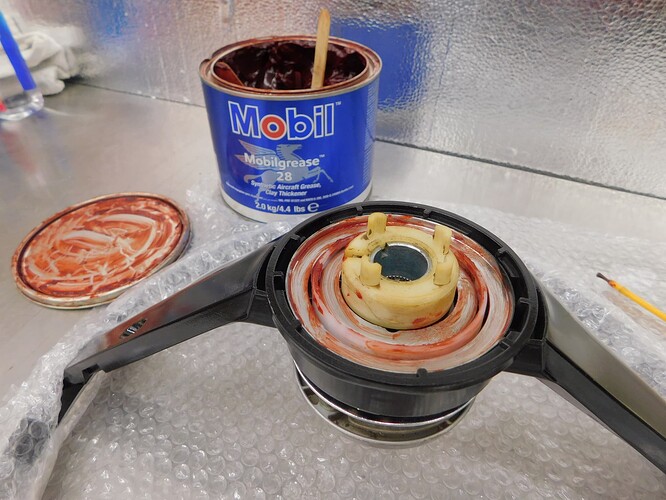
So the switch is on order. and it was time to install the steering wheel. I greased the horn rings so it won’t wipe out the copper contacts (arrow).
So today was the day to finally fire the engine up for the first time. I put a couple gallons of no ethanol premium in the tank. Then I used a crook neck bottle to fill the carburetor through the vents. I turned the key and was rewarded by a nearly immediate start up but lots of belt squealing. I shut it off.
The PS belt was kind of loose but more troubling was that the pump was locked up. I took the belt off. Then started the engine again and brought the tach up to 2000 RPM. I looked at the oil pressure gauge - it was reading 20 PSI so I shut the engine off.
I thought about it for a couple hours, talked to the owner and was about to start removing the engine when it dawned on me - maybe the gauge was wrong?
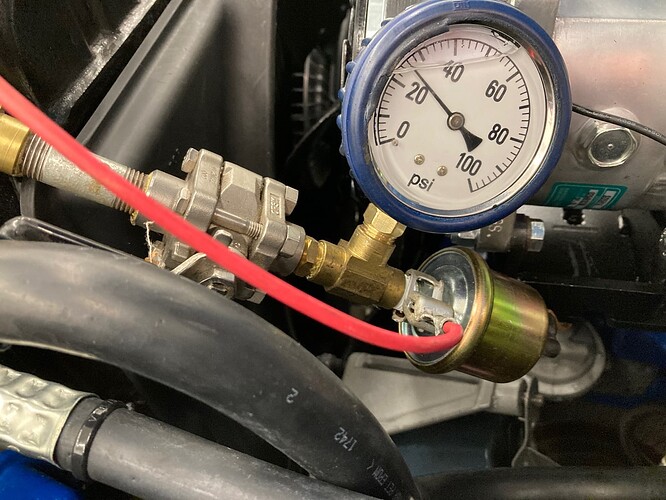
I checked it using a air source with a new liquid filled gauge and sure enough the oil pressure gauge was not reading anywhere near high enough. I swapped in a spare gauge, same results. So that left either the sending unit or the Instrument Voltage Regulator.
I took OHM measurements at various pressure readings to see if the sending unit was bad. The results:
20 PSI - 41.5 OHM
40 PSI - 34.5 OHM
60 PSI - 24.5 OHM
80 PSI - 22.1 OHM
100 PSI - 17.5 OHM
So I then called Bill B - he told me that if the sender was good I should see a lot less resistance at 100PSI.
Bottom line the nearby auto part store had a new Standard Oil Sending unit that fixed the problem. It reads 13.9 OHM at 100 PSI.
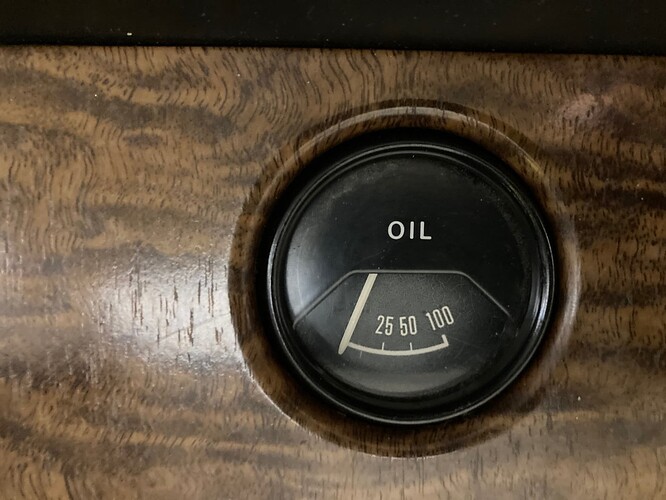
Pictures with the pressure test rig and the new sender at 25 PSI. Oh, and I ordered a gauge tester from Bill B.
Royce, that sounds like a great build. Cant wait to see it as you get going on it! Nice to find them when the hard stuff is already done!
Thanks. Like all old cars this one has been a handful to sort out.
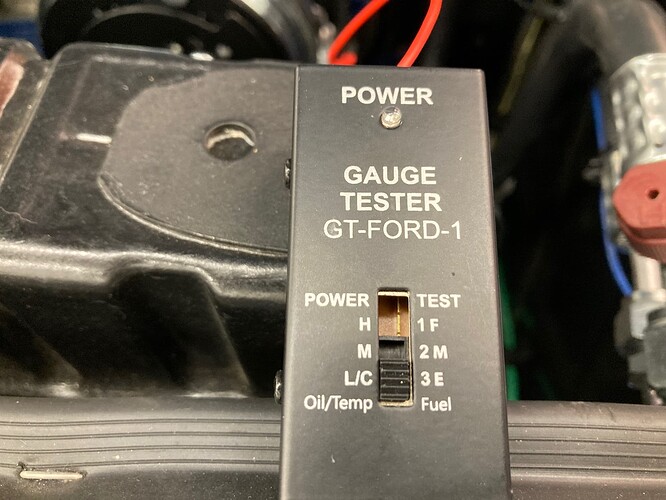
The gauge tester arrived today from Bill B. So I hooked it up and it confirmed what I found before. The IVR and the gauge were working properly.
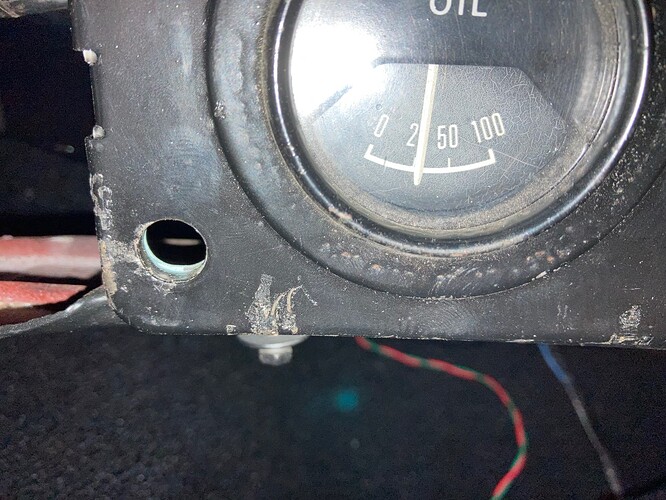
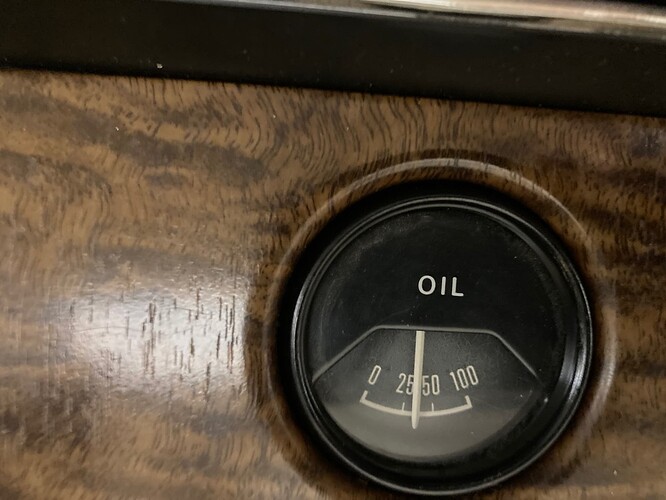
The gauge tester installs in place of the sending unit. In this case the tester was set to the lowest position.
And the gauge reading agreed:
