The Snowball Saga - '68 Standard Revitalization Project

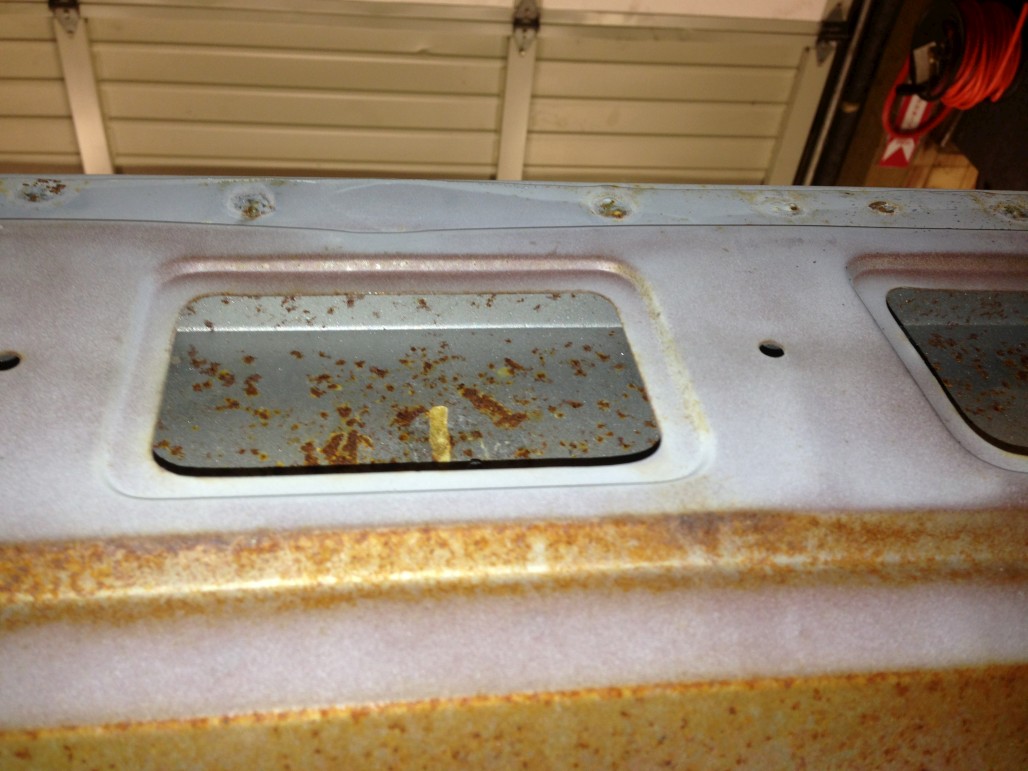
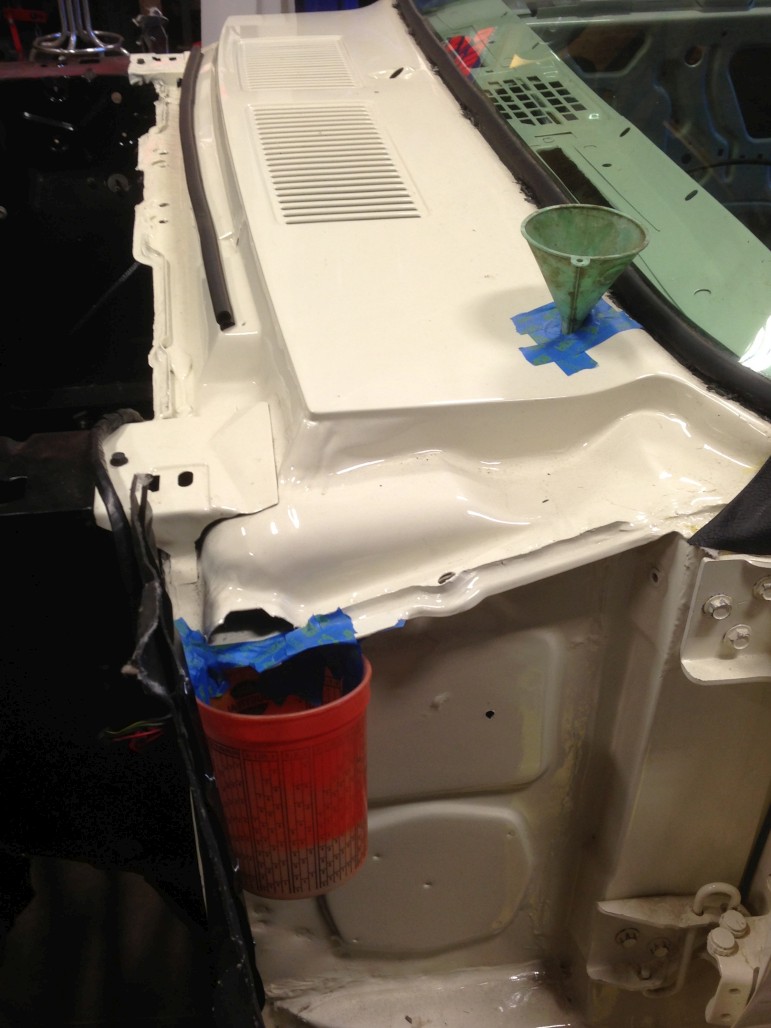
So, another thing I worked on for a while was my stainless steel trim. My original pieces were in pretty good shape, with a few minor dings and scratches here and there. So, I decided instead of spending hundreds of dollars on restored trim, I would just try to polish up my own stuff.

So, with the advice of Brian Aust, who attempted this himself when restoring Gunner, I started wet sanding all the pieces with 400 grit, then 600 grit. After getting them all sanded, I went over to Brian’s house 3 or 4 times to utilize his buffing wheel, and to work on some of the dings and other issues. I ended up re-working some of the pieces a couple times. Luckily, I was able to almost completely remove all the dings. Some are still barely noticeable, but much better than they were. FYI - to remove dings, what I did was carefully tap them out from the other side, with a wooden tabletop supporting the front. Then when they were slightly sticking up on the front side, I sanded them down with a wooden stick for support, starting with as rough as 180 grit dry, then 220 dry, then 220 wet, then 400 wet, then 600 wet. Anyways, it took a lot of work and trial and error. Then of course I buffed all of them on the wheel using whatever compound Brian had leftover from his polishing days. I ended up with some nice shiny trim that doesn’t quite look as mirror-shiny as the professionally restored trim we sell, but I’m pretty happy with it. If you look closely you can see some sanding lines parallel with the trim, so they have a slightly “brushed” look to them, while still being bright and shiny. If I would have continued on to 800 wet, or 1200 etc before buffing, I probably would have ended up with a more mirror-like shine. Oh well, I was tired of messing with them. It took a long time. And I’m happy enough with them for now.

Here’s what they looked like after sanding:

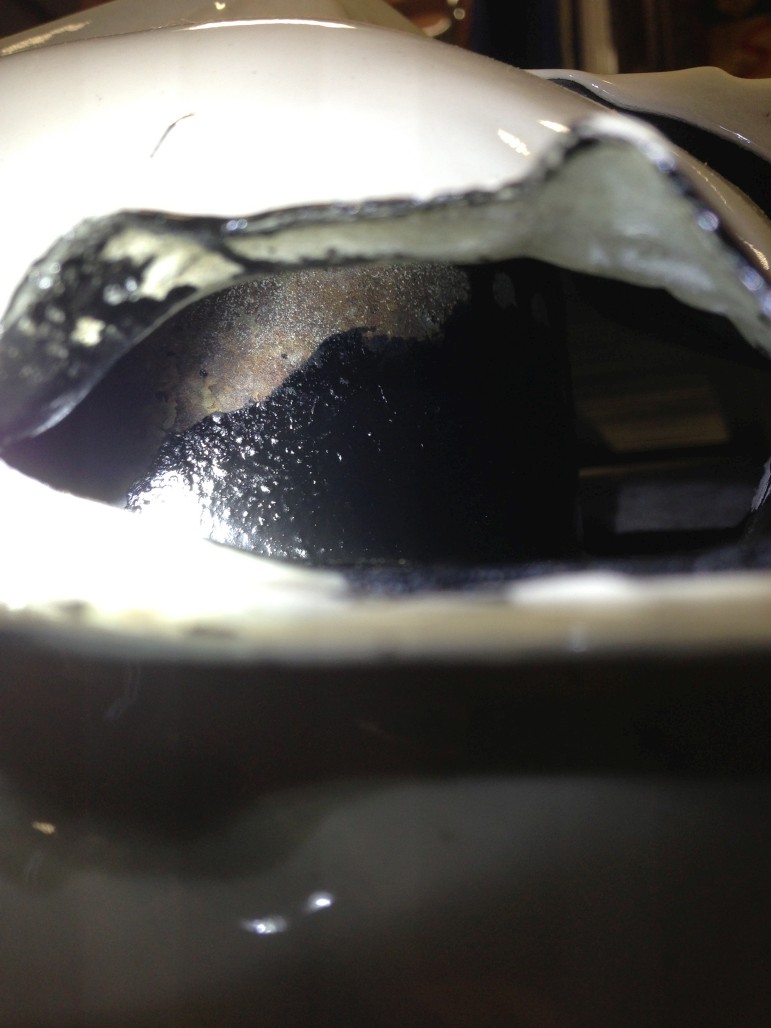
Here’s a ding that I ended up working on and pretty much eliminating (before):

Here is the beast… spent some solid time in front of this wheel.

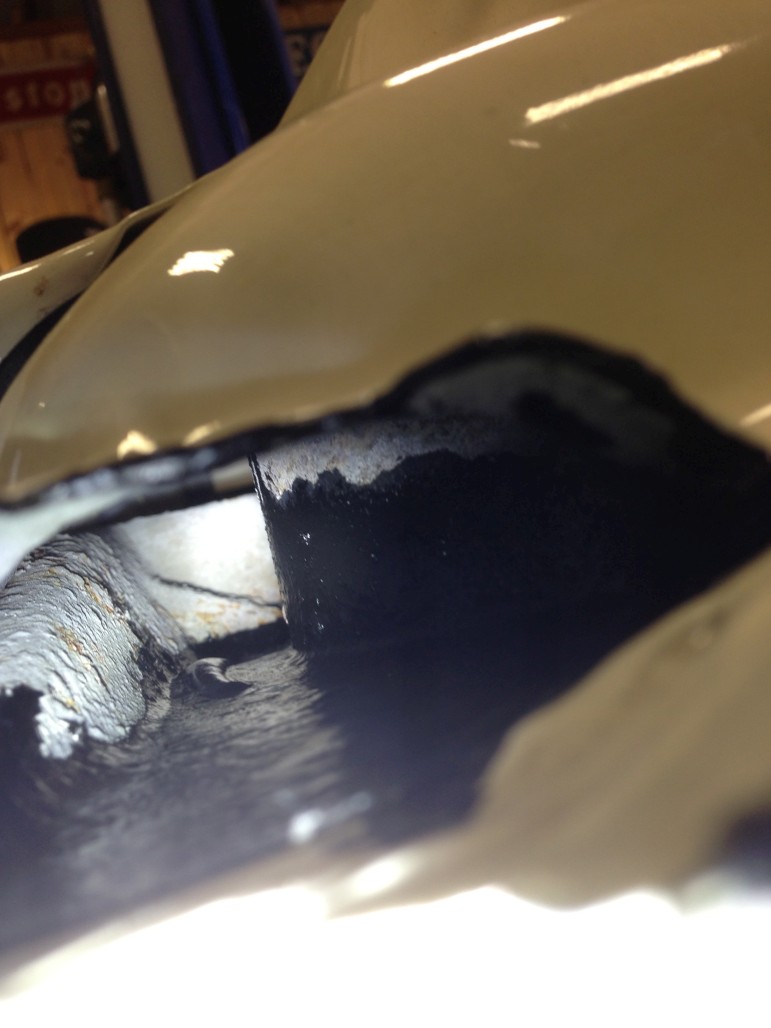
And finally here are some finished shots. You’ll notice the “brushed” look I’m talking about on the closeups.

I want to say thanks again to Brian for the help and hospitality. It was fun to drive out to Silverton and hang out at his shop and eat his wife’s food. Good times, and good progress. That’s what it’s all about.

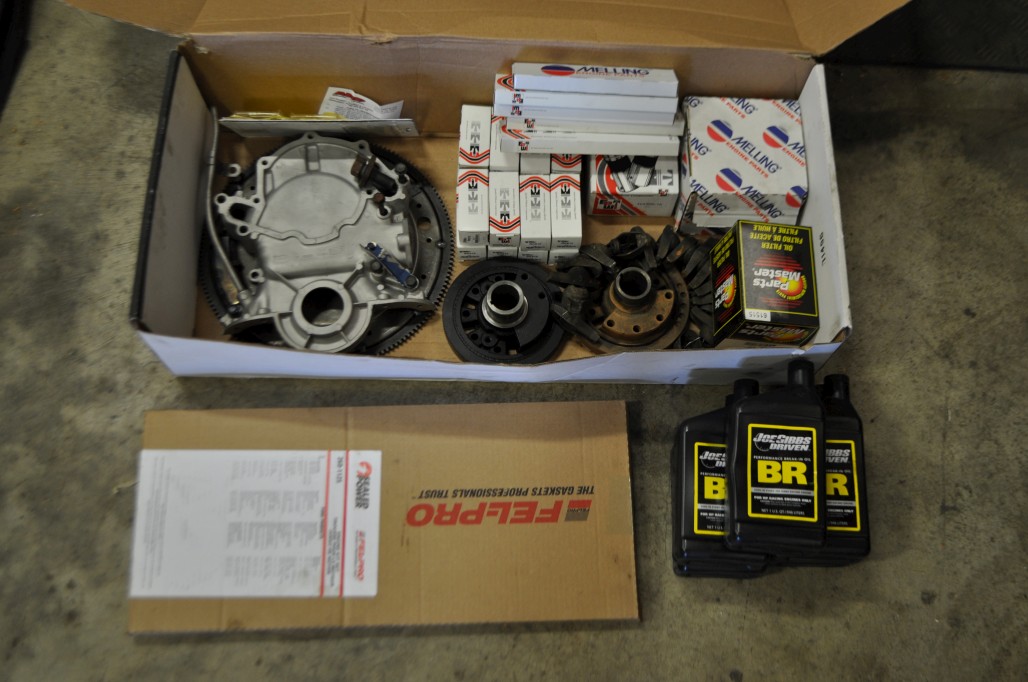
Finally, the last thing I’ll talk about in this update - the engine. Just a couple weeks ago I bit the bullet and took it down to a reputable machine shop in Albany, OR. The guy has done work for Don before, including a CJ or two. Anyway he’s going to do a complete short block rebuild on my 289. I’m keeping it 2V, just because I consider this car a driver / cruiser and am not too worried about making big power, though I would obviously love for it to have more guts. A stock 289-2V is rated at 210 h.p., and I asked the guy “what kind of horsepower do you think we’ll get out of it when you’re done? Around 240?” He just smiled and said “that’s conservative.” He is going to balance it, put in an upgraded cam (nothing crazy) do a 3 or 4 angle cut on the valve edges for smoother airflow, and so on and so on. Sounds like he knows what he’s doing and I’m that much more excited to get it back in the car and find out how it runs before too long.

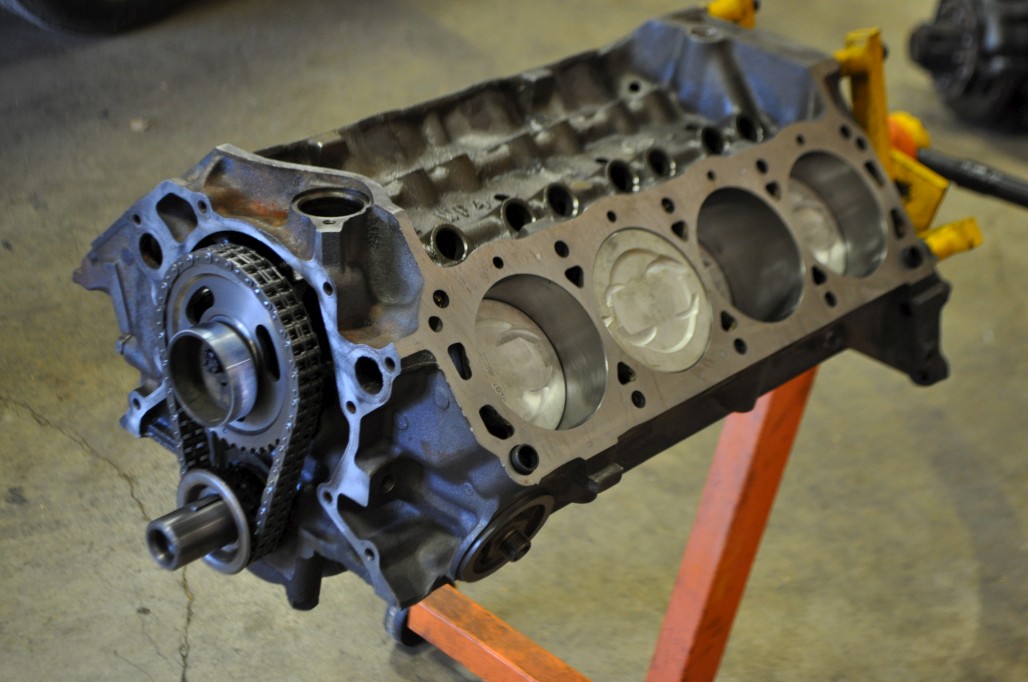
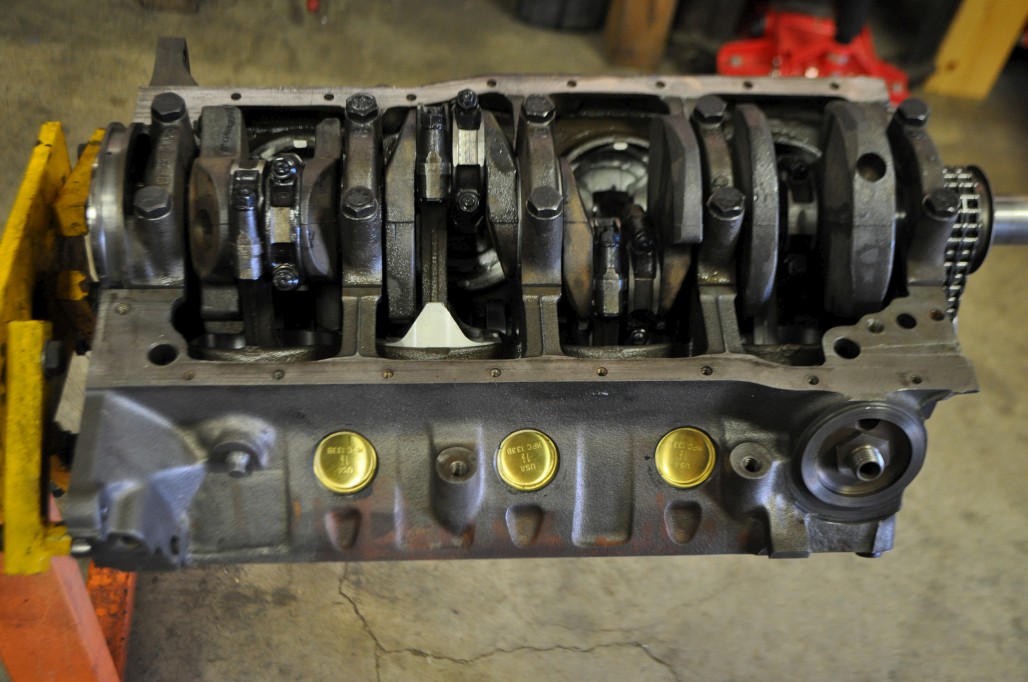
Anyway here are some “before” shots. This is the short block before disassembly.

Check out how loose my timing chain was. I’m surprised it didn’t skip a gear. Finger courtesy of Scott Behncke (CougarCJ).

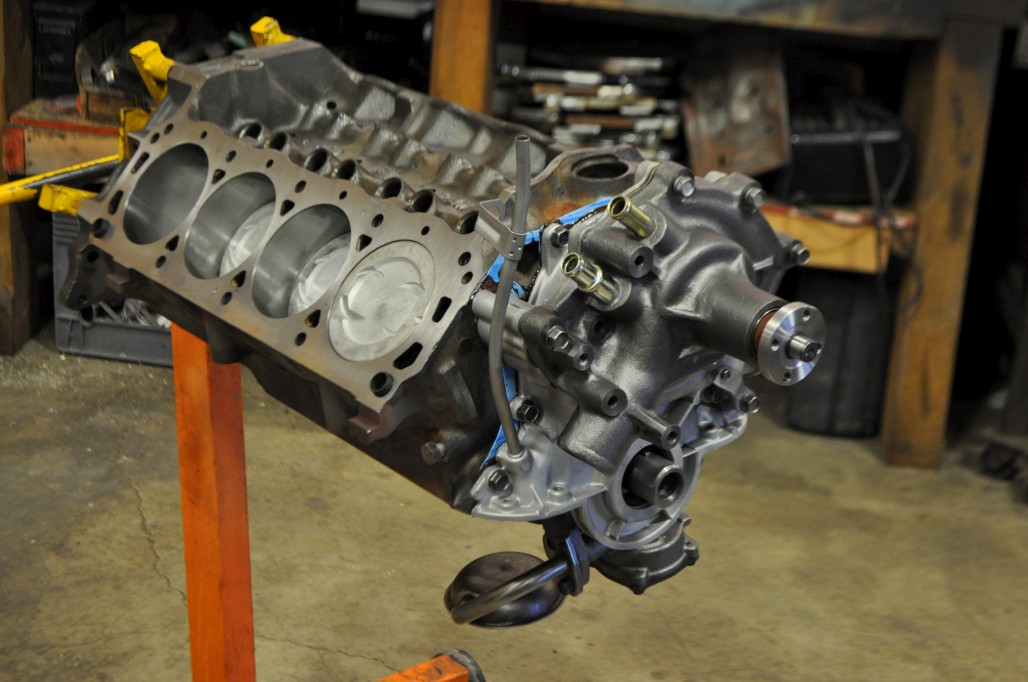
Heads off. Plenty of carbon on the pistons. Don’t worry too much about the rust in that one cylinder, it’s most likely from when I steam cleaned the block after yanking it from the car. In hindsight, that was unnecessary.

Bottom end:

…And the old cam.

I forget if I mentioned this before, but my engine was actually a 302 block with 289 heads. Supposedly that was a pretty common thing at the time.

Anyway, that’s all for now. Things are happening. Like a slow-moving freight train, I will keep chugging away a little at a time until I get there. It just might take a while. Thanks for the interest, and I’ll be posting a couple videos soon!

Nice! Keep at, just like Johnny Cash ~ one piece at a time :slight_smile:

Sounds like that engine is gonna be sweet when he’s finished! Nice work on the trim bits. I’ll need to invest in a buffing wheel myself, eventually.

Andrew, looks like your doing well, keep up the great work.

Nice work!
FYI;
A 302 crank and a set of rods would be a cheap 13 cubic inches. Nothing else would need to be changed.

Your welcome Andrew. If you hadn’t pulled the tarp back for me you might still be staring at your monitor instead of making real progress :slight_smile: I don’t think I need to tell you, but make sure you get some shots of your block after machining and during rebuild. Those are still some of my favorite pictures from my project.

Thanks dudes! Speaking of the engine, I just went down to the machine shop yesterday to give them my timing cover, cam retainer, oil eccentric, etc for them to put on so they could degree the cam, and make sure the harmonic balancer will line up with the metal pointer. Anyway I snapped a few cell phone pics of the progress. It looks nice and shiny! Apparently it’s been bored .030 over. He says the heads are not done yet, so it will be a few more days until it’s all done. Exciting stuff!

Also, I wanted to get some better pics of the painted engine compartment, so here ya go. It’s getting dusty already…

And finally, just a pic to show what the car looks like in its current state.

Most recently, I’ve been finishing up the front end, torquing nuts to spec and installing cotter pins.

Speaking of the front end, I finally have a video to share. This was shot several months ago when I was doing the front suspension / steering / brakes. Also posted this in the how-to video thread, but it needs to be here too. Watch on YouTube

https://www.youtube.com/watch?v=UgxL4xnTTZ4

Looking good, Andrew.

New video is well done, informative!

Coming along nicely!

Will it be back on the road in time for the WCCC gathering?

Andrew, your doing a great job and the video is well done. By the way, the bloopers are great as well. :thumbup:

Andrew your progress looks great. Great photos of the engine during the rebuild. I don’t think I’m far off by saying this, but at this rate with the details put into your Cougar we’re all looking at a future ROTM being built. :thumbup:
Steven

In the video the plate to weld into the base of the shock tower part number 2027, wasn’t it part of another kit I saw some time ago? There were some plates that would weld further up the shock tower around where the upper control arm mounts. This would be on the engine compartment side.
Are these also available or are they not even necessary? I know the big block cars had plates similar.

I used the same welded in plates in my 67, although I had no visible damage, that along with the export brace, m/c bar. It made a huge difference

Thanks for the comments! Will post some more random progress soon…

I think to make that happen I would need to ignore some areas for now (like the whole rear end / rear suspension, upholstery, and other countless small details). Even just focusing on getting the mechanical aspects going, and bolting on all the body panels, windows, weatherstripping, lights, grille, bumpers, trim… it’s still a bit of a stretch. But no matter what stage it’s at, I will at least roll it out on the grass for everyone to admire / laugh at. :gaptooth:

Thanks! I like leaving in those moments of awkwardness. They break up the monotony and makes us look like the human beings we are. Okay, so Don is the victim of most of the bloopers, but I left in some of mine to be fair…

Well thanks Steven! That is definitely a goal I’d like to shoot for, and something I’ve thought about in the back of my mind… The vision of this car I see in my head is really nice, so hopefully reality will be as good!

Hmm I’m not sure if you can get those particular big-block plates by themselves. I looked around our website a bit and didn’t see them. The only kit that I know of with the lower weld-in plates is the one we mentioned in the video (see here). I guess it depends on how hard you drive your car. For me, I’m confident that the lower plates will be enough, and the export brace should help too. I’m just going to be cruising around, maybe stomping on it occasionally for grins.

Well, how did you spend your 3-day memorial day weekend? For me, it was spent in uncomfortable, awkward, rusty places with messy, smelly paint. Not the most fun I’ve had working on the car, but something I wanted to address.
Areas like the firewall / underside of cowl / backside of dash still had some surface rust that I wanted to neutralize while I have things this far apart. None of it was really that bad, but I figure that I don’t really want to have the car this far apart again, and ideally I’d like it to last for the rest of my life if possible. Here are some before pics.


After some prep with a wire wheel

Also, there were some other areas around the car that I noticed were untreated and showing surface rust. For instance, the bottom of the package tray, and perhaps more importantly, the underside of the rear window channel sheet metal that got patched.

Also, the upper part of the quarter window areas on both sides looked like this:

And the bottoms:

And in the trunk, the body guy didn’t go all the way up the quarters with the black undercoating stuff, so these areas were untreated on both sides:

Finally, here’s looking inside the cowl from the drain holes on either side. Not bad, but an area that is very prone to rust and should be addressed too.

Fast forward to the end of the weekend, after many hours spent in uncomfortable positions on the floor, in the trunk, etc, scuffing away with wire brushes, cleaning areas, masking off holes and edges, and smelling toxic fumes while brushing on some gnarly anti-rust paint. (I used the Chassis Saver paint that we carry, it’s basically a POR-15 knockoff.) Can you tell I didn’t enjoy it very much? :buck: But in the end I was glad I got it done. Should help the longevity of the car a little. Anyway, pics.

As I see these pictures I notice I missed a few little spots. Oh well.

Also decided to coat the bottoms of both doors. They weren’t rusty, but I figured it was an area worth protecting.

And of course I did the quarter window areas - the higher portions that had surface rust, and the bottoms.

Here’s where it gets a little crazy. In order to get to the inside of the cowl area, I had to get creative. I poured some paint into the outer wiper arm hole, which leads directly to the inside of the cowl. I masked off the inside wiper hole under the dash to be safe. Then used the lift to tilt the car to the passenger side to help the paint flow around the area.

For the other side, I ended up using the lift to tilt the whole car towards the driver’s side so I could pour the paint into the drain hole. Then I re-positioned the lift arms a couple times to tilt the car forward and backward, so the paint would flow around a bit more. THEN, I crawled inside the car, smeared my gloved hand in the remaining paint in the can, and attempted to reach up into both cowl “hats” and coat the outside of them with my hand. I couldn’t reach all the way around but did the best I could, and think I got some decent coverage in the critical areas. Finally, I used a small brush and stuck it in the drain holes and tried to cover the “hats” as much as I possibly could. It’s hard to even show the results, but this gives you an idea.

So there you have it, that was my weekend in a nutshell. Not fun, and not very pretty, but I think it’s a good preventive measure. I might end up spraying the trunk area later with polar white, it doesn’t look very clean right now. To be determined. More interesting things coming soon…

Now that is dedication/creativity at work! Well done on the cowl painting, though none of it looked “fun”…great job!

Looks good!

I don’t remember you doing any work on your cowl. It looks really nice considering the condition of your roof.

Ford should have finished that cowl area the way you did there.

So, on to something a little more fun. I got a call from the machine shop on Friday that my engine was ready to pick up, so I drove out and picked it up. Here is how it looked when I got it:

Box of goodies… and some of my old used stuff. He decided to get me a new damper instead of having the original one rebuilt.

I will get some shots of the heads soon, probably when I put them on. For now they are wrapped in plastic, waiting for their moment.

After work last night I started into it, with some help from my coworker Darrell. Thanks Darrell! It’s good to have a more experienced dude around to stop me from doing something stupid. This is as far as we got. I cleaned up the oil pickup tube / screen as best I could, which had a bunch of small plastic chunks from the old timing gear bushing (?) embedded under the flat metal portion over the screen. Attached it to the new oil pump, and installed that on the block. Then we did the timing cover, installing the round seal in it, then applying sealer to both sides of the gasket and installing it. It took a little trial and error to find the right bolts and clean them up. Should have kept better track when they were removed. Then we started to put on the new water pump (just a standard cast iron one) but needed to figure out hardware again, and it was getting late, so this is where we stopped.

That’s all for now, but I’ll be making a little more progress every night this week hopefully. More to come soon! :beerchug:

Mmmm, car porn!!!

The attention to detail is great. Tilting the car to get the paint coverage in the cowl…very ingenious.
Steven